Escape Room: The Sealed Castle drops you into a locked medieval hall with no memory of how you got there. The Armory is the stage you reach through the right-side corridor portal from the lobby, and clearing it means chaining four puzzles together, from a barrel sequence to a five-letter door code to a hallway of knight statues.
Quick answer: Set the five letter blocks on the exit door to A R M E T, then rotate every knight statue in the final hallway to match the paintings from the main room. When the red door opens, run through it to trigger ESCAPE SUCCESS and the “Escaped the Armory!” badge.
Starting the Armory stage
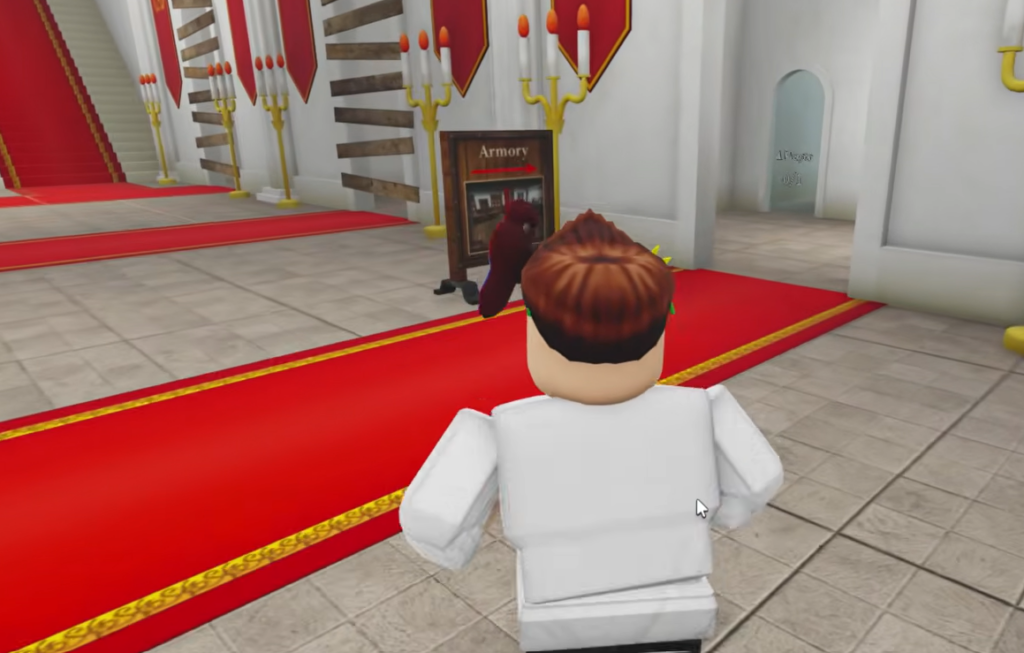
From the castle lobby, the welcome sign tells you to enter a stage and use the portals in the side corridors. Walk to the right corridor and step into the portal labeled “Armory.” A short loading screen for “02armory” by EscapeRoomLabs plays before you spawn inside the room. You can launch the game from its official Roblox page.
On arrival, the screen reads “When you wake up, you find yourself in an unfamiliar place,” followed by “You have been trapped in an armory.” That is your cue to start interacting with the room.
Open the first side room and grab the Hammer
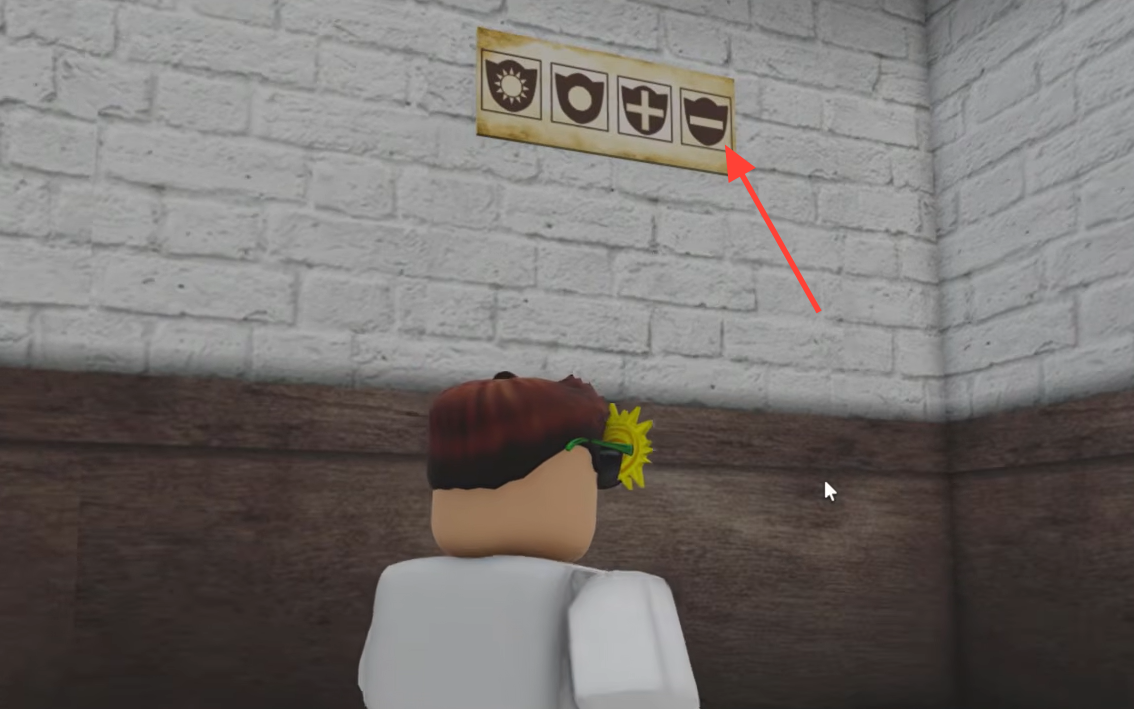
Read the shield plaque for the crate lock
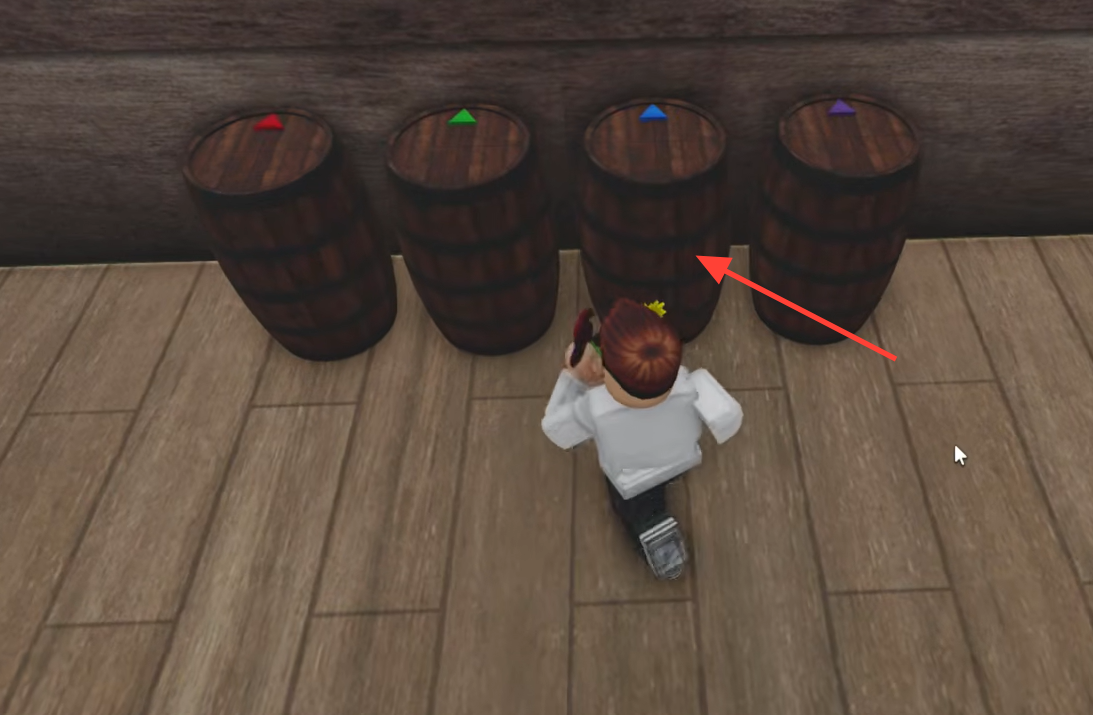
Behind the fallen boards is a small room with a wooden crate on a stone pedestal. The crate has a three-digit combination lock, and clicking it early only shows “The lid is locked.” The clue is on the wall plaque inside this same room, which displays different shield designs.
To build the code, walk back through the rooms and count the specific weapons and shields that match each design on the plaque. The totals you count give you the three digits for the lock. Match each shield design to its objects carefully, since a miscount is the most common reason the crate stays sealed.
Solve the ARMET door code
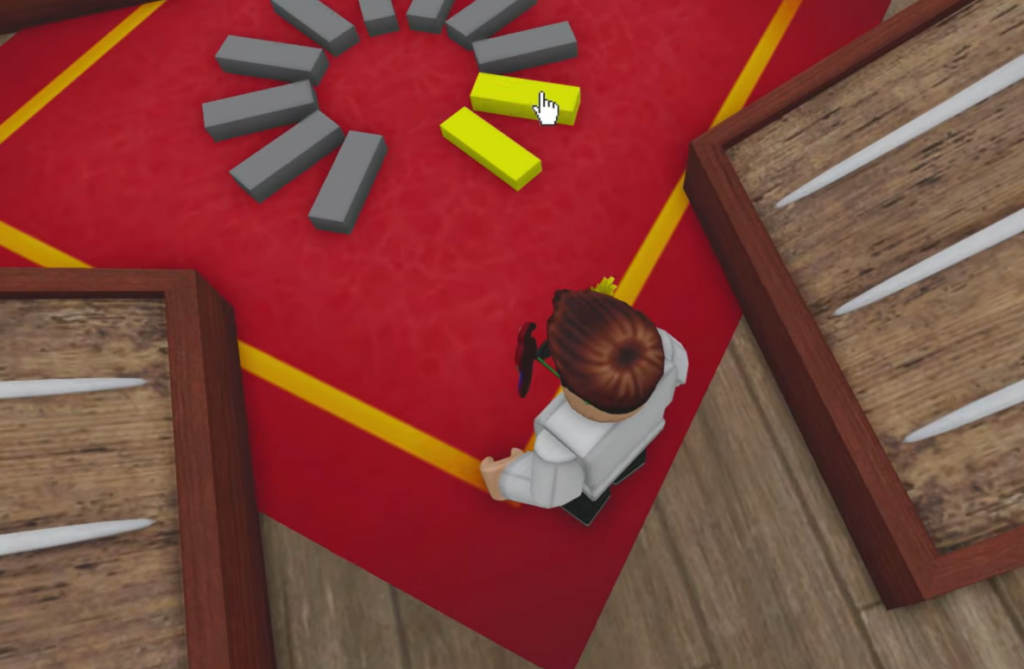
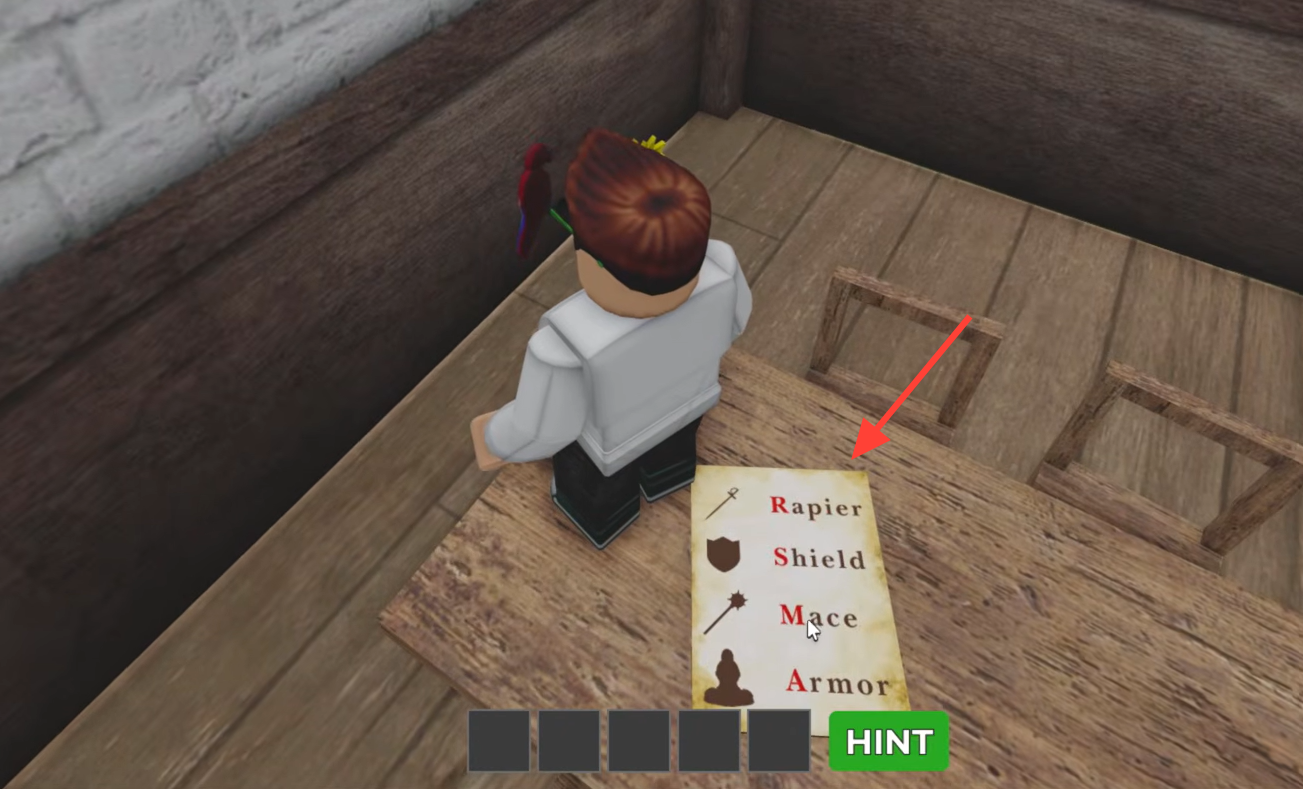
The main exit door has five red blocks that all start on the letter A, reading “A A A A A.” Clicking the door before it is solved returns “The door is locked.” The letters come from the four items on the table paper: Armor, Rapier, Mace, and Shield, which spell out ARMS.
The twist is the small plaque at the bottom of the red banner on the wall, which reads “S -> ET.” That instruction replaces the final S in ARMS with ET, turning the answer into ARMET, a five-letter helmet name that fits the five blocks exactly.
| Block | Letter |
|---|---|
| 1 | A |
| 2 | R |
| 3 | M |
| 4 | E |
| 5 | T |
Set the blocks to A, R, M, E, T. The moment the letters read ARMET, the screen shows “The door opened” and the wooden door swings open onto a hallway lined with knight statues.
Tip: Do not waste time brute-forcing combinations like ARMS with random extra letters. The banner plaque is the intended clue, and ARMET is the only spelling that opens the door.
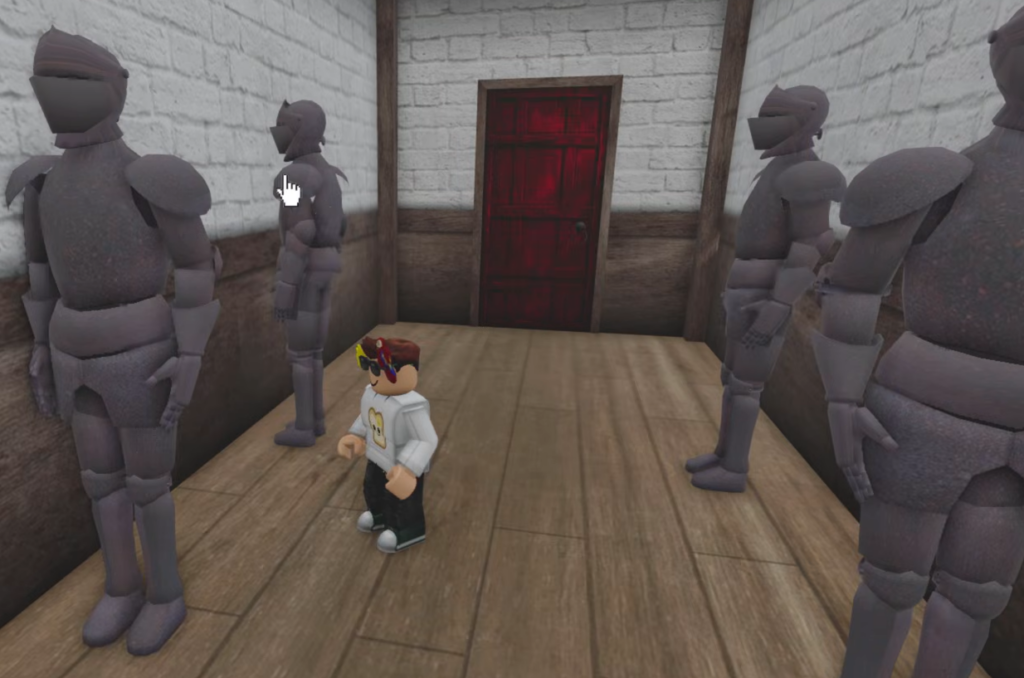
Rotate the knight statues to escape
The final hallway is the last puzzle. Each knight statue can be clicked to rotate and face a different direction. The correct orientation for each statue is set by the paintings back in the main room, so check those directional clues before you start turning the knights.
Once every statue points the right way, the game announces “All mysteries solved! Time to escape!” and the red door at the end of the hallway opens. Run through it onto the stone path to finish the stage.
How to confirm you cleared the Armory
You know the stage is complete when large yellow text reads “ESCAPE SUCCESS!” and a badge notification pops up with “Badge Awarded: Escaped the Armory!” A “BACK TO LOBBY” button then appears on screen.
Click that button to load Escape Room: The Sealed Castle again and spawn back in the main lobby, where you can pick another stage portal. If the escape does not trigger, the usual causes are a knight statue still facing the wrong direction or a letter block that is not exactly on ARMET.