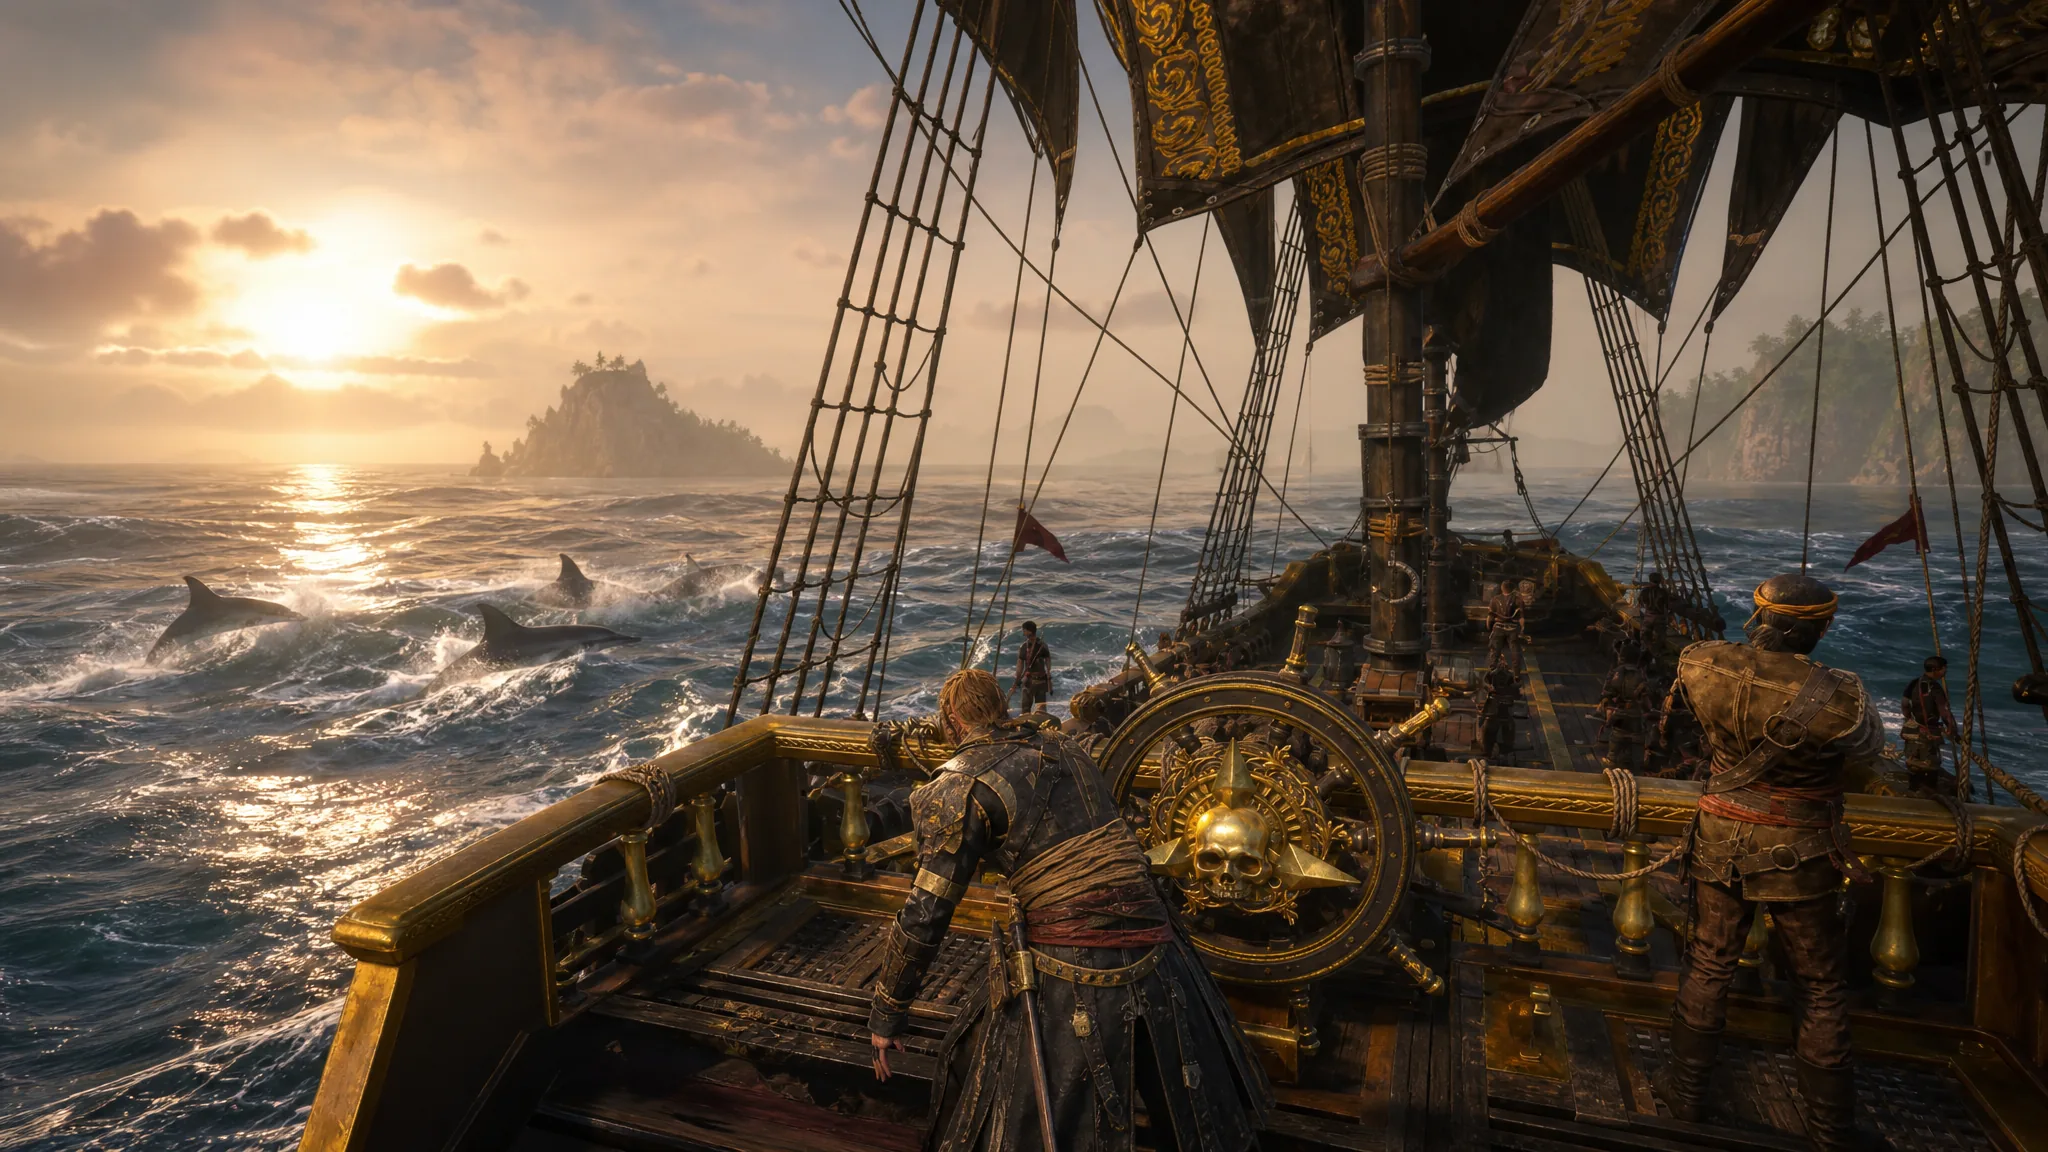
Harpooning is how Edward Kenway turns sharks and whales into skins, bones, and blubber for gear upgrades, cosmetics, and bartering in Assassin’s Creed Black Flag Resynced. The system carries over from the 2013 original with only small changes, but it still takes a steady hand once the tougher prey starts fighting back.
Quick answer: Finish the main quest Raise the Black Flag to unlock harpooning, then chase a marine target until the “Start Harpooning” prompt appears. Right mouse aims, left mouse throws, and holding the attack button charges each throw for a Perfect Strike that deals more damage and cancels the creature’s counterattacks.
Unlock harpooning by completing Raise the Black Flag
You cannot hunt sea life from the start. Harpooning becomes available only after you complete the story mission Raise the Black Flag and begin sailing freely. The first tutorial follows shortly after, when you set out to plunder a plantation alongside James Kidd (Mary Read).
Your first target is a bull shark spotted through the spyglass. Sail toward it until the “Start Harpooning” prompt (E on keyboard) appears, then transfer into the smaller rowboat to begin the hunt.
How a harpoon hunt plays out
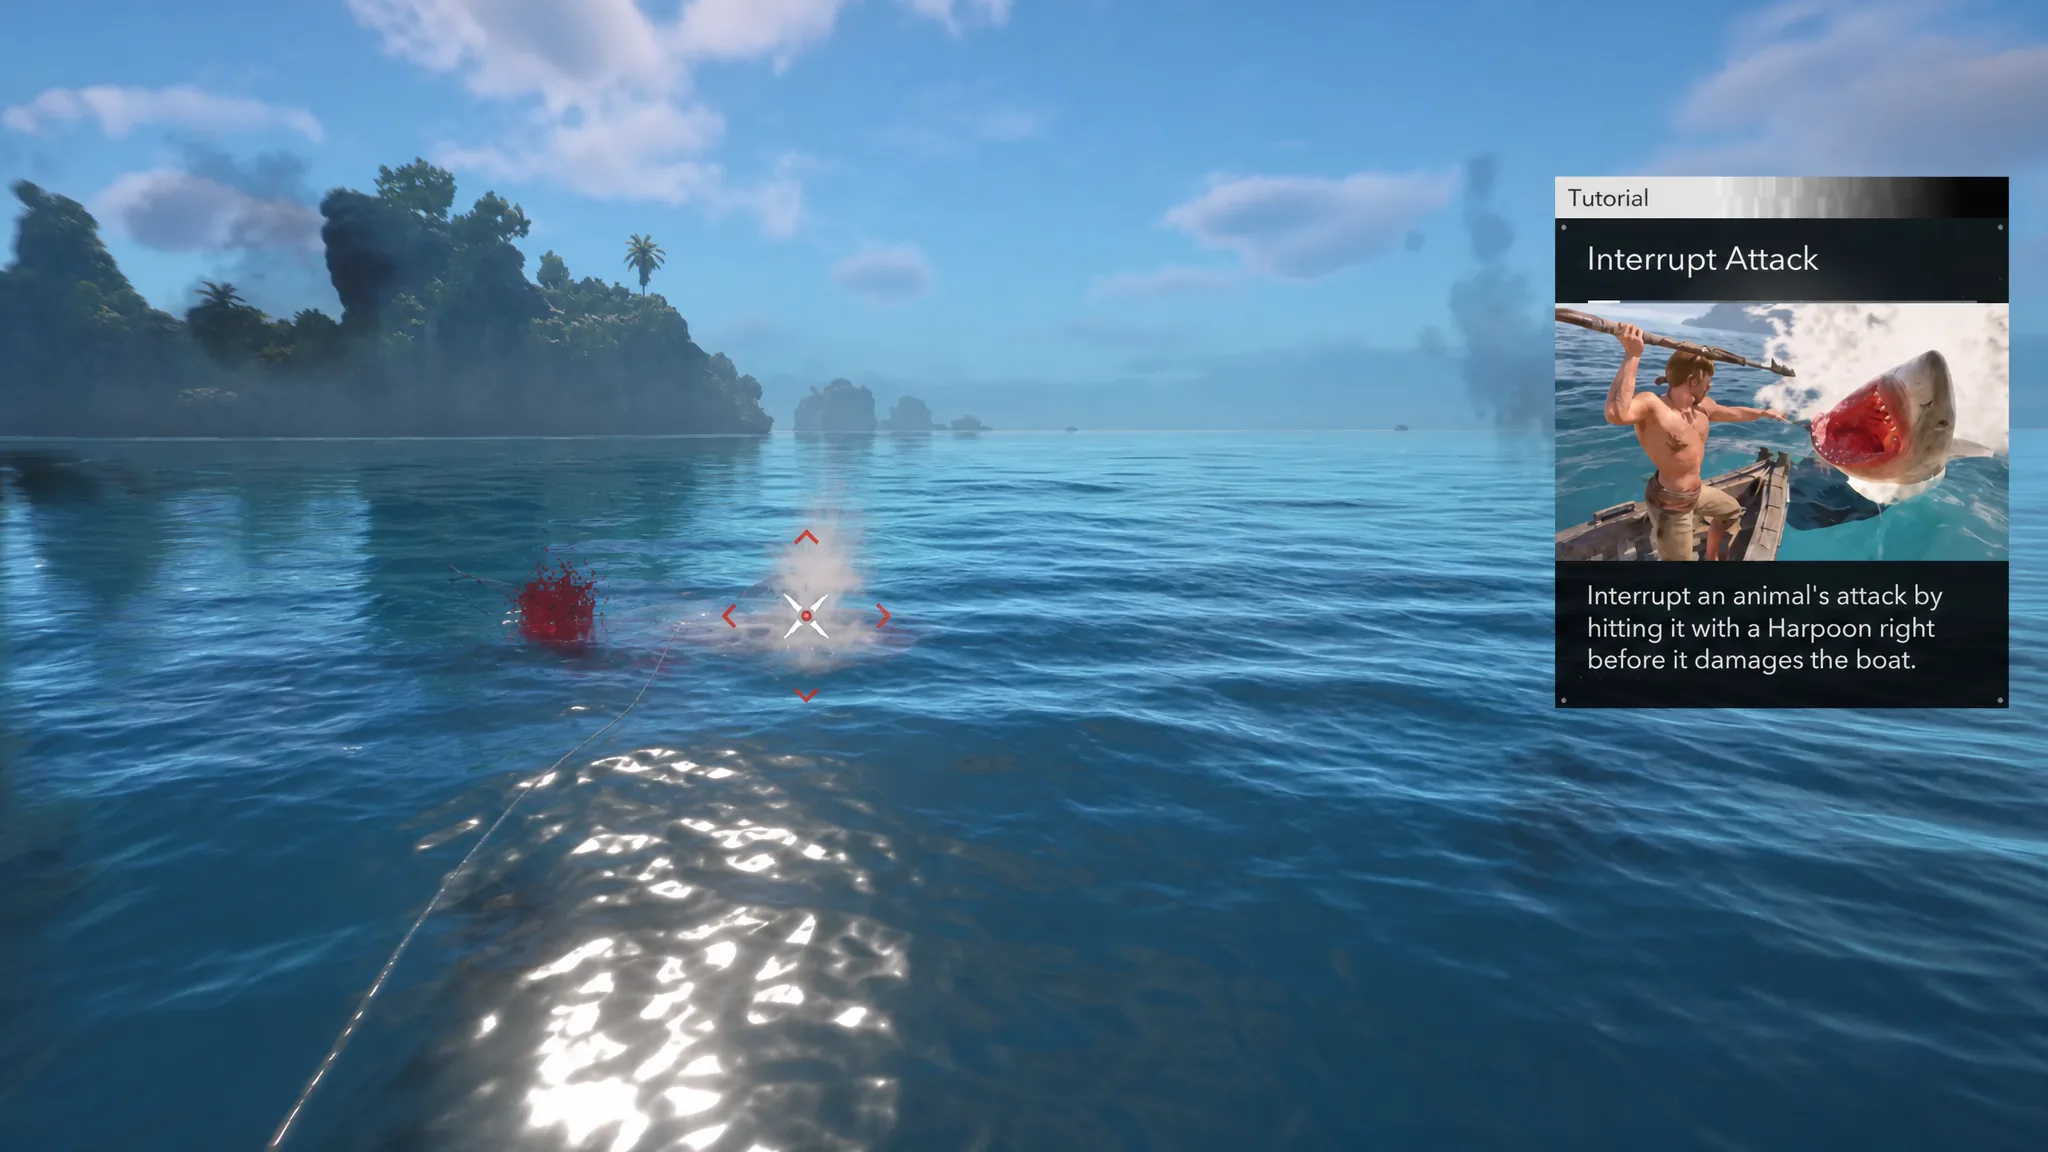
Every hunt runs through three repeating stages. You tether and attack your prey, wait for it to vanish beneath the surface, then counter when it rises again. That counter changes by animal, with sharks biting, killer whales charging, and larger whales slapping the boat with their tails.
Only two controls matter once a target is in range. Aim down with the right mouse button and throw with the left. You can fling harpoons quickly, but holding the attack button charges the reticle for extra damage, which is far more efficient than spamming throws.
As the charge builds, the harpoon glows for a brief moment when the reticle lines up inside the diamond-shaped symbol at the center of the screen. Release in that window for a Perfect Strike. On top of the damage bonus, a Perfect Strike interrupts the creature when it lunges at your rowboat, which stops a hunt from ending early.
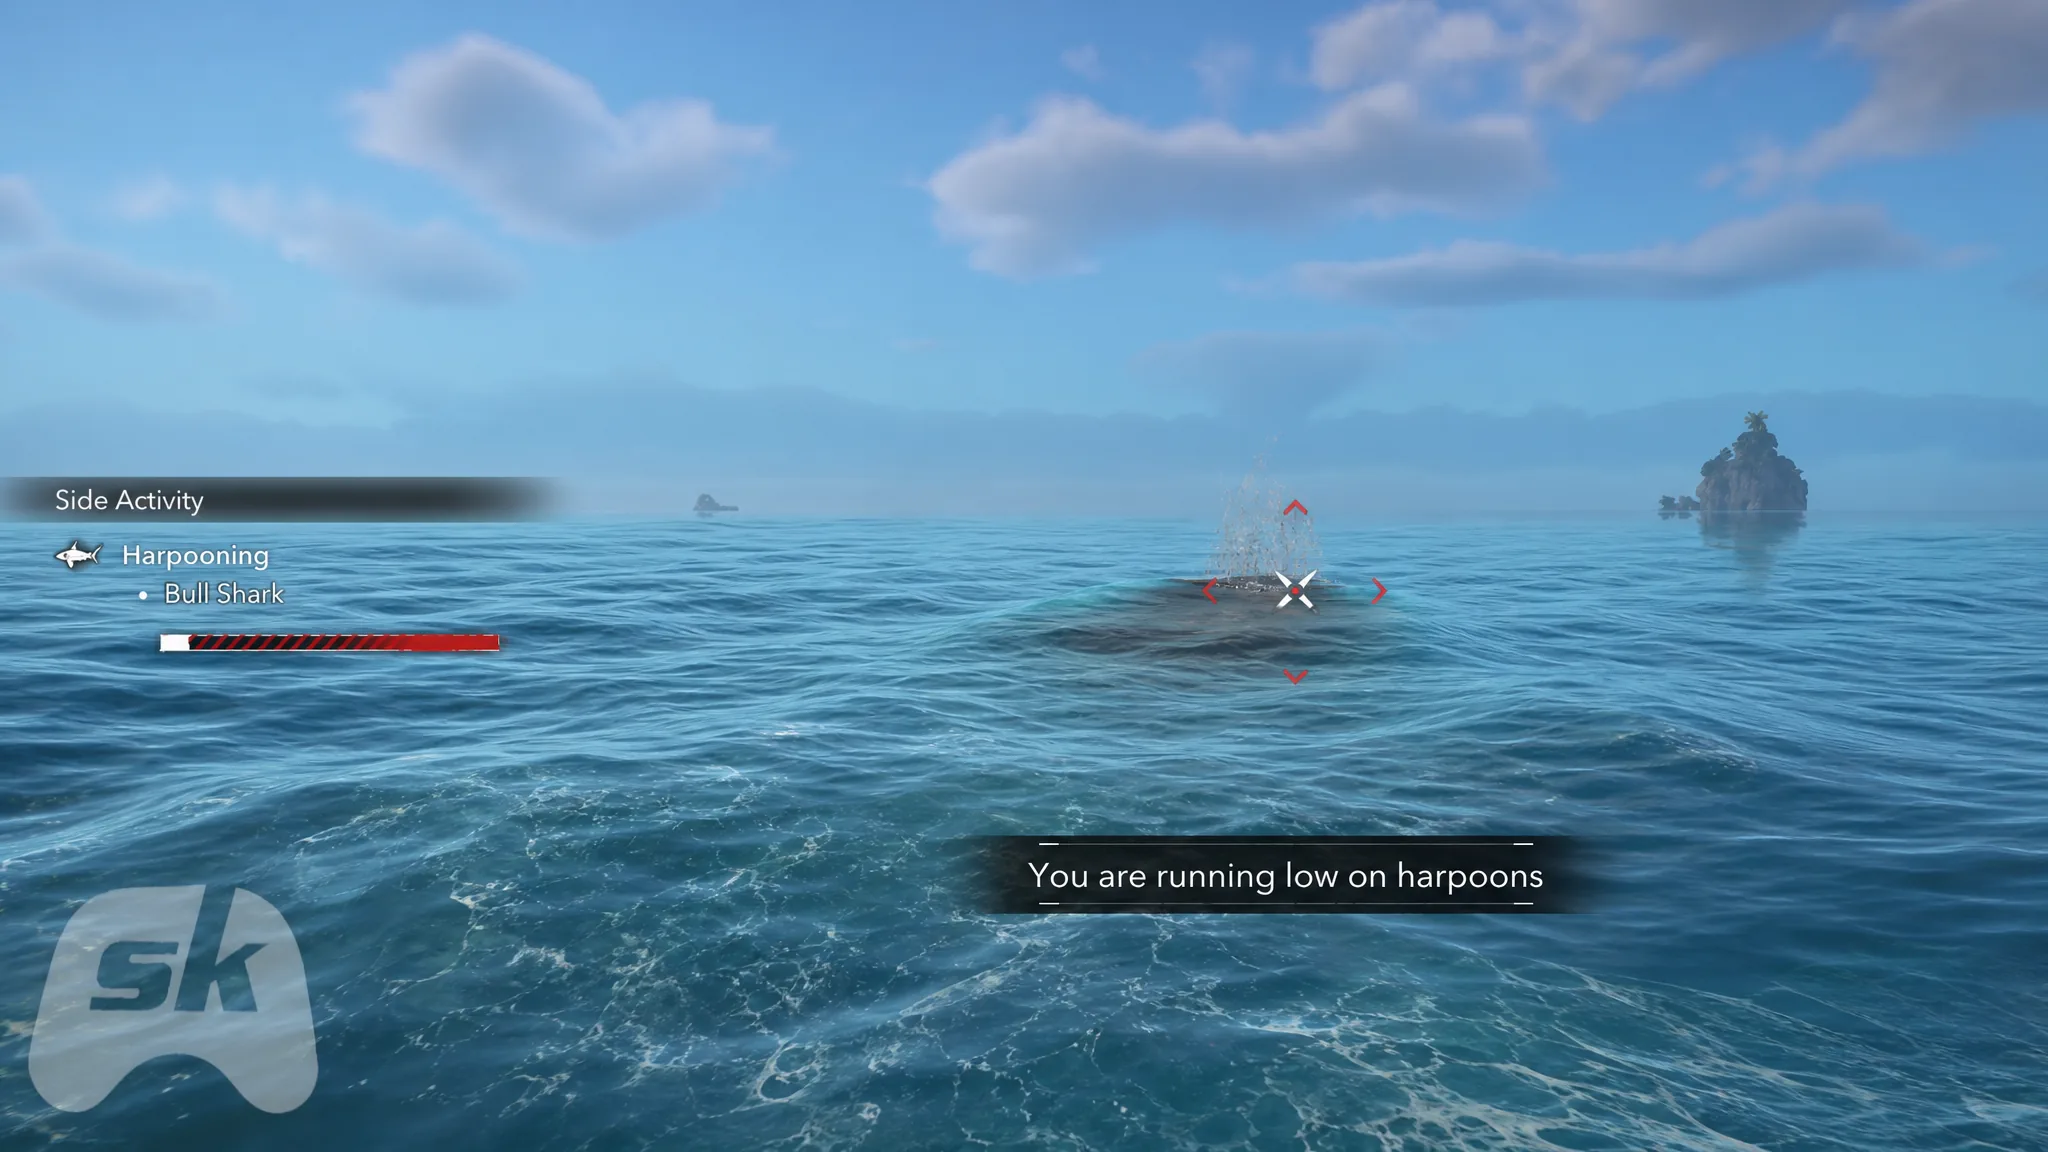
Watch the target’s health meter on the left of the screen. The bull shark, for example, dives after losing roughly a third of its health, resurfaces to attack the boat, then dives again after the next third. A well-timed throw interrupts that attack before it lands.
Note: Harpoons are limited during a hunt. Do not throw carelessly, because on higher difficulty you can run out before the meter empties unless you are charging shots and landing most of them.
Where to find each sea creature
Marine life does not use fixed spawn points like land animals. Instead, targets appear randomly across the ocean, each marked by a harpoon symbol on the map. You have to hover over a marker to see which animal it is, so finding a specific creature takes some checking. These are the areas where each type tends to show up most often, grouped by difficulty band.
| Marine life | Common areas | Difficulty band |
|---|---|---|
| Bull Shark | Eleuthera, Dry Tortuga, Gibara | Upper (easy) |
| Hammerhead Shark | Eleuthera, Dry Tortuga, Gibara | Upper (easy) |
| Great White Shark | Punta Guarico, Cruz, Castillo de Jagua | Middle (medium) |
| Killer Whale | Punta Guarico, Cruz, Castillo de Jagua, Contoyor | Middle (medium) |
| Humpback Whale | Navassa, Charlotte, Serranilla, Chincorro | Lower (hard) |
| White Whale | Not confirmed | Not confirmed |
Higher-rarity animals such as the Humpback Whale start appearing further up the map as you progress the story and explore more of the world. Even so, sea life clusters most in the three major quadrants of the ocean, so sticking to a band that matches the creature you want cuts down on wasted sailing.
The White Whale is a special case. In the original Black Flag it appeared randomly as part of the online events, and because the Animus system and its online features have been reworked in Resynced, its spawn behavior is not yet confirmed.
Upgrade your rowboat and harpoons at Great Inagua
If tougher prey keeps outlasting your harpoon supply, the fix is at your hideout on Great Inagua. Build the Harbourmaster there to level up the rowboat and its harpoon attacks. After you unlock it, each further Harbourmaster level opens more crafting options, up to three tiers each for harpoon ammo, harpoon damage, and rowboat durability.
One final enhancement sits beyond those three tiers. It needs the Elite Harpoon Plan, which you have to track down before it becomes available. You must have a Level 3 Harbourmaster for the purchase to appear.
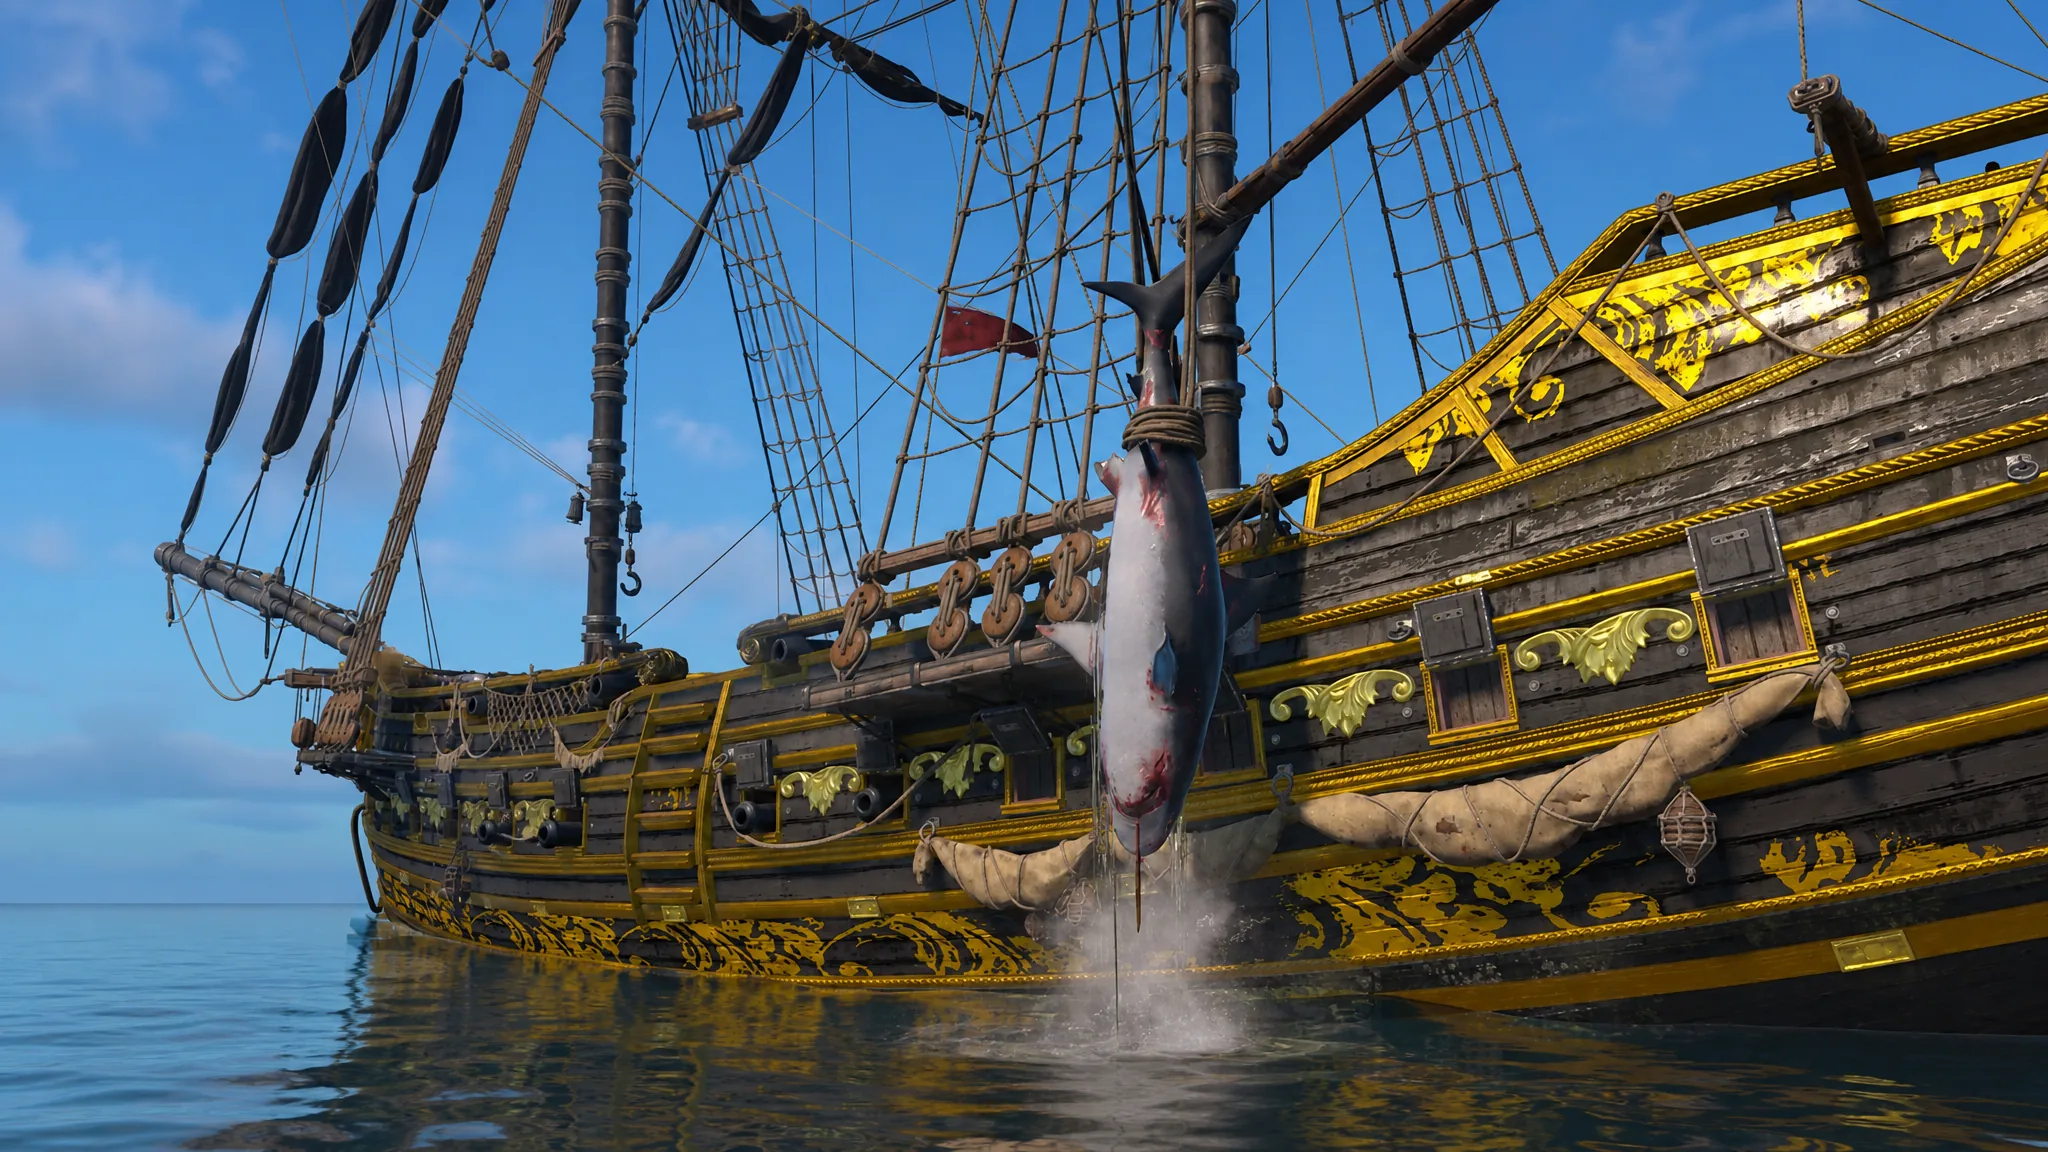
Get the Elite Harpoon Plan
Tip: While you are on Great Inagua, upgrade the Fisherman’s Wharf as well. It doubles the number of skins pulled from each aquatic kill, which roughly halves the grind when you are farming a specific material.
Rewards and how to confirm a clean catch
A successful hunt ends when the health meter drains fully and the creature is hauled in, dropping its resources straight into your inventory. The tutorial bull shark, for instance, hands over 1x Bull Shark Skin and 1x Bone. Larger animals yield rarer materials, with the Humpback Whale dropping skin and blubber.
| Marine life | Resources |
|---|---|
| Bull Shark | Bull Shark Skin and Bone |
| Hammerhead Shark | Hammerhead Shark Skin and Bone |
| Great White Shark | Great White Shark Skin and Bone |
| Killer Whale | Killer Whale Skin and Bone |
| Humpback Whale | Humpback Whale Skin and Blubber |
If a hunt fails, the usual reason is running dry on harpoons or letting the creature complete an attack on the rowboat, which can wipe the boat and cancel the catch. Charging your throws, prioritizing Perfect Strikes to interrupt those attacks, and upgrading harpoon ammo at the Harbourmaster address all three problems at once. If you are missing only a skin or two, you can also buy simpler pelts and hides with bones at the General Store on Great Inagua once it is fully upgraded.