Adding a timeline to a PowerPoint presentation quickly communicates project schedules, milestones, or historical events in a visual format. PowerPoint offers several methods to create timelines, ranging from built-in SmartArt graphics to customizable templates and advanced add-ins for detailed project planning. The choice of method depends on the level of detail required, the need for ongoing updates, and the desired visual style.
Using SmartArt Graphics for Timelines
SmartArt provides a straightforward way to build a timeline directly within PowerPoint. This method is suitable for most basic milestone charts or simple project overviews.
Insert tab on the ribbon and select SmartArt from the Illustrations group. This opens the SmartArt Graphic dialog.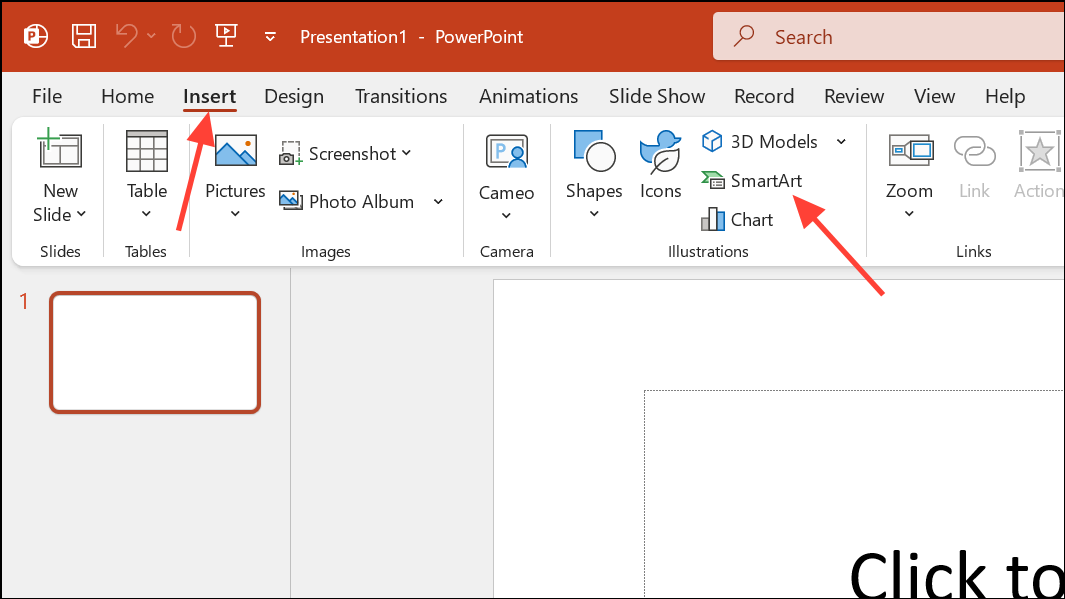
Process category. Select a timeline layout such as Basic Timeline or Circle Accent Timeline. Click OK to insert it onto your slide.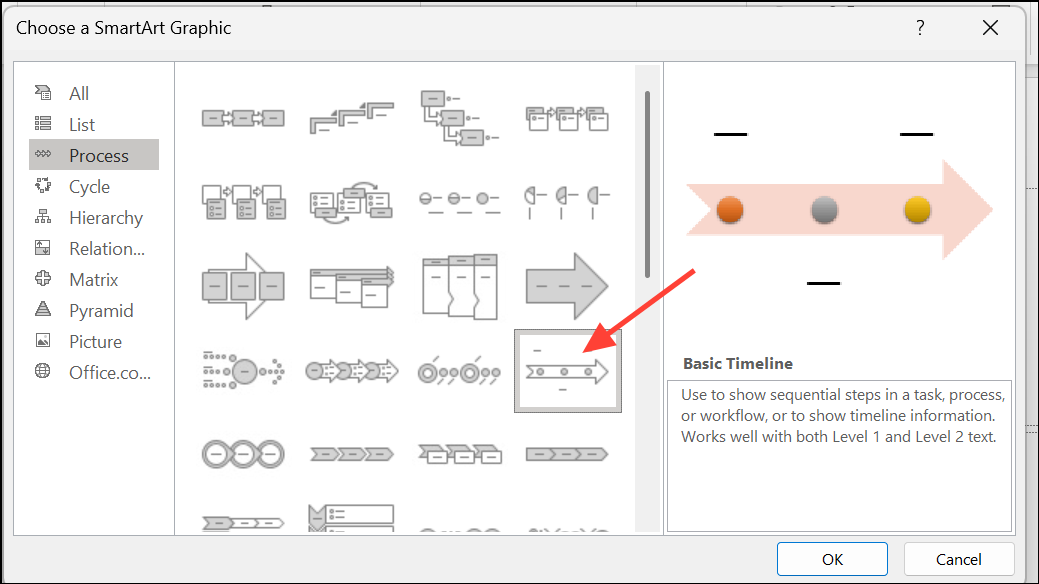
Text Pane (accessible via the small arrow on the left of the SmartArt) allows for faster entry and easier addition of new milestones. Press Enter to add more events, and use Shift + Enter to insert a line break within a milestone for separating dates and descriptions.
Add Shape option in the SmartArt Design tab. Choose Add Shape After or Add Shape Before to control the placement of new items.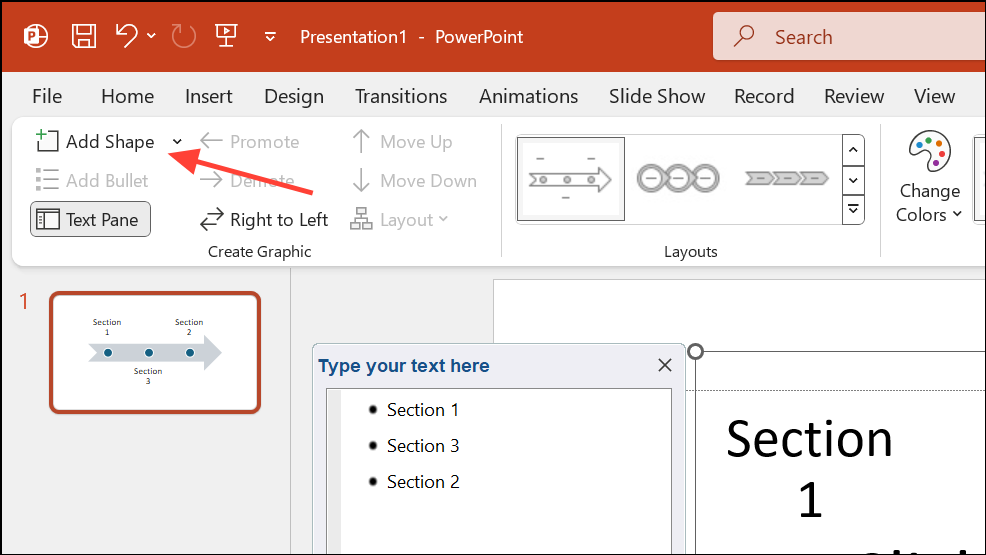
Move Up or Move Down in the SmartArt Design tab. This adjusts the sequence of events on your timeline.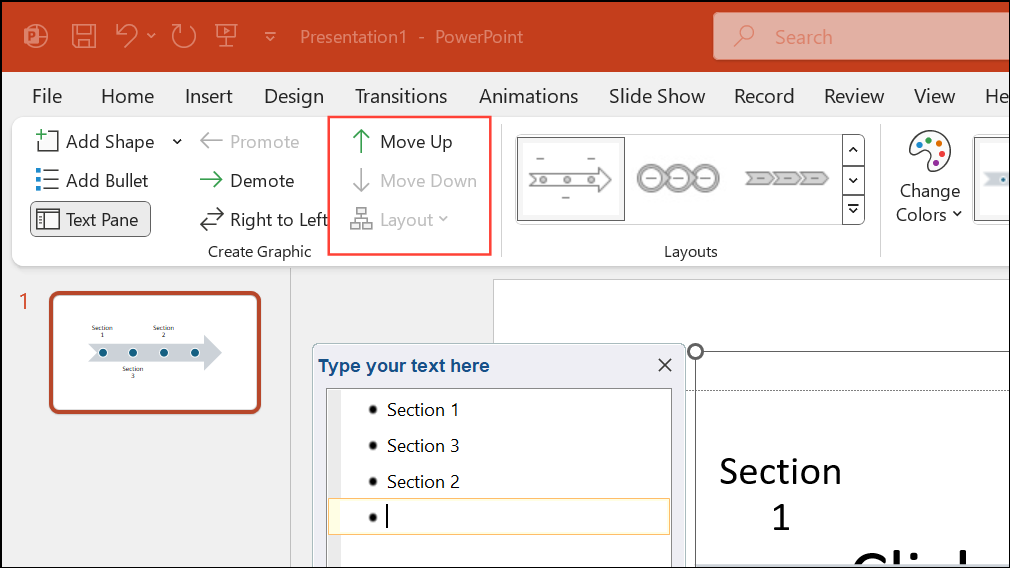
Applying PowerPoint Timeline Templates
Built-in templates provide a quick starting point for more visually elaborate timelines. These templates are especially useful for illustrative timelines, such as product histories or roadmaps, but may be less flexible for frequent updates or complex schedules.
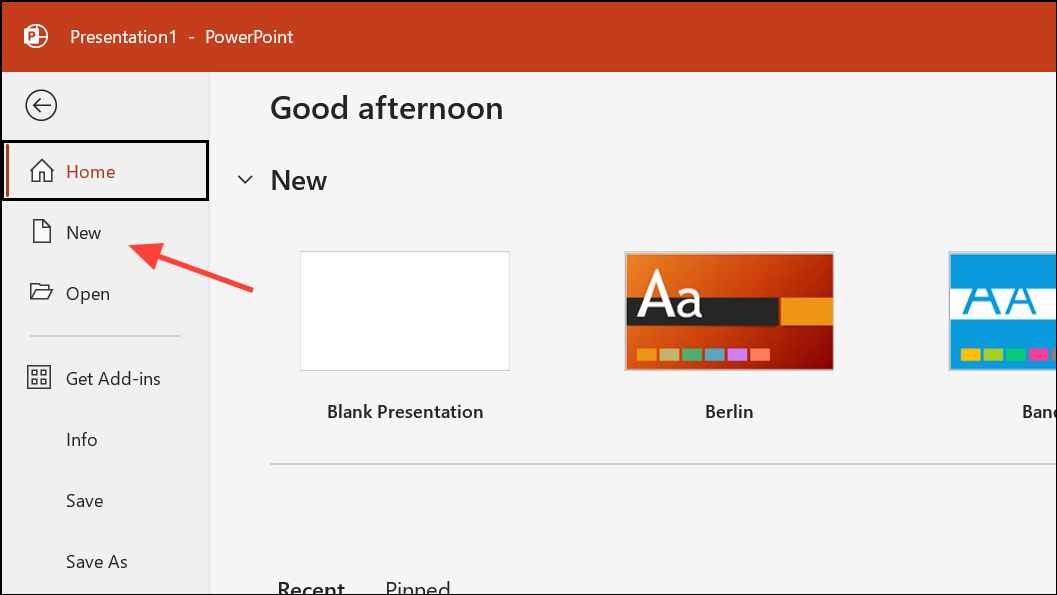
timeline to view available timeline templates. Browse the results and click Create on your preferred template to open it as a new presentation.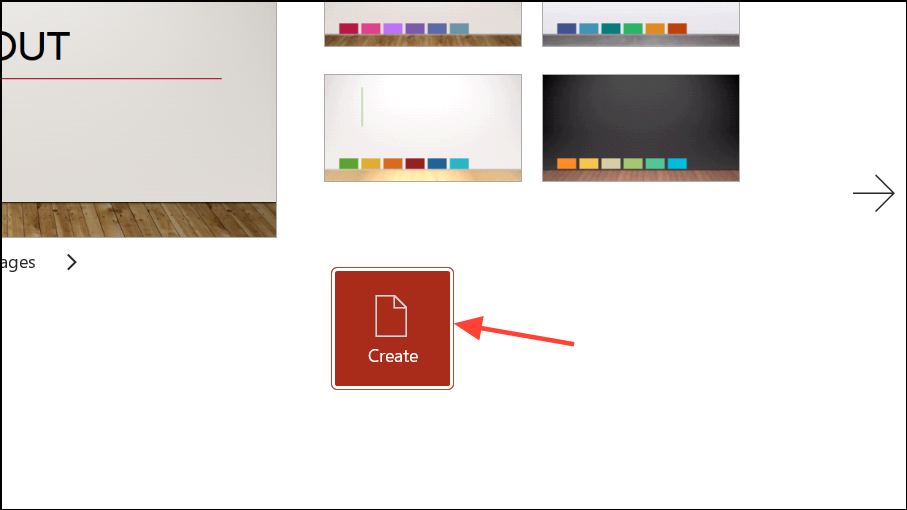
View > Slide Master to make necessary changes.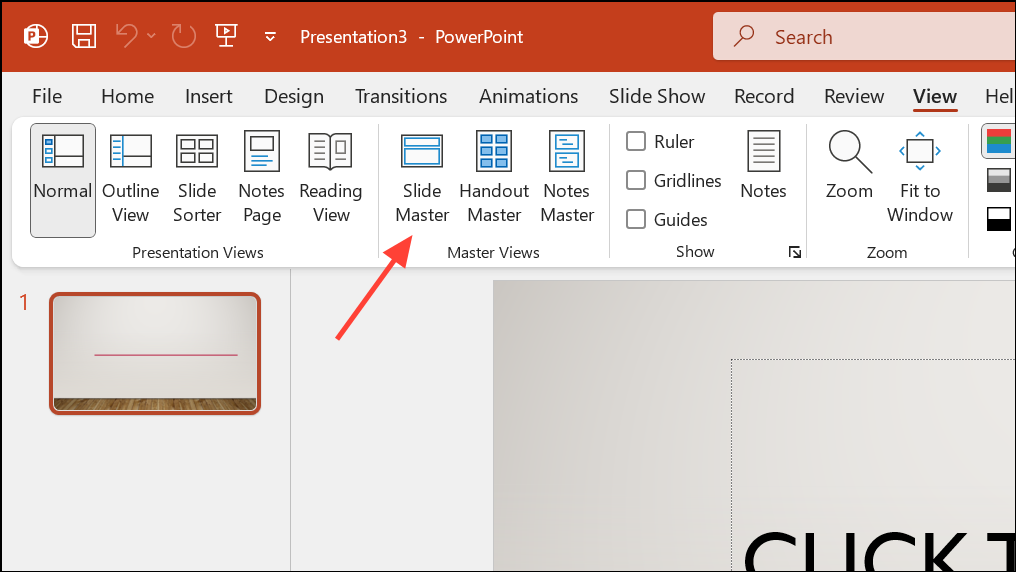
Building Advanced Timelines with PowerPoint Add-ins
For complex project timelines—such as Gantt charts, multi-phase plans, or regularly updated schedules—PowerPoint add-ins like Office Timeline or think-cell streamline the process. These tools provide advanced features such as calendar integration, detailed formatting, and the ability to import data from Excel.
Alternative Approaches and Tips
- For very large or interactive timelines (e.g., timelines with filters or hundreds of events), PowerPoint’s built-in features may be limiting. Consider using custom slide shows, summary zoom, or VBA for navigation, but be aware of compatibility issues, especially with web versions of PowerPoint.
- Timelines created in Excel can be copied and pasted into PowerPoint as images or tables, but direct editing within PowerPoint will not be possible.
- When building a timeline for a client or executive audience, prioritize clarity and simplicity—avoid overcrowding the slide with too many milestones.
- To change the orientation of your timeline, use vertical process SmartArt layouts, but keep in mind that PowerPoint’s horizontal format is generally better suited for timelines.
Choosing the right method for creating a timeline in PowerPoint depends on your project’s complexity and how often you need to update the visual. SmartArt and templates work well for quick, simple timelines, while add-ins streamline the process for detailed or frequently changing schedules.