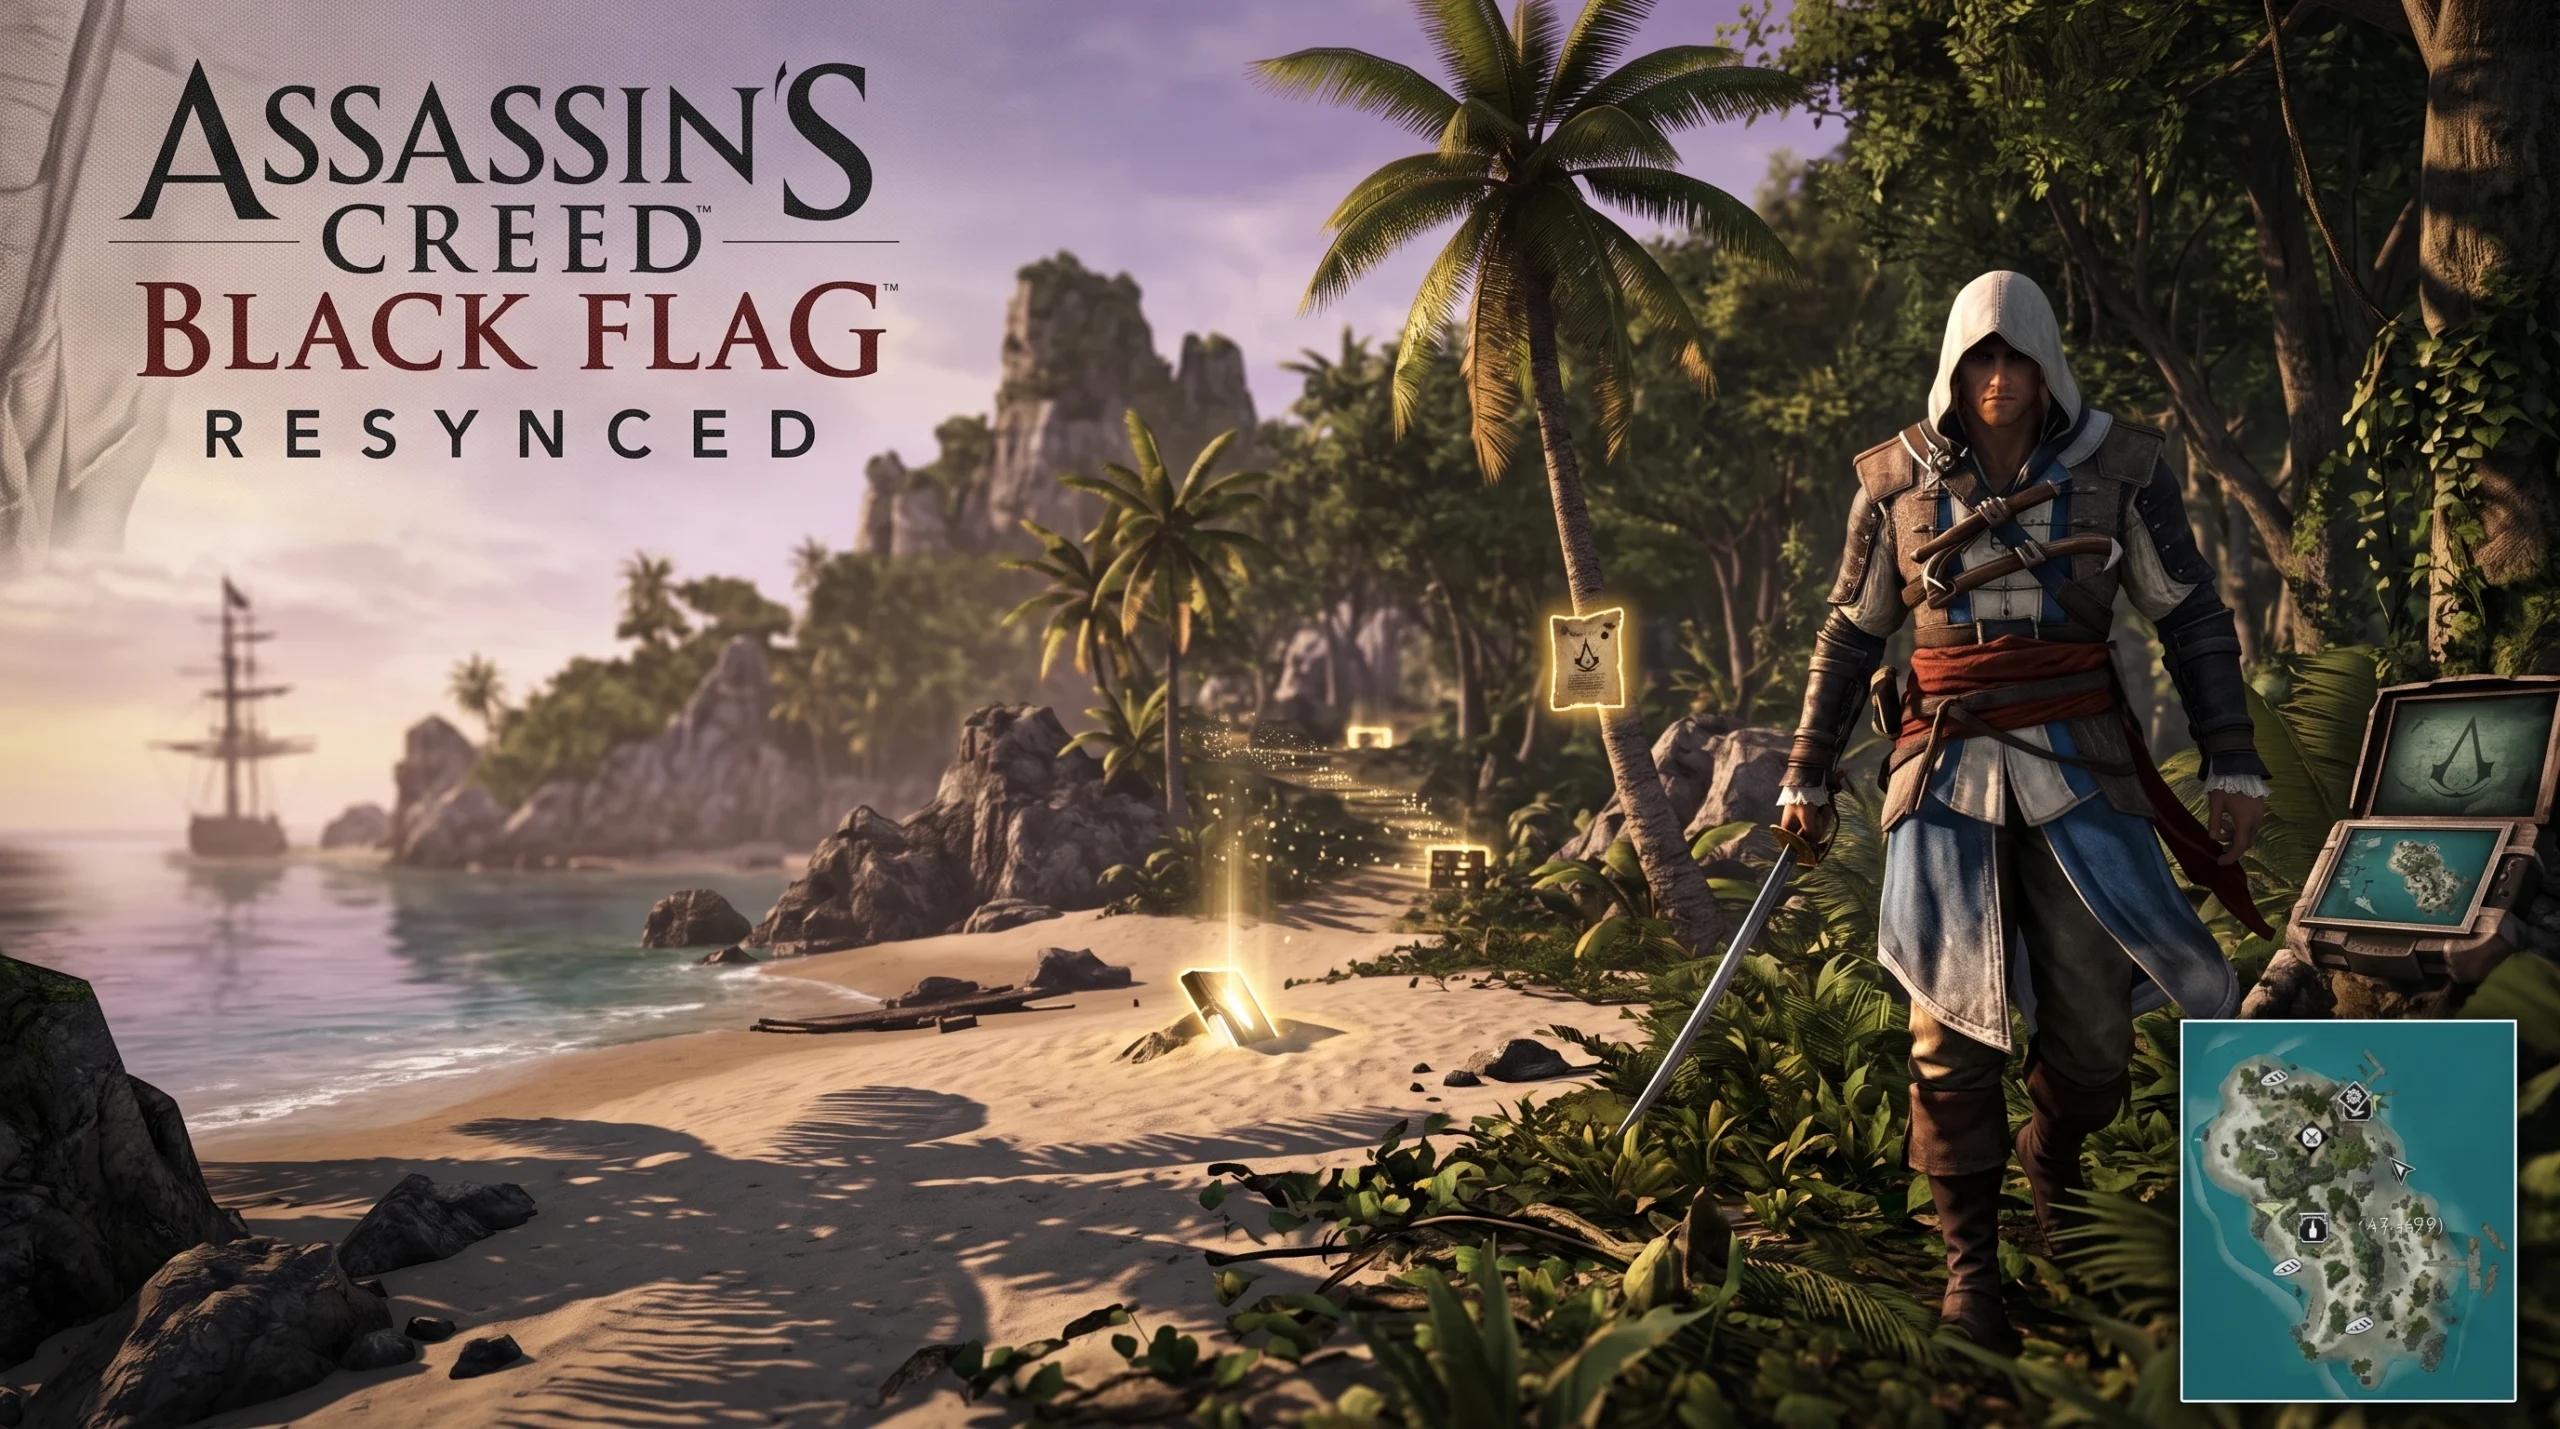
Andreas Island is one of the first stops you make as Edward Kenway in Assassin’s Creed Black Flag Resynced, and it hides a full set of collectibles that are easy to sail past. Reaching 100% here means grabbing one viewpoint, clearing the tavern brawl, collecting a key, three secrets, two chests, and killing one of each marked animal.
Quick answer: Sync the viewpoint first, then work through the tavern, the northeast Key and Secret 1/Secret 2 near the same house, the southwest skeleton (Secret 3), the British camp chest to the southeast, and the underwater chest near the Jackdaw’s stern. Kill each animal that appears on your map to finish the region.
Note: The Assassin Contracts and Naval Contract on this island are story-gated side quests, not hidden pickups, so they are not part of this location hunt. The animal spawns only appear on your map after you sync the viewpoint.
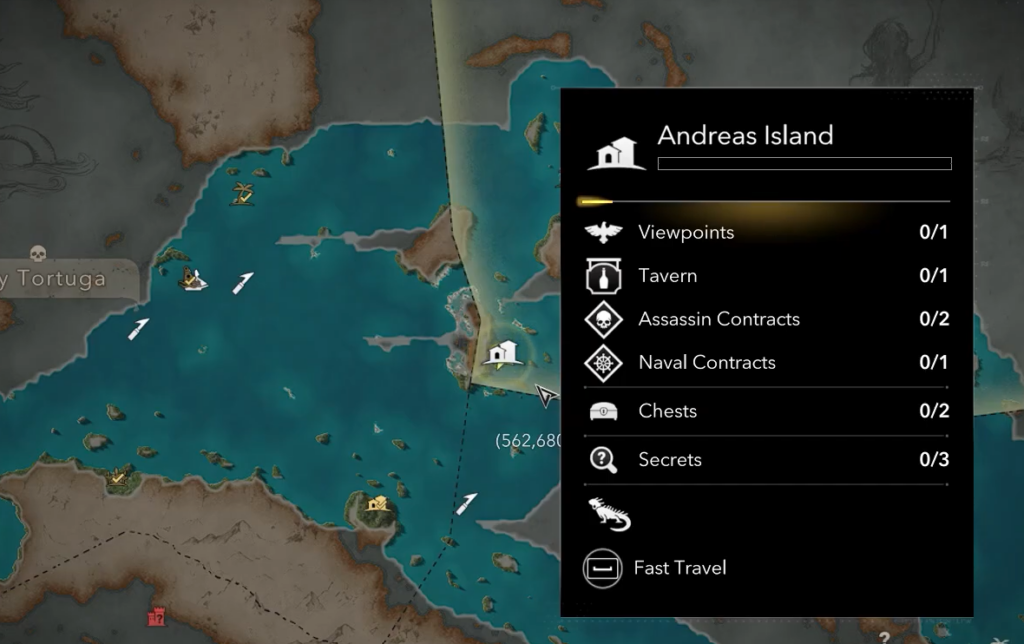
Andreas Island collectible checklist
| Collectible | Where to find it | Reward |
|---|---|---|
| Viewpoint | Wooden tower on the northwest side, across from the main dock | Reveals island collectibles and animal spawns |
| Tavern | Long straw-roofed building south of the viewpoint, near the island’s center | Unlocked after the bar fight |
| Key | Rooftop in the northeast, just south of the Harbourmaster | 30 Keys |
| Secret 1 | Under the same northeast house, behind breakable crates | Money and the “Aberdeen Bestiary” codex entry |
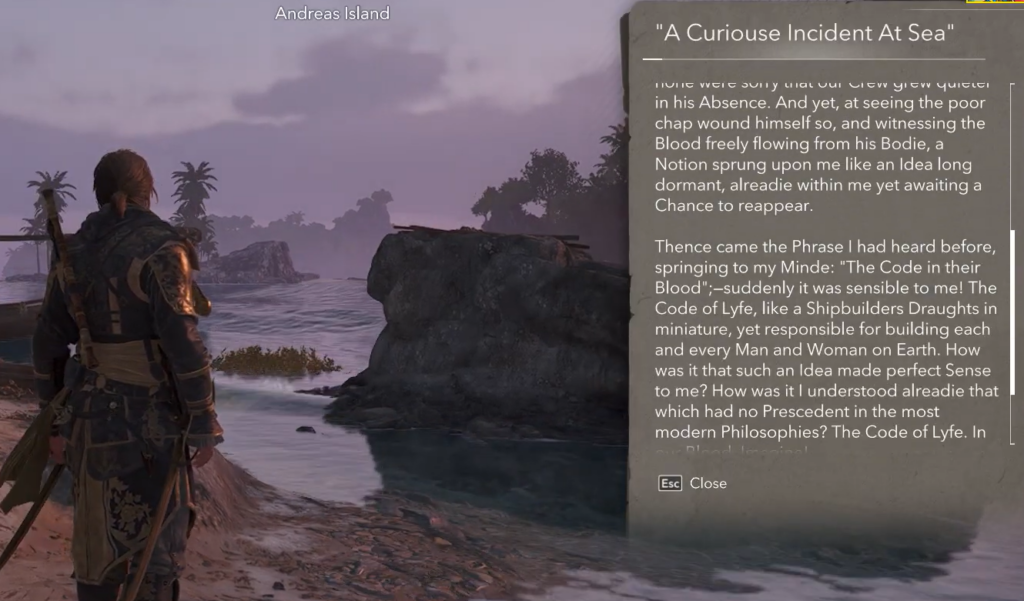
| Secret 2 | Green bottle in the sand outside that house | Letter, “A Curiouse Incident At Sea” |
| Secret 3 | Armored skeleton under two palm trees in the southwest | Treasure Map |
| Chest 1 | British-guarded camp in the southeast, on the dock | 620 Reales |
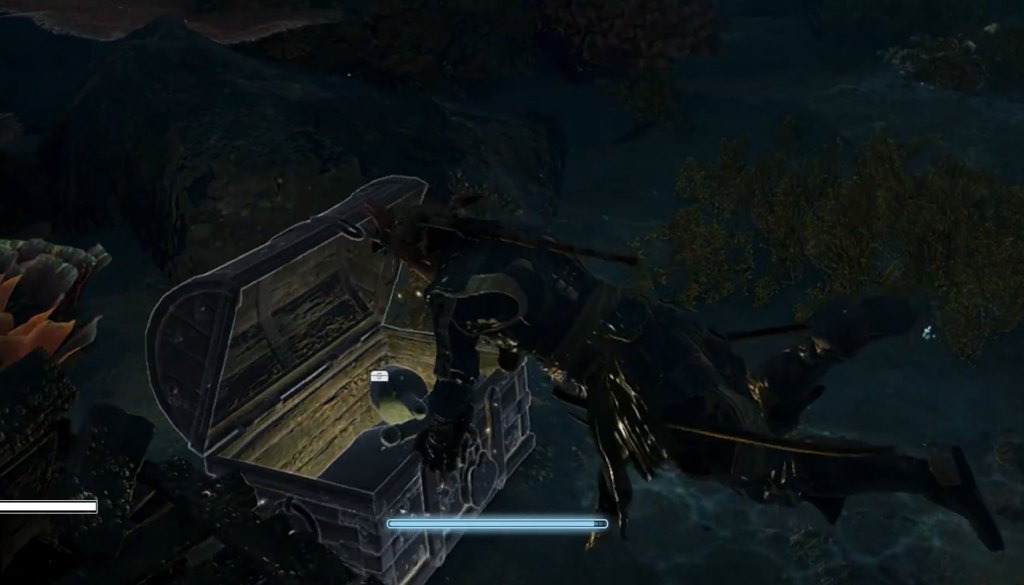
| Chest 2 | Underwater near the Jackdaw’s stern, southeast of the Harbourmaster | Just over 1,000 gold coins |
Sync the viewpoint first
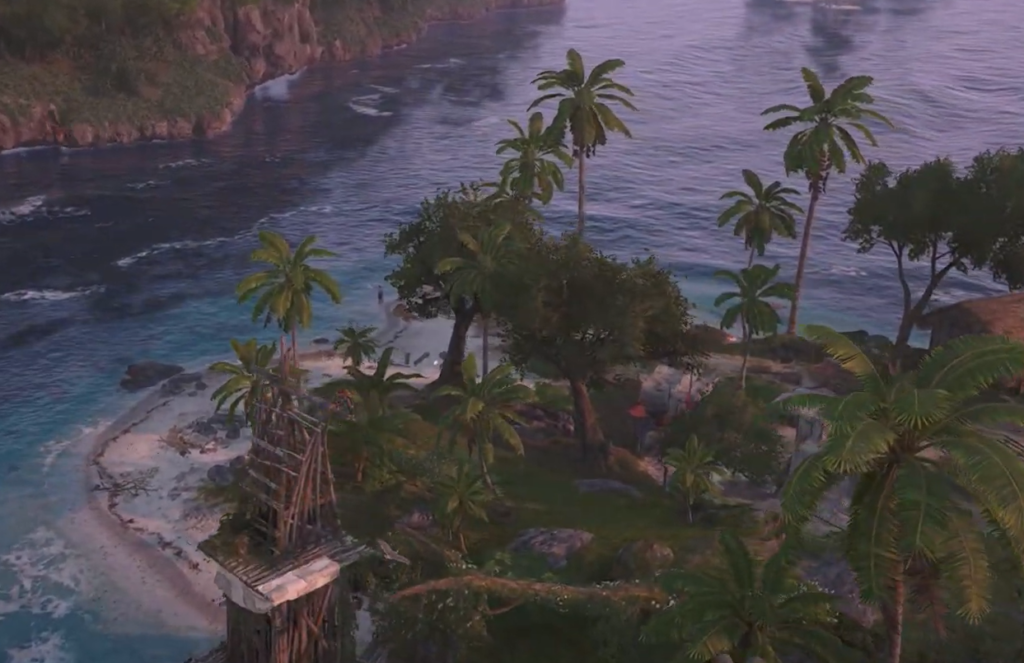
The viewpoint sits directly across from the main dock where you leave your ship, which makes it the natural starting point. After you step off the Jackdaw, cross the island in a straight line and head for the large wooden tower on the northwest side. Climb to the small platform at the top and synchronize.
Syncing here does two things. It marks the main collectibles across the island, and it reveals the animal spawn points you need for completion. You only have to kill one of each animal, and it does not matter whether the material it drops is useful to you.
Clear the tavern brawl
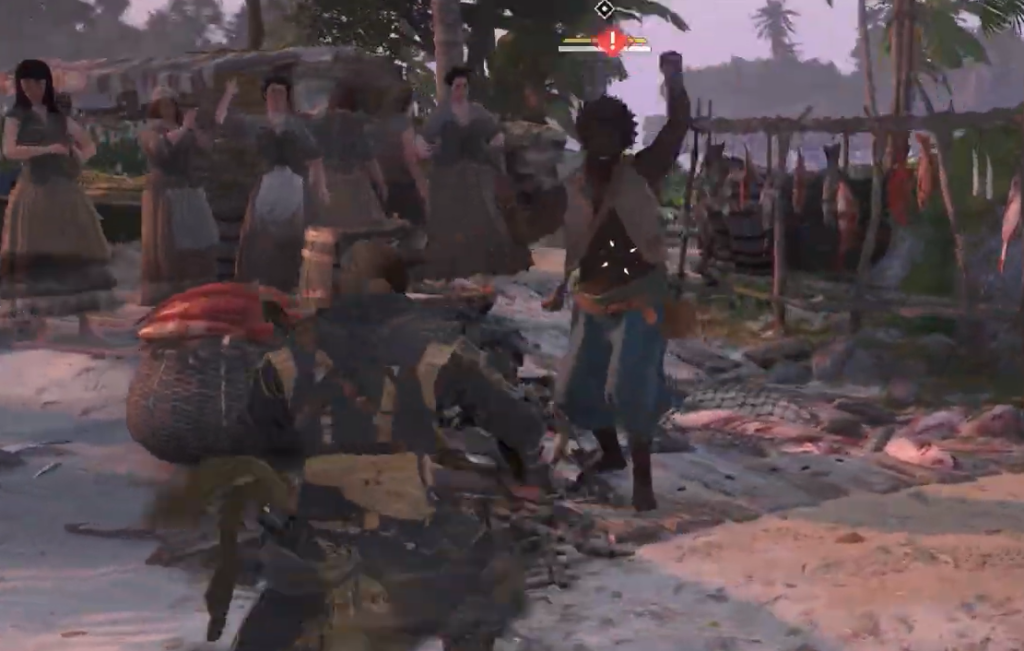
The tavern is a long building with a straw roof, sitting directly south of the viewpoint tower near the center of the island. Talk to the barkeeper to start a short cutscene where four drunks pick a fight with Edward.
Beat all four of them to unlock the location. Parrying an incoming attack and following up with a Takedown drops an enemy instantly, which makes the fist fight quick.
Northeast cluster: Key, Secret 1, and Secret 2
Three pickups sit close together on the northeast side of the island, just south of the Harbourmaster. Handle them in order so you do not have to backtrack.
Secret 3: The armored skeleton in the southwest
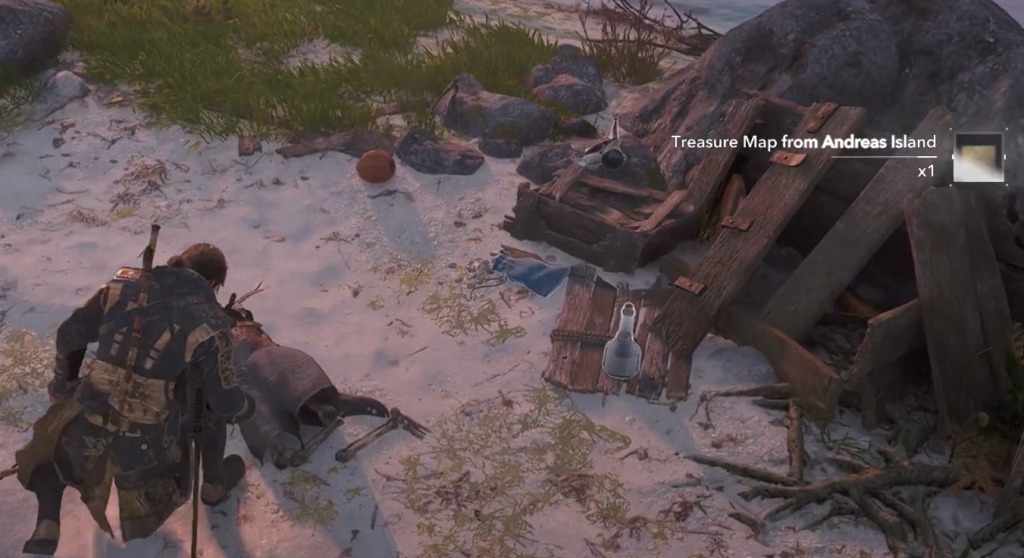
The final secret is on the southwest tip of the island. Look for the broken underbelly of a ship near two palm trees at the very end of the land. Beneath the trees, you will find a dead skeleton in armor surrounded by loot.
Interacting with the skeleton hands you a Treasure Map. The map shows a picture of the buried chest’s location, with its coordinates printed in the bottom-right corner.
Both chests: British camp and underwater
Chest 1 does not appear on your map after you sync the viewpoint, so you have to spot it manually. Head to the southeast and find a small camp guarded by British soldiers. Clear out the patrolling guards, move onto the dock, and open the blue chest on the left side for 620 Reales.
Chest 2 is southeast of the Harbourmaster’s stall, hidden underwater. Walk along the beach and dive into the water a few meters from the stern of the Jackdaw. Swim down to the coral reef and open the chest there, along with the nearby crates, for a little over 1,000 gold coins. This is the last major collectible on Andreas Island.
Confirming 100% completion
Once the viewpoint, tavern, key, all three secrets, and both chests are collected, only the animal kills remain. Track down each animal marked on your map after syncing and take out one of each. With those done, the island’s completion tracker registers a full clear.
Nothing here is missable. Free-roam stays open after the story, so if you leave anything behind, you can sail back to Andreas Island and clean it up at any point.