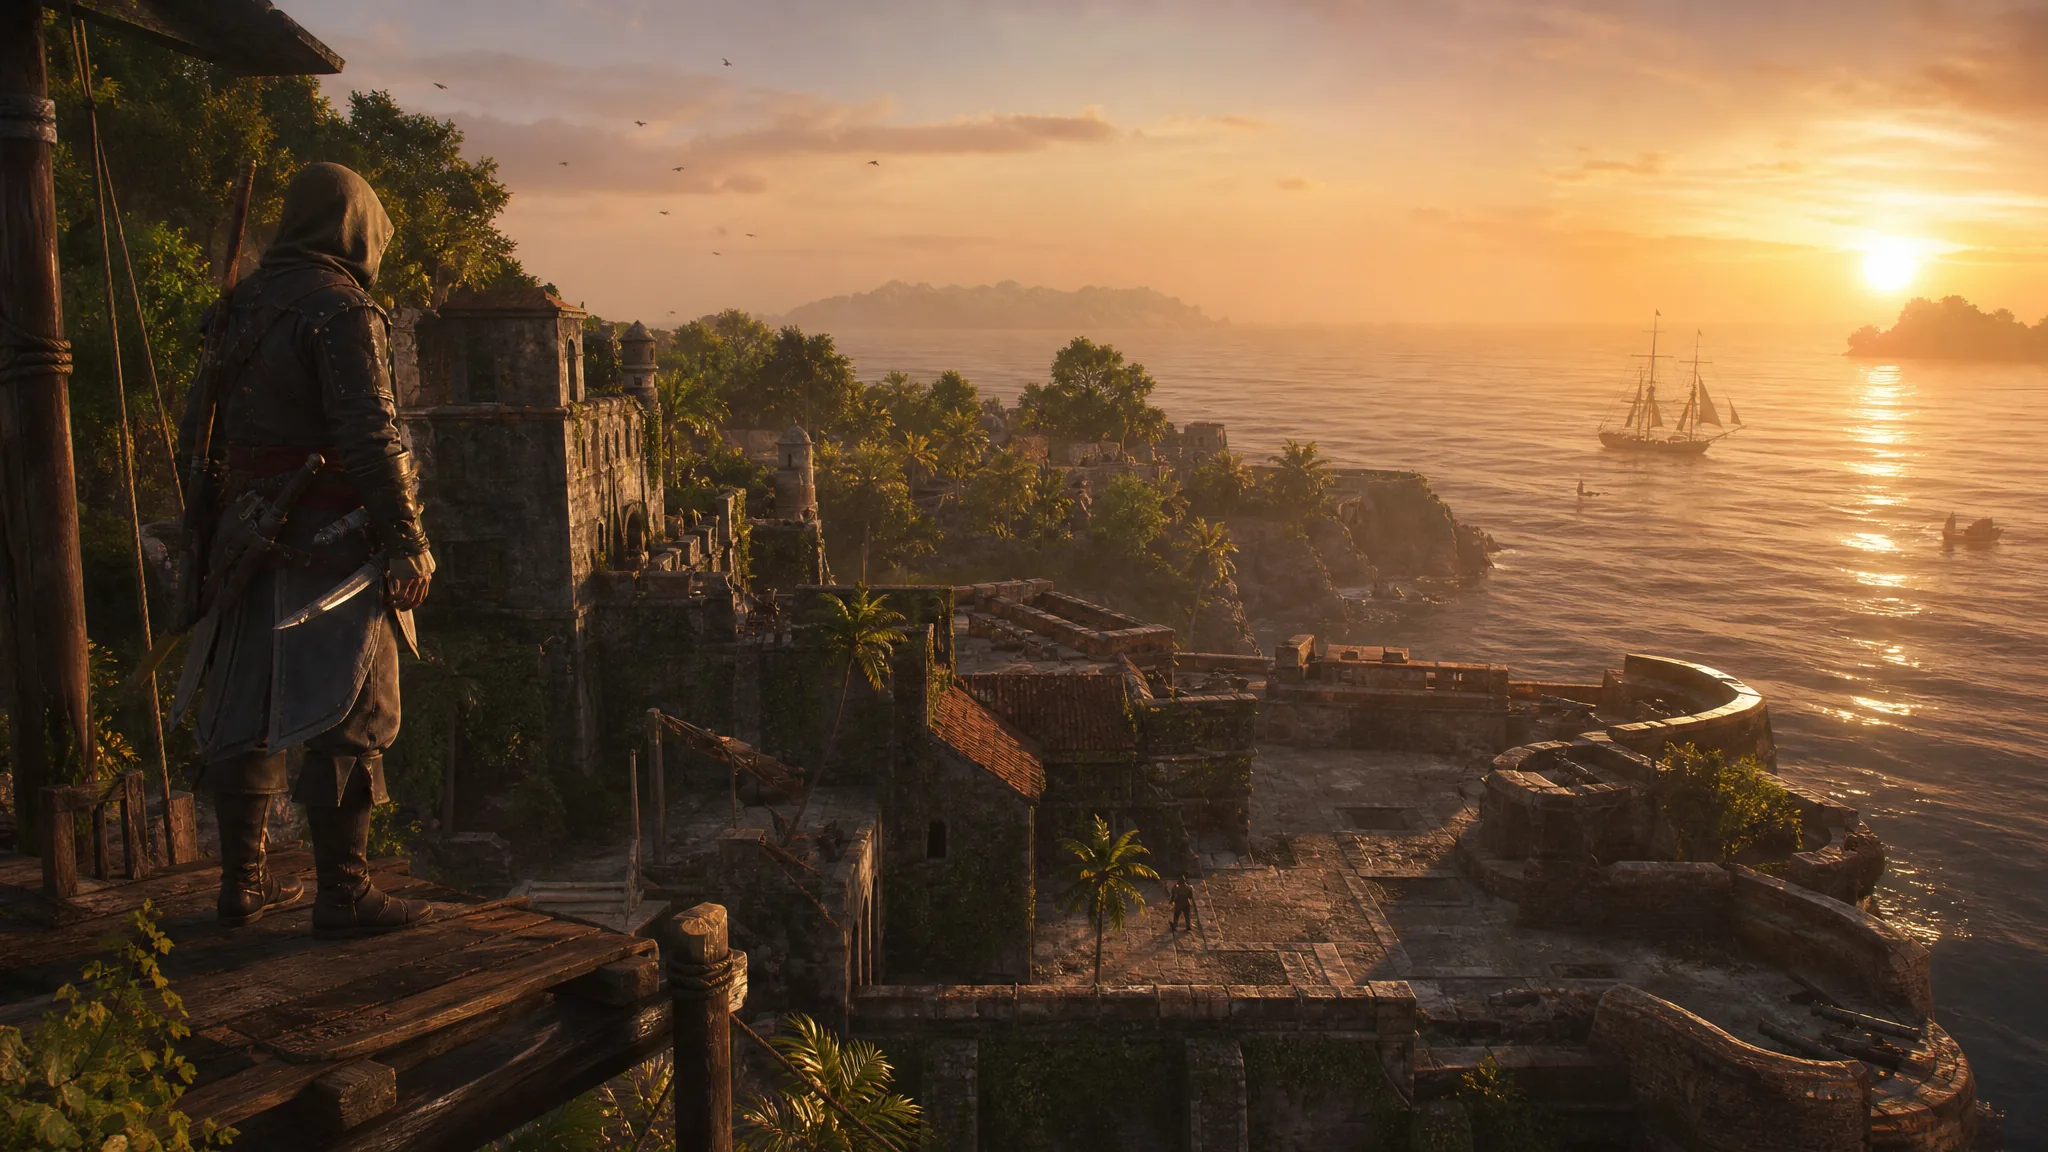
Forts are the eleven military strongholds that lock down each region of the Caribbean in Assassin’s Creed Black Flag Resynced. Each one is held by Spanish or British forces, and taking it flips control of the surrounding waters to the pirates for the rest of your playthrough. Every capture runs the same way. You break the fort’s naval defenses with the Jackdaw, then storm it on foot and kill the commander inside.
Quick answer: Destroy every defensive section with the Jackdaw (mortar first, keep moving), sink or board all hostile ships nearby to clear the “In Combat” flag, then dock, drain the morale bar on foot, and defeat the fort commander to trigger the capture cutscene. The fort’s icon turns gold and can never be retaken.
All 11 Fort Locations and Skull Ratings
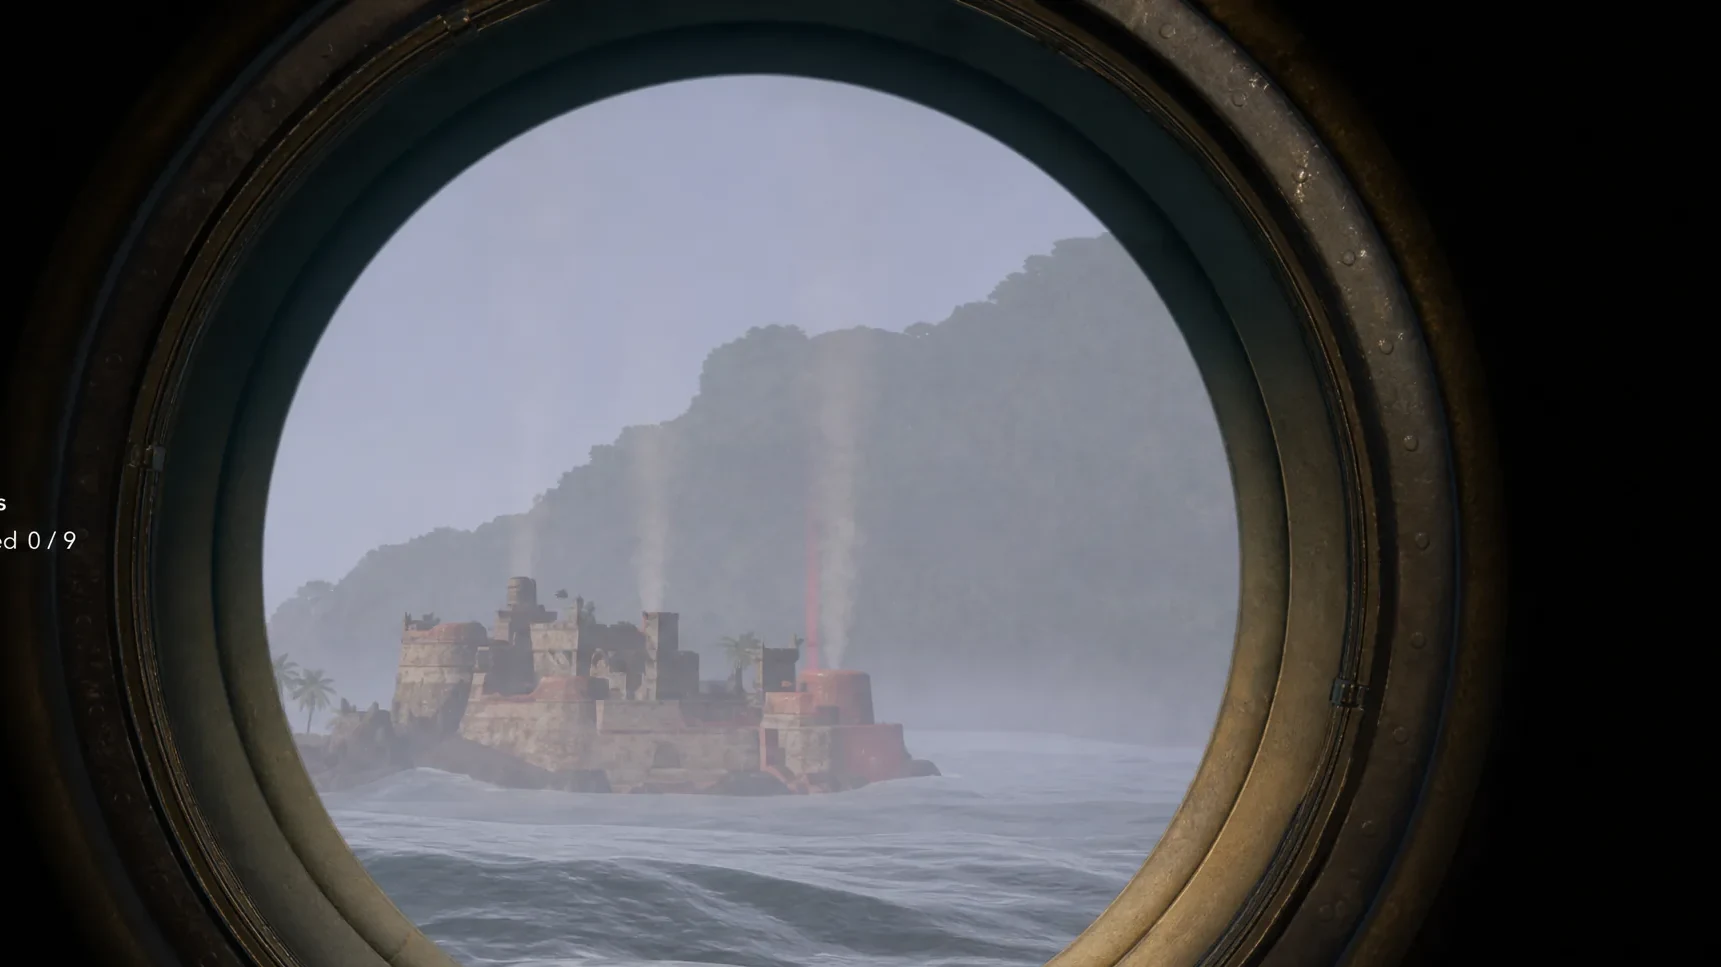
There are eleven forts, one per major region. Ten of them show up on your map as bright red castle icons from the start, even in regions you haven’t sailed near yet. The skull count marks strength, running from one skull (weakest) to three skulls (strongest). A captured fort turns gold, so nothing here is missable.
| Region | Coordinates | Difficulty |
|---|---|---|
| Dry Tortuga | 223, 721 | One skull |
| Eleuthera | 691, 761 | One skull |
| Gibara | 627, 493 | One skull |
| Punta Guarico | 745, 378 | Two skulls (story) |
| Cruz | 537, 360 | Two skulls |
| Castillo de Jagua | 328, 537 | Two skulls |
| Conttoyor | 75, 522 | Two skulls |
| Chinchorro | 91, 334 | Three skulls |
| Serranilla | 316, 118 | Three skulls |
| Charlotte | 440, 245 | Three skulls |
| Navassa | 700, 192 | Three skulls |
What order to capture forts in
Treat skull tiers as upgrade gates rather than a difficulty you can brute-force. Start with the three one-skull forts, since Dry Tortuga, Eleuthera, and Gibara all sit in the northern waters where you spend the early game. A lightly upgraded Jackdaw can clear them, and you can attack them as soon as you have free roam with the ship, well before the story ever explains forts.
Spend each payout on hull armor, cannons, and the mortar before you move up a tier. If a two-skull fort keeps sinking the Jackdaw, leave it, upgrade, and come back. Hold off on the three-skull forts until your ship can survive heavier tower fire and Man O’ War escorts. Rushing them with an underpowered ship just gets you shredded before you close the distance.
Punta Guarico is the only story-locked fort
If you sail to 745, 378 and find nothing, you haven’t reached the right story beat yet. Punta Guarico does not appear on the map until the mission The Forts, which starts at Old Avery’s bar in Nassau after you finish Overrun and Outnumbered. Edward attacks a weakened version of the fort during that mission as a tutorial, and you capture it there.
During that assault, sink the Spanish ships around the fort first so you can bombard the towers without taking broadsides from behind. The other ten forts do not require any story progress and can be attacked whenever your ship is ready.
Phase one: Destroy the fort’s naval defenses
Every capture opens with a naval fight against the fort’s walls and cannon towers. Each defensive section has its own health bar, and the fort keeps firing until all of them are empty. Commit once you start, because forts slowly rebuild their defenses the moment you sail out of their zone.
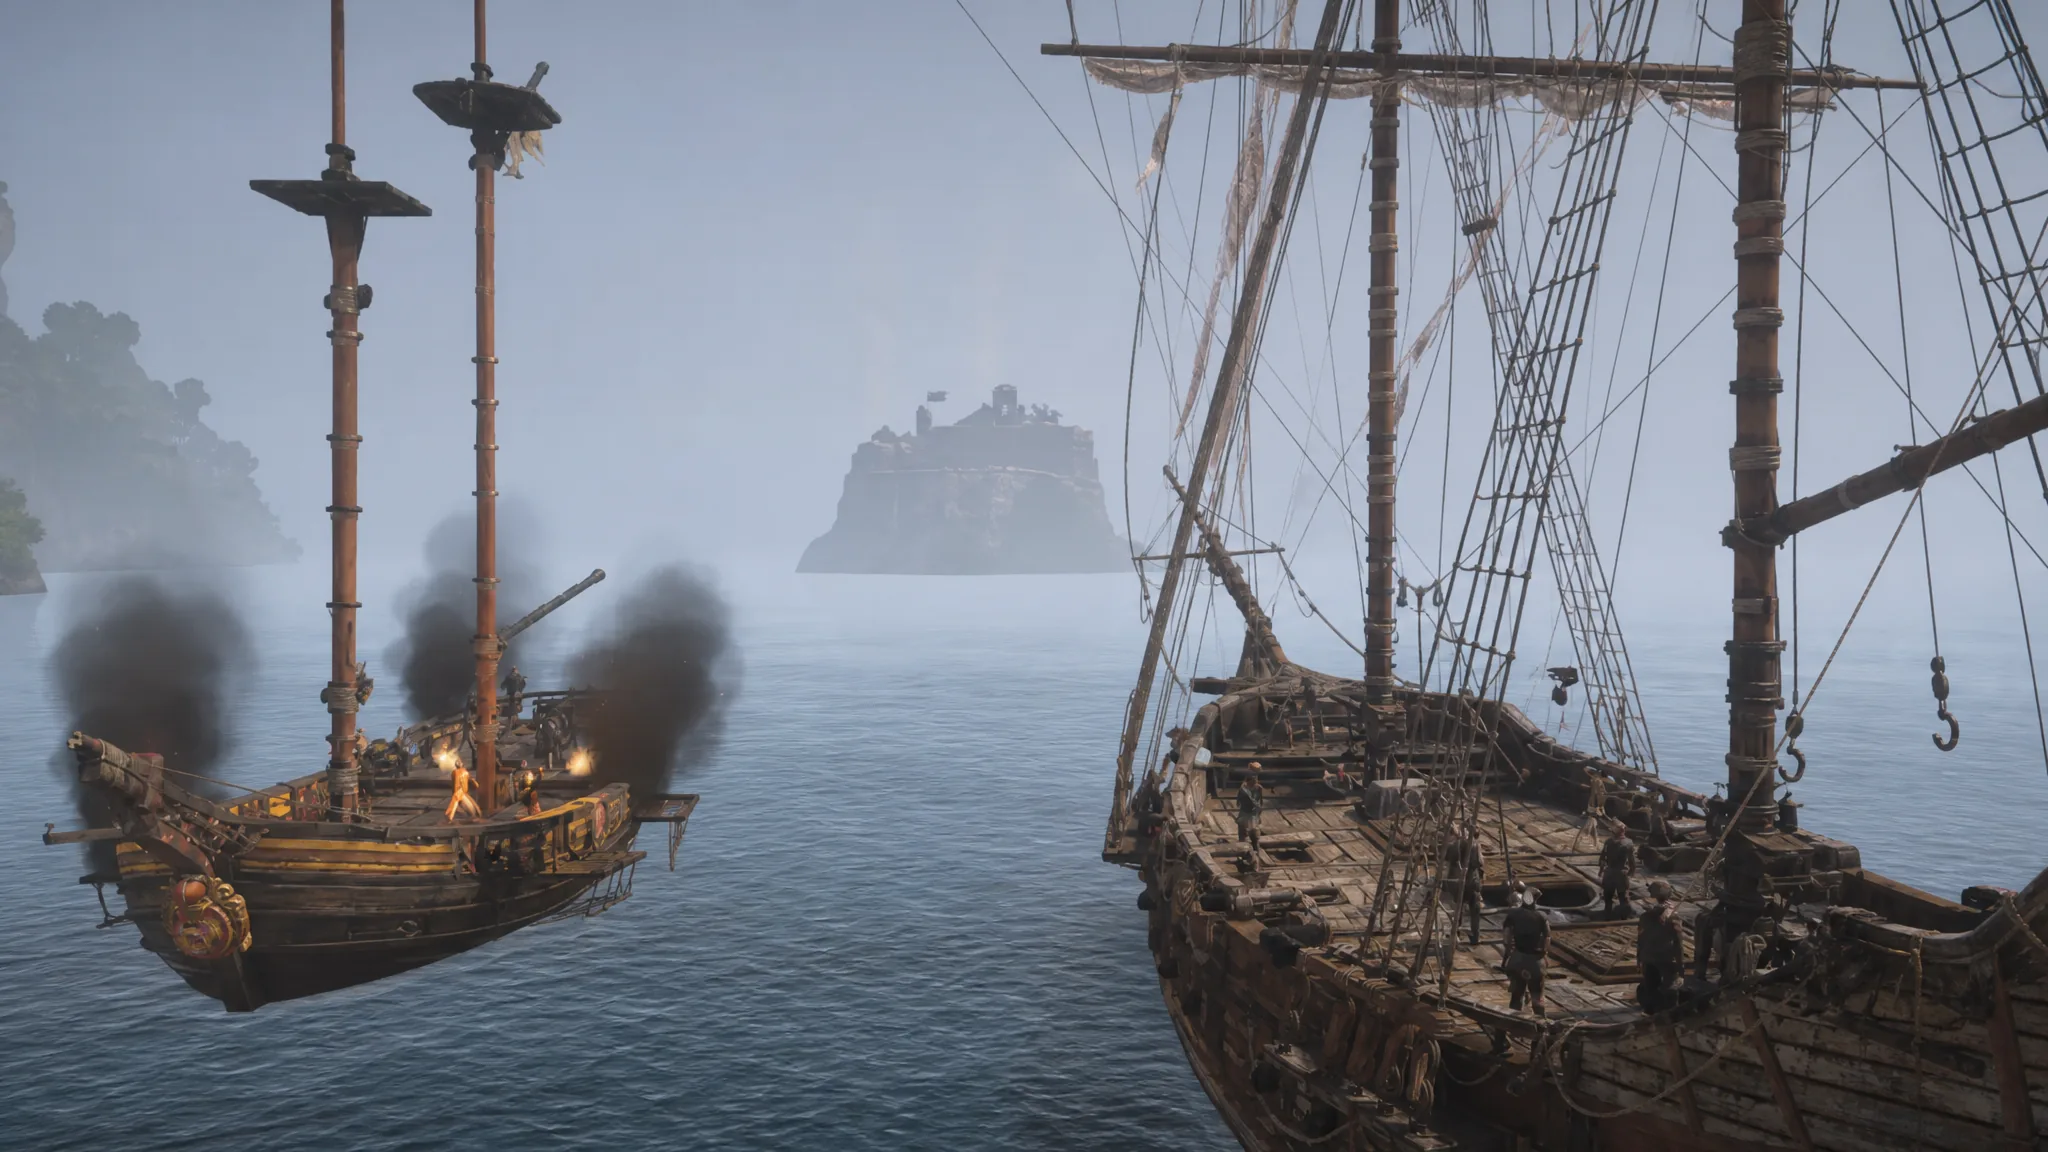
Tip: If a fort area is crowded with Man O’ Wars, you don’t have to force the fight. Fast-travel to a nearby island, then sail back, and the ships around the fort will often have rotated into a friendlier lineup.
Note: If the towers are down but the game won’t let you dock, you’re still flagged as “In Combat” with a straggling ship. Chase it down, board it, or sail just far enough to break its aggro, and the docking prompt will appear.
Phase two: Storm the fort on foot
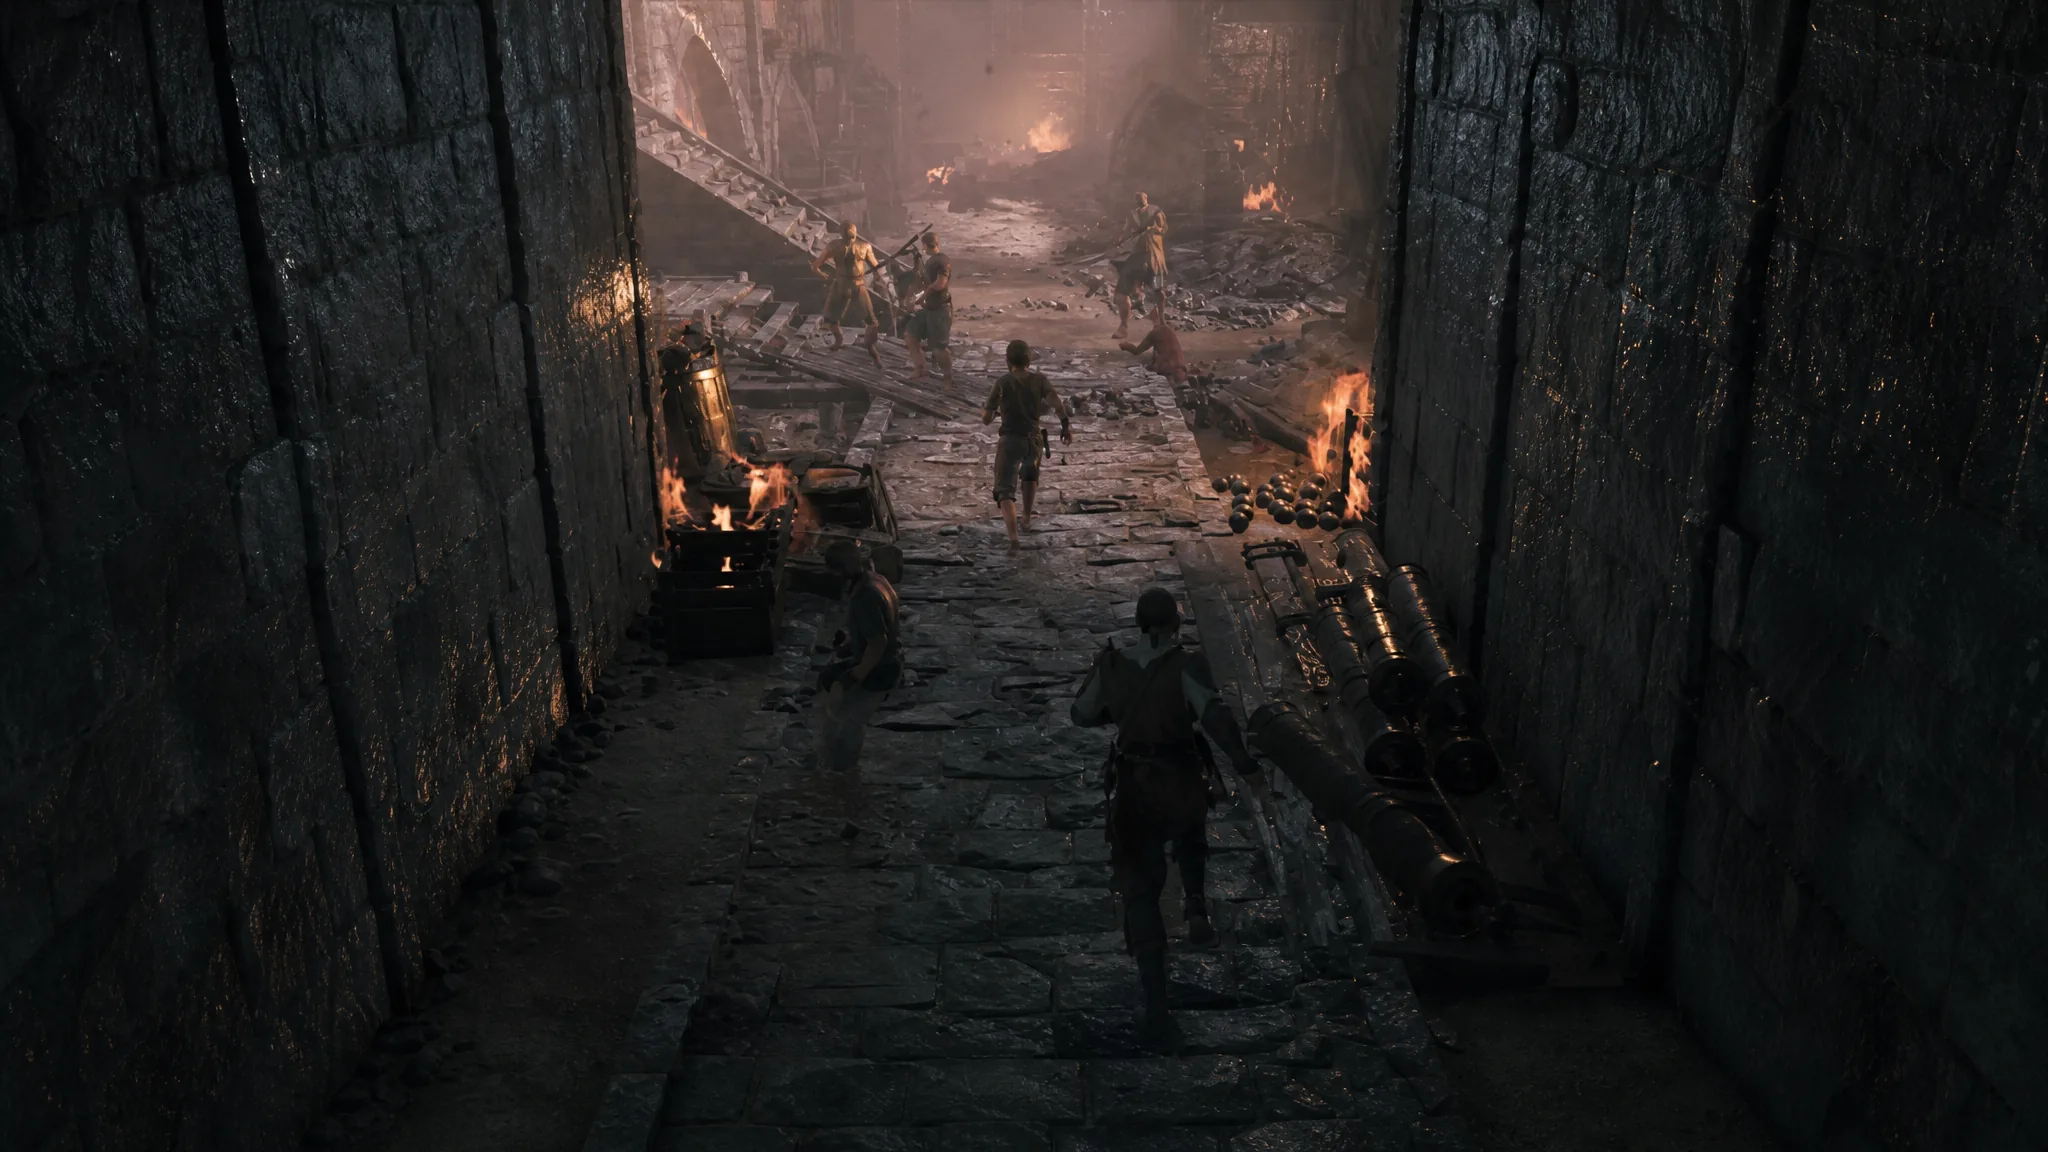
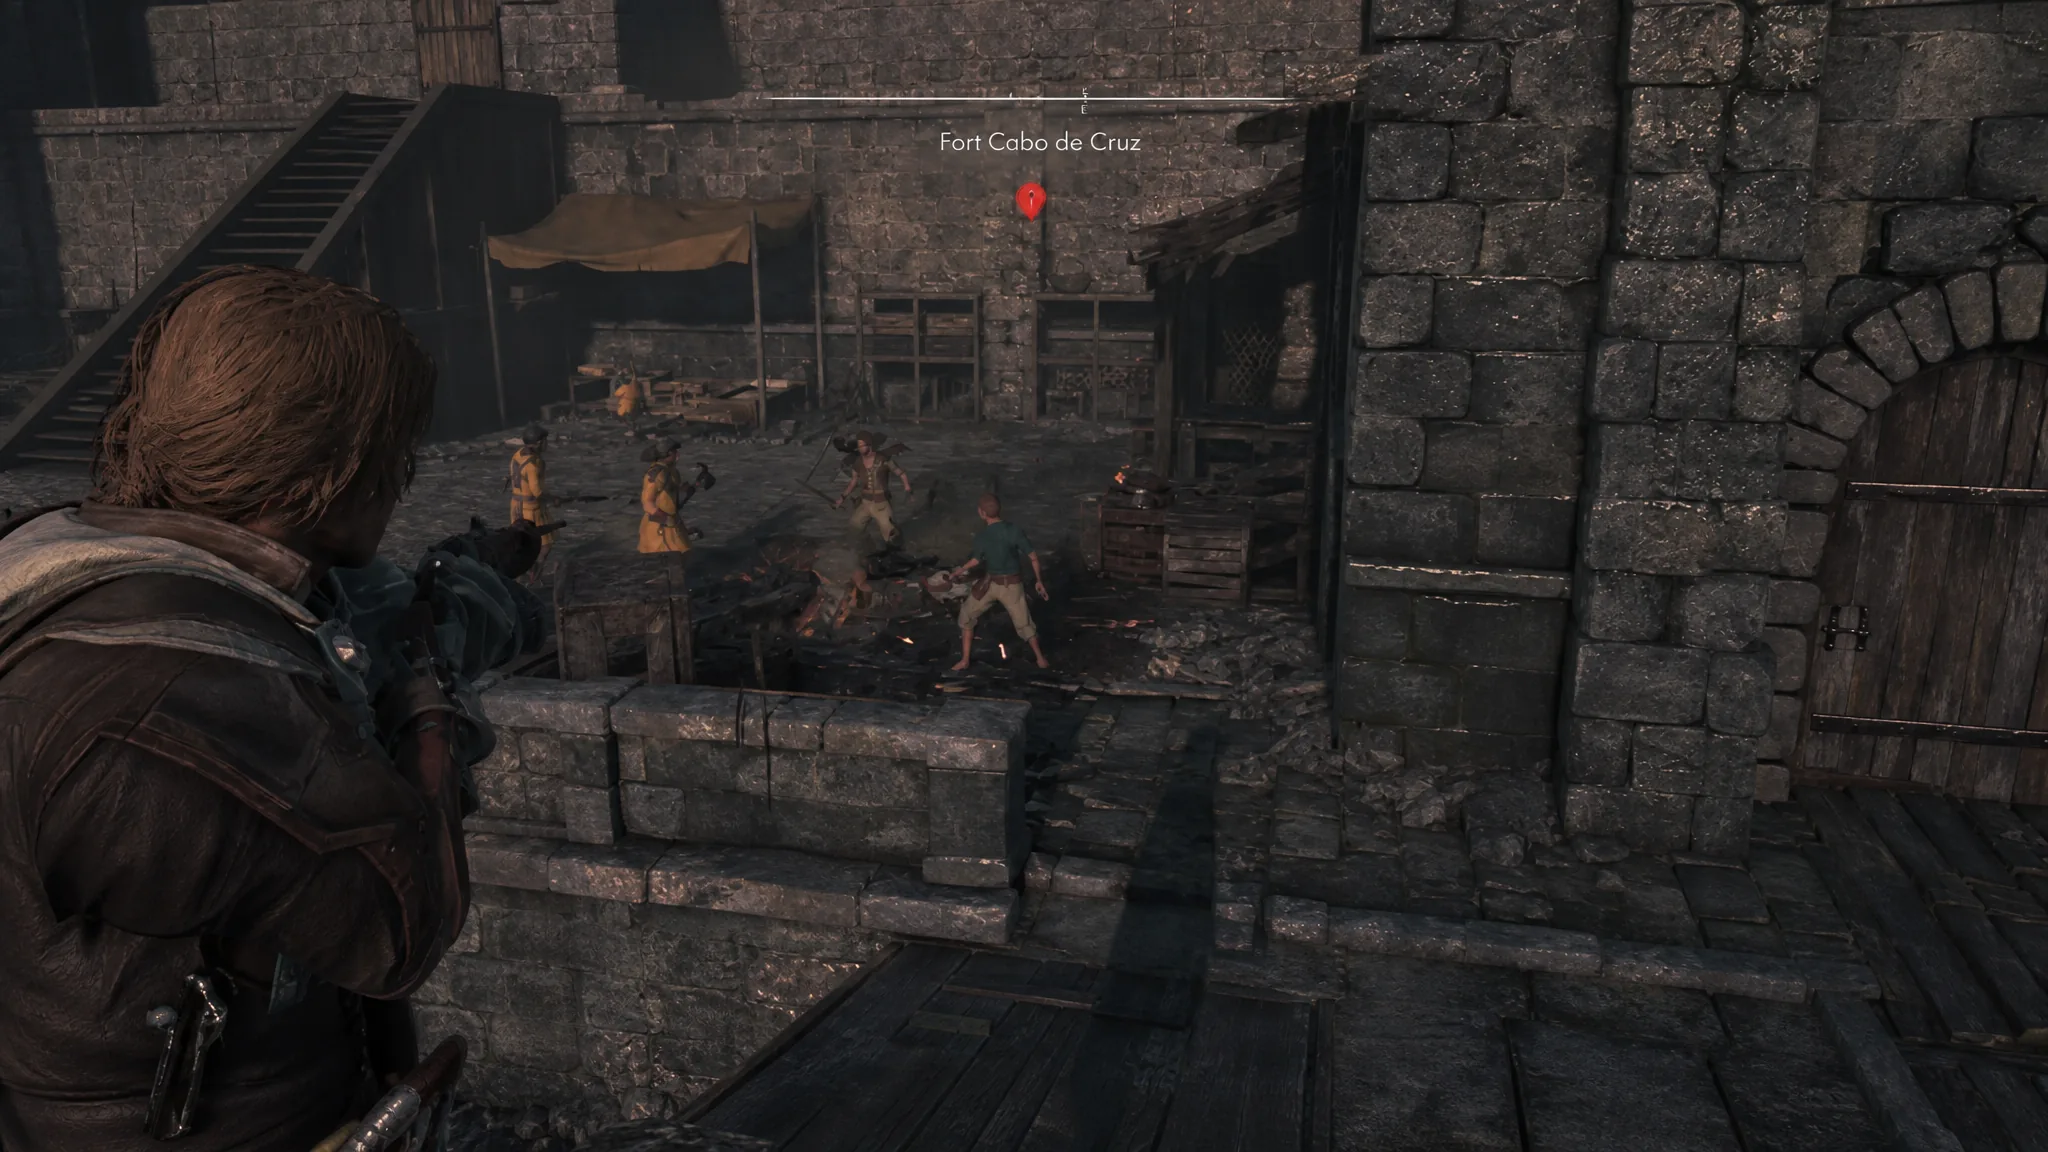
With the defenses down and no ships attacking you, anchor the Jackdaw at the fort’s dock and lead Edward and the crew ashore. This plays like boarding an enemy ship, just across a larger battlefield. Your goal is to drain the morale bar in the top-left corner by killing defenders. There’s no timer, so take your time.
How to confirm a capture and what you earn
You know a fort is yours when the capture cutscene plays and its map icon changes from red to gold. That fort can never be retaken, so the region stays clear for the rest of your save. Each capture pays out more than any other repeatable activity, and the strategic rewards stack across your whole playthrough.
| Reward | What it does |
|---|---|
| Fast travel point | Fort becomes a permanent fast-travel location, cutting sailing time. |
| Full region reveal | Fog of war lifts, exposing islands, harpoon hunting grounds, smuggler’s caves, legendary ships, and diving spots. |
| Reales | A large stack of money drops on capture, funding early ship upgrades. |
| Upgrade materials | Wood, metal, and cloth arrive alongside the money for Jackdaw upgrades. |
| Ship cosmetics | Unique cosmetic options for the Jackdaw. |
| Kenway’s Fleet access | Unlocks passive-income fleet missions in that region. More forts means more simultaneous missions. |
The region reveal is the quiet standout, since it marks the legendary ship arenas and every point of interest you’d otherwise hunt blindly. Because of that, capturing forts before you start any collectible sweep turns the hunt into a simple checklist, and your fleet’s passive income starts ticking hours earlier. Grab the three northern one-skull forts first, reinvest the payout in your hull and mortar, and work up through the tougher tiers as the Jackdaw grows into them.