

Training Areas are the fastest way to raise stats in Anime Fighting Simulator. Each one is a fixed spot on the map that multiplies how quickly a single stat grows, and each opens only once you hit a set amount of that stat. Standing in a higher-tier area is always faster than grinding in a lower one, so the goal is simple. Move up the moment you qualify.
Quick answer: Open the Quick Travel menu with the compass icon on the left of your screen, pick an unlocked area, and start training. An area only shows as unlocked once your stat meets its listed requirement.
How Training Areas unlock and how to reach them
Every Training Area boosts one stat only. You cannot raise Strength inside a Chakra zone, and standing in an area you do not qualify for will not start training. The requirement is a raw stat threshold, and it stays unlocked permanently once you cross it.
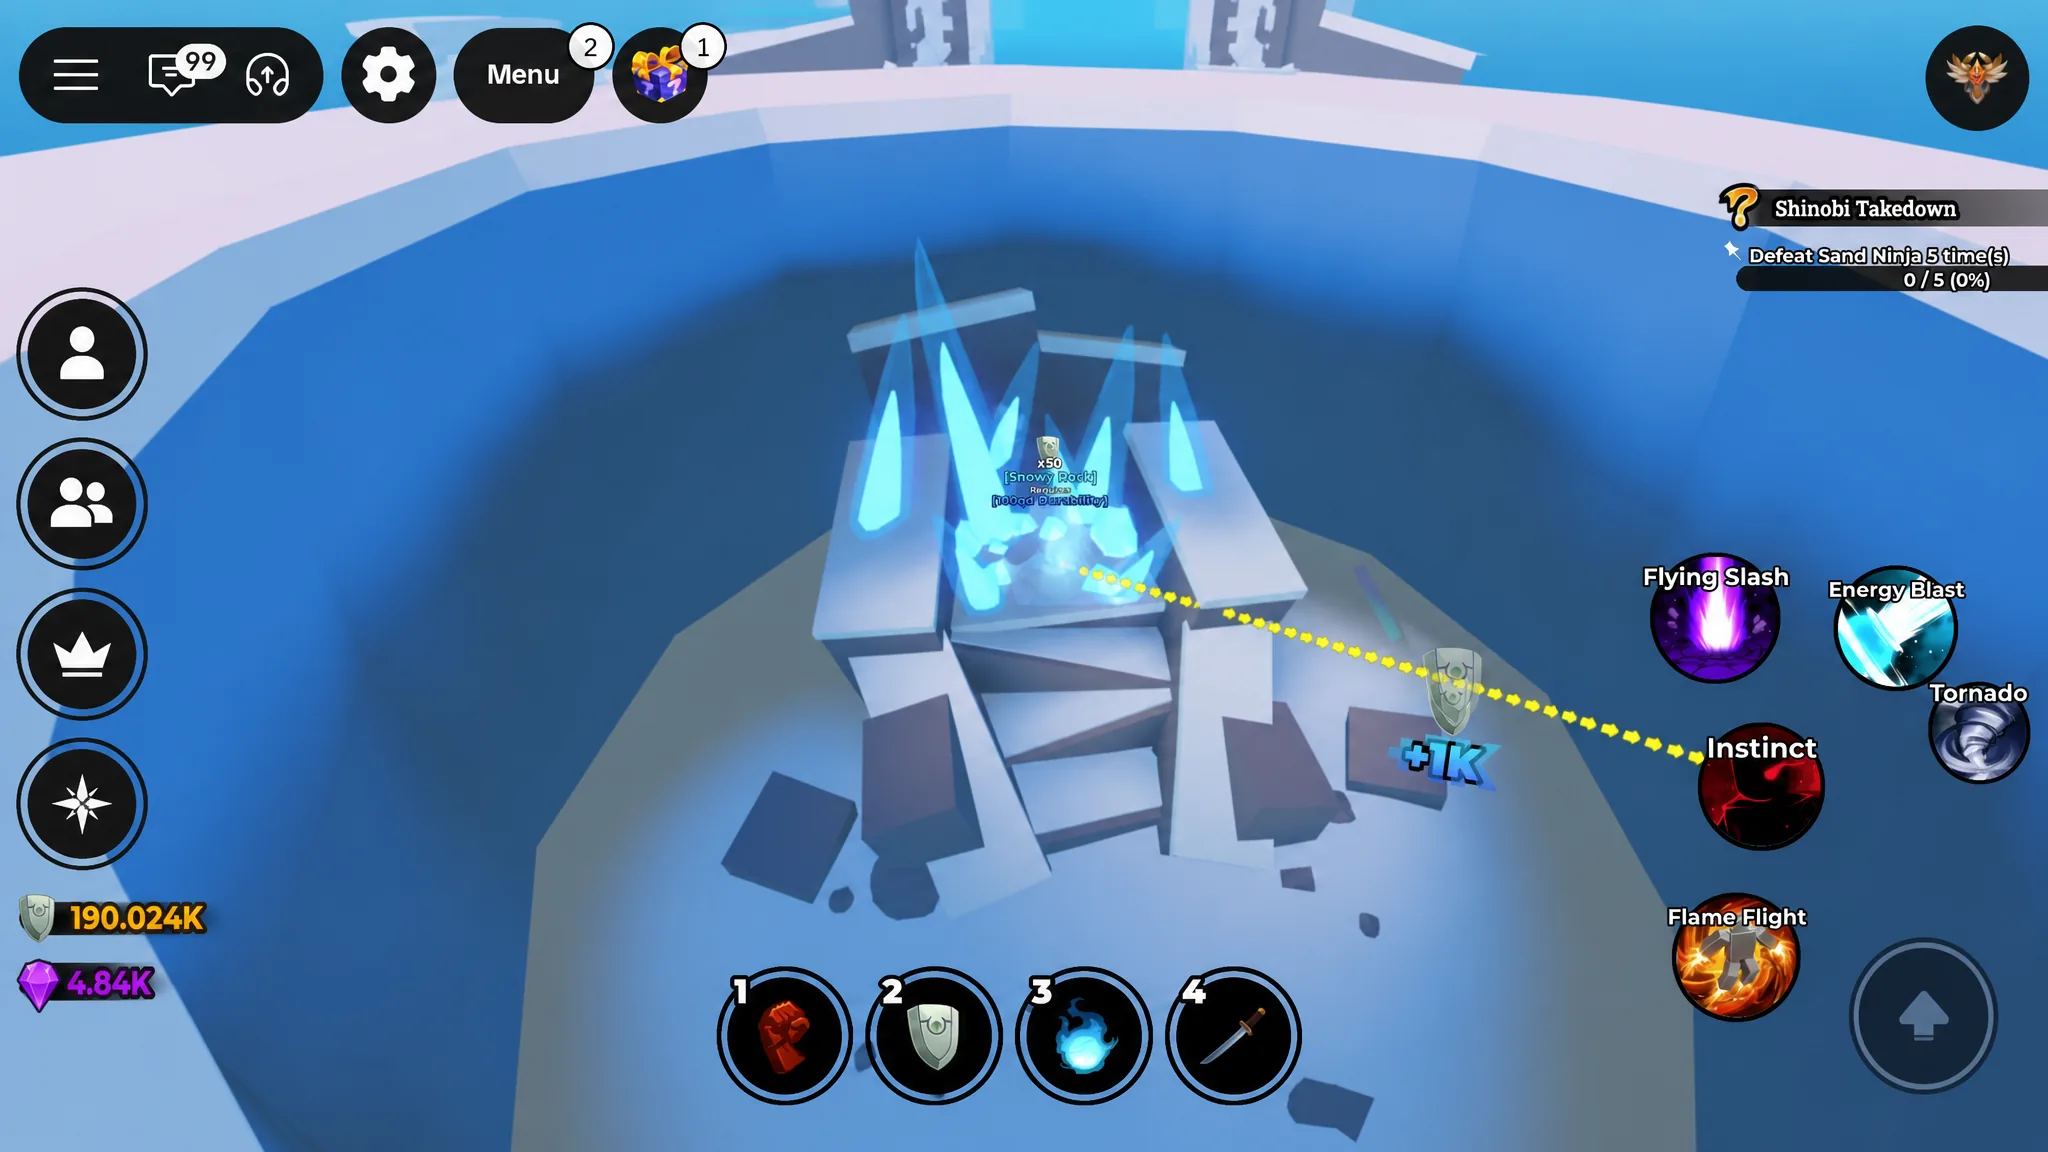
The compass icon on the left edge of the screen opens Quick Travel, which teleports you straight to any area you have already unlocked. That saves you the walk across islands, sky zones, and hidden spots as the requirements climb into the trillions and beyond.
Strength Training Areas
Strength drives your damage output and tends to unlock new areas quickly, so most players push it first. The tier list runs from the starter Dummy all the way up to the Wrecked Warship at a 2,000,000x multiplier.
| Training Area | Requirement | Multiplier |
|---|---|---|
| Dummy | 100 Strength | 2x |
| Boulder | 1k Strength | 5x |
| Gym | 10k Strength | 15x |
| Trash Beach | 100k Strength | 50x |
| Meteor | 1M Strength | 100x |
| Lookout Tower | 10M Strength | 500x |
| Cell Arena | 100M Strength | 1,000x |
| Excalibur | 1B Strength | 3,000x |
| Executor | 100B Strength | 7,000x |
| Evolution House | 1T Strength | 15,000x |
| Sorcerer Academy | 100T Strength | 45,000x |
| S Class Sparring | 1QD Strength | 200,000x |
| Double Dungeon | 100QD Strength | 500,000x |
| Wrecked Warship | 1QN Strength | 2,000,000x |
Durability Training Areas
Durability decides how many hits you can take, which matters more as enemies scale up. The path starts at the Hot Spring and ends at Jason’s Room, matching Strength’s top multiplier of 2,000,000x.
| Training Area | Requirement | Multiplier |
|---|---|---|
| Hot Spring | 100 Durability | 2x |
| Pirate Ship | 1k Durability | 5x |
| Desert Mansion | 10k Durability | 15x |
| Snowy Rock | 100k Durability | 50x |
| Paw | 1M Durability | 100x |
| Lower Five Web | 10M Durability | 500x |
| Volcano | 100M Durability | 1,000x |
| Planet | 1B Durability | 3,000x |
| Time Chamber | 100B Durability | 7,000x |
| Iron Mountain Coffin | 1T Durability | 15,000x |
| Prison Realm | 100T Durability | 45,000x |
| Gematria Zone | 1QD Durability | 200,000x |
| Subway Dungeon | 100QD Durability | 500,000x |
| Jason’s Room | 1QN Durability | 2,000,000x |
Chakra Training Areas
Chakra powers your special abilities, so ability-focused builds lean on it heavily. It follows the same 14-tier climb as the other main stats, from the Chakra Tree up to Kame House.
| Training Area | Requirement | Multiplier |
|---|---|---|
| Chakra Tree | 100 Chakra | 2x |
| Ramen Shop | 1k Chakra | 5x |
| Death Book | 10k Chakra | 15x |
| Waterfall of Truth | 100k Chakra | 50x |
| Temple | 1M Chakra | 100x |
| Demon Fox Lair | 10M Chakra | 500x |
| Sakura Tree | 100M Chakra | 1,000x |
| Meditation Platform | 1B Chakra | 3,000x |
| Tower of Heaven | 100B Chakra | 7,000x |
| Coffin Boat | 1T Chakra | 15,000x |
| Shrine | 100T Chakra | 45,000x |
| Inner World | 1QD Chakra | 200,000x |
| Demon Castle | 100QD Chakra | 500,000x |
| Kame House | 1QN Chakra | 2,000,000x |
Sword, Speed, and Agility Training Areas
These three stats work differently from the big three. Sword has no stand-and-grind multiplier zone in the usual sense. Instead it advances through quest rewards, and the swords themselves act as the multiplier. Speed and Agility each have a couple of fixed zones plus an NPC questline that boosts both.
| Stat | Training Area | Requirement | Multiplier |
|---|---|---|---|
| Sword | Zoru | Complete Executioner Blade quest | TBA |
| Speed | Treadmill | 100 Speed | 5x |
| Speed | Motorless Treadmill | 10k Speed | 15x |
| Speed | Bruce | Bruce’s questline | Boost for Speed and Agility |
| Agility | Trampoline | 100 Agility | 5x |
| Agility | Gravity Chamber | 10,000 Agility | 15x |
Note: Speed rises automatically as you move, and Agility climbs through jumping, so these areas mainly speed up what you are already doing while playing.
Confirming an area is training and why it might not start
When training is active, the matching stat ticks up on screen while you stand inside the zone. If nothing moves, the most common reason is that your stat is still below the area’s requirement, which locks training there. Check your current stat against the numbers above and drop back to your highest qualifying area if needed.
Because each zone handles a single stat, switching between Strength, Durability, and Chakra means physically moving between their areas or using Quick Travel. The top spots for those three stats all cap at a 2,000,000x multiplier and each demand 1QN in the matching stat, so the Wrecked Warship, Jason’s Room, and Kame House are the final destinations once your numbers get that high.





