

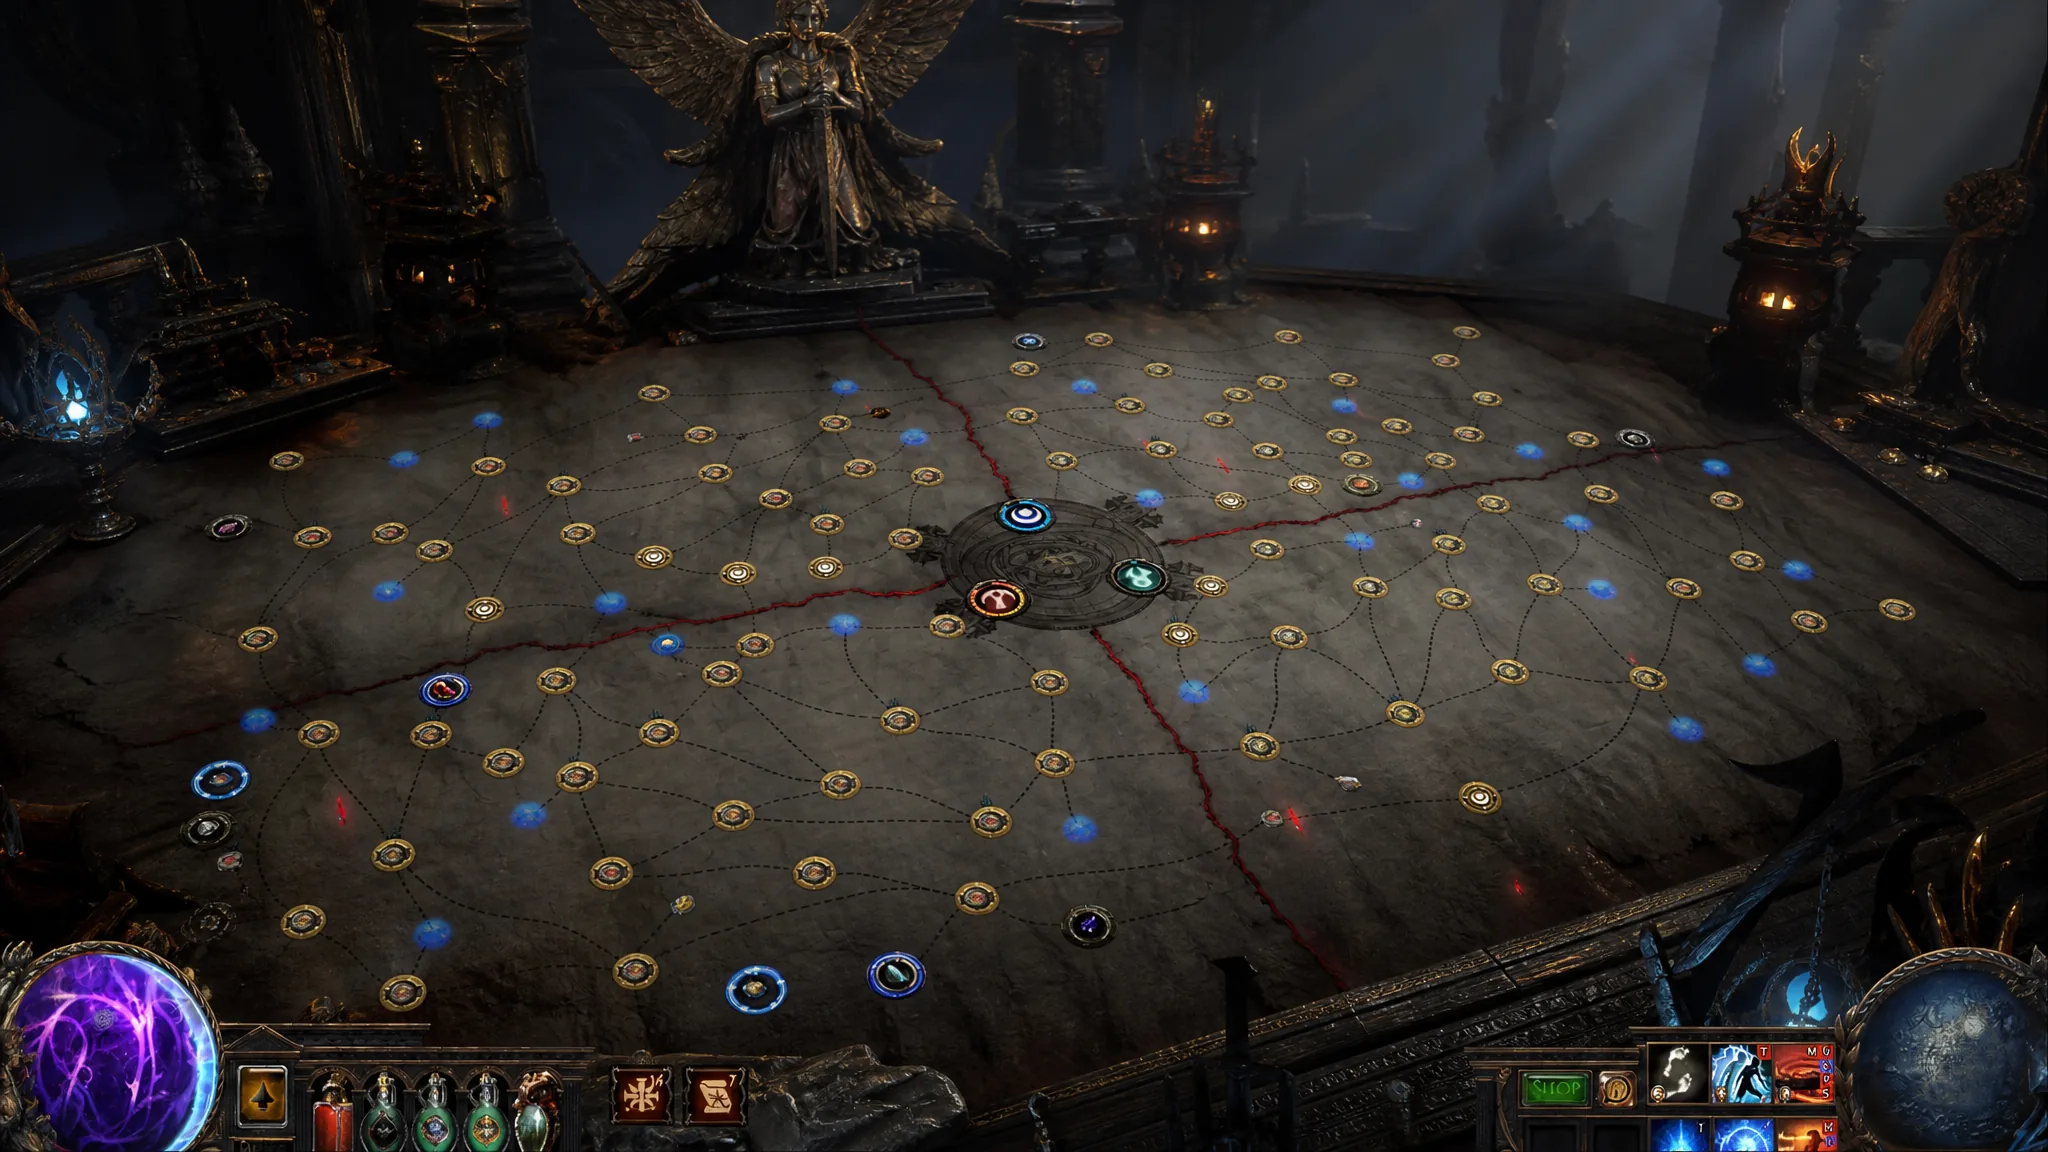
Picking the right map layout decides how much currency you make per hour in Path of Exile’s endgame. Fast, linear maps with quick boss access let you cycle content rapidly, while a handful of specific maps sit inside the drop pools of the most expensive Divination Cards in the game, including the ones that hand you Headhunter and Mageblood.
Quick answer: For speed and currency in 3.29, farm Atoll, Strand, Channel, Dunes, and City Square. For high-value Divination Cards, run Burial Chambers (The Doctor) and Cage (The Apothecary), then favorite and scry them from the Atlas.
Best maps to farm quickly in 3.29
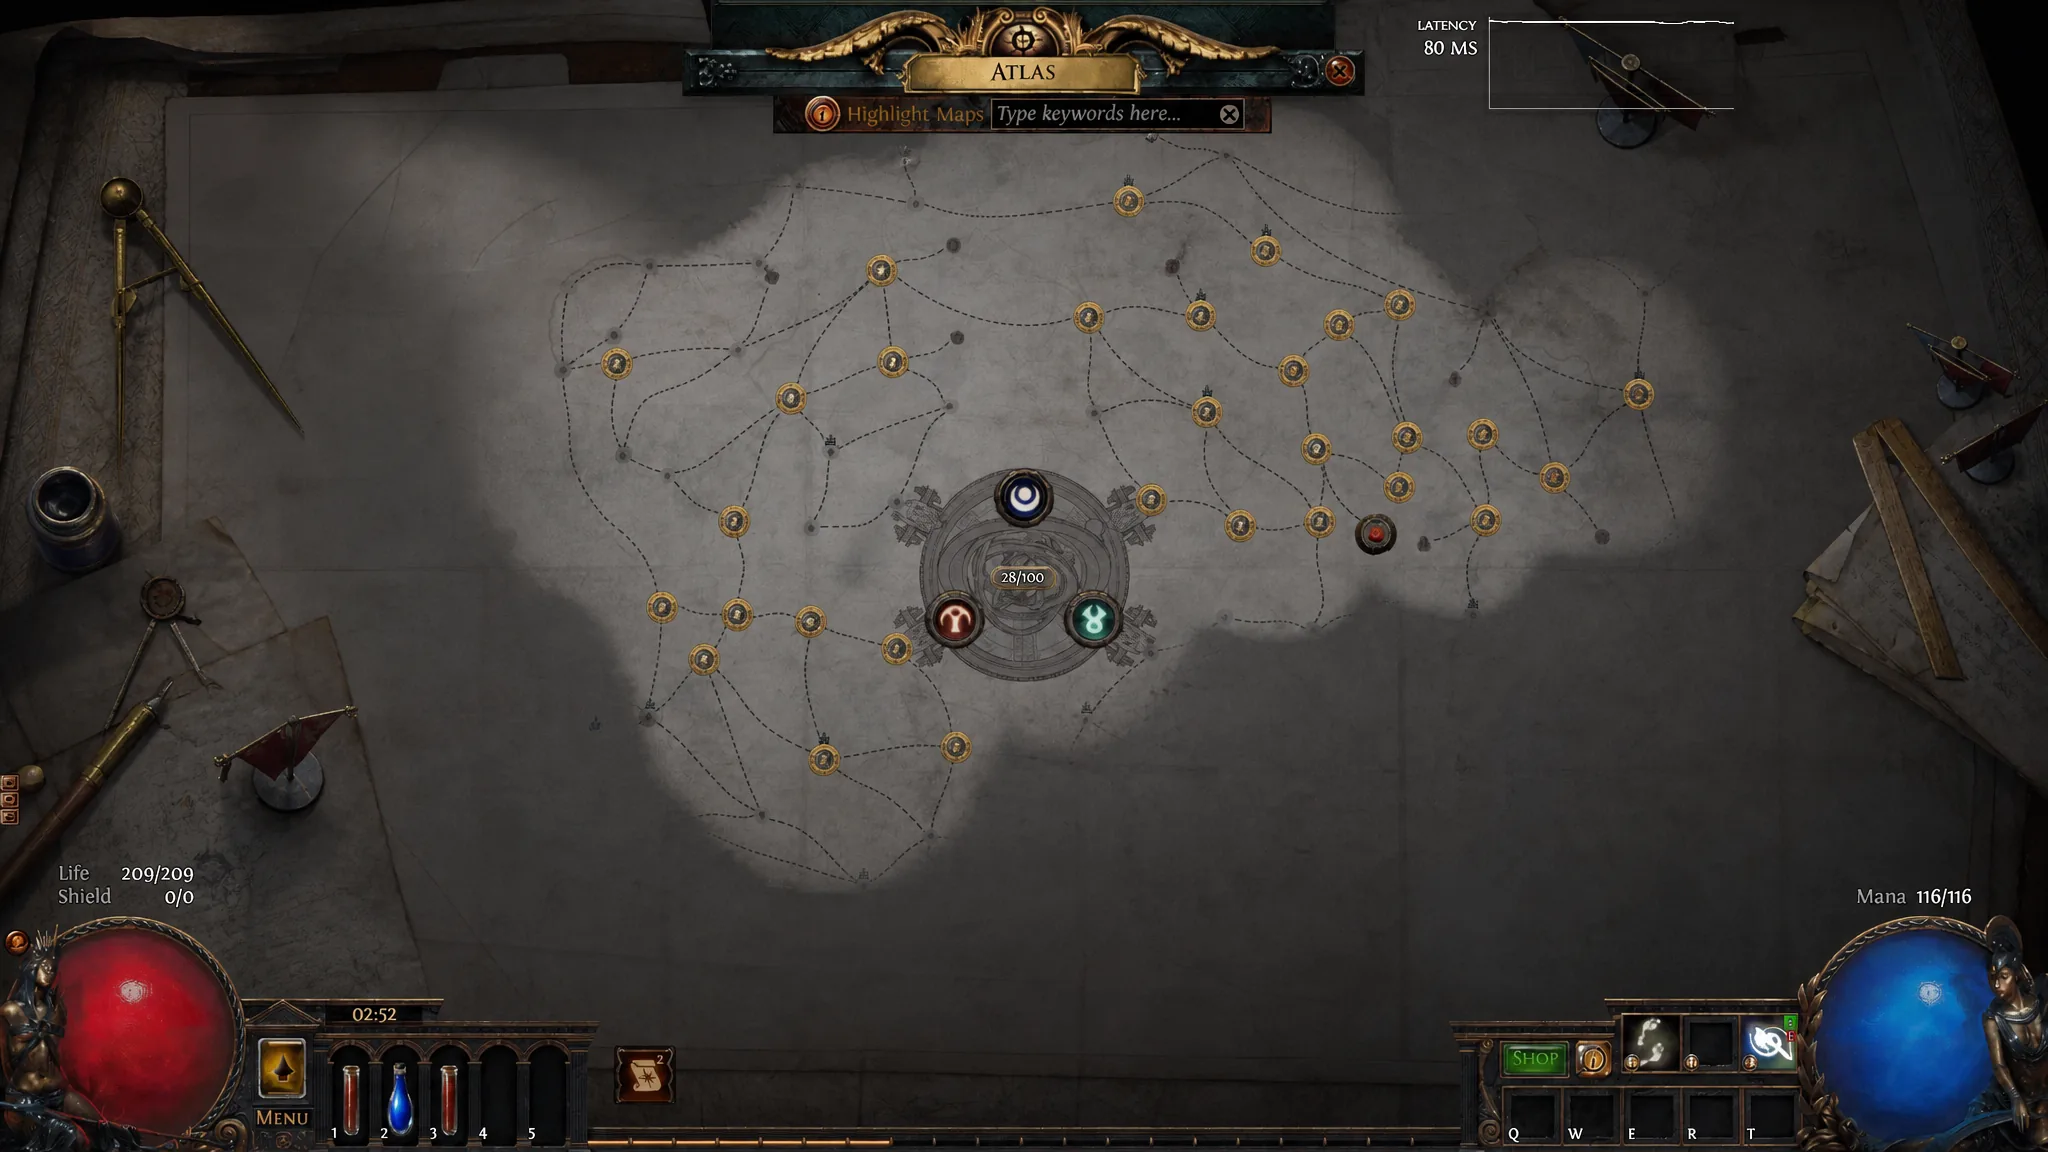
The strongest farming maps share the same traits. They use linear or semi-linear layouts, keep monster density high, put the boss close to the entrance, and avoid backtracking. Once you have cleared every map and gathered your Atlas points, you can run a single map repeatedly from the Atlas screen for your chosen strategy.
The times below assume a movement skill such as Shield Charge, Leap Slam, Blink, or Dash, paired with an automated Quicksilver Flask.
| Map | Best strategy | Atlas location | Time to boss |
|---|---|---|---|
| Dunes | Breach, Ultimatum, Abyss, Boss Rush | Bottom from center. Connects to Courthouse. | ~40s |
| Mesa | Boss Rush | Slight lower-left of center. Connects to Fungal Hollow. | ~10s |
| City Square | Boss Rush | Bottom-left of center. Connects to Cemetery. | ~10s |
| Beach | Legion, Boss Rush, Harvest | Top-right of center. Connects to Foundry. | ~20s |
| Jungle Valley | Eldritch Altars, Harvest, Boss Rush | Bottom-left of center. Connects to Toxic Sewers. | ~20s |
The Destructive Play node on the Atlas tree pairs well with boss rushing. It lets Maven summon multiple map bosses, and you can juice the Crucible at the end of the fight.
Progression maps for early and mid tiers (T1–T10)
While climbing tiers and unlocking your Atlas, prioritize maps that clear in one straight line so you can sustain map drops without wasting time on dead ends.
| Map | Why it works |
|---|---|
| Atoll | Straightforward layout with a fixed boss at the top right and no terrain obstacles. Best early speed farm. |
| Burial Chambers | Clean linear pathing, low clear difficulty, and premium Divination Card drops. |
| City Square | Open semi-linear layout with the shortest entry-to-boss path and steady density. |
| Toxic Sewer | The simplest linear layout in the mid-tier pool, with no backtracking. |
Endgame red maps for sustain and currency (T11–T16)
Red maps sit at area level 78–83 and are where you complete the Atlas and grind currency. These four cover the main use cases, from mechanic farming to pure speed loops.
| Map | Strength |
|---|---|
| Dunes | Wide open layout with high, uniform density. Ideal for Legion, Breach, and Expedition, and safe for any AoE build. |
| Strand | Short linear map with a fast boss rush and stable map sustain. Low density but the quickest loops. |
| Infested Valley | Unobstructed open layout with an easy boss. Safe for squishy builds thanks to no cramped fight zones. |
| Channel | Narrow linear paths with clustered packs, high drop consistency, and easy full clears for Atlas completion. |
Best maps for Divination Cards in 3.29
Most classic card pools carry over into Curse of the Allflame, so the reliable targeted-farming maps still apply. The table below lists each map, its headline card, the reward it grants, and roughly what a single card sells for in Chaos.
| Map | Divination Card (reward) | Approx. price |
|---|---|---|
| Cage | The Apothecary (Mageblood) | 3,730 Chaos |
| Vaal Pyramid | Unrequited Love (19x Mirror Shards) | 1,750 Chaos |
| Burial Chambers | The Doctor (Headhunter) | 1,550 Chaos |
| Pier | Fire of Unknown Origin (Nimis) | 900 Chaos |
| Shrine | The Progeny of Lunaris (Dying Sun) | 640 Chaos |
| Core | The Nurse (The Doctor) | 180 Chaos |
| Crystal Ore | Friendship (Aul’s Uprising) | 136 Chaos |
| Plateau | I See Brothers (2x Fracturing Orb) | 129 Chaos |
| Basilica | Seven Years Bad Luck (Mirror Shard) | 127 Chaos |
| Arsenal | Last Stand (The Surrender) | 110 Chaos |
| Palace | The Sephirot (10x Divine Orbs) | 100 Chaos |
| Arcade | The Mayor (The Light of Meaning) | 65 Chaos |
| Graveyard | Azyran’s Reward (corrupted Prismatic Jewel) | 62 Chaos |
| Belfry | The Enlightened (Level 3 Enlighten) | 60 Chaos |
| Colonnade | The Patient (The Nurse) | 20 Chaos |
| Dunes | The Fortunate (2x Divine Orbs) | 18 Chaos |
When you commit to a card farm, stack Divination Scarab of The Cloister, Pilfering, and Plenty, and spend Atlas points on increased monster density. Higher density means more total cards per map, which is the single biggest lever for card farming income.
Note: Basilica and Burial Chambers remain strong for chasing Nemesis and Headhunter-tier rewards, and both are easy layouts to run over and over.
Map tier list cheat sheet (Curse of the Allflame)
Maps split into three tiers by area level. White maps (T1–T5) sit at level 68–72, yellow maps (T6–T10) at 73–77, and red maps (T11–T16) at 78–83. The picks below are the standout layouts across those tiers, with an emphasis on clear speed and boss access.
White maps (T1–T5)
| Map | Layout | Card | Rating |
|---|---|---|---|
| Atoll | Semi-Linear | — | S |
| Burial Chambers | Linear | The Doctor | S |
| Dunes | Open Wide | — | S |
| Strand | Linear | The Landing | S |
| Lair | Linear | The Scout | A |
| Mesa | Semi-Linear | — | A |
| Orchard | Maze | — | C |
Yellow maps (T6–T10)
| Map | Layout | Card | Rating |
|---|---|---|---|
| Channel | Linear | — | S |
| City Square | Open Wide | — | S |
| Armoury | Semi-Linear | The Patient | A |
| Haunted Mansion | Maze | The Apothecary | A |
| Mausoleum | Semi-Linear | — | A |
| Overgrown Shrine | Linear | — | A |
| Promenade | Linear | The Patient | A |
| Academy | Maze | — | C |
| Spider Forest | Open Wide | The Scout, The Doctor | C |
Tip: Avoid maze layouts like Academy, Orchard, and Relic Chambers for speed farming. They force heavy backtracking and corner clearing, which kills your maps-per-hour even when the density is fine.
Map pool and mechanic changes in 3.29
Curse of the Allflame rotated the Atlas map pool and reworked several systems, so some old favorites are gone and a few returned. Before you build a farming route, check which maps are actually available.
- Returning maps: Arachnid Nest, Basilica, Bazaar, Caldera, Cells, Channel, Colonnade, Colosseum, Conservatory, Crystal Ore, Desert, Desert Spring, Estuary, Forbidden Woods, Geode, Infested Valley, Laboratory, Malformation, Museum, Phantasmagoria, Pier, Plateau, Ramparts, Stagnation, Sunken City, Temple, Toxic Sewer, and Vault.
- Removed maps: Acid Caverns, Arena, Ashen Wood, Bog, Canyon, Carcass, Castle Ruins, Courtyard, Coves, Crimson Temple, Crimson Township, Cursed Crypt, Defiled Cathedral, Dig, Dry Sea, Dungeon, Lava Chamber, Lighthouse, Maze, Moon Temple, Mud Geyser, Necropolis, Pen, Racecourse, Sepulchre, Underground Sea, Wasteland, and Wharf.
- Discontinued unique: Untainted Paradise is no longer a map item. It now spawns as a random Atlas event node with higher difficulty and rewards.
Two mechanic changes matter for mapping. Reflect is gone in its old form and replaced with Physical and Elemental Thorns, so red map rares deal 800 Physical Thorns and 1,500 Elemental Thorns damage that you mitigate with armour, resistances, and evasion. Mercenary Rucksacks in endgame maps also no longer drop Orbs of Transmutation or Augmentation.
Reflecting Mists and the Nameless Seer no longer appear randomly in maps either. They now spawn inside dedicated Anomaly areas, which need no map items, ignore your Atlas passive bonuses, and cannot be modified with fragments. Full details on the expansion are on the official Curse of the Allflame page.
Lock in one map layout that suits your build, favorite it on the Atlas, and stack the scarabs and passive nodes that match your goal. Speed farmers should stick to Atoll, Strand, Channel, and Dunes, while anyone chasing a big card hit should camp Burial Chambers or Cage and let the density carry the drops.





