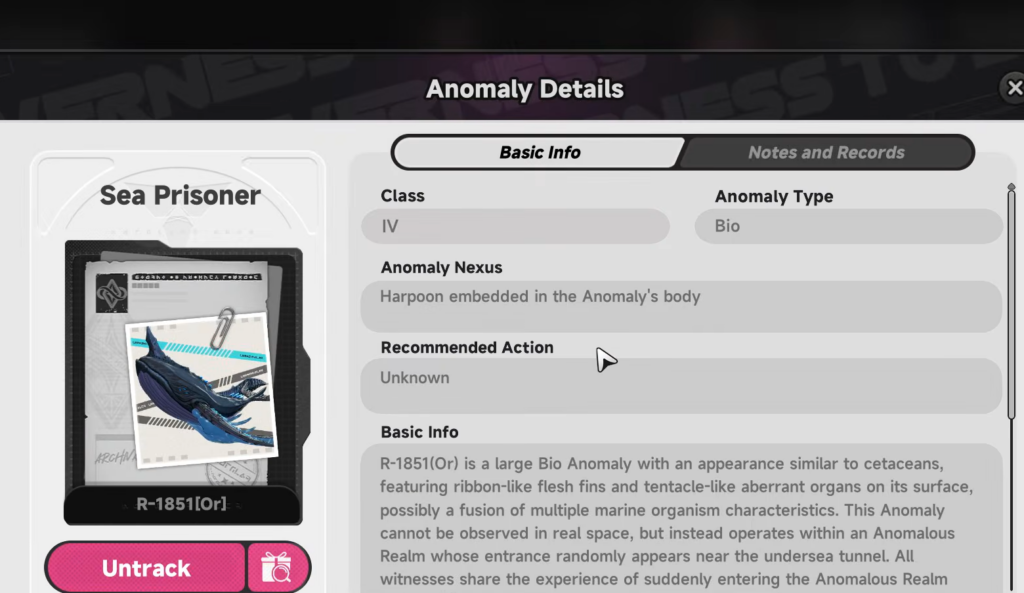
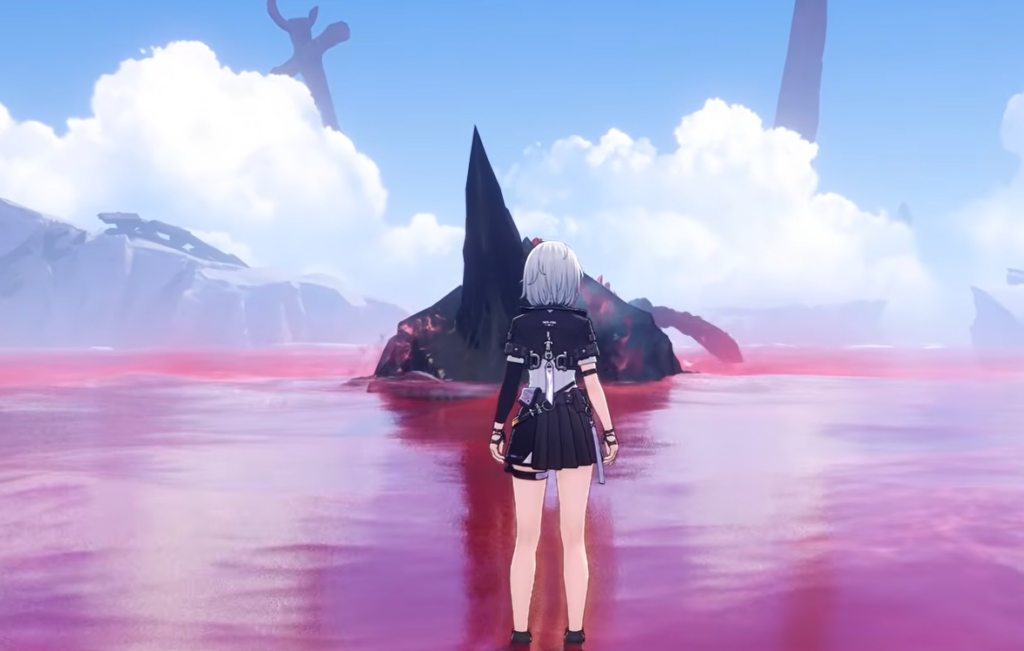
The Sea Prisoner is an Anomaly Hunt boss in Neverness to Everness, a chained whale that lurks in the waters of the New Herland District. Before you can fight it, you have to trigger it through the Deep Blue Sorrow Anomaly Commission, and that commission has one hard requirement most players miss.
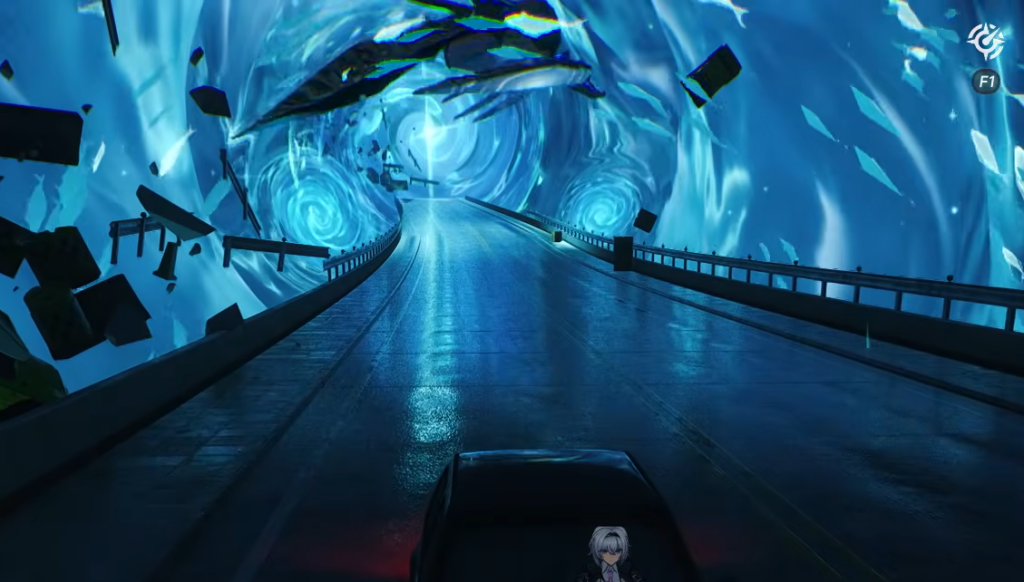
Quick answer: Drive any four-wheeled vehicle through the Nautili Tunnel to start the Deep Blue Sorrow commission, keep driving until you reach the arena, then beat the whale using Anima attackers. The first clear unlocks Fast Travel to its spawn east of Cape Square.
Unlock the Sea Prisoner through Deep Blue Sorrow
The Sea Prisoner will not appear until you complete the Deep Blue Sorrow Anomaly Commission. The commission cannot be finished on foot, so buy and equip a car first if you do not already own one.

If the boss refuses to spawn on later attempts, confirm you actually finished Deep Blue Sorrow. The encounter stays locked behind that commission.
Sea Prisoner location and boss stats
The Sea Prisoner spawns at Unheard Shores, east of Cape Square in the New Herland District of Hethereau City. Defeating it once adds a Fast Travel point directly to its location, so repeat runs skip the drive entirely, and you can challenge it whenever you want.
| Detail | Value |
|---|---|
| Type | Anomaly Hunt (open-world) boss |
| Location | New Herland District, via Nautili Tunnel |
| Weakness | Anima |
| Resistances | None |
| Level (max) | 8 |
| HP (Lv. 8) | 665,913 |
| ATK (Lv. 8) | 2,400 |
| DEF (Lv. 8) | 1,080 |
| Stamina cost | 60 |
| Reset | Weekly |
Team building: exploit the Anima weakness
The Sea Prisoner has no resistances and is vulnerable to Anima. Building around that weakness lets you trigger Breaks quickly and open damage windows. A Nanally hypercarry lineup is the strongest approach, pairing her with a Cosmos unit to enable the Blossom Esper Cycle and following that with a Lakshana unit to produce Charge, which restores Ultimate energy to the whole party.
| Role | Nanally team | Alternate Charge team |
|---|---|---|
| Main DPS | Nanally | Hathor |
| Sub-DPS | Esper Zero / Skia | Jiuyuan |
| Support | Hathor / Mint | Mint |
| Utility | Fadia / Chiz | Edgar |
With Nanally, swap to her to trigger Blossom whenever Esper Zero’s Redirect Skill is ready, then activate her Support Skill to multiply hit count and stack her follow-up damage. Rotate to Fadia for healing when your team’s HP drops. In the Hathor build, open with Jiuyuan or Mint, let Edgar follow up with his Skill or healing Ultimate, then commit to Hathor’s follow-up for a large damage burst.
How the fight works: dodge, parry, and stay mobile
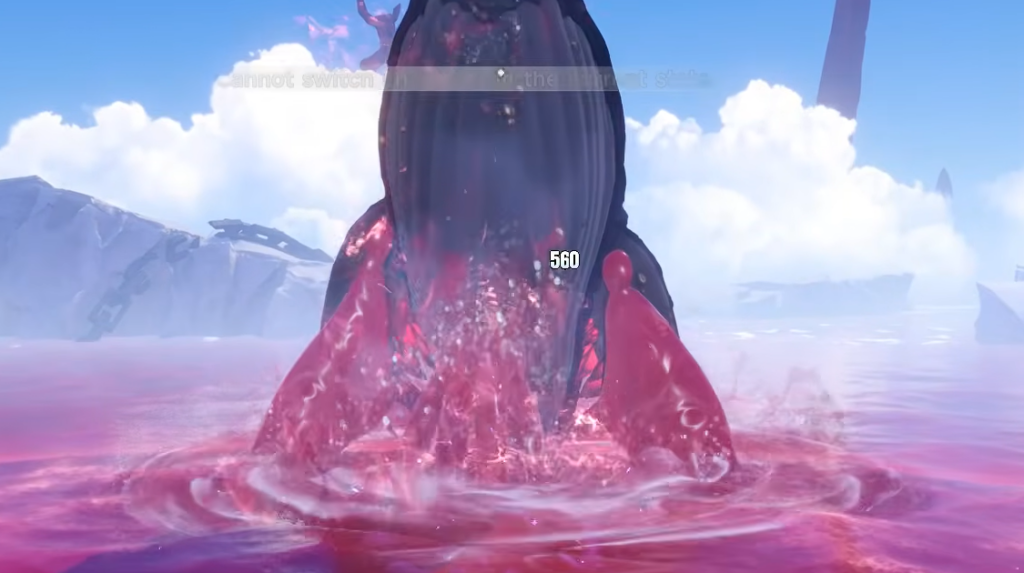
The whale hits hard but slow. Its attacks carry a wide gap between the wind-up animation and the actual impact, so most of them are easy to read once you learn the tells. Three habits carry the whole fight.
- Fight elusively. Many attacks come from outside your view, including diving strikes that erupt upward. Prioritize positioning and evasion over greedy attacks.
- Parry the dash. The Sea Prisoner’s charging attack can be parried by landing Basic Attacks or skills as it approaches. The window is wide, so wait calmly and time it to leave the boss vulnerable for a long opening.
- Dodge when it leaves the arena. When the whale attacks from outside the perimeter with projectiles or tsunamis, stop attacking and focus entirely on dodging. Watch for the red glint and predictive circles.
Phase 1 attacks
| Attack | How to handle it |
|---|---|
| Diving Wave Walls | Boss rises and dives, sending walls out from its sides. Aim a Critical Dodge while it is airborne, or stand directly in front of it as it lands. |
| Slamming Geysers | It slams the water and geysers erupt in front. Critical Dodge as the splashes appear; the hitbox is smaller than the animation, so hug the boss or keep slight distance. |
| Breaching Geysers | A vortex appears, then geysers burst in a circle. Watch the vortex closely and stay close to it to avoid the outer geysers. |
| Homing Volley | It arcs and fires homing water projectiles with staggered timing. Tap dodge repeatedly after the first one lands. |
| Diving Surge | It dives below the surface and surges at you. Hit it during the charge to parry and stun; wait until it is close before parrying. |
| Aerial Dive Bomb | It rises and dives forward hard. Dodge right as it hits the water for a Critical Dodge. |
Phase 2 attacks (from about 70–75% HP)
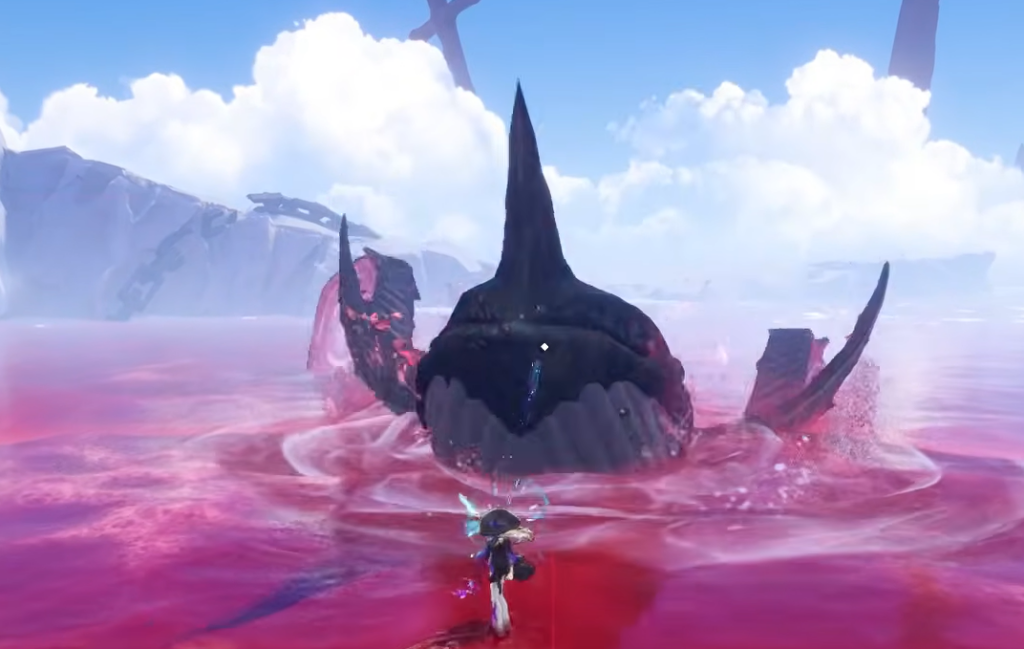
Around the 70–75% HP mark, the boss becomes more aggressive and the whole arena starts to rain. It opens the phase with a scripted Anchor Toss, and its later patterns lean on geysers, whirlpools, and tsunamis.
| Attack | How to handle it |
|---|---|
| Anchor Toss | Triggers at 75% HP after a short cinematic. You cannot attack during it, so dodge just before the anchor hits the water. |
| Geyser Vortex | Vortices rush toward the boss then expand back outward. Their range is narrow, so dodge as they reach you, then move clear of the final dive. |
| Tsunami Attacks | Two large waves plus side waves close in. Focus on the one heading straight at you and dodge through it; you cannot attack during this. |
| Water Orb and Volley | A water orb expands and explodes, then fires projectiles. Its hitbox is small, so step back a little, then tap dodge for the follow-up shots. |
| Whale’s Song | It surfaces and shouts. Staying close means continuous damage, so back off and wait it out. |
| Water Trap | Walls surround you and fire projectiles, followed by shots from below. Close-range hits are wasted here, so keep dodging in time with each impact. |
Sea Prisoner rewards
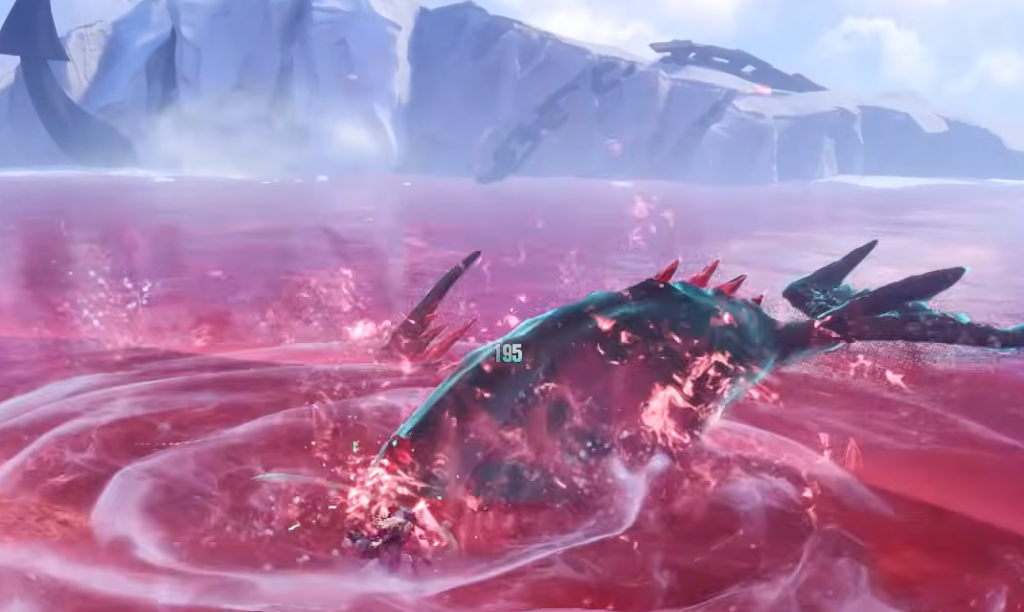
Defeating the whale grants a Coal Lump’s Gift, which contains Tear of the Sea, a character development material. The full reward pool also includes crafting materials, currency, and the boss’s signature Arc.
- Tear of the Sea (character development material)
- Song of the Whale (S Rank Arc)
- Magic Thread and Arcane Thread
- Beetle Coin and Hunter EXP
The Song of the Whale Arc is a Plasma-type S Rank piece with 33 Base ATK and an ATK substat. Its Deep Blue Sorrow skill raises ATK by 12%, increases damage to Broken enemies by 12%, and restores 30% HP to the wearer when a Broken enemy is defeated, up to once every 30 seconds.
Material drops by Appraisal Level
| Appraisal Level | Boss material drop count |
|---|---|
| Level 2 | 5 |
| Level 4 | 7 |
| Level 5 | 7 |
| Level 6 | 7 |
You will know the unlock stuck when the Fast Travel node appears on the map after your first clear, letting you re-enter the arena without driving through the tunnel again. From there, the fight is a weekly Anomaly Hunt: bring your Anima team, save your parry for the horn dash, and treat the whale’s out-of-arena patterns as pure dodging phases rather than damage windows.