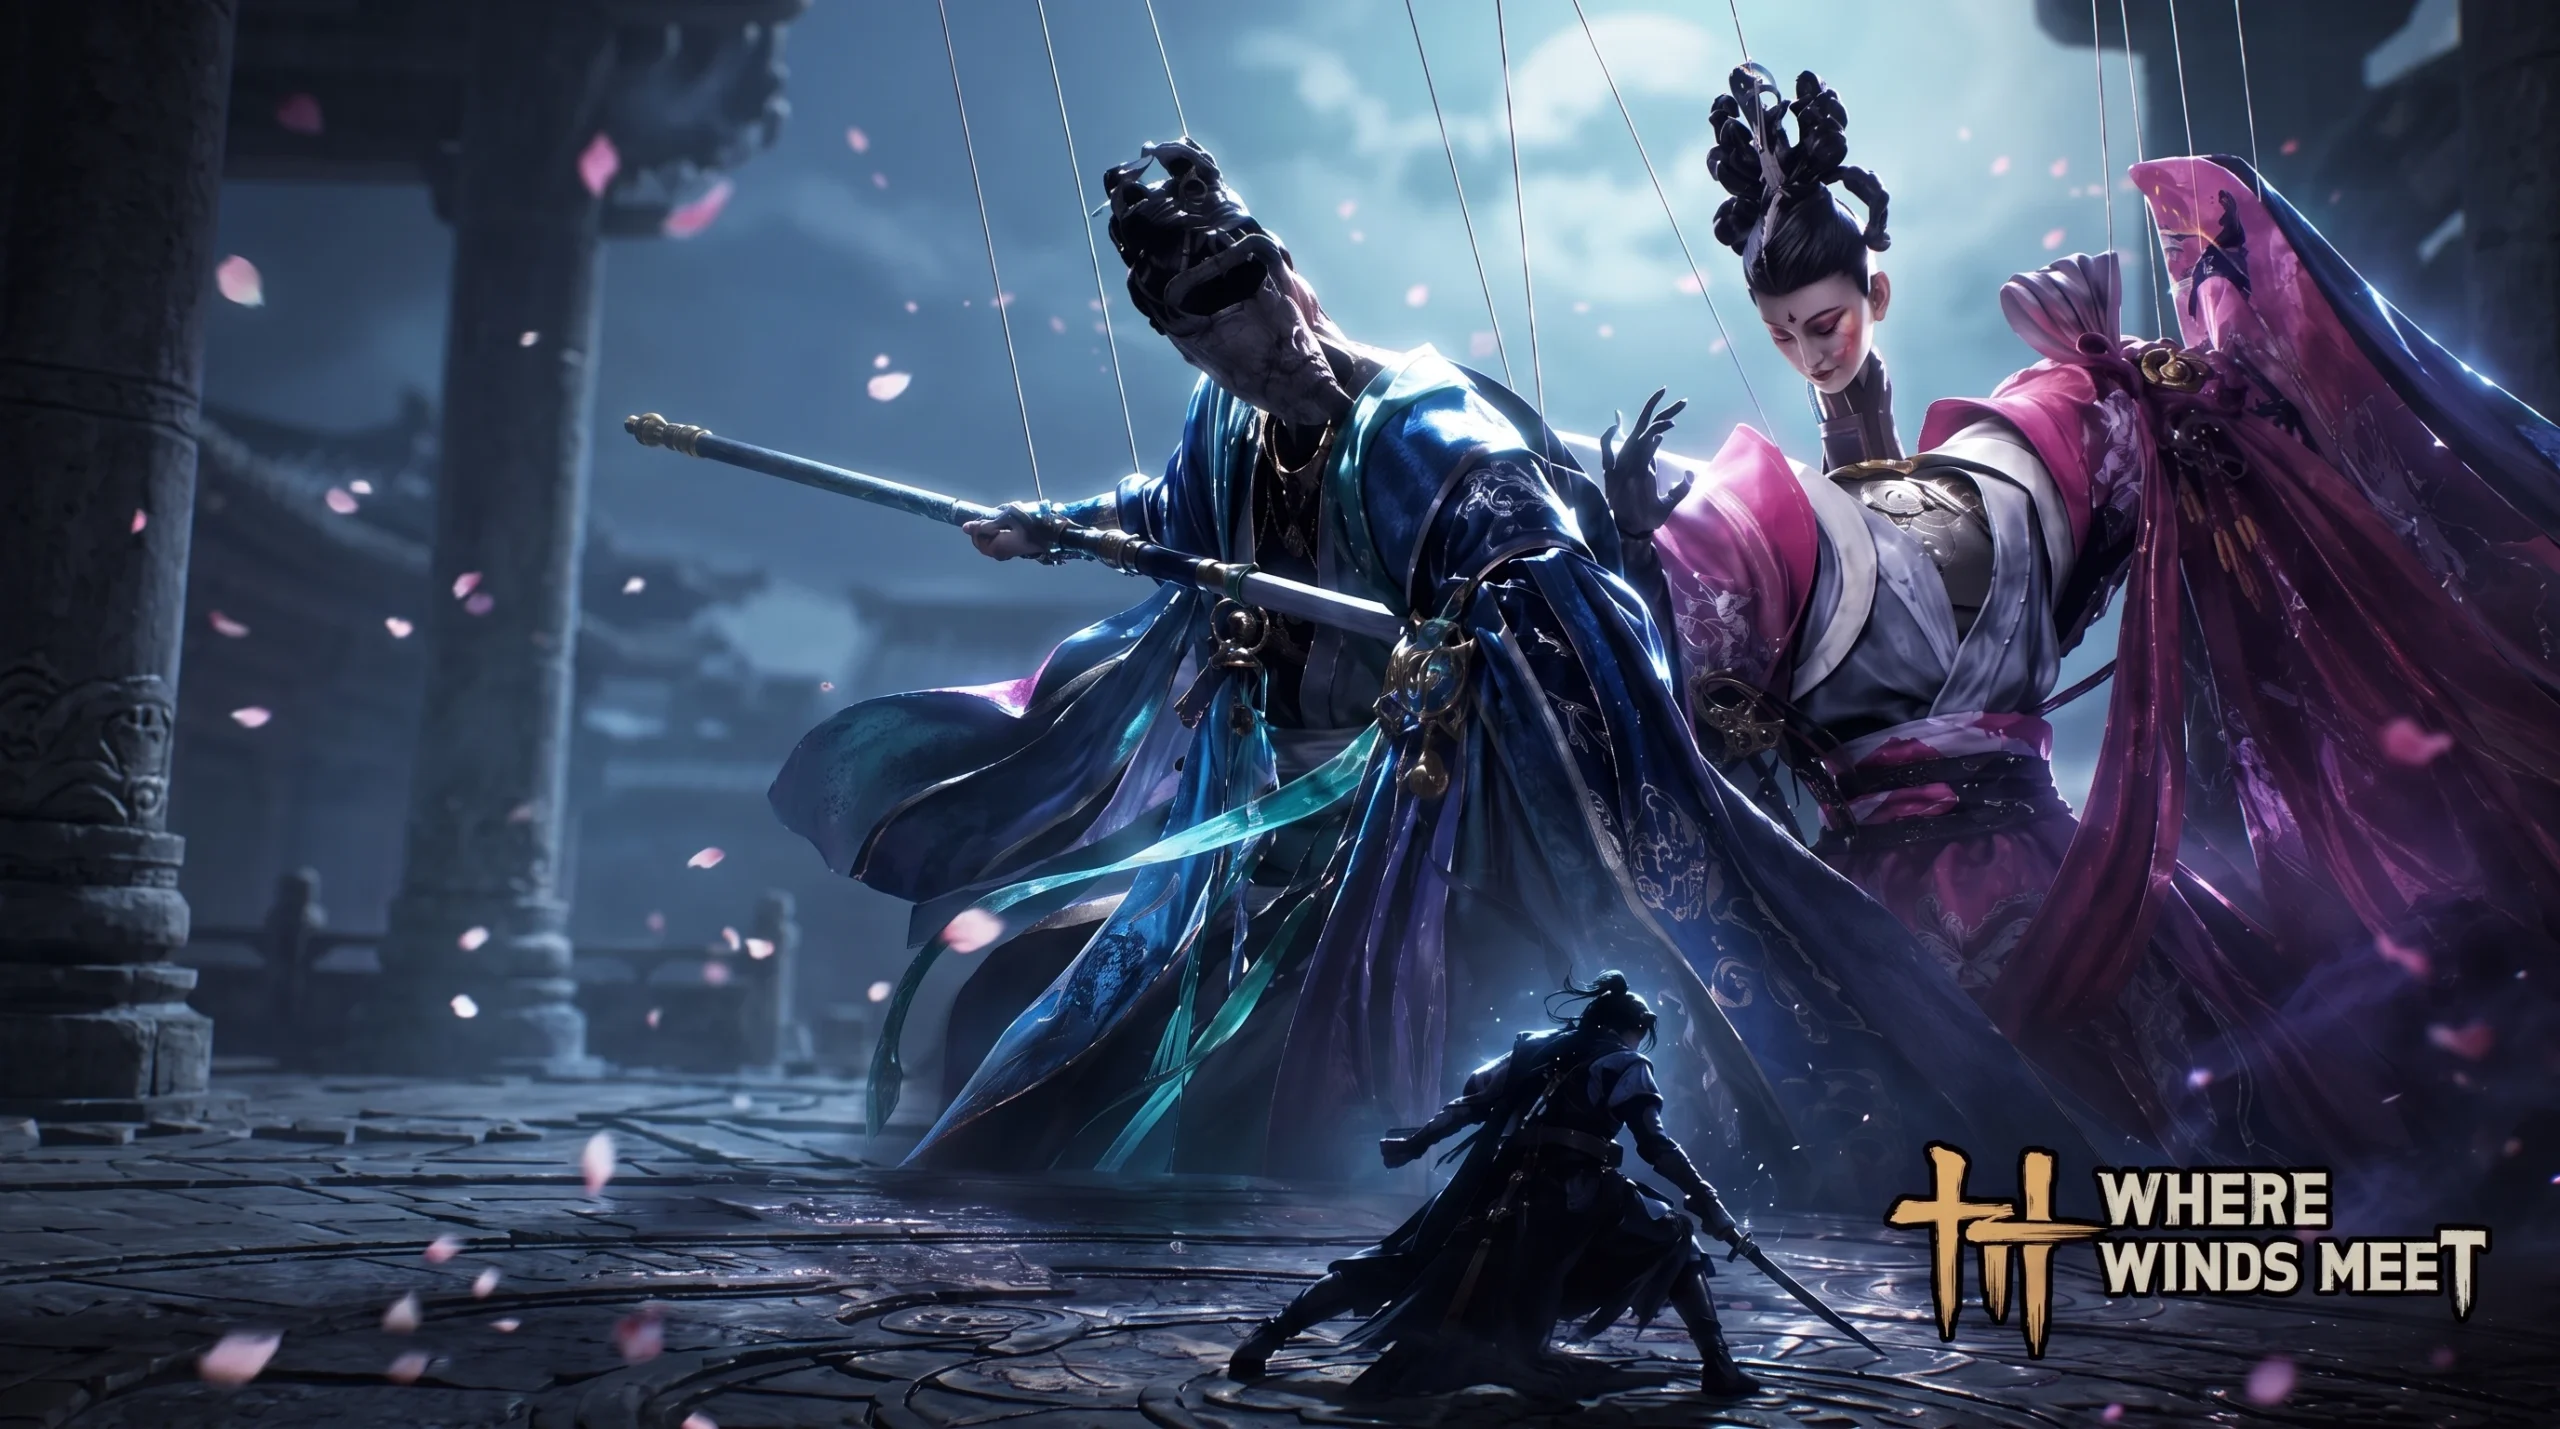
Ci and Cuo are a paired world boss in the Hidden Mountain region of Where Winds Meet, fought as a two-stage encounter that ends with the two puppets fusing into one. The route to them is short once you know where to dive, but the entrance sits underwater and stays nearly invisible in the dark, which is where most players get stuck.
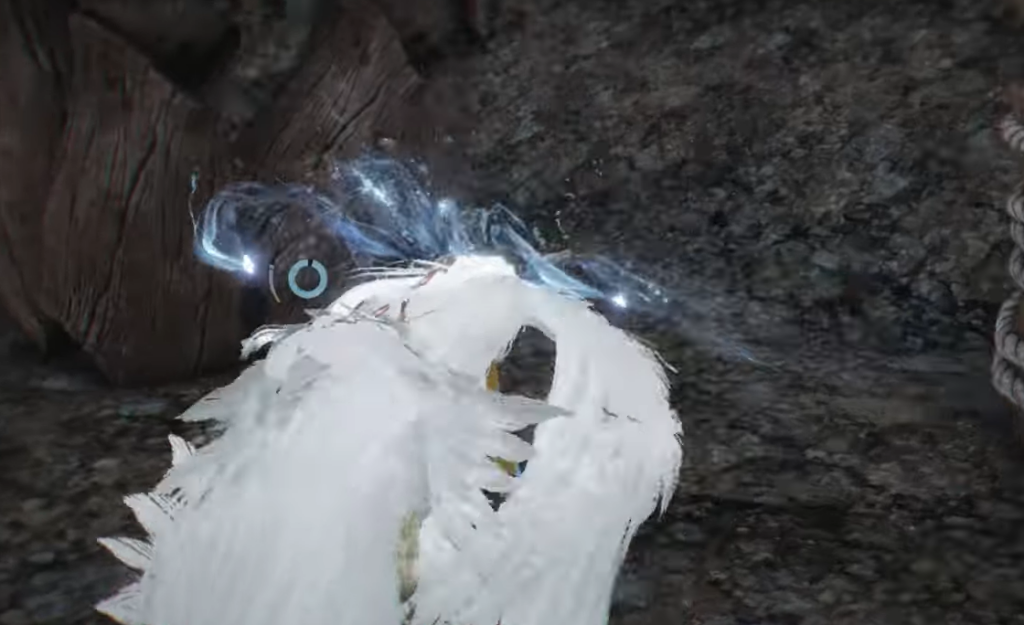
Quick answer: Set the in-game time to daytime, dive into the lake east of Old Mohist City near the small waterside house, swim to the pale puppet leaning against a structure on the far side, and interact with it to drop into the boss room. Defeat both puppets, then destroy the merged form to end the fight.
Unlock Hidden Mountain before you start
Neither Hidden Mountain world boss is reachable until the region opens up. Access comes from the quest “Yingying’s Invitation,” which has you solve a short set of puzzles and cross a misty river that otherwise blocks the way. Once that questline is finished, the region and its bosses, NPCs, and treasures become available.
If you have not cleared that quest yet, Ci and Cuo simply cannot be triggered, so this step is mandatory before anything below applies.
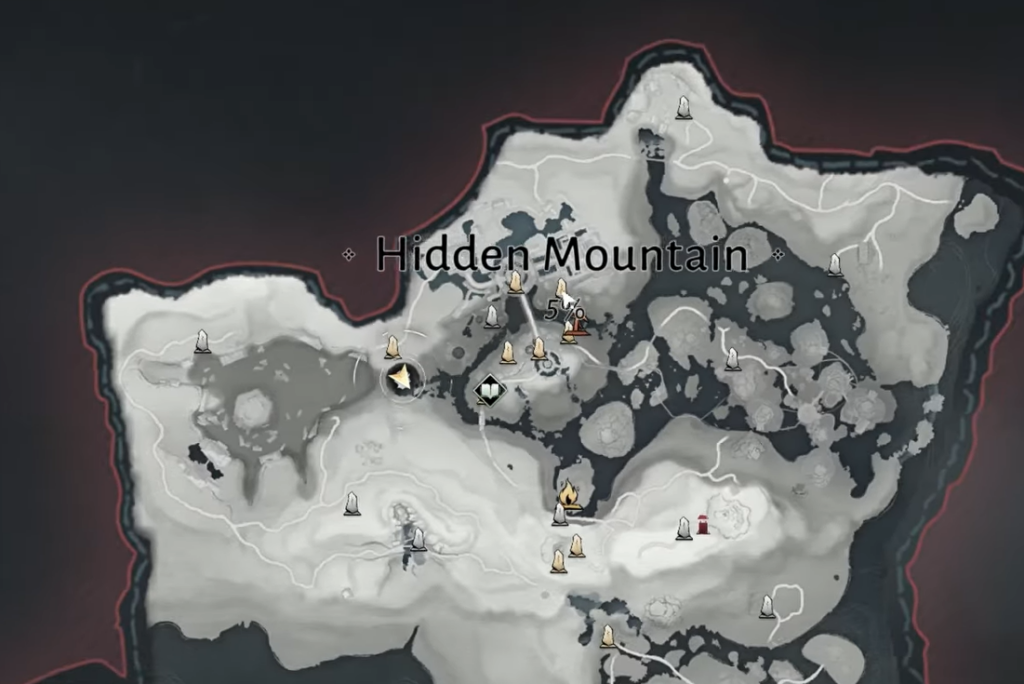
Find the underwater entrance east of Old Mohist City
The pair are sunk at the bottom of a lake to the east of Old Mohist City. On the shore you will see a tiny house by the water where birds gather. The door into the fight is beneath the surface rather than anywhere on land.
Phase one: hit whoever holds the spotlight
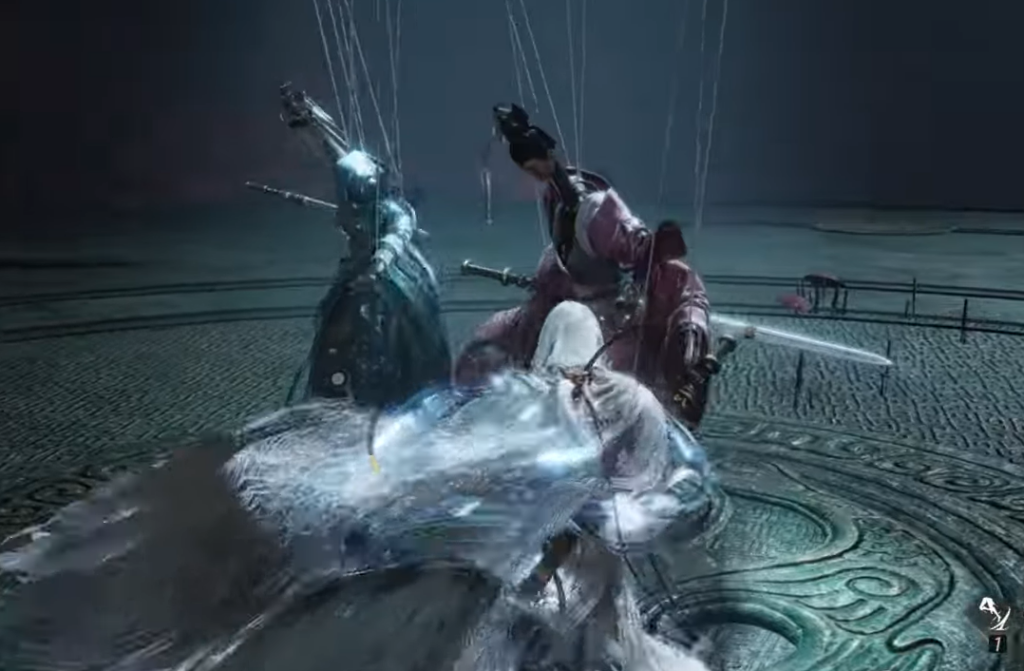
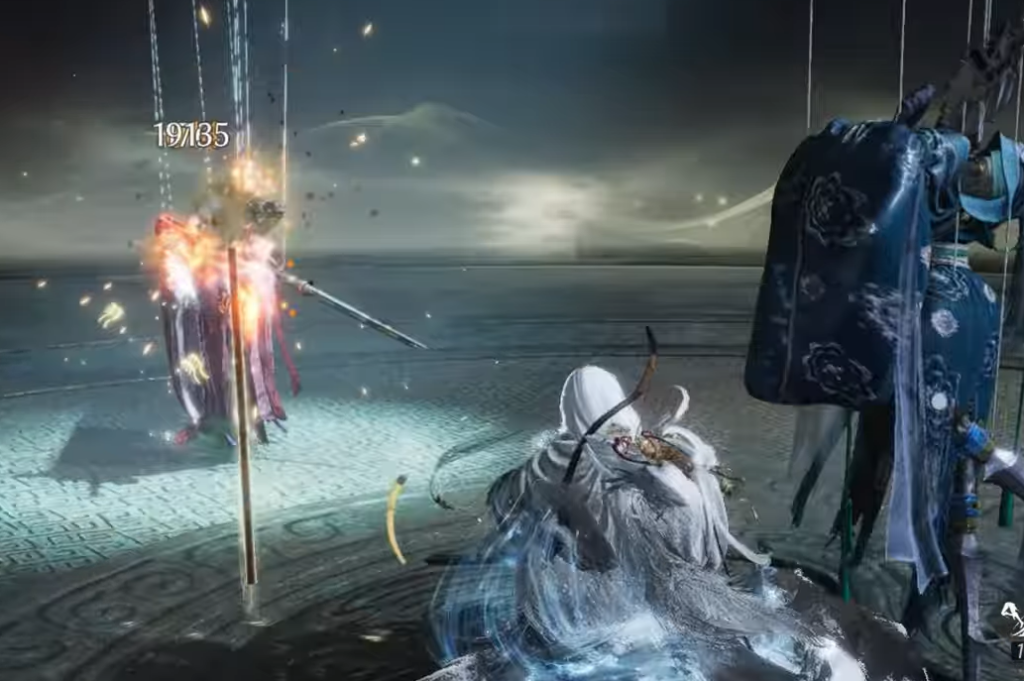
The fight opens with two separate puppets, Ci and Cuo, each carrying its own health bar. Only the puppet standing in the spotlight can be damaged, so leave the other alone until the light moves. When the spotlight switches, swap targets right away and keep the pressure on.
Most of their moves in this phase telegraph clearly. They circle the arena and dive in with a slash you can deflect, then follow up with spin attacks once they land. Back off and wait the spins out, because the attacking puppet will not chase you while it commits to a spin. That window is the safest moment for ranged damage, and a Rope Dart works well since it pulls you back into melee the instant the spin ends.
The one attack with a tight window is a dash that can come straight after both puppets spin together in the center of the arena. Stay ready to react whenever they combine like that.
Phase two: break the merged puppet
Empty both health bars, and a cutscene plays in which a giant metal hand lifts the two puppets, spins them, and fuses them into a single multi-armed entity with one shared health bar. The pace jumps up sharply from here.
This form is far more direct. It charges straight at you and chains into melee strikes, throwing slashing combinations you should deflect whenever you can. Each combo finishes with a ground slam unless you stagger the puppet first and interrupt it with your own attacks. There is little movement around the arena now, and the merged body is not very durable, so consistent deflects keep your health up while you burn it down.
Confirming the kill and rewards
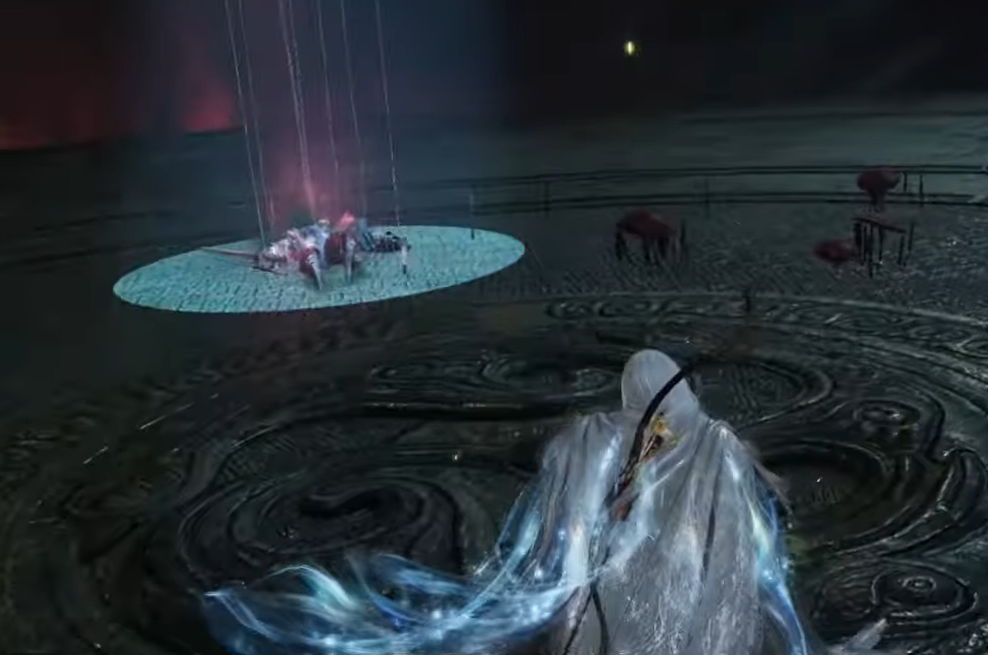
The encounter ends the moment the merged puppet’s health hits zero, and the screen displays “TRIUMPHANT”. World bosses can only be beaten once in the open world, so there is no repeat attempt after this. If you go down mid-fight, the Hero’s Tomb inside the room lets you resurrect and continue instead of restarting.
Clearing the fight unlocks the “Dance of Three” achievement and hands out a mix of currency, materials, and cosmetics.
| Reward | Amount |
|---|---|
| Coin | 12,000 |
| EXP | 18,000 |
| Trace Jade | +1,800 |
| Jade Fish | +150 |
| Inner Way Note: Custom Chest | 5 |
| Medicinal Tales | 3 |
| Mystic Insight Pill | 1 |
| Radiant Charm (appearance) | 1 |
Compared with the other Hidden Mountain world boss, the Ironheart Centipede, Ci and Cuo take almost no travel to reach but put up a stiffer fight in exchange. Set the time to daytime, find the pale puppet at the bottom of the lake, and the harder part is simply the two phases waiting on the other side.