Guilds in Anime Expeditions let you team up, climb the Gold and Exp leaderboards, and earn guild-only rewards. Starting your own guild is gated behind a character level, and giving that guild a custom icon depends on a separate Roblox image ID that you generate outside the game.
Quick answer: Reach Level 20 to unlock Create Guild in the Guild menu. For a custom icon, upload your image as a Decal on the Roblox Creator dashboard, copy its asset ID, and paste that ID into the guild image field.
Level 20 requirement to create a guild
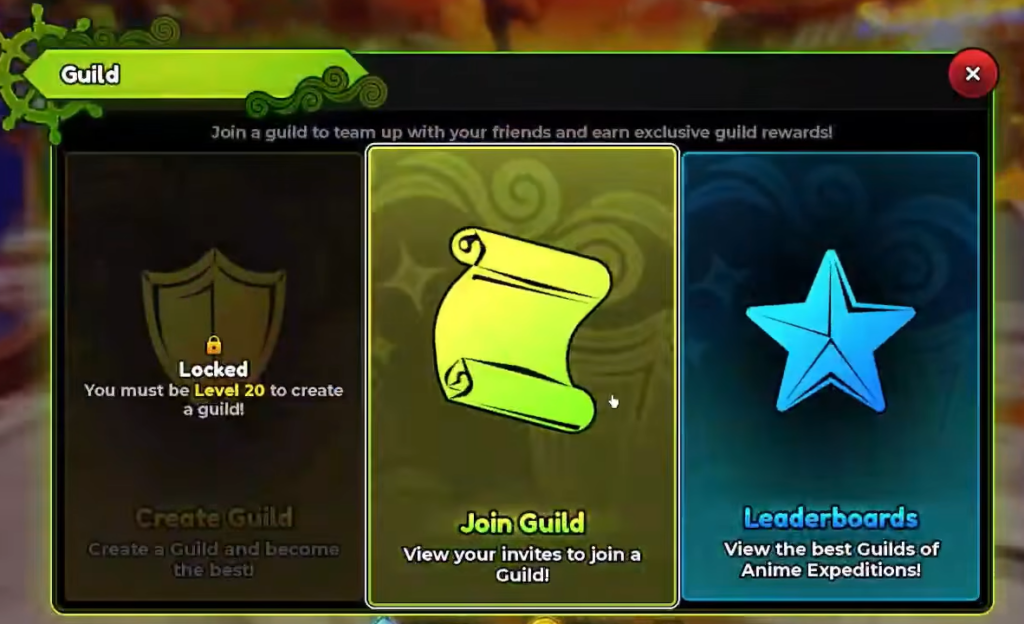
The Create Guild option stays locked until your character hits Level 20. Below that level, the shield icon shows a padlock and the text reads “You must be Level 20 to create a guild!” There is no code, item, or currency shortcut around this. You earn XP by playing through the story and events until the requirement clears.
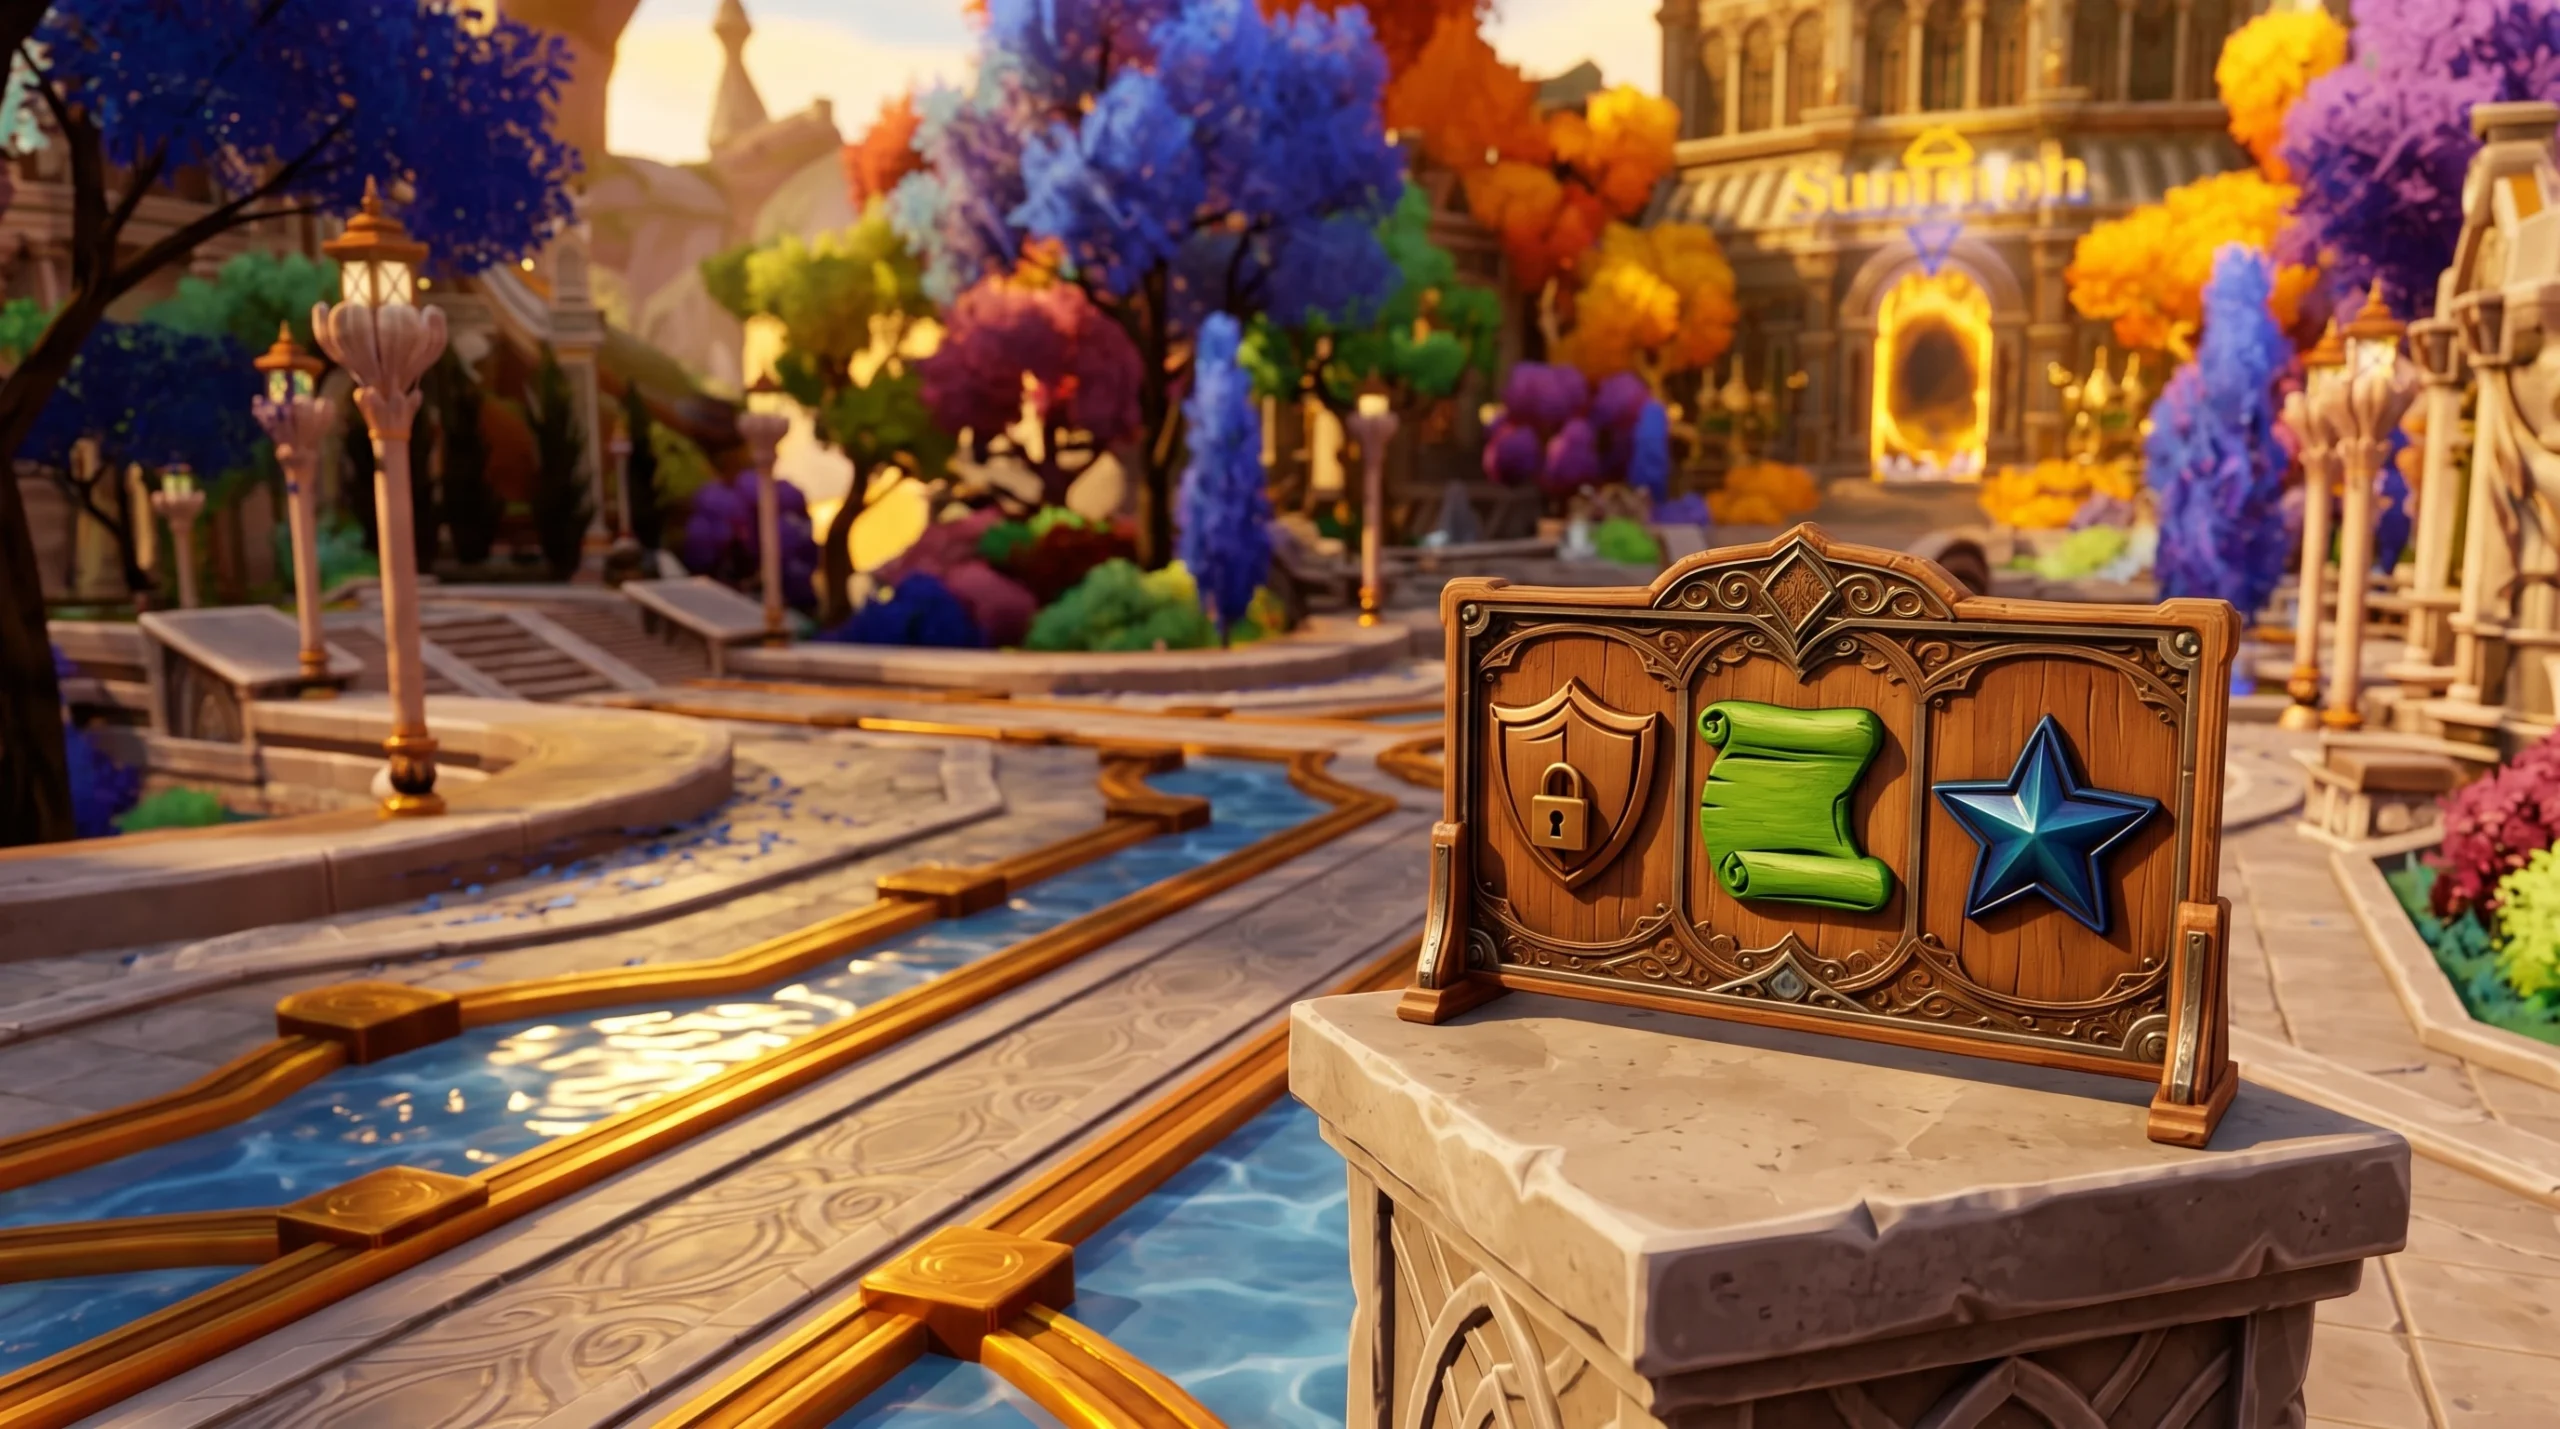
Open the Guild menu using the green Guild button on the right side of the lobby screen. It presents three choices.
| Option | What it does |
|---|---|
| Create Guild | Locked until Level 20; starts your own guild once unlocked. |
| Join Guild | Shows incoming guild invites so you can accept one. |
| Leaderboards | Displays the top guilds, with separate Gold and Exp tabs. |
Create your guild in the lobby
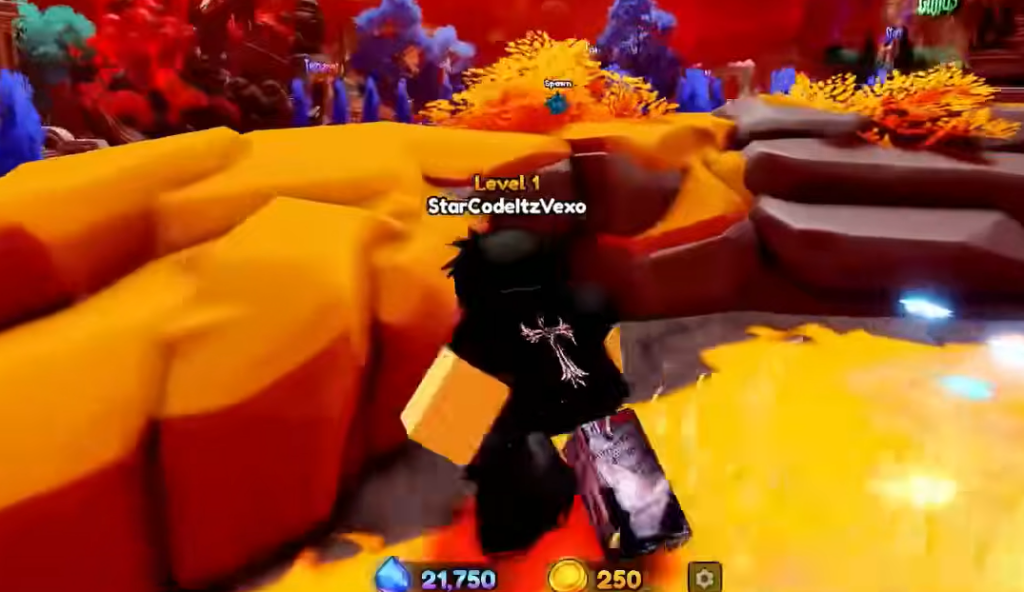
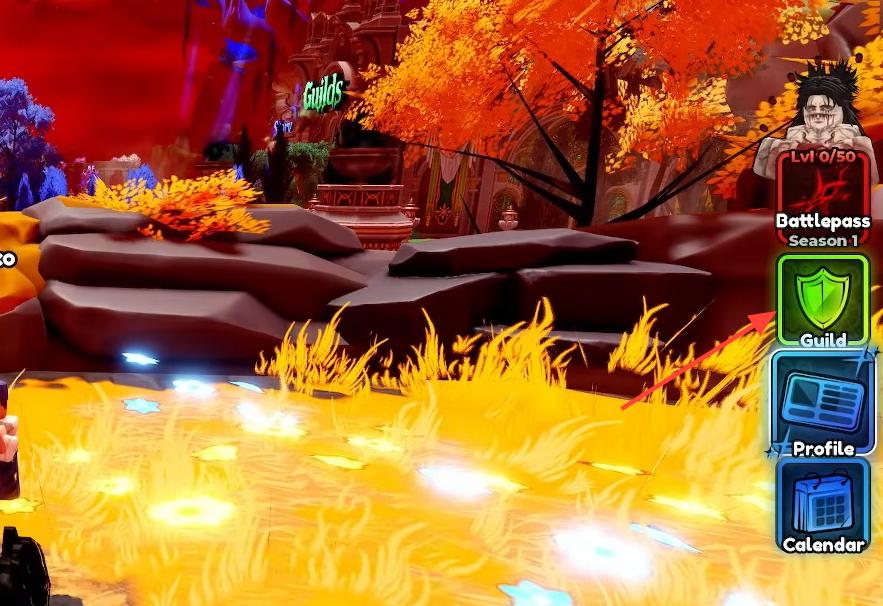
You will know the guild is live when it appears with your name and icon, and you can start inviting other players from the server list.
Get an image ID for your guild icon
A guild icon uses a Roblox image ID, which is the asset ID attached to a Decal. You generate this on the Roblox Creator dashboard by uploading your own picture, then copying the number it produces. That number is what you paste into the game.
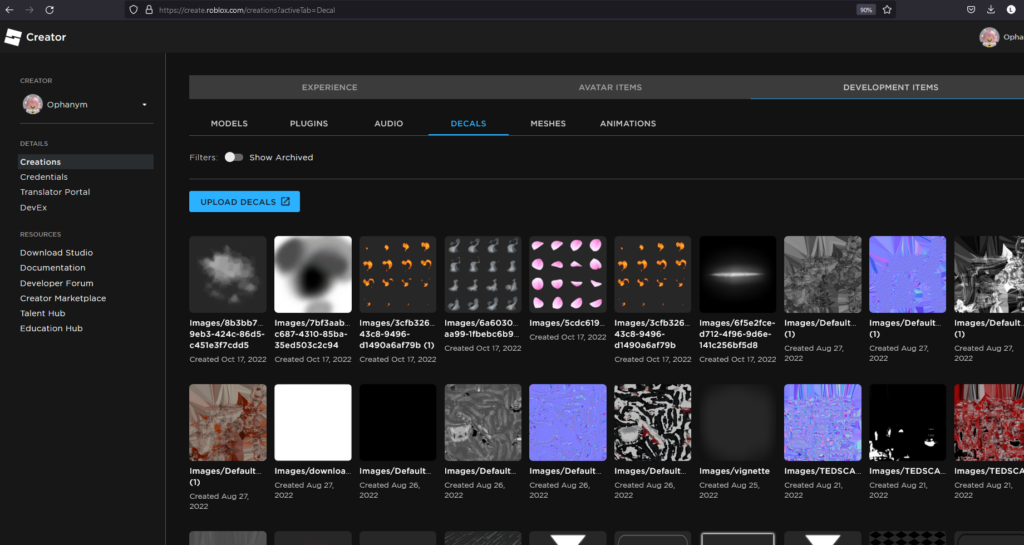
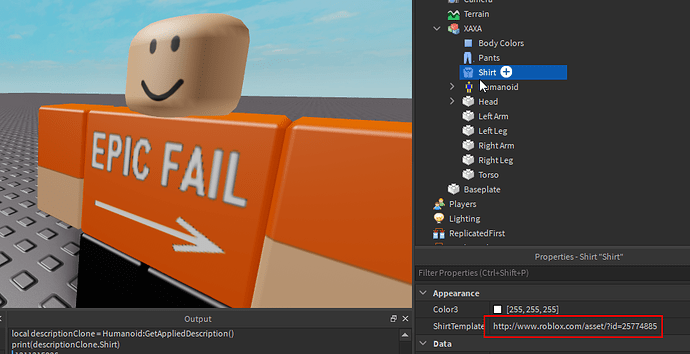
If you would rather not upload anything, you can browse the public Decals store on Roblox, open an image you like, and copy its asset ID straight from the page. That ID works the same way in the guild image field.
Join a guild before you hit Level 20
If you are not Level 20 yet, you can still be part of a guild through an invite. Open the Guild menu and pick Join Guild. Any invitations you receive appear on that screen, and you accept them there. When you have none, the menu shows a large “X” with “No Invites” and the message “You haven’t been invited to any guild yet!”
To get invited, ask an existing guild member to send you one from the in-server player list. Once an invite lands in your Join Guild screen, accepting it places you in that guild immediately, with no level requirement needed.