

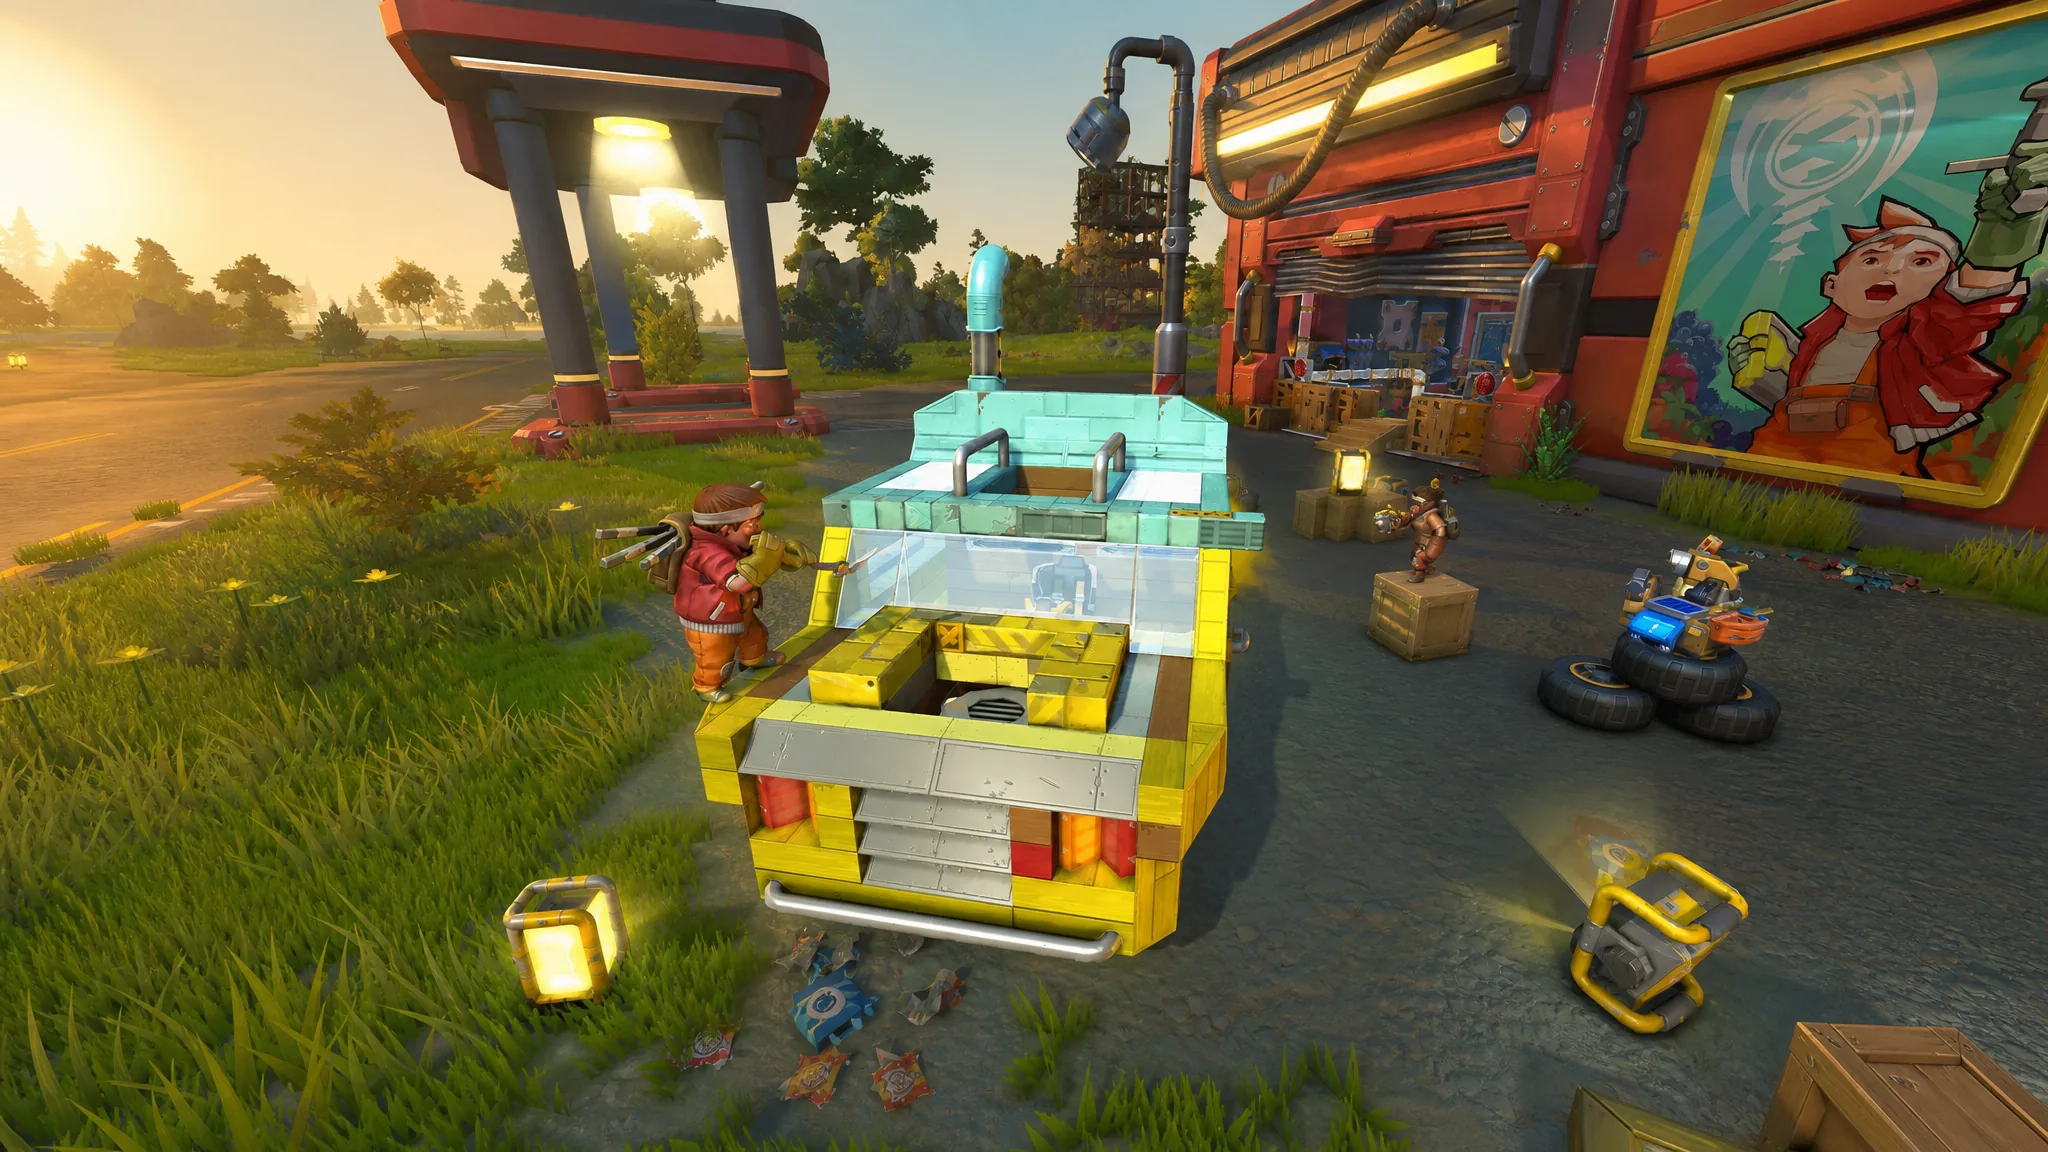
Crops in Scrap Mechanic draw attention the moment you plant more than a handful. The game flags “unauthorized farming detected,” a countdown starts, and a wave of bots marches in to tear up your plots. The strongest answer is a wall that survives the hits combined with a mechanism that kills anything touching it, and you can wire the whole thing to run on its own.
Quick answer: Build your fields inside a wall at least seven blocks high, then hang a second wall on Sports Suspensions and mount Piston-driven concrete slabs above it. Wire Sensors and a Timer through three Logic Gates (two NOR, one OR) so any bot that touches the hanging wall gets crushed automatically.
What triggers raids and how bad they get
Raids scale with what you grow and how long you farm. Higher-quality produce pulls stronger bots, and each night the waves get tougher. Keeping the raid level low limits which enemies show up, which directly changes how much wall you actually need.
| Raid level | Bots that appear |
|---|---|
| Level 6 | Totebots and Haybots only |
| Level 7–8 | Adds Tapebots |
| Level 9–10 | Adds Farmbots (hardest to defend against) |
If you don’t need battery drops from Tapebots, aim for level 6 raids. Your farm stays smaller and cheaper, and you never have to deal with Farmbots. Taking breaks from planting resets the raid level back to something manageable.
Block durability that survives each bot
Damage to blocks is rolled by chance, and the roll depends on the bot doing the hitting. Tier 3 metal is close to indestructible against everything except the toughest enemies. Match your wall material to the raid level you plan to trigger.
| Attacker | Block durability that holds |
|---|---|
| Totebots and Tapebots | Durability 5 is impervious |
| Haybots | Durability 8 tanks them (durability 6+ is nearly safe) |
| Farmbot projectiles | Durability 2 is safe |
| Farmbot melee | Nothing craftable is fully safe |
For a level 6 setup, durability 8 walls shrug off both bot types. Concrete alone lasts only a few hits, so it is not enough as a standalone barrier.
Parts you need for the crusher wall
The automated crusher is built from a small set of parts. Gather these before you start so the wiring goes in one pass.
- Logic Gate (three needed)
- Timer
- Sensor Level 1 (one per suspension)
- Piston Level 2
- Sports Suspension
- Wood Blocks and Concrete Blocks (plus a high-durability block for the outer wall)
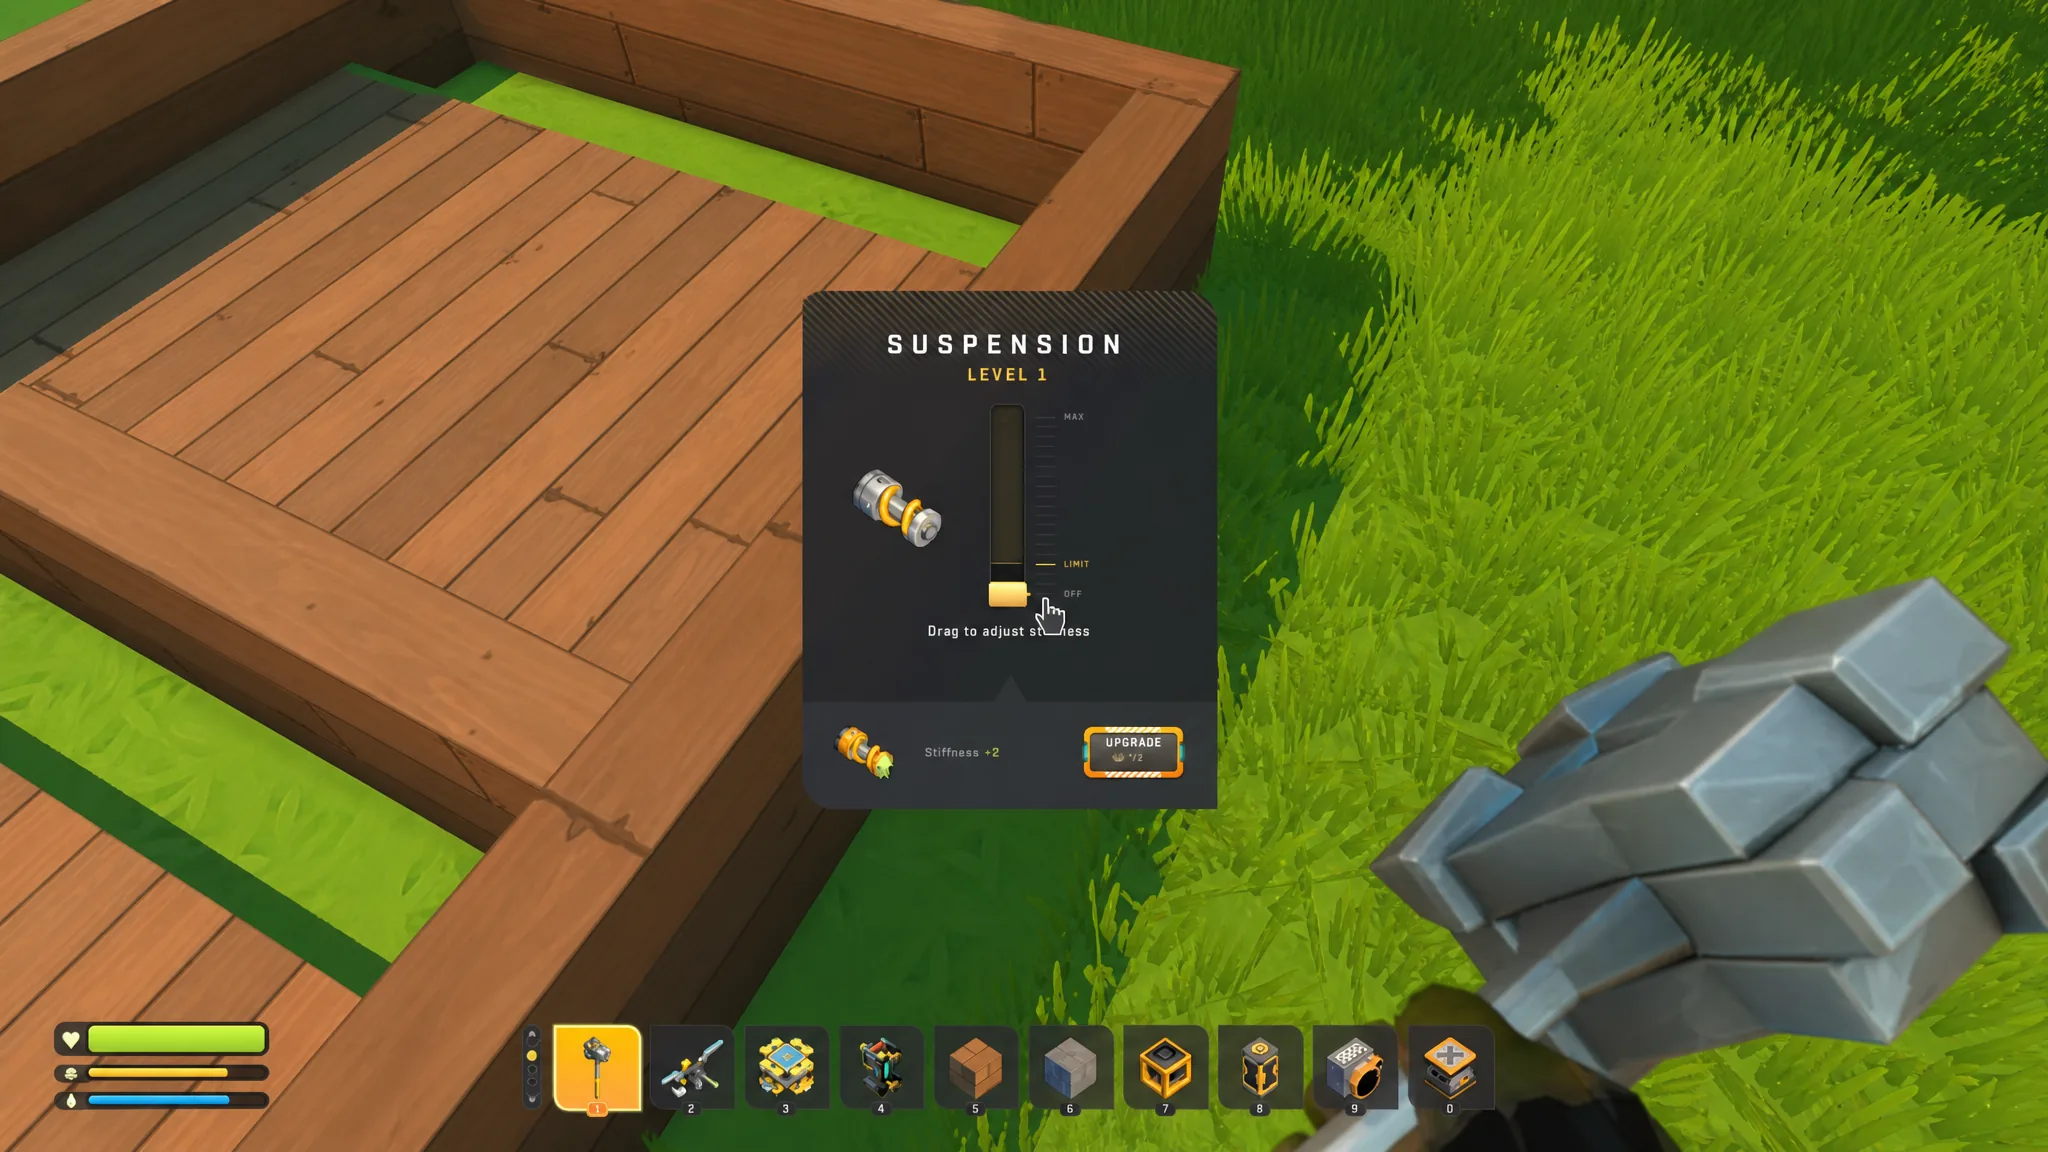
Build the automated crusher defense
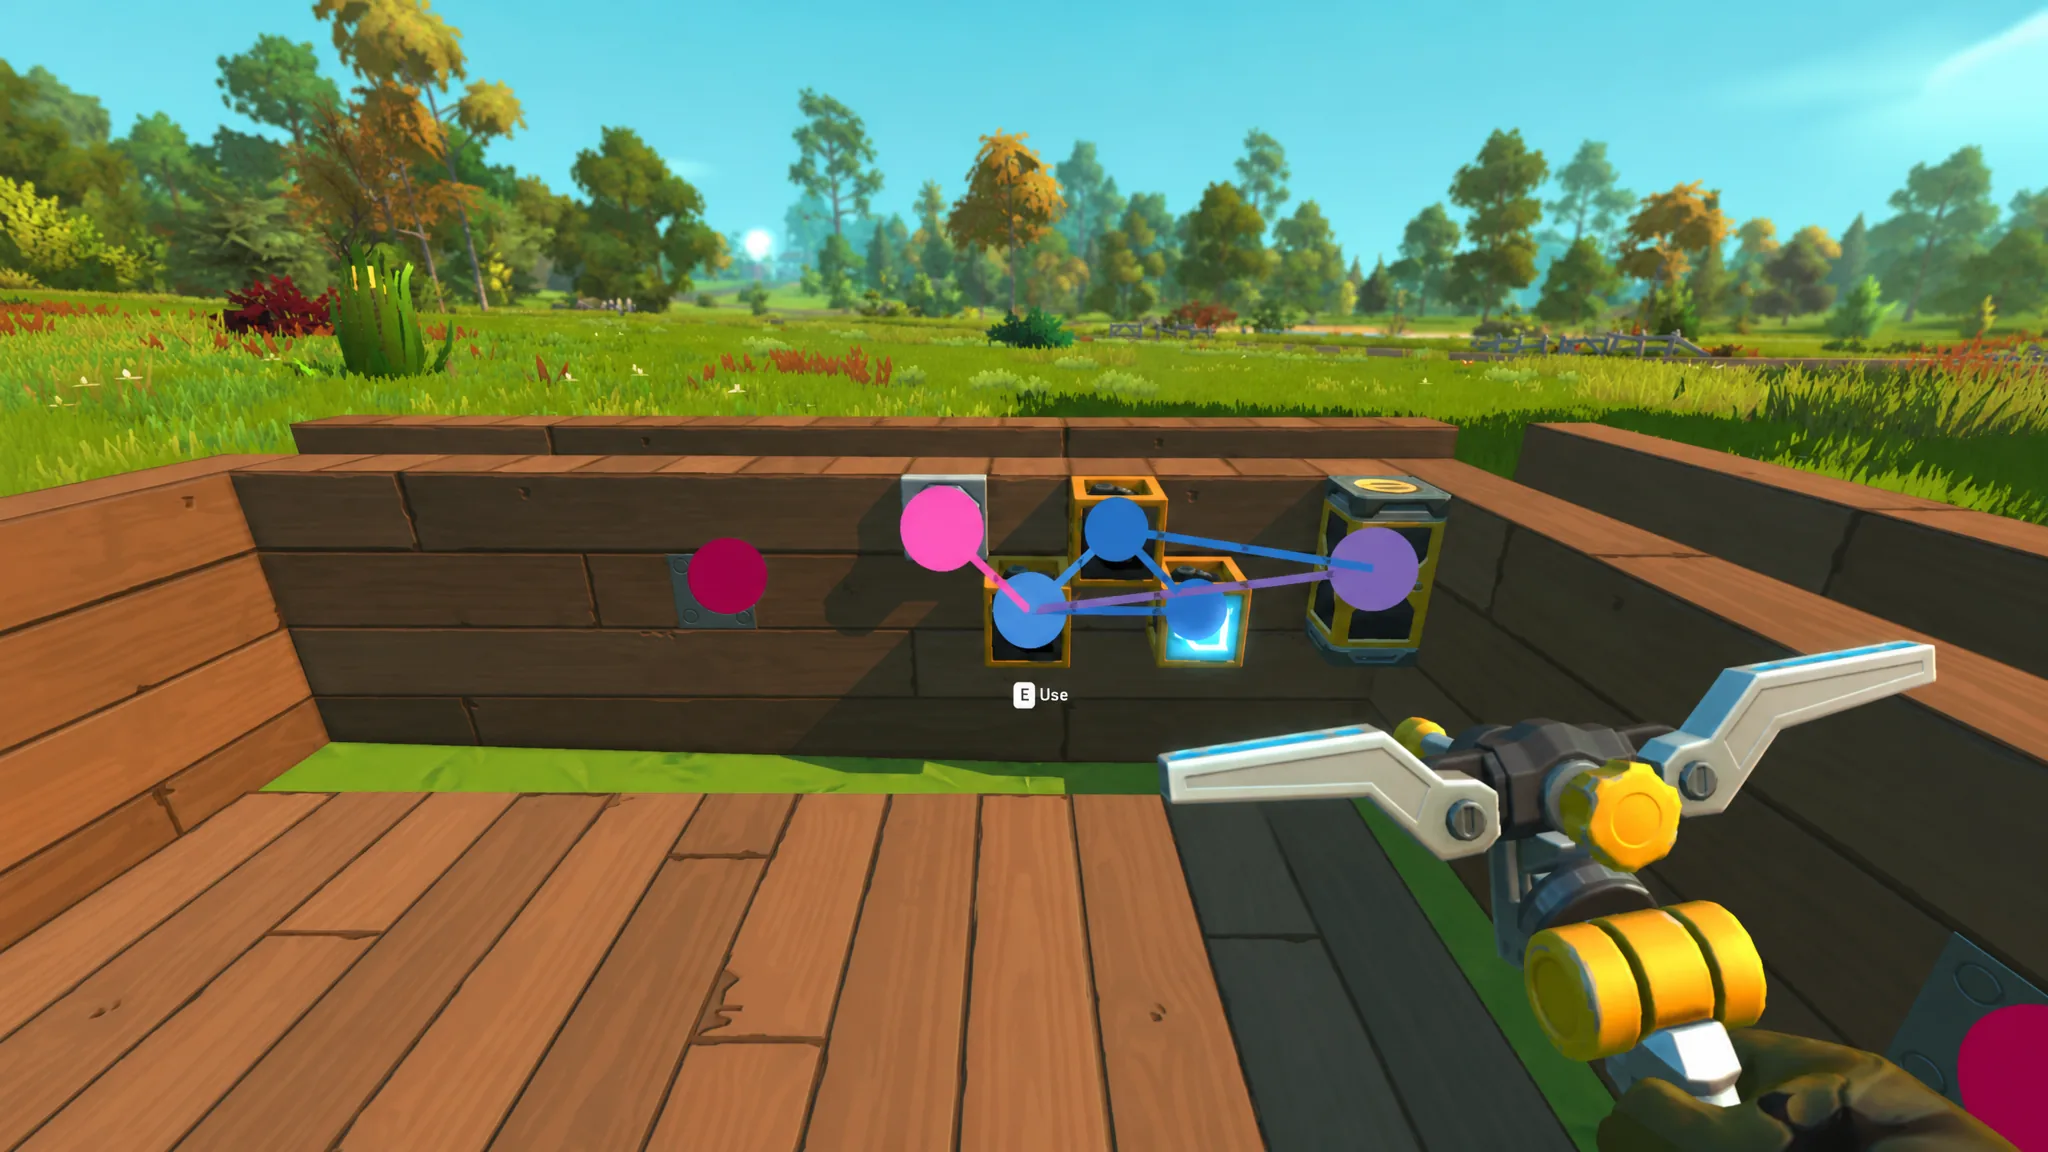
How to confirm the defense works
When a bot pushes against the hanging wall, the suspension shifts, the Sensor triggers, and the logic chain fires the Pistons so the concrete slab slams down. A crush kills even the larger bots quickly. Test it on a single bot first. If the slab drops and destroys it without you touching a button, the wiring is correct.
Note: if the slab does not move, check that every suspension feeds the correct NOR gate, that the Pistons are all connected to the OR gate, and that the Timer delay is set to 1 second. A missing connection anywhere in the chain leaves part of the wall inactive.
Simpler alternatives if you skip the crusher
The crusher is the most reliable hands-off option, but several cheaper setups hold up well, especially at lower raid levels. Bots avoid water, saw blades, and drills, though they grow braver over time and the deterrents are not permanent.
| Approach | How it protects the farm |
|---|---|
| Island farm | Haybots don’t swim and wander the shore; Totebots swim slowly and are easy to pick off in the water. |
| Hill or mountain base | Bots spawn at the bottom and often can’t climb, so little defense is needed. |
| Saw blades and drills | Mount them on the wall powered by controllers to save fuel; drills damage Haybots but not the small green Totebots. |
| Drill moat with pusher | Bots stop at a ramp edge above a drill-filled moat; a ceiling-mounted pusher swings out and shoves them in. |
| Mounted spud guns | Automated guns triggered by sensors fire on incoming bots at the wall. |
| Fence columns | One-block-wide, four-high Tier 3 metal columns with a one-block gap; bots try to walk through the gaps instead of attacking. |
Powering saws, drills, and guns with controllers instead of engines means they cost no resources to run, so an automated perimeter can repel wave after wave while you collect bot drops in peace. Pair any of these with high-durability walls and you can hold a farm indefinitely, even before you commit to the full crusher build.





