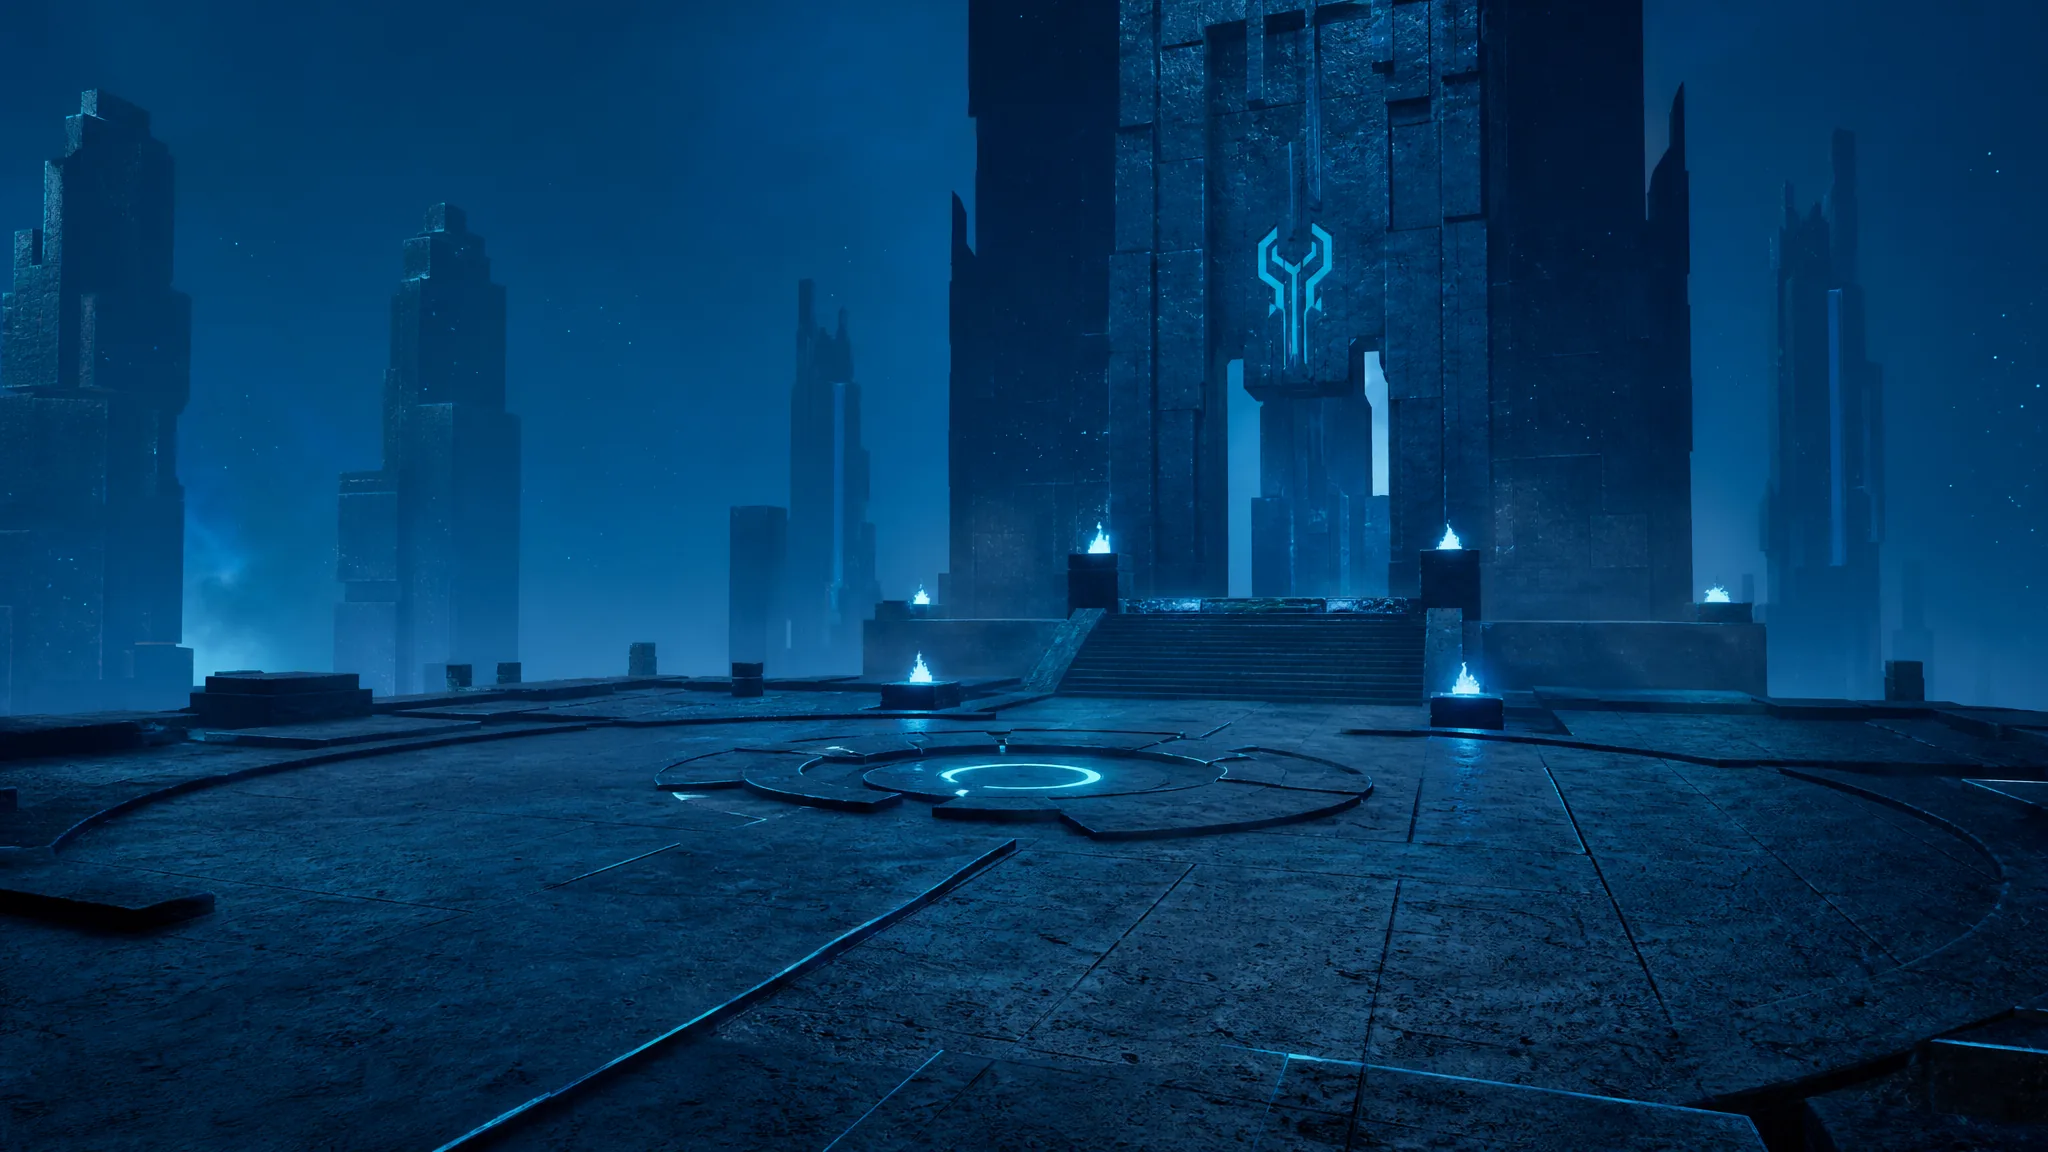
Hard Mode Zoe and Grizzbolt is a fully end-game fight at the Rayne Syndicate Tower. The boss keeps its Ground weakness, but its health jumps to 464,000, its damage is tuned to burst you down, and it now gains Grass attacks that specifically punish Ground-type Pals. Winning comes down to a maxed Ground team, damage buffs stacked correctly, and keeping Grizzbolt’s Electric output suppressed.
Quick answer: Run a fully condensed, awakened, level 80 Ground attacker (Knocklem, Pierdon, or Anubis) with support Pals like Orserk and Turtacle Terra, wear the Ancient Armor set, kill the Syndicate Gunner and Syndicate Crusher first, then keep Muddy applied on Grizzbolt while you deal player damage until the health bar empties.
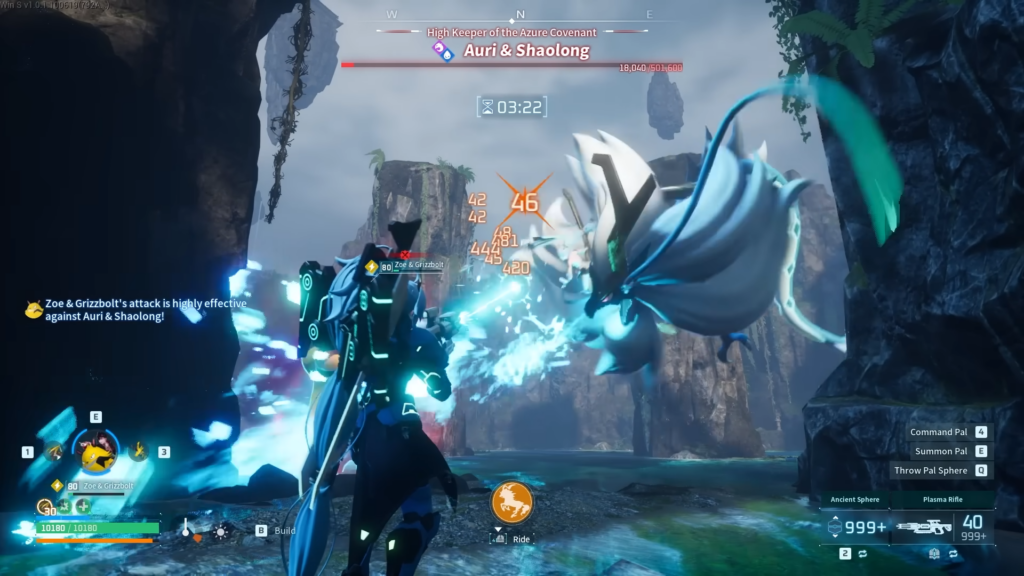
Hard Mode boss stats and unlock
Hard Mode Zoe and Grizzbolt is a level 72 fight with 464,000 HP, weak to Ground. You unlock it after defeating Auri and Shaolong. The arena also spawns extra enemies alongside the boss, so plan for a two-front fight from the start.
| Boss | Detail |
|---|---|
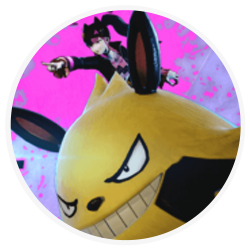 Zoe and Grizzbolt Zoe and Grizzbolt | HP 464,000 · Level 72 · Weakness: Ground |
| Unlock | Defeat Auri and Shaolong |
| Extra enemies | Syndicate Gunner x1, Syndicate Crusher x1 |
The tower sits northeast of the Small Settlement at coordinates 111, -431. Activate the fast travel statue nearby so you can respawn and re-enter quickly if a run goes wrong.
Rewards
| Reward | Notes |
|---|---|
 Zoe Hat Zoe Hat | Guaranteed on first clear |
 Legendary Beam Scatter Schematic Legendary Beam Scatter Schematic | 10% drop chance |
 Speed Lotus (L) Speed Lotus (L) | Material |
 Training Crystal Training Crystal | Material |
Minimum Pal requirements before you enter
This is a level 80 encounter in practice. A strong build with the wrong preparation still gets flattened, so your main attacker has to be fully invested before you walk in. Meet every requirement below on your ace attacker.
| Requirement | Value |
|---|---|
| Level | 80 |
| Pal Soul upgrades | HP +20, Atk +20, Def +20 |
| Trust level | 7 or higher |
| Condense | 4-Star |
| Awakened | Yes |
| IVs | Maxed |
Type matchup does most of the heavy lifting here. A high-attack Pal of the wrong element barely dents the boss, which is why raw stats alone are not enough against Hard Mode towers.
Best Ground-type attackers
All three attackers below hit Grizzbolt’s Ground weakness. Anubis lets you play as the main damage dealer while it activates its Partner Skill, while Knocklem and Pierdon push huge damage through their own skills.
| Pal | Why it works |
|---|---|
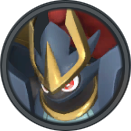 Knocklem Knocklem | Partner Skill massively boosts its Attack and Defense; Ground Cutter has high damage and accuracy. |
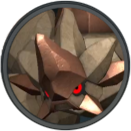 Pierdon Pierdon | Partner Skill greatly boosts damage to Muddy targets; Horn Burst is an exclusive 600 Power move. Needs Muddy applied first. |
 Anubis Anubis | Has a built-in dodge, comes with Earth Emperor by default, and lets the player become the main DPS. |
Quick-swap Knocklem team
This setup runs two Knocklem and swaps between them whenever the Partner Skill hits cooldown. That gives near-permanent uptime on the Attack and Defense boost. Both Knocklem carry Serenity, Earth Emperor, Immortality, and God of Destruction.
| Role | Pal |
|---|---|
| Active | Knocklem x2 (swap on cooldown) |
| Support |  Turtacle Terra Turtacle Terra |
| Support | Orserk |
| Support | Silvegis |
Turtacle Terra adds an extra Ground damage boost, Orserk stacks a universally useful Attack and Defense buff, and Silvegis buffs your shield for extra survivability.
Muddy Pierdon team
Pierdon deals enormous damage to Muddy targets, so this team is built to keep Grizzbolt Muddied and stack Ground buffs. Pierdon carries Serenity, Earth Emperor, Immortality, and God of Destruction.
| Role | Pal |
|---|---|
| Active | Pierdon |
| Support | Turtacle Terra |
| Support | Orserk |
| Support |  Celesdir Noct Celesdir Noct |
| Support | Surfent Terra |
Surfent Terra helps apply Muddy through your attacks. You can swap it for Dumud if you would rather not apply Muddy manually. Note that enemies grow resistant to Muddy the more you apply it, so time it to land right before Pierdon fires a Ground move.
Best weapons, armor, and accessories
Because you contribute a large share of the damage yourself, your loadout matters as much as the Pal team. The Drone Launcher is the priority pick since it rapidly stacks Orserk’s Partner Skill buff while you stay near the boss.
| Weapon | Lv. | Attack | Durability |
|---|---|---|---|
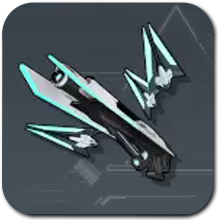 Drone Launcher Drone Launcher | 77 | 200 | 6500 |
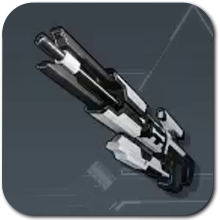 Plasma Rifle Plasma Rifle | 78 | 1860 | 25000 |
 Megaboost Gun Megaboost Gun | 63 | 250 | 400 |
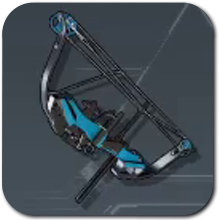 Mechanical Bow Mechanical Bow | 67 | 20000 | 2000 |
Plasma Rifle is the strongest all-purpose gun, Megaboost Gun adds a buff to your active Pal, and the Mechanical Bow is handy for applying status effects like Poison when needed.
Armor
Use the highest-Defense gear you can craft. The full Ancient Armor set is the minimum standard for a Hard Mode tower, and you can upgrade to a higher-tier version if you have one.
| Item | HP | Def | Added effect |
|---|---|---|---|
 Ancient Shield Ancient Shield | N/A | 2200 | None |
| Ancient Helm | 1200 | 500 | Neutral Damage Reduction Lv.1 / Dragon Damage Reduction Lv.1 |
| Lightweight Ancient Armor | 2400 | 840 | Cold Resistance Lv.2 / Heat Resistance Lv.2 / Max Carrying Capacity Lv.4 |
Accessories
Prioritize accessories that boost Ground damage, since that is Grizzbolt’s weakness. The Dogen Emblem is the common go-to because it raises both your Attack and your Pal’s.
| Item | Effect |
|---|---|
 Dogen Emblem Dogen Emblem | Greatly raises your Attack and your active Pal’s Attack. |
 Earth Emperor’s Baton Earth Emperor’s Baton | Raises your Pal’s Attack and significantly increases Ground damage. |
 Anubis’s Talisman Anubis’s Talisman | Raises your Pal’s Defense and significantly increases its Ground damage. |
 Menasting Terra Ring Menasting Terra Ring | Greatly reduces incoming Electric damage and increases your Pal’s Ground damage. |
Food buffs and healing to bring
Tower fights have a time limit, so favor food that increases damage output over defensive food. Running out of time with the boss still alive is a common way to lose an otherwise good run.
| Type | Items |
|---|---|
| Damage food |  Broncherry Fried Noodles, Mammorest Curry Broncherry Fried Noodles, Mammorest Curry |
| Healing |  High Quality Recovery Meds, Advanced Recovery Meds, Revival Potion High Quality Recovery Meds, Advanced Recovery Meds, Revival Potion |
Keep several healing items and at least one revival potion in your bag so a big hit or a downed Pal does not end the run.
Grizzbolt’s Hard Mode attacks
The dangerous part of Hard Mode is that Grizzbolt now carries Grass moves to counter your Ground team. Grass attacks can leave you ivy-covered, which stops you from rolling. If that happens, use a Grappling Gun to reposition and dodge the follow-up.
| Skill | Type | Power | CT |
|---|---|---|---|
| Lethal Laser | Electric | 600 | 30 |
| Heavy Thunder Tank | Electric | 550 | 24 |
| Thunder Rain | Electric | 400 | 20 |
| Reflect Leaf | Grass | 400 | 20 |
| Lightning Strike | Electric | 300 | 16 |
| TriSpark | Electric | 250 | 12 |
| Spine Vine | Grass | 250 | 12 |
| Wind Edge | Grass | 200 | 12 |
| Seed Mine | Grass | 120 | 8 |
Fight strategy step by step
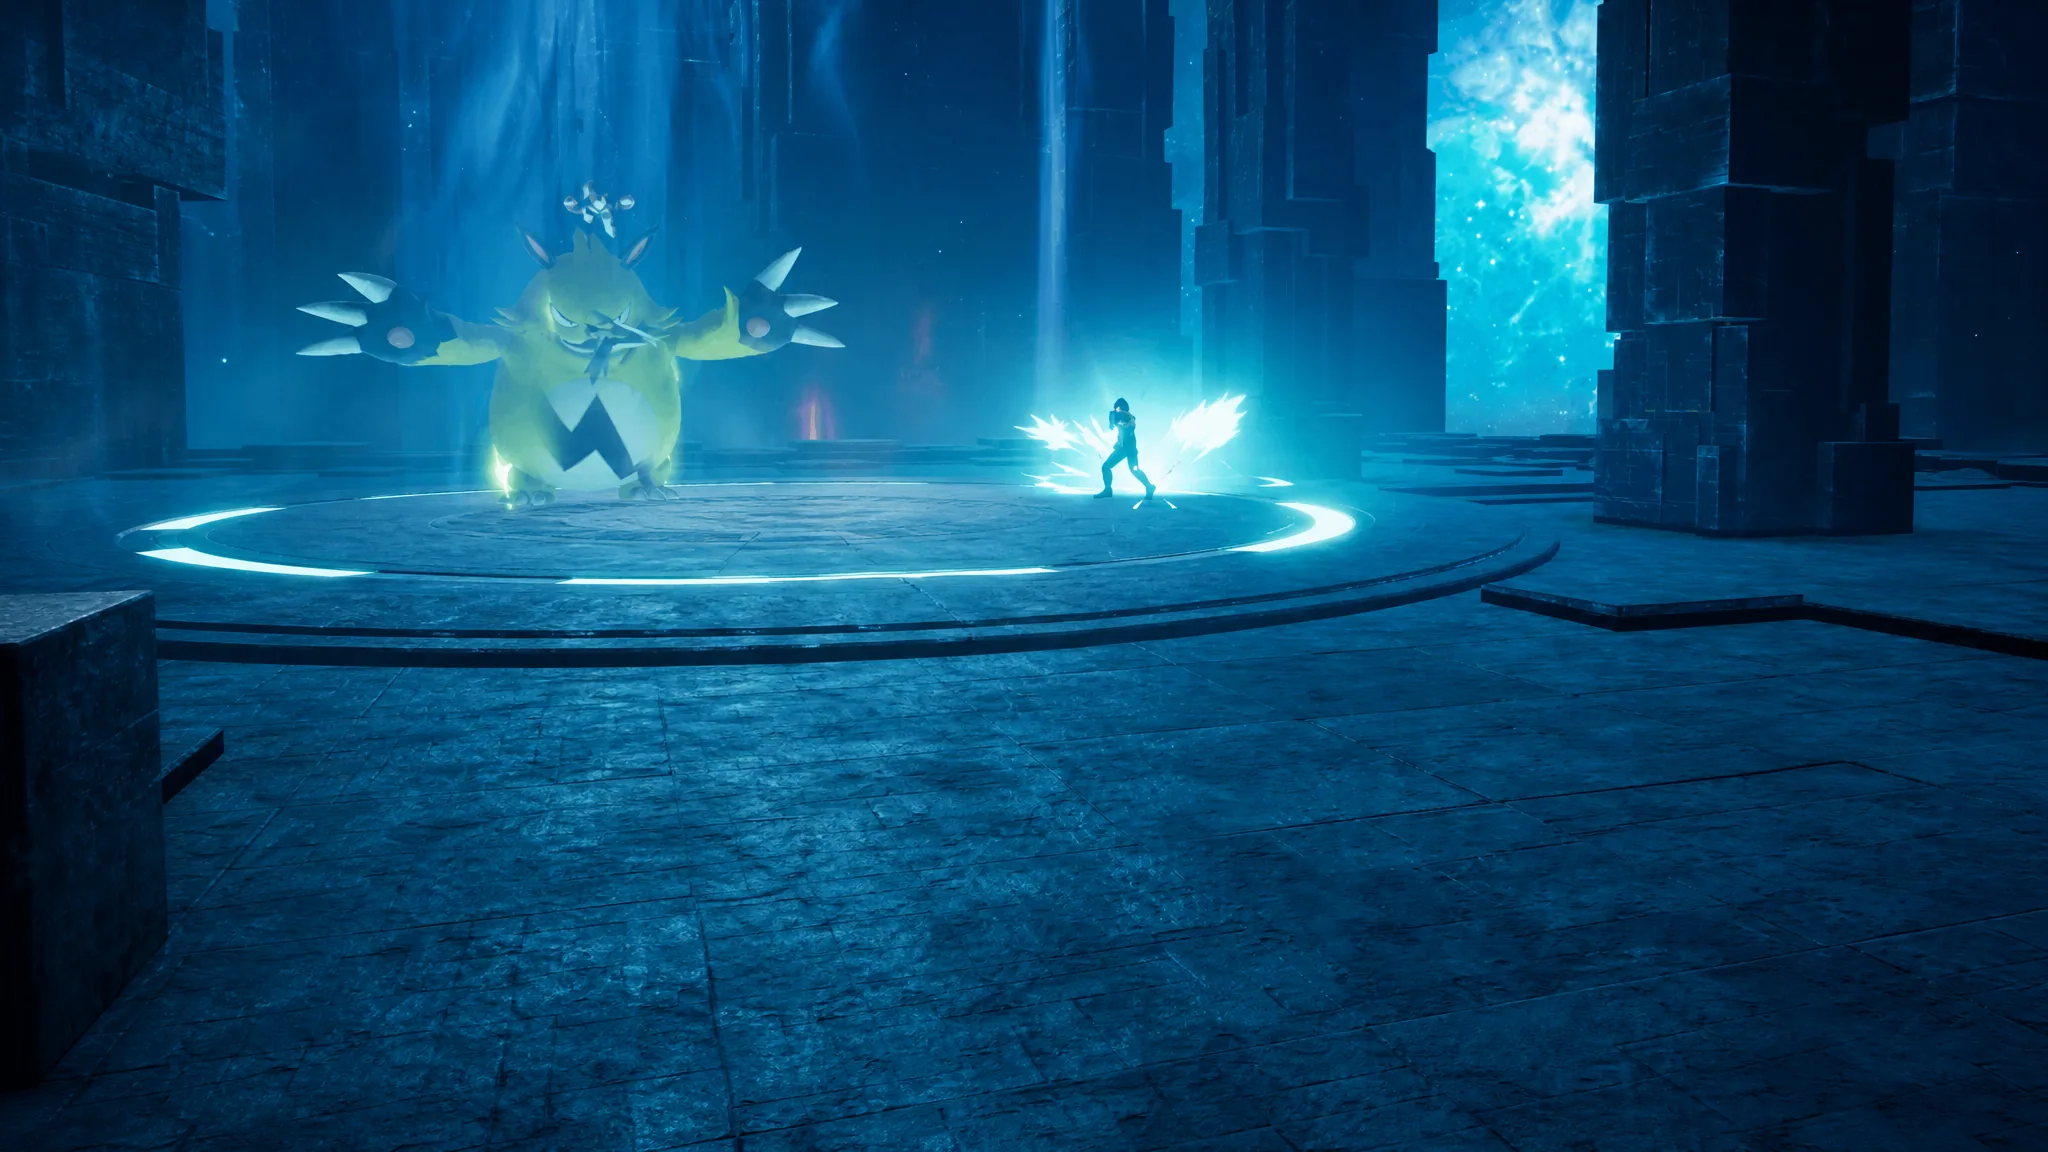
You know the fight is won when the shared health bar empties and the results screen appears. First-clear players receive the Zoe Hat automatically, with a 10% chance at the Legendary Beam Scatter Schematic on top.
The recurring reason runs fail is a mismatch between investment and matchup. Even a maxed Pal of the wrong type does almost nothing, and a Ground Pal that eats a Grass attack can get one-shot. Lock in the type advantage, keep Muddy applied, and the boss’s health drops far faster than its 464,000 pool suggests.