
Pope’s Research is a side mission handed to Dylan Faden by Emily Pope, and it doubles as your key for getting around the Unknown zone in Control Resonant. Pope has scattered eight research balloons across the floating city, each carrying a set of probe relays she wants planted on the ground. Finish the job and you unlock the Budding Analyst trophy along with a Resonant Token.
Quick answer: Smash the payload crate at each of the eight balloons, carry all three relays to the red blood circles to deploy 24 relays total, then jump across the floating taxis to Point 0 to complete the mission.
How the mission works
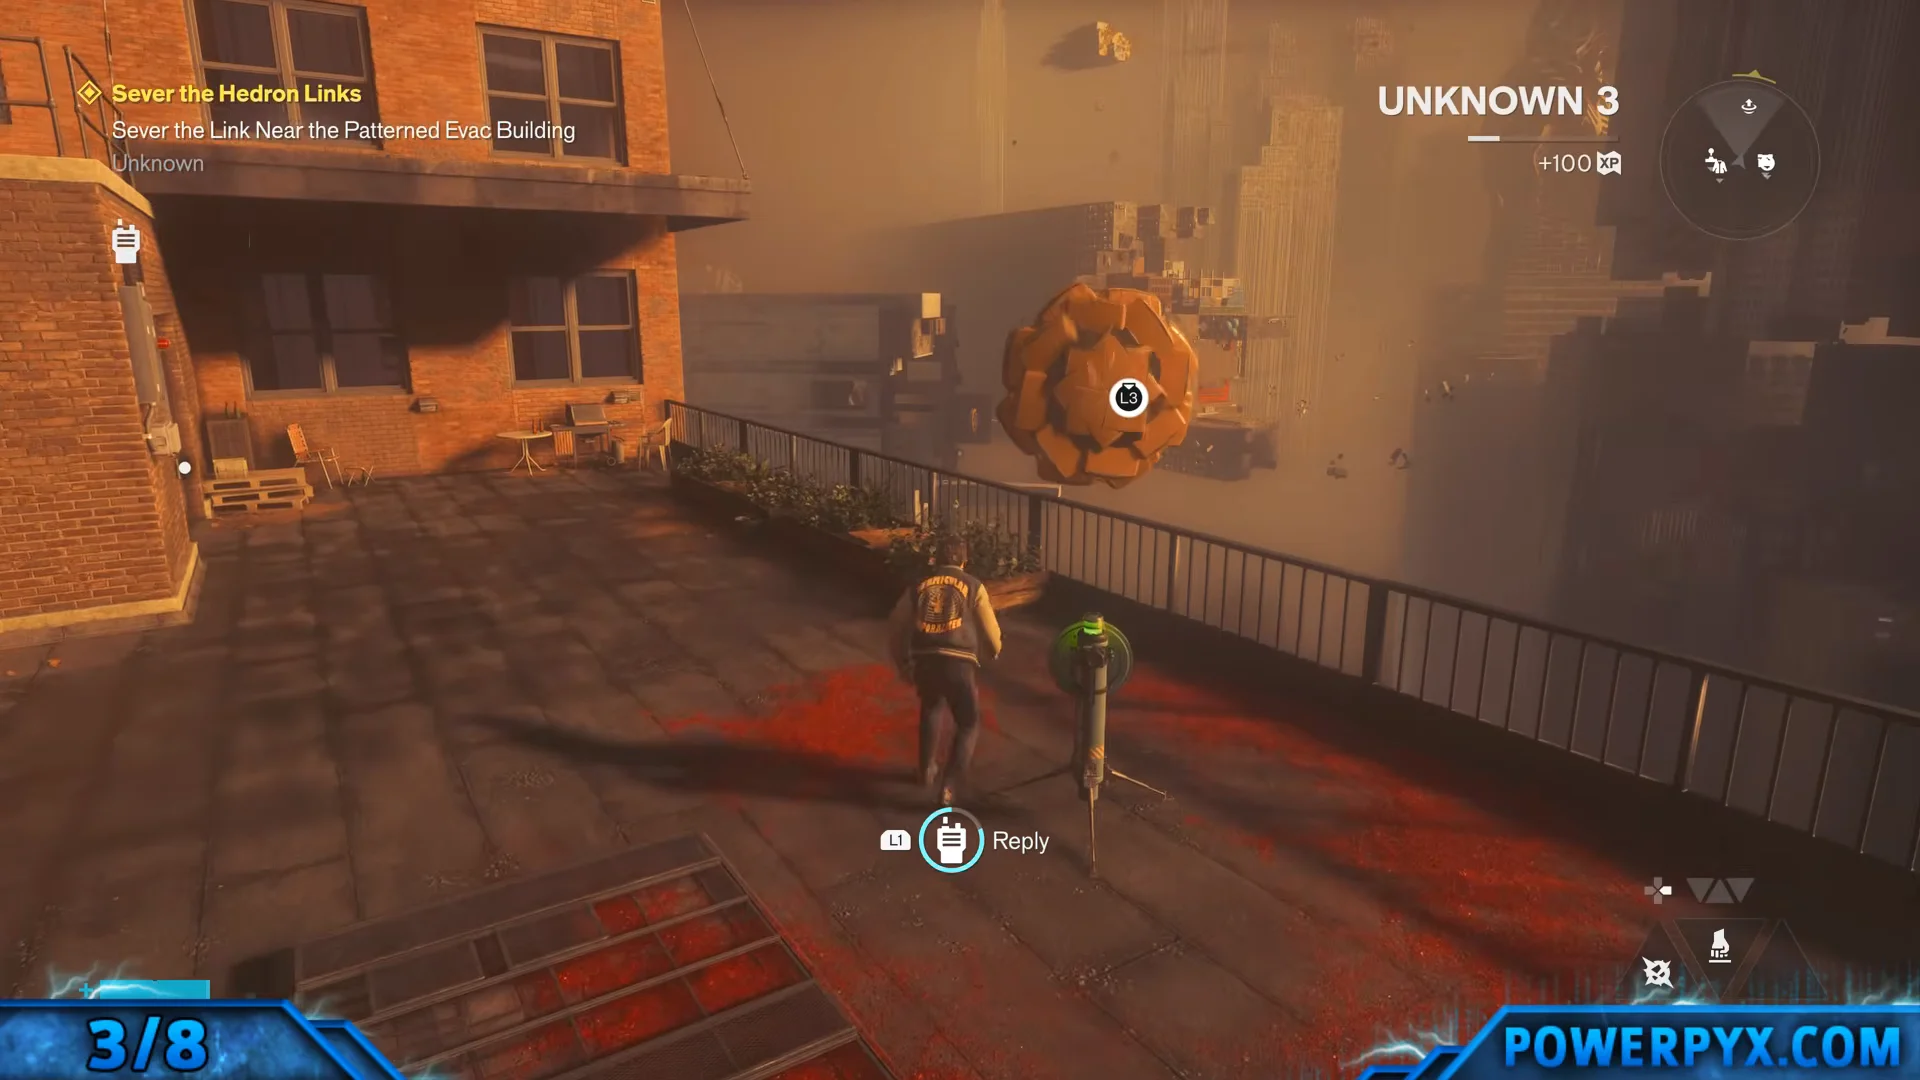
At each balloon, crack open the payload crate, gather the three probe relays inside, and install them on the ground-marked tripod identified by a red blood circle. Since there are eight balloons with three relays apiece, you must plant 24 relays before the mission proceeds.
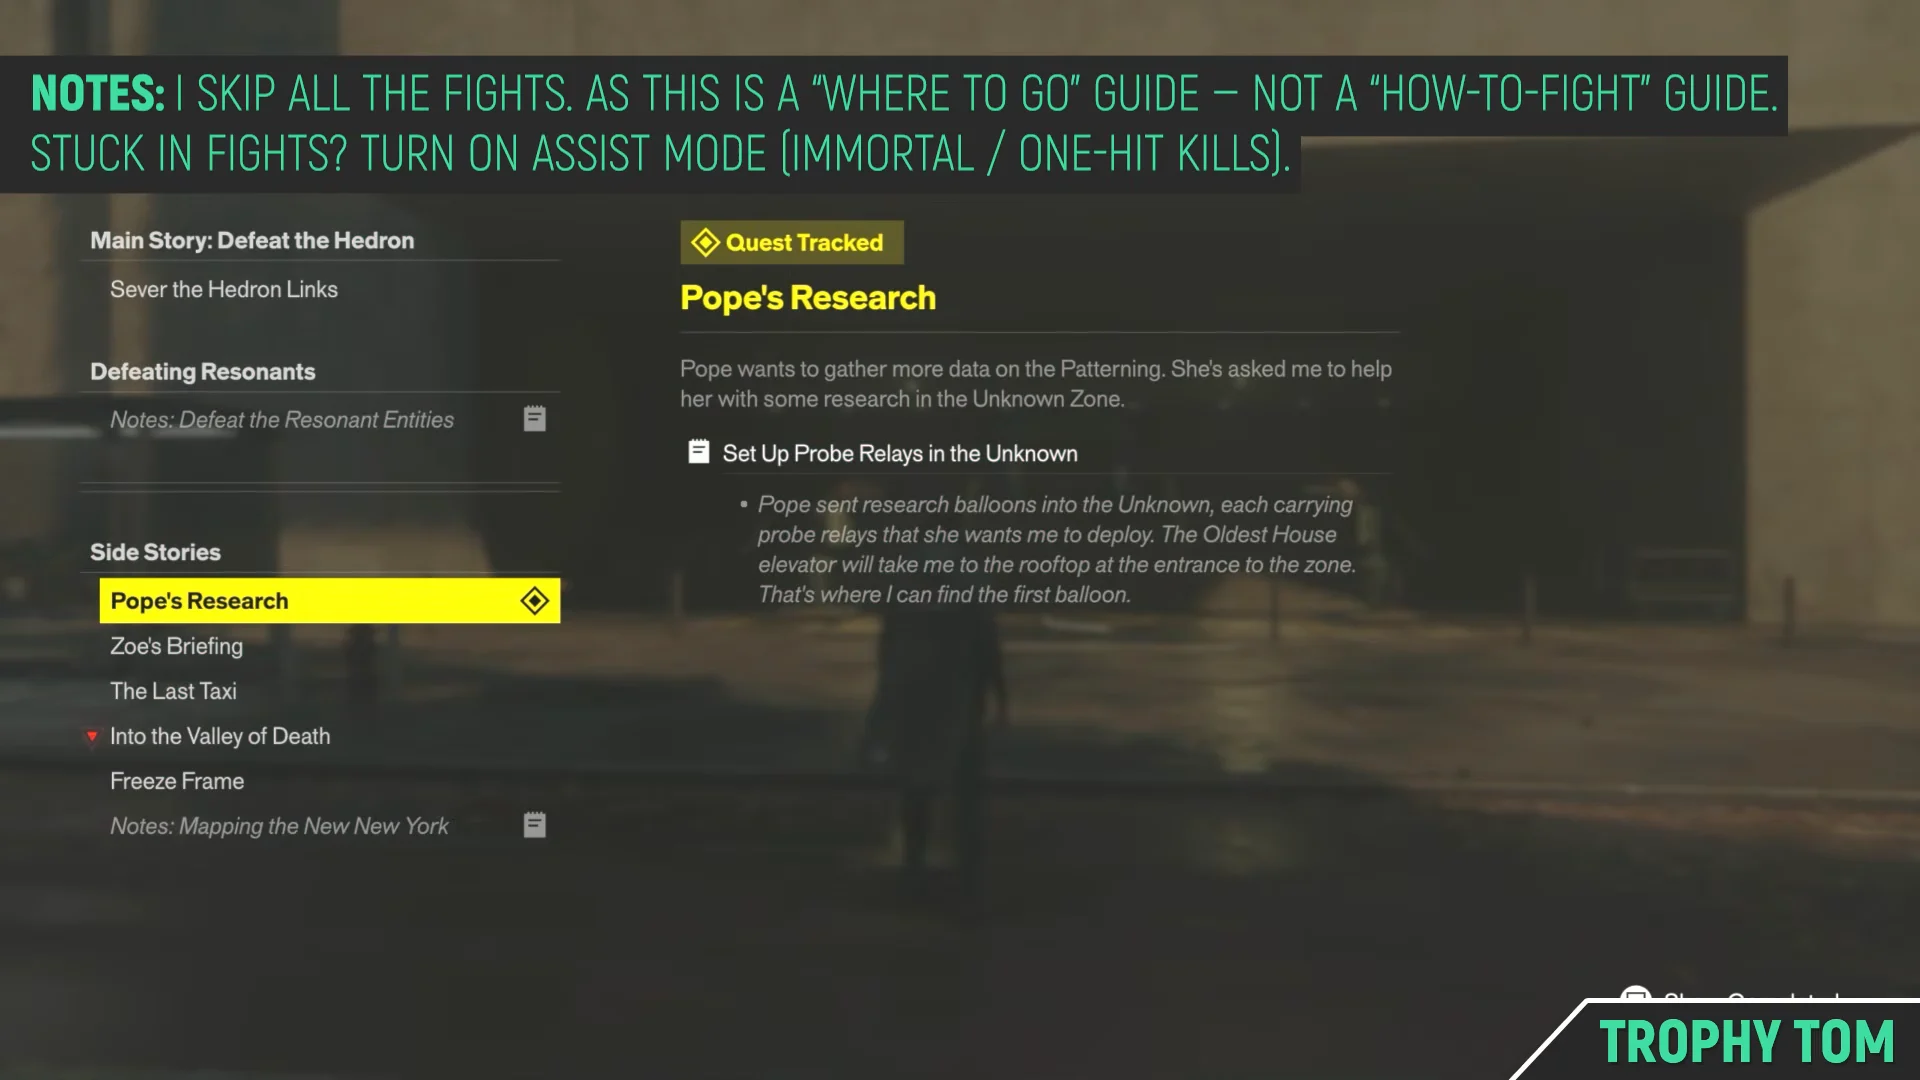
- Access the Unknown by riding the central Oldest House elevator to “Roof Access”.
- Move between detached city islands using the yellow floral gravity wells, which fling you upward into low-gravity glides.
- Hold L1 while falling to glide and land safely on the street below.
- Open the fast travel doors along the route so you can teleport back to earlier balloons.
If a fight blocks your path, switch on Assist Mode for immortality or one-hit kills so you can focus purely on navigation.
When Pope’s Research becomes available
This side mission sits in the late stretch of the campaign, running alongside the main-story chapter Sever the Hedron Links. You reach that point after The Hedron Link and the Jesse-focused Fault missions, so the Unknown is one of the last regions you explore. Because the zone is so disorienting, Pope’s Research is effectively required to move through it.
Fast travel doors to open along the way
Five fast travel doors sit near the balloons. Activating them lets you hop back to earlier points instead of gliding the whole route again, which matters for Balloon 4 in particular.
- Oldest House Rooftop
- Twisted Rooftops
- Tower Island
- Factory Island
- Patterned Evac Building
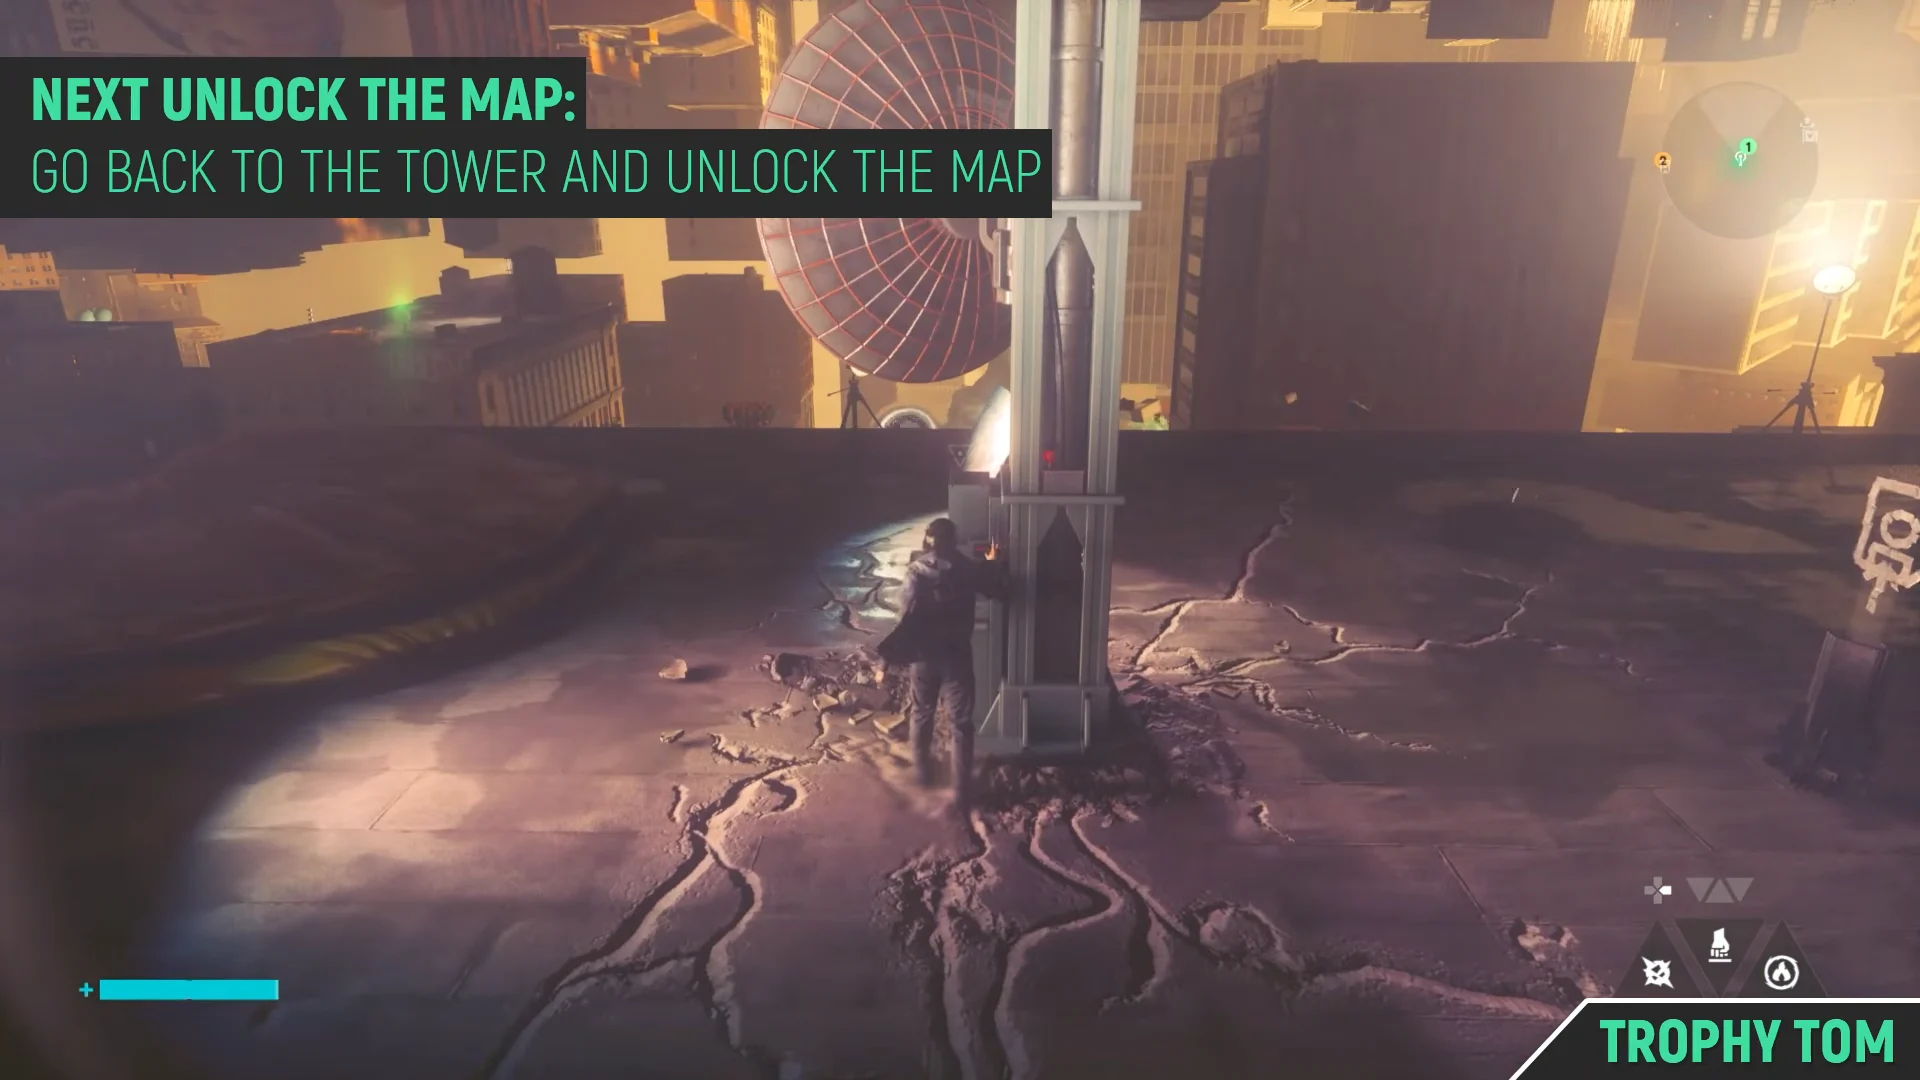
Unlock the zone map first
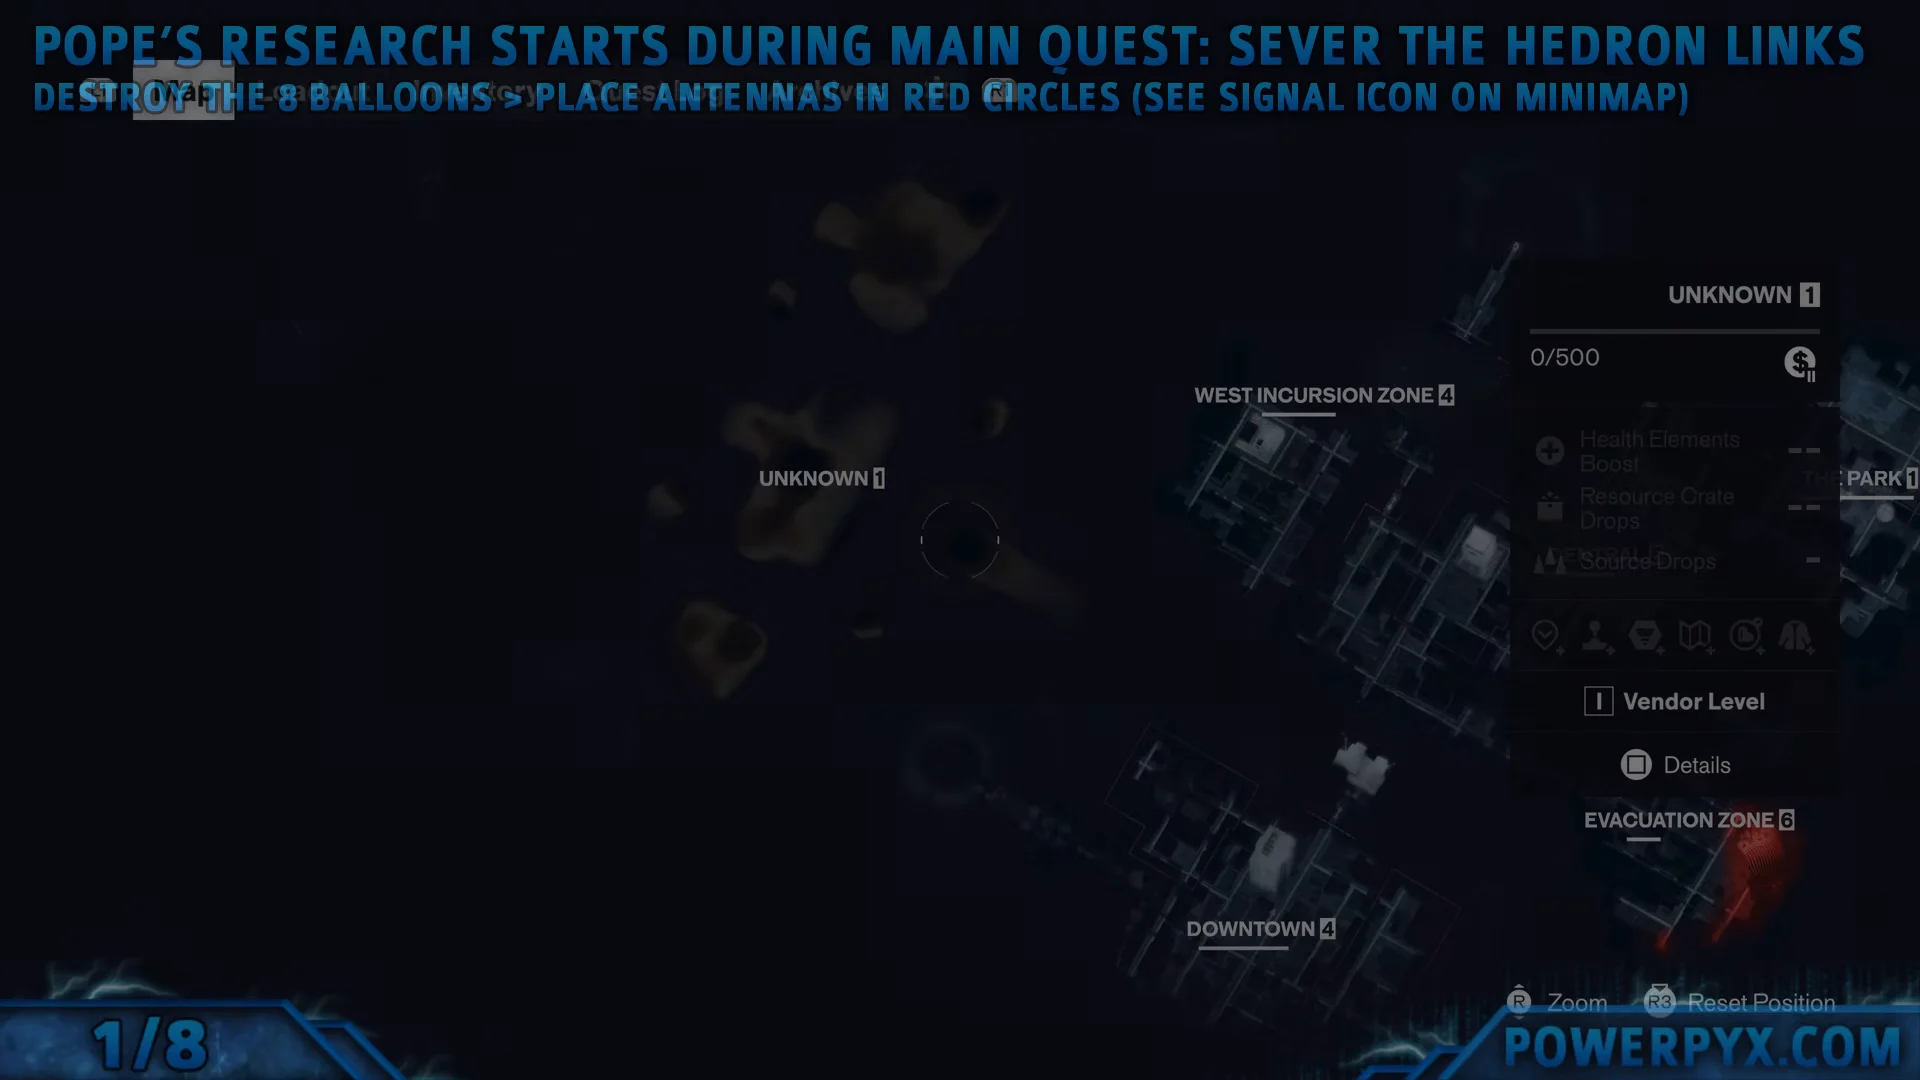
Right after Balloon 1, deal with the Map Kit so you can actually see where the other balloons are. This adds three Map Kit probe relays around the Twisted Rooftops and tower area, then a final activation at the central antenna tower.
All eight balloon locations
Work through the balloons in the order below. At each one, smash the payload crate and plant all three relays in their red circles before moving on through the gravity well.
| Balloon | Location | How to reach it |
|---|---|---|
| 1/8 | Oldest House Rooftop | Take the elevator to Roof Access; open the rooftop door first |
| 2/8 | Tower Island (north) | Head toward the blue mold; cross platforms and drop to the street |
| 3/8 | Street below Tower Island | Jump toward the street and hold L1 to glide down safely |
| 4/8 | South of the map tower | Gravity well to Oldest House, fast travel to Twisted Rooftops, go south |
| 5/8 | Factory Island | Ride the gravity well across; door is on the brick rooftops |
| 6/8 | Next floating island | Launch from the gravity well; land on the crane payload platform |
| 7/8 | Patterned Evac Building island | Gravity well jump; door is inside the ground floor |
| 8/8 | Central Island / Downtown street | Gravity well toward the central map tower, then drop to the road |
The Tower Island, Factory Island, and Patterned Evac Building doors are optional but save time. On Balloon 8, expect patterned enemies to attack while you deliver the final relays along the main downtown boulevard.
Reach Point 0 to finish the mission
Once the last relay is placed, an anomaly forms in the sky and the objective updates to “Investigate Point 0”. This is the final stretch and it is a short platforming section from the central map tower.
Confirming the trophy and reward
Landing at Point 0 immediately displays “Quest Completed: Pope’s Research” and awards the Budding Analyst silver trophy for helping Pope complete her research. You also get +1 Resonant Token; spend it at the Gap to obtain a new Combat Ability.