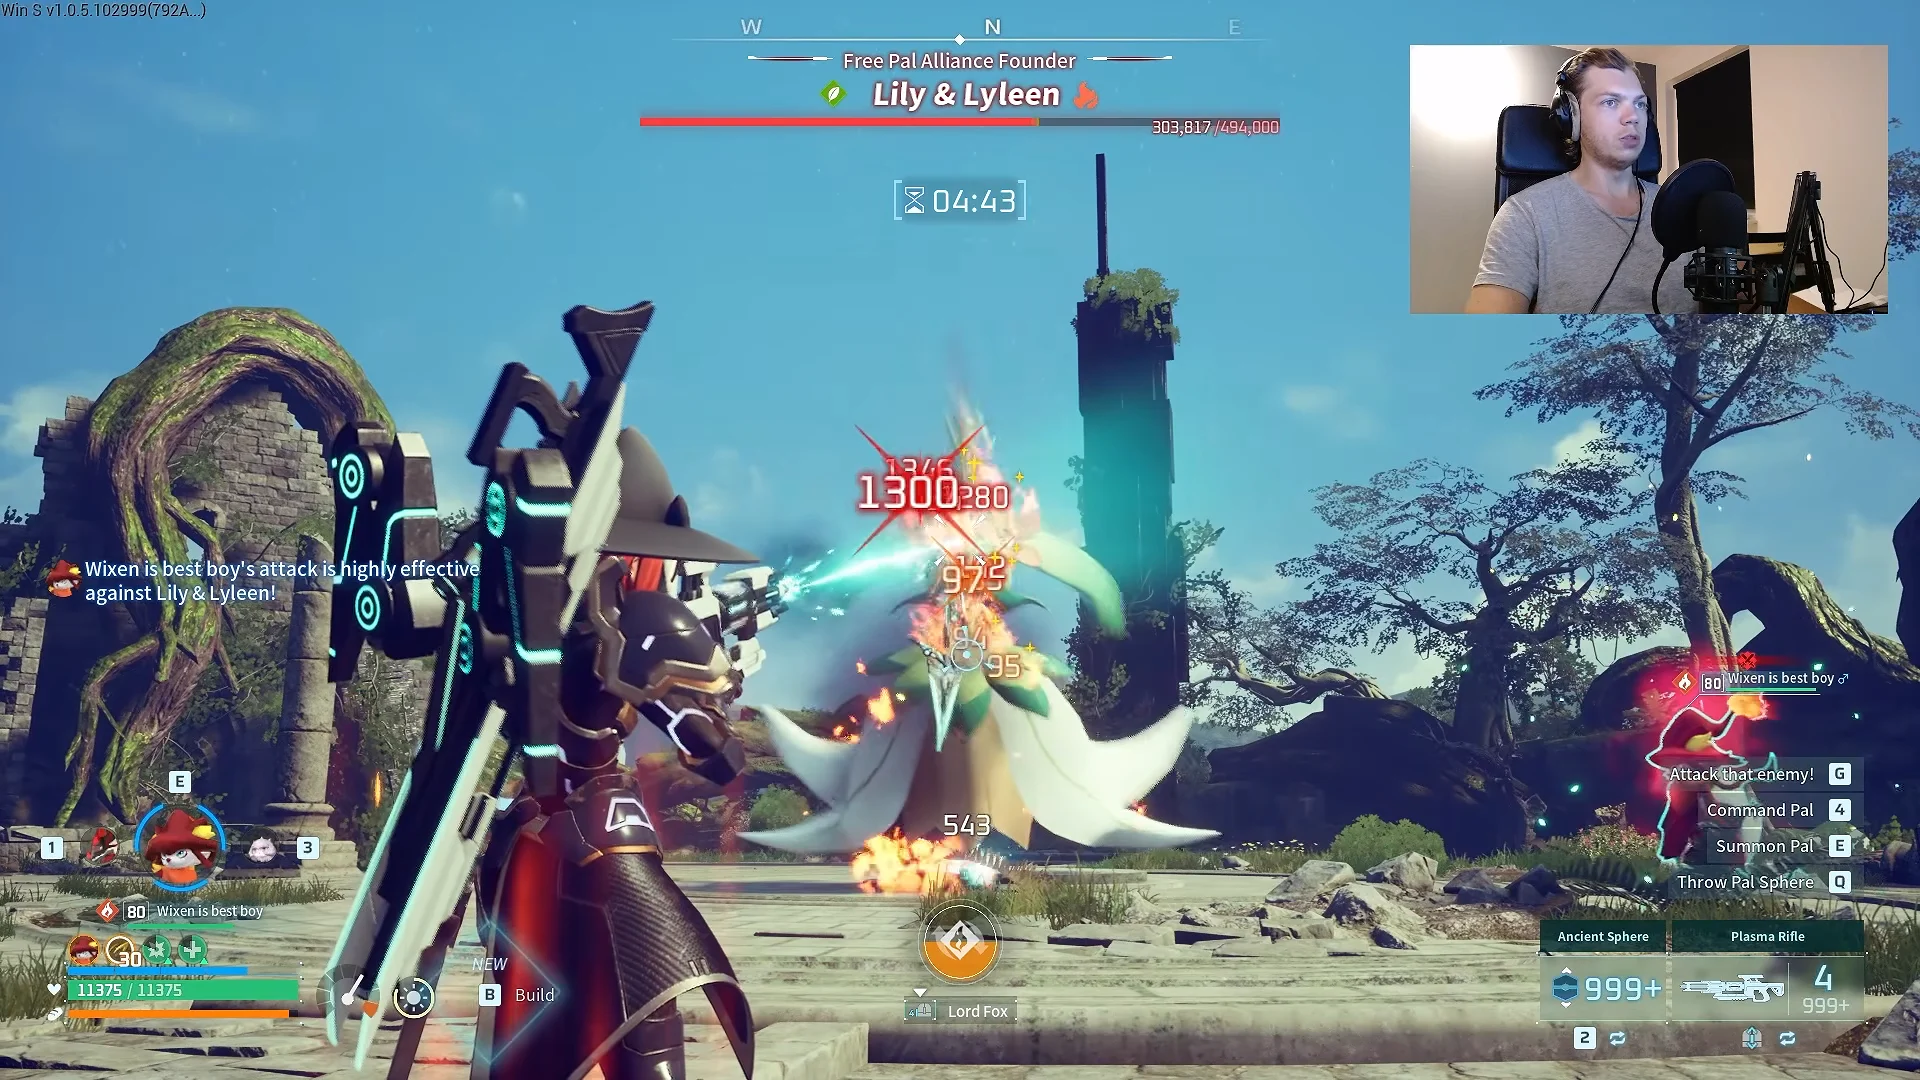
In the hard rematch, Level 80 Lily and Lyleen await at the Free Pal Alliance Tower with about 494,000 HP, and almost every damage type besides Fire barely dents them. Your approach is simple: pour concentrated Fire damage into the Grass boss before its water moves, broad Grass attacks, or lengthy-cooldown heal can become a factor.
Quick answer: Take a maxed Fire Pal, inflict Burn and Poison on Lyleen, and alternate shots between two single-shot rifles to bypass their reloads. With every buff active, you can empty the health bar in less than a minute.
Lily and Lyleen hard rematch: stats, location, and rewards
The hard encounter unlocks after Auri and Shaolong are defeated. Since Lyleen is a pure Grass Pal, Fire is its weakness, so other damage types are ineffective choices. At the fight’s opening, opposite sides of the boss are occupied by Free Pal Alliance Believer and Free Pal Alliance Judicator.
| Detail | Value |
|---|---|
| Boss | Lily and Lyleen (Grass) |
| Level | 80 |
| HP | ~494,000 |
| Weakness | Fire (x1.5) |
| Location | Free Pal Alliance Tower (36, -311) |
| Unlock | Defeat Auri and Shaolong |
A first clear guarantees the Lily Hat, plus a Training Crystal and a Life Lotus (L). There is a 10% chance at the Legendary Drone Launcher Schematic, and beating the tower for the first time also hands you five Ancient Technology Points.
Why the rematch has so much health
The game files give tower bosses arena multipliers based on their base Pal stats. Lily and Lyleen have just 110 base HP apiece, but the hard rematch expands their health pool dramatically and reduces the damage you deal to a small share. Pay particular attention to the x0.12 damage dealt multiplier; exploiting type advantage and piling on Attack buffs is essential.
| Modifier | Normal | Hard rematch |
|---|---|---|
| Boss HP multiplier | x25 | x100 |
| Damage you deal | x1 | x0.12 |
| Damage you take | x1 | x10 |
| Skill cooldowns | x2 | x3 |
Lyleen’s damage is scaled up tenfold, making a single heavy blow potentially fatal. Its healing move has a 300-second cooldown, so a burst-focused build can end the battle before it is available.
Fire teams that clear the fight
Whichever anchor you choose, fully build it to match the scaling: Level 80, Pal Soul upgrades of HP +20, Attack +20, and Defense +20, Trust Level 7 or higher, 4-star condensed, and Awakened. Fire attackers that fight at range and can hold aggro while avoiding melee counters are the most effective here.
| Pal | Rating | Why it works |
|---|---|---|
| Knocklem Ignis | ★★★★★ | Partner Skill hugely boosts Attack and Defense; Flame Cutter hits hard |
| Wixen | ★★★★☆ | Turns your weapon element to Fire and adds 40% Attack |
| Moldron P | ★★★★☆ | Magna Overload scales with Fire/Ground party members |
| Eidrolon Ignis | ★★★☆☆ | Attack scales with Fire allies; can be mounted |
Every team leans on the same support bench to multiply damage instead of adding a second attacker. These four buffs stack together and are the backbone of every fast kill.
- Prixter deals +65% damage to poisoned targets.
- Jormuntide Ignis deals 65% more damage to targets with Burn.
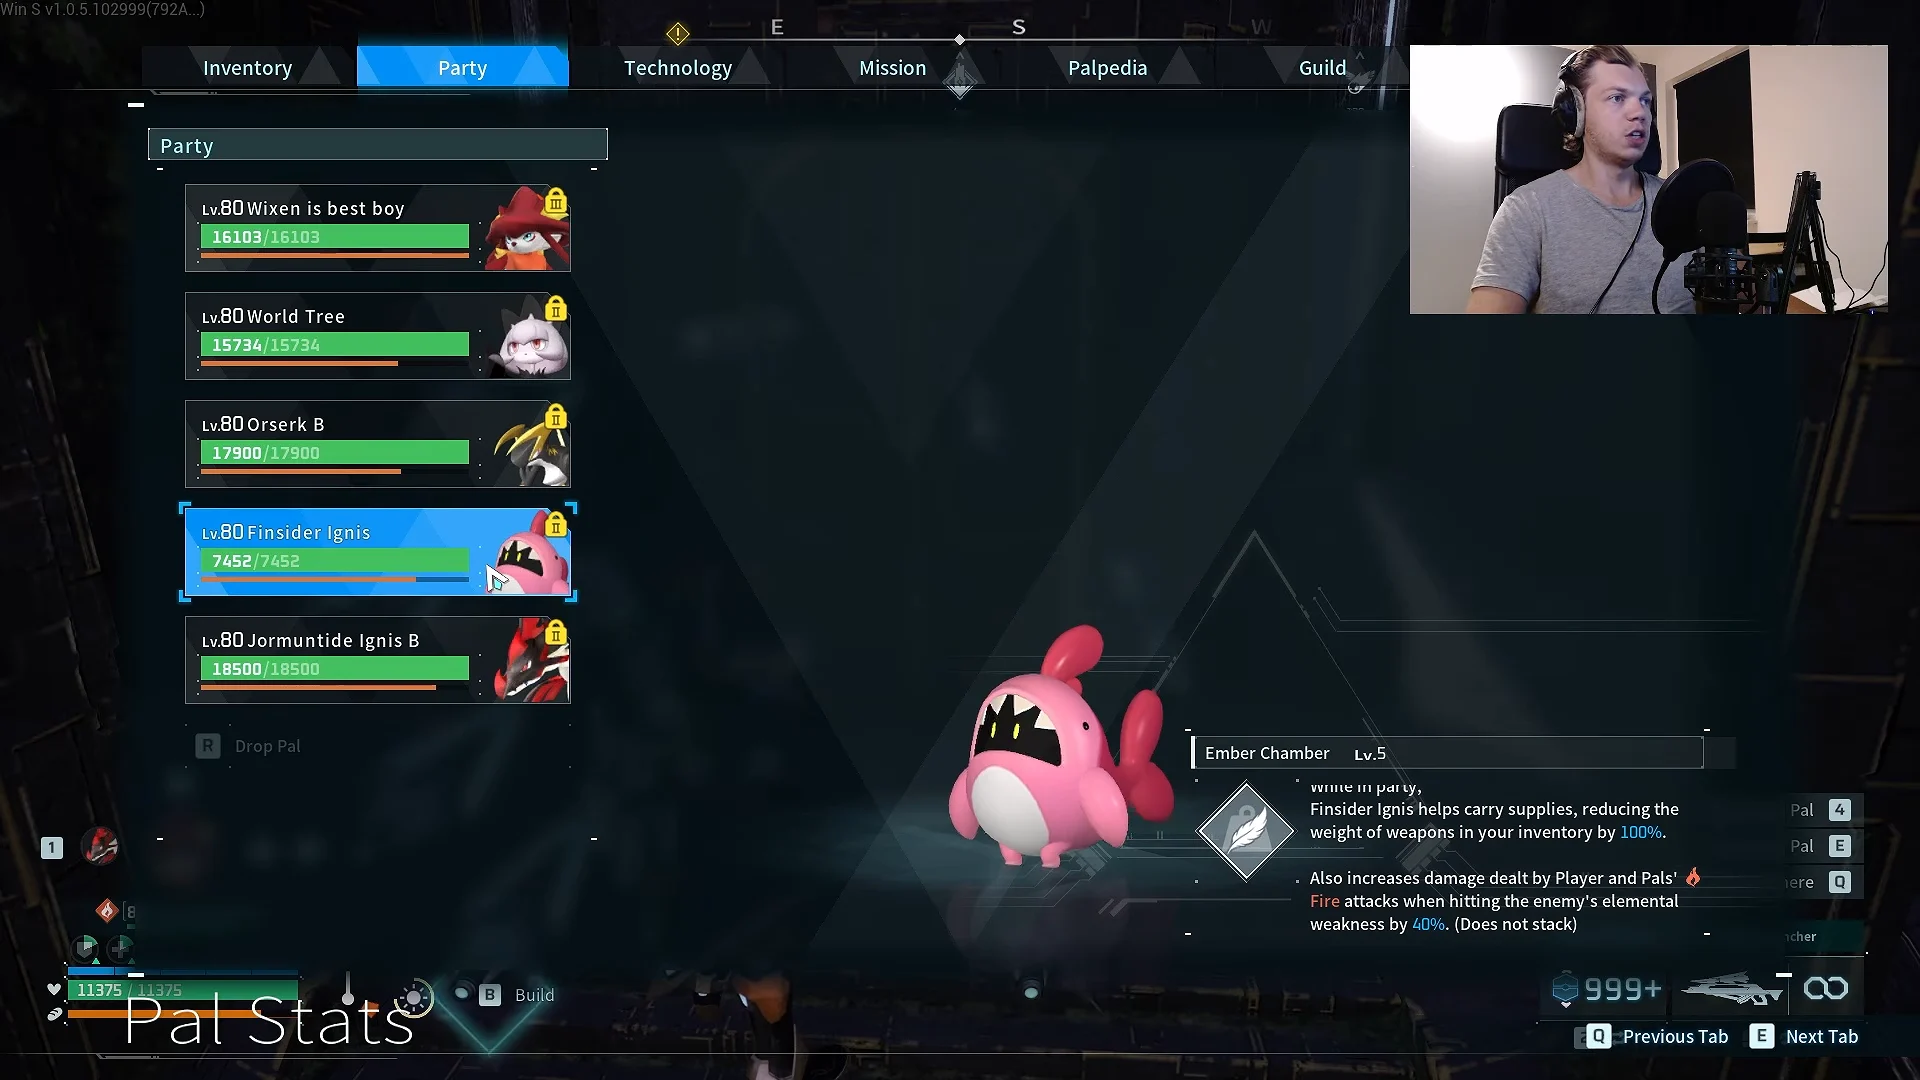
- Finsider Ignis adds +40% Fire damage when you hit an elemental weakness.
- Each bullet hit gives Orserk +5% Attack and Defense, up to 30 stacks for a total bonus of +150%.
Moldron P burst build (Pal damage)
A Level 80 Moldron P (Fire/Ground) built around its exclusive Magma Spit is one of the fastest anchors in the game. Its Magna Overload partner skill adds 15% Attack for each other Fire or Ground Pal in your party, and its passives keep it immune to flinch and knockback. Feed it Mammorest Curry, mount it, and unload point-blank Magma Spit so every magma pool connects. Round out the party with Prixter, Orserk B, Finnsider Ignis, and Jormuntide Ignis B.
Wixen build (player damage)
This setup puts your gun at the center of the plan. Wixen’s partner skill changes your weapon element to Fire and boosts your Attack, so you then shoot Lily or Lyleen in the head with a Plasma Rifle for Weak Point damage. Cryolinx Terra’s partner skill pushes that Weak Point damage higher, while Jormuntide Ignis, Finsider Ignis, and Solenne fill out the support. It only works if you invest heavily in player Attack through accessories and stat allocation.
Quick-swap Knocklem Ignis team
Keep two Knocklem Ignis in your active pair, with each one carrying Serenity, Flame Emperor, Immortality, and Diamond Body. Attack using the first Knocklem’s partner skill, then switch to the other once the first skill enters cooldown; this keeps the pressure up for as long as your player HP holds out. Put Kelpsea Ignis, alongside Orserk and Silvegis, in the support slots. For farming rather than quick kills, use the Megaboost Gun to boost your Pal and save ammo.
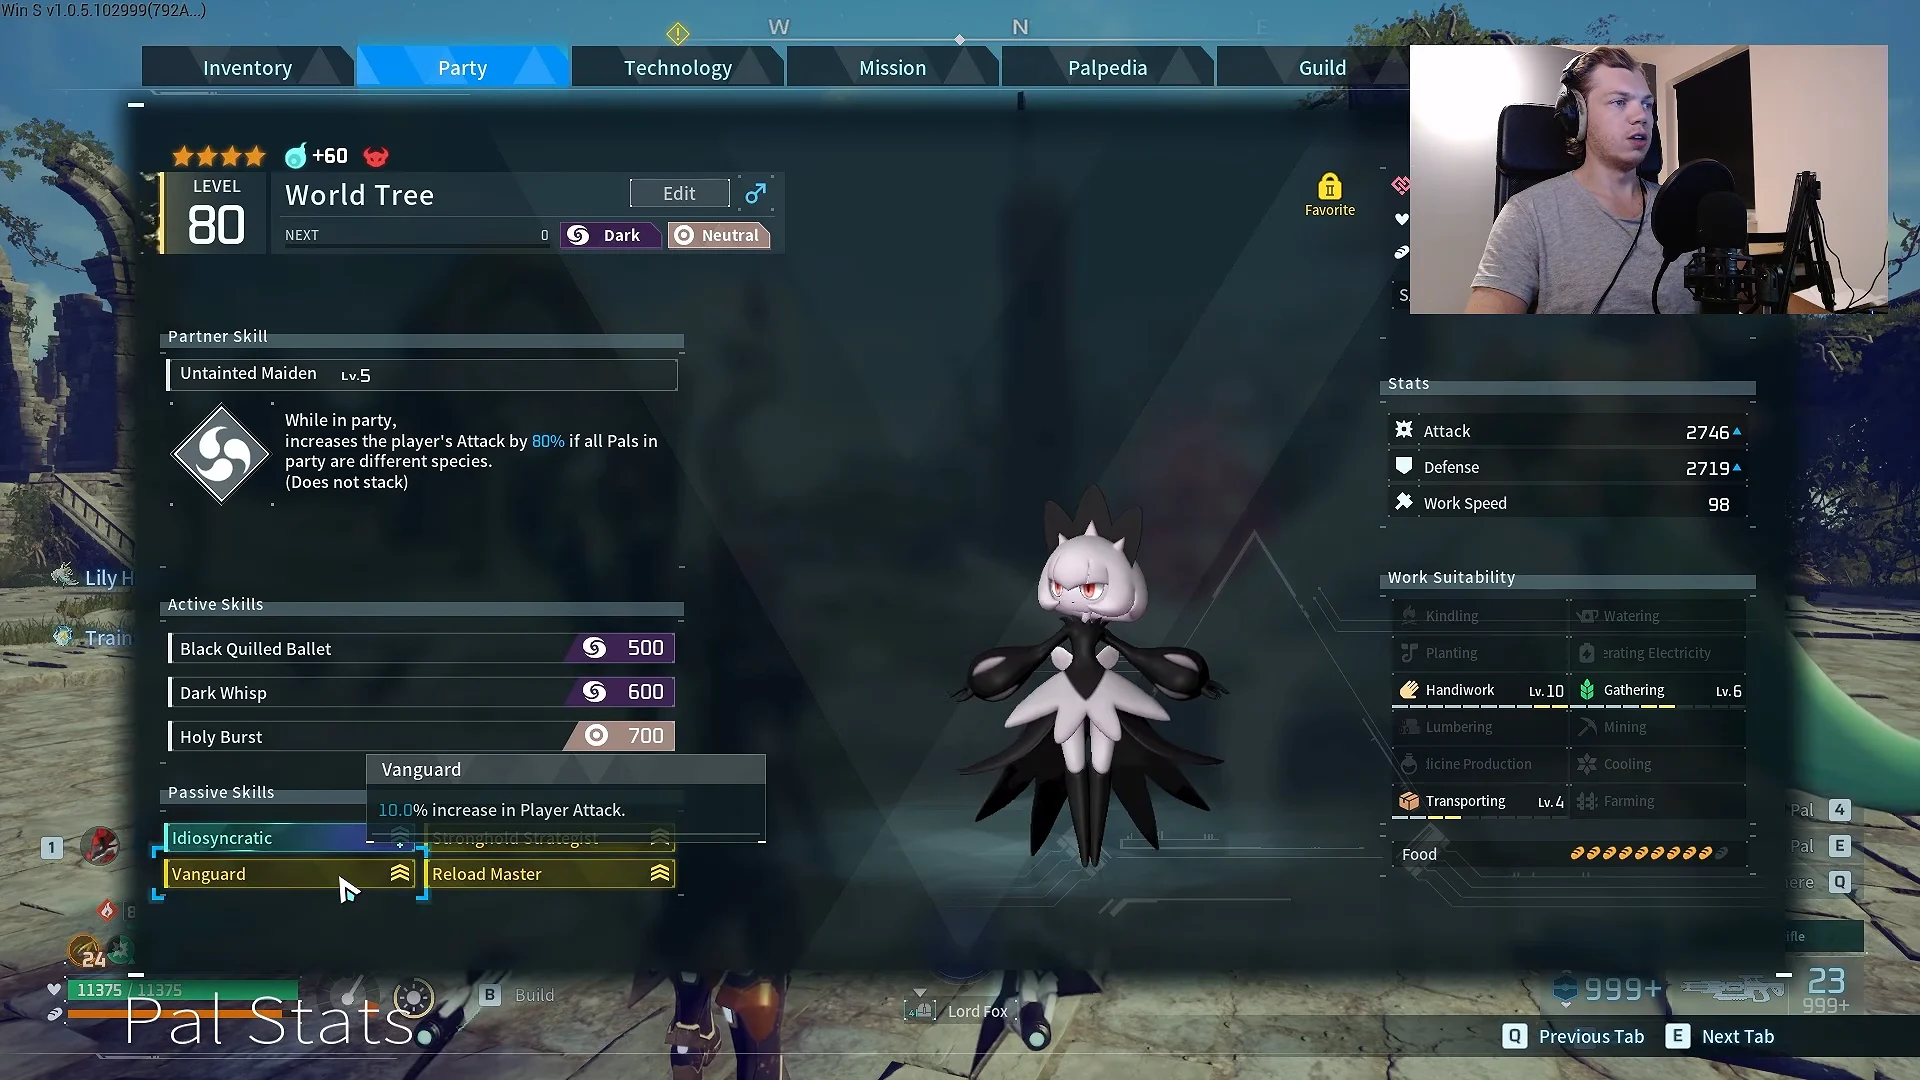
Whichever team you run, the support passives are what let you survive on common-grade gear. Idiosyncratic, Vanguard (+10% player Attack), Stronghold Strategist (+10% player Defense), and Reload Master keep your character standing while the anchor does the damage.
Weapons, accessories, and armor
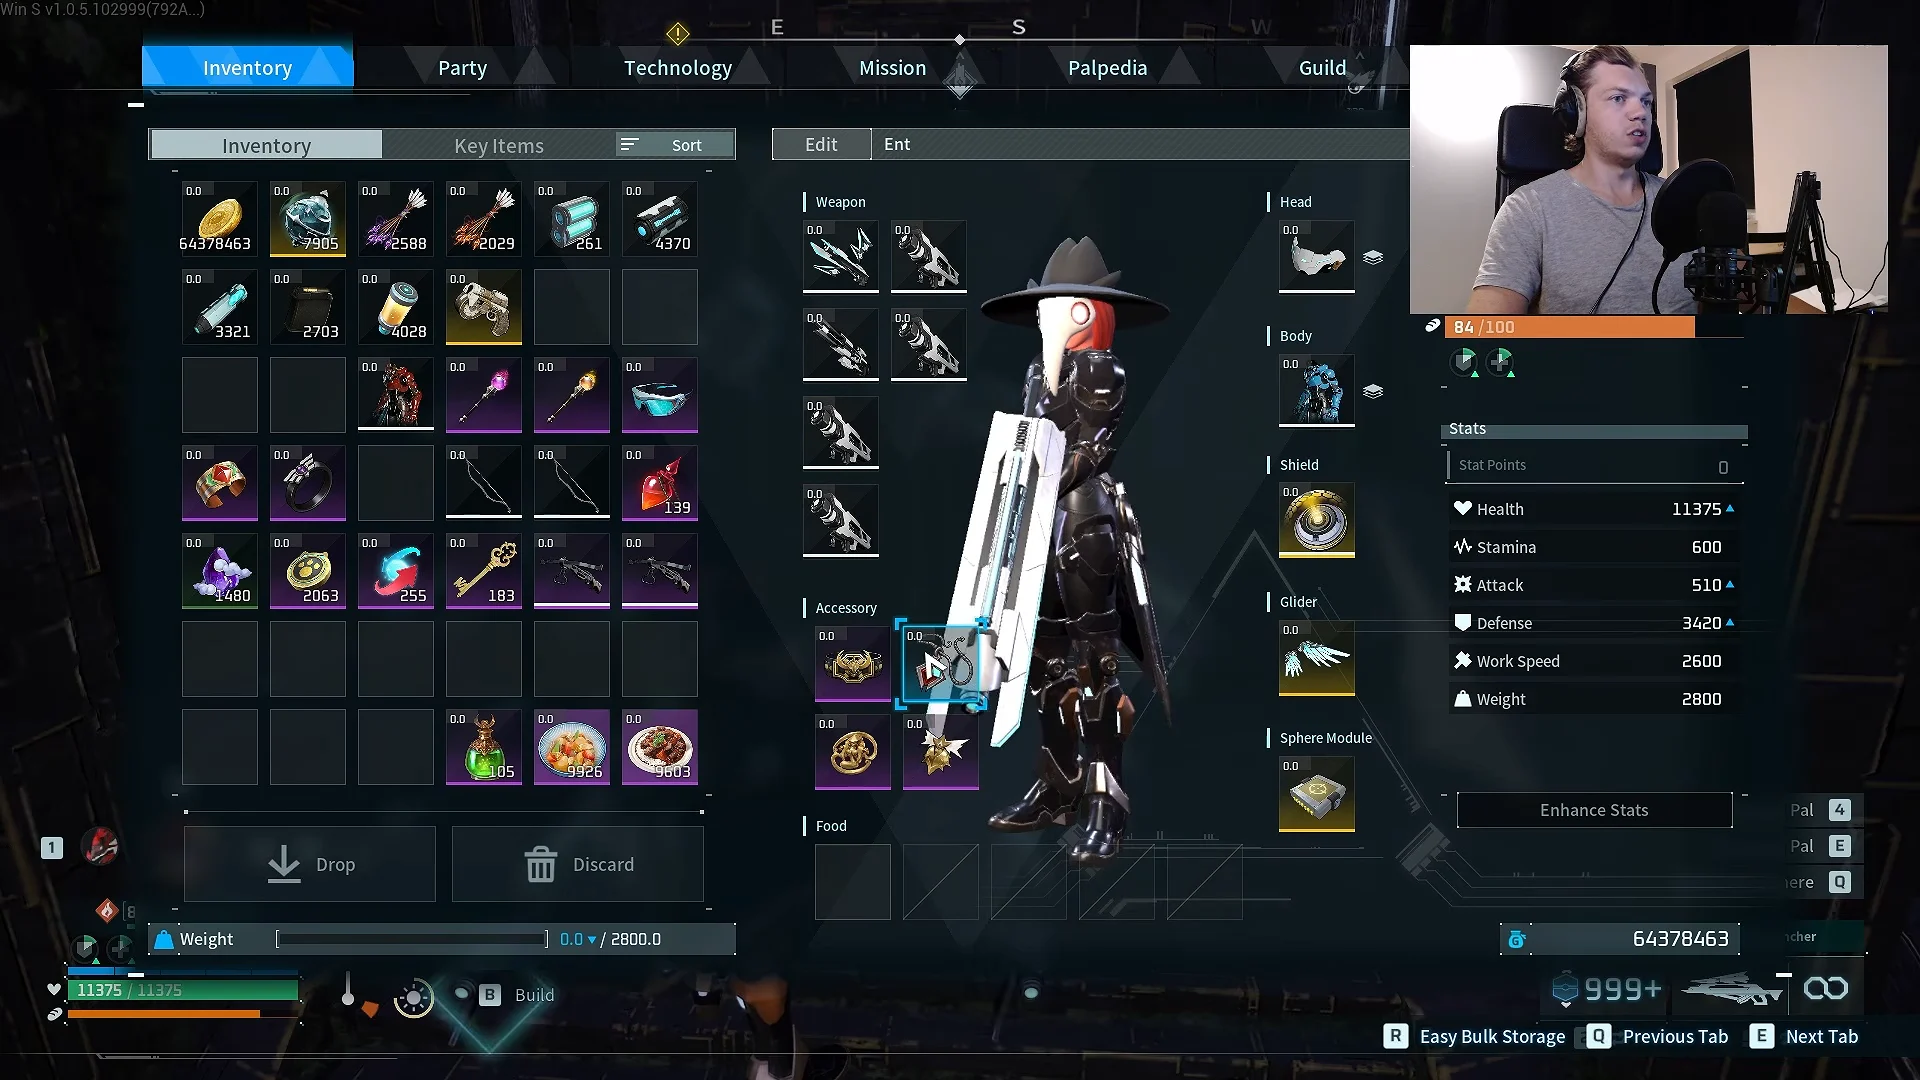
Human weapons are the quickest route to a kill because food buffs and Attack accessories boost your gun directly, rather than Pal skills. A glass-cannon build can produce single-shot rifle criticals of 2,300 to 2,680 damage, clearing the health bar in about fifteen seconds. Keep firing the Drone Launcher to maintain Orserk’s stacks, and have a Plasma Rifle on hand for debuffs or as your primary weapon.
| Weapon | Lv. | Attack | Durability |
|---|---|---|---|
| Megaboost Gun | 63 | 250 | 400 |
| Mechanical Bow | 67 | 20000 | 2000 |
| Drone Launcher | 77 | 200 | 6500 |
| Plasma Rifle | 78 | 1860 | 25000 |
Bring a Crossbow and Three Shot Bow with Poison Arrows and Fire Arrows to apply both status effects before unleashing your burst. Once those debuffs are active, your support Pals can provide their +65% Poison and +65% Burn multipliers.
Pick accessories that boost the element the boss is weak to. For a player-focused build, the Dogen Emblem is usually the best pick because it raises both your Attack and your active Pal’s Attack.
| Accessory | Effect |
|---|---|
| Dogen Emblem | Boosts Attack for you and your Pal |
| Flame Emperor’s Baton | Pal Attack up, large Fire damage boost |
| Blazamut’s Talisman | Pal Defense up, Fire damage boost |
| Faleris Ring | Cuts Ice damage, boosts Pal Fire damage |
| Blazehowl Ring | Grass damage reduction, Pal Fire damage |
Because this is an end-game battle, wear your most defensive gear. At minimum, equip the full Ancient Armor set, upgrading to higher tiers when you can.
| Armor | HP | Def | Added effect |
|---|---|---|---|
| Ancient Shield | — | 2200 | None |
| Ancient Helm | 1200 | 500 | Neutral / Dragon Damage Reduction Lv.1 |
| Lightweight Ancient Armor | 2400 | 840 | Cold / Heat Resistance, Carrying Capacity Lv.4 |
Food and healing to pack
Since low damage is the main threat during the 10-minute timer, favor an Attack meal over a defensive dish. Broncherry Fried Noodles and Mammorest Curry are both effective choices, and the curry also boosts your party Pals. Pack High Quality Recovery Meds, Advanced Recovery Meds, and a Revival Potion for a Pal that falls in battle.
Pre-fight setup and kill order
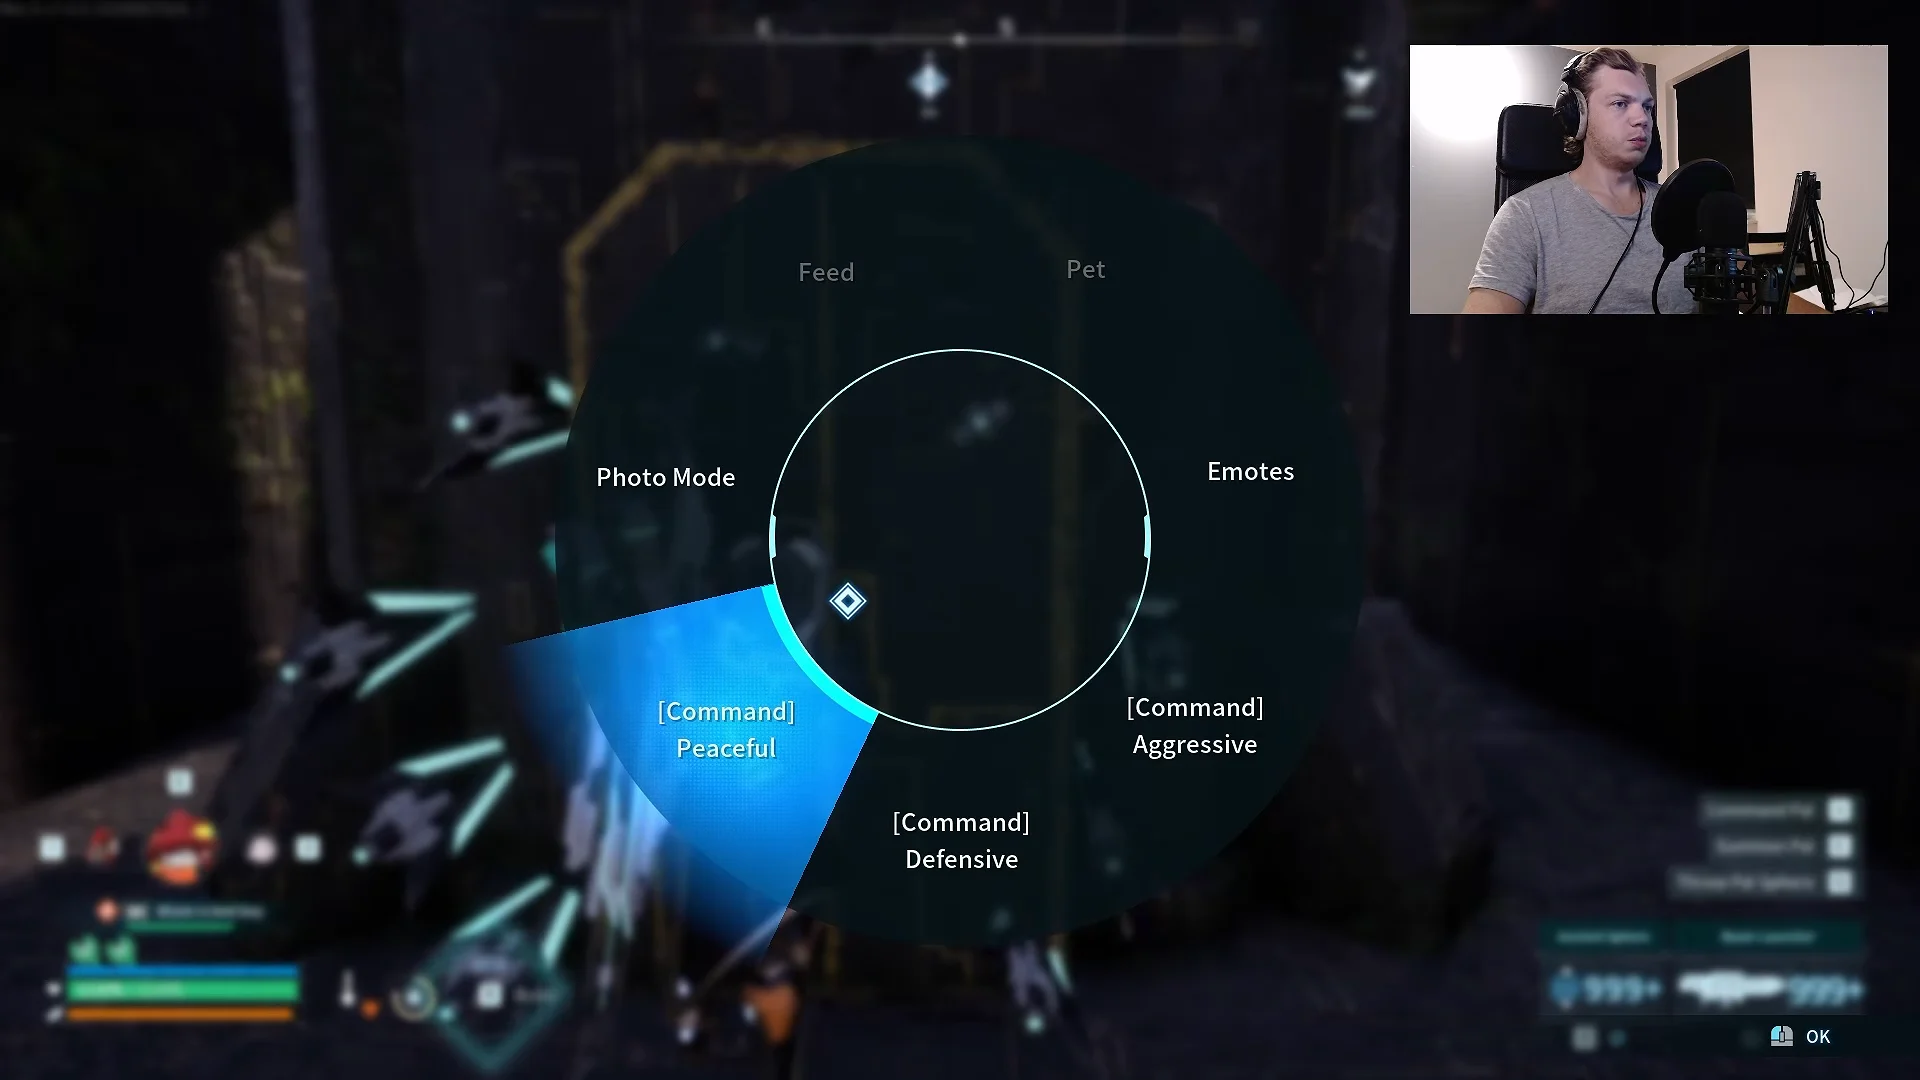
Capture attempts on Lily and Lyleen are impossible. An Ancient Sphere has a 0.00% capture rate, wasting precious time, so do not throw one.
Attacks to dodge in the rematch
With the tenfold damage multiplier, one powerful strike can take you out. Lyleen favors ranged Grass attacks, which the arena pillars usually block, so stay near cover and duck behind a pillar whenever it winds up. Water attacks are also in the moveset, so recall your Fire attacker the instant a Water skill begins.
| Skill | Element | Power | Cooldown |
|---|---|---|---|
| Wind Burst | Grass | 600 | 30 |
| Geyser Gush (melee) | Water | 600 | 30 |
| Crosswind | Grass | 500 | 24 |
| Solar Blast | Grass | 450 | 20 |
| Raid Cutter | Grass | 400 | 20 |
| Circle Vine | Grass | 300 | 16 |
| Curtain Splash | Water | 300 | 16 |
| Torrential Blast | Water | 250 | 12 |
| Poison Shower | Dark | 160 | 8 |
Grass Tornado passes through the pillars, so sprint out of its line instead of relying on cover. Wind Burst covers a large area as well; head for open ground to keep yourself from getting cornered.
The hard version has drawn plenty of public frustration from players. The same three checks usually solve it: use the right element, work the pillars, and keep the swap-and-fire cycle going.
Confirming the kill
When its HP reaches zero, BOSS ELIMINATED appears and sends you back to the tower summit. Dismiss the results panel to collect a Training Crystal and a Life Lotus (L); your first clear also guarantees the Lily Hat, while the Legendary Drone Launcher Schematic drops at a 10% chance.
If your progress stalls, damage type is almost always the reason. Grass or neutral attacks barely scratch the x0.12 defense, so the timer runs out even while you keep firing. Switch to Fire, keep your distance from Lyleen, hold the burst cycle, and the rematch ends fast.