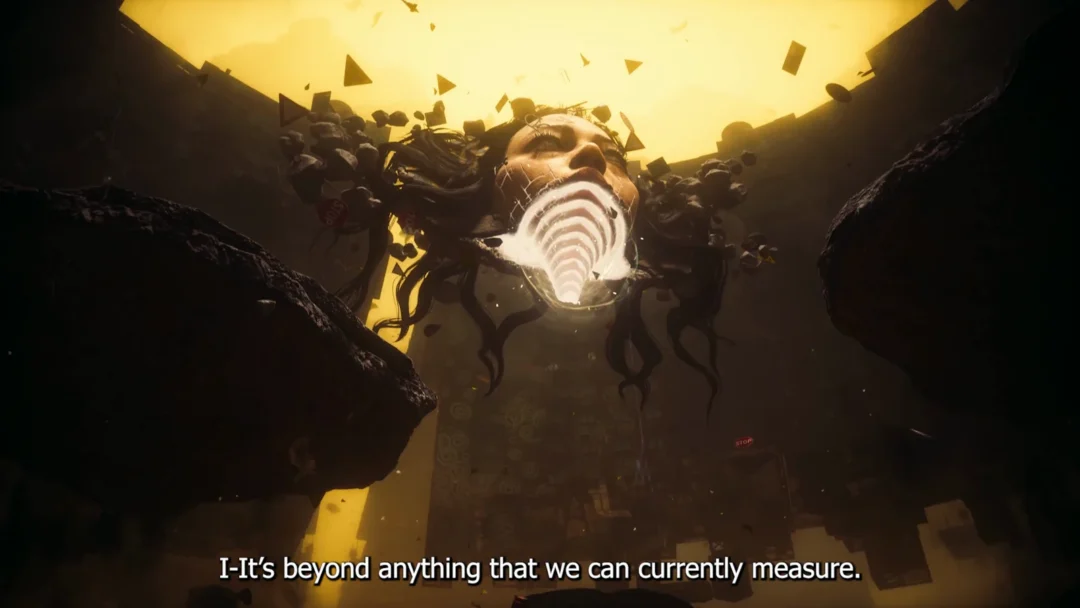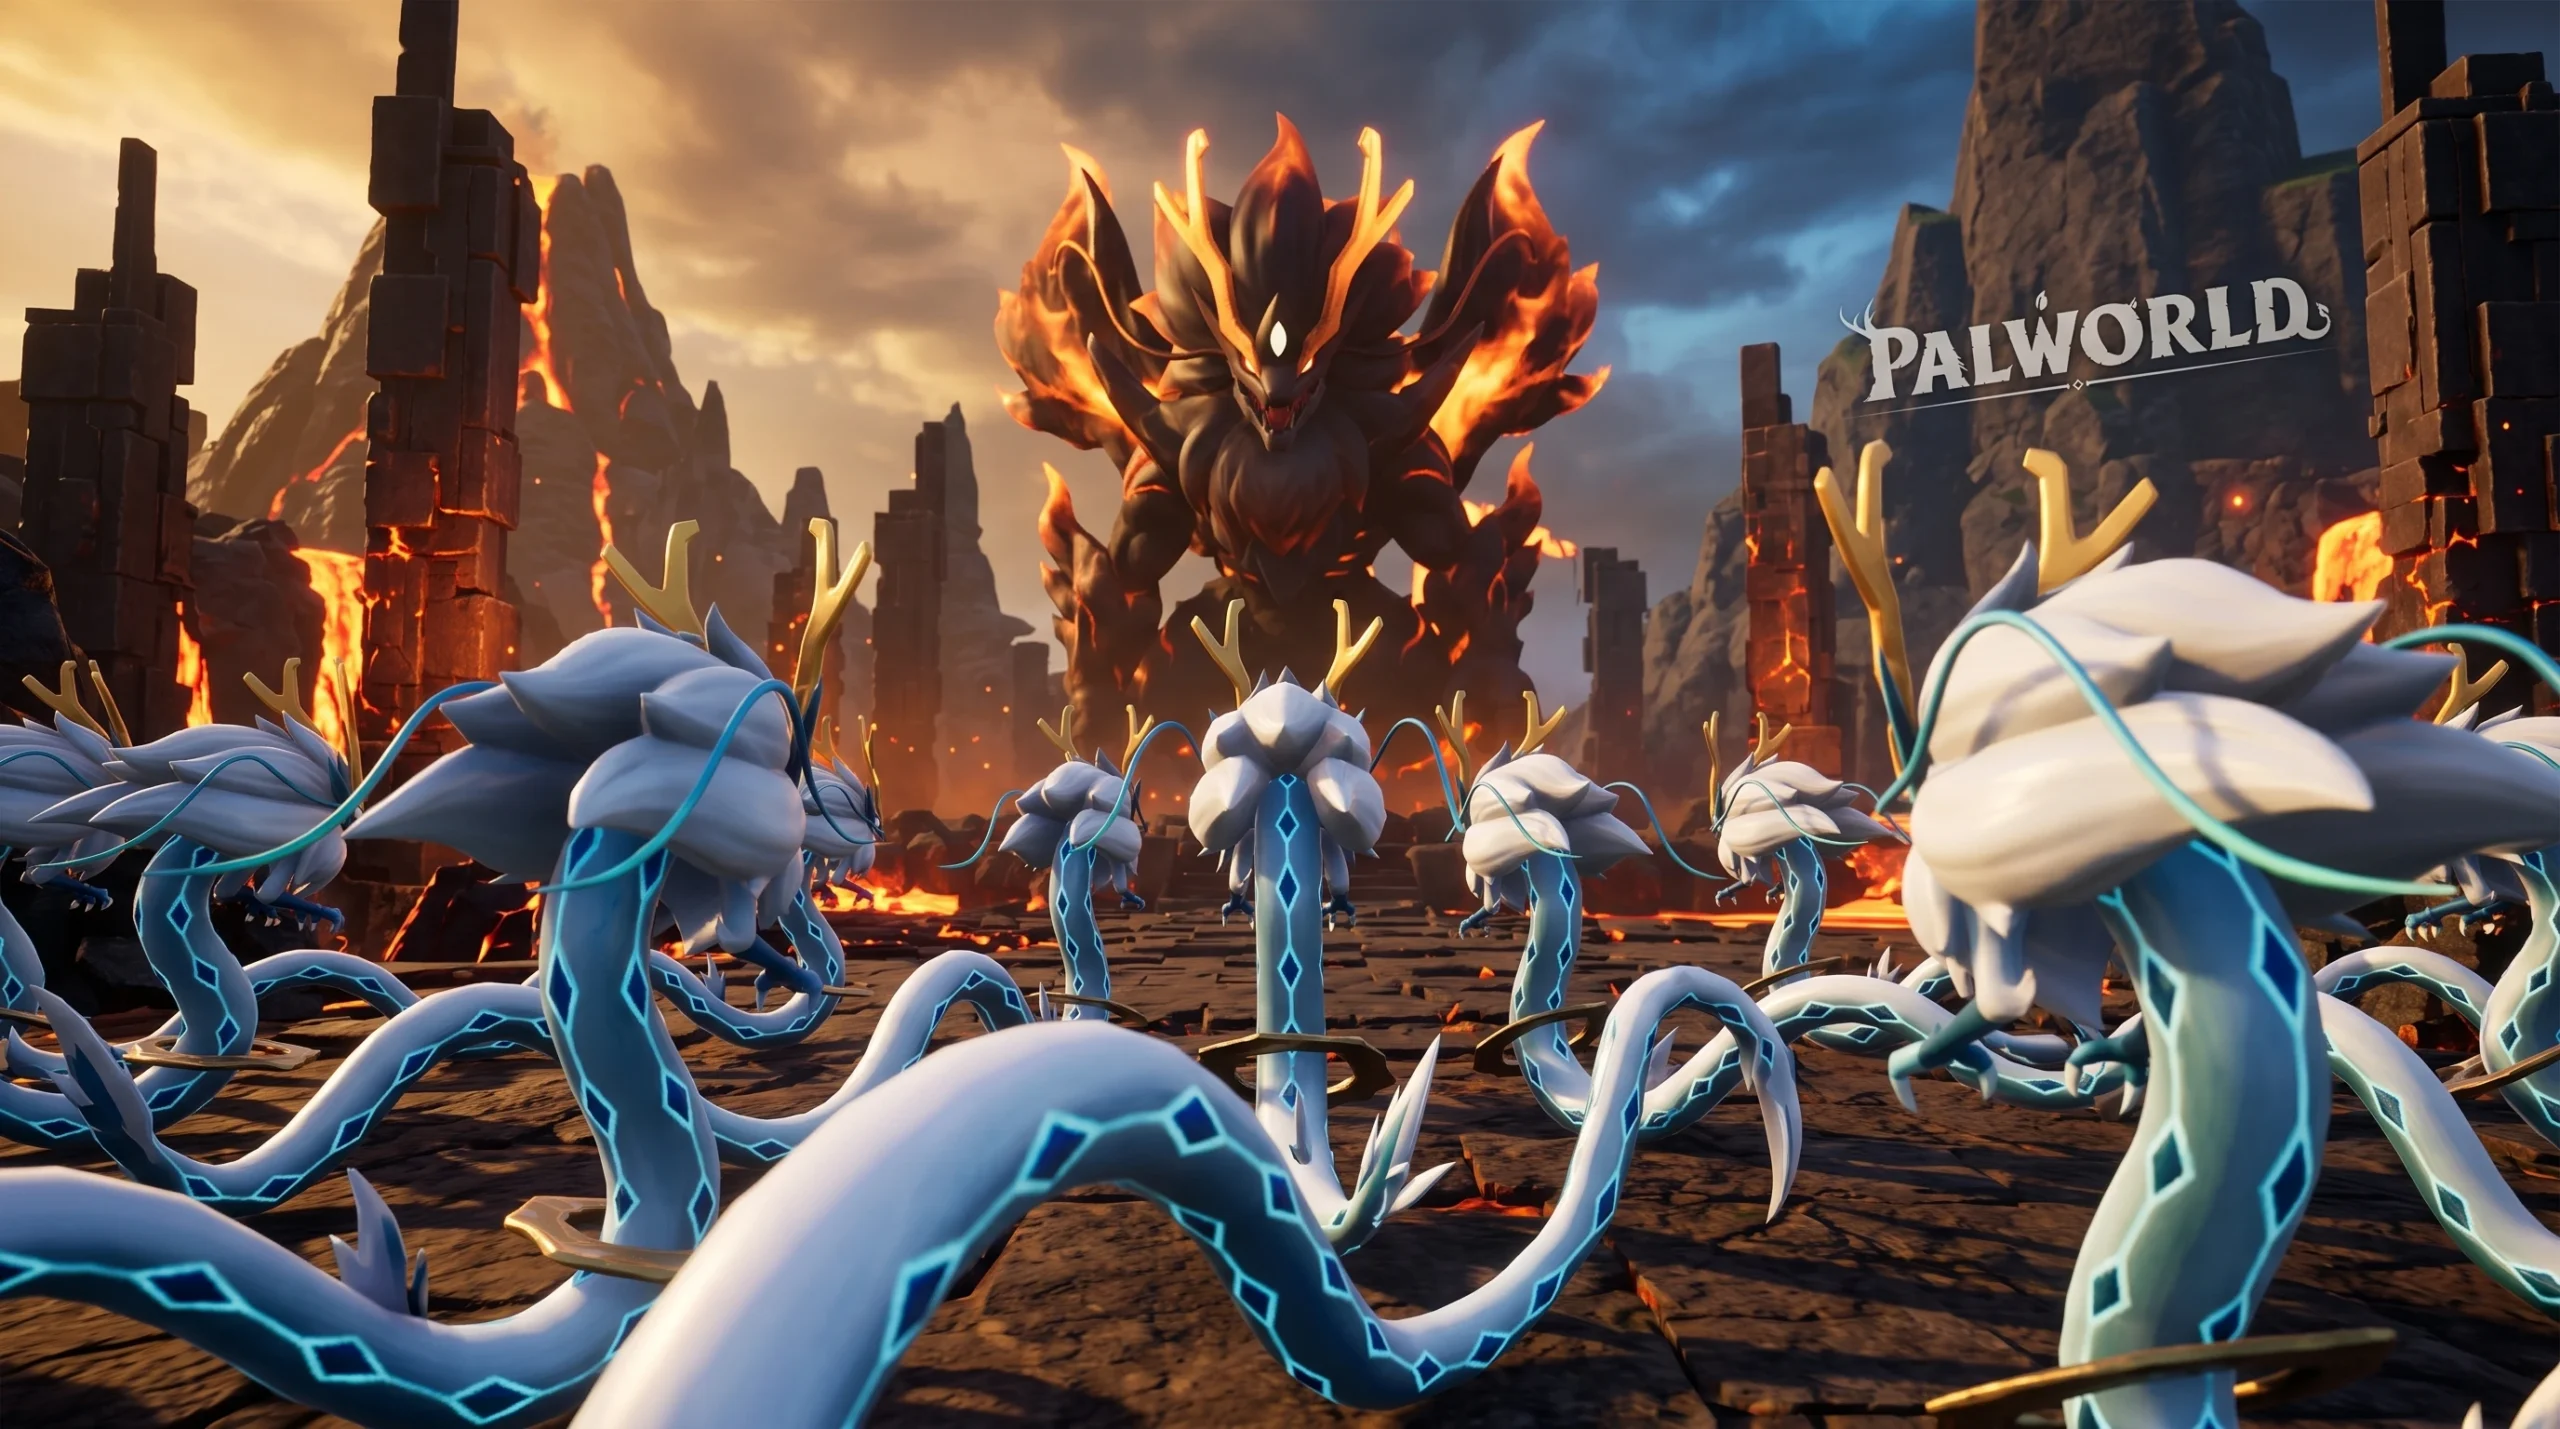
Blazamut Ryu (Ultra) is a two-phase raid with a single health pool of 2,550,000 HP at level 80, and the boss changes element halfway through. That one detail decides everything about your base army: a Water team melts the first bar and then becomes dead weight, while a Ground team is useless until the transition happens. The fastest clears solve this with a full army swap at the exact moment the boss flips.
Quick answer: Field 14 Neptilius plus one Panthalus for phase one, then swap the entire base army to Ground Pals the moment Blazamut Ryu turns Electric. Swapping beats running one army by roughly 10 seconds.
Blazamut Ryu (Ultra) stats and elements
| Detail | Value |
|---|---|
| Level | 80 |
| HP | 2,550,000 |
| Phase 1 element | Fire / Dragon (weak to Water) |
| Phase 2 element | Electric (weak to Ground) |
| Timer | 10 minutes |
| Catchable | No |
The health bar does not simply continue after the transition. When the first bar empties, Blazamut Ryu fires an Electric burst in every direction that can paralyze anything standing nearby, recovers close to a third of its health, and stays Electric for the rest of the fight. That burst is the window you plan your swap around.
Best phase 1 raid army: 14 Neptilius and 1 Panthalus
Neptilius is the anchor of the first bar. It puts out consistent Water pressure without throwing the boss around, which keeps the fight readable and keeps your own shots landing on weak points. Fill the base with as many copies as your base size allows and drop one Panthalus into the group.
| Slot | Neptilius loadout |
|---|---|
| Passives | Lucky, Legend, Immortality, Serenity |
| Move 1 | Geyser Gush (heavy hits on large targets) |
| Move 2 | Hydro Slicer or Sonic Laser |
| Move 3 | Sand Twister (Ground coverage) |
Legend and Immortality together are what stop the army from wiping to Ignis Rage and Magna Crusher. Immortality is not just lifesteal here — the regeneration means Neptilius that drop low before the first stagger can heal back up during the stun and keep attacking instead of being recalled.
Sand Twister is the odd one out, and it is deliberate. Giving the Water army a Ground move means those Pals still contribute after the element change, which is exactly what makes a no-swap run viable at all.
Only one Panthalus can be assigned to a base at a time, but it spawns high above the Palbox and sits out of range of most of the boss’s attacks, so it can run pure offense — Twin-Edged Holy Blade, God of Destruction, Musclehead and Demon God — instead of survivability passives.
Why Shaolong makes the Ultra raid harder
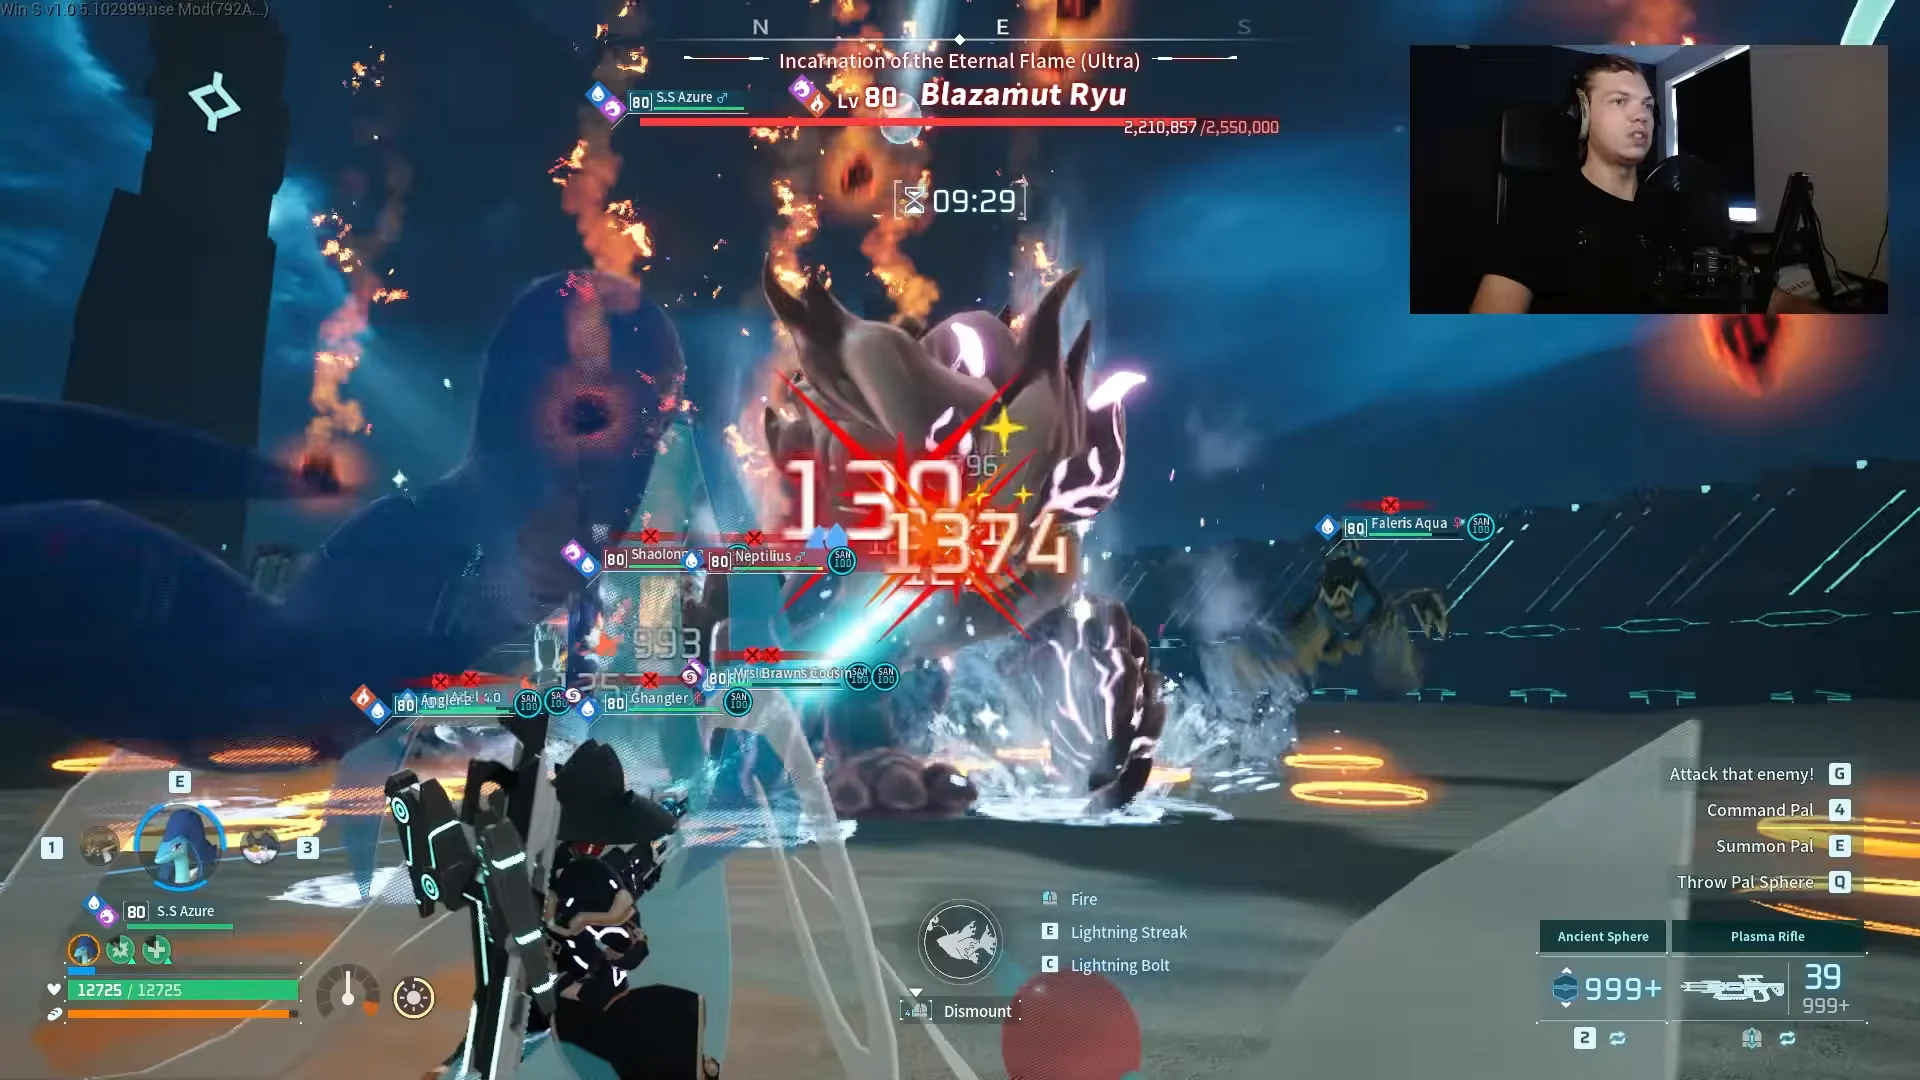
On paper Shaolong is the obvious first-phase pick. It is Water and Dragon, it has exclusive Water attacks, and the boss opens in its Fire form. The damage is real. The problem is what Shaolong does to the arena.
Its vortex attacks shove Blazamut Ryu around and fill the screen with water effects. A boss that is constantly being displaced is a boss you cannot headshot reliably, and the visual noise hides attack wind-ups. Almost all of Blazamut Ryu’s damage comes from large area attacks, so losing the animation read means losing your dodges — both for you and for the army standing in the blast.
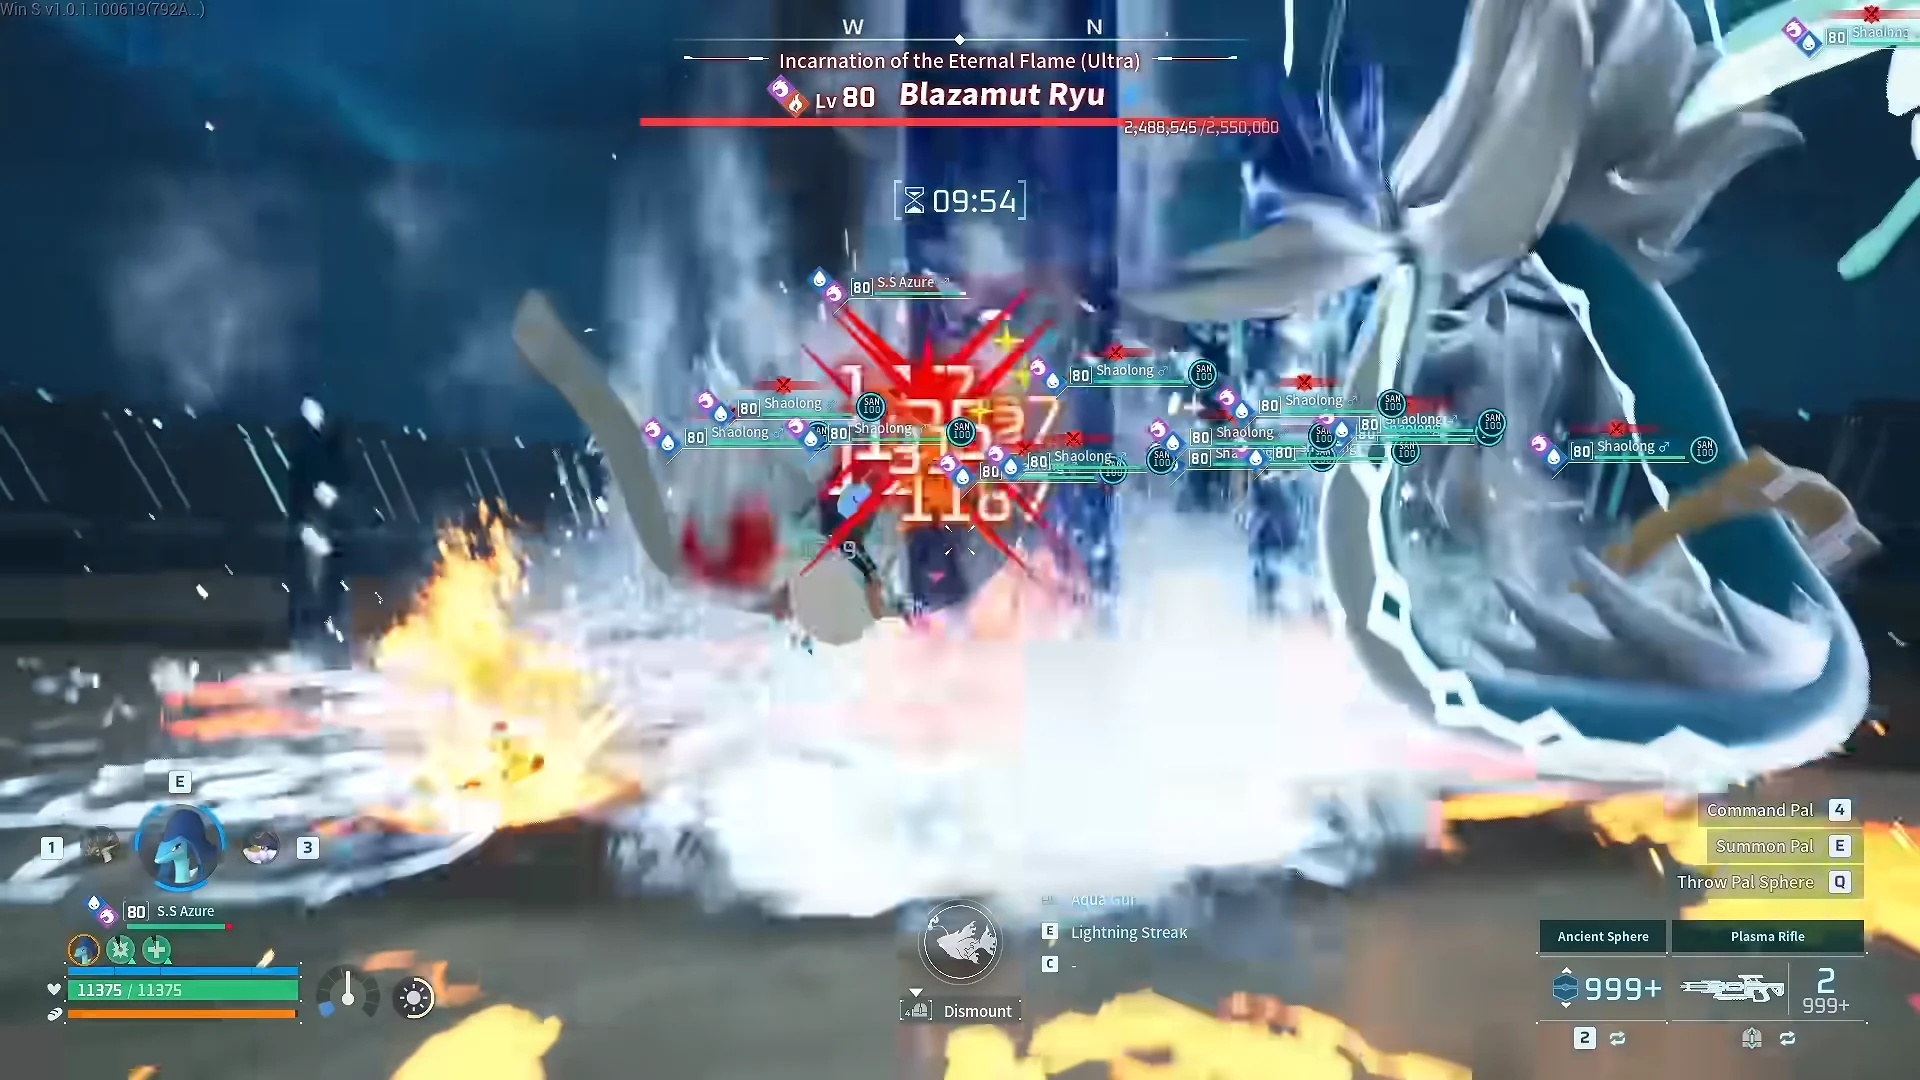
Celestial Vortex, Shaolong’s exclusive skill, is the clearest example. It hits extremely hard, but it drags the boss into the middle of your Pal cluster, where point-blank area attacks kill several of them at once. Runs using it still clear, they just finish with a noticeably worse survival rate than runs using standard Water skills.
Shaolong is a Tower Boss Pal, so it cannot inherit Lunker or Legend and has to fall back on Diamond Body and Demon God alongside Serenity and Immortality.
The Soaked and Electrify combo for phase 1
The biggest burst in the first bar comes from stacking two status effects rather than from raw attack stats.
Eat Attack Food before you summon so the Water damage is as high as possible for the whole bar.
Swapping armies vs running one army
Timed back-to-back runs settle the question, though the margin is smaller than most people expect. A full swap into a dedicated Ground army finished about 10 seconds faster than leaving 14 Sand Twister Neptilius and one Panthalus out for both phases. The swap run cleared with roughly seven and a half minutes still on the clock.
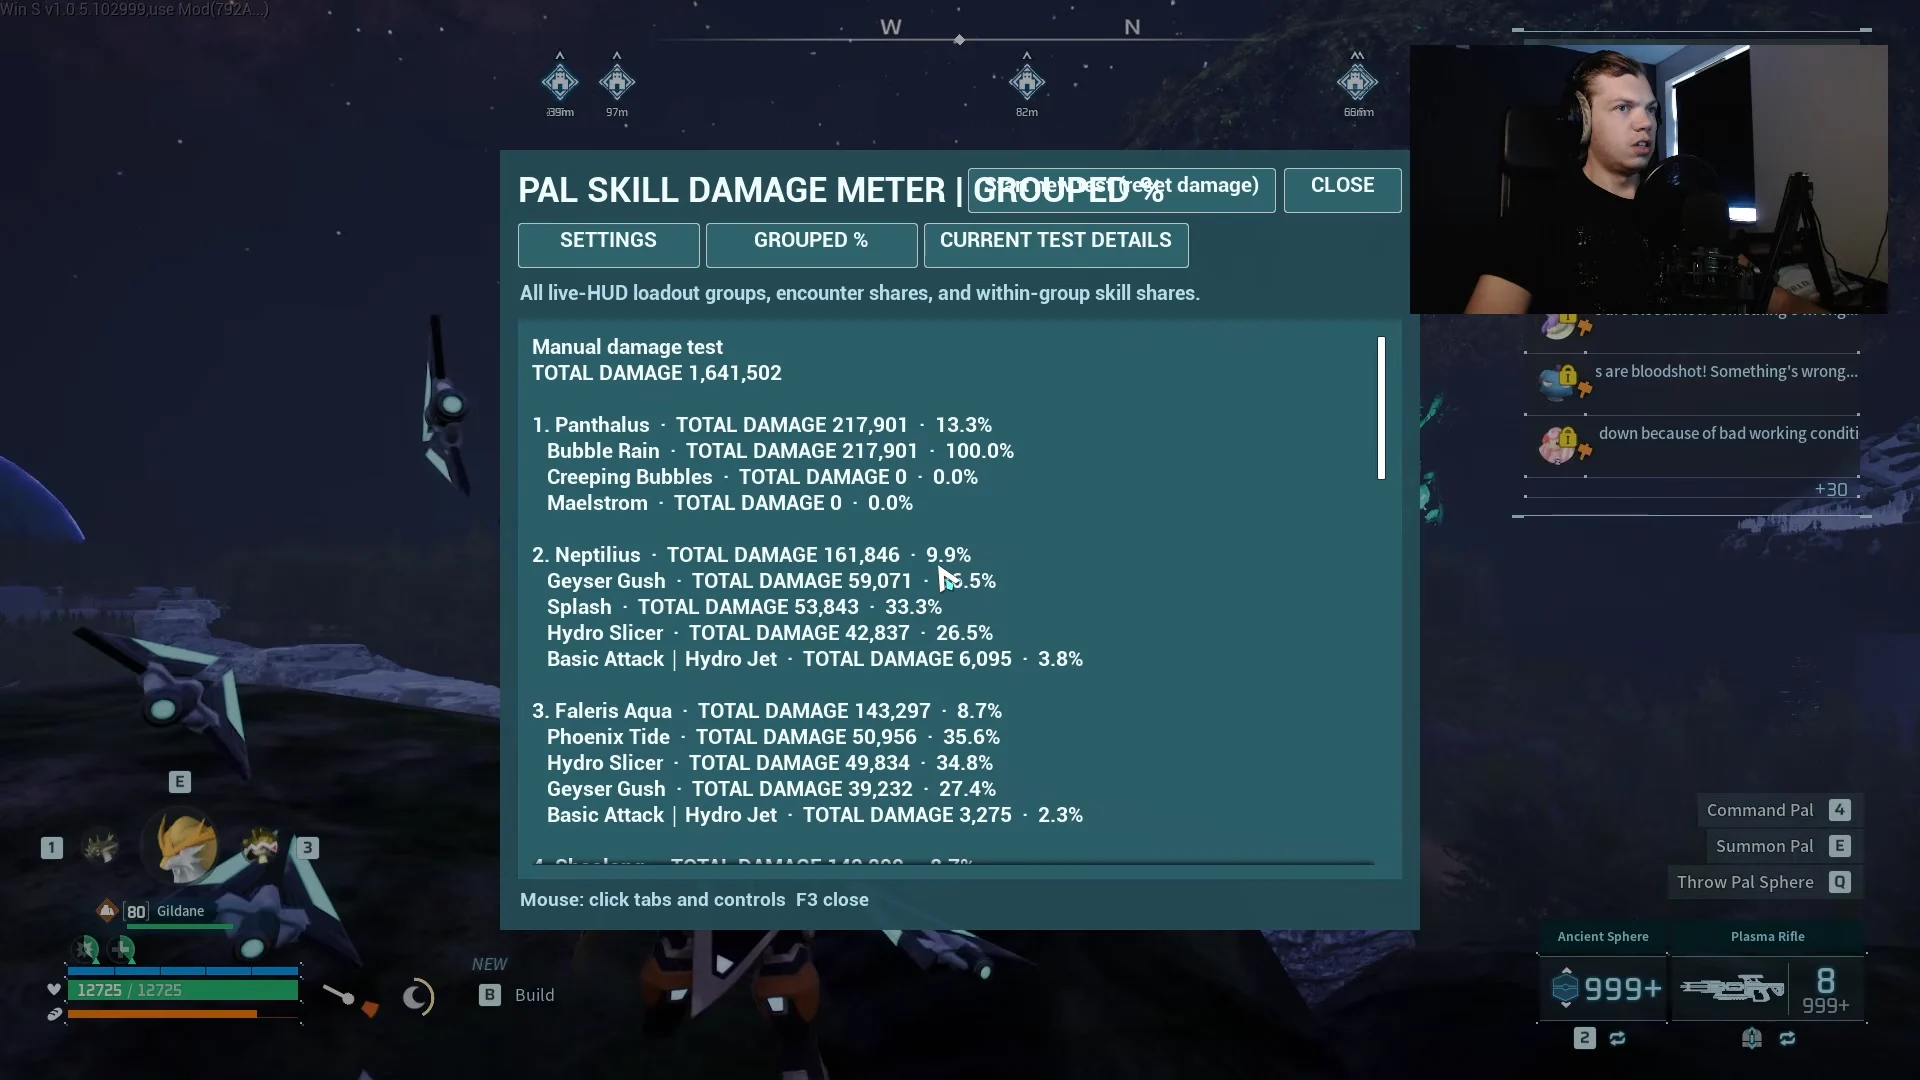
So the swap is the better play, but it is an optimization rather than a requirement. If you do not have a second fully built army, a single Neptilius team carrying Sand Twister will still finish the raid inside the timer. What costs far more time than the army choice is a slow, panicked trip to the Palbox during the transition.
How to time the phase 2 swap
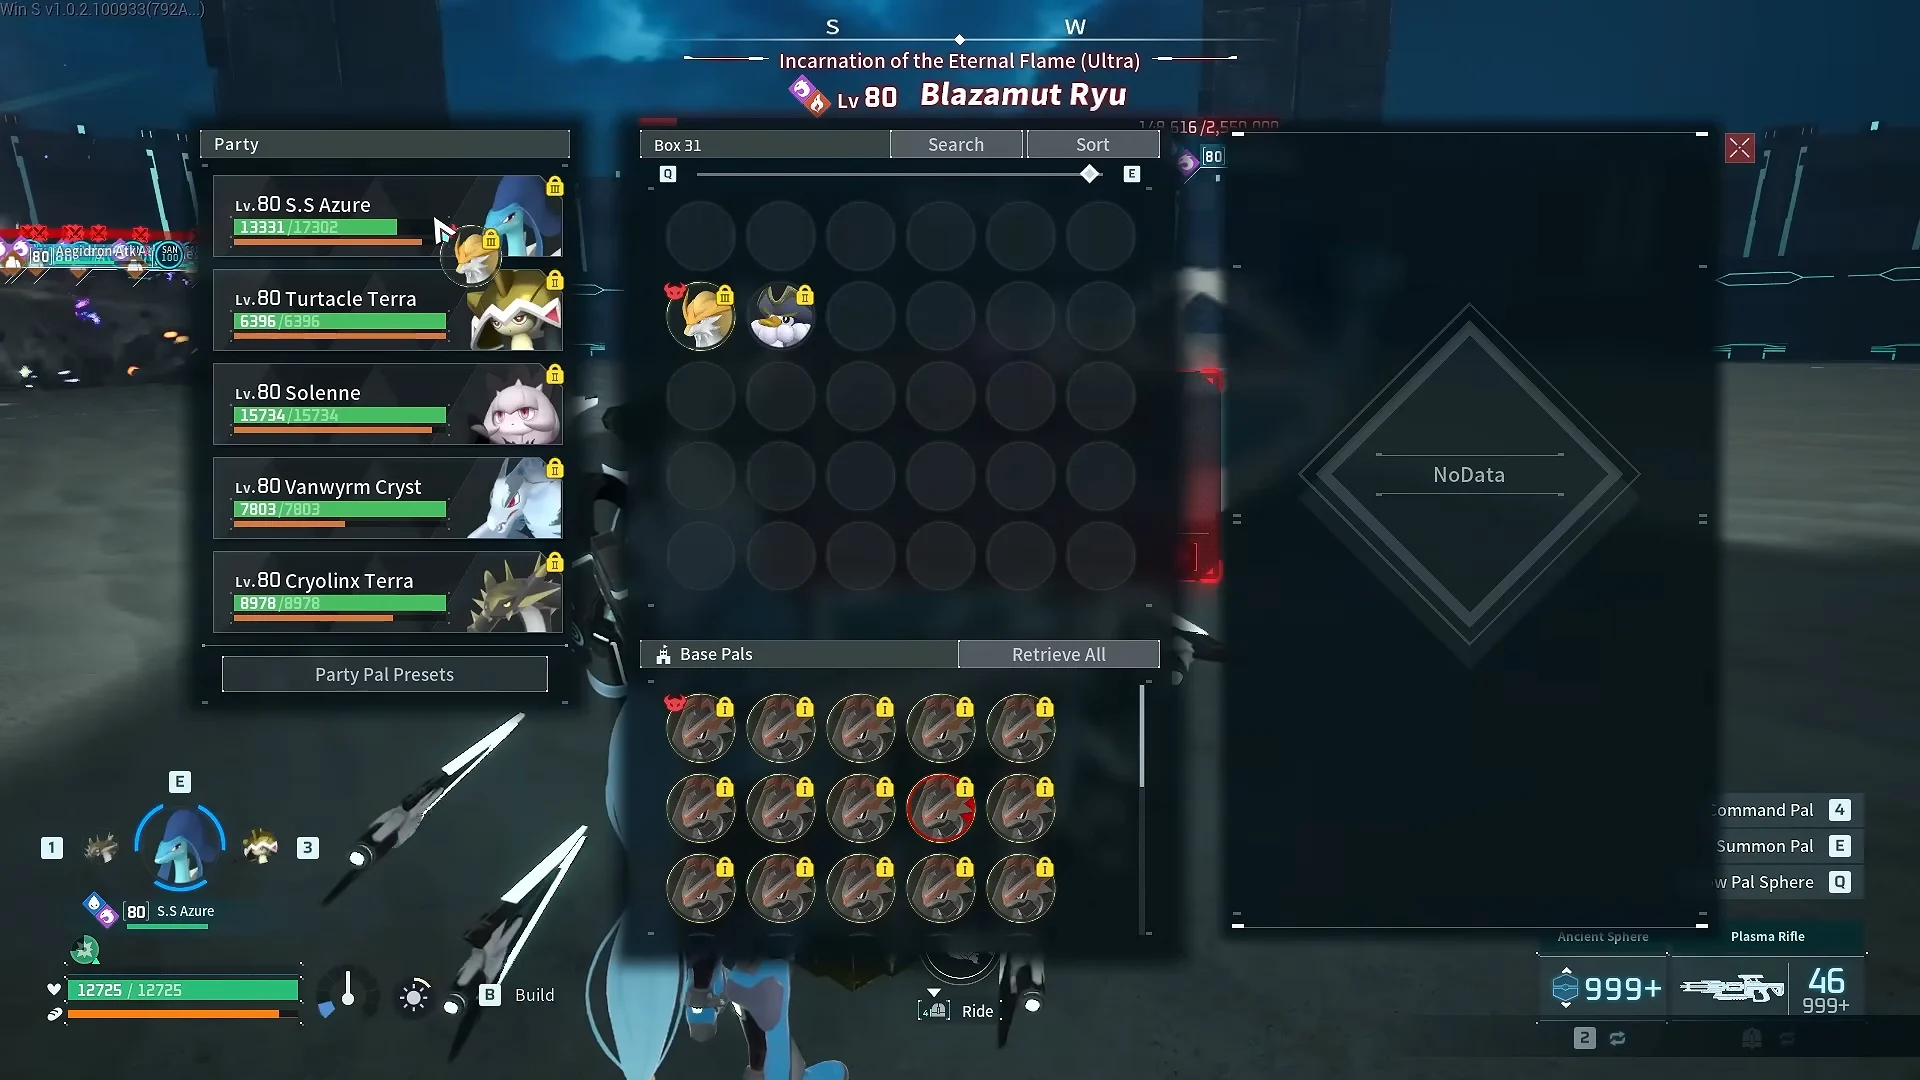
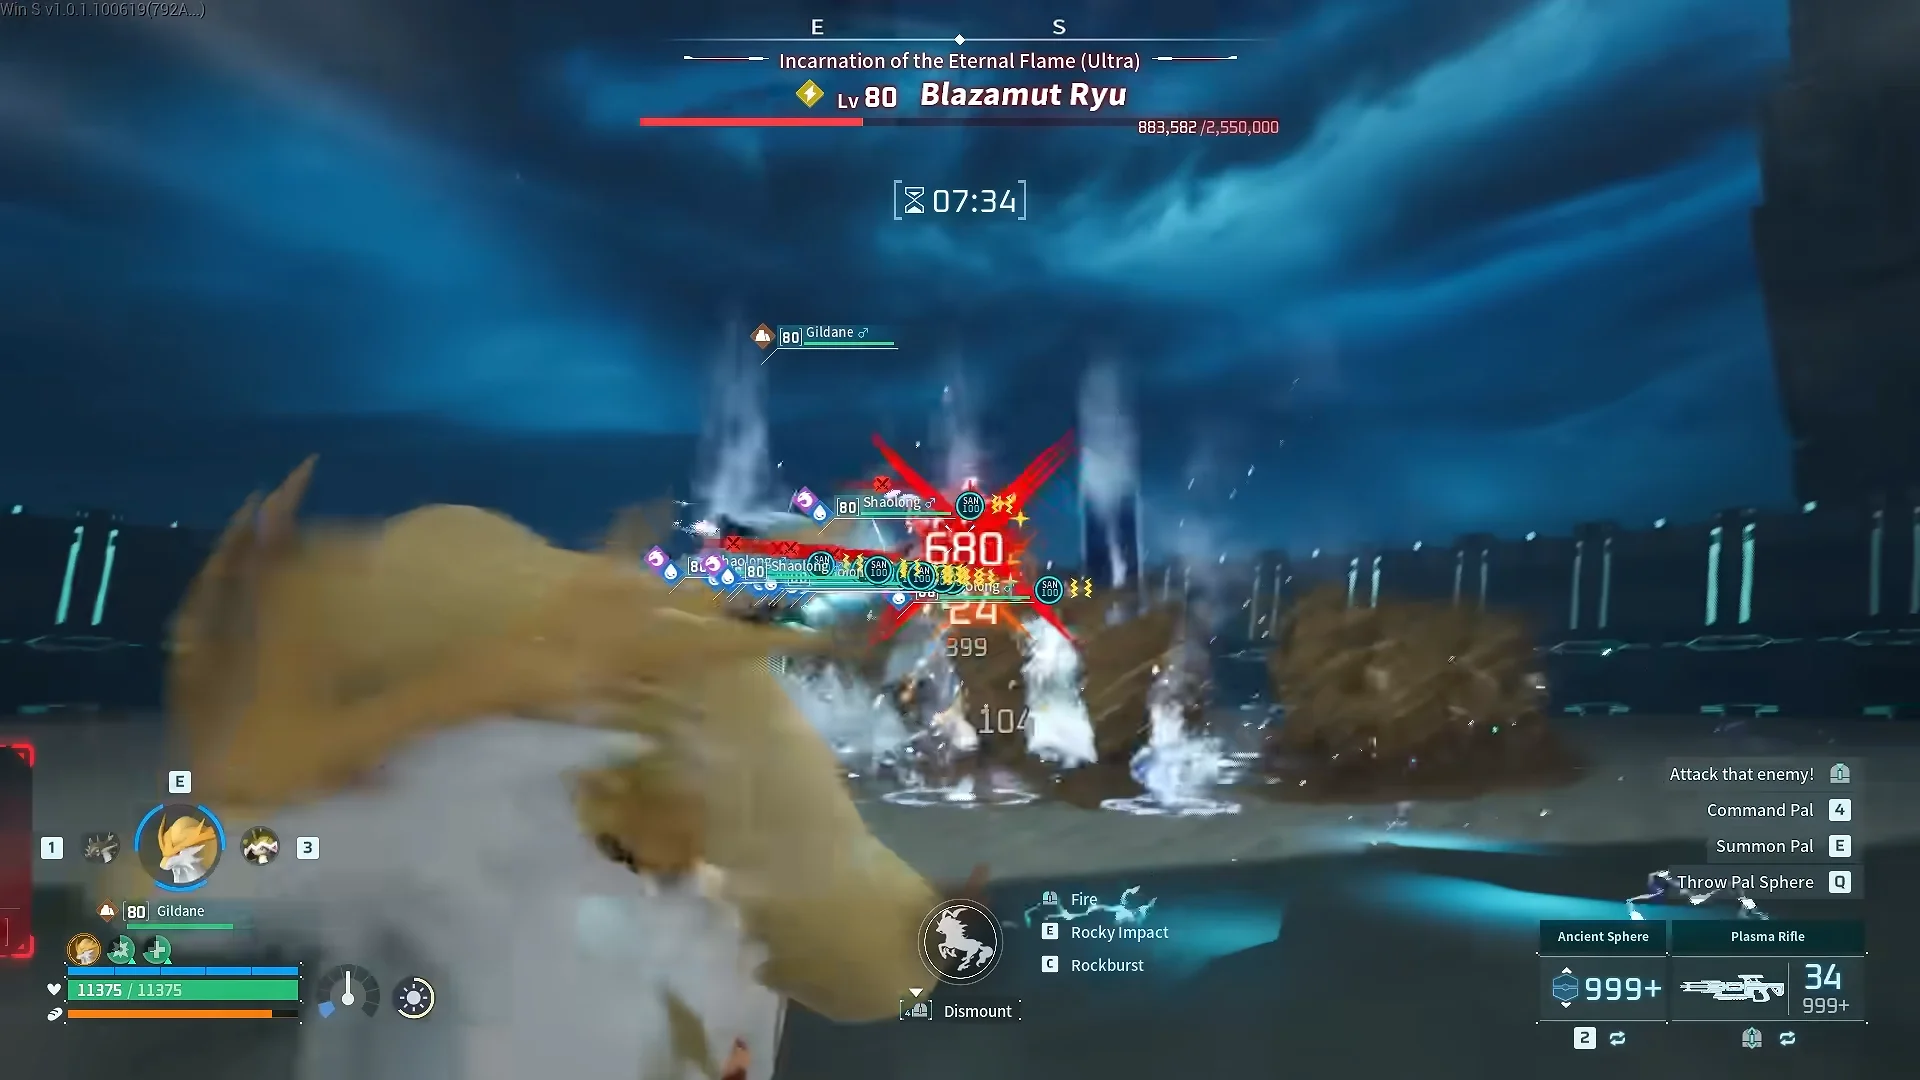
Best Ground Pals for phase 2
Several Ground armies clear the second bar, but they are not equal on the damage meter. Pierdon consistently outpaces Anubis over a full run, while Aegidron lands noticeably lower than the rest despite its strong Missile Burst on paper.
- Pierdon — highest sustained Ground damage in timed runs, using Horn Burst alongside Rocky Impact and Sand Twister.
- Anubis — reliable and easy to build, but finishes behind Pierdon on total damage.
- Sekhmet — strong with Earth Emperor, Serenity, Legend and Immortality.
- Aegidron — survives well with Immortality but ranks lowest on output.
Whichever you pick, Earth Emperor is the phase 2 equivalent of Legend for a Water army, and Immortality plus Serenity keep the team alive through the Electric area attacks.
Raid army requirements before you summon
Every Pal in either army needs to be finished, not half-built. Under-invested copies get deleted by the first area attack and the run stalls out.
- Level 80, Alpha, and Awakened
- 4-star condensed with Trust Level 10
- Pal Soul upgrades: HP +20, Attack +20, Defense +20
- 15 copies or more, depending on your base size
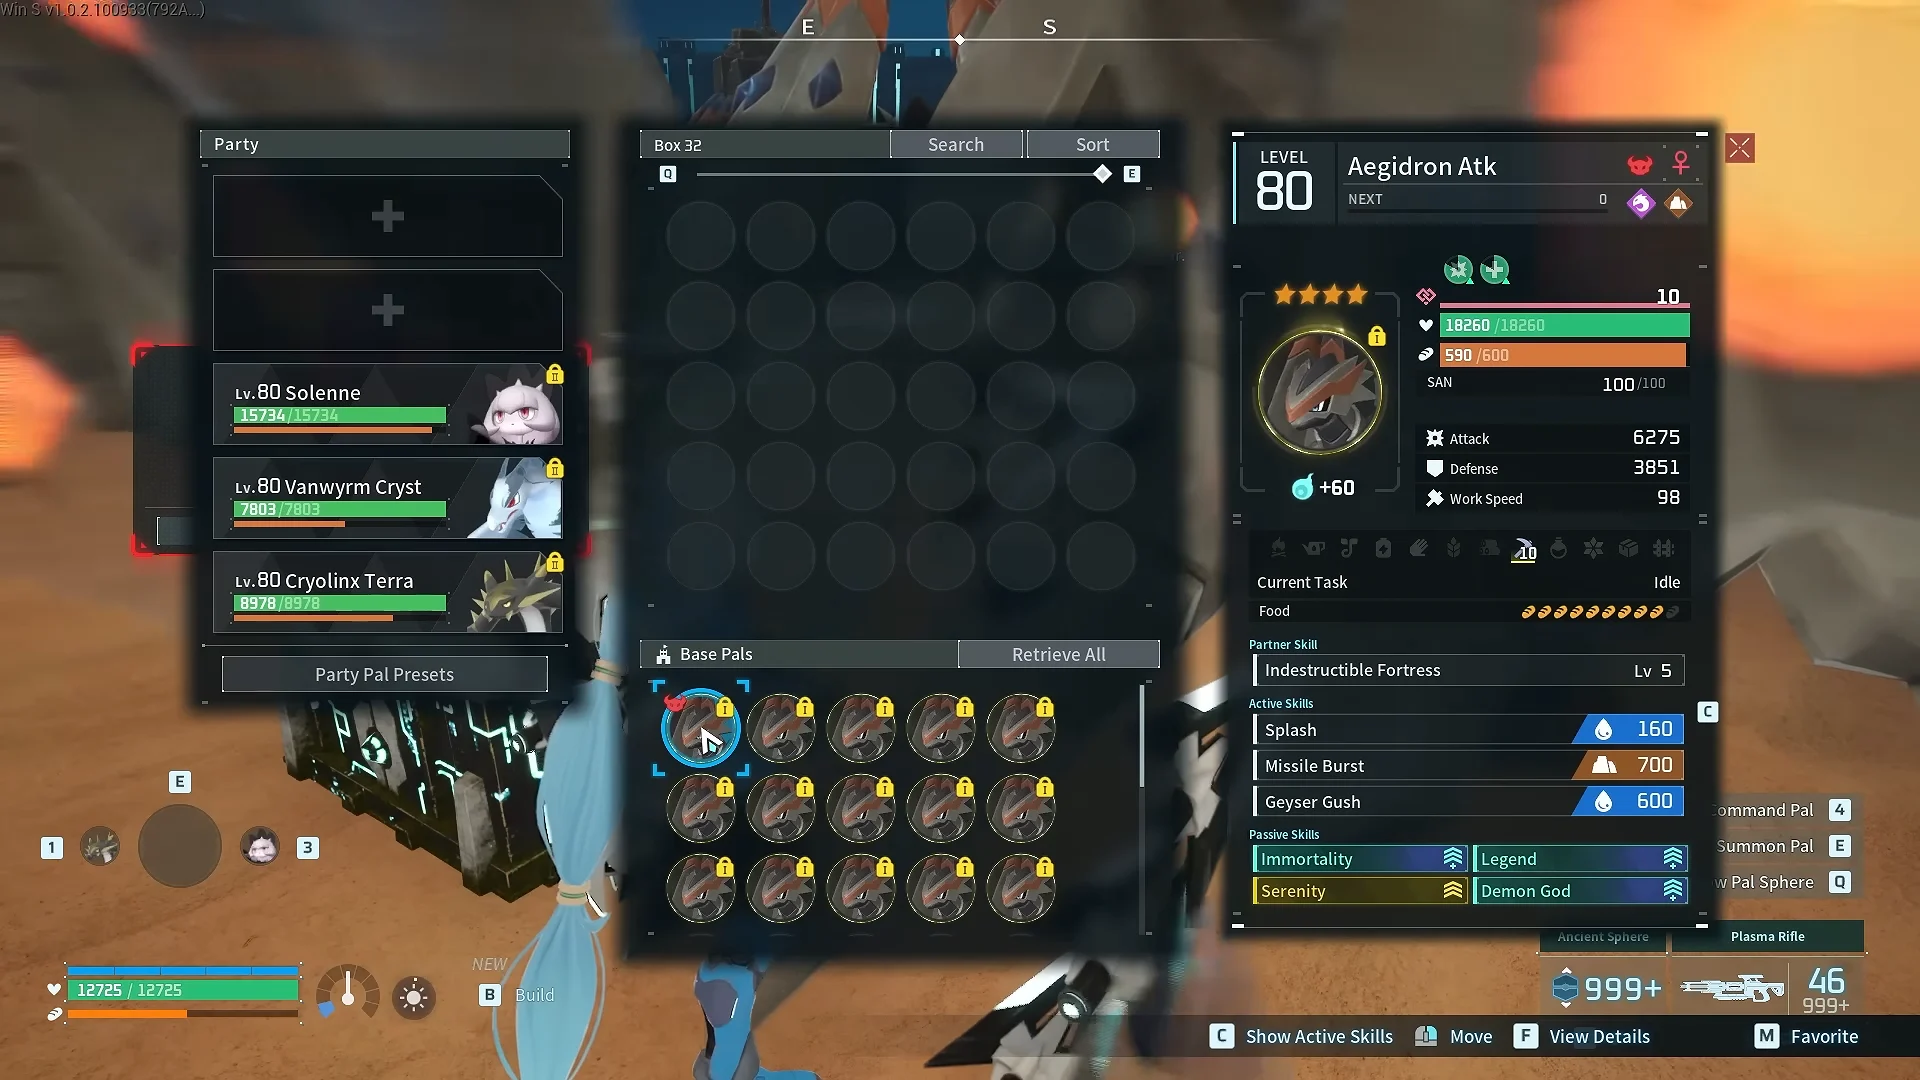
Your own kit matters too. Ranged weapons such as a Plasma Rifle or Drone Launcher let you keep distance while the army tanks, and Heat-Resistant Ancient Armor paired with an Attack Pendant, Silvegis Emblem, Dogen Emblem and Warsect Terra’s Belt covers both survivability and damage. Support Pals in the party — Solenne, Cryolinx Terra and Vanwyrm Cryst — stack attack, weakness and weak-point bonuses, and Vanguard, Stronghold Strategist, Reload Master and Idiosyncratic are the passives to aim for on them.
How to confirm the run worked
A successful clear ends with the “BOSS ELIMINATED” banner and a loot drop containing Ancient Civilization Core x10, Horns of Supremacy x1, Training Crystals, Applied Handbooks, and another Blazamut Ryu (Ultra) Slab so you can immediately run it again. A Huge Dragon Egg can also drop, which hatches into your own Blazamut Ryu.
Once that is done, inspect the army’s health in the Palbox. A successful run should leave most of the team alive, with hunger as the only problem requiring a top-up. If the attempt breaks down, it is generally because a boss became impossible to follow amid your own vortex effects or because the swap into the Electric phase happened too late.