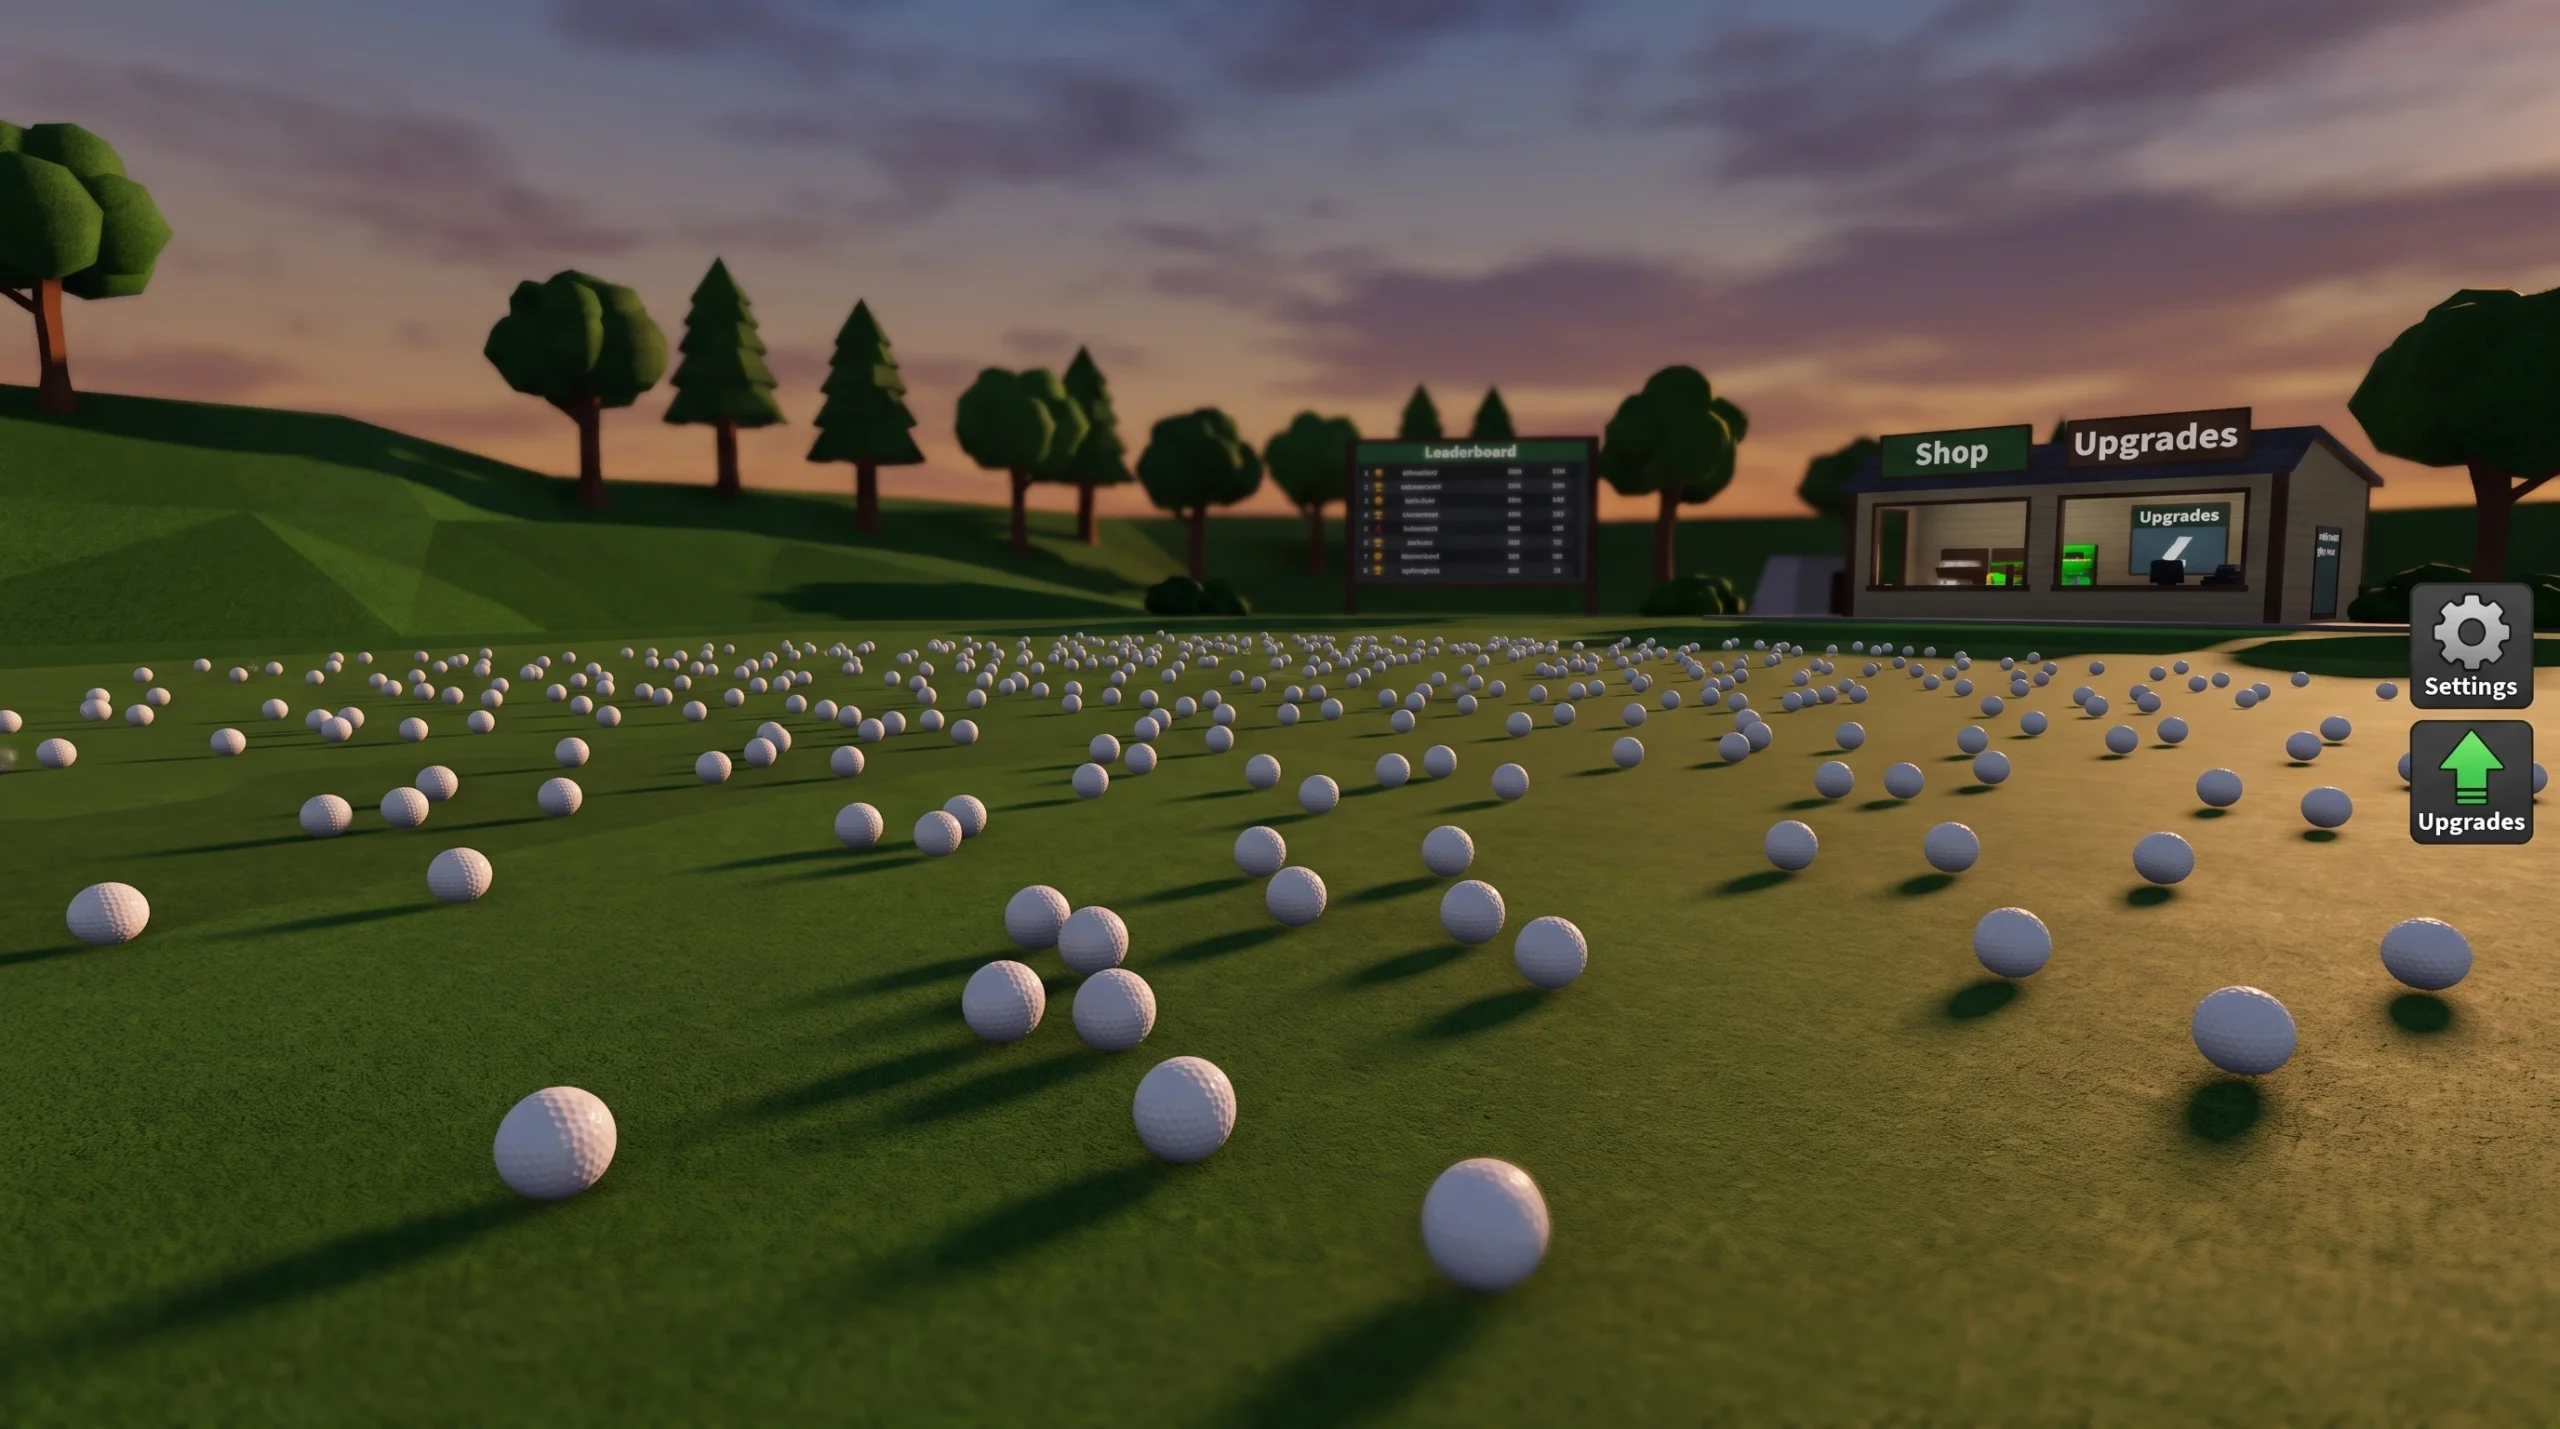
Clean the Golf Yard is a scavenger-style Roblox experience from AverageGuyStudios where you sweep thousands of stray golf balls off a course, cash them in, and pour that money back into faster collection tools. It supports solo and co-op play for up to 20 players, and everything you do feeds one simple cycle. Get that cycle tight and the whole game opens up.
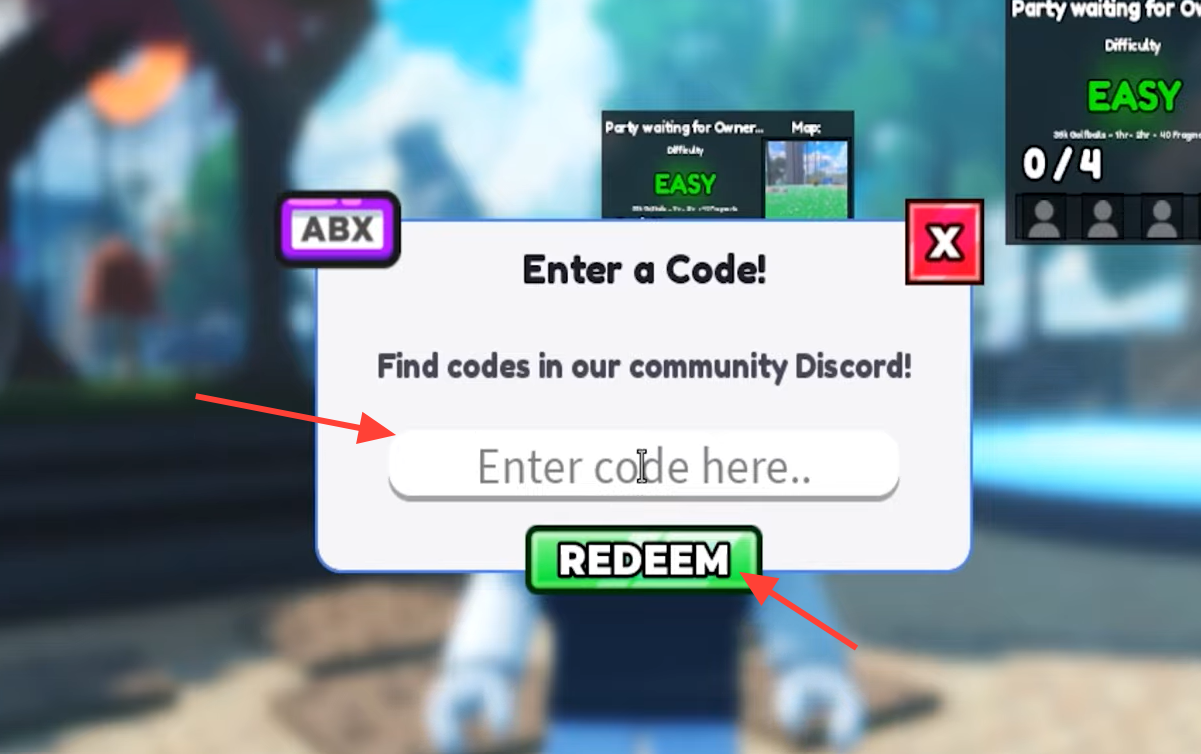
Quick answer: Collect golf balls, sell them for cash at the selling area, then spend that cash on pickup radius, better equipment, and abilities. Open the code menu with the N key (or the ABX button on screen), type a working code exactly as shown, and hit redeem.
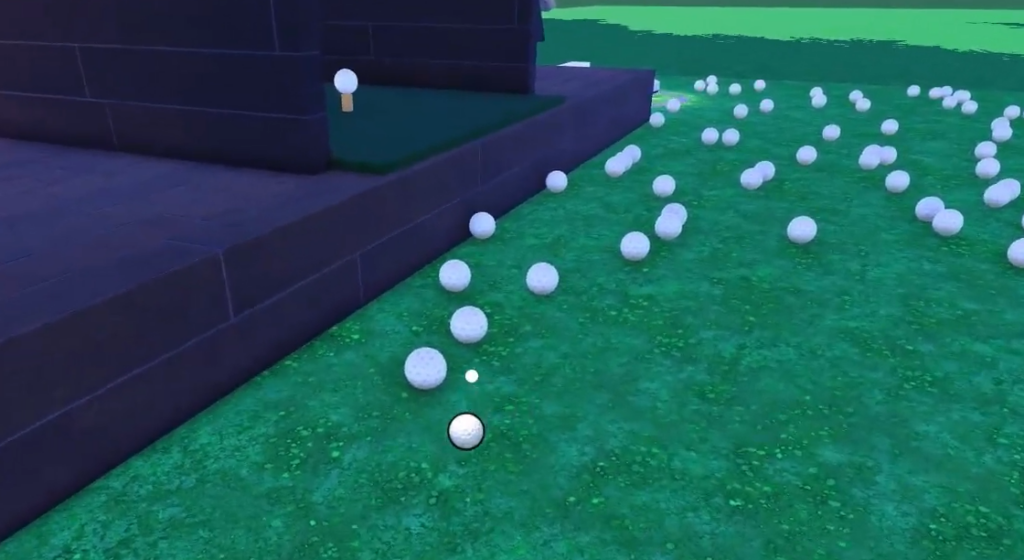
The core loop: collect, sell, upgrade
Every run in Clean the Golf Yard follows the same three beats. You gather golf balls with your current gear, carry the load back to the selling area, and turn it into cash. Then you spend that cash on whatever is slowing you down most. Repeating this quickly is the entire game, so the goal is to shorten each trip and remove wasted movement.
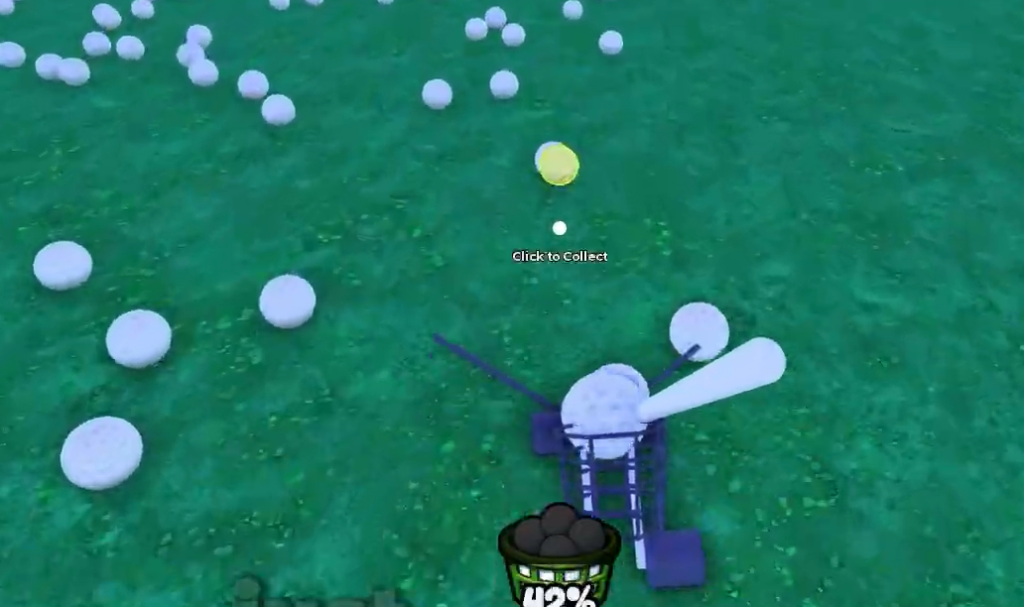
Controls for PC and controller
Picking up balls and firing abilities are the only inputs you use constantly, so learn them first. The pickup input also teaches you your character’s collection range, which matters once you start buying radius upgrades.
| Action | PC | Controller |
|---|---|---|
| Pick up golf balls | E or Left Click | RT |
| Use abilities | 1 or 2 | D-Pad |
| Open code menu | N key | On-screen ABX button |
Clean the Golf Yard codes and how to redeem them
Codes reward free cash and materials that give you a head start on upgrades. They are case-sensitive and time-limited, so type them exactly as written and use them while they are still live. New ones usually drop alongside updates and milestone events.
| Code | Reward |
|---|---|
| FIXES | 300 Fragments |
| Golf | 100 Coins |
| Update34 | Free rewards |
| 2KLIKES | Free rewards |
| 2Kplayers | Free rewards |
You will know it worked when the reward lands and an in-game confirmation appears. If a code fails, check the spelling and capitalization, remove any trailing spaces, confirm it has not expired, then restart the game and try again. Codes change often, so always treat the in-game response as the final word on what a code is worth.
Upgrade order that keeps progression moving
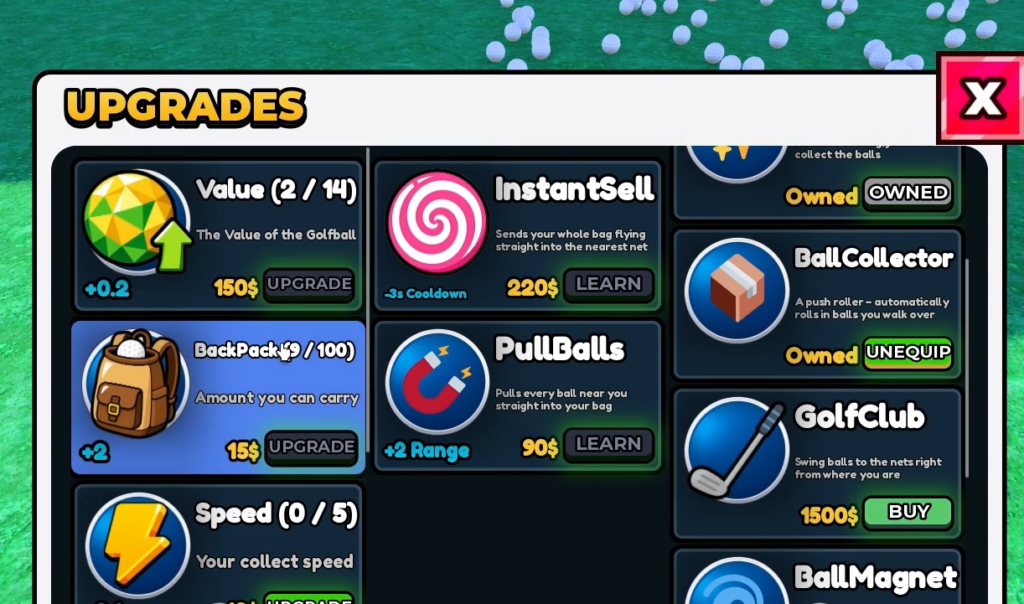
Spend on whatever is limiting your current run, not on a fixed shopping list. Early on, collection speed and pickup efficiency give the fastest returns because they shorten every trip you make. Equipment replaces your starter gear when the jump is large enough to matter, and abilities become worthwhile once you can time them over big clusters.
| Upgrade | When to prioritize | Value |
|---|---|---|
| Collection speed | Early, when picking up balls feels slow | Very high |
| Pickup efficiency | Early to mid, after basic speed gains | High |
| Equipment | Any stage, when the jump beats several small upgrades | High |
| Abilities | Mid to late, for timed use over dense areas | Medium to high |
A balanced path runs collection speed first, then pickup efficiency, then a major equipment upgrade, and finally ability improvements. Before committing cash to anything, compare its price against how much collecting time it actually saves.
Pickup radius explained
Pickup radius controls how close a golf ball must be before you collect it. A wider radius clears more ground per movement, which is most valuable when balls are spread out or sit just off your path. It works best paired with speed and equipment upgrades, so the extra coverage actually gets used instead of sitting idle.
| Stage | Best use | Advice |
|---|---|---|
| Starting | Tight groups near the start and selling areas | Buy an early bump when balls keep getting left beside your path |
| Early progression | Multiple rows or clusters in one pass | Balance radius with equipment so the wider reach pays off |
| Mid progression | Larger sections and balls around obstacles | Increase radius when travel and repositioning eat your time |
Equipment tiers and when to replace gear
The strongest purchase is usually the equipment that gives the biggest practical improvement for its price. Starter gear only exists to fund your first real upgrade, so replace it the moment a stronger option is affordable and clearly shortens your collect-and-sell cycle. Later gear earns its cost by cutting travel and speeding up how quickly a full route clears.
| Tier | Role | When to buy |
|---|---|---|
| S | Best progression value | When it is a major jump over your current gear |
| A | Strong, reliable upgrade | When it clearly improves your regular routes |
| B | Small, situational step | Only if the next big upgrade is still too expensive |
| C | Starter gear | Early only, then replace it |
Names, exact stats, and costs shift with updates, so check the live equipment menu and match each option against your current bottleneck before calling anything the best pick.
Money farming routes for faster cash
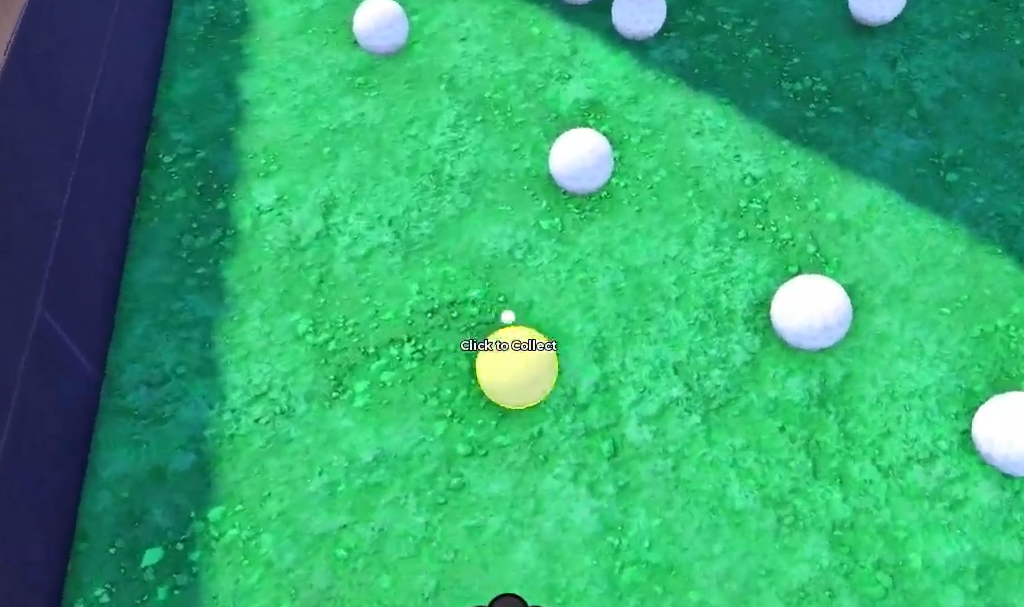
Cash comes entirely from gathering and selling, so the fastest progression is about cutting wasted travel. Start with dense clusters near the selling area and move through each group in one direction rather than crossing cleared ground twice.
- Begin near the selling point and follow a loop that drifts outward, then naturally circles back.
- Finish each route close to the selling area so you are not stuck with a long empty walk.
- Prioritize clusters you can grab without long detours, and skip distant corners when a quick sell would already fund your next upgrade.
- Sell before starting a longer route so completed runs immediately turn into upgrades.
Collection-focused upgrades almost always pay back better than purchases that do not speed up farming, so put cash toward the slowdown that costs you the most time on each run.
Abilities, co-op, and badges
Abilities give temporary collection advantages, and their value depends entirely on timing. Save them for spots packed with balls so each activation clears as much as possible. You can play solo or team up with friends, and cooperative play lets a group split the course and sell more often.
Badges turn a broad cleanup session into a specific target. Use them to decide what to chase next, whether that is collecting a set number of balls or reaching a course milestone. Pairing a badge goal with an efficient route keeps every run pointed at real progress.
Updates and staying current
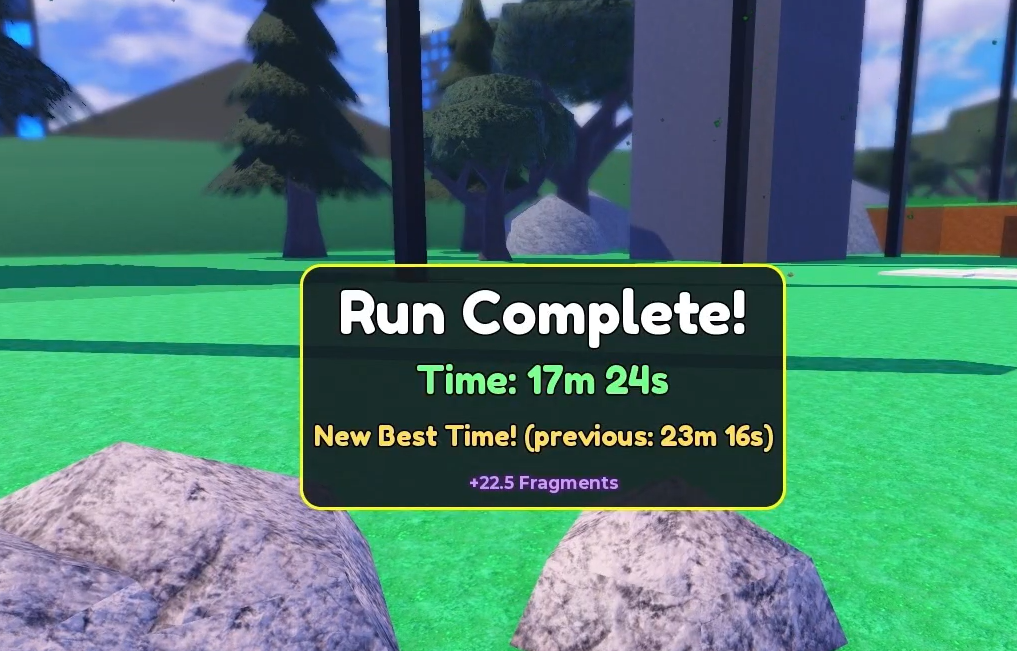
The experience has moved through the UPD3.4 update, and new content typically arrives with fresh codes and adjusted upgrade costs. Because prices, equipment stats, and ability details can change between versions, treat the live game menus as the source of truth whenever you are about to spend. Keep the collect-sell-upgrade loop tight, grab codes while they last, and let your current bottleneck decide where the cash goes.