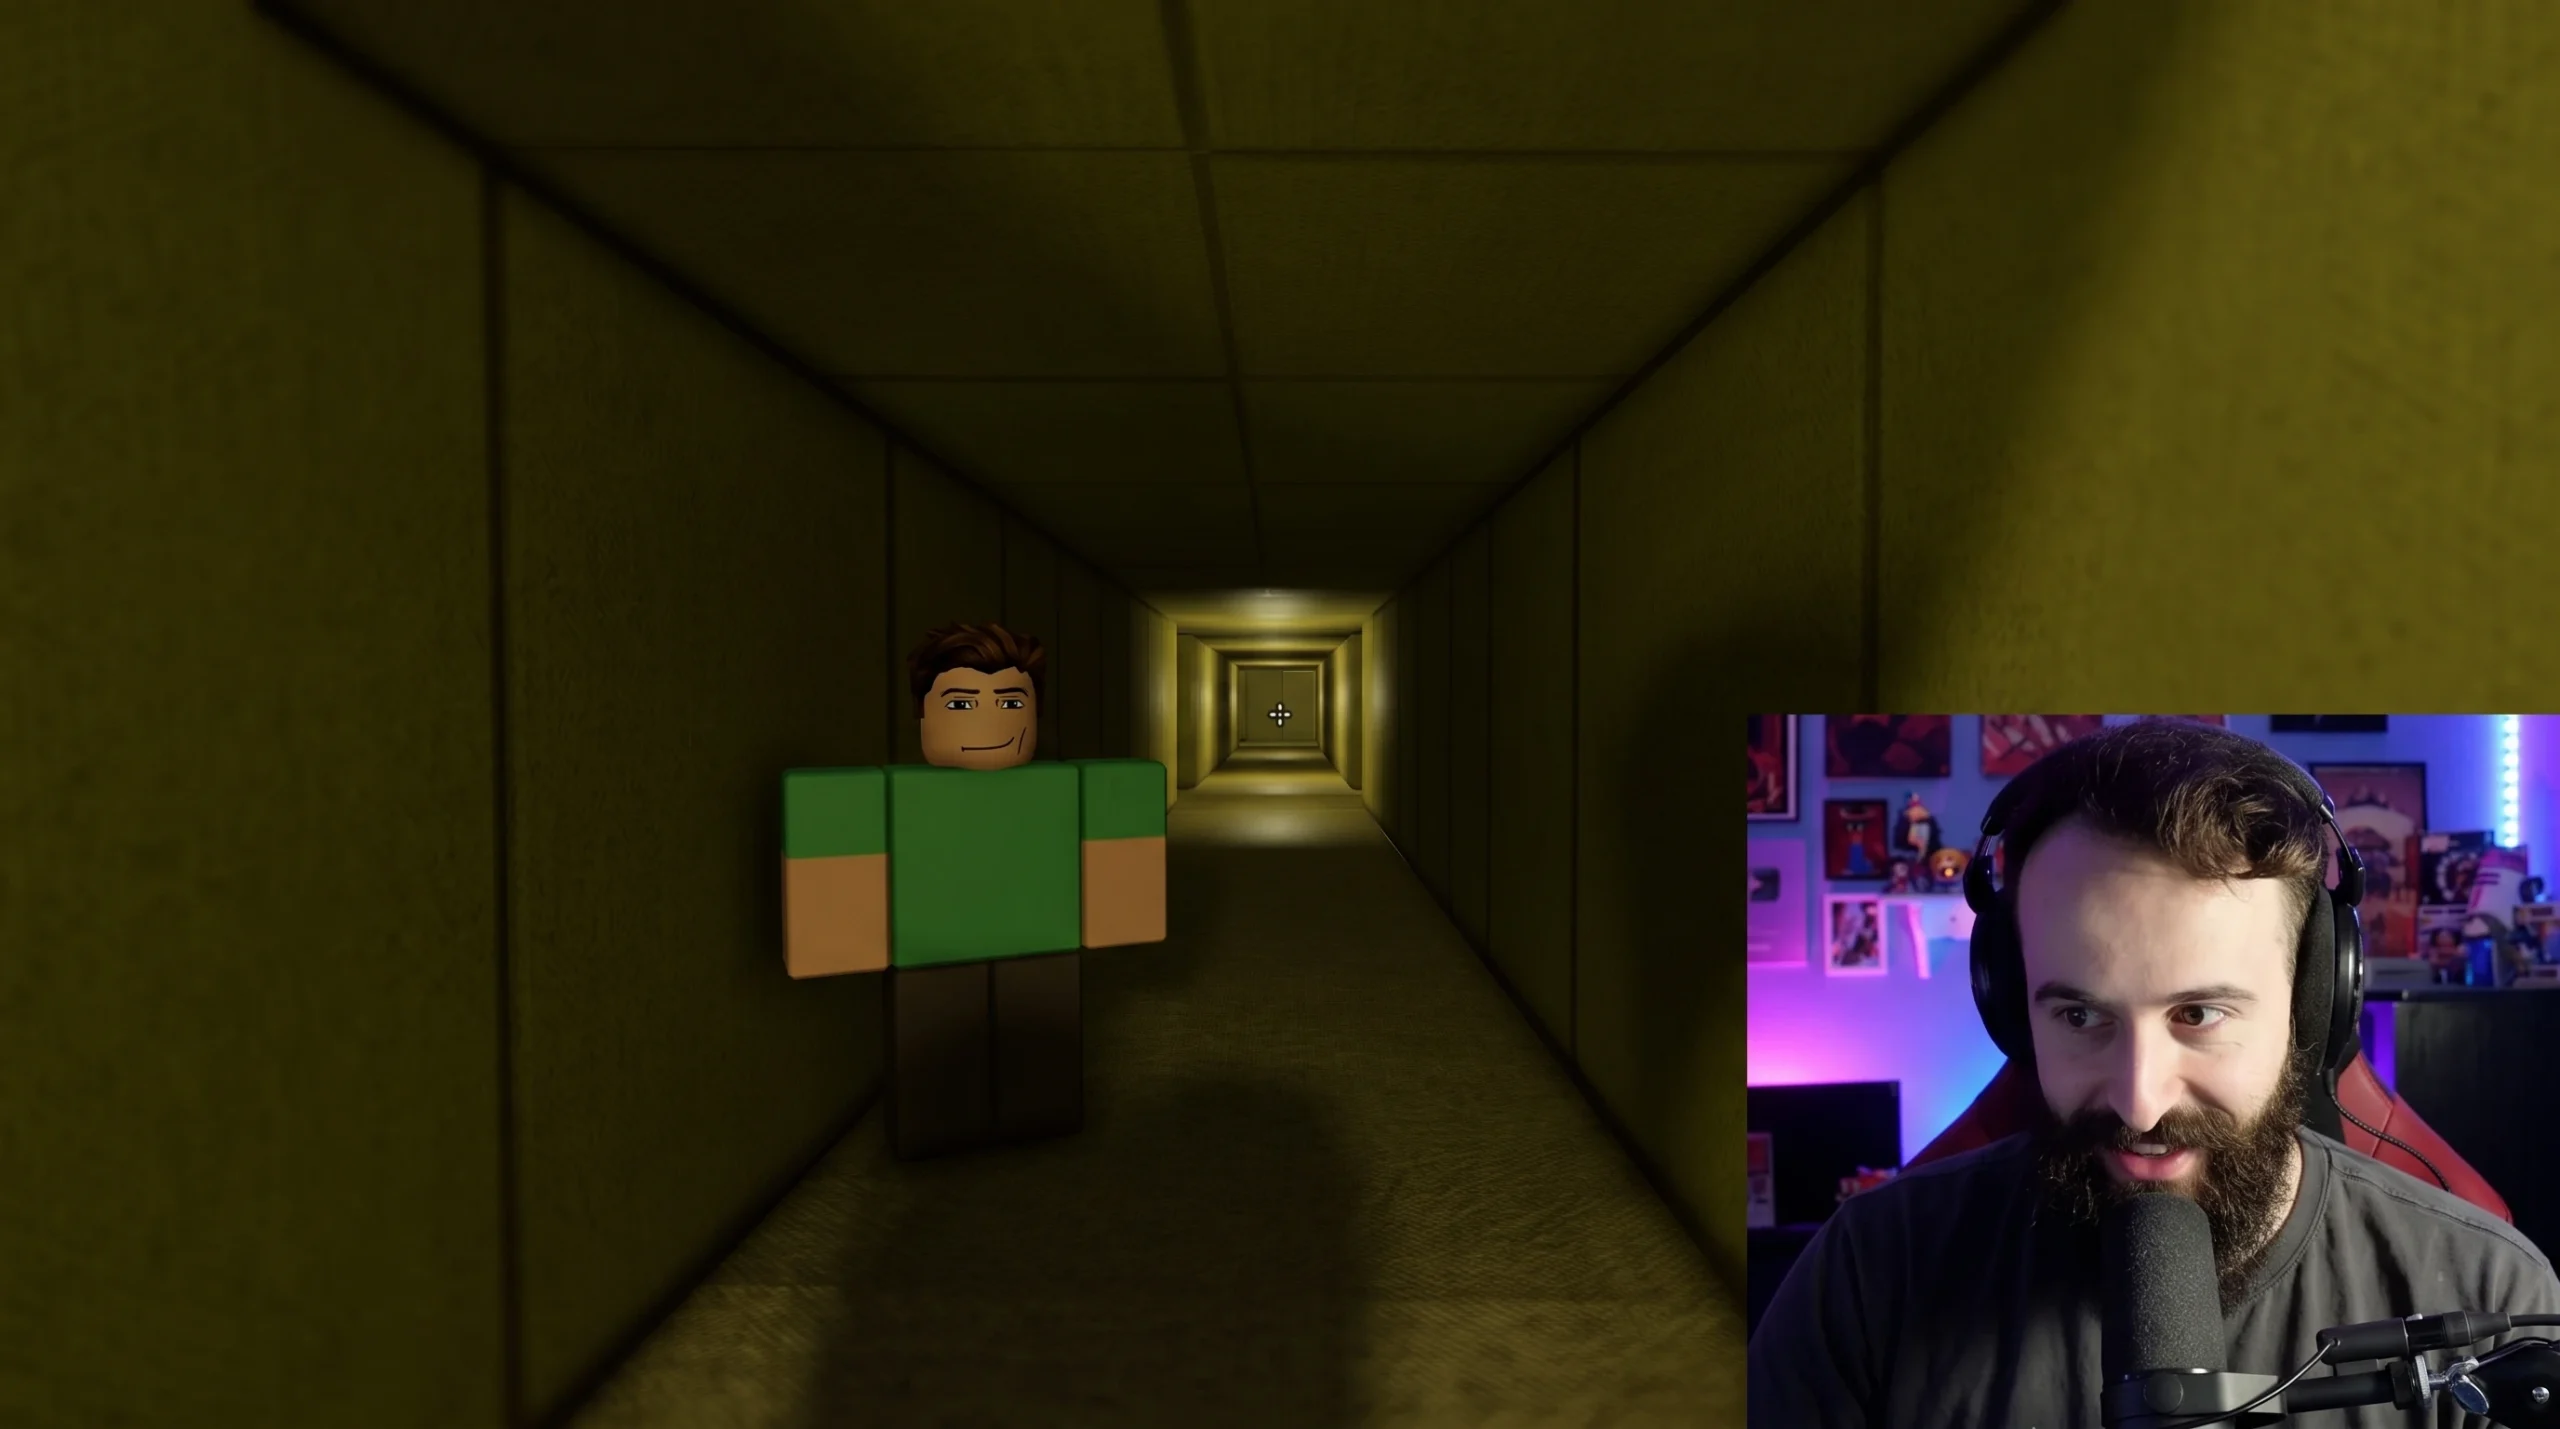
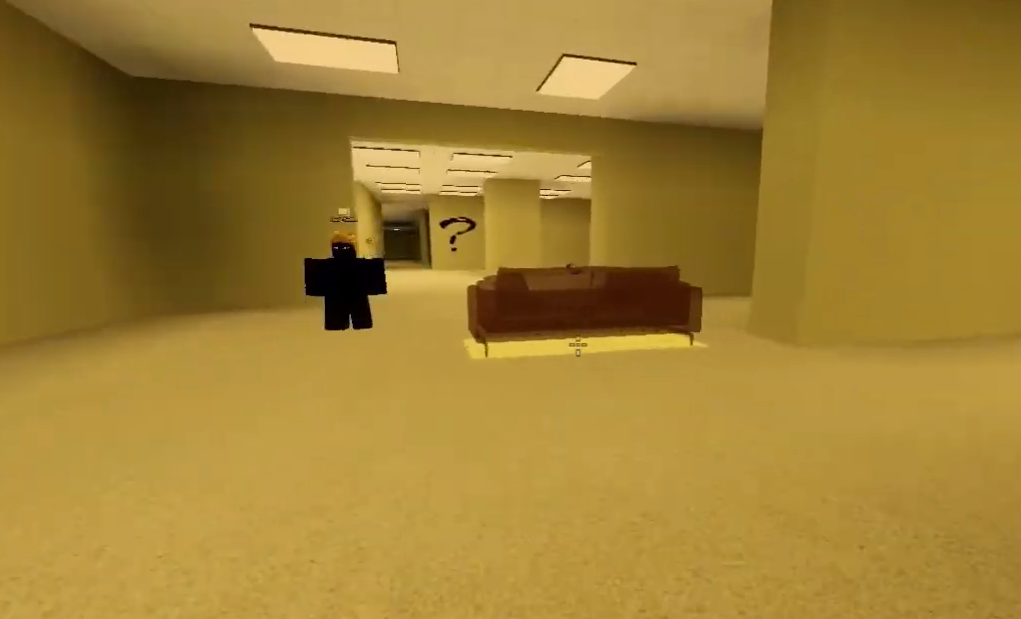
The stockroom in Complex Furnishings is an infinite, Backrooms-style maze that actively resists you taking anything out of it. Because the layout is not a static map, players hunting for a single “best spot” to park themselves are asking the wrong question. What actually matters is where a spot sits relative to your shop gate and how fast you can retreat from it.
Quick answer: There is no fixed best spot. The strongest position is the last confirmed landmark closest to the shop gate where you can stage furniture, keep a light on the return line, and turn back before darkness and low stamina overlap.
Why the stockroom has no fixed best spot
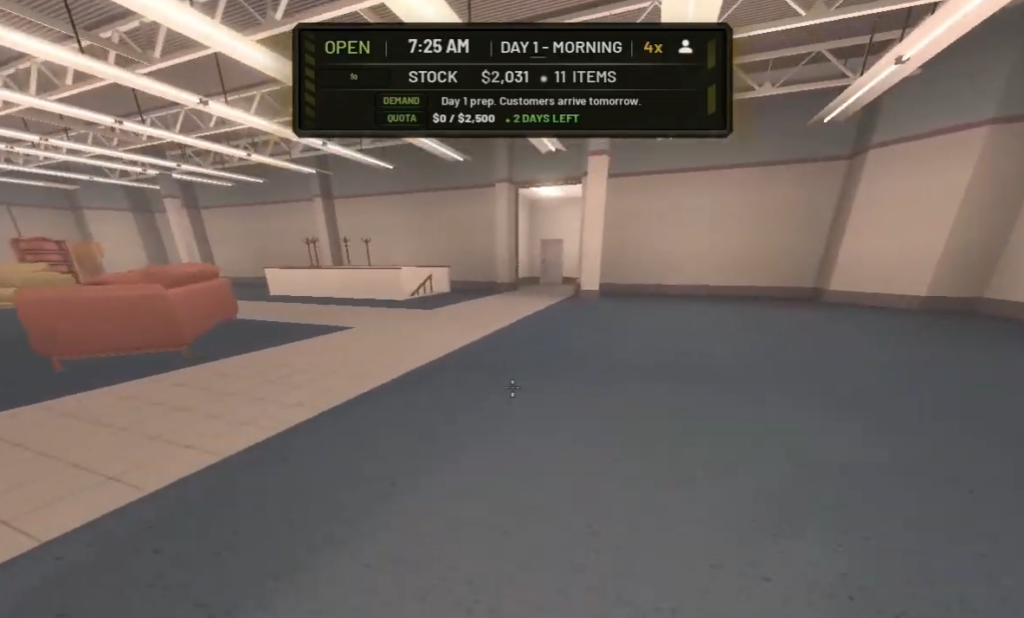
Complex Furnishings runs a maze-like stockroom where rooms, junctions, and hazards shift between runs. Any claim of one permanent “safe room” or a guaranteed loot corner does not hold up, because the branch you cleared last time may not be there on the next trip. Treat the space as decisions to make, not a route to memorize.
That changes how you define a good position. Instead of a coordinate on a map, a good spot is a junction you can name, reach quickly, and leave quickly. The closer that junction is to the gate you sell through, the more valuable it is, even if it holds less furniture than something deeper in.
What makes a good staging spot
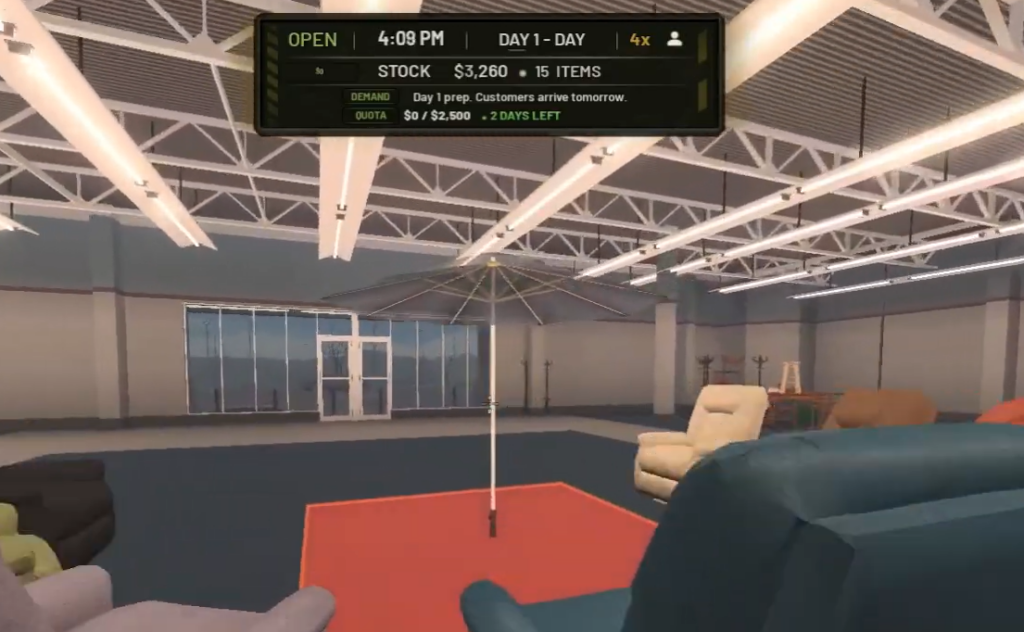
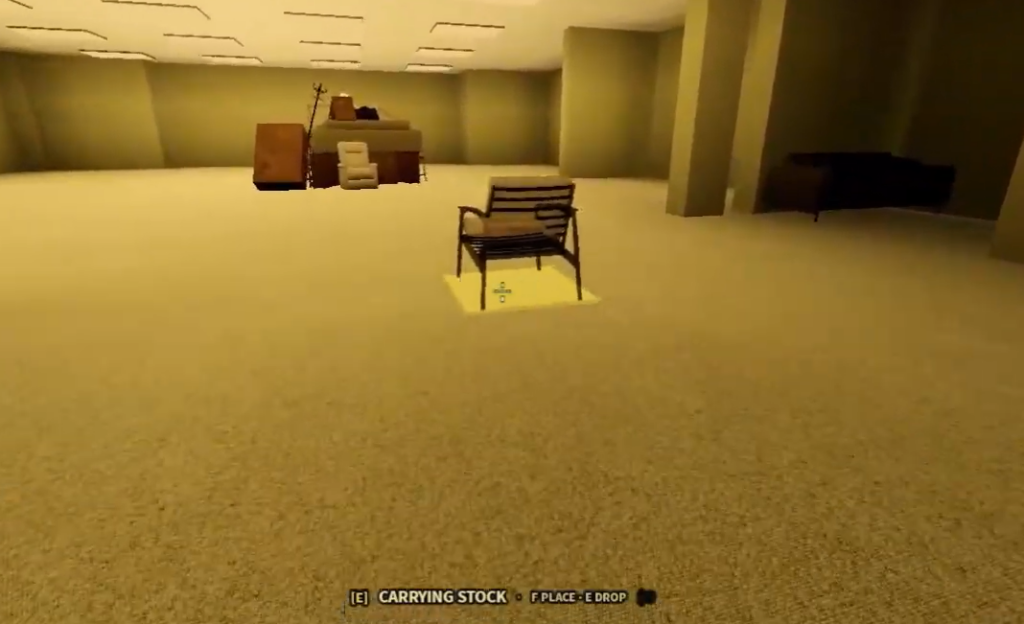
The most reliable positions share a few traits. You want a labeled junction on your return line, a light source you can keep in view, and enough distance from open hazards that you can react before one reaches you. Stage furniture on that line so a full load is never sitting deep in the dark.
- Pick a junction close to the shop gate over a richer room far from it.
- Name each junction as you pass so you can call it out and find it again.
- Stage carried furniture along the path back, not at the deepest point.
- Keep an escape budget of stamina in reserve rather than pushing to empty.
The payoff is measured in profit per safe minute, not in the size of a single haul. A slightly smaller load you can actually carry back beats a big pile you lose to a chase or a dead end.
Threats that turn a good spot bad
A spot is only “best” until a threat arrives. These are the pressures that decide when to abandon a position and fall back to your last confirmed landmark.
| Threat | What it does to your spot |
|---|---|
| Captain Clark | Chase pressure. Escaping through the gate while he hunts you earns the One Step Ahead badge; getting caught ends the run. |
| Rope traps | Can pin you or a teammate in place. Freeing yourself or freeing another player is a confirmed objective, so call it out fast. |
| Mimic and Still Life | Entity presence that makes a room unsafe to keep working in. |
| Low sanity | A retreat warning. Near-zero sanity is a signal to pull back, not to push deeper. |
| Darkness | Compounds every other risk. Darkness plus low stamina is the point to turn back. |
Because Captain Clark drives the highest-pressure moments, plan the escape before the pursuit starts. Avoid assuming a doorway is safe, keep stamina in hand, and regroup at the last landmark you named rather than sprinting into an unmapped branch.
Tools that extend your safe range
Upgrades change which spots you can hold safely. Buy the tool that improves your next trip, and only after your cash and stock already cover the active quota.
- Flashlight: lets you work dark branches and keep a light on the return line, extending how far a spot can safely sit from the gate.
- Trolley: moves more furniture per trip, but a lost trolley means a lost load, so stage it on the return path and don’t overload deep in.
Co-op positioning for safer runs
Complex Furnishings is co-op, with servers holding up to 30 players. In a team, the best spot is a shared position everyone can name. Keep one player free to guide and watch the exit rather than committing the whole group to carrying. That free player calls rope traps, retreat, and exits while the others move furniture.
Short, agreed callouts matter more than any clever route. If your team uses the same names for junctions and the same word for “fall back,” a spot stays workable far longer under pressure.
How to know your spot is working
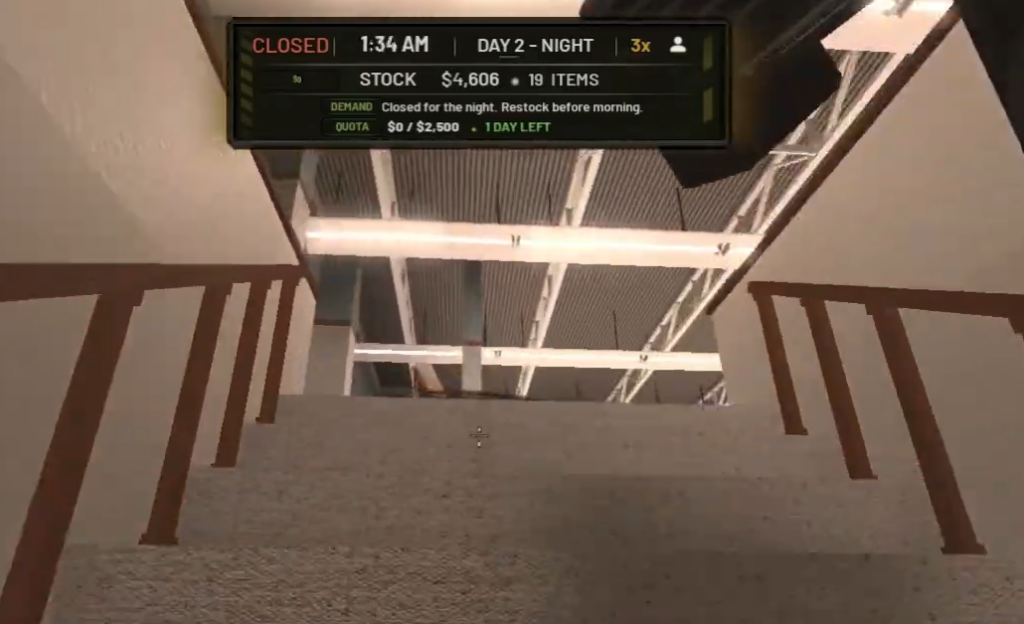
You know your positioning is right when staged furniture makes it back to the shop and sells against customer requests without a load being lost mid-run. Meeting the quota with short, repeatable trips is the clearest sign your spot is close enough and safe enough. Placing your first piece for customers unlocks the Open for Business badge, and slipping past Captain Clark through the gate confirms your retreat plan with the One Step Ahead badge.
The failure pattern is just as clear. If you keep losing loads, getting caught, or hitting near-zero sanity, the spot is too deep, too dark, or too far from the gate. Pull the staging point back toward the shop and rebuild from there.
Treat every spot as temporary, judge it by how fast you can leave it, and let the shop gate, not the deepest room, anchor your runs. That approach holds up even as the stockroom keeps rearranging itself around you.