


In Curse of the Allflame, the Atlas rewards you for progressing intelligently rather than sprinting through white maps with empty pockets. The trick is to unlock Tier 14 maps quickly, socket your Voidstones in the right order, and spend your first Atlas passives on map sustain so you never stall waiting for drops. Do that, and you farm meaningful currency the entire way to a fully upgraded Atlas.
Quick answer: Take the three Shaping nodes and Unwavering Vision first, push to Tier 14 to unlock Searing Exarch Red Altars, then collect Voidstones in this order — Exarch/Eater, Originator, Shaper & Elder, and Maven last. With all four Voidstones socketed, every map on your Atlas becomes Tier 16.
Voidstone order and what each one does
Voidstones raise the tier of every map on the Atlas, up to Tier 16. Socket all four and your entire Atlas runs at red tier, which maximizes both map drops and currency. Each Voidstone drops from one of the four pinnacle bosses, and you can only take one from each.
The order matters because the first stone unlocks your early currency engine. Prioritize the Searing Exarch or Eater of Worlds stone. Its bonus gives Eldritch altars an extra 25% chance to roll an additional upside and downside, which translates directly into more Eldritch Embers and Chaos Orbs from every Red Altar you run.
| Priority | Voidstone / boss | Why it comes here |
|---|---|---|
| 1st | Searing Exarch / Eater of Worlds | Easiest fights, least gear-dependent, unlocks Exarch altar currency |
| 2nd | Originator | Run three chains of four maps; lets Astrolabes drop from Atlas bosses |
| 3rd | Shaper & Elder | Buyable if your build is weak; Uber Elder now counts for both |
| 4th | Maven | Hardest and most mechanically demanding — save for last |
A welcome change this patch is that you no longer need to fight Uber Elder to progress. That roughly halves the number of Shaper and Elder Guardians you must kill. When you fight Shaper or Elder for their Voidstone, do not Maven-witness the encounter — it adds difficulty for no meaningful reward. Maven herself remains the toughest push, so leave her until your character is comfortably tanky and hitting hard.
Early Atlas tree: lock down map sustain first
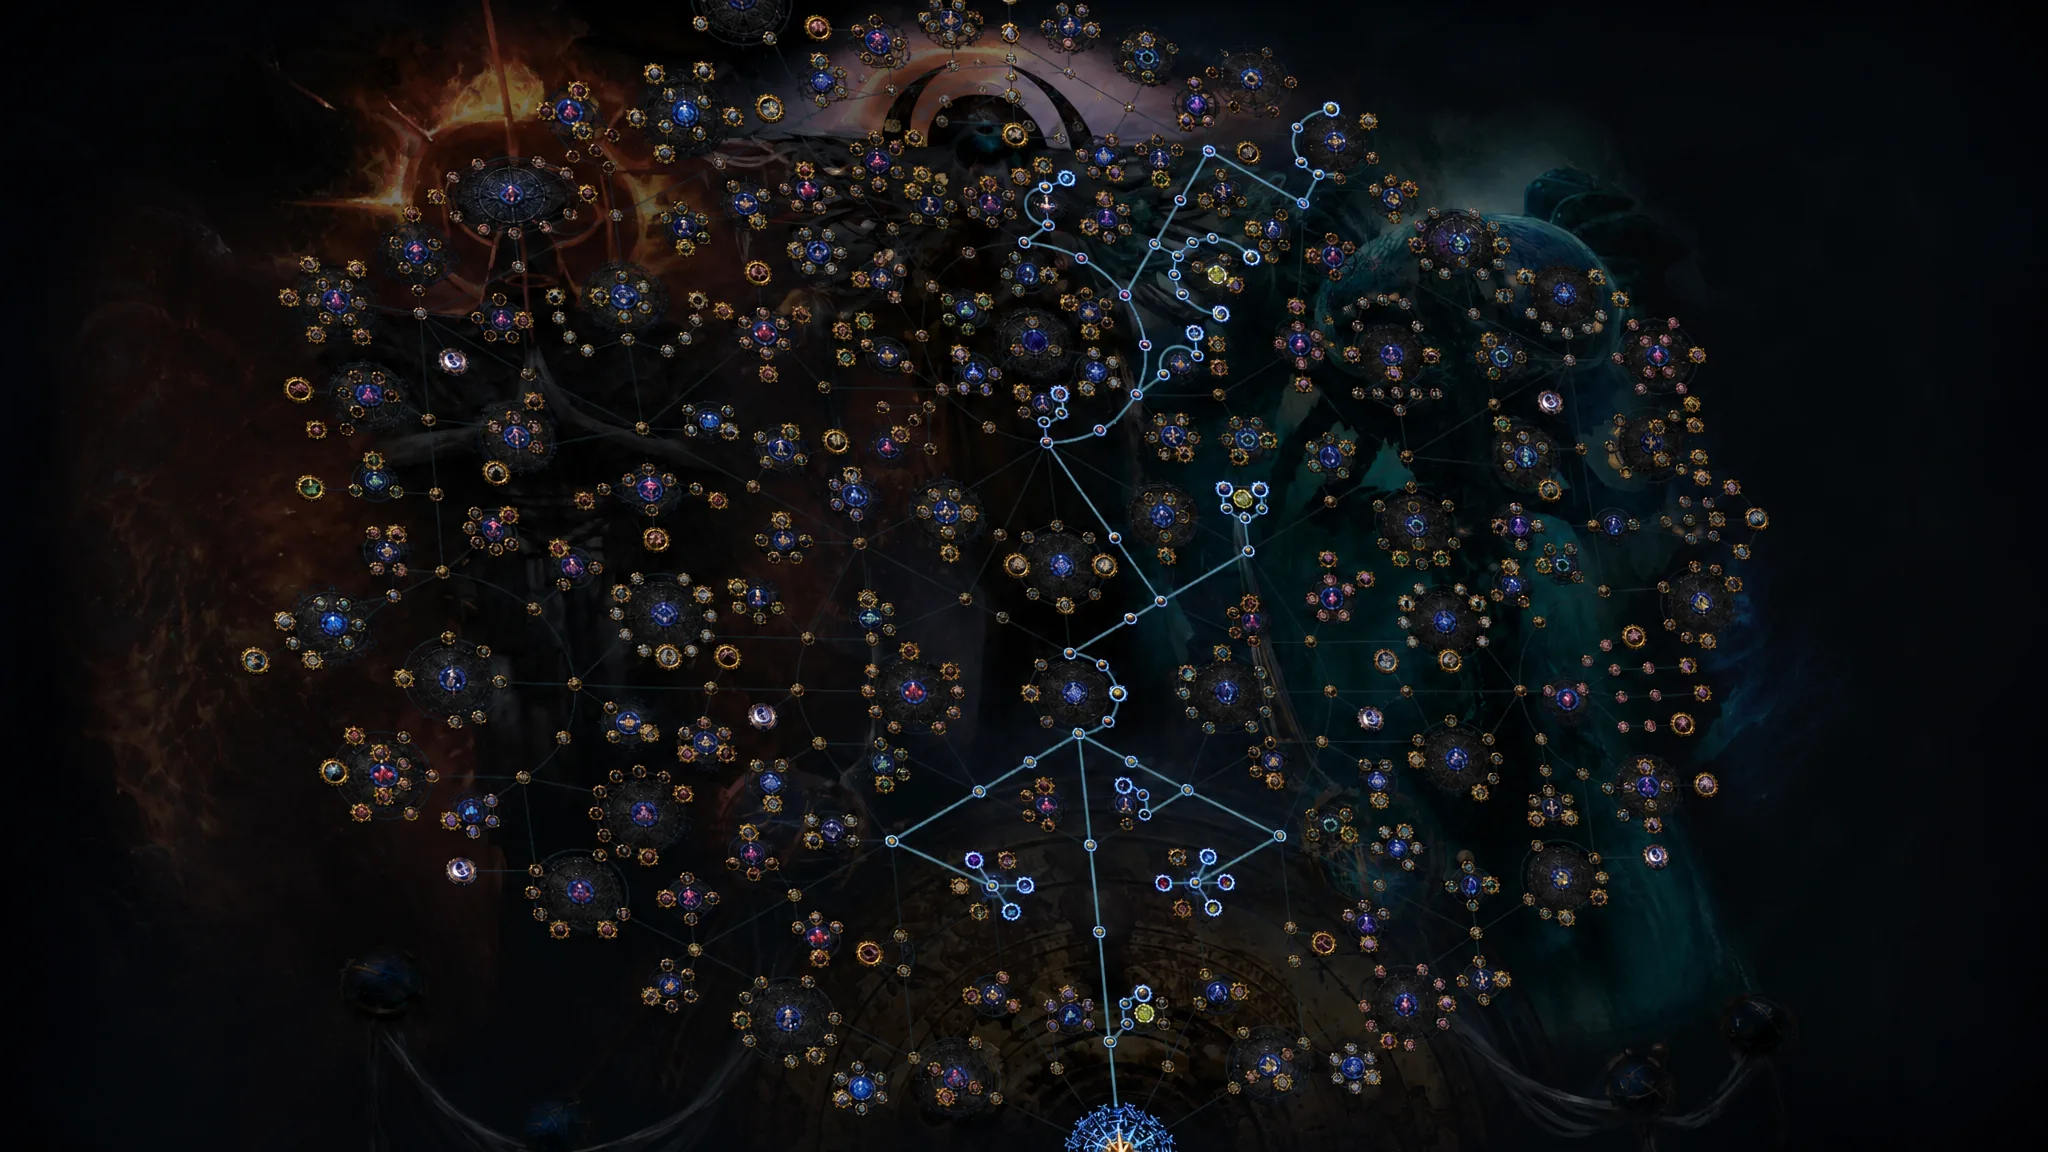
Your very first passives should keep maps dropping so you can climb tiers without checking your stash between runs. Three Shaping notables near your starting point do the heavy lifting here.
- Shaping the Mountains — more rare monsters in maps, raising your chance at higher-tier drops.
- Shaping the Skies — improves the odds of dropping a map one tier above your current area.
- Shaping the World — rounds out sustain so you can run to the boss, clear, and roll straight into the next map.
Next, grab Unwavering Vision at the top of the tree. It stops scarabs from dropping, but it hands you 20 extra Atlas points that you can funnel toward the content you actually want. Those points also feed into progressing toward your Shaper and Elder Guardians. After that, pick up a couple of Shrine clusters. Shrines guarantee temporary buffs that boost clear speed and survivability, and a two-minute Shrine buff can carry you through an entire boss rush.
Skip the monster-heavy league mechanic nodes such as Breach and Legion until you have solid sustain and at least two Voidstones. Investing in those too early only makes maps harder before your build can handle them.
Rush Tier 14 to unlock Red Altars
The single biggest optimization is reaching Tier 14 as fast as safely possible. Red Altars only become permanently available in Tier 14 and above once you finish the Exarch questline, and those altars are your main early-league currency source. Once they are live, every map can produce Lesser and Greater Eldritch Embers, Chaos Orbs, and other altar rewards.
Prices reflect that value. In the opening days, ordinary Embers often sell for a Chaos Orb each, while higher-tier Embers can fetch four to five Chaos and climb well past ten as the league matures. When you allocate the Exarch altar cluster, only pick options that buff monsters rather than debuff your own character. Monster buffs are usually manageable; player penalties can gut your map speed or, on a fragile build, end a run instantly.
Note: if you are newer or under-geared, do not force your way to Tier 14. Complete maps at a comfortable pace, build up power, and switch to the Red Altar speed-farm loop once you can clear red maps reliably.
Finish maps faster with tier tricks, Kirac, and the vendor recipe
Atlas completion depends on the tier of the map you run, not the tier shown on the node. Normal maps are defined by tier rather than layout, so a high-tier map can complete a lower-tier node. That means once you reach Tier 14 and above, you can circle back to unfinished white and yellow nodes and clear them at red tier, collecting Red Altar rewards the whole time. Magic rarity is enough for most early completions.
Two tools keep the pipeline full. Kirac now sells missing maps for Gold, letting you plug Atlas gaps and skip ahead without waiting on drops. Be careful, though, because Gold is also your currency for gambling gear at the vendor, which is a primary way to kit out early. The classic three-to-one vendor recipe still works too — three maps of the same tier turn into one map of the next tier up, provided they are uncorrupted and identical in tier.
Bonus objectives are worth chasing as you go. Every four completed bonus objectives grant 1% increased Map Item Quantity, so filling out the Atlas quietly improves long-term sustain. Drop rules scale with monster rarity: normal monsters drop maps up to your current tier, magic and rare monsters up to one tier higher, and the map boss up to two tiers higher — so always kill the boss.
| Map tier | Bonus objective requirement |
|---|---|
| 1–5 | Defeat the map boss in a Magic or higher rarity map |
| 6–10 | Defeat the map boss in a Rare or higher rarity map |
| 11–16 | Defeat the map boss in a Rare Corrupted map |
How to roll maps by tier
Match your currency spend to the tier so you are not overpaying on low maps or under-rolling dangerous red ones.
| Tier | How to roll |
|---|---|
| 1–5 | Orb of Transmutation, then Orb of Augmentation to add a modifier if you want it |
| 6–10 | Orb of Alchemy or Orb of Binding for a rare map; reroll bad mods with Chaos Orbs |
| 11–16 | Roll a safe rare map, then corrupt with a Vaal Orb — keep a spare, since corruption can brick the roll |
Map modifiers to always reroll
Read every modifier before you activate the Map Device. A mod becomes dangerous when it attacks a mechanic your build depends on, or when several mods stack to multiply incoming damage. Build a personal reroll list and stick to it.
- Players cannot Regenerate Life, Mana, or Energy Shield — a killer for regen builds and Righteous Fire.
- Monsters cannot be Leeched from — cripples any attack or spell build relying on leech.
- Players have reduced maximum Resistances — a major damage multiplier against every build.
- Reduced Block and less Armour — dangerous for block and armour characters.
- Increased Monster Critical Strike Chance and Multiplier — deadly when paired with extra-damage mods.
Never judge mods in isolation. Reduced maximum resistances, extra physical as elemental, higher monster crit, and increased monster speed can each be fine alone yet turn lethal together. Also worth noting this patch: the old reflect mods are gone, replaced by Thorns. Rare monsters gain Physical or Elemental Thorns for five seconds when hit, reflecting a fixed amount — 800 physical and 1500 elemental in red maps — which you can mitigate with evasion, block, armour, and resistances.
Which mechanics to stop for while progressing
During Atlas completion, speed beats maximum loot. Stop only for short, high-value encounters and blow past the rest until your Atlas is done.
- Essence — strong for attack-based bow, wand, and claw builds; essences like Anger, Hatred, and Wrath can craft competitive weapons. Drop the nodes later if red-map Essence monsters get too tanky.
- Strongboxes, Heist Caches, Rogue Exiles, Mercenary encounters — quick to clear and can drop Chaos or early gear.
- Jun — useful for early crafting and experience on white and yellow maps, then far less important once you hit red tiers.
Everything slower generally costs too much time this early. One extra spend that pays off: run Uber Lab twice to bring your main skill gem to 20% quality. That single boost usually adds more damage than any other quality upgrade, and if your build uses Poacher’s Mark or Assassin’s Mark, quality is how you generate frenzy or power charges on single targets.
Endgame tree: Breach paired with Searing Exarch altars
Once the Atlas is essentially finished at around 120 passive points, pick a mechanic and specialize. A reliable currency setup pairs Breach with Searing Exarch altars for as much raw Divine Orb income as possible. Each run costs roughly 30 to 40 Chaos in scarabs, and rarely more than 50.
- Scarab of Monstrous Lineage ×2
- Breach Scarab of Instability ×2
The idea is to force only Unstable Breaches using the Enemy at the Gates passive, spread Breach across a large slice of the map, and let Searing Exarch Altars spawn inside that coverage so they drop raw currency. Push magic and rare monster count through passives and scarabs to feed it. Keep your Shrine nodes — they stay excellent — and if you have 20-plus points spare, Beyond is a strong add because it packs in extra monsters and its bosses drop the new Exceptional Pact gems. Do not overspend on scarabs until the full Atlas setup is in place.
If Breach is not your style, Blight is a dependable mid-game option that leans on tower placement rather than raw build power, while Abyss received a rework this patch and now serves as the exclusive source of Abyssal Jewels and Stygian Vises, making it both a currency and a level-100 experience farm.
How to know your Atlas is progressing correctly
You are on track when each new node you clear reveals the connected nodes around it, your bonus objective counter ticks up, and higher-tier maps start dropping without you buying them. The clearest confirmation comes after socketing all four Voidstones — every map on your Atlas displays as Tier 16. From there, Red Altars run every map, Embers and Chaos accumulate steadily, and you can shift the whole tree toward whichever endgame farming loop you plan to grind for the rest of the league.





