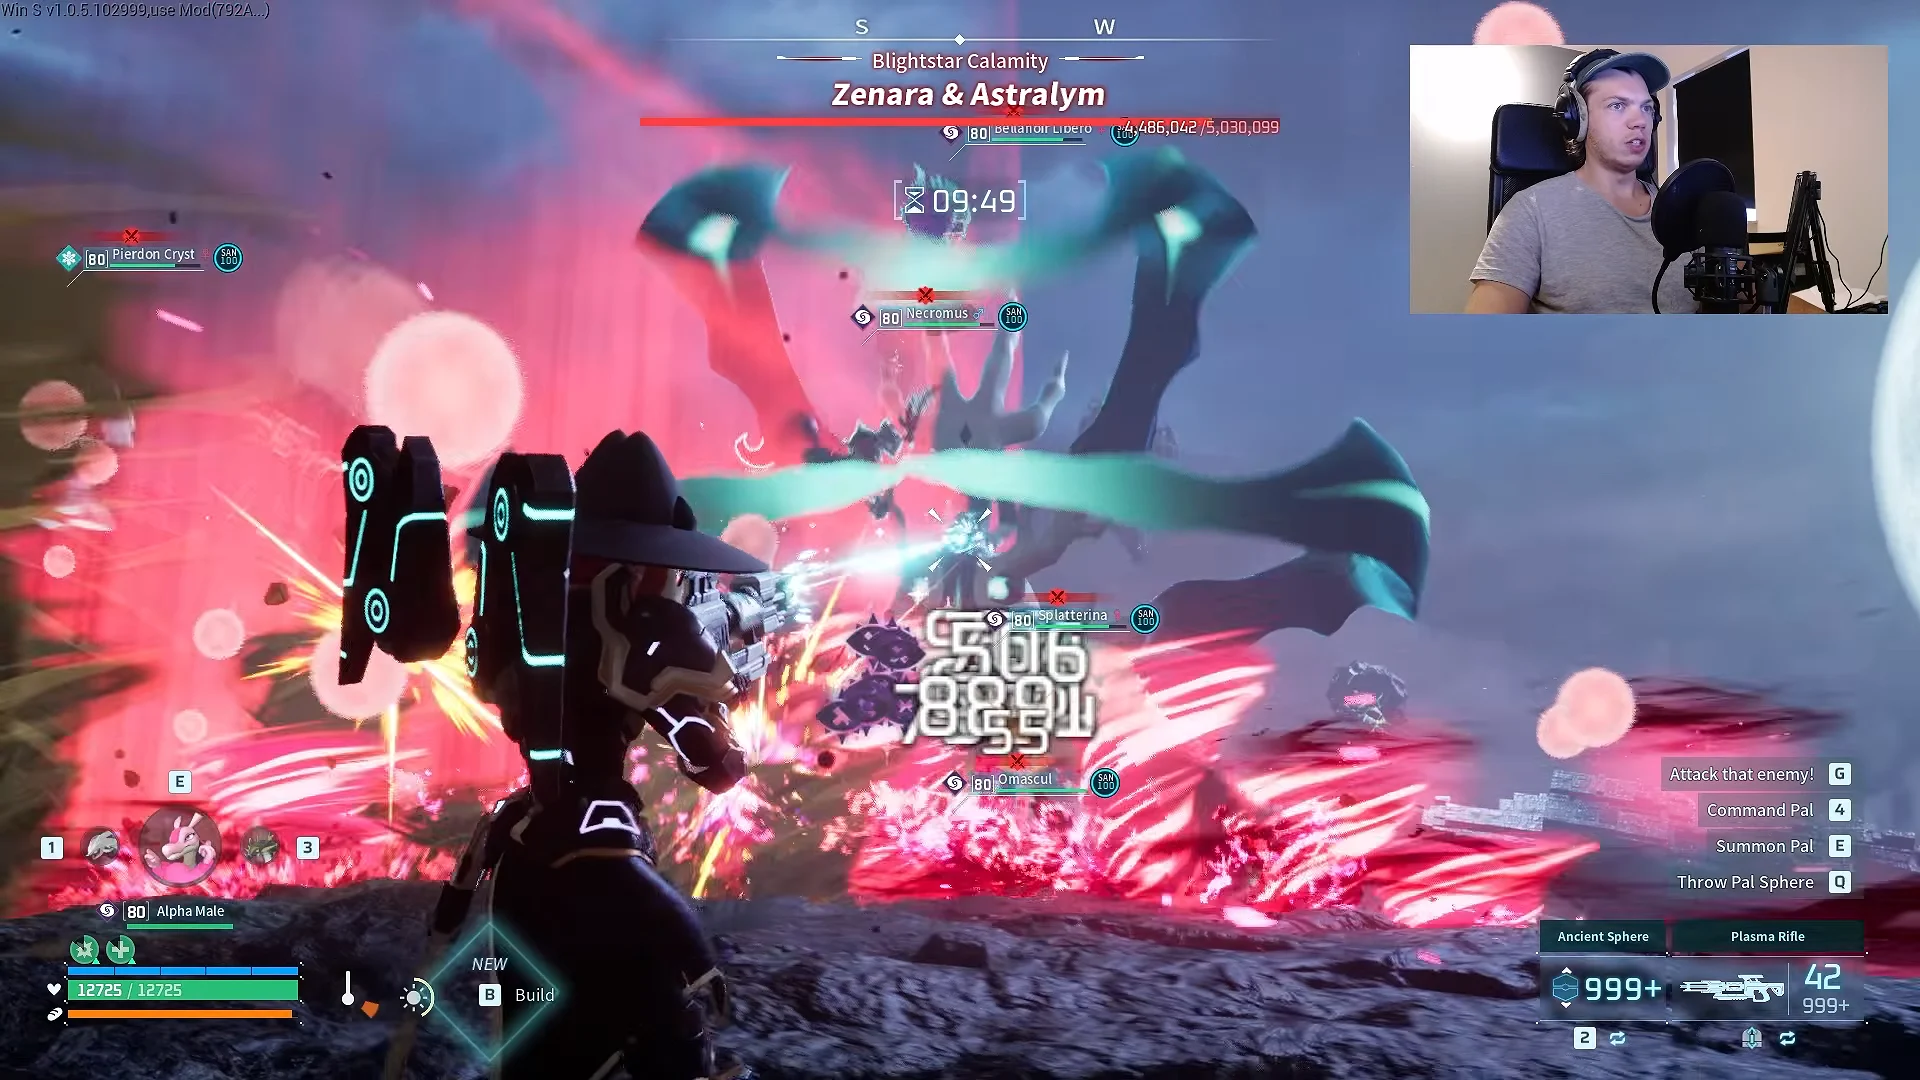
In Hard Mode, Zenara & Astralym becomes a full raid encounter rather than a solo tower fight, with a setup resembling Bellanoir or Blazamut Ryu. Bring an army from your base into the arena and divide the roles: let your Pals wear down the boss while you focus on mechanics and staying alive. The boss is Level 100, has 5,030,099 HP, and has no elemental weakness, making raw damage and survivability more important than type matchups.
Quick answer: A full army of Bellanoir running Sand Twister, Circle Vine, and Apocalypse posts the highest raid DPS, because its compact hitbox and natural side-stepping dodge the boss’s sweeping beams.
How the Hard Mode raid works
This version unlocks once you defeat Zenara & Astralym on Normal Mode. At the arena, use a Pal Box to deploy a purpose-built raid squad that supplies most of your damage. The boss’s broad, powerful area attacks can wipe out you and the entire party if your Pals bunch up.
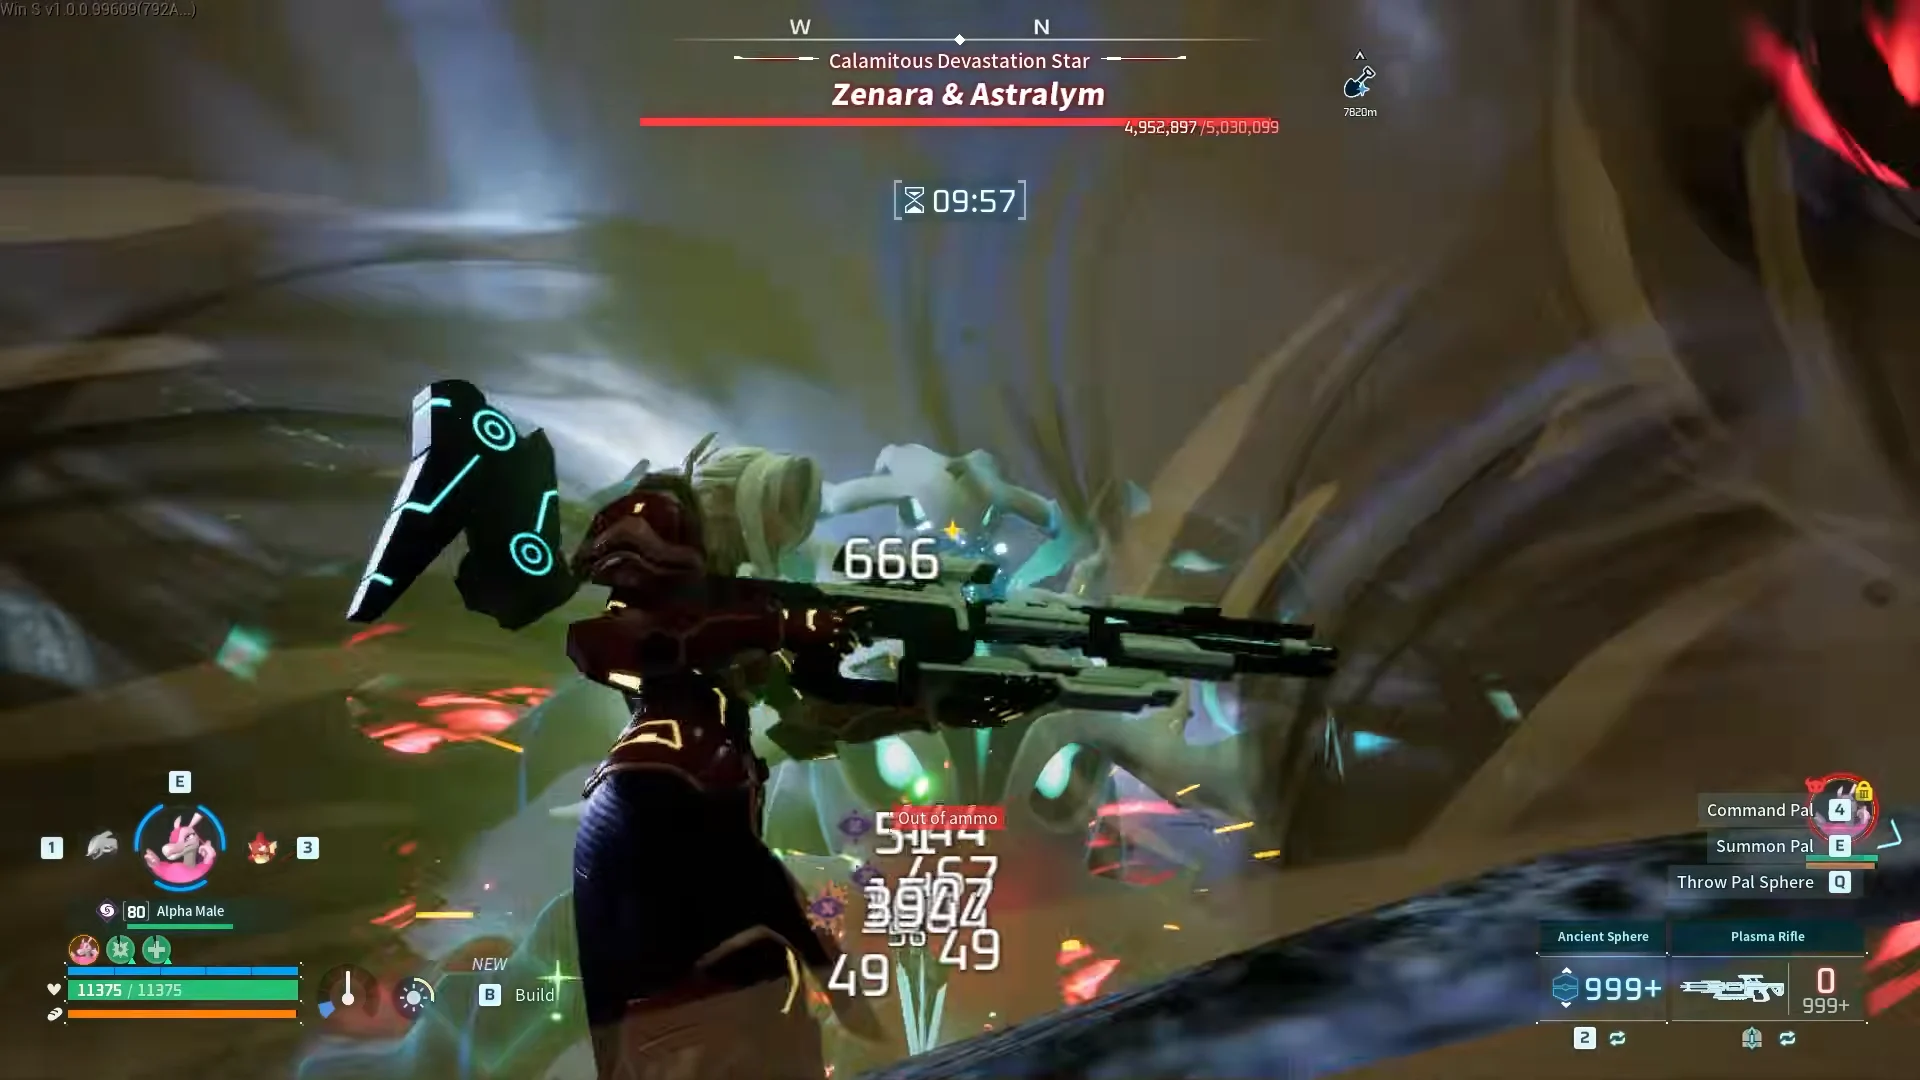
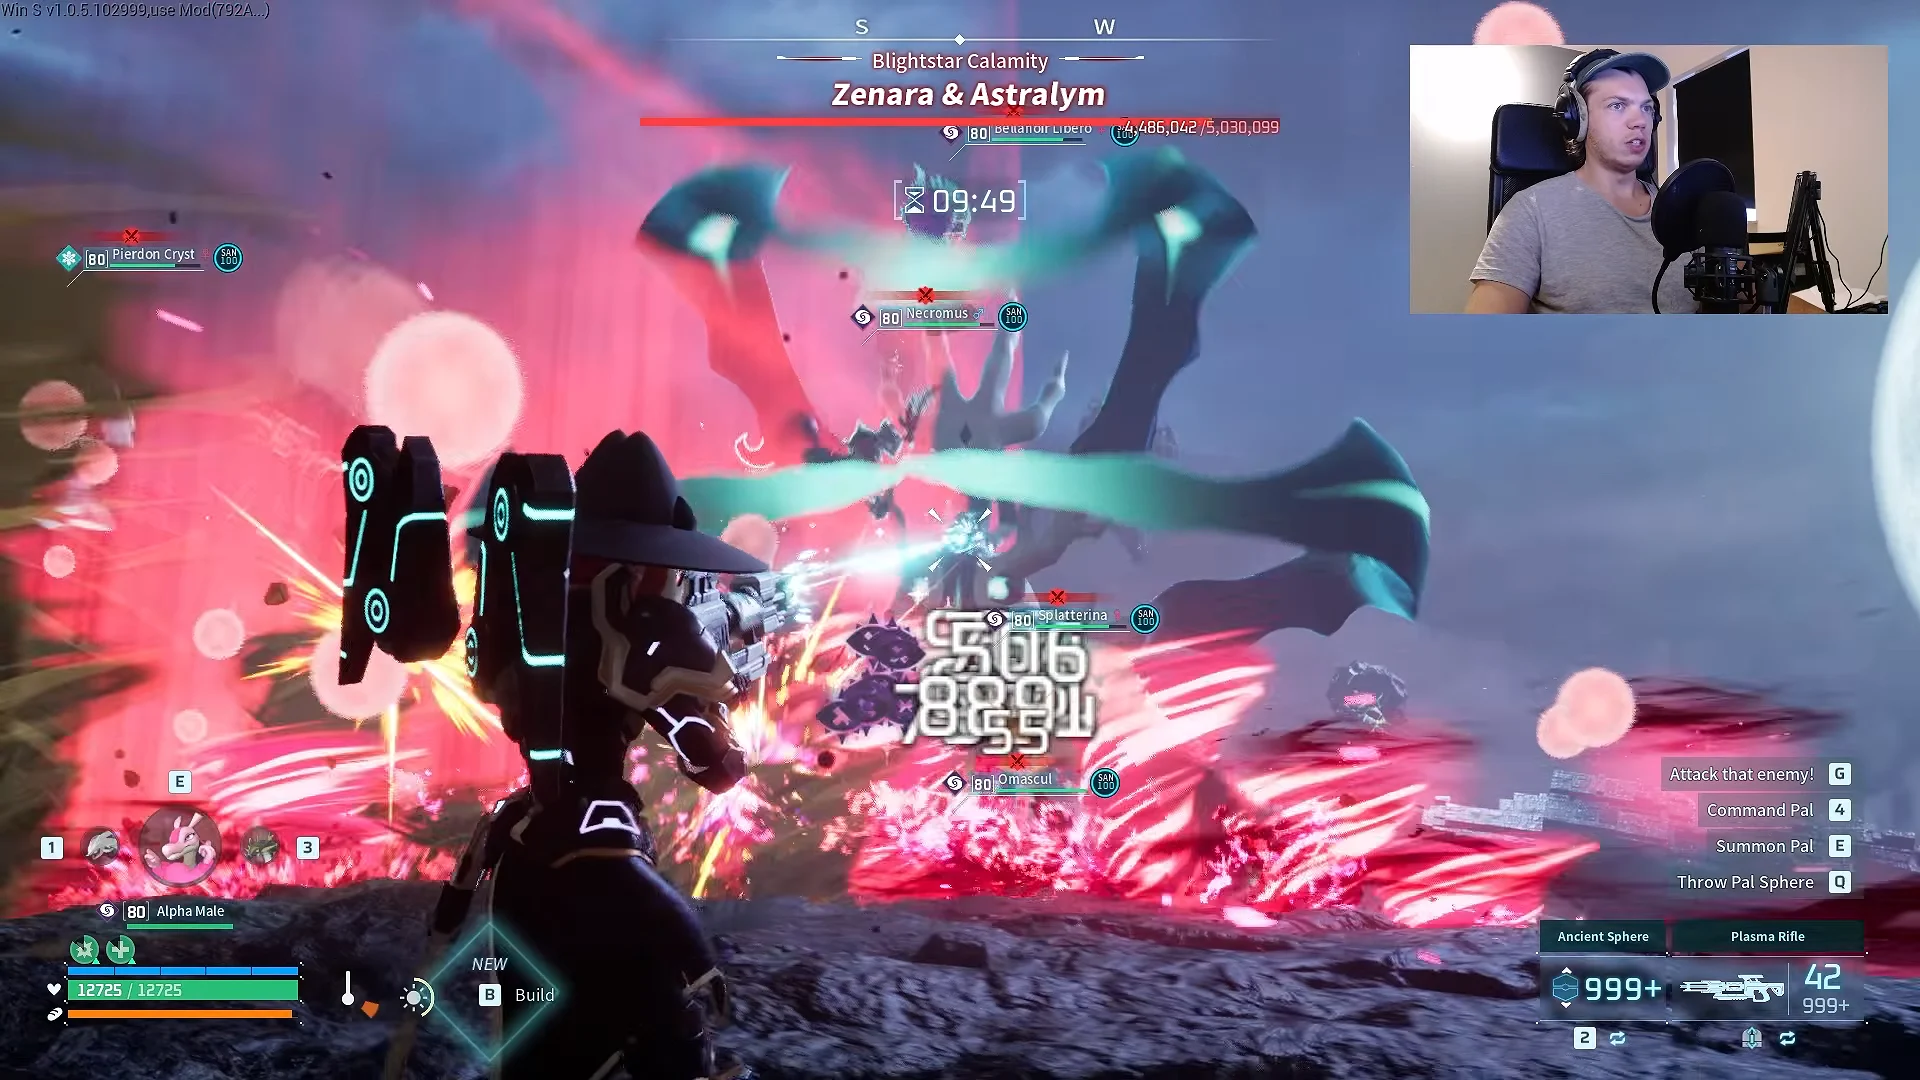
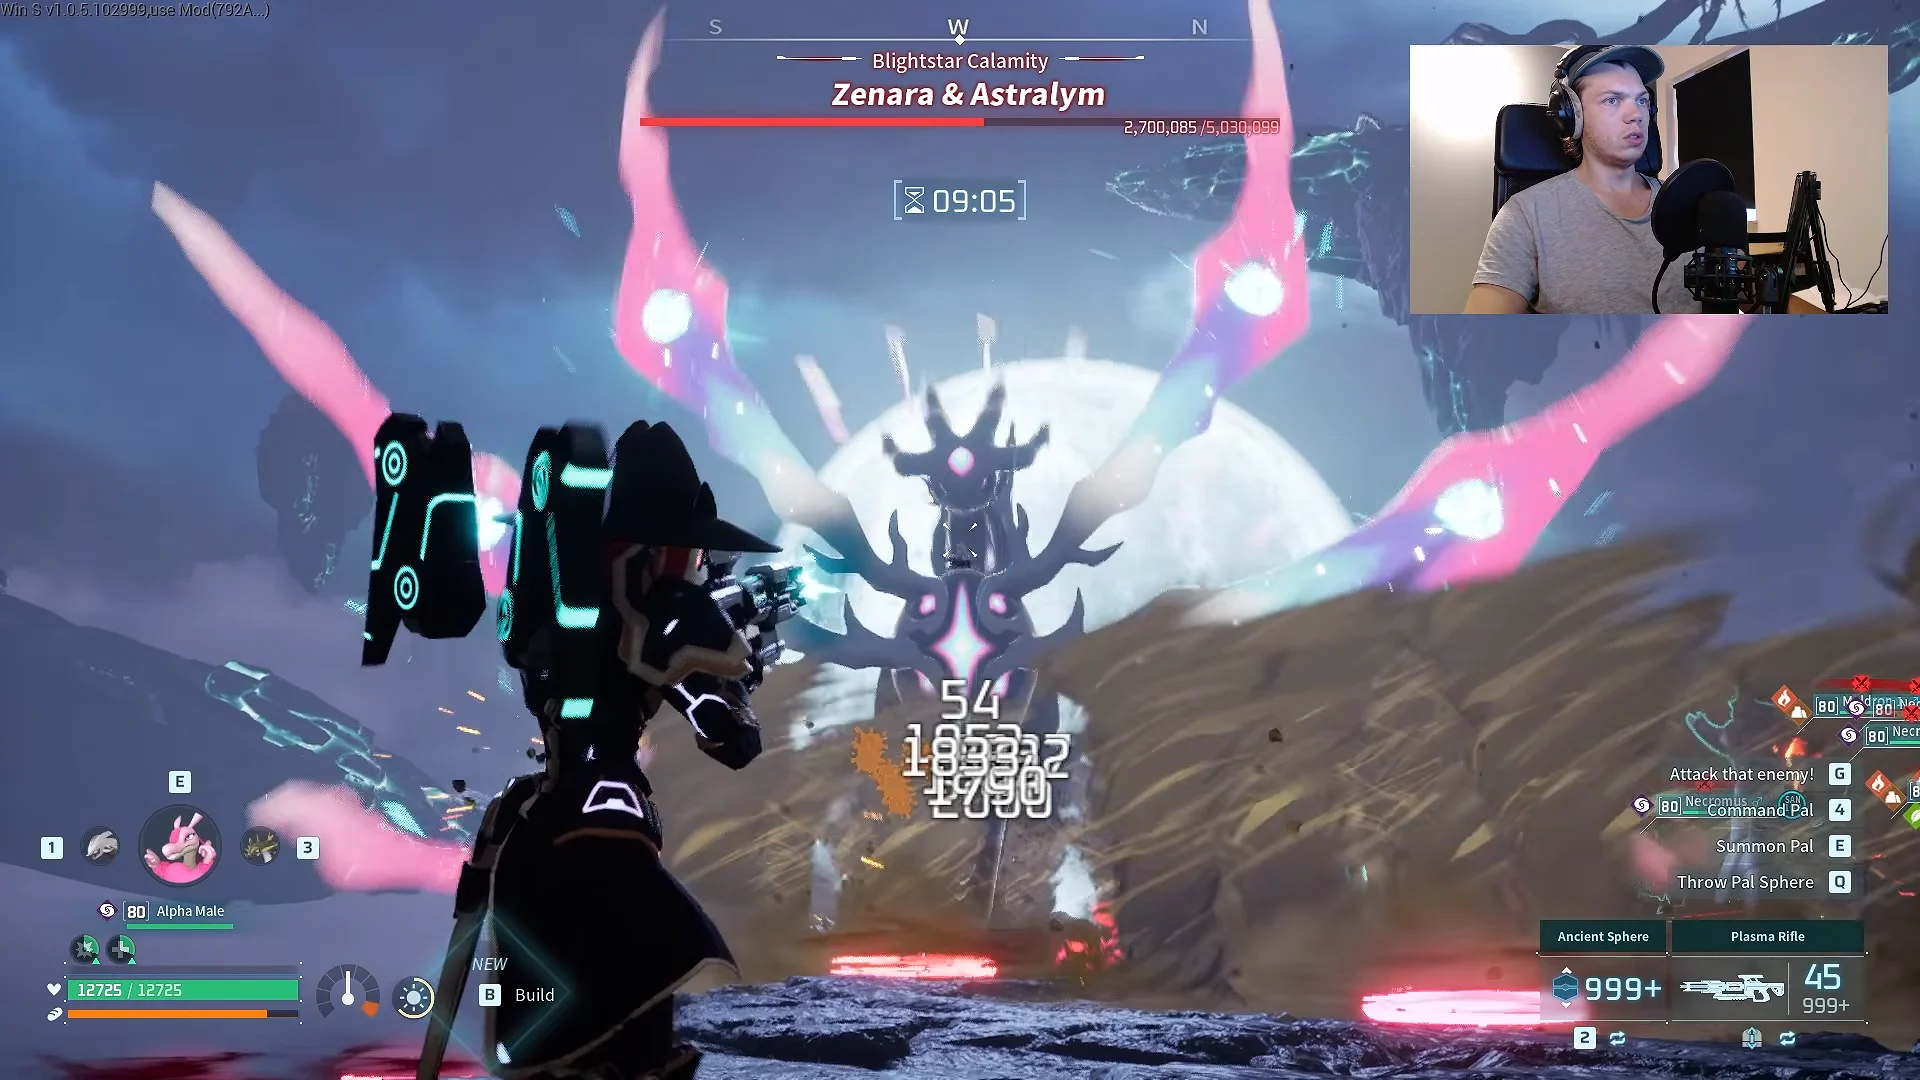
Two mechanics are central to the encounter. When Astralym moves to the center and starts gathering energy, a warning tells you to attack its wings; if you don’t interrupt the charge in time, it causes an almost instant wipe. At 60% HP, Astralym surrounds itself with explosive light and begins phase two, with attacks that hit harder and gain additional effects. Near death, it tries to unleash one final nuke across the field, so you have to defeat it before the attack lands.
Alongside its exclusive moves, the boss cycles a set of named skills worth recognizing on sight.
| Attack | Type | Power | Effect |
|---|---|---|---|
| Rocky Impact | Ground | 600 | Lifts a massive boulder into the air |
| Holy Burst | Neutral | 700 | Wide explosion of light around the target |
| Psycho Gravity | Dark | 700 | Gravity-locks enemies, then slams them down |
| Meteorain | Dragon | 700 | Drops meteorites that generate shock waves |
The skill trio that carried every test
Across repeated damage-meter runs, three active skills accounted for nearly all of the raid army’s output. Sand Twister and Apocalypse both spawn multiple swirling vortexes that clip the boss’s giant hitbox many times per cast, while Circle Vine adds steady chip damage on a short cooldown. Their reliable rotations, not any elemental advantage, are what make them the backbone of the loadout.
| Skill | Type | Power | CT |
|---|---|---|---|
| Sand Twister | Ground | 500 | 40 |
| Circle Vine | Grass | 400 | 30 |
| Apocalypse | Dark | 500 | 45 |
Several other moves were tried and dropped. Volcanic Rain and Soul Drain frequently whiffed or dealt zero damage when the boss floated to a new elevation, and Thunder Rail often fired out of range once the boss drifted away. Twin Spears, once a Necromus staple, has been heavily nerfed, so replacing it with standard skill-fruit moves yields higher total damage.
Damage-meter results: Bellanoir out front
The clearest comparison came from a controlled showdown of five three-Pal groups, each running the same core skills. Bellanoir finished on top, with Necromus, Anubis, and Dandidlord bunched close behind and Moldron trailing well back.
| Pal (×3) | Total damage | Share |
|---|---|---|
| Bellanoir | 1,066,069 | 24.7% |
| Necromus | 974,361 | 22.5% |
| Anubis | 936,436 | 21.7% |
| Dandidlord | 872,291 | 20.2% |
| Moldron | 472,433 | 10.9% |
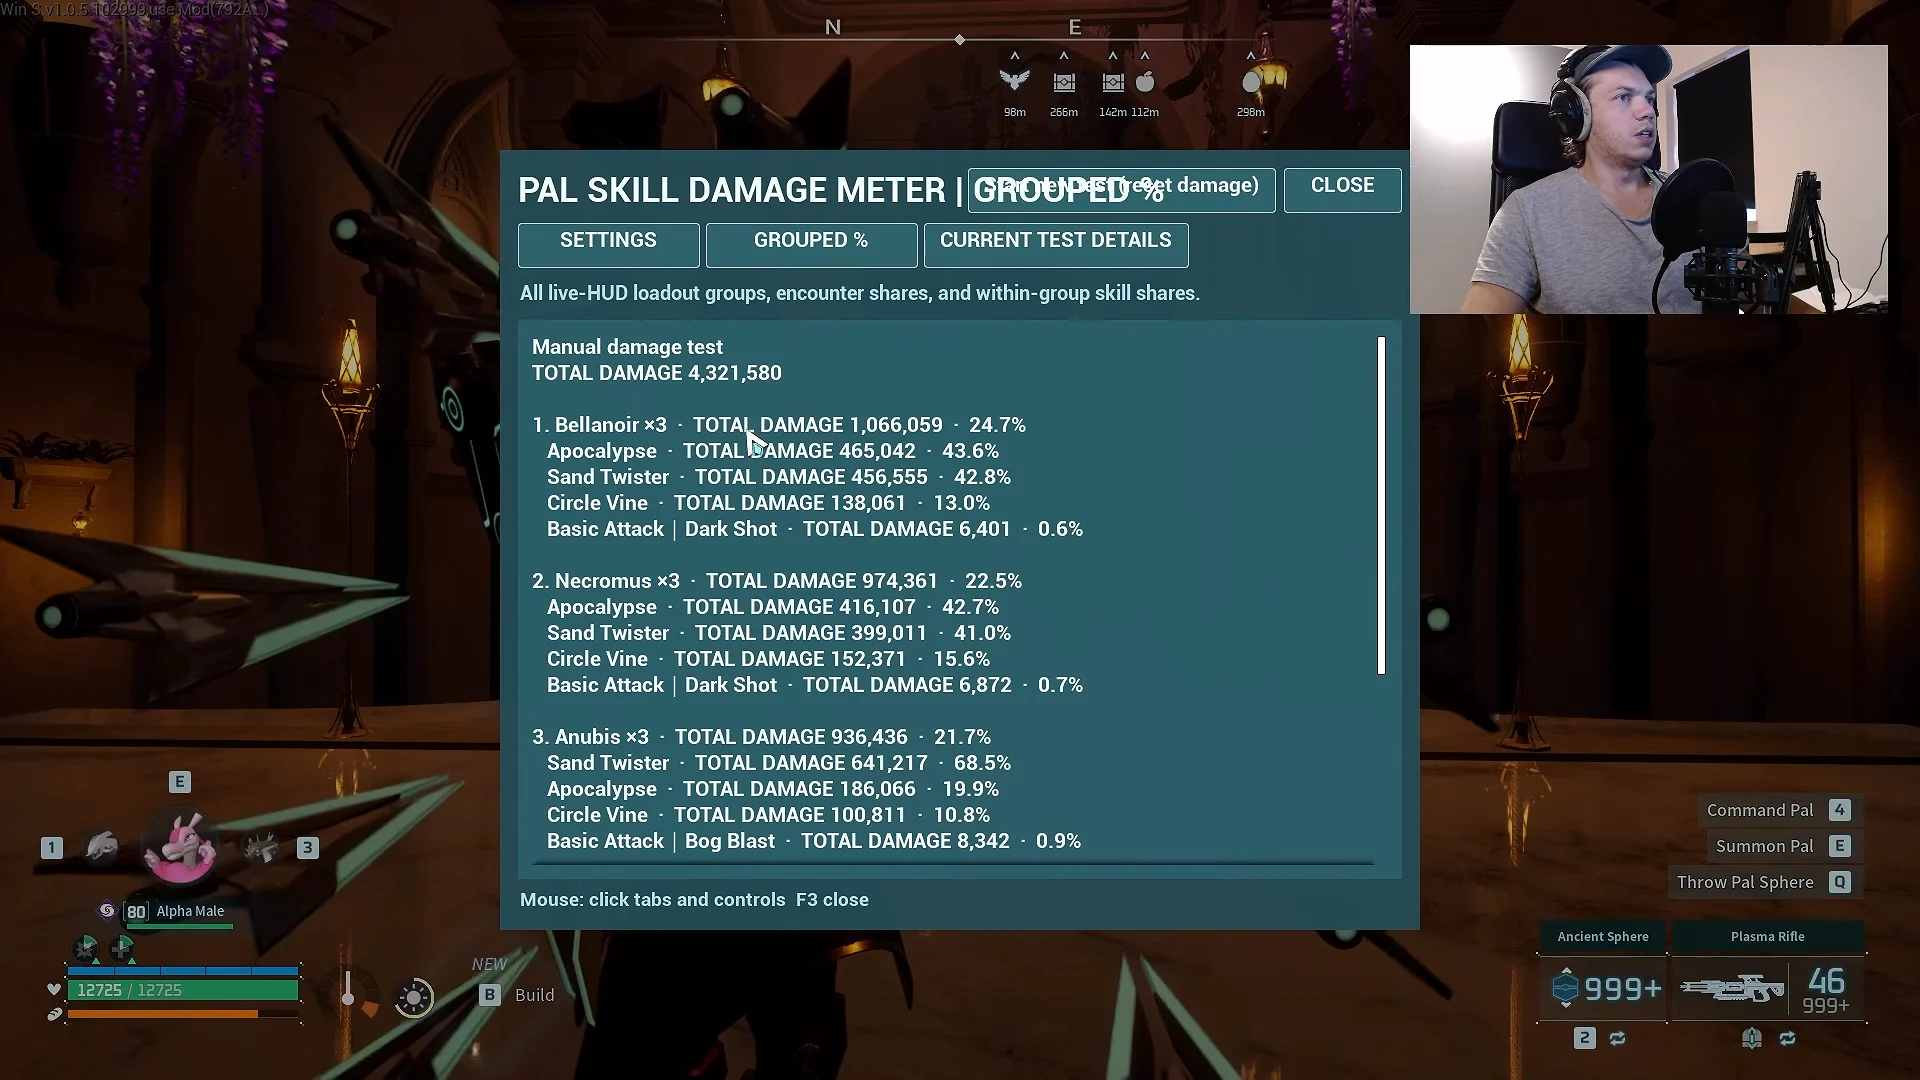
Once Moldron was removed and the top four ran again, Anubis, Bellanoir, Dandidlord, and Necromus all landed between roughly 1.0 and 1.2 million damage, close enough that survivability becomes the deciding factor. Bellanoir keeps its lead because its small, compact body slips past the wide slicing beams and the giant purple laser, so it stays alive and keeps attacking while bulkier Pals eat damage.
How the contenders stack up
Bellanoir (and Bellanoir Libero) is the best overall pick. Its high base attack, Dark typing that resists the boss’s Dark and Psychogravity hits, and instinctive side-stepping let it dodge the sweeping attacks that end other runs.
Necromus ranks second in total damage, with the Legend passive and high defense working in its favor, though its slightly larger frame is easier to hit. Dandidlord deals strong Dark-type DPS but has a taller vertical hitbox. Anubis deals damage on par with the top group and dodges well, but without Dark resistance it is more vulnerable to Psycho Gravity.
Moldron is the one to avoid. Its large physical model soaks the sweeping laser, and Magma Spit’s long animation leaves it standing still, so its attacks miss whenever the boss repositions.
Passives and the Necromus raid-party option
Whichever damage Pal fills the army, the passive setup matters as much as the moveset. A pure-damage spread runs Musclehead, Serenity, Demon God, and Immortality. Swapping Musclehead for Diamond Body trades some offense for extra survivability when the second phase starts thinning the ranks.
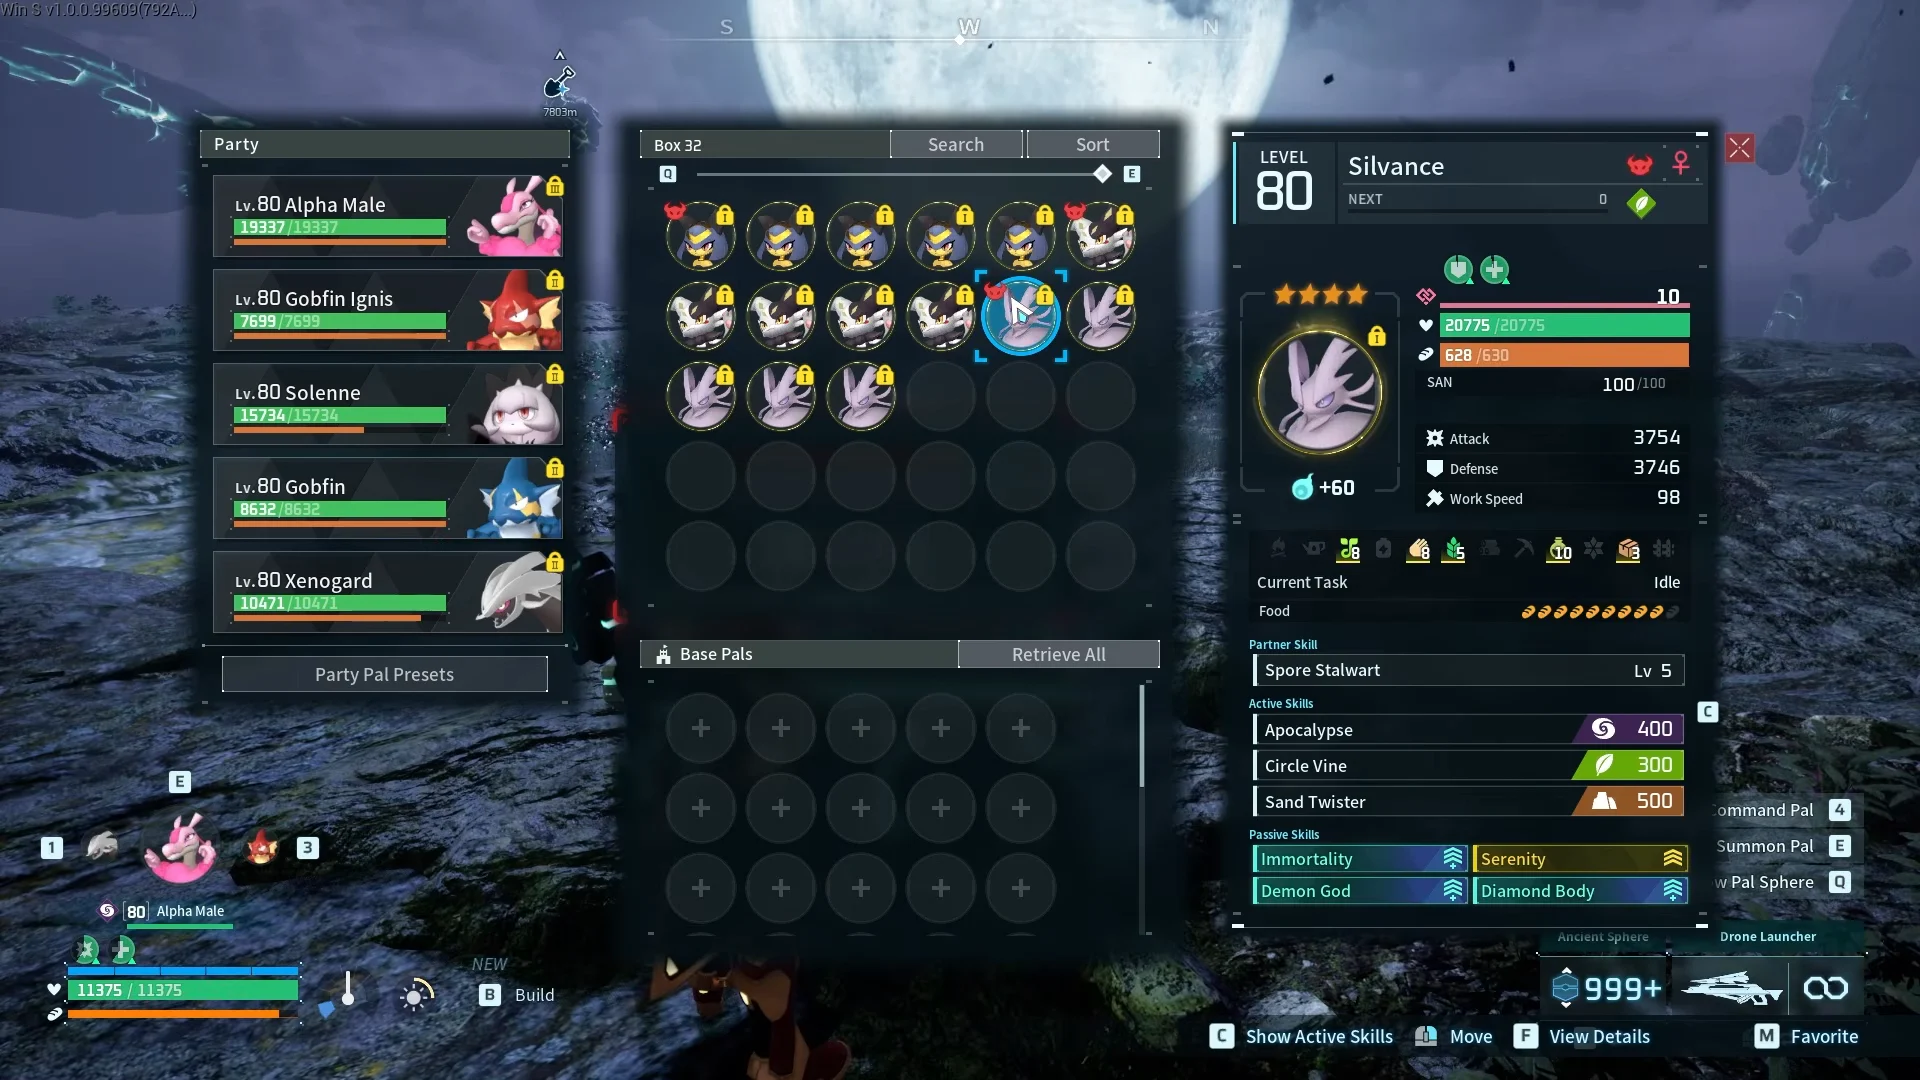
Necromus remains a popular alternative anchor for a mass raid party, built around Immortality, Serenity, Legend, and Diamond Body. Serenity shortens its cooldowns so it attacks more often, while the three defensive passives help it live through Astralym’s onslaught. Reaching that potential takes serious investment per copy.
| Requirement | Target |
|---|---|
| Level | 80 |
| Pal Soul Upgrades | HP +20, Atk +20, Def +20 |
| Trust Level | 10 |
| Condensed | 4-Star |
| State | Awakened |
| Type | Alpha |
| Copies | 15 or more (up to 50) |
Raising your Base Pal Limit in the world settings lets you push past 15, up to 50, which clears the HP pool faster. Note: that many attack animations on screen at once can cause lag or crashes on lower-end hardware, so turning graphics down before the fight is a practical trade-off.
Your own team stays alive, not deals damage
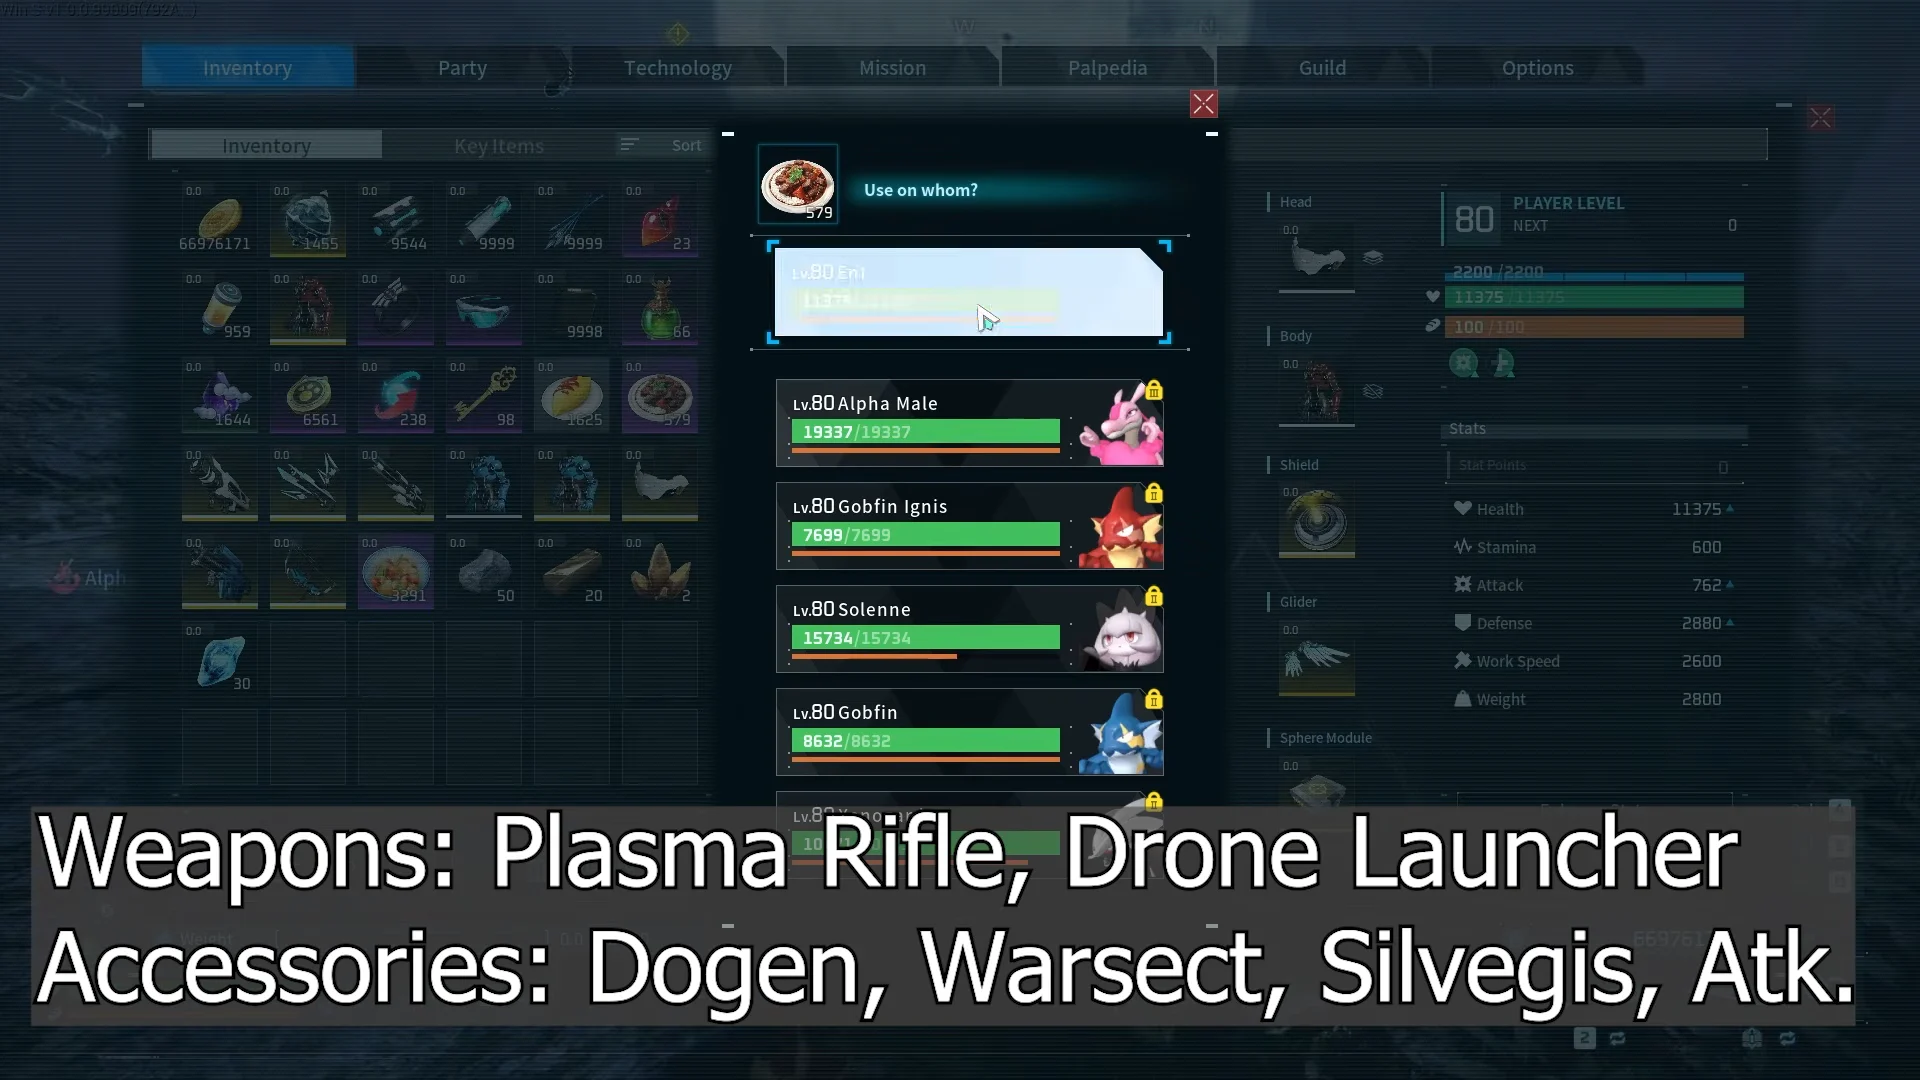
Your party needs to draw aggro and stay alive while the raid army deals damage. One proven build centers on Felbat, whose Partner Skill restores your health according to the damage you deal. Because dealing more damage means more healing, stack Attack boosts with Solenne, Gobfin, and Gobfin Ignis; Xenogard boosts Energy Weapons such as the Plasma Rifle. The recommended passives are Vanguard, Stronghold Strategist, Reload Master, and Idiosyncratic.
If Felbat goes down, the build fails because its life-steal is your only way to sustain yourself. Set your active Pal to Defensive using the Command Pal option to keep it from rushing into attacks and getting killed.
The tactical loop is simple to describe: pull the boss’s aggro onto yourself so it stops targeting your raid Pals, aim at Zenara embedded in Astralym’s chest for maximum damage and healing, snap to the wings the instant the charge warning flashes, then dump everything into the final desperation attack before it fires.
Gear priorities
Because the army handles damage, the player’s own kit leans defensive. The Plasma Rifle is the strongest weapon and the default pick, with the Drone Launcher for constant chip damage, the Megaboost Gun to buff your active Pal, and the Mechanical Bow to apply Burn or Poison. For accessories, Warsect Terra’s Belt and the Silvegis Emblem come first, with the Attack Pendant and Dogen Emblem lower priority. The full Ancient Armor set is the minimum, upgraded to a higher tier where possible. Galeclaw Nikujaga adds Defense and Mammorest Curry adds Attack, and Advanced Recovery Meds plus Revival Potions cover emergencies.
Rewards for the clear
The first Hard Mode victory hands over the Zenara Hat, guaranteed on that initial win, along with the Psycho Gravity Skill Fruit. Since the HP pool is enormous but the boss has no weakness, the only real losing condition is dying: hold its attention, break every wing charge, and let a compact, well-invested army like a Bellanoir squad grind out the rest.