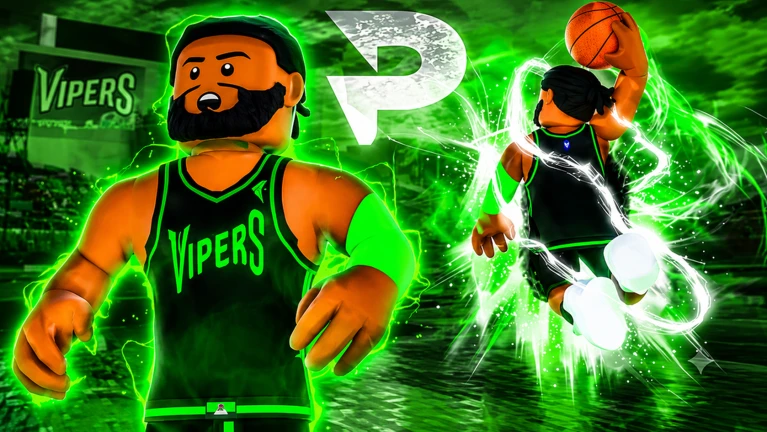
A Sharpshooter in Practical Basketball exists to punish teams that pack the paint. The build stretches the floor, hunts open looks around the three-point line, and keeps scoring even when the defense is glued to you. Below is the full setup to recreate one during Stress Test 3, from vitals to badges to the takeover that ties it together.
Quick answer: Make a 6’6″ Shooting Guard, push Mid-Range Shot and Three-Point Shot to 96, keep Ball Handle at 88 and Perimeter Defense at 87, load Diamond shooting badges (Formless Shooter, Limitless Shooter, Fade Artist, Midrange Maestro, Tunnel Vision), and equip the Smooth Operator takeover.
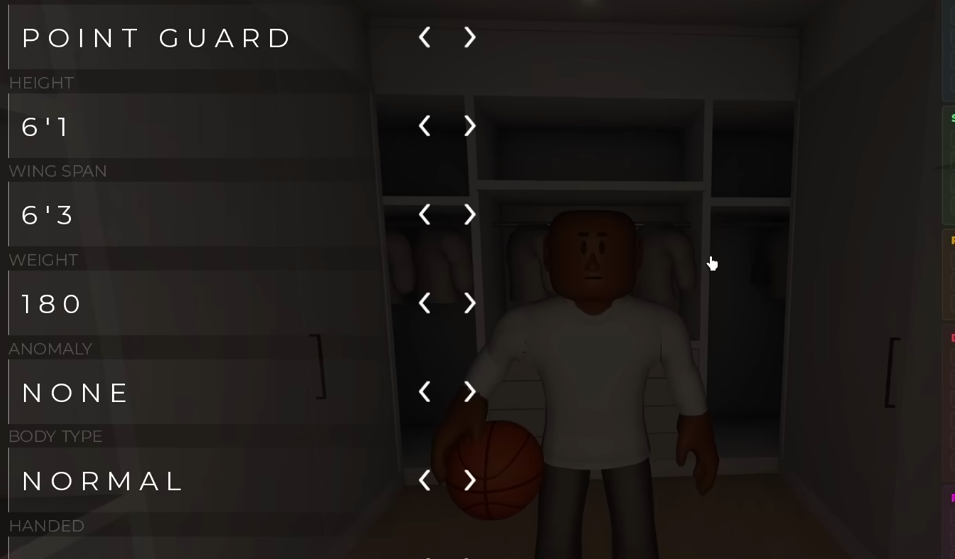
Player profile and vitals
Your height and body type set the attribute caps that unlock badge tiers, so start with the profile before spending any points. A 6’6″ Shooting Guard on a Normal frame gives enough size to shoot over guards while keeping guard-level speed.
| Attribute | Value |
|---|---|
| Position | Shooting Guard |
| Height | 6’6″ |
| Wingspan | 6’6″ |
| Weight | 180 lbs |
| Anomaly | None |
| Body Type | Normal |
| Handed | Right |
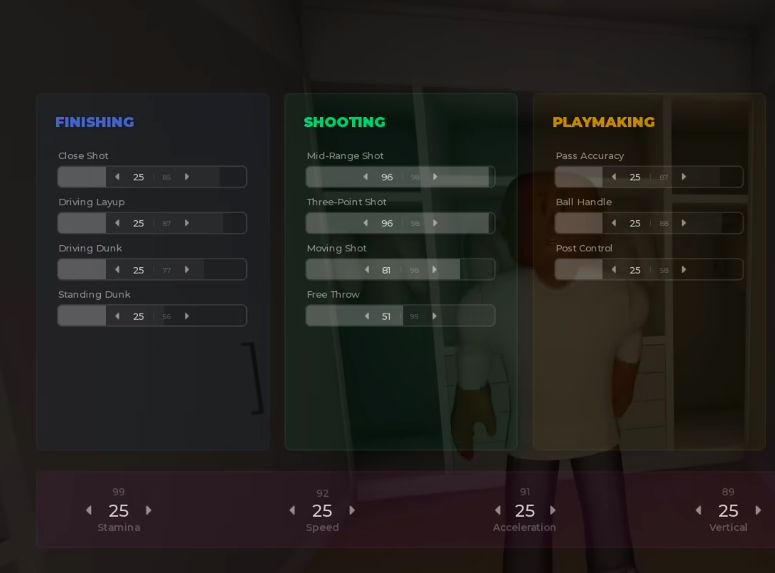
Attribute spread for the Sharpshooter
The point of this spread is simple. Both shooting ratings sit near the top so contested and open jumpers green consistently, while Ball Handle stays high enough to create your own looks. Perimeter Defense, Lateral Speed, and Stamina round out a build that can still stay in front of guards and shoot late into a match.
| Category | Attribute | Value |
|---|---|---|
| Finishing | Close Shot | 51 |
| Finishing | Driving Layup | 81 |
| Finishing | Driving Dunk | 77 |
| Finishing | Standing Dunk | 25 |
| Shooting | Mid-Range Shot | 96 |
| Shooting | Three-Point Shot | 96 |
| Shooting | Moving Shot | 81 |
| Shooting | Free Throw | 51 |
| Playmaking | Pass Accuracy | 60 |
| Playmaking | Ball Handle | 88 |
| Playmaking | Post Control | 25 |
| Defense | Interior Defense | 60 |
| Defense | Perimeter Defense | 87 |
| Defense | Lateral Speed | 81 |
| Defense | Steal | 25 |
| Defense | Block | 25 |
| Defense | Rebound | 25 |
| Physicals | Stamina | 92 |
| Physicals | Speed | 90 |
| Physicals | Acceleration | 86 |
| Physicals | Vertical | 70 |
| Physicals | Strength | 63 |
Best badges for the Sharpshooter build
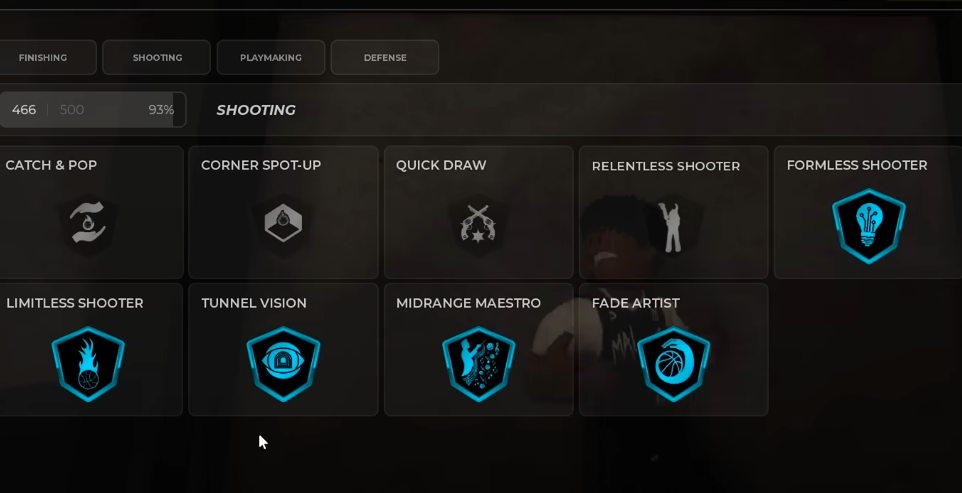
Shooting is where you want your best badge tiers. Five Diamond shooting badges cover pull-ups, deep range, fadeaways, mid-range work, and shots under heavy attention, so almost any look you take is boosted. The rest fill out finishing off drives, spacing, and enough defense to matter on the perimeter.
Shooting badges
| Badge | Tier |
|---|---|
| Formless Shooter | Diamond |
| Limitless Shooter | Diamond |
| Fade Artist | Diamond |
| Midrange Maestro | Diamond |
| Tunnel Vision | Diamond |
| Corner Spot-Up | Silver |
| Catch & Pop | Bronze |
| Quick Draw | Bronze |
| Relentless Shooter | Bronze |
Playmaking badges
| Badge | Tier |
|---|---|
| Space Maker | Diamond |
| Tireless Handles | Diamond |
| Quick Handles | Diamond |
| Soul Snatcher | Gold |
| Glove | Gold |
| Fast Breaker | Bronze |
Finishing badges
| Badge | Tier |
|---|---|
| Traffic Finisher | Gold |
| High Flyer | Gold |
| Alley-Oop Finisher | Silver |
| Gymnast | Silver |
| Perfect Lays | Silver |
| Putback Finisher | Bronze |
| Relentless Finisher | Bronze |
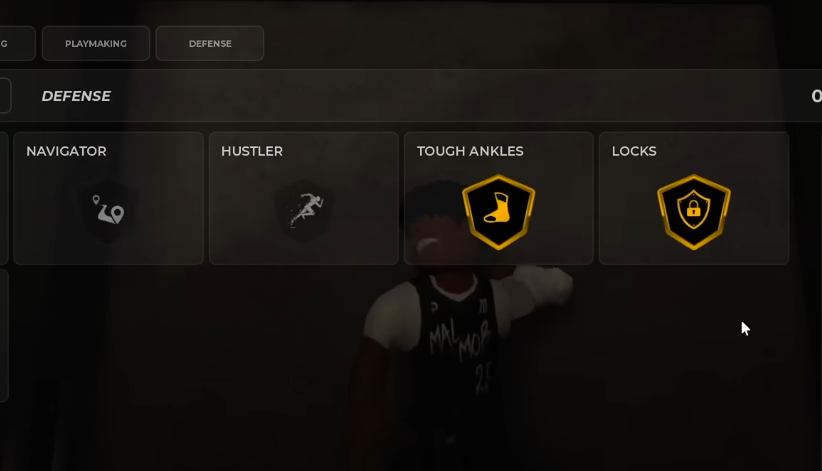
Defense badges
| Badge | Tier |
|---|---|
| Tough Ankles | Gold |
| Locks | Gold |
| Intimidator | Gold |
| Iron Screens | Bronze |
| Navigator | Bronze |
| Hustler | Bronze |
Takeover: Smooth Operator
Smooth Operator is the takeover to run on a Sharpshooter. It raises your accuracy from range even when shooting off the dribble, reduces the late-contest penalty on off-the-dribble shots, and lifts your overall shot success off the dribble. For a build that lives on pull-ups and step-backs, nothing else fits as cleanly.
How to play the Sharpshooter
Movement is the core skill here. Keep cutting and relocating without the ball so you catch it in scoring position, then let the 96 shooting ratings do the work against any contest. Your 88 Ball Handle also means you can make your own shot when nothing opens up.
- Mix pull-up jumpers, step-backs, and quick dribble moves to shake defenders on the perimeter.
- If opponents crowd the three-point line to take away your deep shot, drive the closeout and finish at the rim.
- On defense, stay active on the perimeter and force opposing guards into tough shots. This build is built to score, so your defensive job is containment, not stopping every play.
- Use range shots in transition to punish a scrambling defense during counterattacks.
Attributes reset between test windows, so save a screenshot of your vitals before Stress Test 3 ends. The exact numbers may shift with balance changes, but the pattern of maxed shooting, high handles, and enough perimeter defense should carry over.
Once the profile is set and the badges are equipped, you have a Shooting Guard that keeps the scoreboard moving against a defense that would otherwise sit on the paint. Load it into a match and start hunting greens.