


Salvaging is Palworld’s quiet money and materials printer. You ride out over open water, pull sunken wrecks with a magnet, and walk away with Coralum Ore, Gold, spheres, and — on the high-tier barrels — Legendary schematics and permanent work-skill handbooks. The whole loop runs on cheap consumables and one good Pal, so once you know the setup, a single trip can end your armor progression.
Quick answer: Ride a swimming Water Pal, equip any fishing rod, and interact with floating barrels to start the timing minigame. Keep one high-level Jellroy in your party for +95% salvage loot, and carry a Powerful Fishing Magnet (unlocked at Level 62) to open the gold-rimmed rank 2 wrecks.
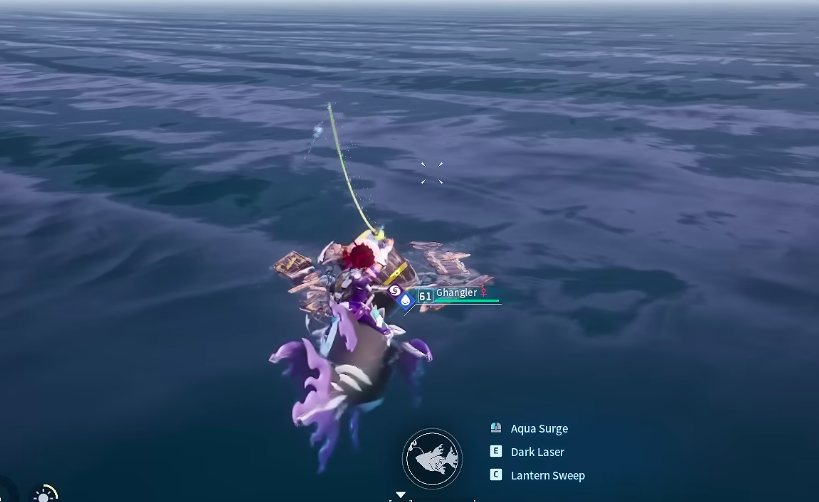
Fishing Magnet vs Powerful Fishing Magnet
There are two magnets, and they map onto the two ranks of wreck. A basic Fishing Magnet only ever pulls from the rank 1 pool, and the Powerful Fishing Magnet is the only way to open the gold-rimmed rank 2 barrels that hold the good schematics. Both are consumables, both are spent on a successful pull, and both craft ten at a time, so there is no reason to leave base with fewer than a full stack.
| Magnet | Opens | Unlock | Craft cost (makes 10) |
|---|---|---|---|
| Fishing Magnet | Rank 1 wrecks (wooden barrels) | None | 1 Ingot |
| Powerful Fishing Magnet | Rank 2 wrecks (gold-rimmed barrels) | Level 62, 3 tech points | 1 Hexolite, 1 Cryogenic Coolant, 1 Bio Battery |
The rank 1 magnet is effectively free the moment you can smelt an Ingot. The real cost of rank 2 is the crafting chain behind Hexolite, which refines from Chromite and Hexolite Quartz at a Gigantic Furnace. Cryogenic Coolant and Bio Battery are much easier, unlocking at Levels 31 and 44 on production lines you likely already run.
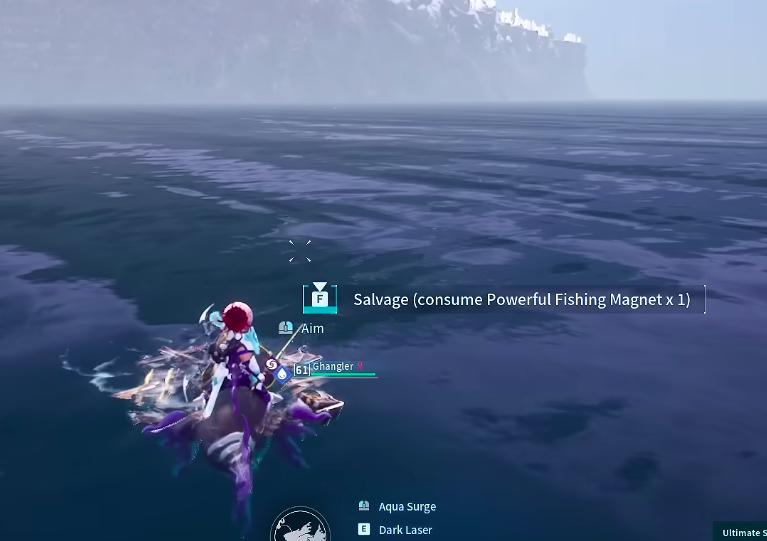
How to salvage in Palworld
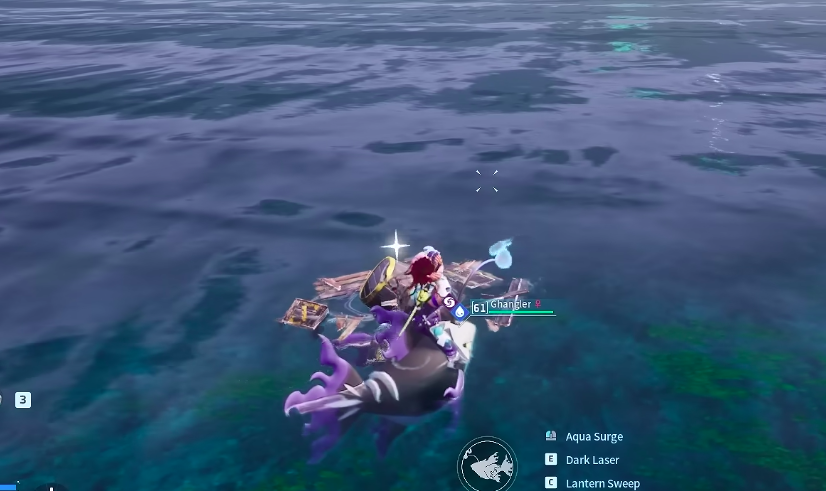
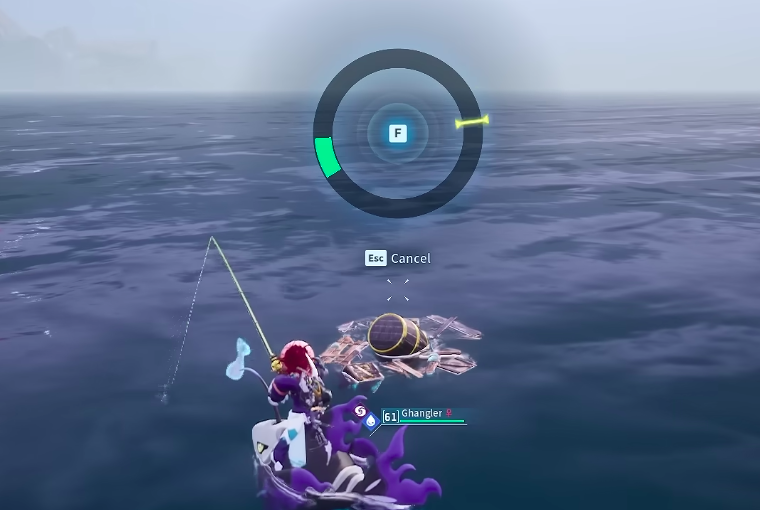
The rank 2 magnet is only spent on a successful pull, so a failed minigame never wastes one. Rank 1 nodes cost nothing beyond the rod interaction and never consume bait.
Best Pals for salvaging: Jellroy and Ghangler
Two Pals define an efficient salvage party. Jellroy carries the loot bonus, and Ghangler carries the travel speed that lets you clear a coastline quickly.
Jellroy’s partner skill increases items obtained from salvaging by up to 95% at Level 5, so condensing one Jellroy to a five-star partner skill is the single biggest upgrade to a run. Ghangler’s Master of Darkness lets it be ridden on water and raises its movement speed by 25% for every other Dark or Water Pal in your party.
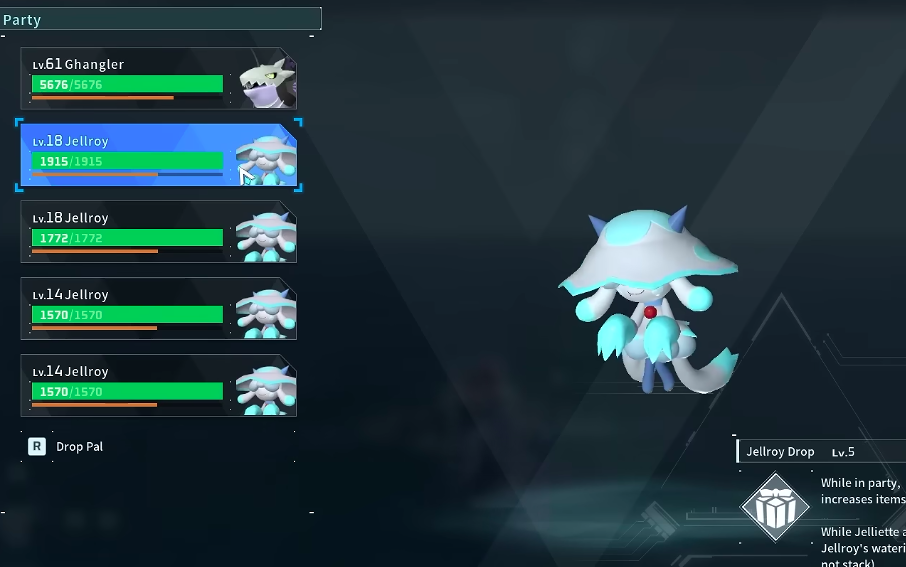
Does the Jellroy salvage bonus stack?
No. Stacking multiple Jellroys does nothing for loot. Running four Jellroys and then dropping down to a single one produces identical drop rates, so the Jellroy Drop skill applies once and does not multiply with extra copies. That frees up the rest of your party.
The optimal loadout is one condensed Jellroy plus Ghangler as your mount, then fill the remaining slots with Dark or Water Pals to feed Ghangler’s 25%-per-Pal speed boost. You keep the full salvage bonus and get a much faster water mount at the same time.
Where to find rank 2 salvage barrels
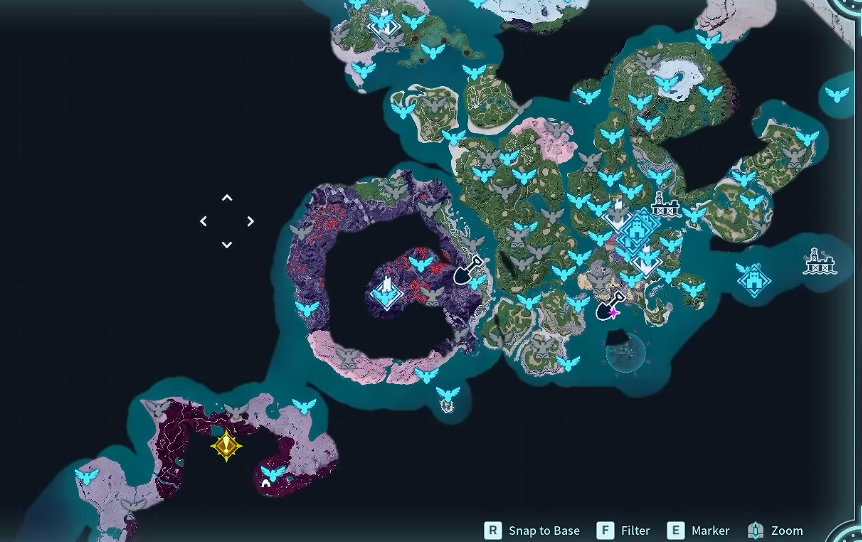
Basic wooden barrels appear across the ocean in nearly every region, and they are densely spread over the world map, so you rarely travel far between pulls. The gold-rimmed rank 2 barrels are concentrated in the high-level seas around Sakurajima Island and Feybreak Island. Those advanced nodes also pay out far more per pull. A single rank 2 barrel can hand you several times the Coralum Ore of a basic node.
Skip the night and bank EXP on a run
You do not have to sail home when it gets dark. Carry a small amount of Wood and Fiber and build a Straw Pal Bed on any stretch of beach, sleep in it, and skip straight to morning without returning to base.
Salvage runs double as an experience farm. Around Level 62, each pile is worth over 7,000 EXP, and sailing into an undiscovered offshore island pays out huge one-time exploration bonuses — the Foot of the World Tree grants +125,650 EXP and the Isle of the Glacial Core grants +126,035 EXP. Plotting a route past new islands turns a farming trip into fast levels.
Rank 1 salvage loot table
Rank 1 wrecks are a steady stream of Gold, spheres, and technology manuals with the occasional Coralum Ore. Nothing here is Legendary, but the volume makes early salvaging one of the better passive income loops in the game.
| Item | Amount | Drop rate |
|---|---|---|
| Gold Coin | 1,300–1,500 | 86.843% |
| Gold Coin | 1,000–1,300 | 38.81% |
| Coralum Ore | 1–2 | 30% |
| Small Pal Soul | 1–2 | 25.873% |
| Simple Bait | 2–3 | 25% |
| Silver Key | 1–2 | 12.937% |
| Giga Sphere | 2–4 | 8.684% |
| Hyper Sphere | 1 | 6.468% |
| Pal Reverser | 1 | 3.474% |
| Ancient Technical Manual | 1–3 | 1.294% |
| Beginner Fishing Rod (Gumoss) Schematic | 1 | 0.999% |
| Dog Coin | 3–8 | 0.5% |
Rank 2 salvage loot table
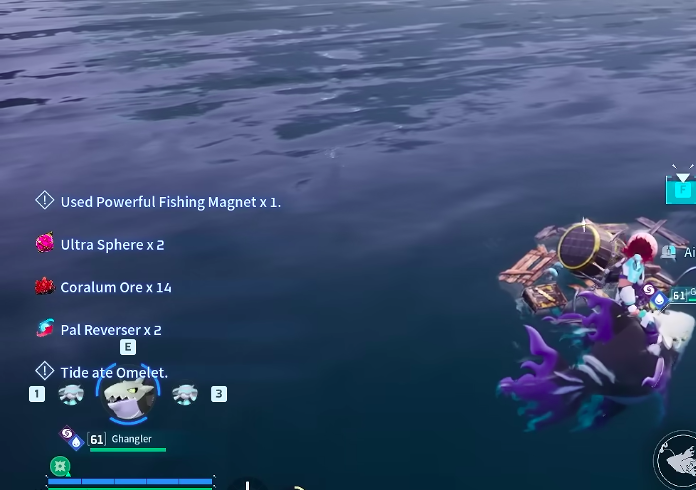
Rank 2 is why salvaging matters at endgame. Every gold-rimmed pull guarantees a stack of Coralum Ore, and the pool holds the Legendary tiers of Hexolite armor and the Laser Rifle line, all twelve Applied work-suitability Handbooks, and the rare Treasure Map used to obtain Sun-reach weapons and armor. The schematic and handbook odds are low, so treat those as the long-tail payout while the guaranteed ore and spheres carry each trip.
| Item | Amount | Drop rate |
|---|---|---|
| Coralum Ore | 6–11 | 100% |
| Giant Pal Soul | 1 | 44.248% |
| High Quality Bait | 2–3 | 25% |
| Ultimate Sphere | 1–2 | 22.124% |
| Ultra Sphere | 1–3 | 21.862% |
| Training Manual (L) | 2–3 | 21.862% |
| Training Manual (XL) | 1–2 | 21.862% |
| Dog Coin | 10–20 | 21.862% |
| Gold Key | 1–2 | 17.699% |
| Pal Reverser | 1 | 8.85% |
| Laser Rifle Schematic 1 (line runs to Legendary tier 4) | 1 | 2.623% |
| Hexolite Armor Schematic 1 (line runs to Legendary tier 4) | 1 | 1.749% |
| Applied Handbooks (each of all 12 work types) | 1 | 0.179% |
| Advanced Fishing Rod (Depresso) Schematic | 1 | 0.235% |
| Treasure Map | 1 | 0.118% |
Set up once and the routine is simple. Bring a full stack of both magnets, keep a five-star Jellroy plus a Water-and-Dark party behind Ghangler, and drop a Straw Pal Bed whenever night falls. The rank 1 barrels keep your Gold and sphere reserves topped up while you sail out to the Sakurajima and Feybreak waters, where the gold-rimmed wrecks quietly hand over Legendary gear.





