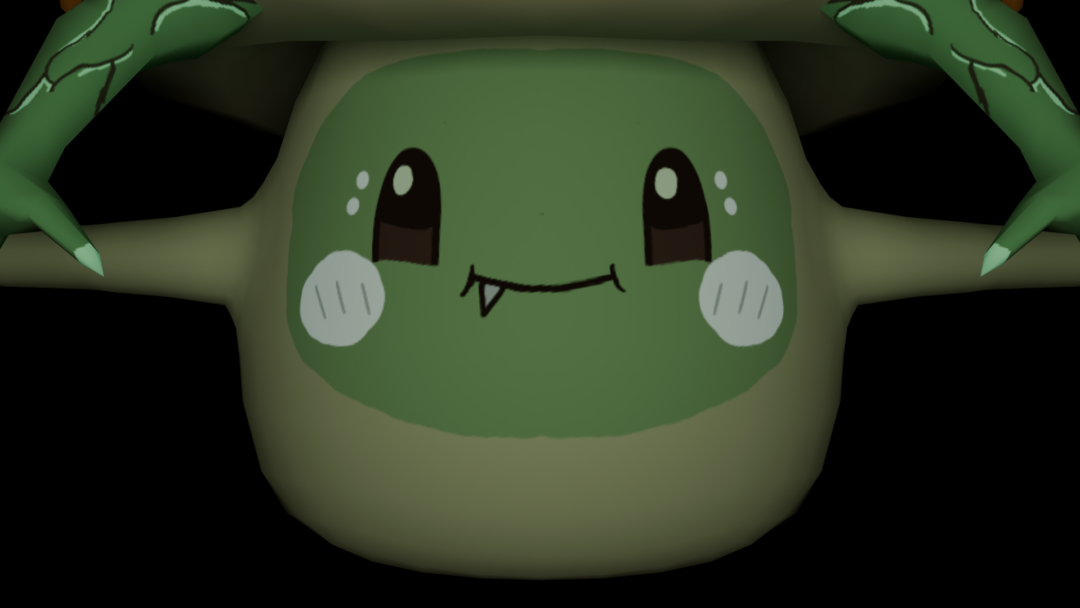
A strong loadout in Splatoon Raiders is less about one perfect weapon and more about stacking the right pieces. Your ink tank decides which gadgets you can equip, and the best setups pair a status effect (Freeze, Scorch, or Ferment) with a Primo five-star weapon, matching gadget parts, supportive relic powers, and a Bot Buddy whose bond is maxed out.
Quick answer: Run a Freeze build on the Speed tank, a Scorch build on the Power tank, or a Ferment build on the Tactical tank. Equip a Primo five-star weapon with the matching weapon power, attach the same status effect to your gadgets as parts, and pair each with its recommended Bot Buddy at maximum relationship.
How builds fit together
Every build starts with your tank. There are three, and each one has its own set of gadgets, with room for up to three equipped at once. As you level a tank, you also unlock the ability to borrow one gadget from a linked tank category.
| Tank | Playstyle | Can borrow gadgets from |
|---|---|---|
| Speed | Mobility and hit-and-run | Tactical |
| Power | Close-range burst damage | Speed |
| Tactical | Deployables and area control | Power |
The weapon slot is simple once you reach the endgame. Primo five-star weapons give you the best damage, fire rate, and ink efficiency, so they slot into any build. Beyond that, four things do the heavy lifting: the weapon power you attach, the gadget parts you fit, the relic powers you equip, and the Bot Buddy you bond with. The first three builds below lean on a specific Bot Buddy because those characters help apply status conditions, while looser builds leave the choice to you.
Freeze build (Speed tank)
The Freeze build locks Salmonids in place so you can punish them. Equip a weapon carrying the Freeze power, then run the Speed tank with Blast Boot, Jump Bomb, and Hi-Fiver, attaching Freeze parts to each gadget. Bond with Shiver as your Bot Buddy and push that relationship to maximum.
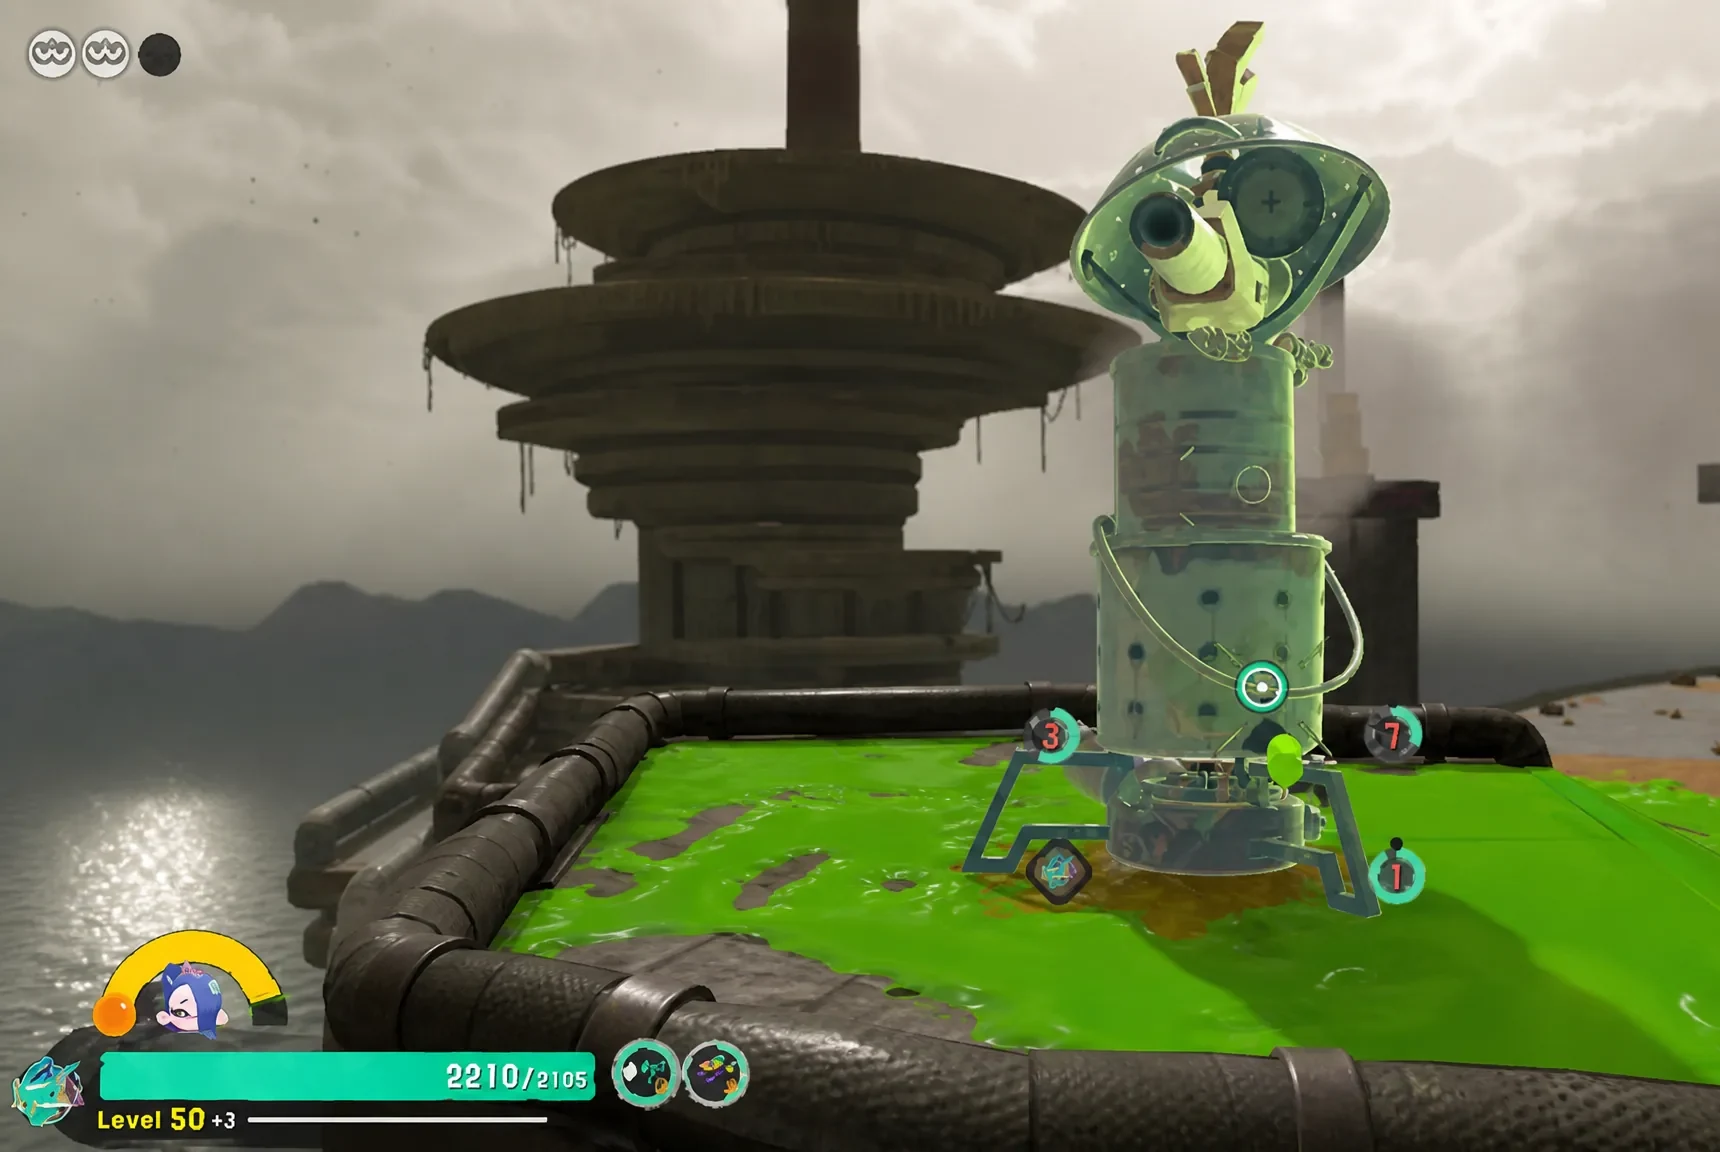
A higher fire rate raises the number of Freeze procs, which is why fast weapons pair so well with this setup. On the Speed tank specifically, single-hit weapons like Splatanas, Blasters, Chargers, or Stringers also work if you swap in the Ice Breaker weapon power for a burst of damage against frozen targets, using Flywire or Torqscrew to layer on Ferment.
Scorch build (Power tank)
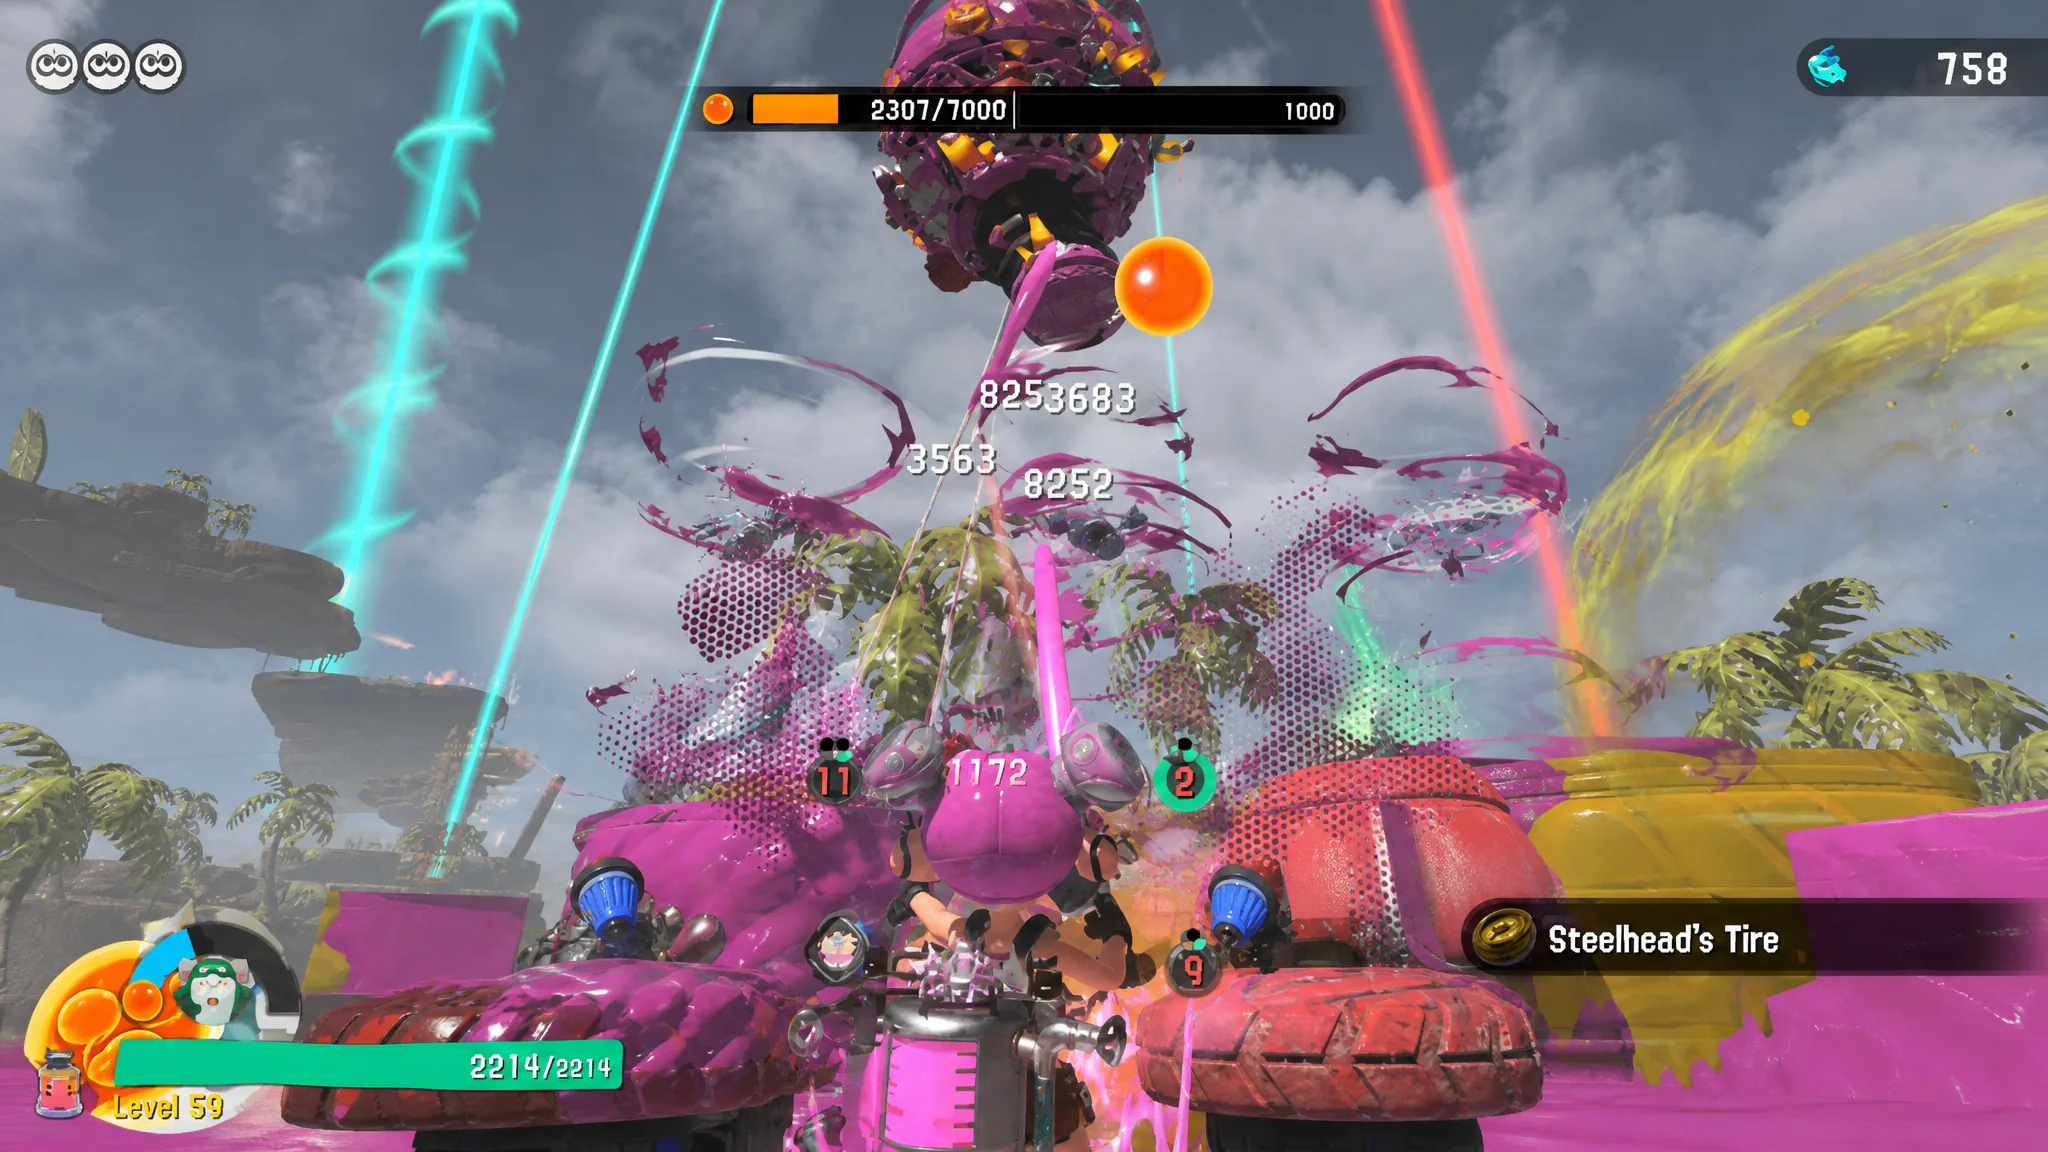
Scorch adds steady burning damage over time, which suits the Power tank’s aggressive close-range style. Take a weapon with the Scorch power, equip Splatellites and the Booyarang, and make sure Scorch parts are attached. Big Man is the Bot Buddy here, again with a maxed relationship.
Ferment build (Tactical tank)
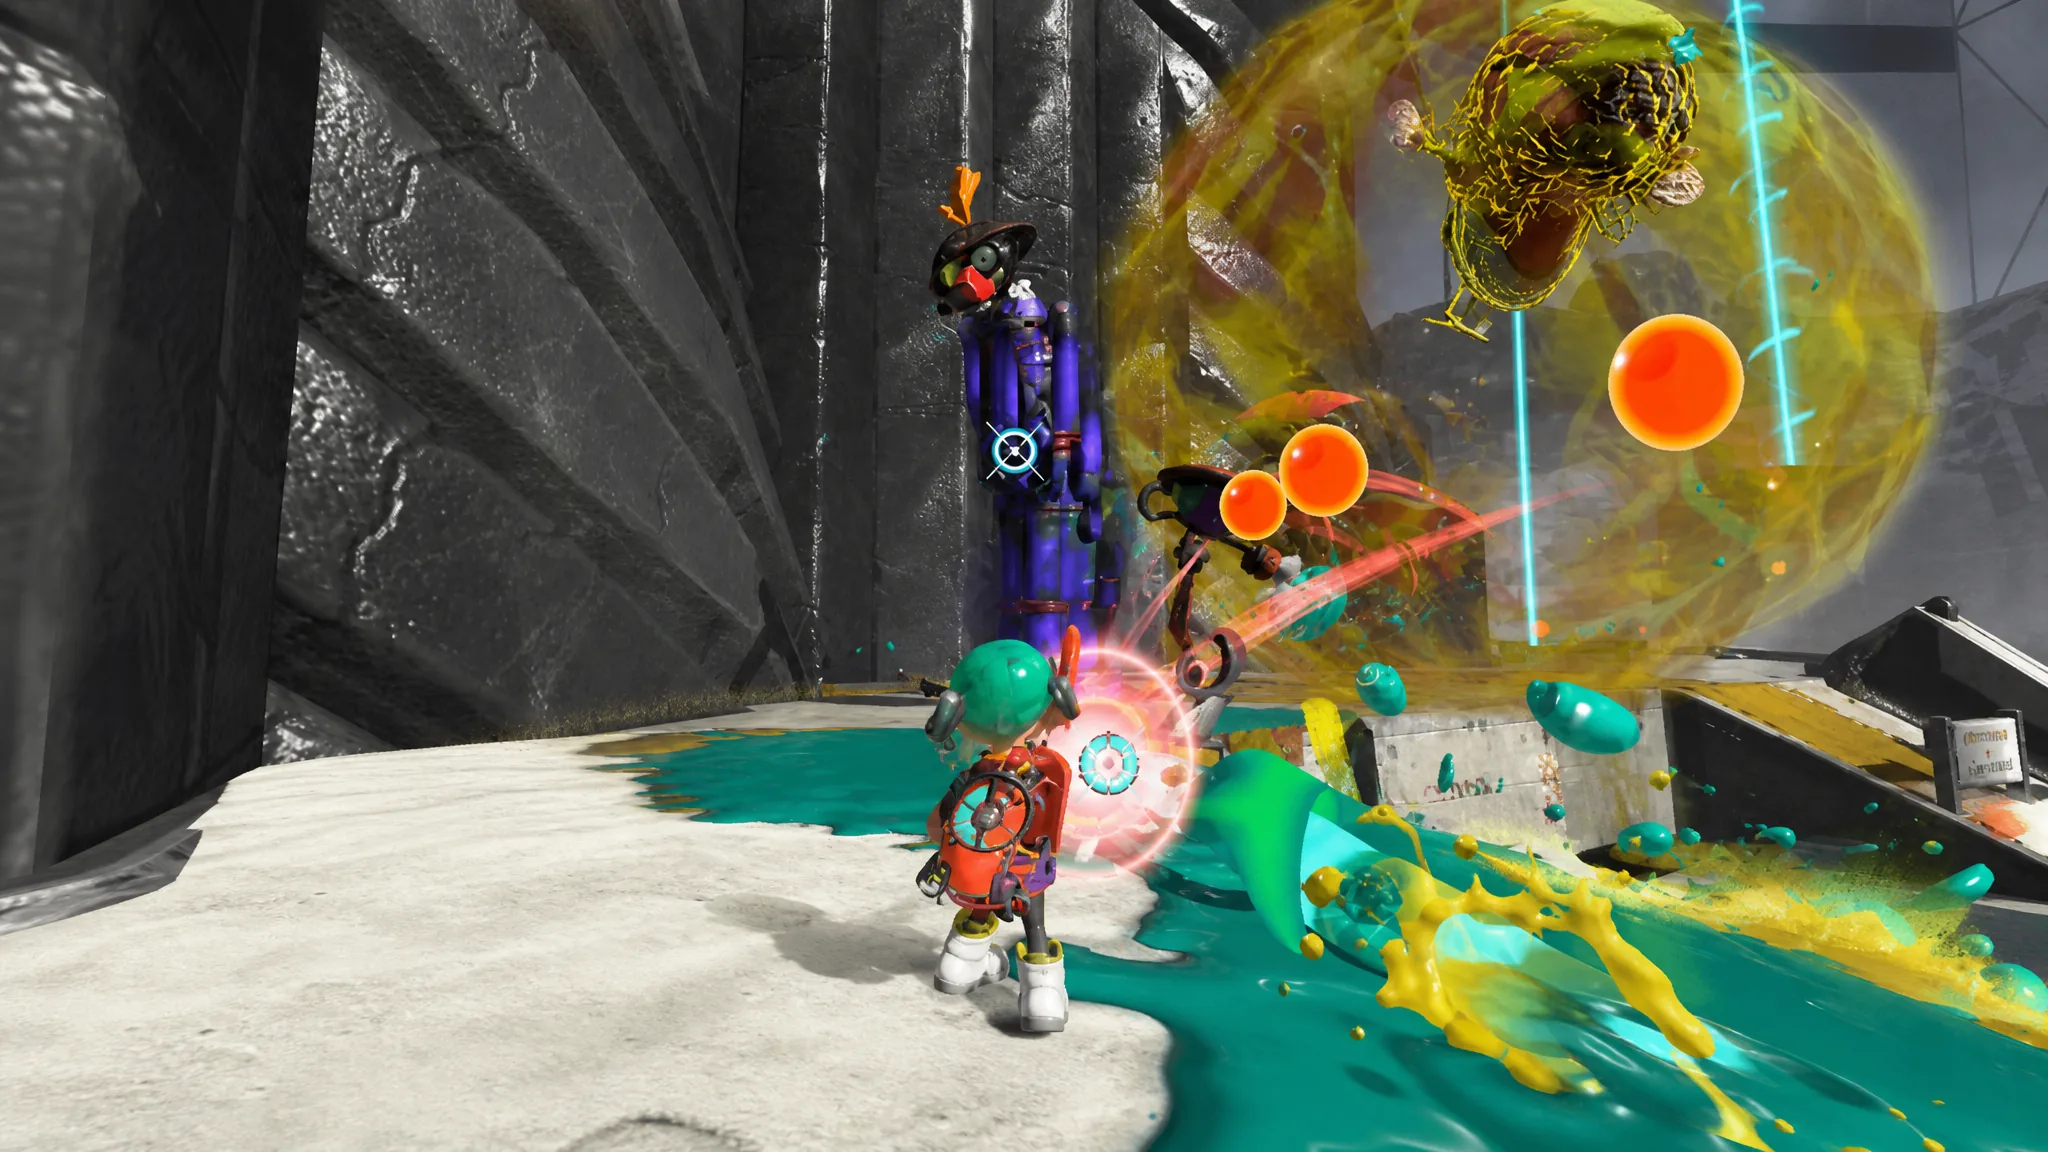
Ferment increases the damage enemies take, so it works as a force multiplier for everything else you throw at them. Equip a weapon with the Ferment or Explosive Ferment power, run the Tactical tank with Tether Wail and Torqscrew, and fit Ferment parts to your gadgets. Frye rounds it out as the Bot Buddy at maximum bond.
Super Spicy Tactical build for the hardest dungeons
For Super Spicy dungeons and the deeper floors of the Bottomless Buffet, a Tactical tank built around gadget uptime keeps damage flowing while you reposition. The idea is to deploy every gadget, manage cooldowns, and let them attack alongside your weapon so single-target damage, area damage, and debuffs are all covered at once.
| Slot | Choice |
|---|---|
| Tank | Tactical |
| Weapon | Any Primo five-star Shooter |
| Weapon powers | Freeze, Concentrated Attack, Close Combat |
| Gadgets | Bombloons, Shot Pot, Tether Wail |
| Relic powers | Ink Pro, Showstopper Power, Gadget Recovery (Finisher), Long Range, Tactical Pro |
| Bot Buddy | Big Man |
Each gadget has a job. Shot Pot handles single-target damage as an off-field turret, Bombloons chain together to wipe out grouped smaller Salmonids, and Tether Wail applies the Ferment debuff through its lasers so enemies take extra damage. A Shooter’s high fire rate makes Freeze and Concentrated Attack proc more often, which is why it beats slower weapon types here.
The relic powers matter as much as the gadgets. Showstopper Power charges your ultimate faster, and Gadget Recovery (Finisher) shortens gadget cooldowns every time you defeat a Salmonid, so those two are the priority even if you have not unlocked all five relic slots. Big Man is the safest Bot Buddy for high difficulty because his Showstopper heals you to full, grants brief invincibility, and lets you scoop up Power Eggs without taking hits.
Lighter builds worth keeping on hand
Not every situation calls for a full status-effect setup. These simpler loadouts are quick to assemble and give each tank a clear role, from staying airborne to smothering a room in ink.
| Build | Tank | Gadgets |
|---|---|---|
| Jump | Speed | Blast Boot, Jump Bomb, Torqscrew |
| Surround | Power | Splatellites, Spinwheel, Booyarang |
| Distance | Tactical | Hi-Fiver, Shot Pot, Splatellites |
| Bash | Power | Splatchet, Meteor Mitt, Blast Boot |
Save your builds as presets
Because you can swap tanks between missions, it helps to store your favorite loadouts so you can switch instantly. In the gear menu, press the ‘-‘ button to register up to six presets. Each preset captures the whole setup, from your Bot Buddy down to your relic powers, so a saved Freeze build reloads exactly as you left it.
Tip: since the only irreversible cost in Splatoon Raiders is spending rare materials, try all three tanks with these templates before you pour those materials into any single one. The game is built around switching, so keeping a preset for each status effect lets you match your build to whatever dungeon you drop into next.