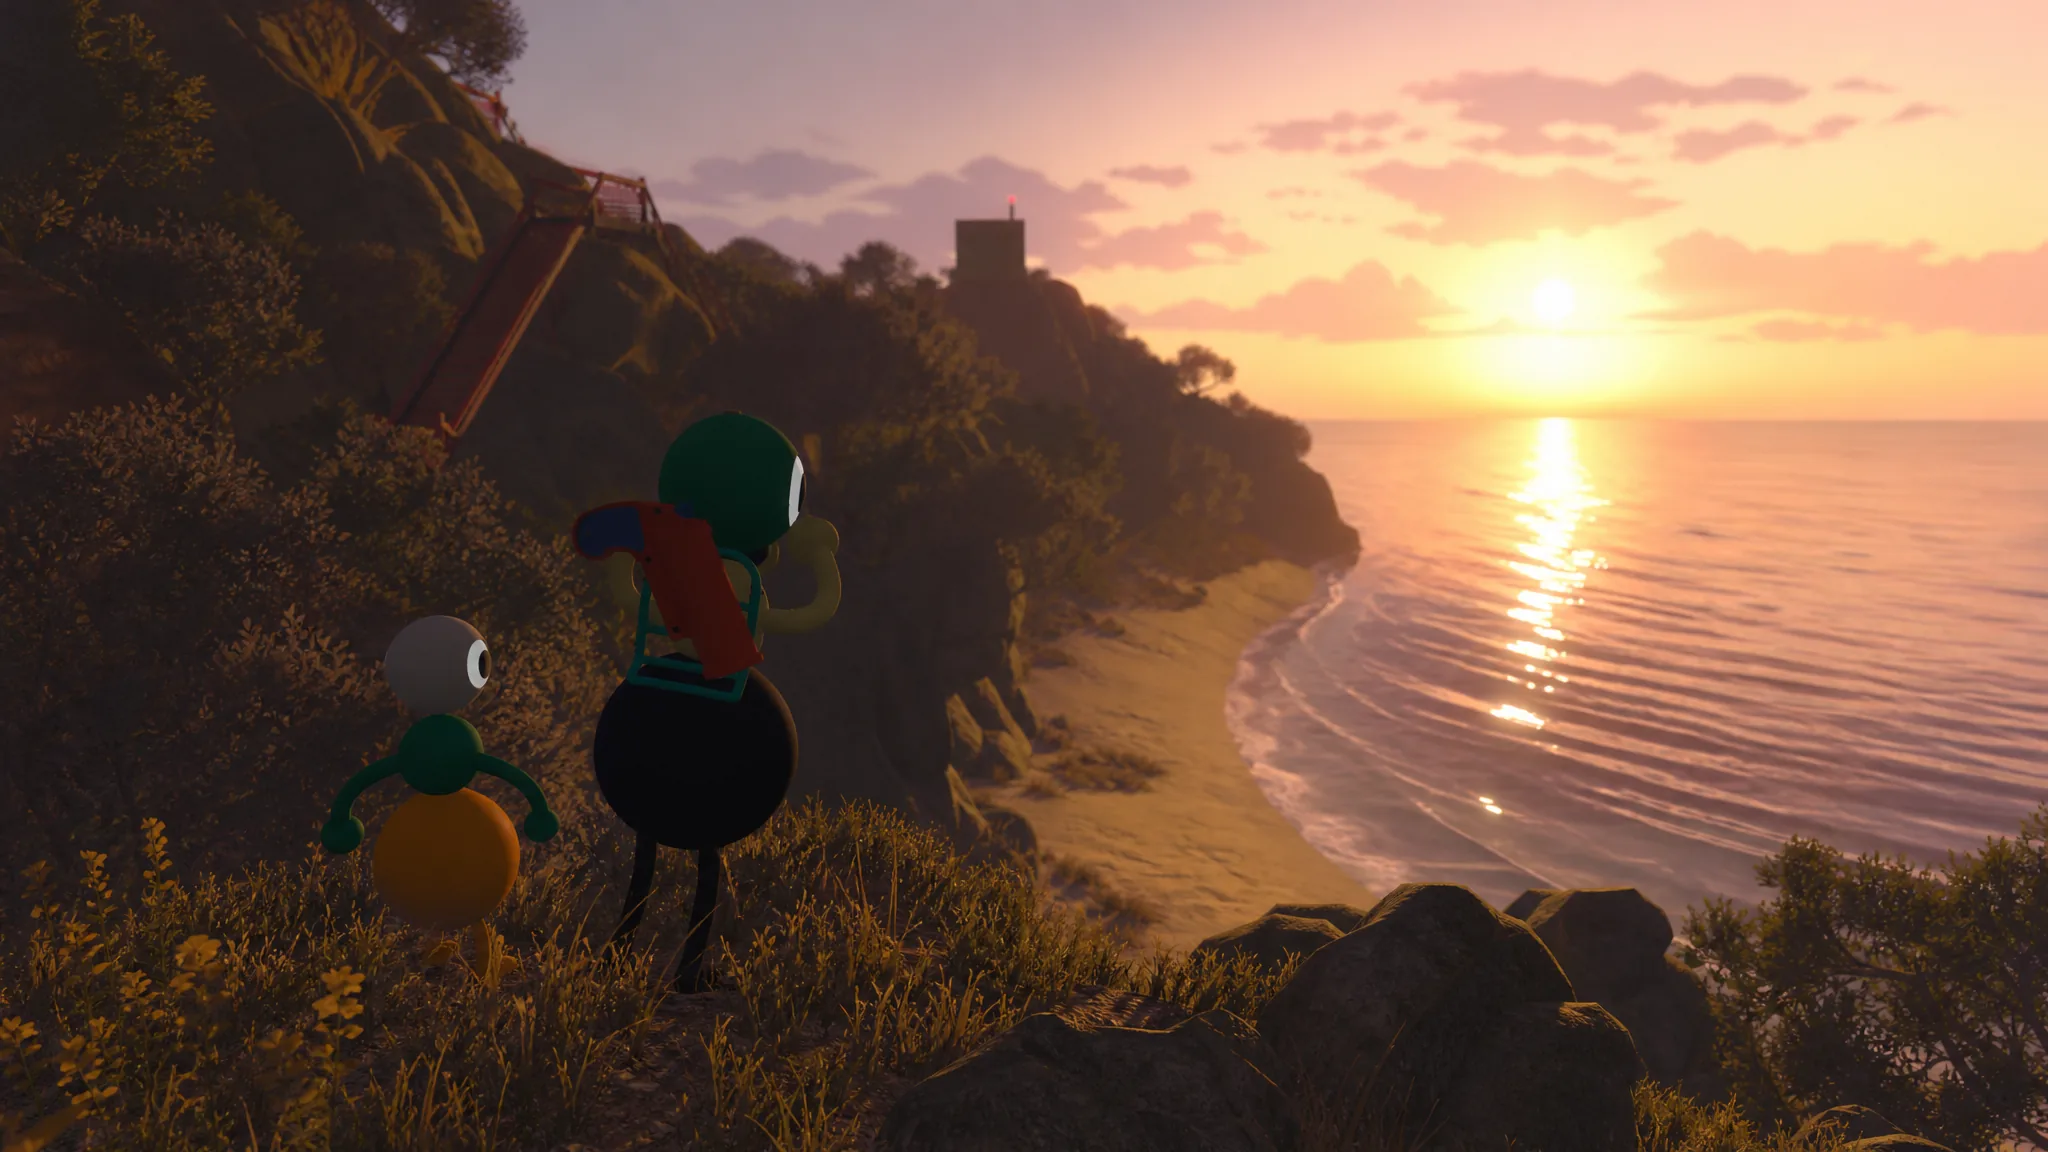
Big Walk hides its progression behind cooperative puzzles that never explain themselves. You cannot brute-force them alone. Each one splits your group into roles, and the game rewards clear communication over speed. The two gates that matter early are the drawbridge in the starting area and the Red Tower, which unlocks the Map Room and its navigation tools.
Quick answer: Collect four gourd-like tokens from the beach-side puzzles to lower the drawbridge, then solve five Red Tower challenges to claim the key that opens the Map Room. Both keys must be run through the nearby key cutters before they fit their locks.
How progression works in Big Walk
The world opens in stages. The starting area seals you in until you lower the drawbridge, which requires four collectibles. Once the bridge drops, the wider map becomes reachable and a blue doorway with a locked door appears. That is the Map Room, and it only opens after you complete the Red Tower.
Keys in Big Walk are never ready to use. After a puzzle set awards a key, you carry it through a set of key cutters to shape it, then place it in the matching lock. Skipping the cutters is the most common reason a key refuses to open a door.
Note: A party of four or more makes several puzzles far easier, since stacking and simultaneous-switch challenges need bodies. Two players can still finish everything, but expect to reposition more often.
Drawbridge: four gourd puzzles in the starting area
You need four gourd-like collectibles to open the drawbridge, and you can tackle them in any order. Each sits near the beach and starting path.
Blue Room puzzle
One player gets locked inside the Blue Room and can see a pattern on display. That player calls out the pattern while a teammate outside recreates it with tiles on a pegboard. Find the room by following the starting path and bearing left.
Green Structure puzzle
Several switches are spread across a structure on the left side of the map. Every switch must be held down at the same moment. Position one player per switch, count down together, and the gourd unlocks the instant all are active.
Mechanical Arm puzzle
The L-shaped mechanical structure sits at the bottom of the starting path. The switch is too high to reach on foot, so players stack on one another’s shoulders until someone can hit it. Activate the switch and the gourd is yours.
Cave puzzle (the 4166, 1899 box)
The last gourd is trapped in a sealed box among the rocks, often first spotted as a box marked with the coordinates 4166, 1899. Use the telescope on the right of the map to sight and activate the box. One player must stay behind to keep it activated while a second player runs over and grabs the collectible.
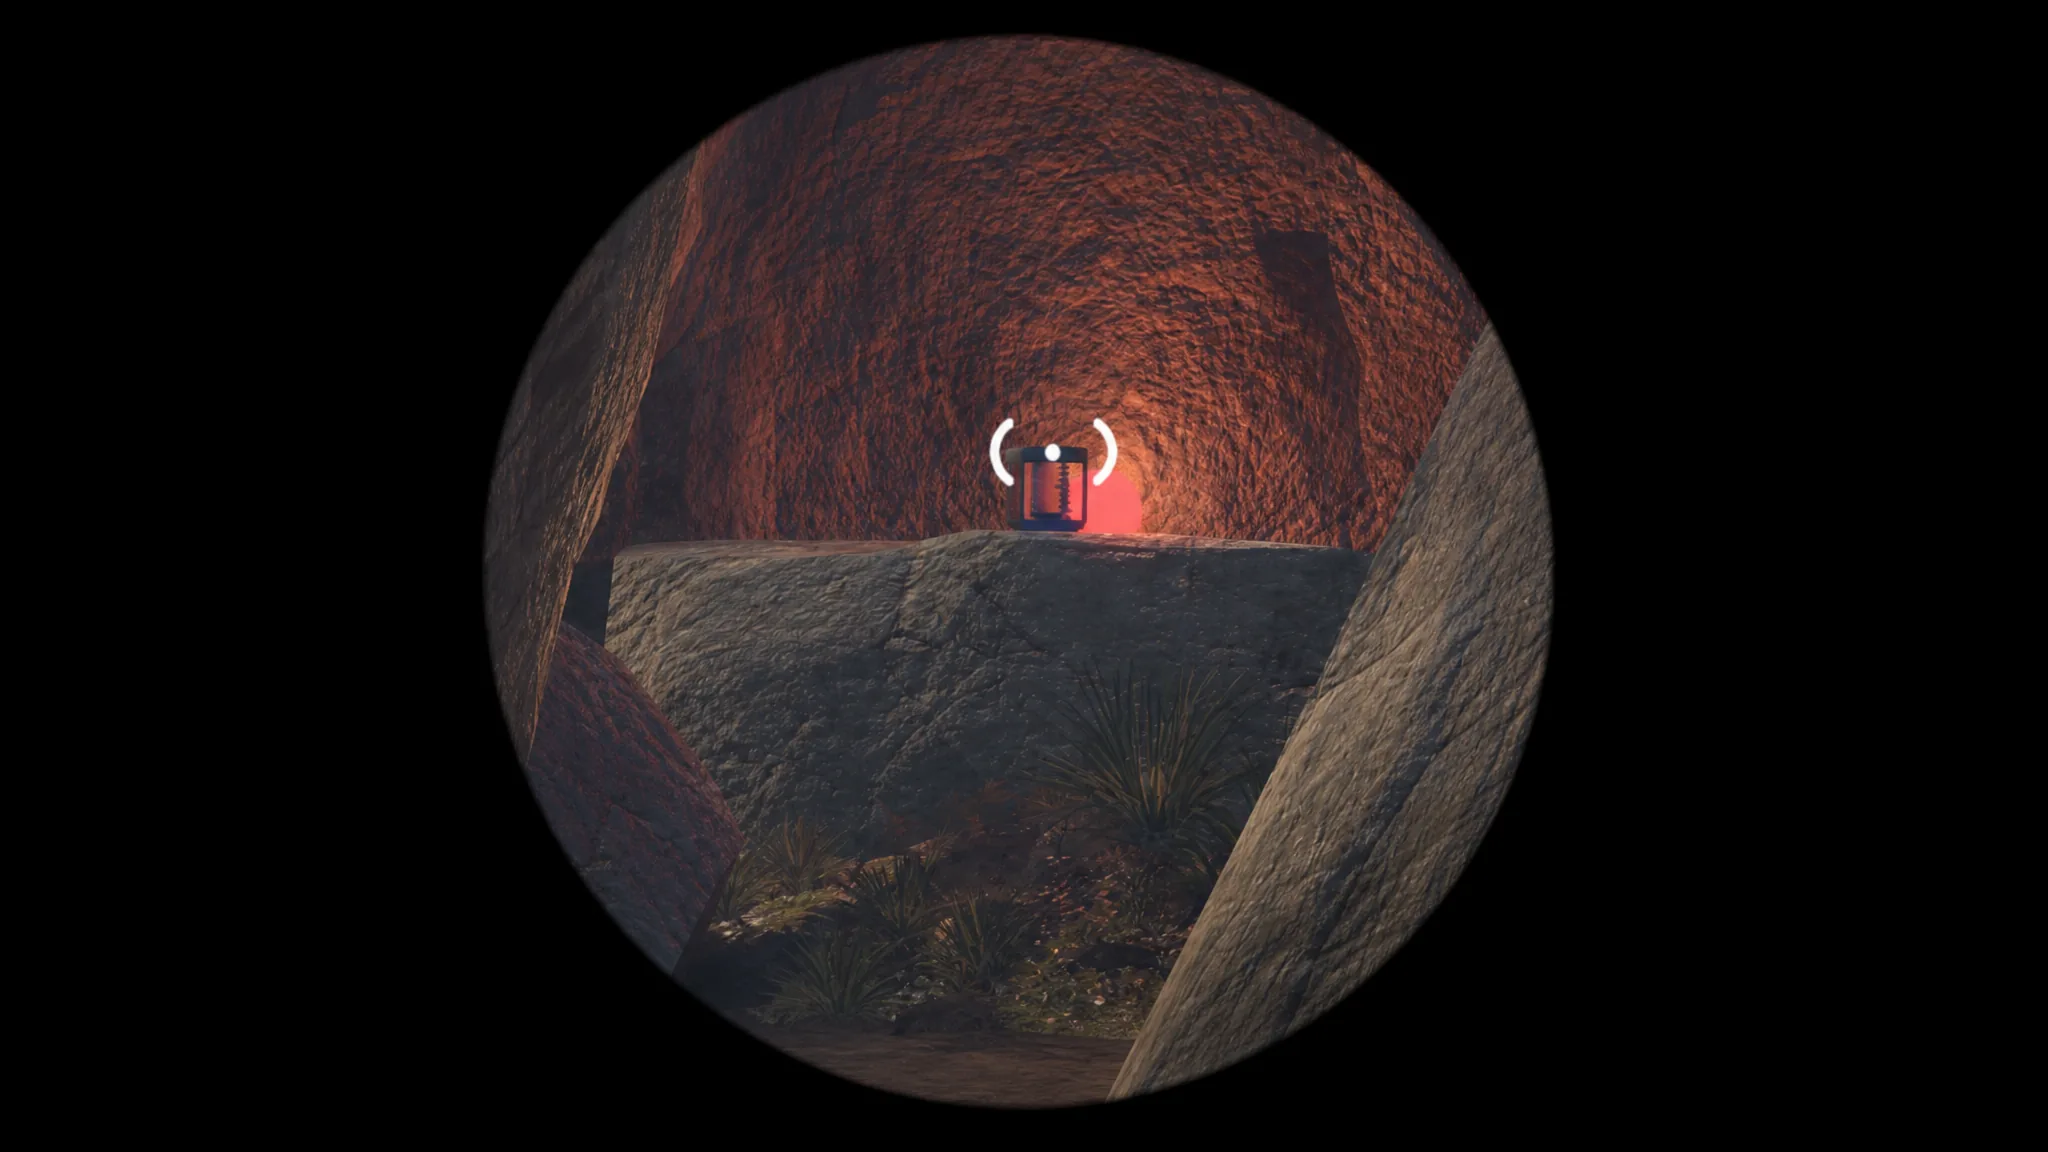
Tip: If you reach the coordinate box after completing the Red Tower, the paper map that spawns on the Map Room table plots latitude and longitude, letting you find the exact button on the rocks in the south-central area between the railway curve and the ski-lift tunnel.
Cutting the key and lowering the bridge
Place all four gourds in their sockets to release the key. Run that key through five key cutters positioned around the area. Three sit to the north and two are down on the beach.
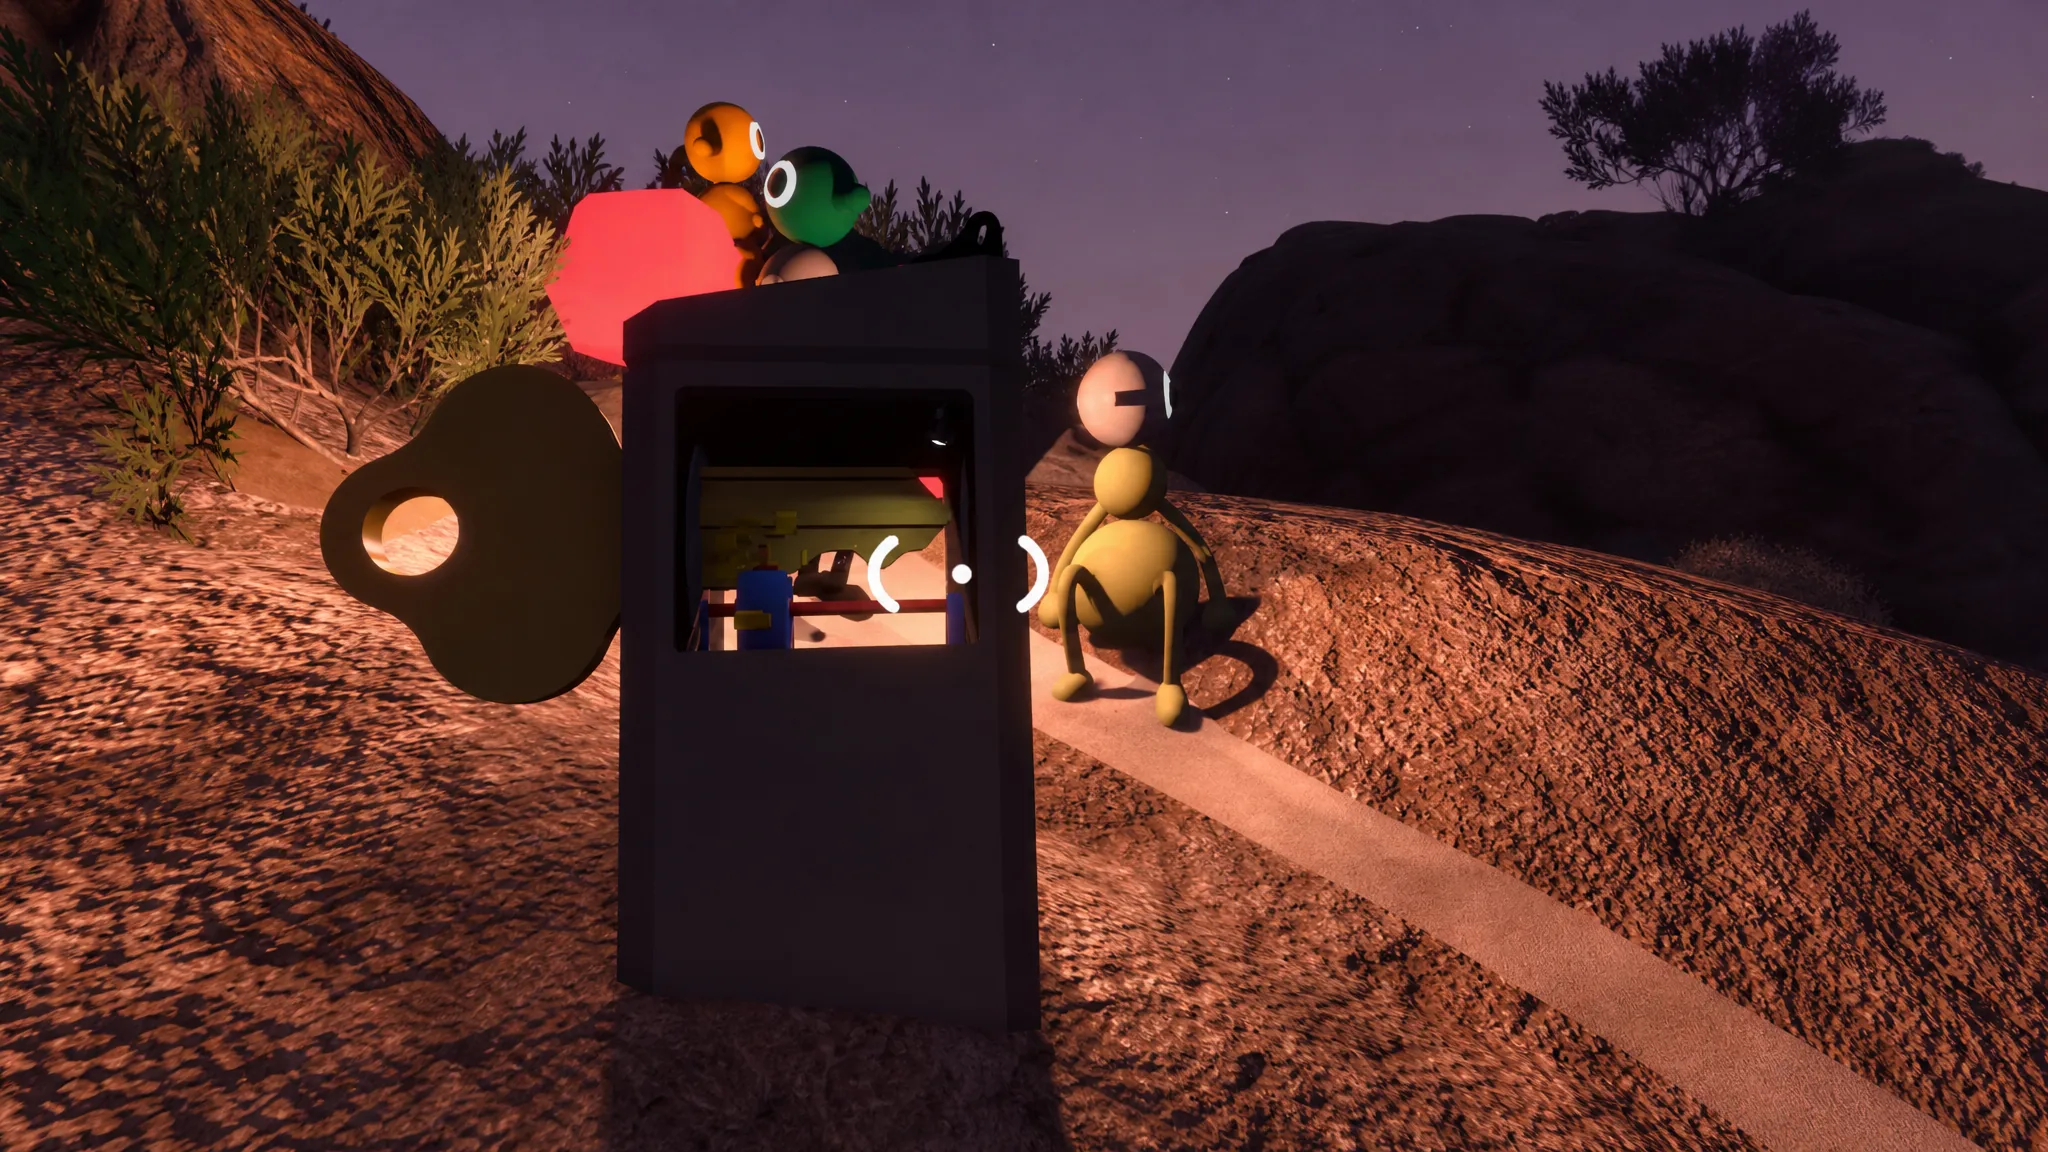
Set the finished key into the drawbridge lock. Walk to the bridge’s end and the starting area opens permanently, so you no longer have to cross the bridge each time. You will also spot the blue doorway with its own key cutter and locked door. That is the Map Room, and the Red Tower holds its key.
Red Tower: five challenges for the Map Room key
Reach the Red Tower by taking the path up the hill, marked by a red-colored key cutter. Unlike the drawbridge, the tower demands five separate solves. Each awards a collectible, and all five together release the key on the tower roof.
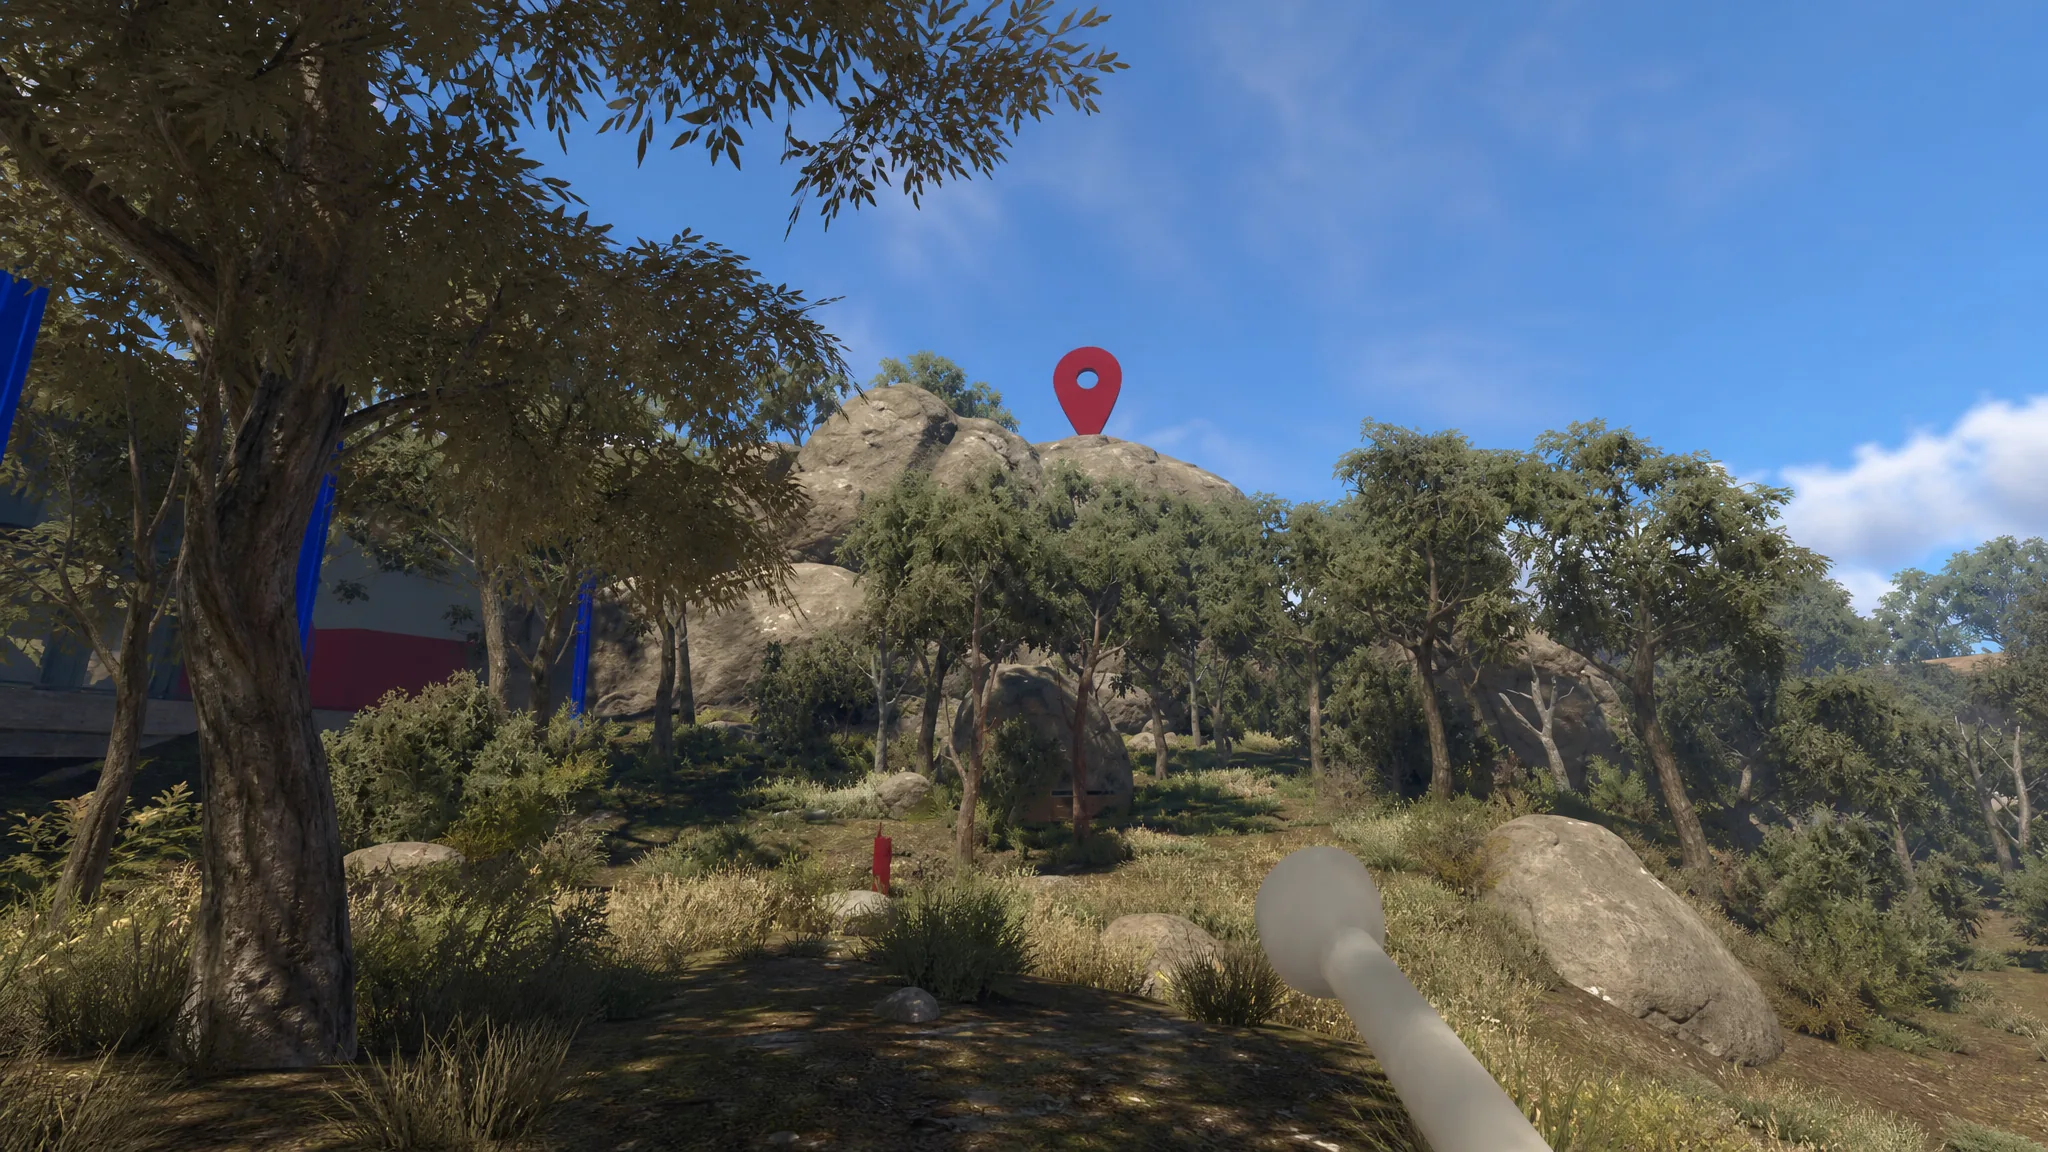
Green Room puzzle
One player is sealed in the Green Room with a terminal that shows a run of symbols. That player calls the symbols aloud in order while the teammate outside presses the matching symbols. Agree on visual signals through the glass before the door closes, since it can cut normal chat. Match the full sequence and the collectible unlocks.
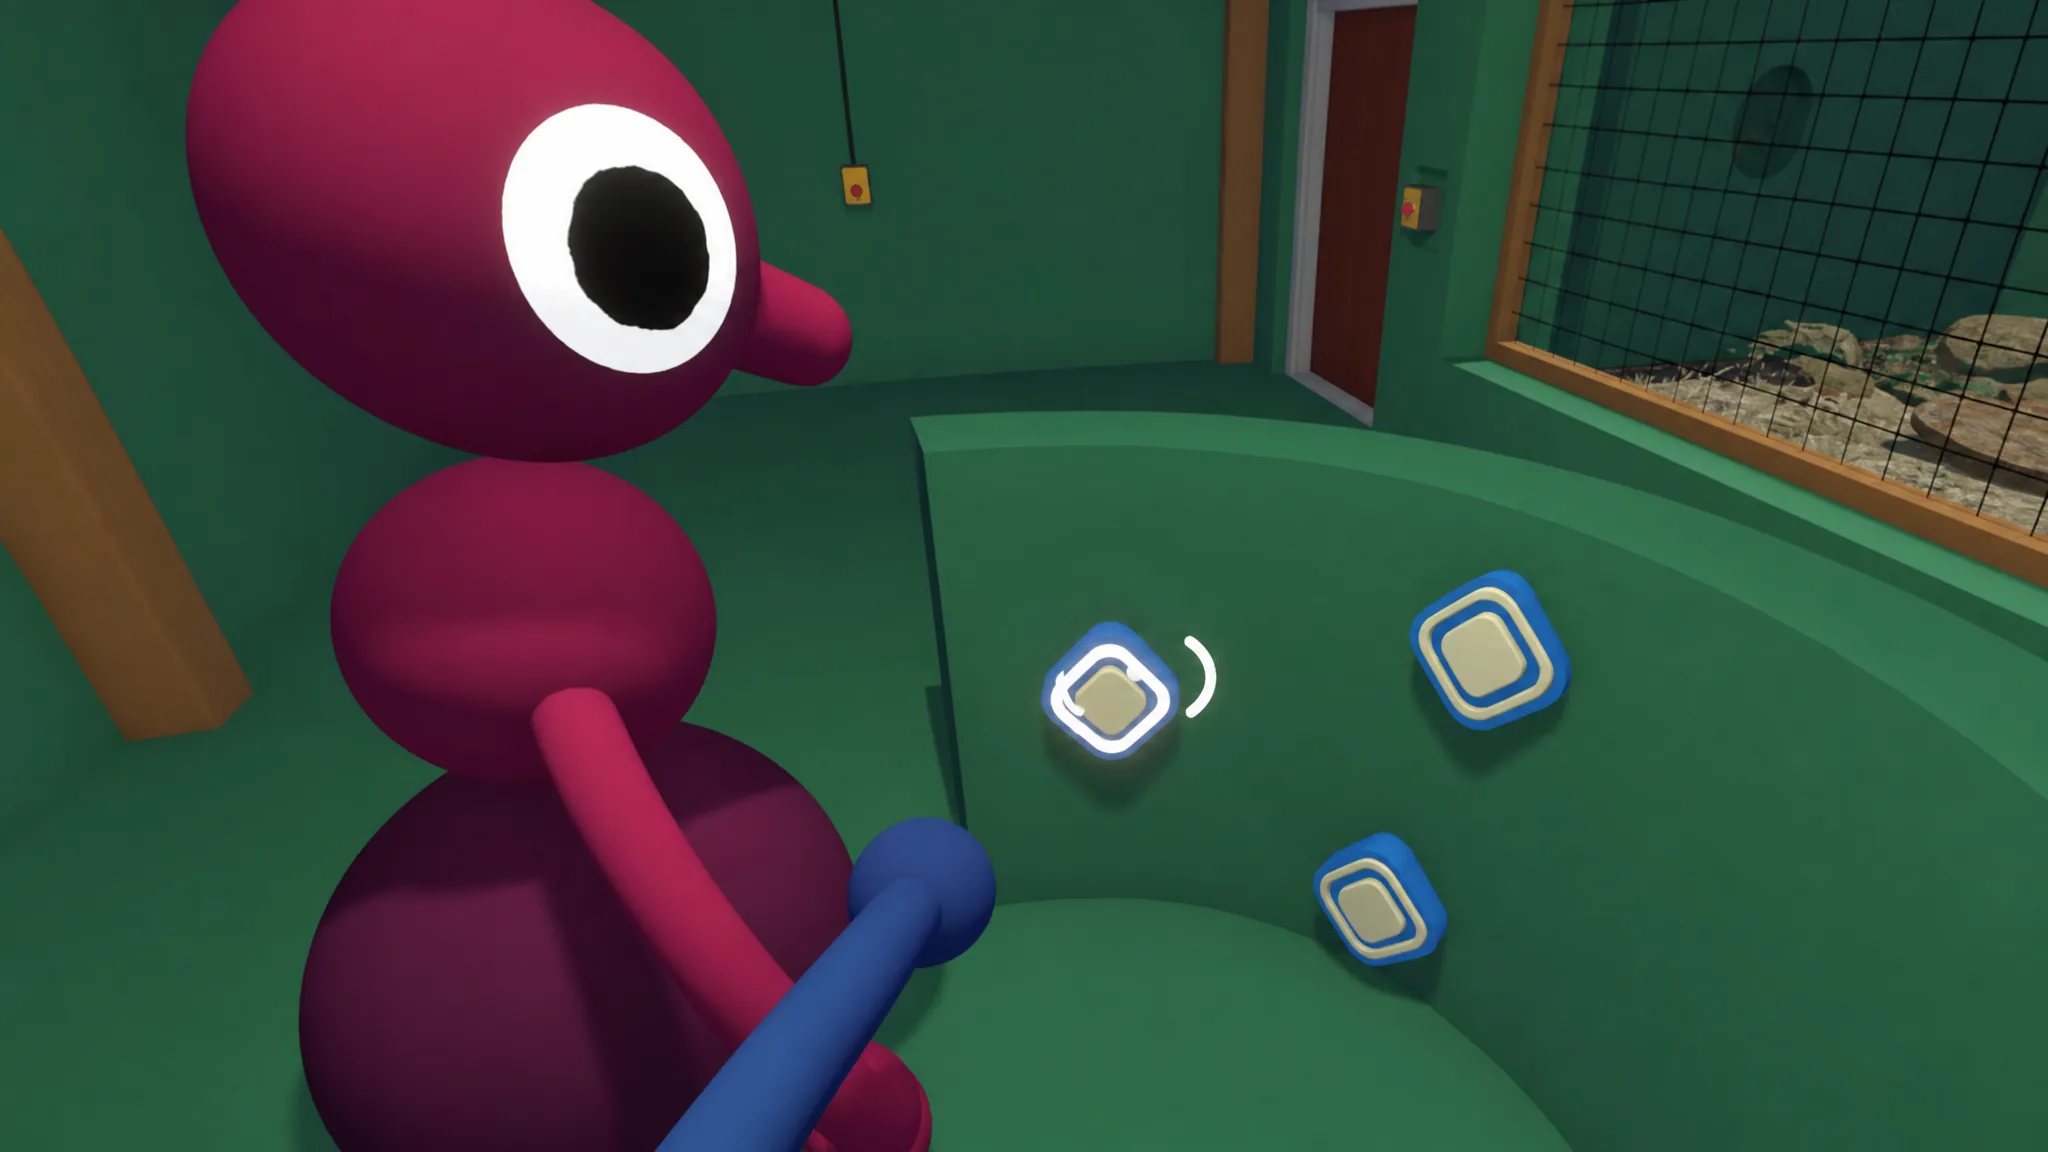
Yellow Maze puzzle
Split the pair. One player takes the left path and one takes the right. The left-side player hands off the timer, and the right-side player carries it through the wall opening and drops it onto the green pot. The timer expires if it lingers, so have the receiver already in place before the handoff.
Train Station Cannon puzzle
One player fires a cannon that launches a timer down the Train Station route. The second player chases it, then rushes back toward the platform before it runs out. Near the platform, they throw the timer to their partner, who sets it on the green pot to finish. Do not let the launching player chase the projectile; keep one person guarding the socket.
Basketball Court puzzle
This is the simplest of the five. Both players pick up light bulbs and toss them through the baskets. Keep sinking shots until every light turns green. Hold a steady release position and adjust height rather than throwing at full force every time.
Mountain Gesture solution
One player stays at the overlook and studies five platforms through the telescopes. The other travels to each platform and strikes a gesture with their arms and body; binoculars are required to relay clearly. The overlook player then selects the gesture card that matches each pose. Clear all five to earn the final collectible.
Report poses in viewing-station order and describe them plainly, such as “right arm extended” or “both hands raised.” Daylight makes the field player much easier to track across trees and slopes.
Claiming the key and opening the Map Room
With all five collectibles placed, head to the top of the Red Tower and take the key. Run it through the tower’s key cutters, then return to the blue doorway near the spawn point and open the Map Room door. Inside sits a large 3D map of the island showing every puzzle location, plus a paper map on the table with coordinates for pinpointing distant boxes.
You will know each key worked when its door unlocks after cutting; an uncut key simply will not seat. Once the Map Room is open, you can push on toward the Green Tower and Blue Tower puzzles, each of which follows the same pattern of five challenges, a shaped key, and a new region unlocked.