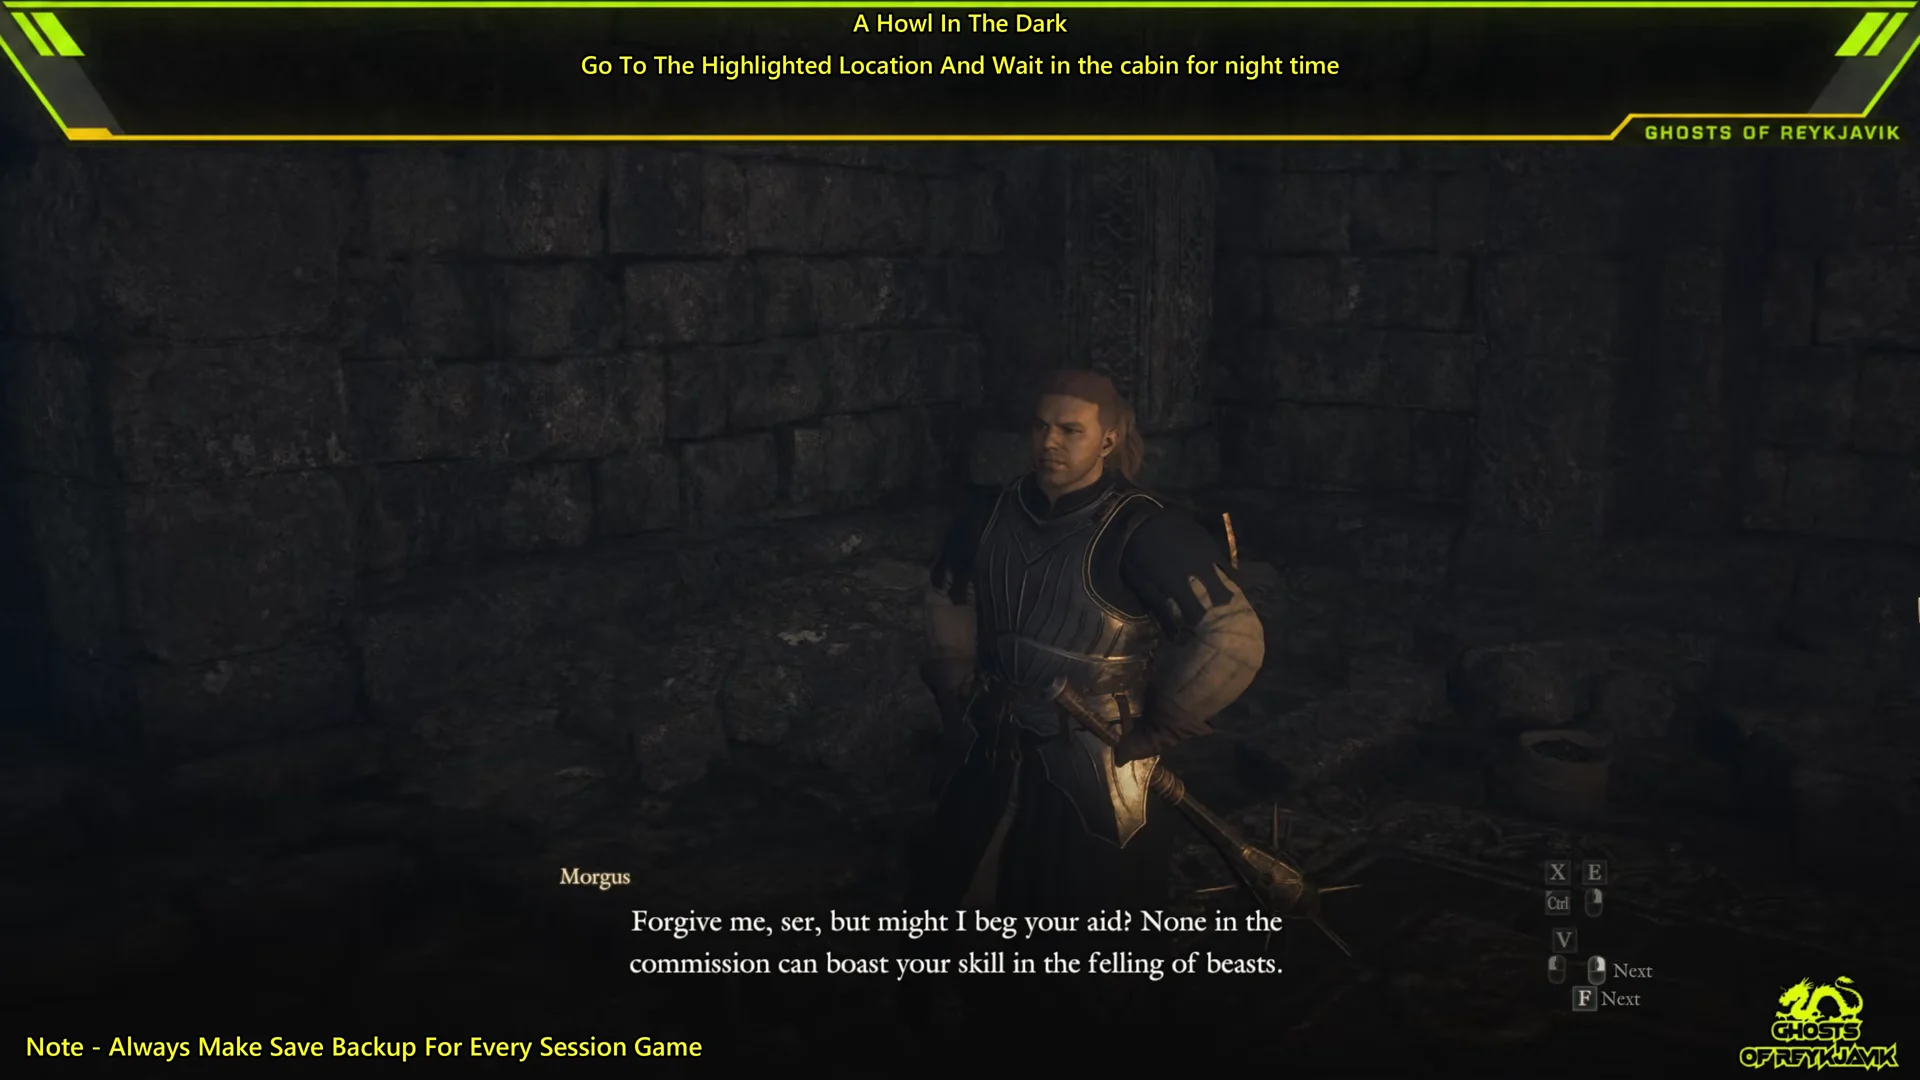
A Howl in the Dark is a Forsaken Dominion side quest in Dragon’s Dogma 2: Dark Arisen. Morgus, a Vermundian soldier with the commission, lost a beloved pendant to a four-legged beast in the Norgan Snowfield. That beast is a blackdog, which only shows up at night and wears an aura that blocks every hit you throw at it. The fight is easy to lose if you show up without Holy damage, and easy to win once you bring some.
Quick answer: Go to the east side of Norgan Snowfield at night, hit the blackdog with Holy damage to strip its aura, kill it, loot the Fallen Pendant, and deliver it to Morgus.
How to unlock A Howl in the Dark
The quest opens up once you finish Sticks and Stones, the heatstone errand that Morgus also hands out. Before you set off, make sure you have these covered:
- Sticks and Stones is complete.
- Keep the spirit compass with you; some Norgan quests require it to advance.
- At least one Holy damage source is in your party, either on you or on a pawn.
- You’re carrying Heatstones and a lit lantern for the cold, dark trip.
- You have a Climbing Hook if you don’t plan to walk in from Gagana’s Grotto.
Morgus wears plate armor and runs a small shop. You’ll find him inside the cave at Northwall Campground, near the tents and the cooking fire on the North Valgrian Frostgrove side. If the commission has already moved to Lorade Castletown, he’ll be at the Castletown Campground instead.
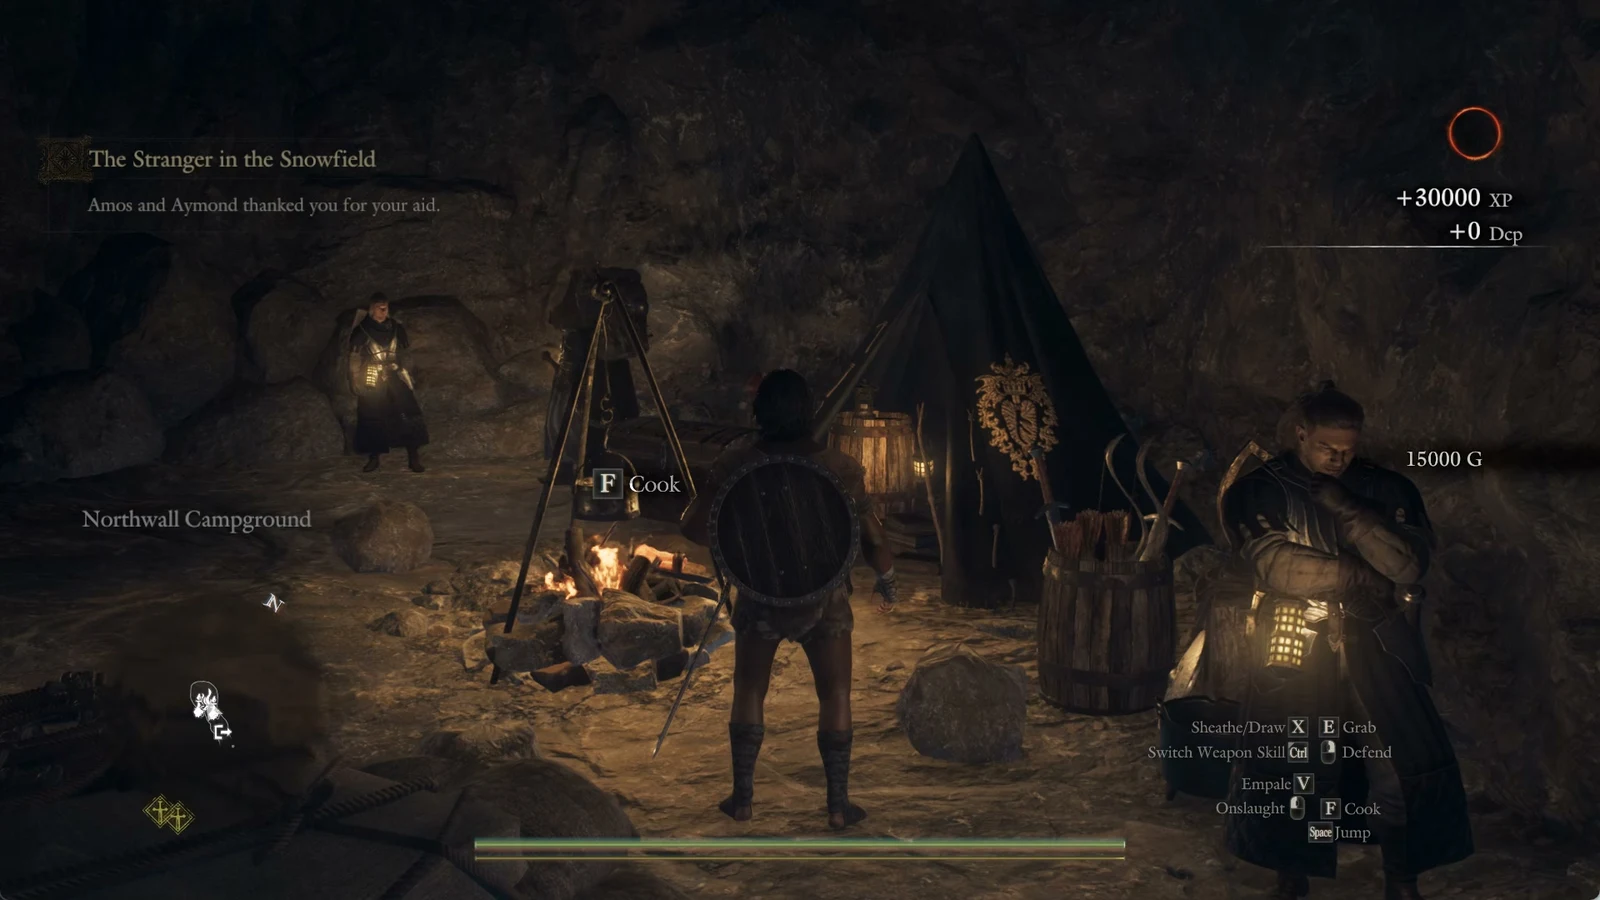
Blackdog location: Tracking it in Norgan Snowfield
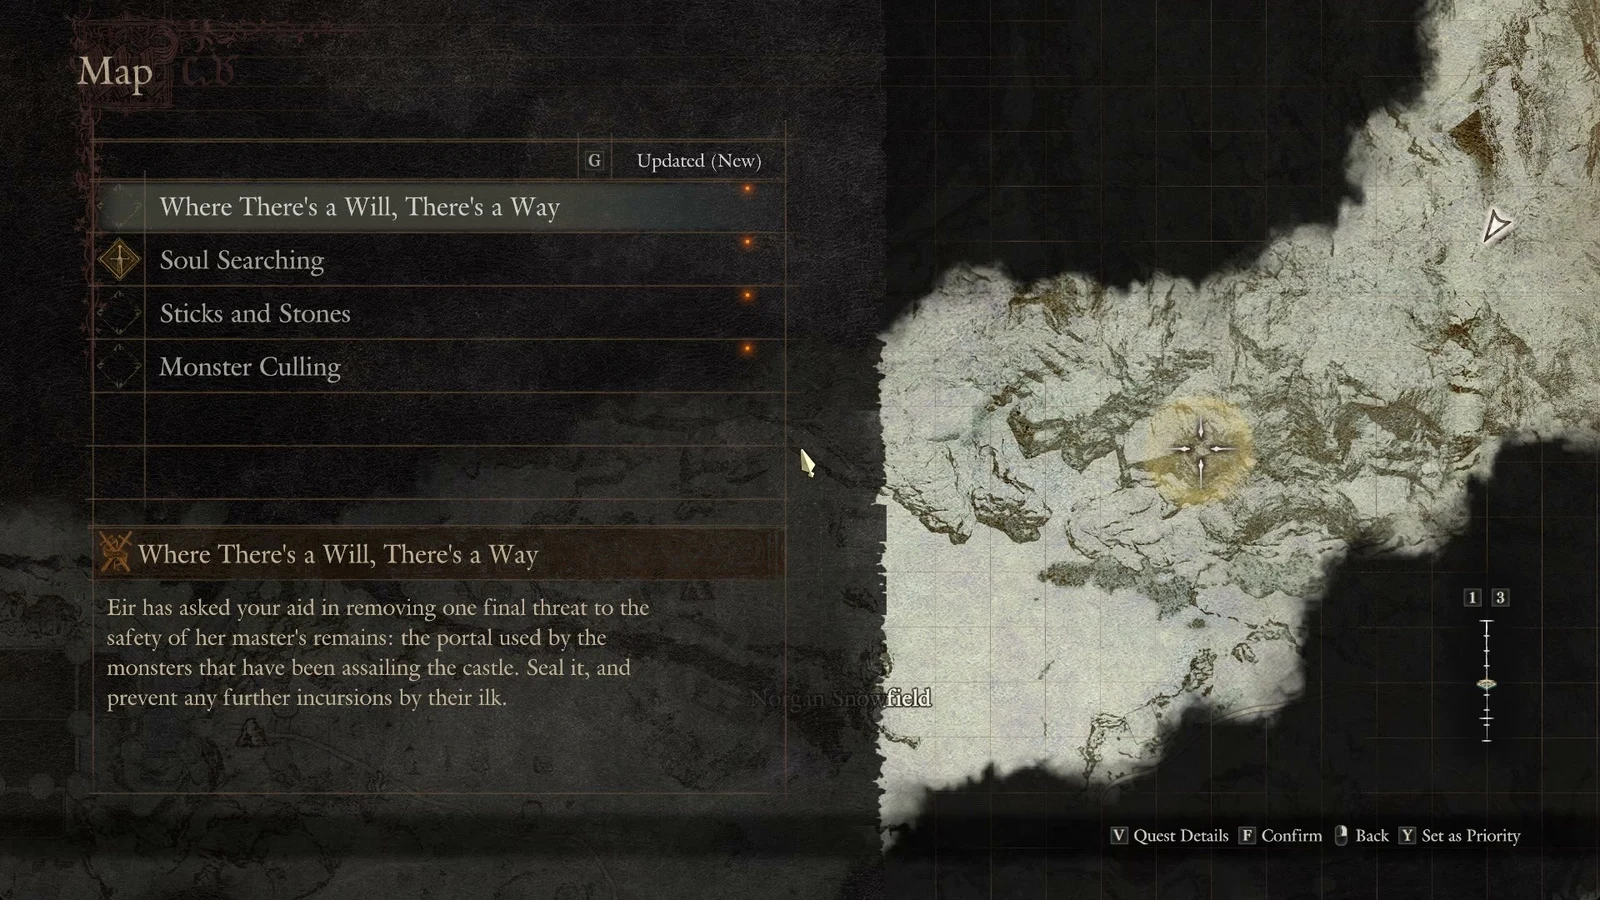
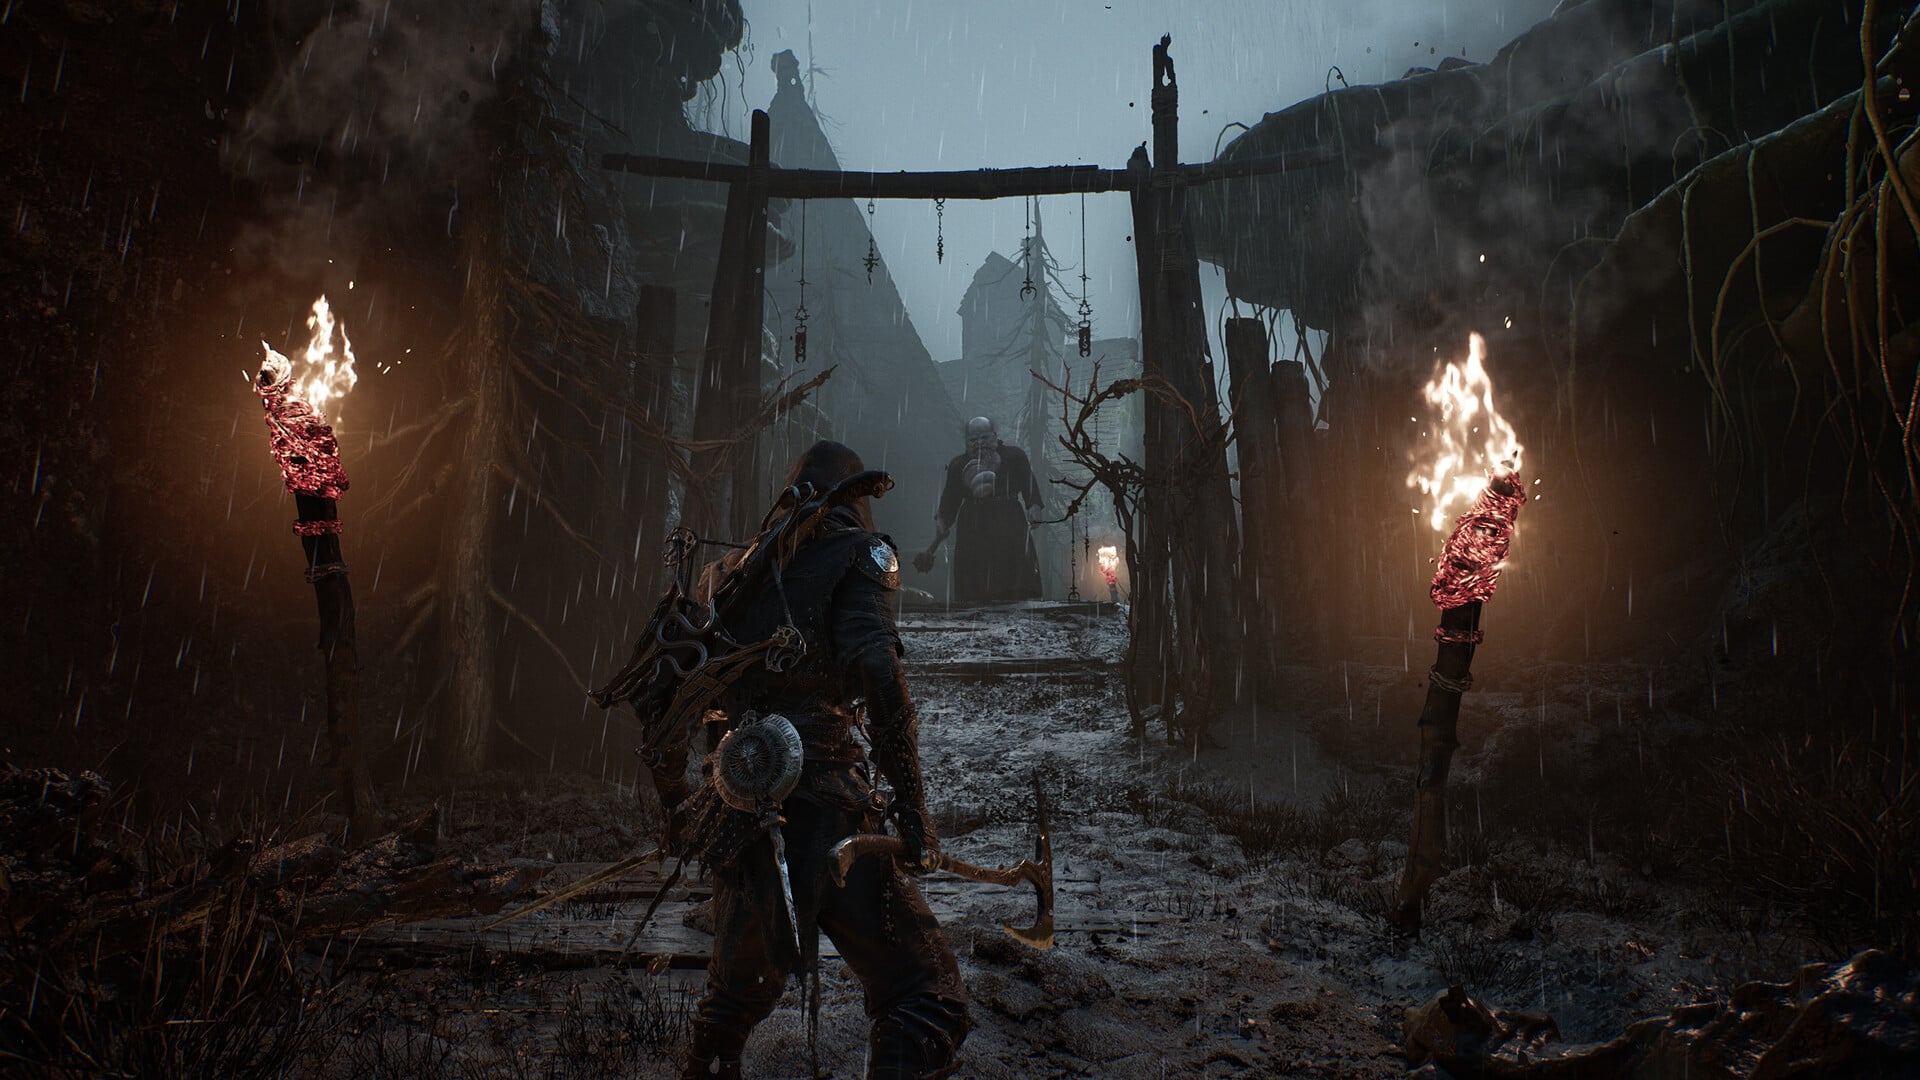
Find the blackdog in the eastern part of Norgan Snowfield, northeast of the Icefall Tunnels and near an Obelisk of Benediction. On the map, check the east boundary of the explored region, just above the long dark band stretching west to east. The battle takes place in a stony depression surrounded by snowy outcrops.
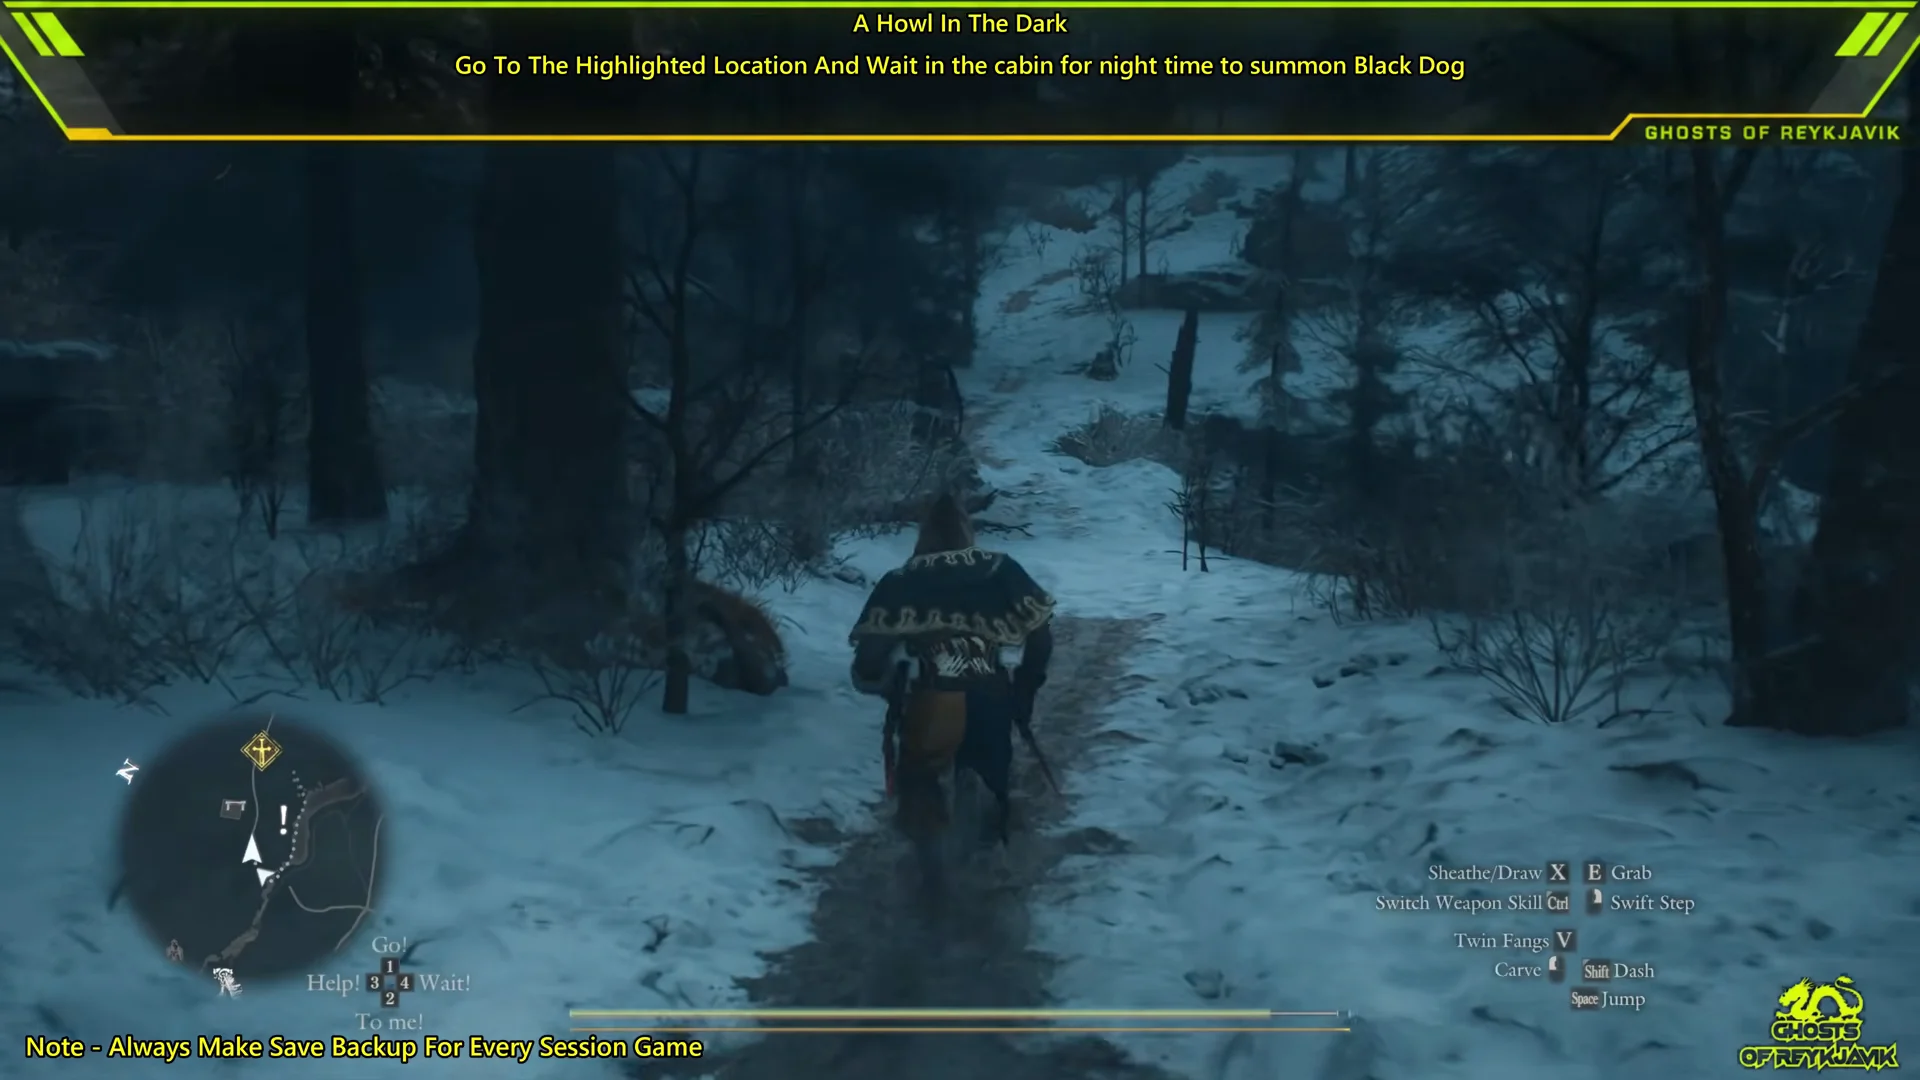
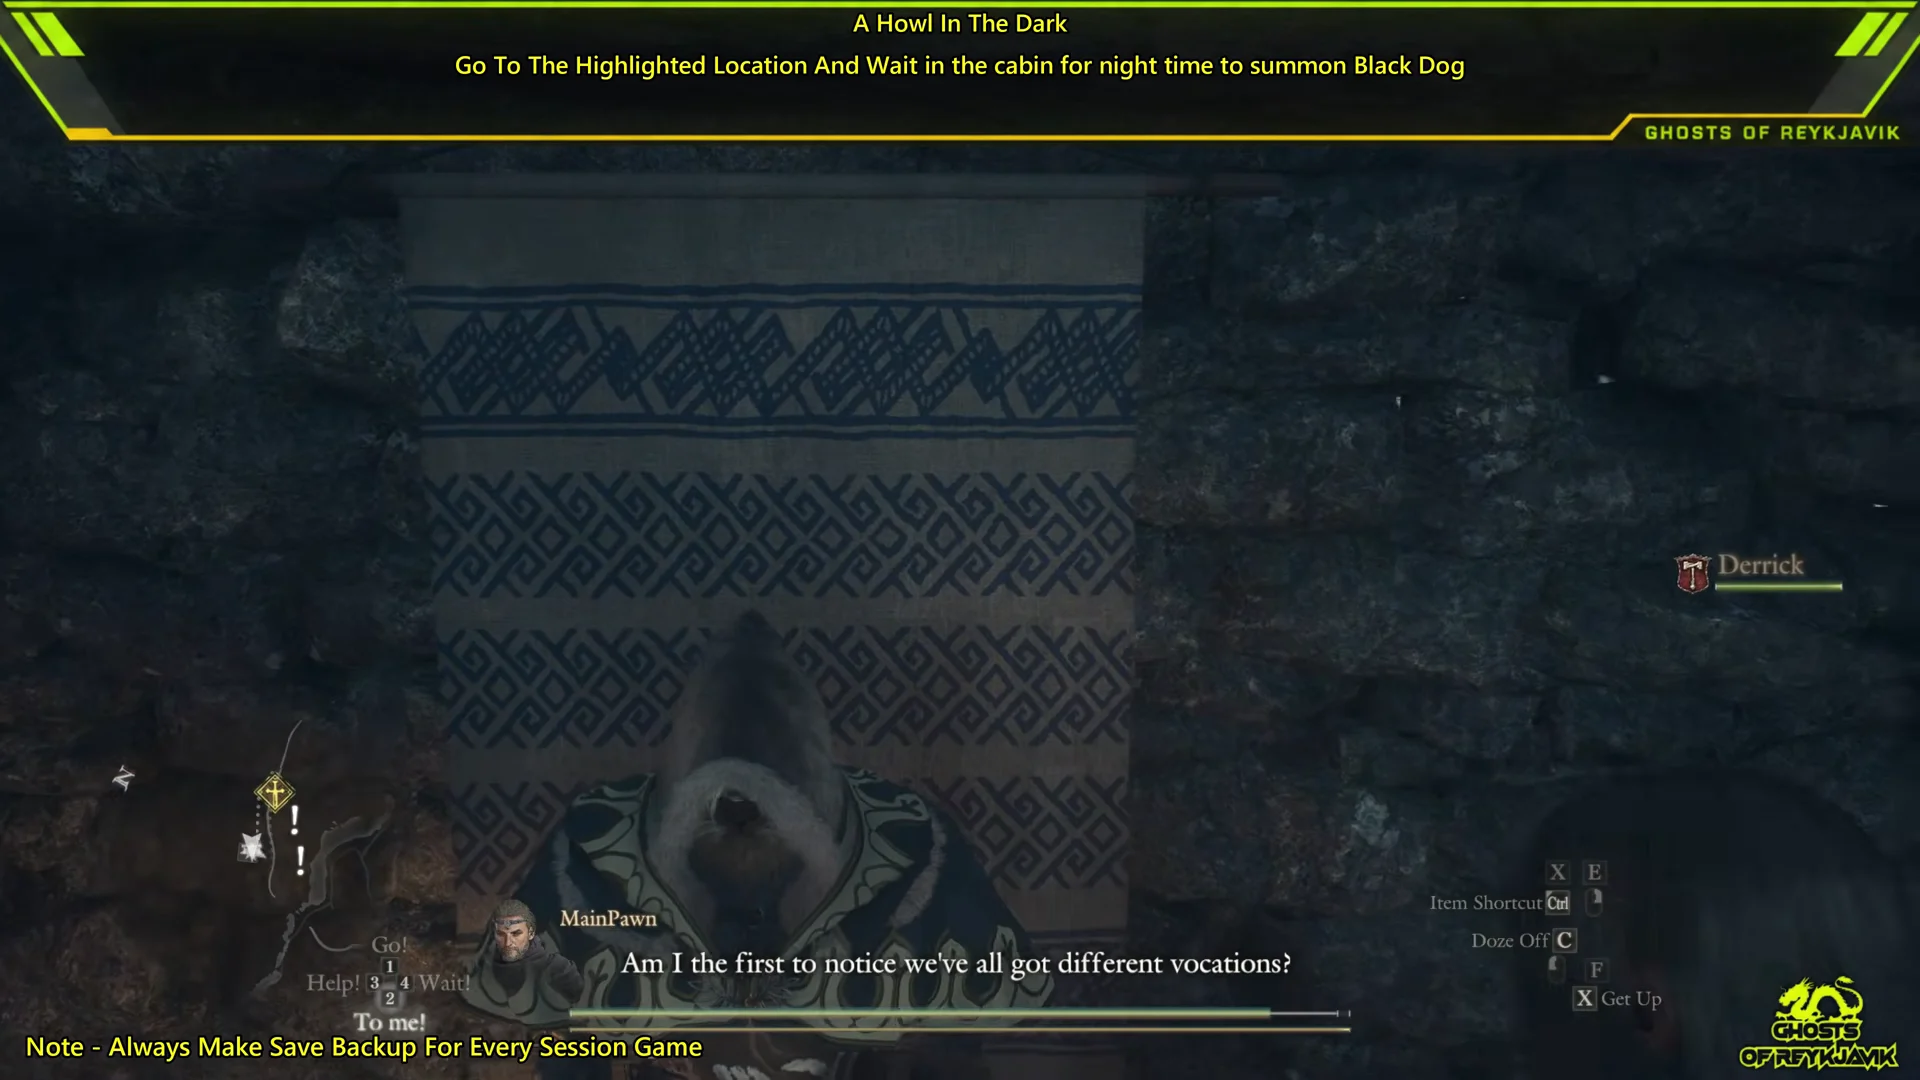
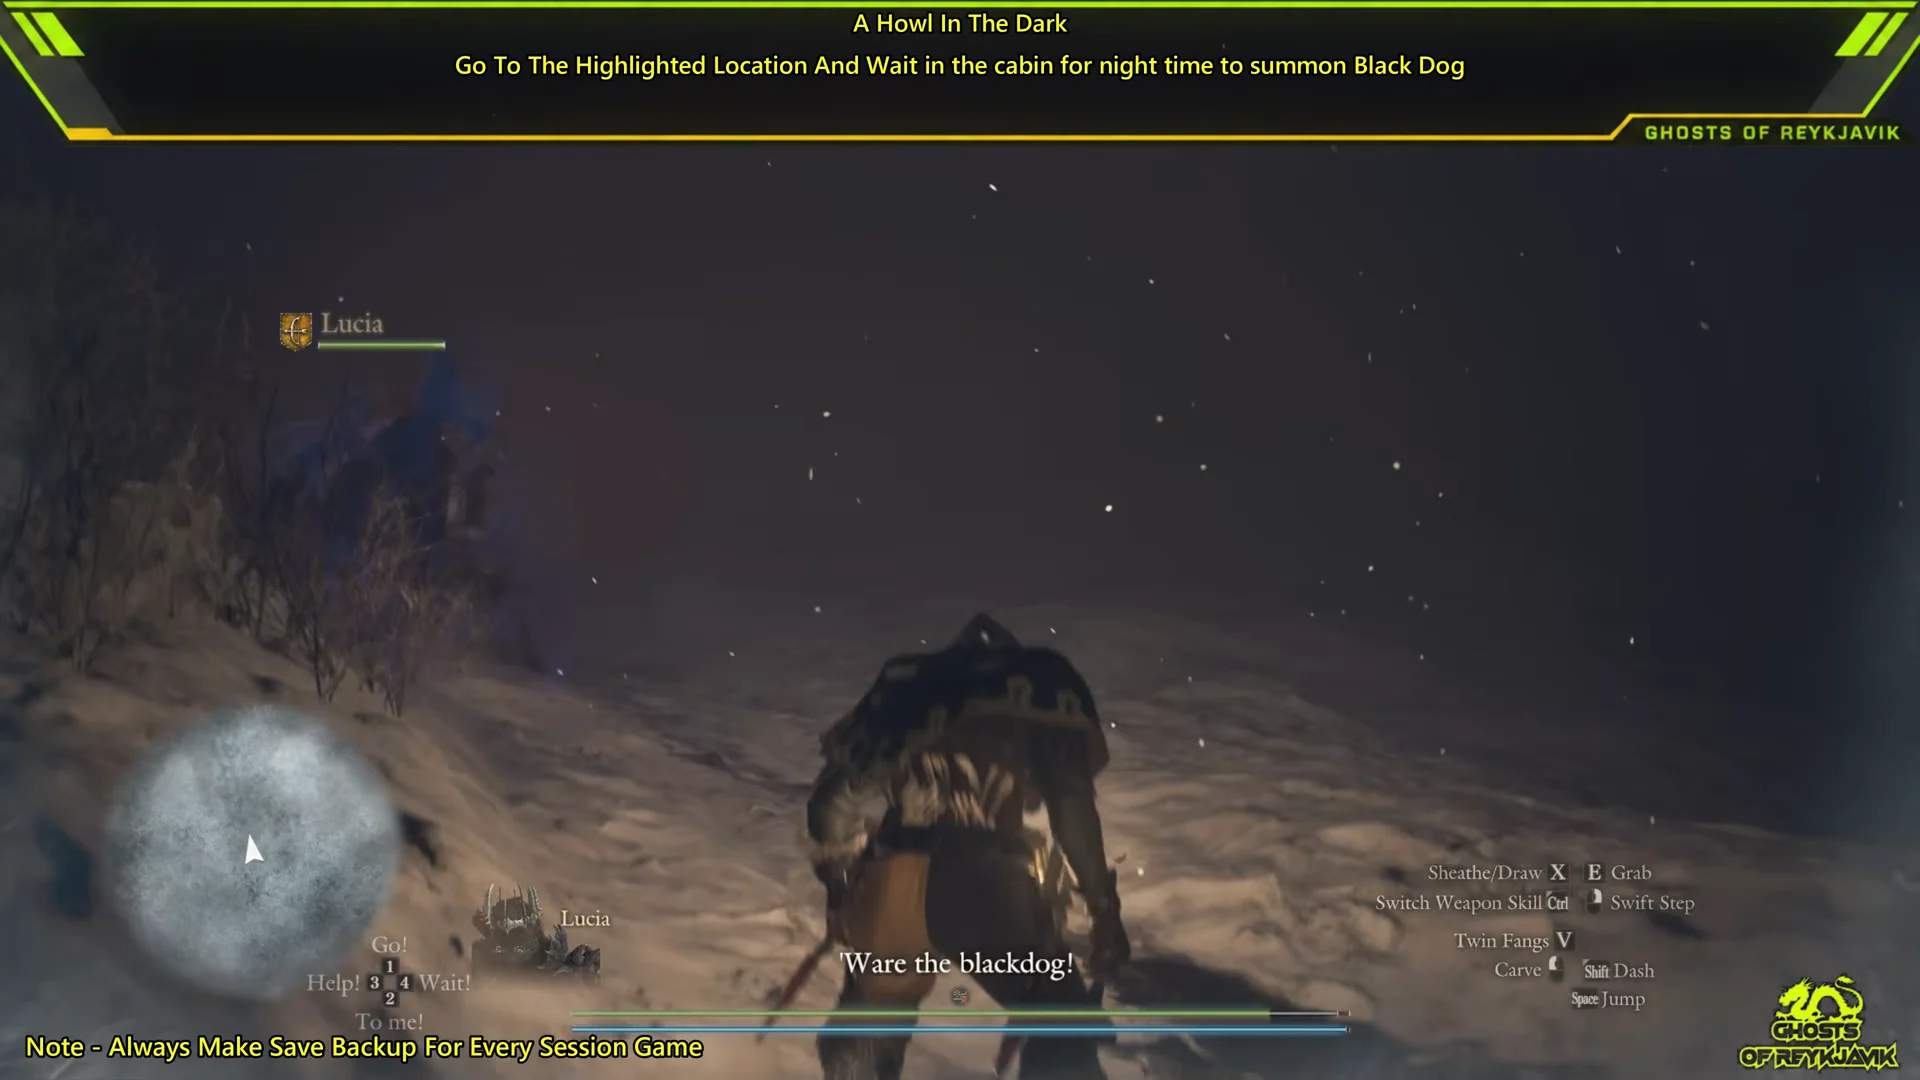
A whiteout can roll over the basin mid-fight. Keep Heatstones on hand so the cold doesn’t wear you down while you’re dealing with the aura.
How to break the blackdog’s aura with Holy light
While the blackdog’s dark aura is up, it takes no damage at all. Swords, spells, and arrows just bounce off. Holy light shatters the aura in a pale-gold burst, and only then does the health bar start dropping. The aura comes back after a short time, so you’ll repeat this cycle until the beast dies. Your pawns call out each phase as it happens:
“The aura is dispelled! We must not squander this chance!” … “The beast has regained its aura. Let us dispel it anew!”
Any Holy source works. The Holy effect only has to land, not hit hard. These options all break the shield:
- Have your Mage pawn learn High Empyrean or Empyrean; either deals Holy damage across an area.
- Equip Virtuous Bolt, a Mage skill from the Obelisk of Benediction in Norgan.
- Give a Fighter pawn The Exalted, a Holy-enchanted mace. It scales poorly in Norgan, so use it only to break the aura.
- Cast Anodyne and keep the blackdog within its area; you can use the Mage’s default healing bubble or an Anodyne spellbook from Emergent Vitality.
- Use any Holy Grimoire you have.
A Mage pawn is the least work. Once it learns the blackdog’s weakness, it picks Holy spells by itself. Keep that pawn near the beast so its light can reach it.
| Mage skill | Form | Discipline cost | How to get it |
|---|---|---|---|
| Virtuous Bolt | Basic | 2,500 | Obelisk of Benediction in Norgan (offering flame) |
| High Empyrean | Advanced | 2,000 | Upgrade Empyrean at vocation rank 7 |
Virtuous Bolt adds holy spellshots to staff and archistaff core skills, and later upgrades to Exalted Bolt. High Empyrean has a longer reach than Empyrean and keeps its light going longer, which helps when the blackdog keeps darting around.
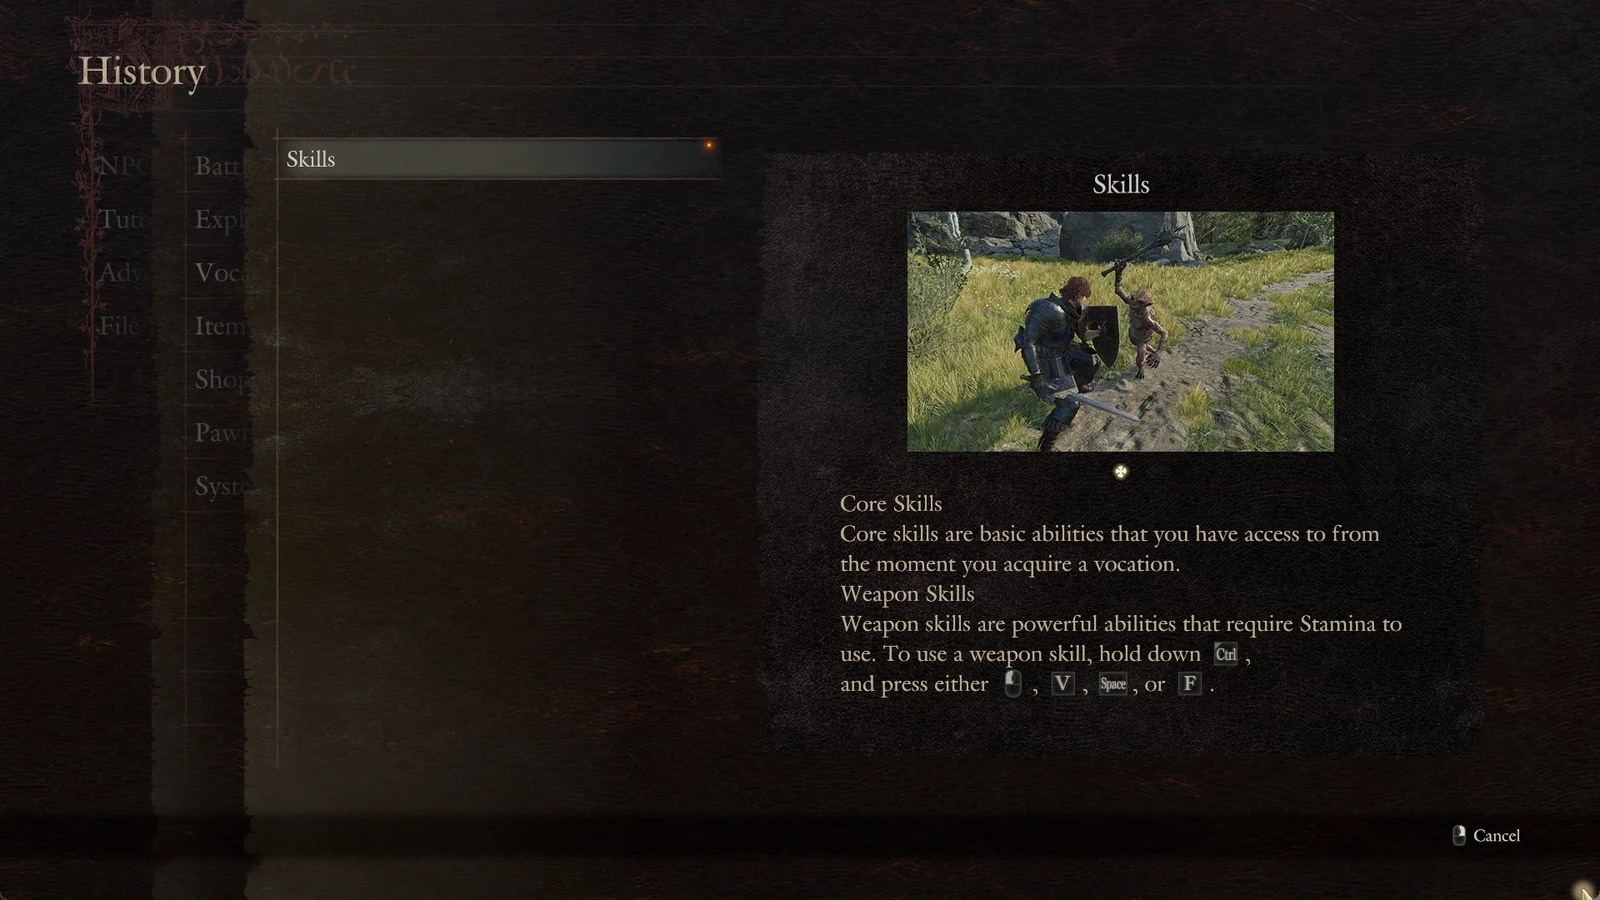
Blackdog fight: Attacks, weakness, and immunities
The blackdog is a Beast shaped like a wolf but far bigger than a direwolf. Its dark fur is wrapped in blue-violet flame, small blue wisps drift around it, and an unnamed magenta health bar sits over its head. Once the aura is down, it’s weak to Holy and resists Fire. That makes Holy your best follow-up damage and Fire your worst.
Don’t bother with status effects. The blackdog is immune to Blighted, Sleep, Caught Fire, Drenched, Tarred, Frostbite, Unconscious, and Silence.
It covers ground fast. Expect it to bound across the basin, call violet lightning down on one target, and release blue-violet energy bursts when it lunges or lands. Up close, it bites and swipes. The fight follows a steady rhythm:
- Break the aura with Holy light.
- Spend your saved Stamina and strongest skills while the shield is down.
- Back off once the aura returns, and heal from the item menu during that downtime.
- Call “To me!” if your party gets spread out across the hollow.
Melee players can grab onto the blackdog’s neck or back. Hanging on keeps you out of the way of most of its attacks while you keep hitting.
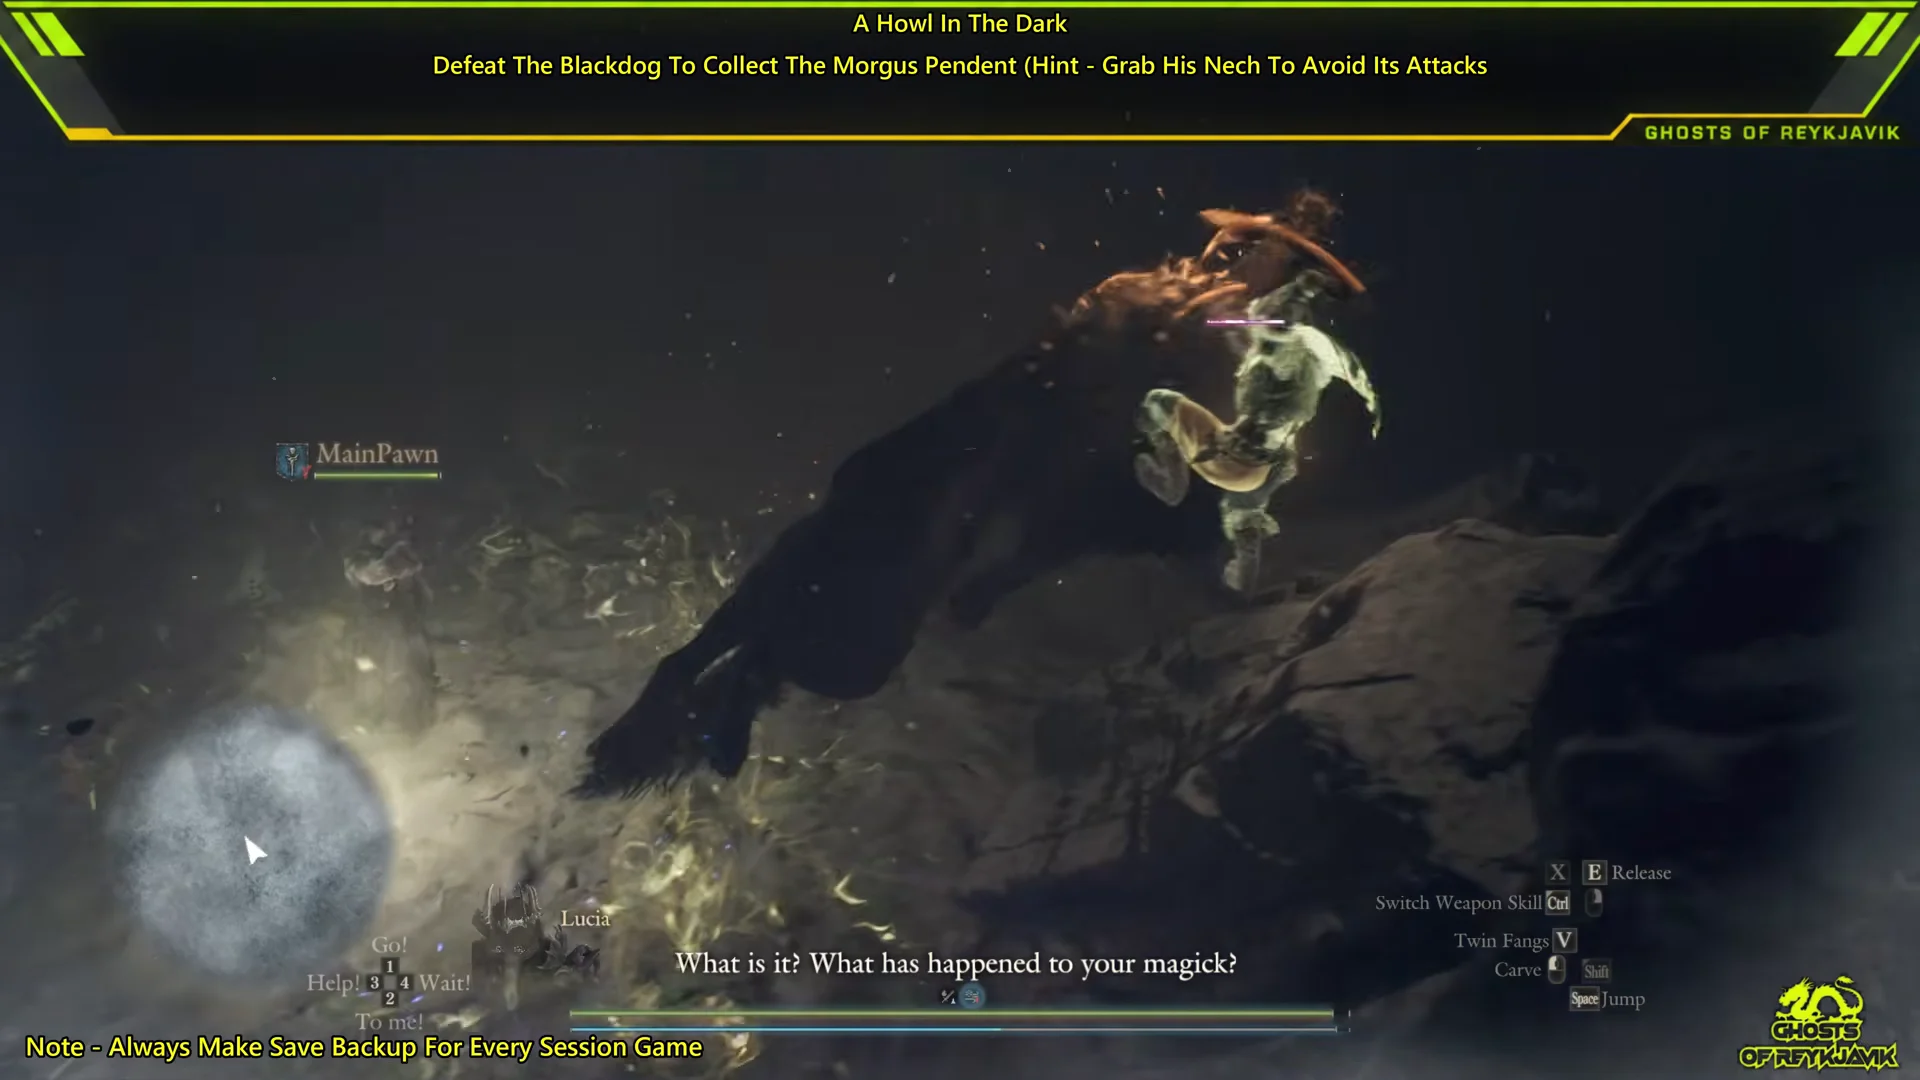
Ranged builds such as the Magick Archer can fire from the rocky ledges while the pawns fight below. Just don’t treat a ledge as fully safe, because the blackdog can leap onto a high outcrop and go after an archer camped there.
Blackdog drops and the Fallen Pendant
When the blackdog dies, it goes out in a big flash and leaves its body in the basin. Walk over and use “Examine” to collect the loot. Picking up the Fallen Pendant, a pendant with a torn cord, changes the log to “You reclaimed Morgus’s pendant from the blackdog.” and then “Return the pendant to Morgus.”
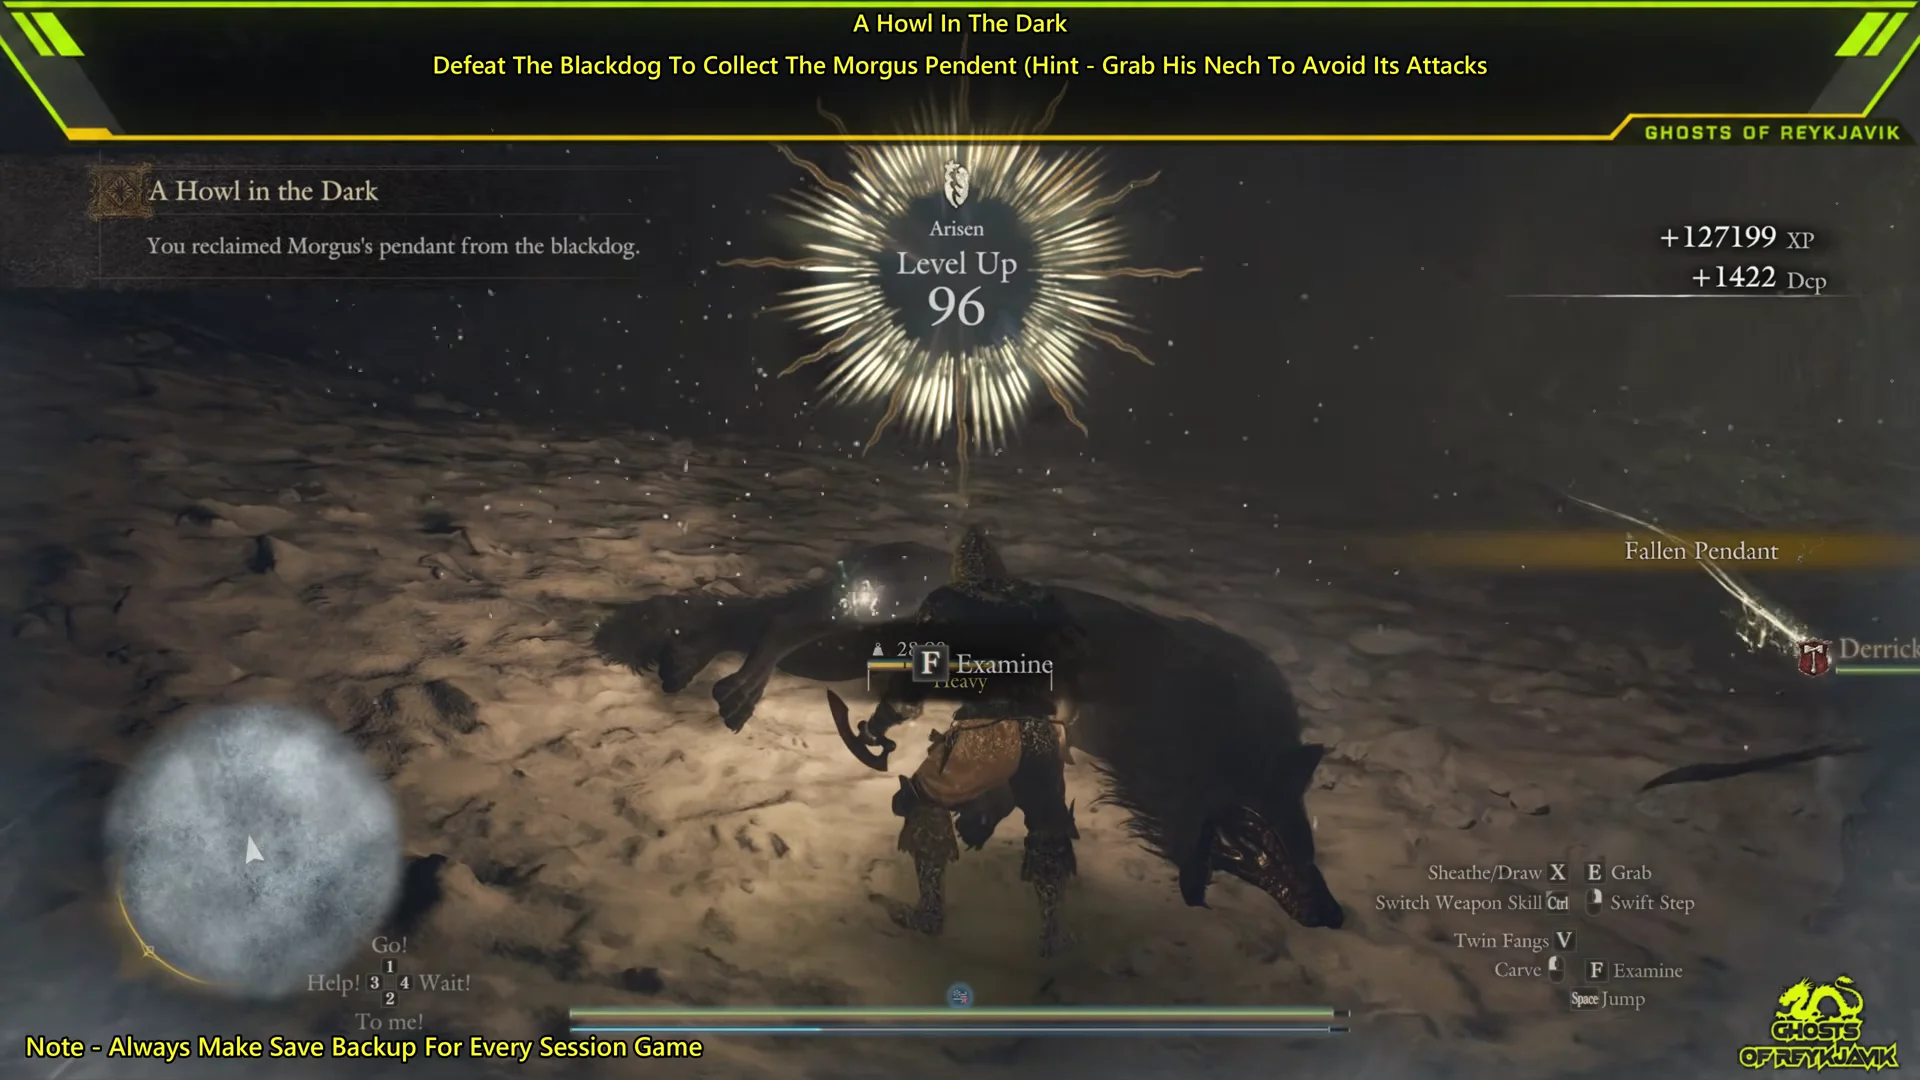
| Drop | Type | Use |
|---|---|---|
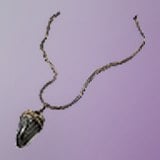 Fallen Pendant | Quest item | Deliver to Morgus |
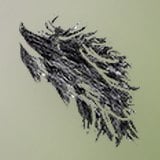 Spectral Beast’s Fur | Material | Forges the Nightshade Pelisse |
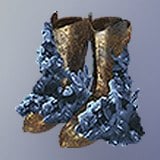 Spoils: Lv 3, Ancient Greaves | Spoils | Appraise for leg armor |
| Other Lv 3 Spoils (weapons, helm) | Spoils | Appraise for gear |
 Norgan Ducat | Currency item | Trade value |
 Tiger Eye | Material | Crafting |
 Allheal Elixir | Curative | Full heal and debilitation cure |
Spoils aren’t fixed. Lv 3 Light Weaponry, Ancient Helm, and Bow/Staff spoils have all dropped from the body alongside the greaves. Hold onto the Allheal Elixir. It refills Health and Stamina and clears every active debilitation in one go.
Spectral Beast’s Fur only drops from blackdogs. It weighs 0.1 kg, stacks to 99, and can be given as a gift. It sells for 4,000 G, costs 12,000 G to buy, and forging the Nightshade Pelisse with it carries a 14,400 G forgery fee.
Appraising Spoils: Lv 3, Ancient Greaves costs 25 RC. It turns into one of five leg armor pieces: Coldmarch Cuisses, Infiltrator’s Hosen, Snowskip Skirt, Two-Tone Chausses, or Stormproof Boots. The result has two special skill slots, drawn from a pool of 20 skills that includes Extended Dash, Hill Strider, Wind Rider, Spectral Feint, and several Health, Stamina, and elemental resistance boosts. Unappraised, it trades for 35 RC or sells for 700 G.
Return the Fallen Pendant to Morgus
You can walk back if you like. If you’re still out at night, the hut bench will skip you to morning.
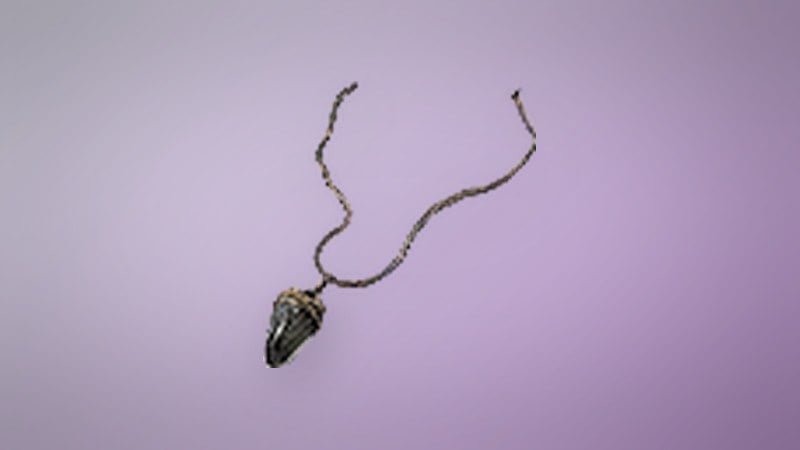
You’ll know it worked when “You returned the pendant to Morgus” appears, followed by +55,000 XP, 30,000 G, and “Completed: A Howl in the Dark.”
Backing out of the Deliver screen without handing over the pendant leaves the quest open. Talk to Morgus again to finish the delivery.
Once you reach the middle of Soul Searching, Morgus and the rest of the commission move to Lorade Castletown. The log may first tell you to “Make for Lorade Castletown with the commission” or “Track down the commission soldiers.” Follow whichever prompt shows up, then hand over the pendant. If Morgus still isn’t there, finishing Soul Searching brings him back to camp.
A Howl in the Dark quest log stages and rewards
The quest has six stages in total. Some of them only show up if the commission moves while you’re still holding the pendant.
| Quest log objective | When it appears |
|---|---|
| Use the spirit compass to track the beast | When you accept the quest |
| Defeat the blackdog | When the blackdog appears |
| Track down the blackdog and defeat it | When the spirit compass can’t guide you |
| Return the pendant to Morgus | After you loot the pendant |
| Join the commission on its trip to Lorade Castletown. | While the commission is relocating |
| Track down the commission soldiers | After they leave the castletown campground |
| Quest | Type | XP | Gold |
|---|---|---|---|
| Sticks and Stones (prerequisite) | Forsaken Dominion side quest | 3,000 | 10,000 |
| A Howl in the Dark | Forsaken Dominion side quest | 55,000 | 30,000 |
Sticks and Stones also gives you a Sunstone and a Molten Ore. A Howl in the Dark pays only XP and gold, plus whatever the blackdog drops. Jiera and Hal are tied to the quest along with Morgus, and Morgus remains a shop NPC at the commission camp after you’re done.