
Network drives let you access shared folders and files from other computers or servers directly through your own PC. Mapping a network drive so it shows up in the regular PC Drive section within File Explorer simplifies navigation and makes it easy to work with remote files as if they were stored locally. This process is especially useful for teams sharing resources or for accessing files stored on a home NAS (Network Attached Storage) device.
Mapping a Network Drive Using File Explorer
Step 1: Open File Explorer by pressing Windows + E or by clicking the folder icon on your taskbar.
Step 2: In the left sidebar, select This PC to display your current drives.
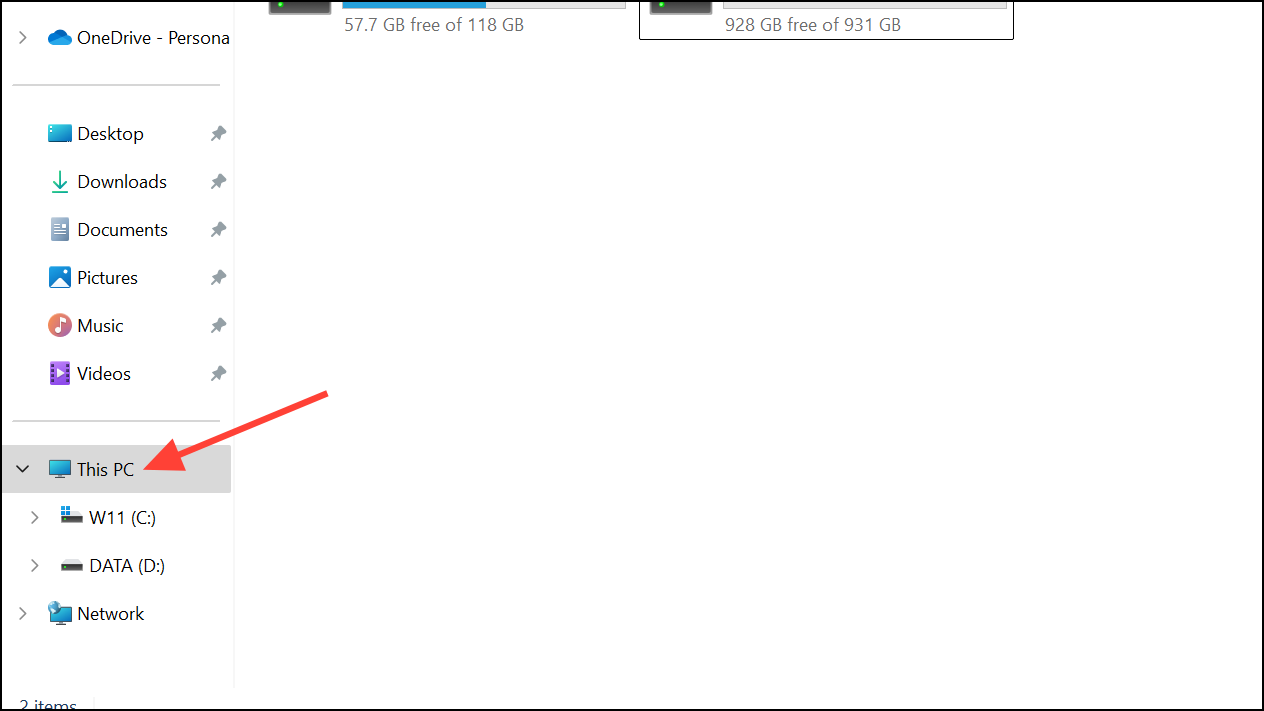
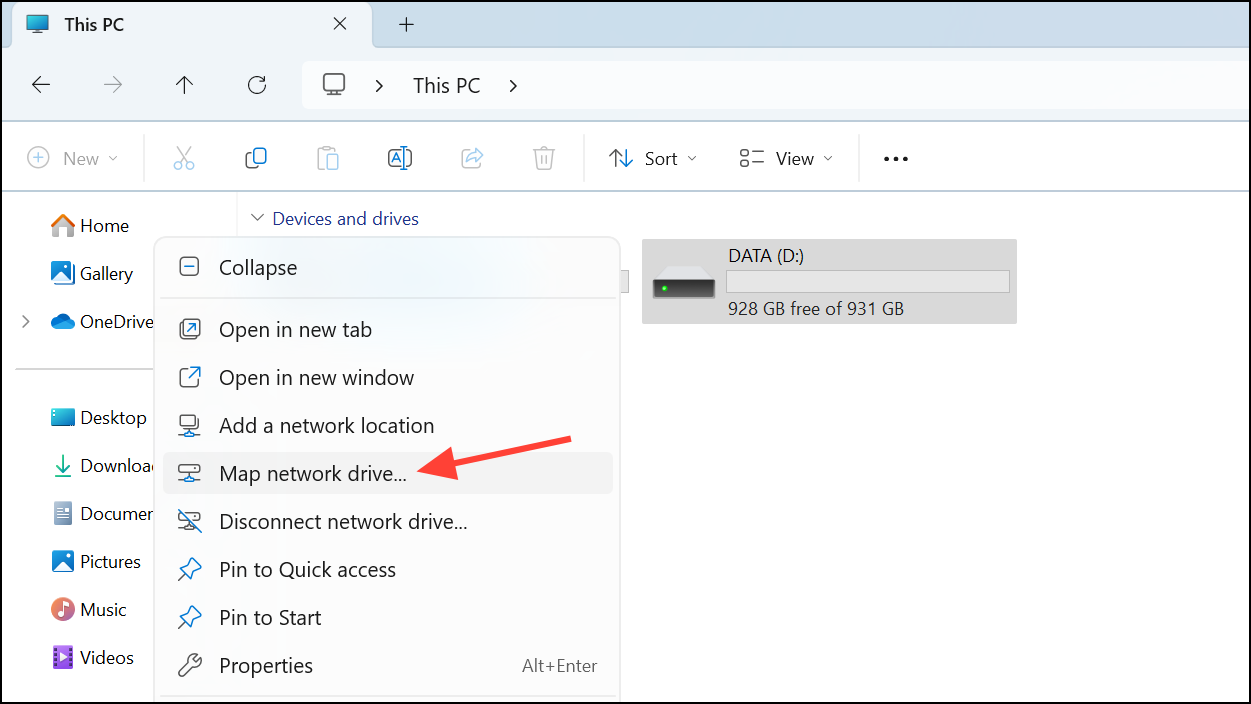
Step 3: Right-click on This PC and select Map network drive. This opens the mapping wizard.
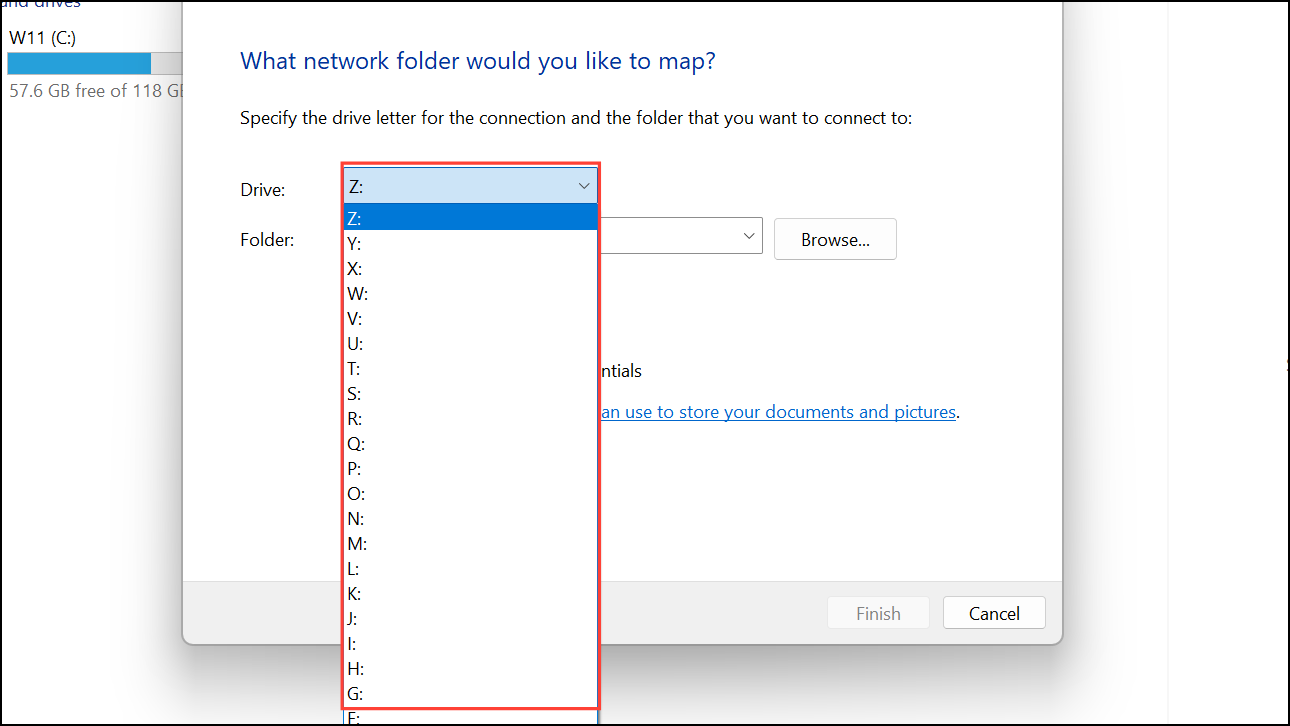
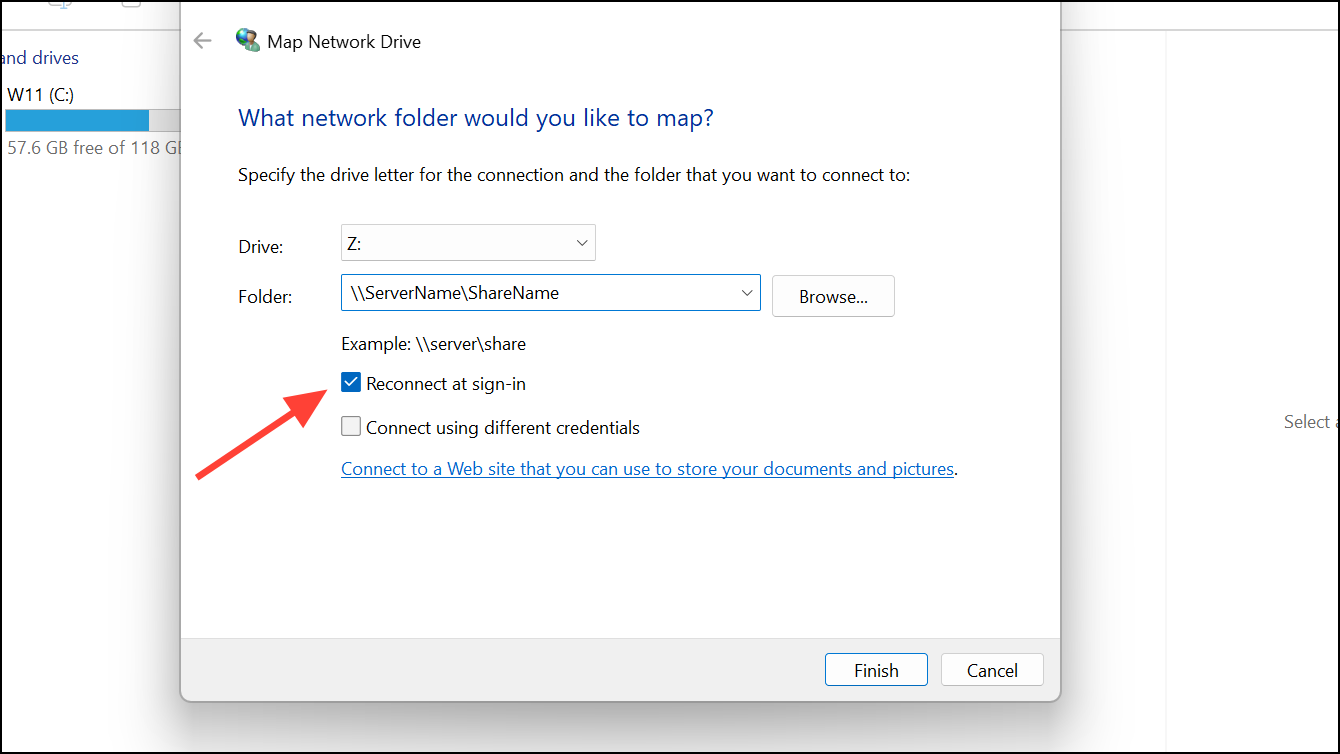
Step 4: Choose a drive letter from the dropdown menu. This letter will represent your network drive and appear alongside your local drives.
Step 5: Enter the network path to the shared folder in the format \\ServerName\ShareName. If you’re unsure of the exact path, ask the network administrator or check the sharing settings on the host device.
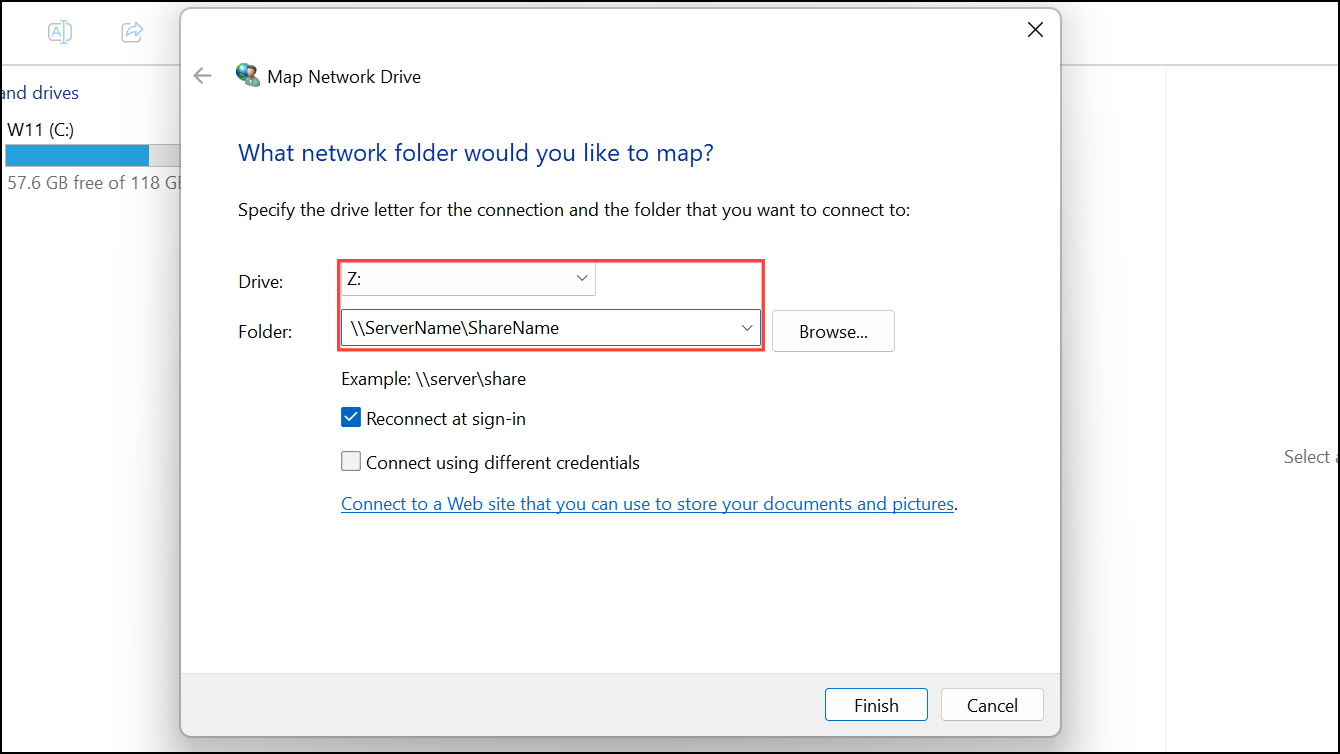
Step 6: If you want the drive to reconnect automatically every time you log in, check the box labeled Reconnect at sign-in.
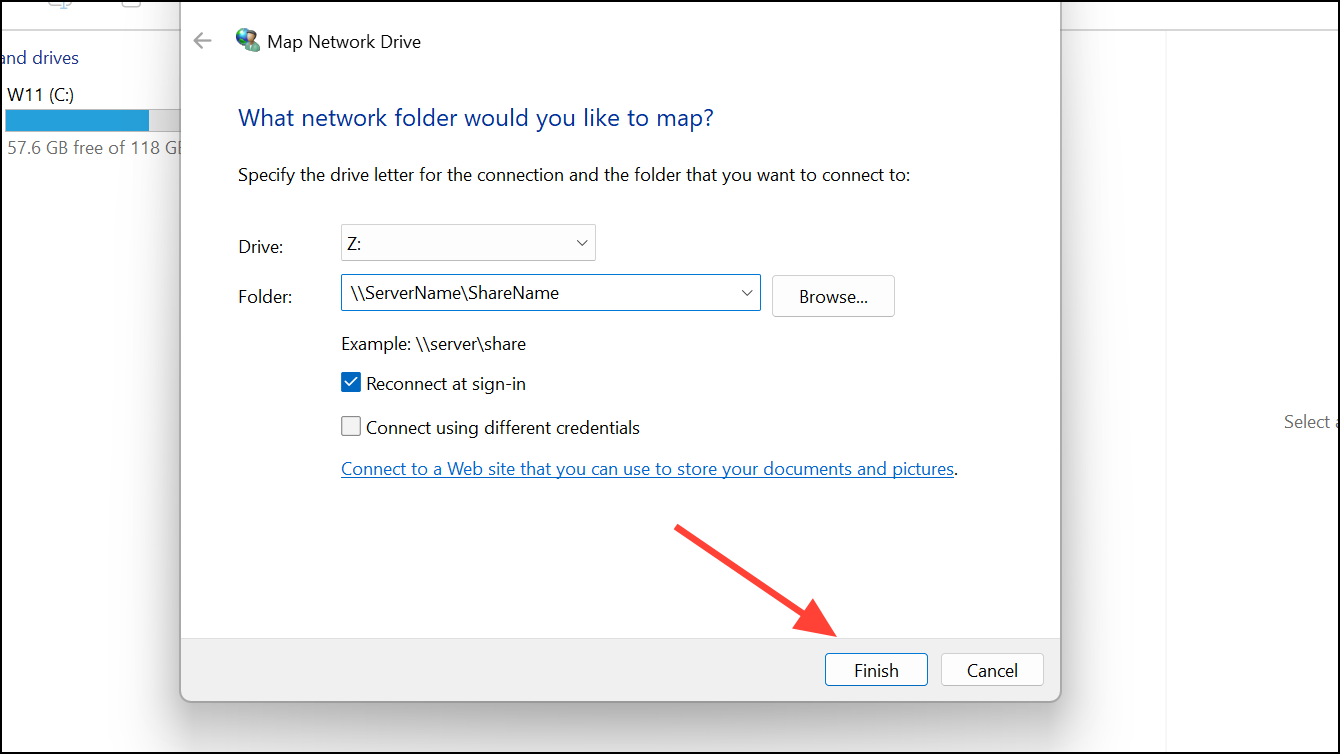
Step 7: Click Finish. If prompted, enter your network credentials. The mapped drive should now appear in the PC Drive section in File Explorer, labeled with the drive letter you chose.
Mapping a Network Drive Using Command Prompt
For advanced users or those who prefer command-line tools, the net use command provides another way to map a network drive.
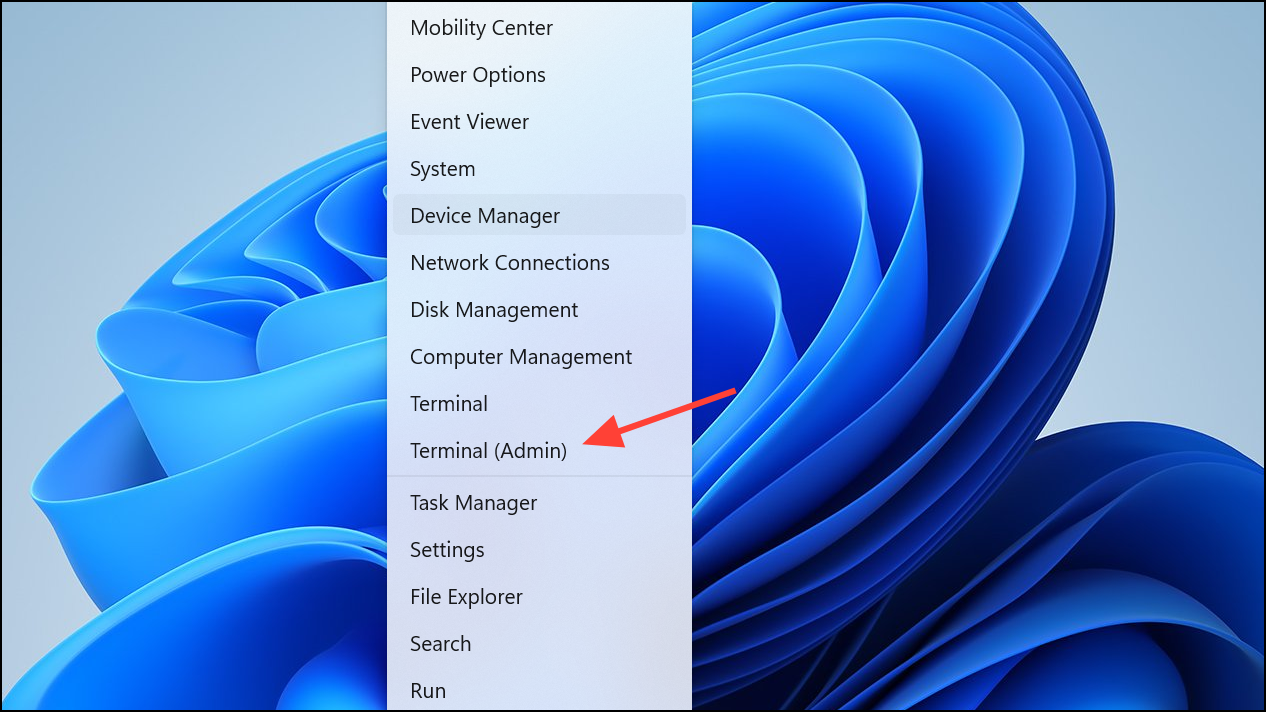
Step 1: Open Command Prompt as an administrator. Right-click the Start button and select Command Prompt (Admin) or Windows Terminal (Admin).
Step 2: Enter the following command, replacing Z: with your preferred drive letter and \\ServerName\ShareName with your network path:
net use Z: \\ServerName\ShareName /persistent:yes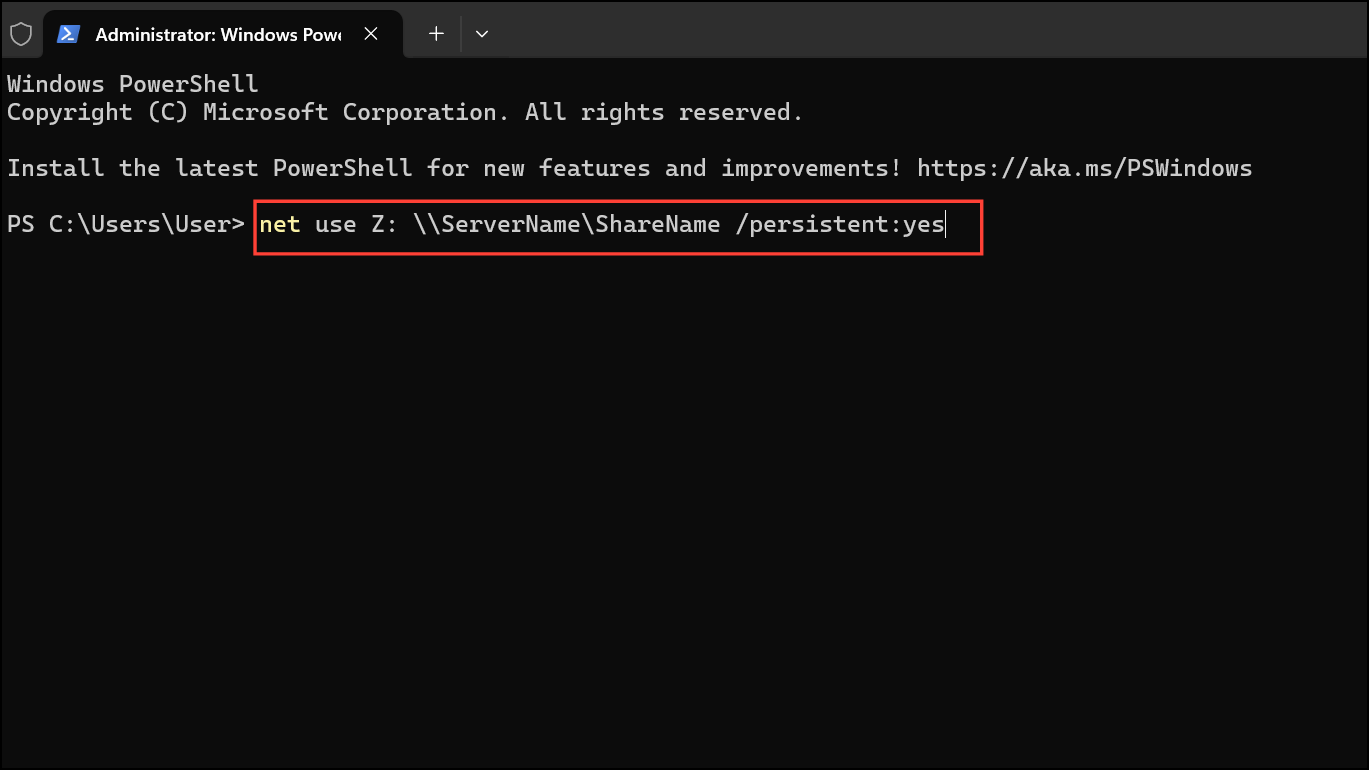
This command maps the network drive and ensures it reconnects at each login. If you need to provide a username and password, add /user:YourUsername at the end of the command.
Step 3: Press Enter. The mapped drive will appear in File Explorer under This PC.
Troubleshooting Network Drive Mapping
Sometimes, mapped drives may not appear as expected due to network issues, incorrect permissions, or credential problems. To resolve these issues:
- Verify that the target device is powered on and connected to the network.
- Ensure you have the correct permissions to access the shared folder.
- Double-check the network path for typos or errors.
- If prompted for credentials, make sure you enter the correct username and password.
- Restart your PC if the drive does not appear after mapping.
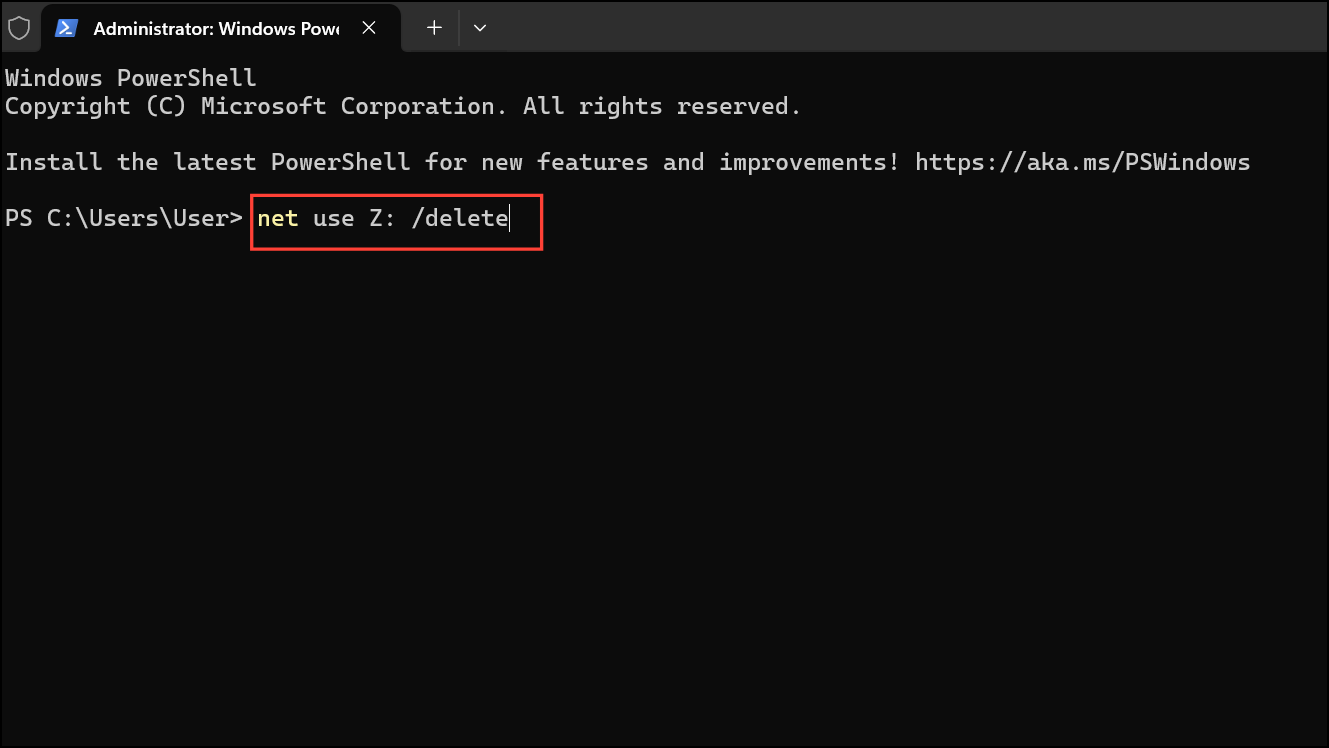
If you need to disconnect a network drive, right-click on its icon in File Explorer and select Disconnect, or use the command net use Z: /delete in Command Prompt, replacing Z: with the appropriate drive letter.
Mapping a network drive keeps your shared resources accessible right from your PC Drive section. Regularly check your network connections and permissions to maintain smooth access to your files.