
Safe Mode in Windows 11 restricts startup to essential drivers and services, making it a vital tool for diagnosing and resolving system problems. By default, entering Safe Mode requires navigating through the recovery environment or using specific key combinations, which can be time-consuming or inaccessible if Windows fails to boot normally. Adding Safe Mode directly to the boot menu simplifies the process, allowing users to select Safe Mode options right from the startup screen without extra steps or repeated reboots.
Add Safe Mode to the Boot Menu Using Command Prompt
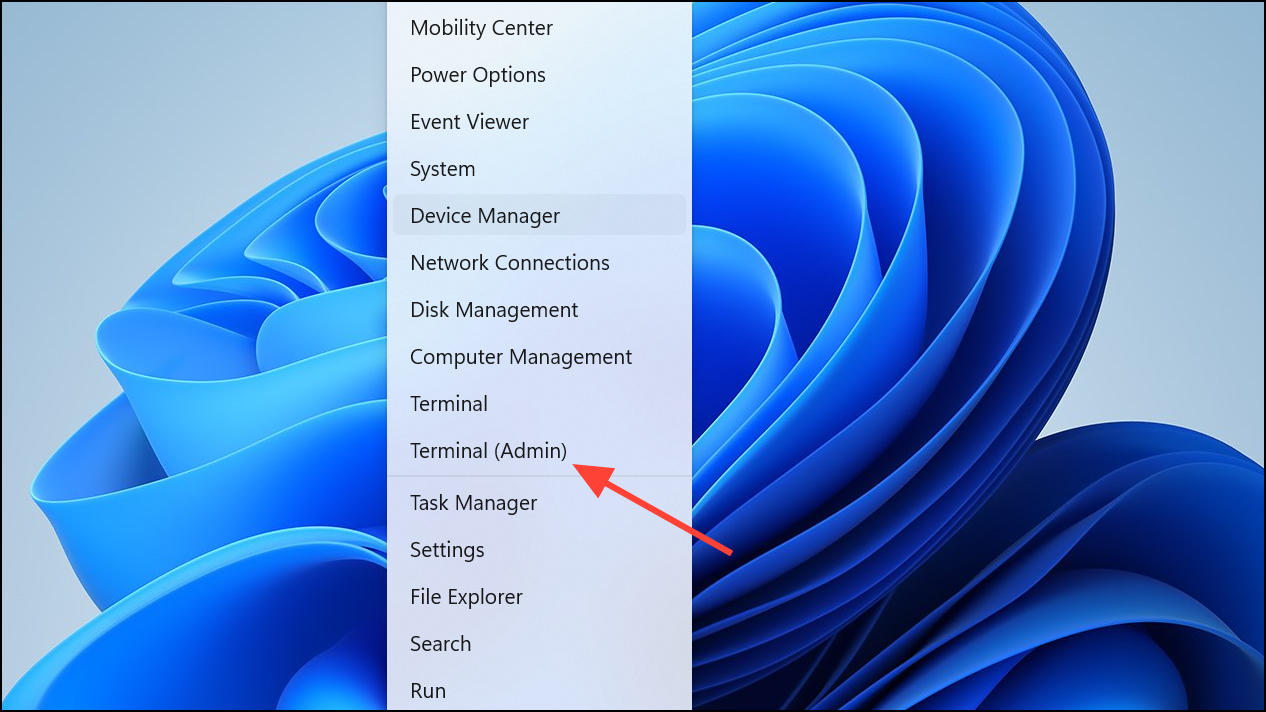
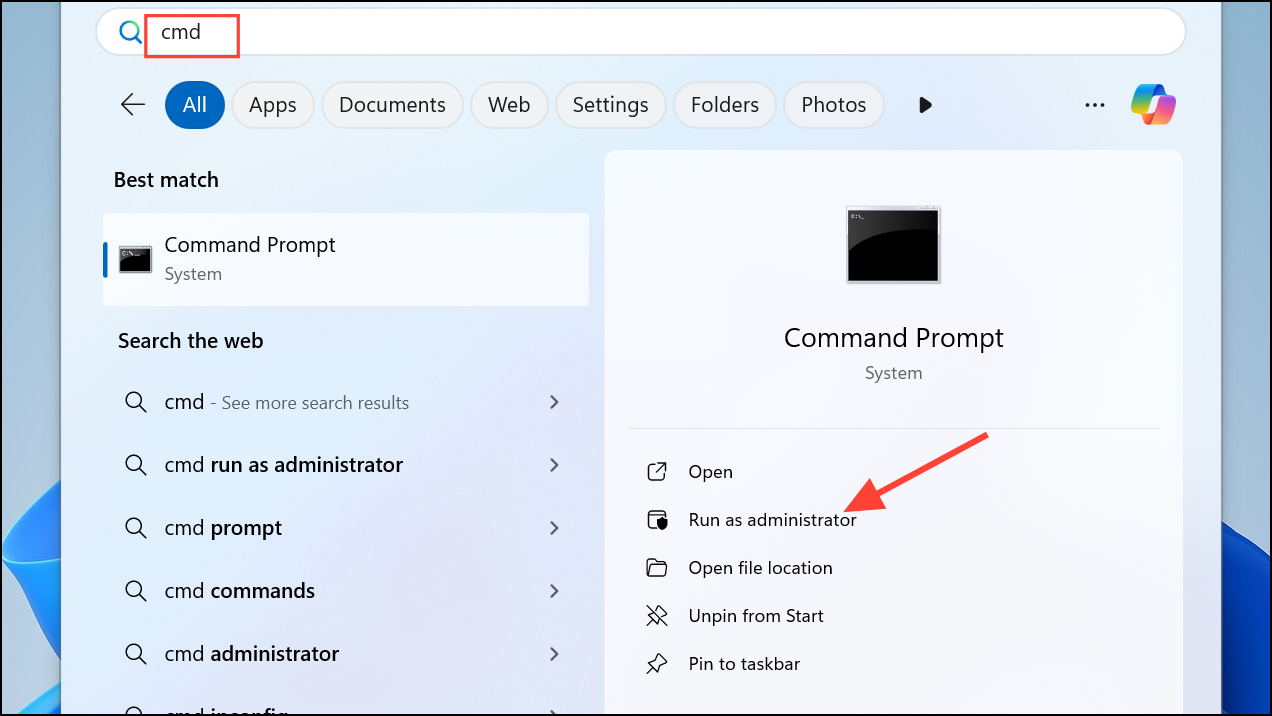
Step 1: Open an elevated Command Prompt. Right-click the Start button and choose Command Prompt (Admin) or Windows Terminal (Admin). This step is necessary because modifying boot options requires administrator privileges.
Step 2: Identify your current Windows boot loader’s identifier. Enter the following command:
bcdedit 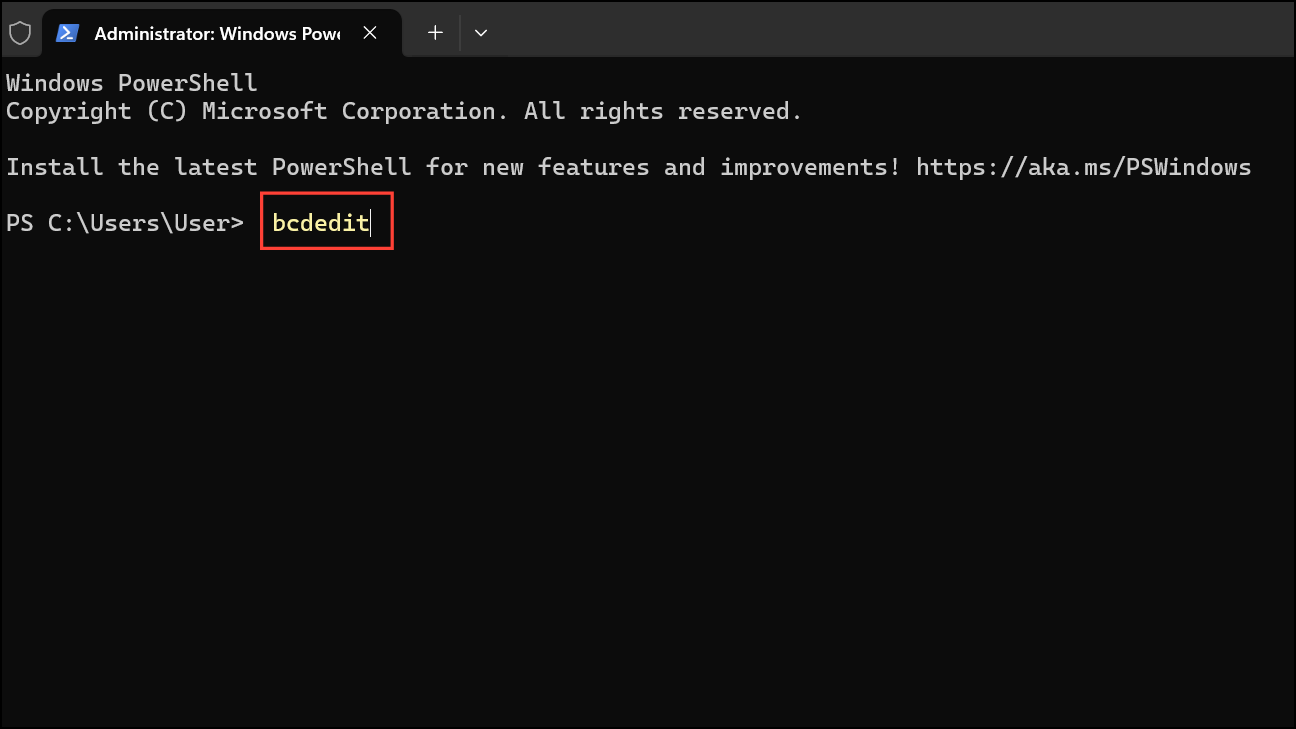
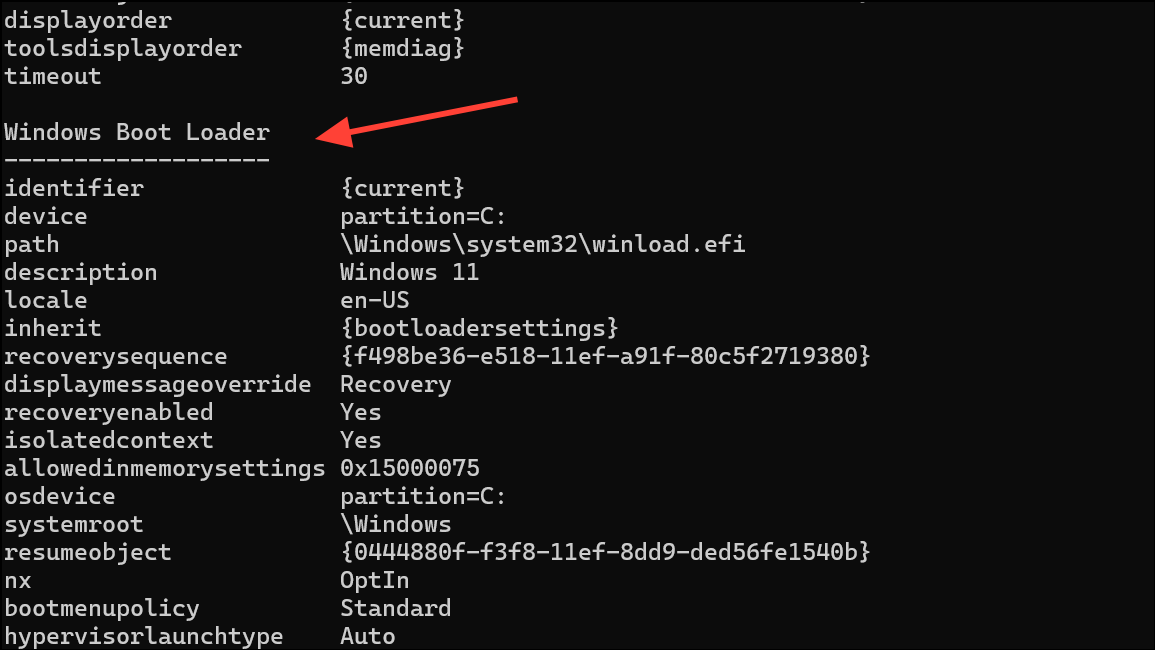
This displays all boot entries. Look under the Windows Boot Loader section for your main Windows 11 installation. Note the value for identifier (commonly {current} or {default}).
Step 3: Create a copy of your boot entry for Safe Mode. Replace {identifier} with your actual identifier from Step 2, and choose a descriptive name. For standard Safe Mode, run:
bcdedit /copy {identifier} /d "Windows 11 Safe Mode" 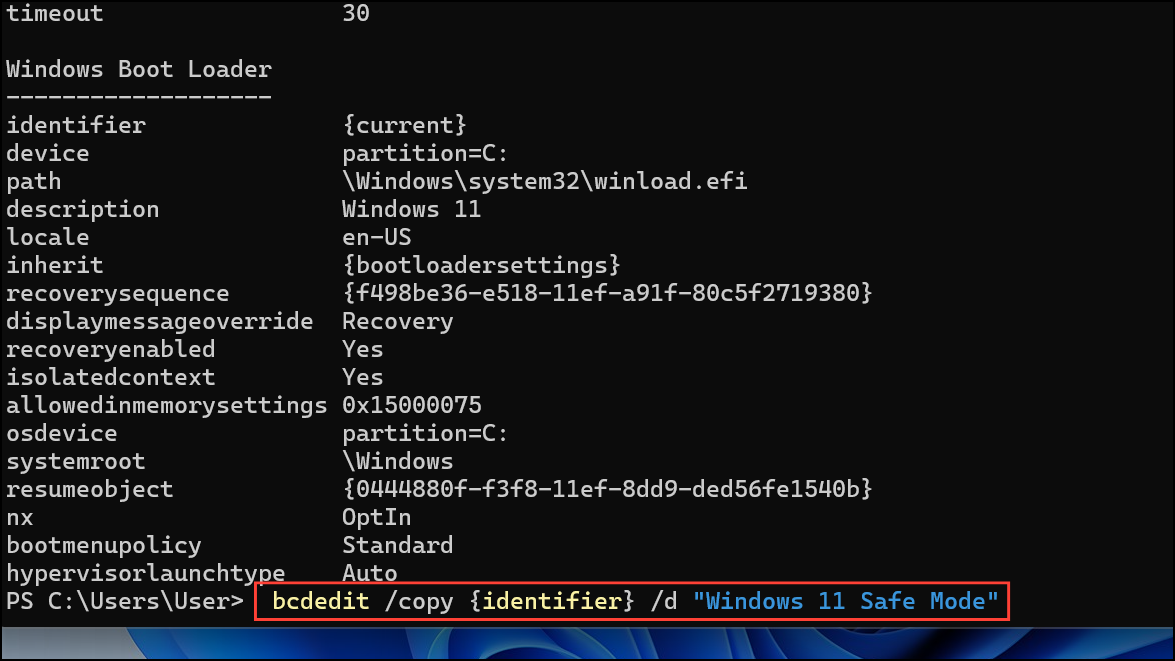
For Safe Mode with Networking, use:
bcdedit /copy {identifier} /d "Windows 11 Safe Mode with Networking" 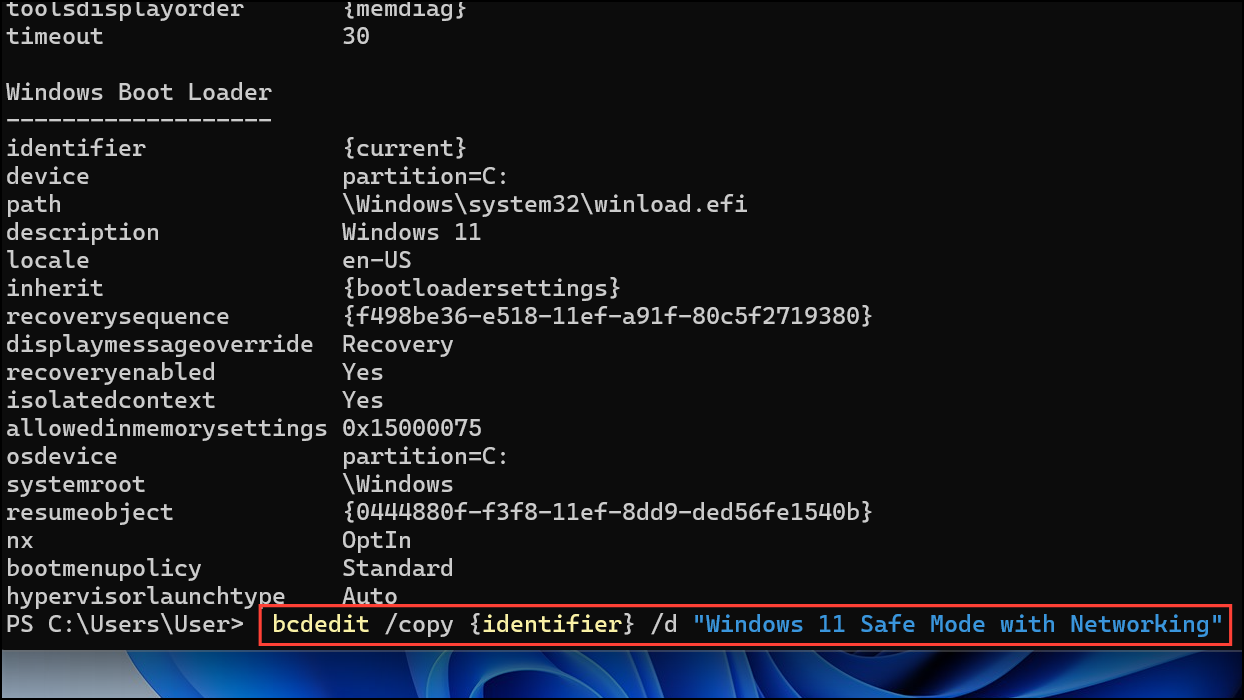
For Safe Mode with Command Prompt:
bcdedit /copy {identifier} /d "Windows 11 Safe Mode with Command Prompt" 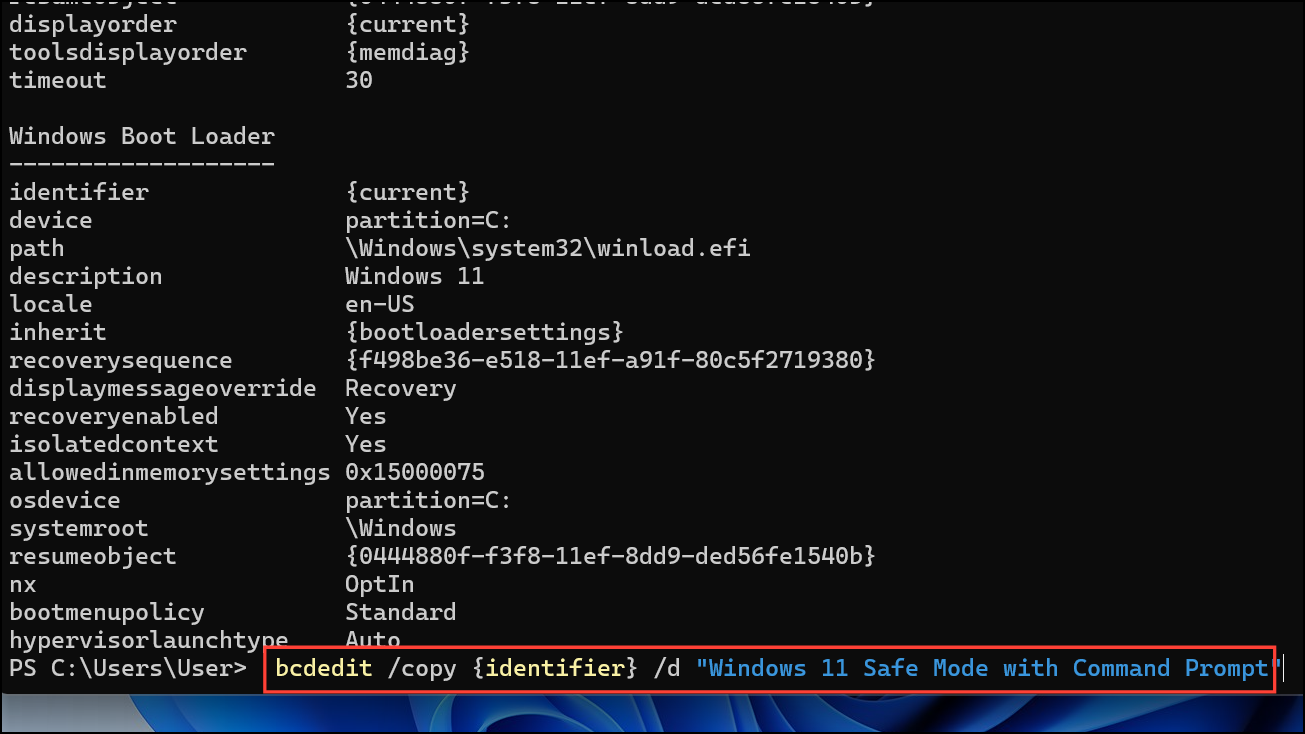
After running the command, note the new identifier returned in the output (e.g., {7c52bbce-ad1e-11ec-82f6-00155d001106}), as you’ll need it for the next step.
Step 4: Set the Safe Mode type for the new boot entry. Use the new identifier from Step 3 and run the appropriate command:
For Safe Mode with Command Prompt:
 bcdedit /set {new-identifier} safeboot minimal
bcdedit /set {new-identifier} safebootalternateshell yes 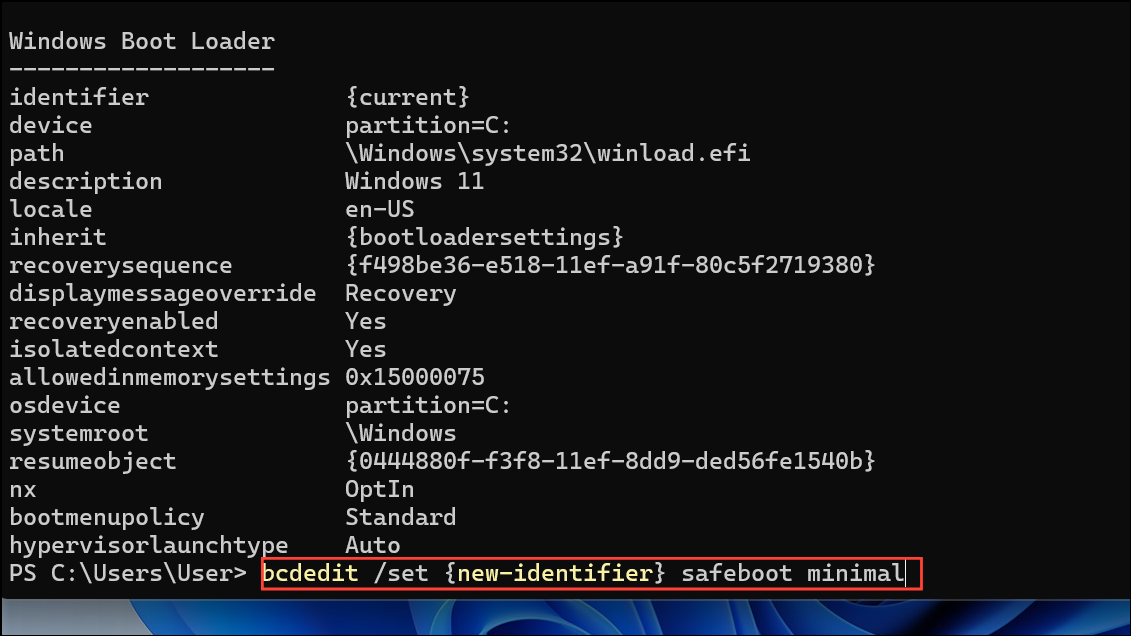
For Safe Mode with Networking:
bcdedit /set {new-identifier} safeboot network 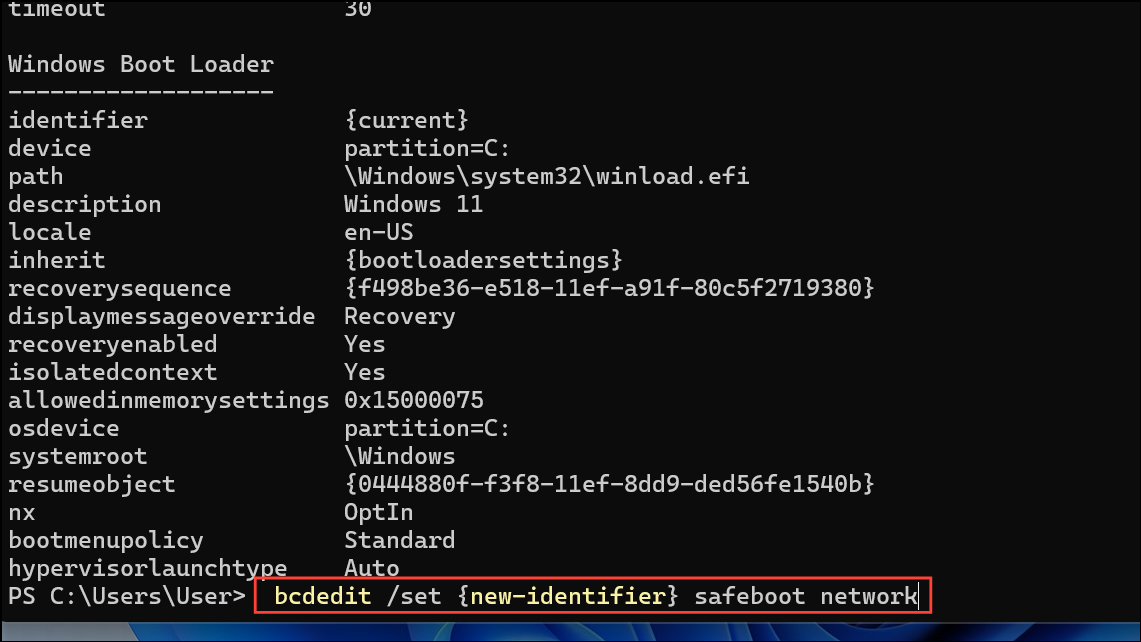
For standard Safe Mode:
bcdedit /set {new-identifier} safeboot minimal 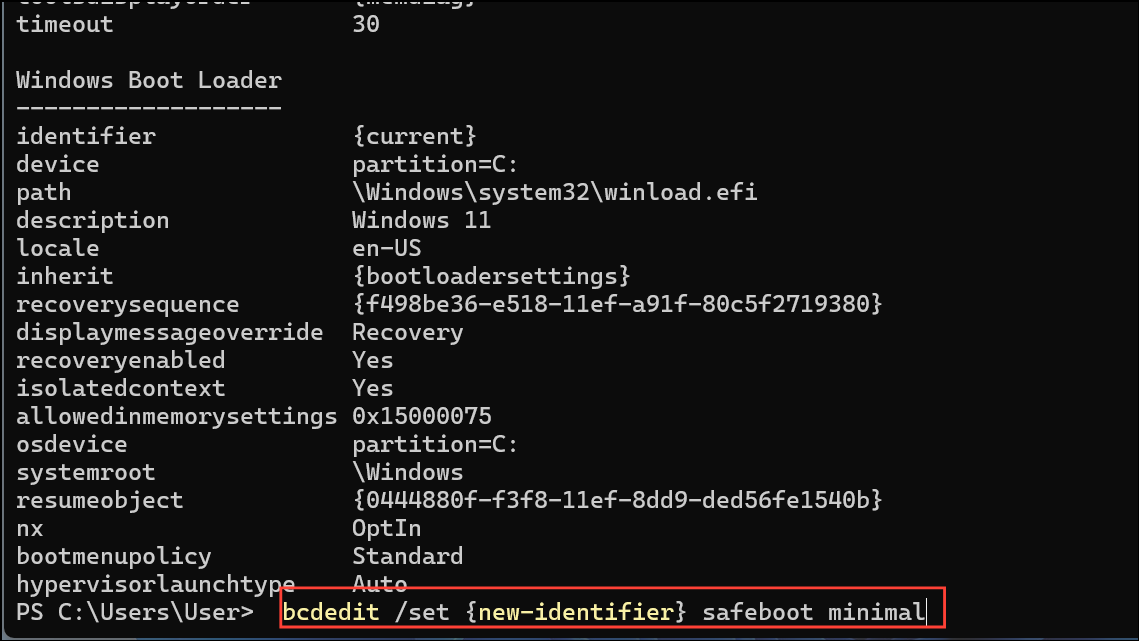
This configures the new boot entry to launch Windows in the selected Safe Mode configuration.
Step 5: (Optional) Adjust the boot menu timeout if you want to increase the time the menu is displayed during startup. By default, it may be set to zero, causing the menu not to appear. To set a 10-second delay, run:
bcdedit /timeout 10 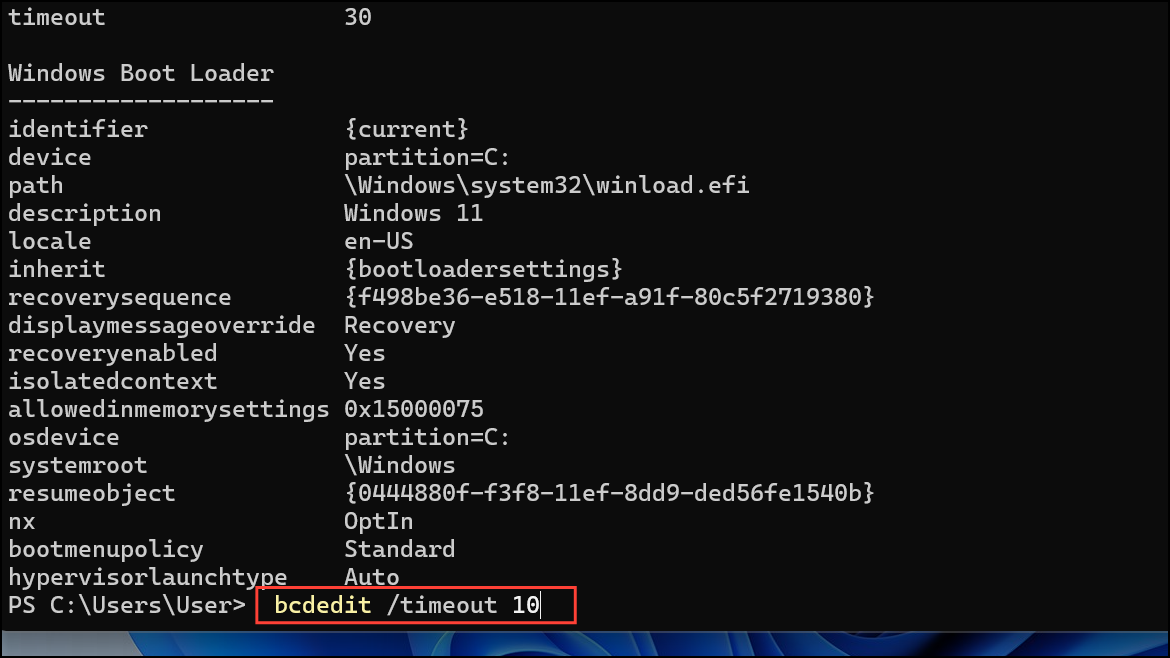
This ensures you have time to select the desired boot option when starting your PC.
Step 6: Restart your computer. On boot, the "Choose an operating system" screen will display the new Safe Mode entries alongside your standard Windows 11 boot option. Select the appropriate Safe Mode entry using your keyboard or mouse to boot directly into that mode.
Remove Safe Mode from the Boot Menu
If you later decide to remove the Safe Mode entries from your boot menu, repeat Step 1 to open an elevated Command Prompt. Then list all boot entries:
bcdedit Find the identifier for the Safe Mode entry you wish to remove (e.g., {7c52bbce-ad1e-11ec-82f6-00155d001106}). Run the following command to delete it:
bcdedit /delete {identifier} 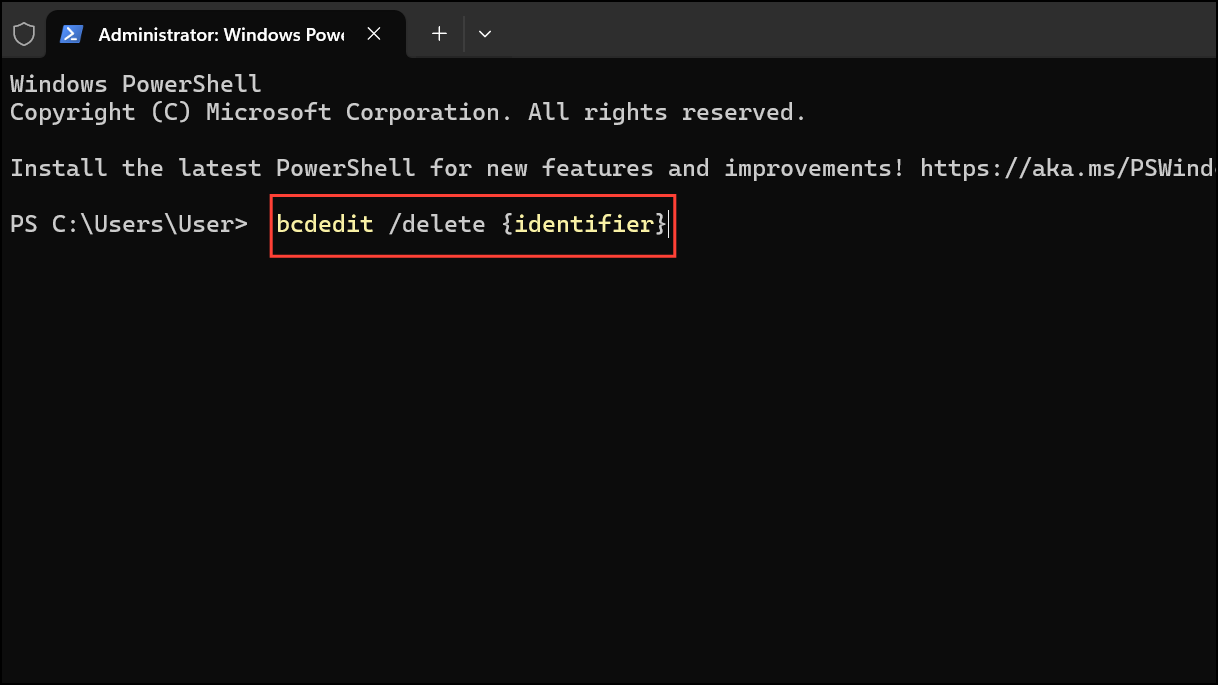
This will remove the Safe Mode option from your boot menu.
Alternative Methods for Accessing Safe Mode
Using System Configuration (msconfig)
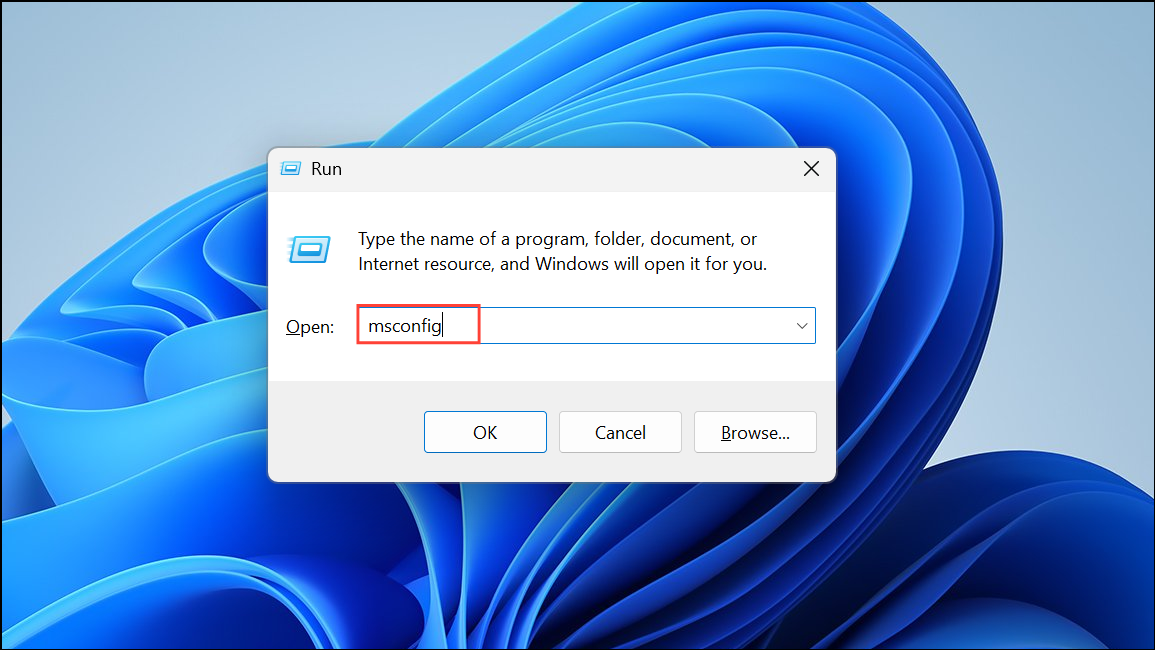
For users who prefer a graphical interface, the System Configuration tool, also known as msconfig, provides another way to set Windows to boot into Safe Mode.
Step 1: Press Windows + R to open the Run dialog, type msconfig, and press Enter.
Step 2: In the System Configuration window, switch to the Boot tab. Under "Boot options," check the Safe boot box. You can select additional options, such as Network for Safe Mode with Networking or Alternate shell for Safe Mode with Command Prompt.
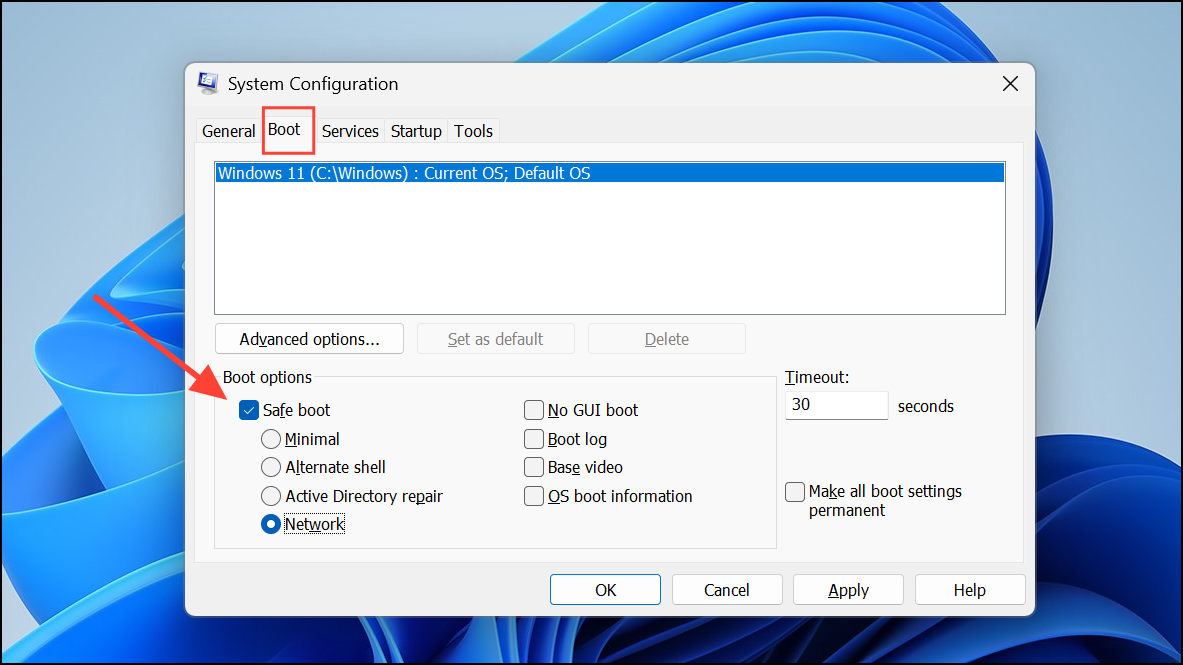
Step 3: Click OK and restart your computer. Windows will boot directly into the selected Safe Mode configuration.
Step 4: To return to normal boot, repeat the process and uncheck Safe boot in msconfig, then reboot.
Enable Legacy F8 Boot Menu
Windows 11 disables the classic F8 key boot menu by default, but you can restore it for quick access to advanced startup options.
Step 1: Open an elevated Command Prompt.
Step 2: Enter the following command and press Enter:
bcdedit /set {default} bootmenupolicy legacy 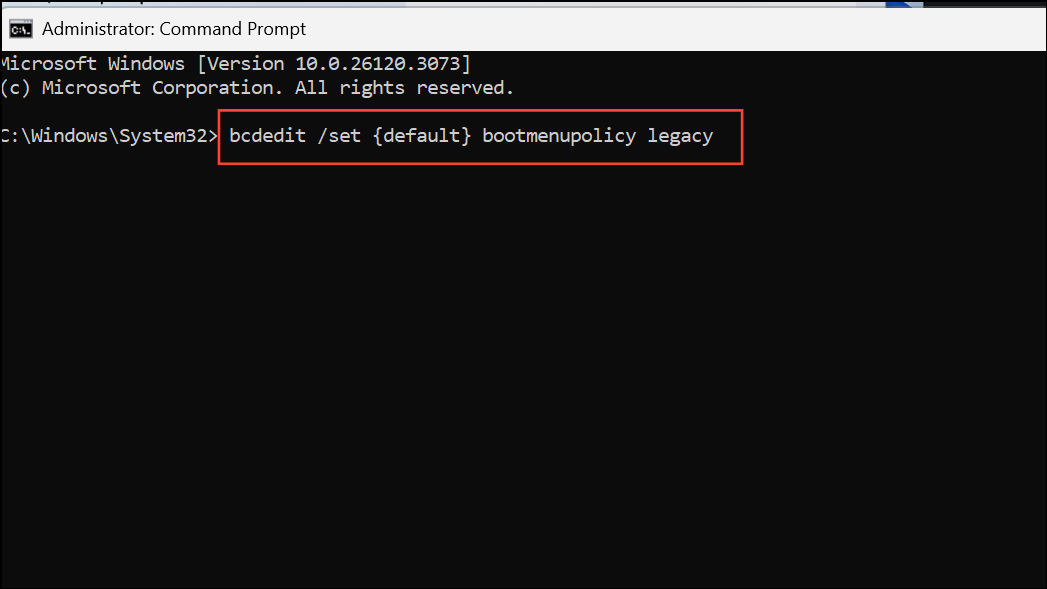
This enables the legacy text-based boot menu. On startup, repeatedly press F8 to access Safe Mode and other options.
Step 3: To revert to the standard Windows 11 graphical boot menu, run:
bcdedit /set {default} bootmenupolicy standard 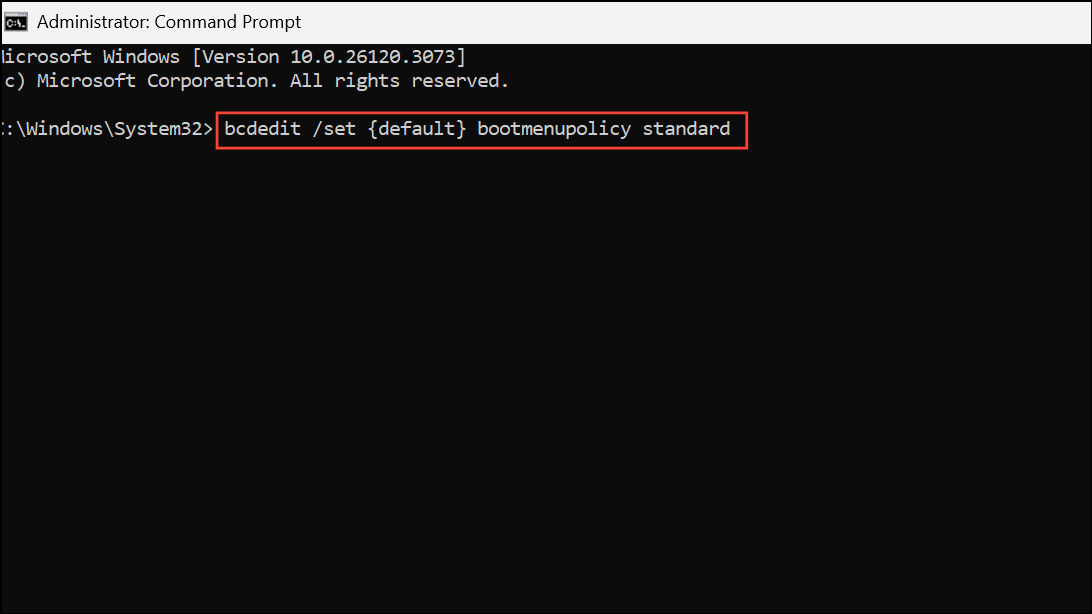
Accessing Safe Mode When Windows Fails to Boot
If Windows 11 cannot boot normally, it will attempt to launch the Windows Recovery Environment (WinRE) after three consecutive failed startups. To trigger this manually, power on your PC and, as soon as you see the Windows logo, hold the power button to force shutdown. Repeat this process three times. On the next startup, Windows will enter WinRE.
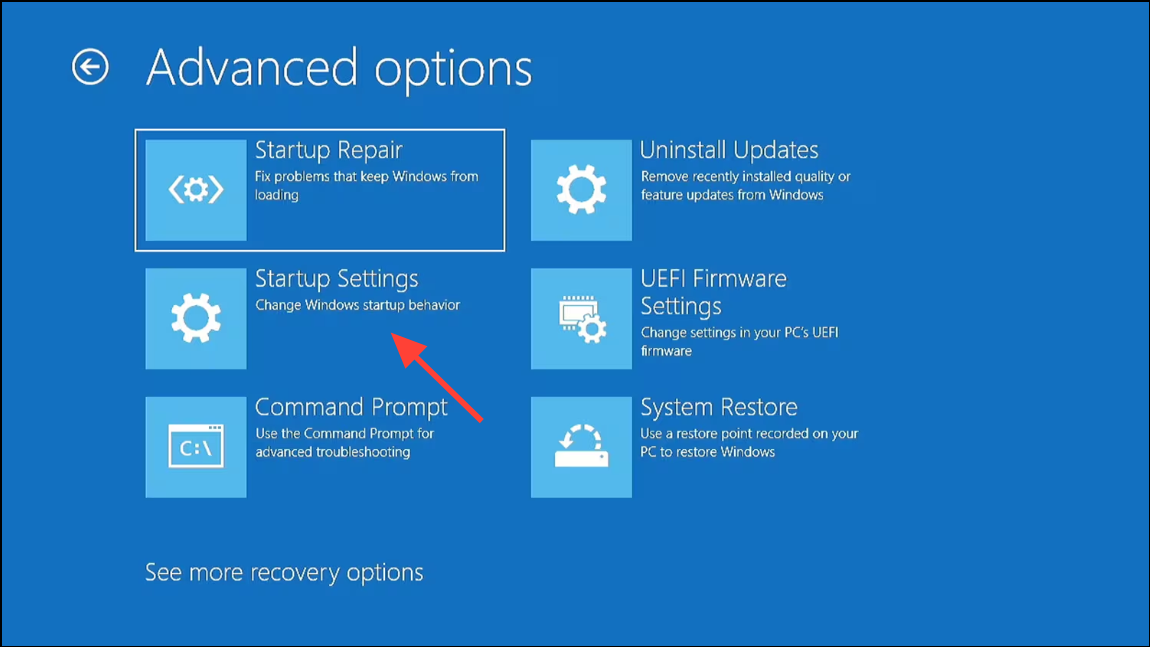
In WinRE, select Troubleshoot > Advanced options > Startup Settings > Restart.
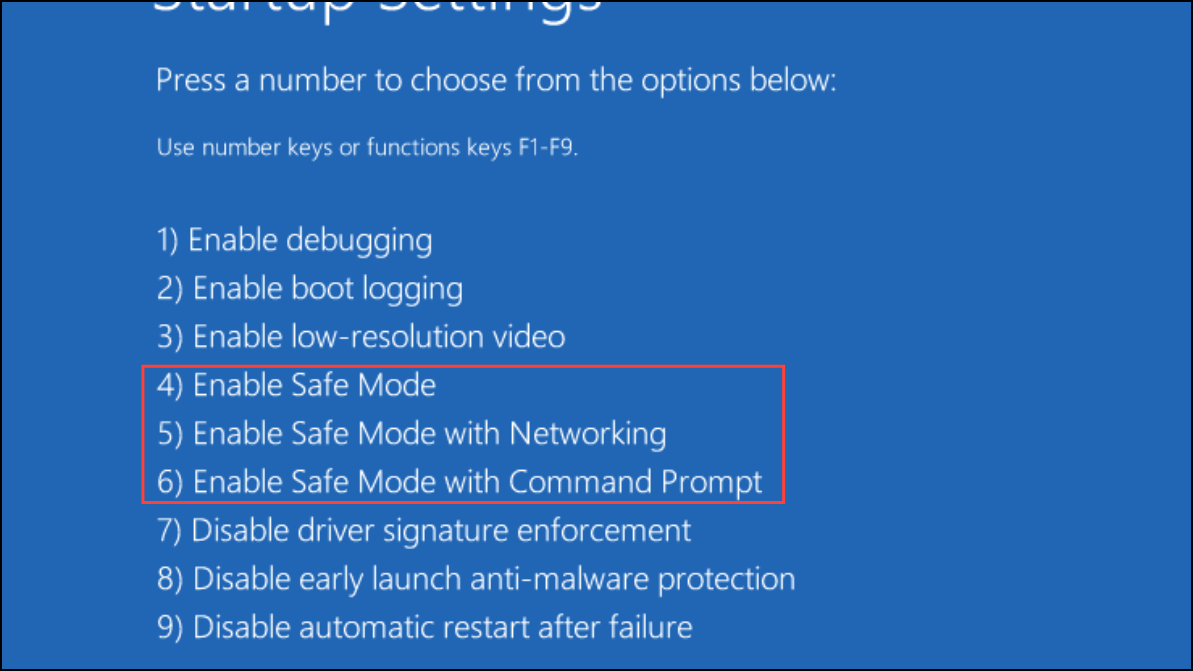
After your PC restarts, a menu will appear. Press 4 or F4 for Safe Mode, 5 or F5 for Safe Mode with Networking, or 6 or F6 for Safe Mode with Command Prompt.
Adding Safe Mode to the boot menu in Windows 11 provides a reliable, accessible way to troubleshoot startup issues without relying on complicated key sequences or repeated reboots. This setup streamlines recovery and makes system repair much more straightforward.