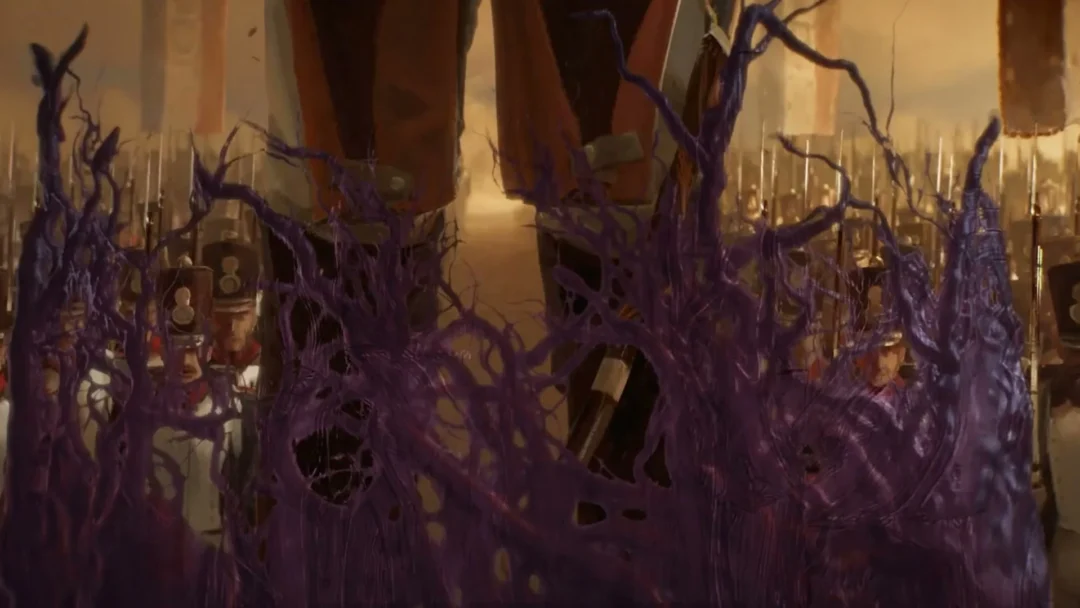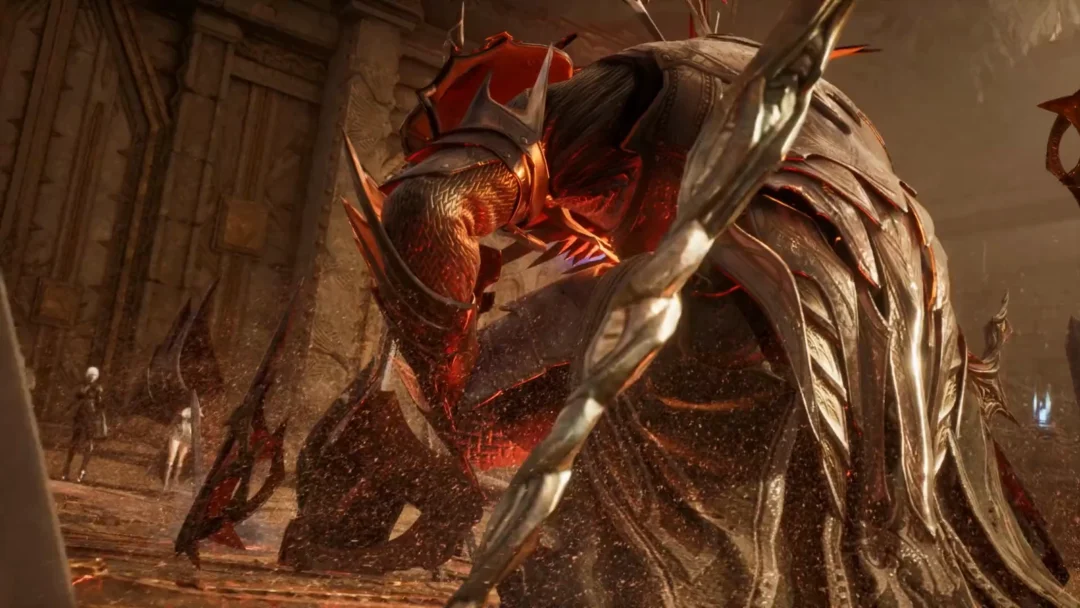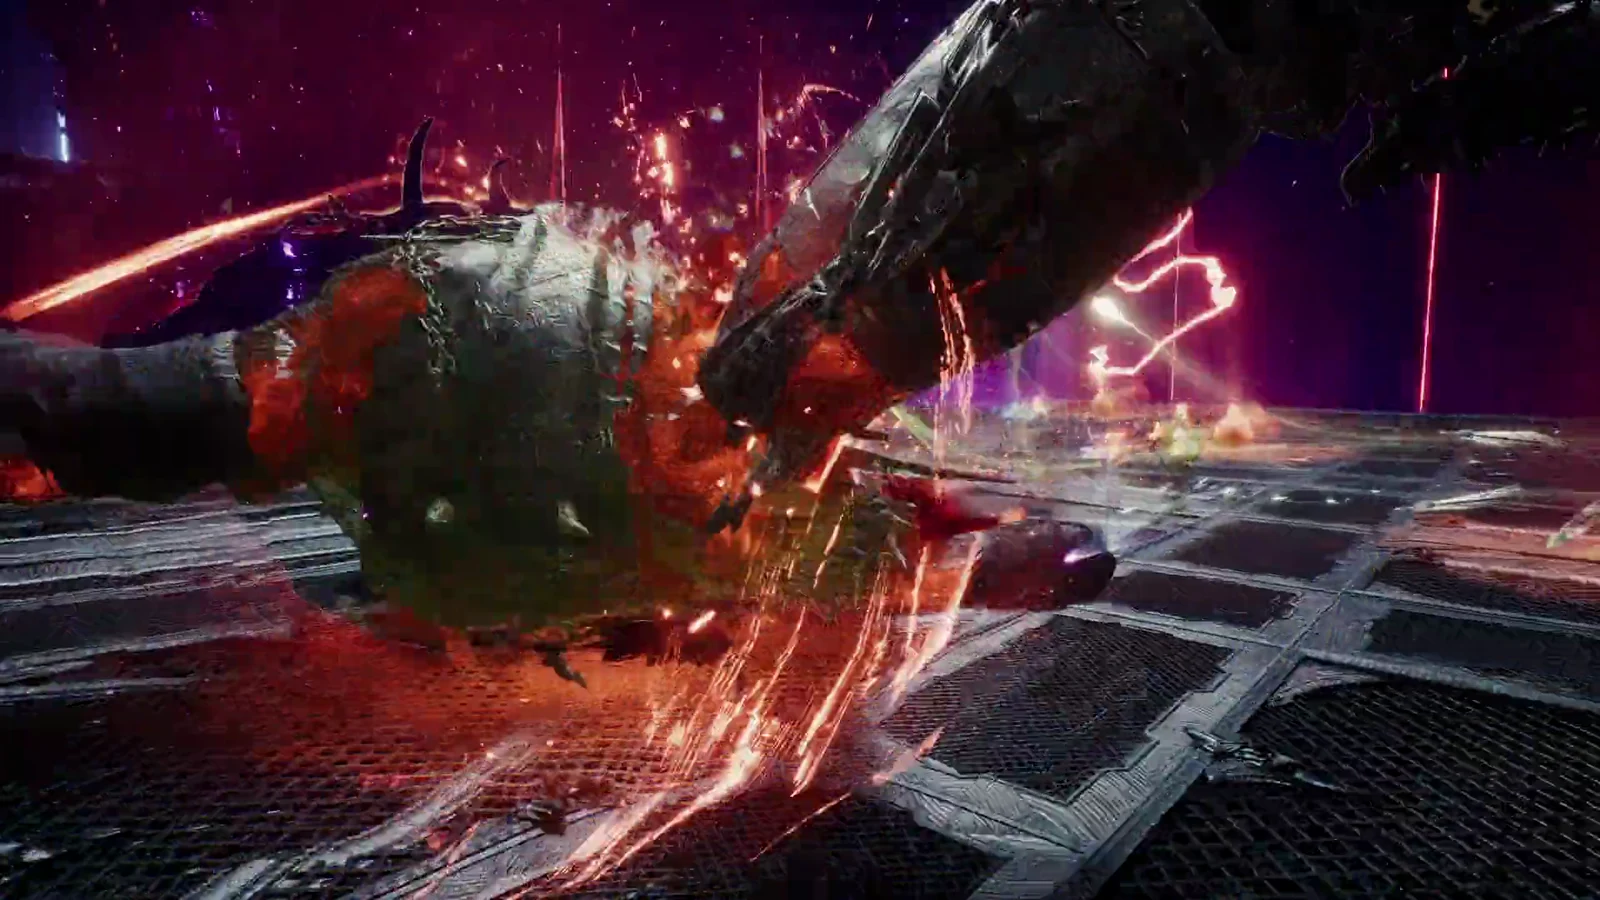
Deus Research Base is one of the two Transcendence dungeons available in Aion 2 at launch, a floating complex built by Atheron over the storms that batter the Abyss. It runs across four difficulty stages, and Stage 3 sits near the top of that ladder. The whole thing takes place across shattered sky islands linked by updraft glide paths, and it ends with three level 45 bosses and a stack of Arcana rewards for a party that holds together.
Quick answer: Stage 3 of Deus Research Base requires a gear score of 2200, applies the Balance and Wrath debuffs, and ends when you defeat Atiel after clearing enough enemies and the two optional bosses, Gelcos and Nazmun.
What Stage 3 changes
Transcendence is a separate group activity from Expedition farming, built around Arcana progression rather than ordinary gear. You open it through its own activity selection instead of picking an Exploration or Conquest difficulty. Deus Research Base supports parties of two to five, and the standard organized setup is a tank, a Cleric healer, a Chanter for support, and two damage dealers. Either a Templar or a Gladiator takes the tank slot.
Each stage raises the gear score requirement and layers on more combat debuffs. Stage 1 runs clean, but from the second difficulty onward the dungeon applies modifiers that punish sloppy positioning and slow kills.
| Stage | Gear score | Active debuffs |
|---|---|---|
| Stage 1 | 1600 | None |
| Stage 2 | 1900 | Balance |
| Stage 3 | 2200 | Balance, Wrath |
| Stage 4 | 2500 | Balance, Wrath, Judgment |
The two debuffs that are live at Stage 3 behave like this:
- Balance: when an elite Tier 3 or higher enemy dies, a Balance Zone forms on that spot. Monsters inside it gain a damage boost, and players standing in it take damage over time.
- Wrath: any non-boss enemy gains increased damage once its health drops to 50 percent or below.
Judgment, the explosion-stacking debuff tied to boss hits, only comes online at Stage 4, so a Stage 3 party does not have to manage it yet.
The route through the dungeon
A run opens with a glide section. Once the starting barrier drops, the party rides the airstream paths across the broken ruins toward the main research base, landing on the central bridge to start fighting.
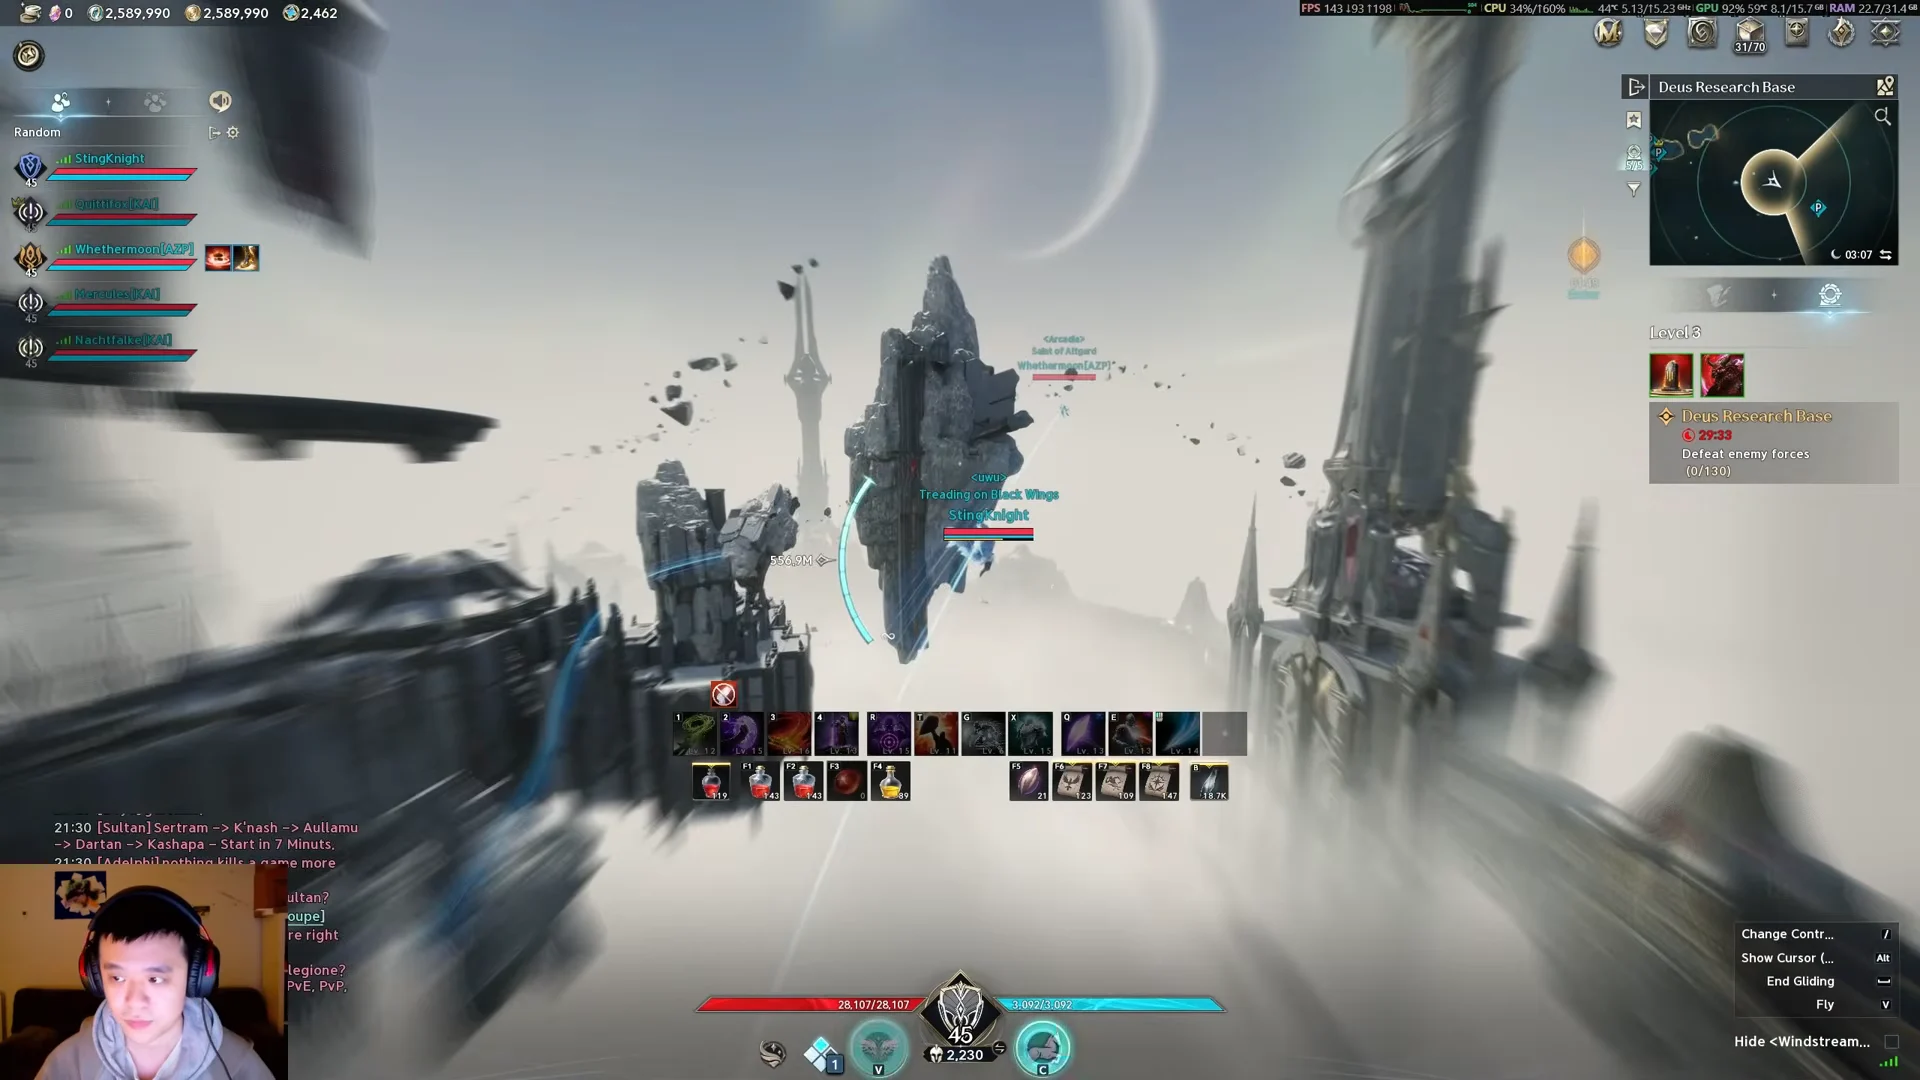
Reaching Atiel, the final boss, is gated behind an enemy-clear objective. Regular enemy packs on the bridge and across the islands count toward it, and defeating either optional boss counts as 45 kills on top of its own loot. Because of that, clearing both Gelcos and Nazmun is the normal way to run the dungeon rather than skipping them. You can move between the islands quickly using the map and the Kibelisk teleport points, so travel between fights is short.
The three bosses
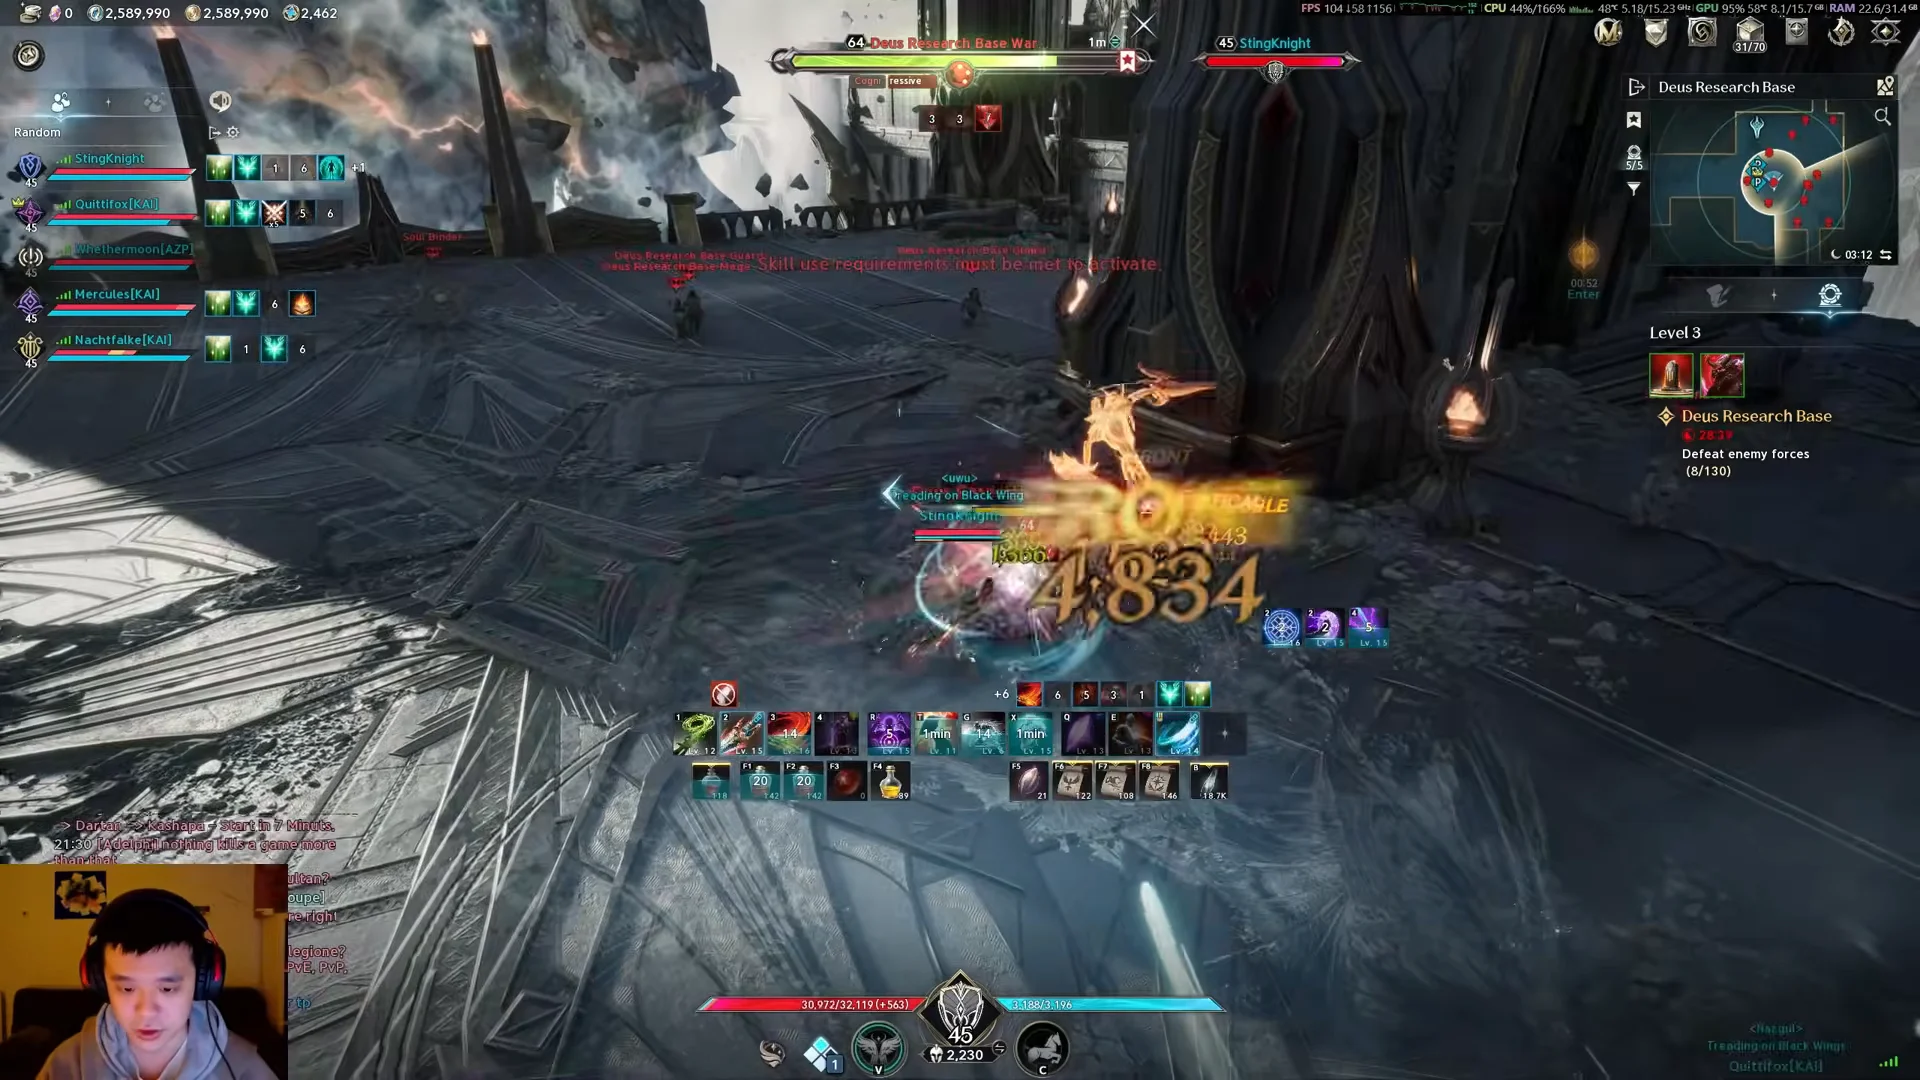
All three bosses are level 45. Gelcos and Nazmun are the optional fights that build progress toward Atiel; Atiel is the lockout boss that ends the run.
| Boss | Level | Title |
|---|---|---|
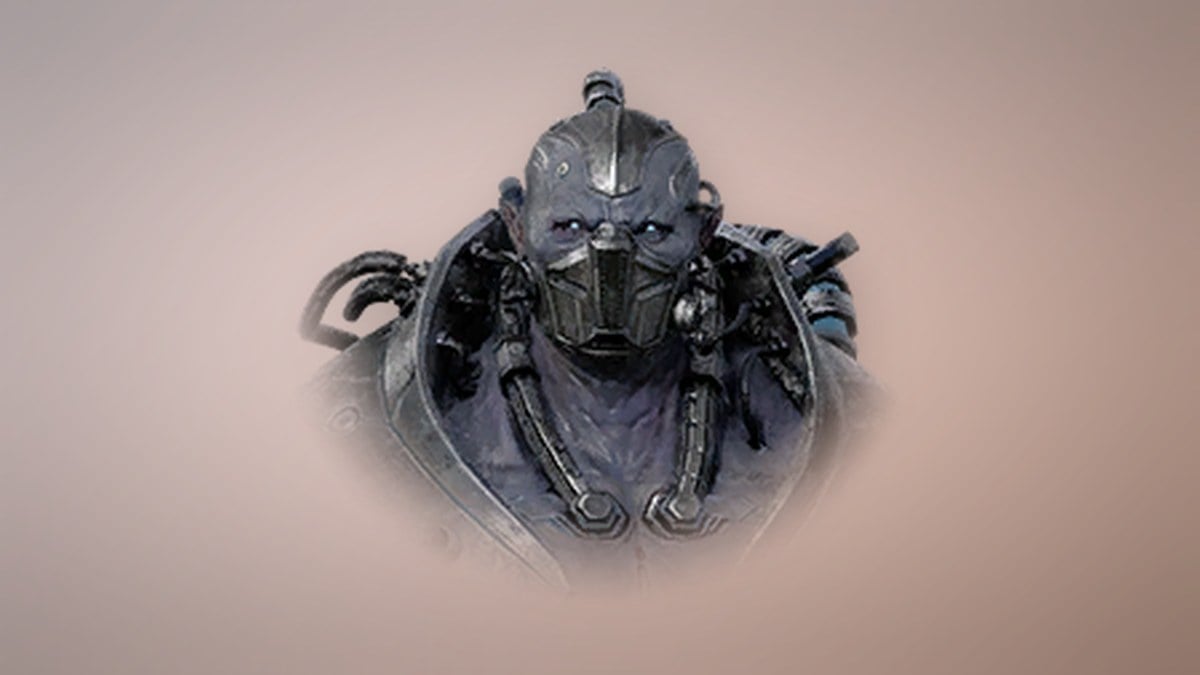
 Gelcos Gelcos | 45 | Guard Troopers Captain |
 Nazmun Nazmun | 45 | Lab Director |
 Atiel Atiel | 45 | Divine Test Subject |
Gelcos
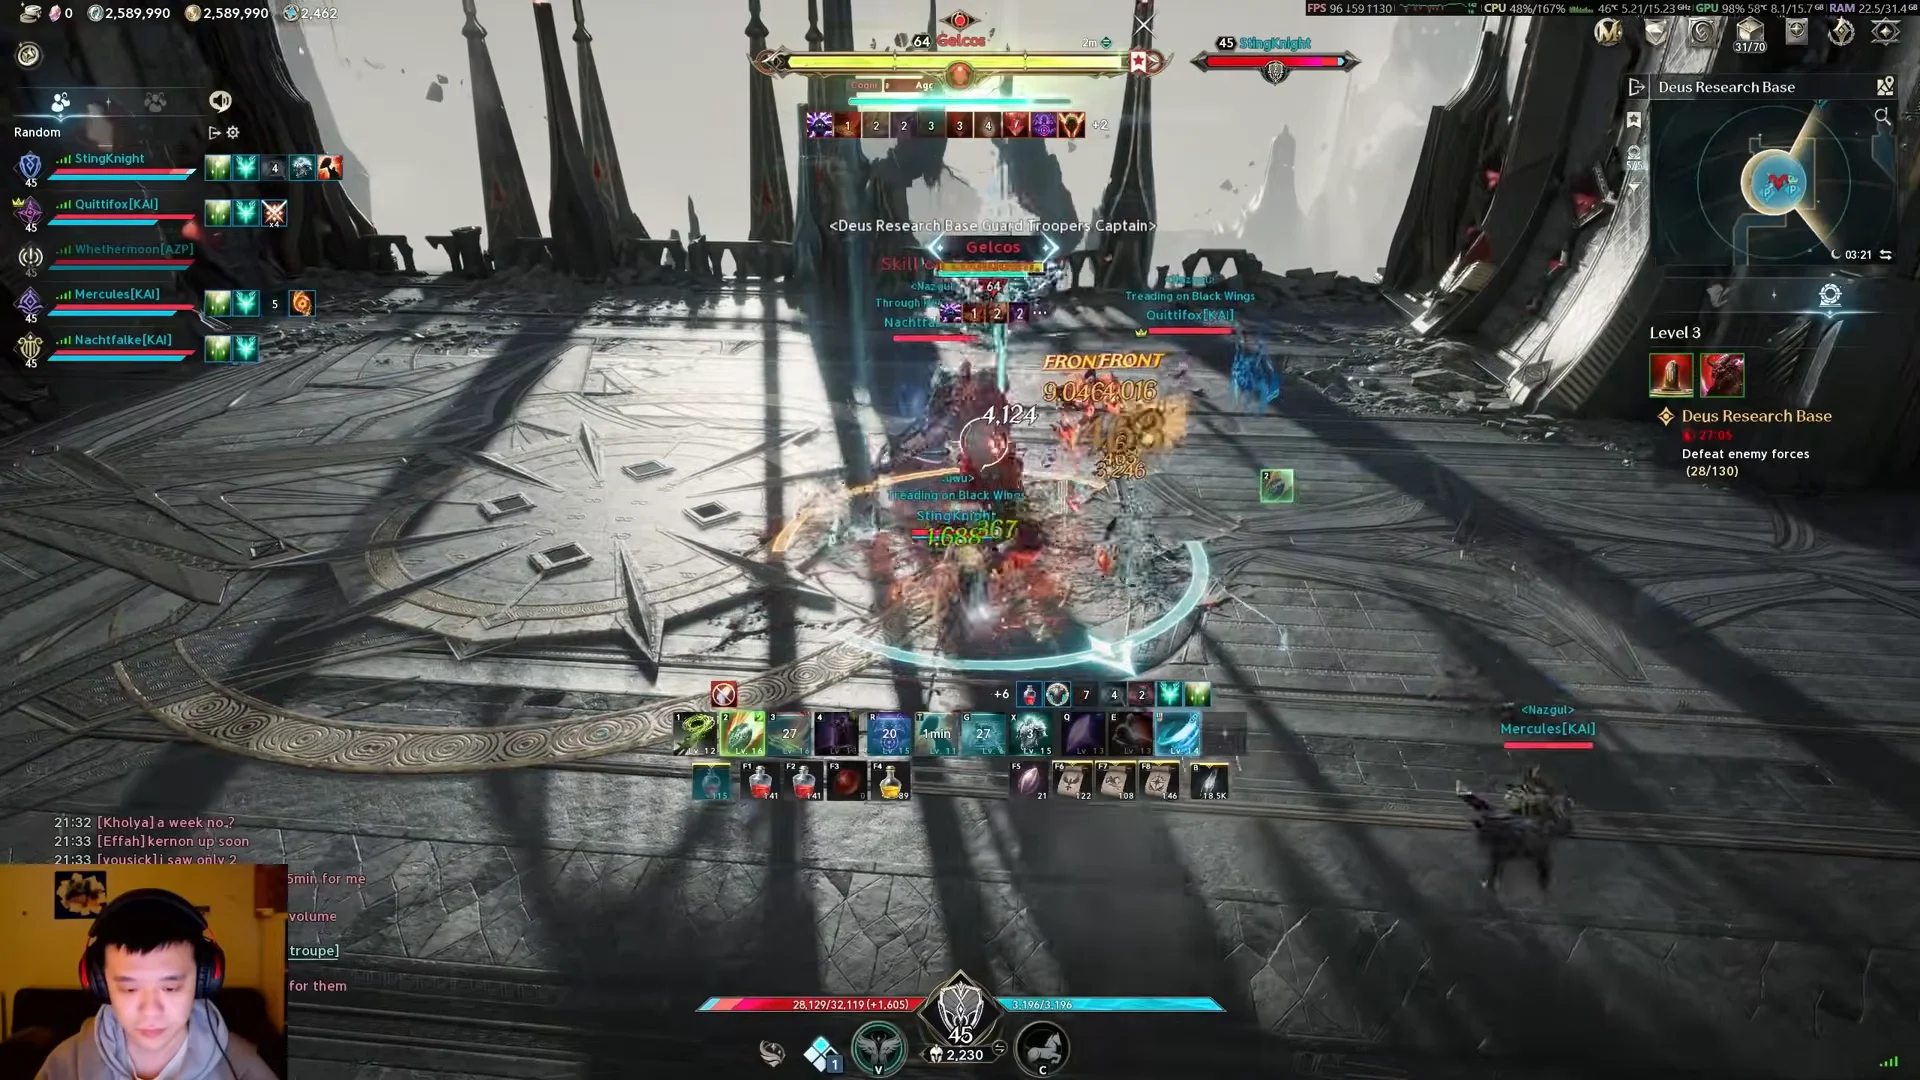
Gelcos is a positioning fight. He moves to an edge of the arena, locks onto one player, lashes out with a whip, then charges along that line and hits anything in the path. The targeted player wants to drag that charge toward an empty edge rather than through the group. He also pounds the ground into a wide area attack, followed by a second slam split by vertical lines that mark the safe gaps, plus a separate frontal that lands at the same time. Electrical hazards left on the floor shrink the space further.
Nazmun
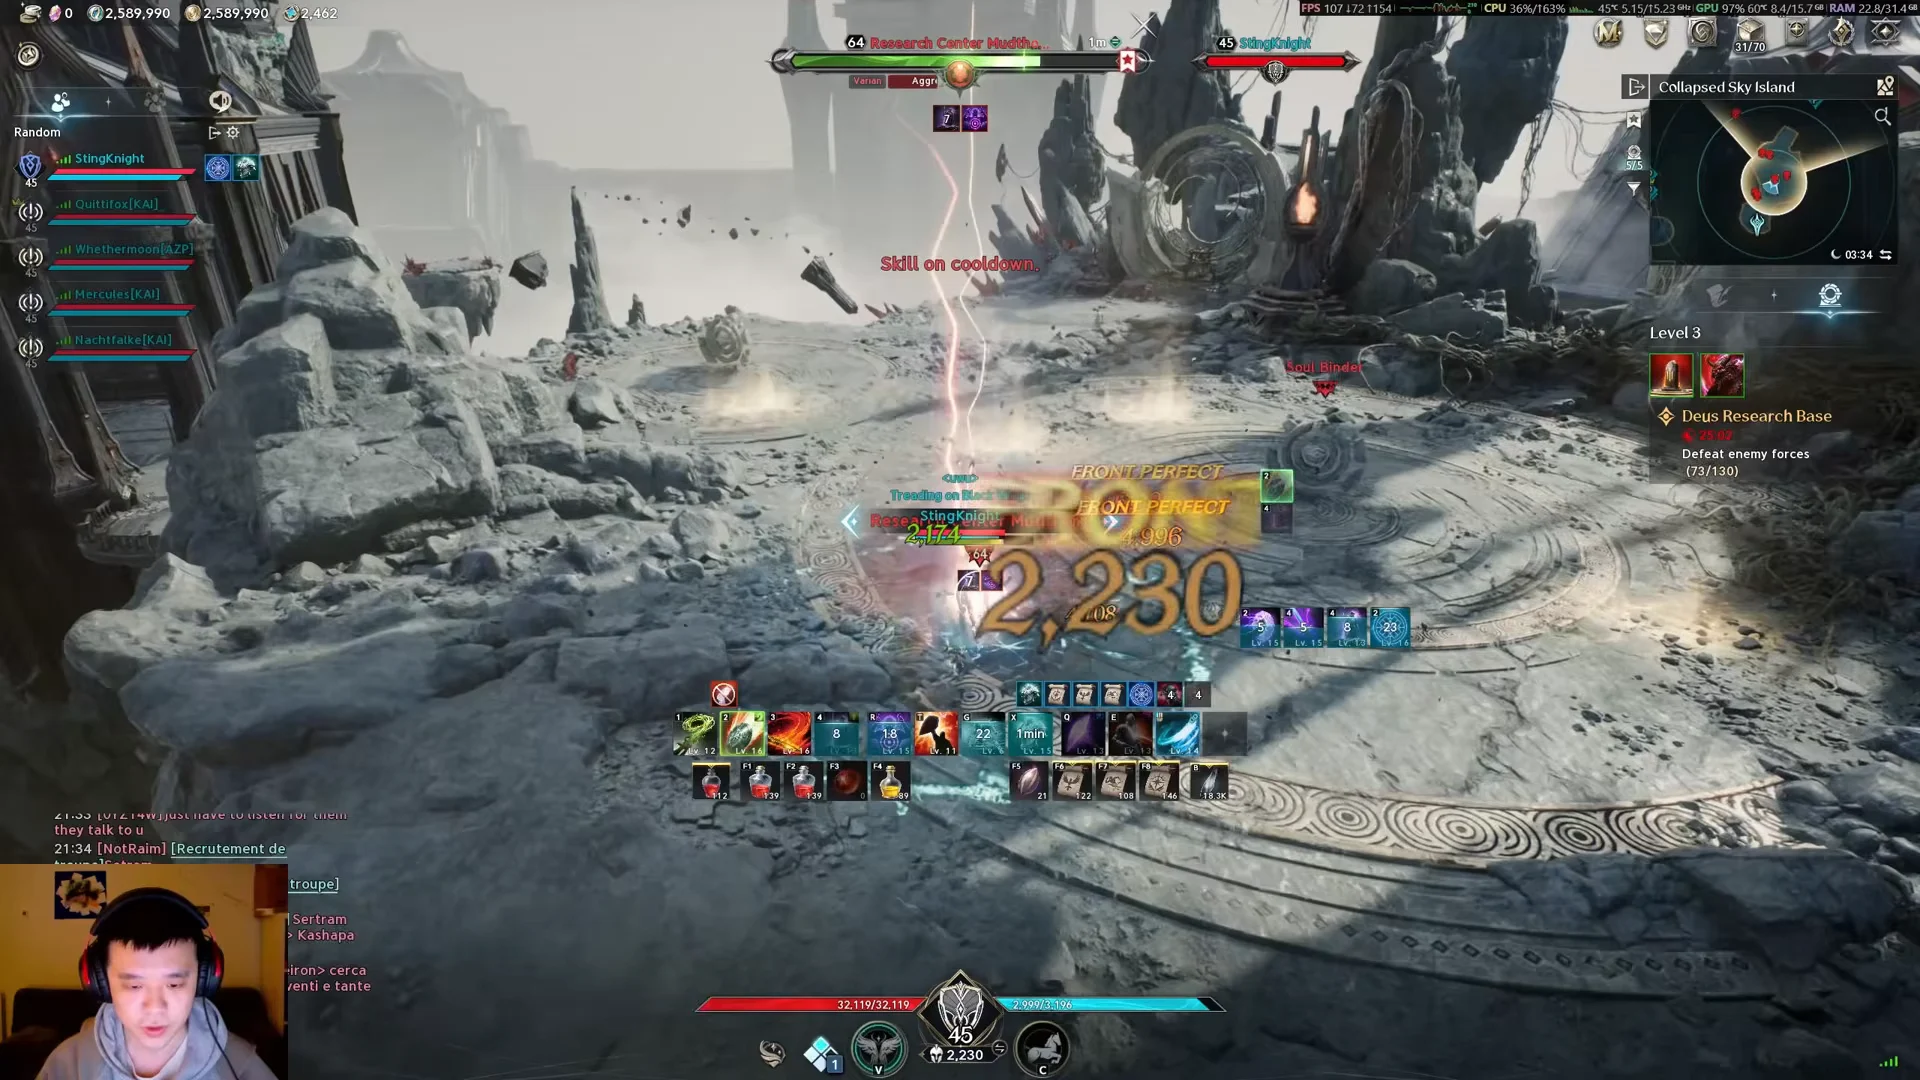
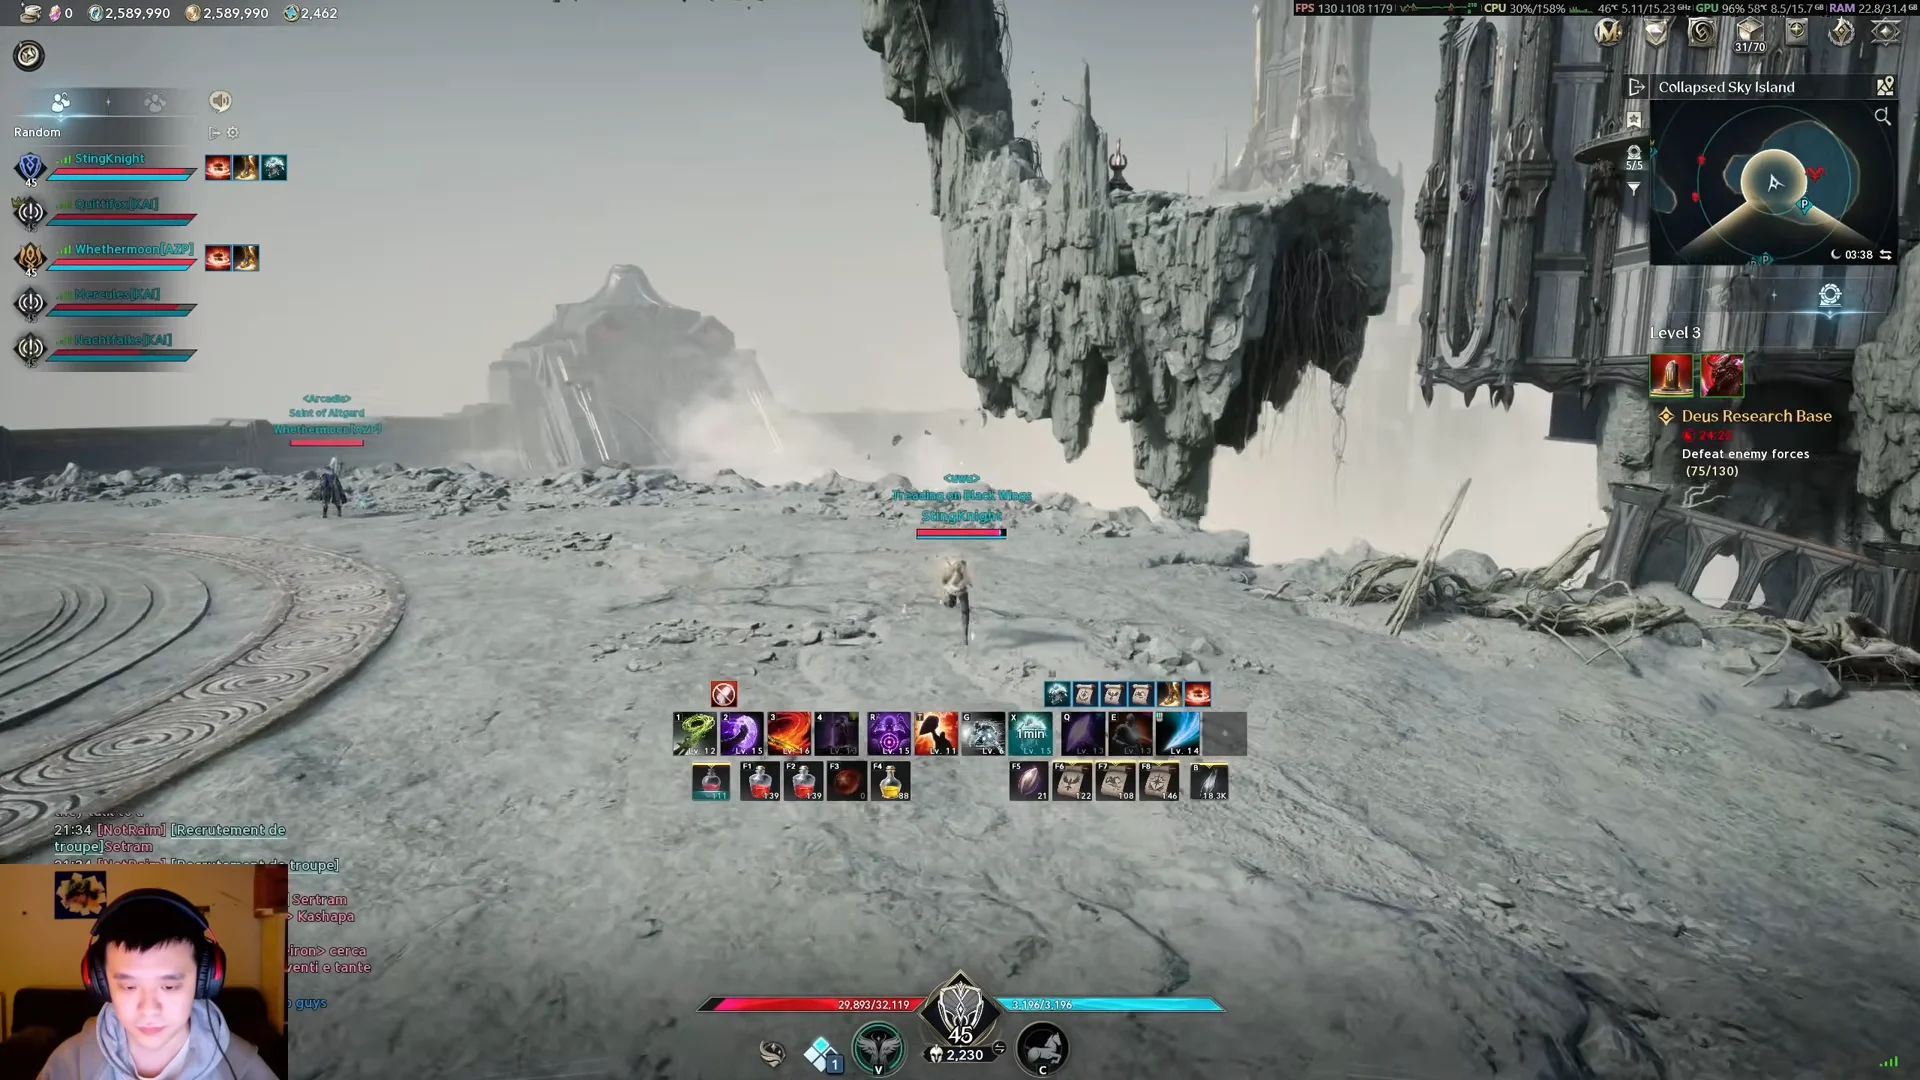
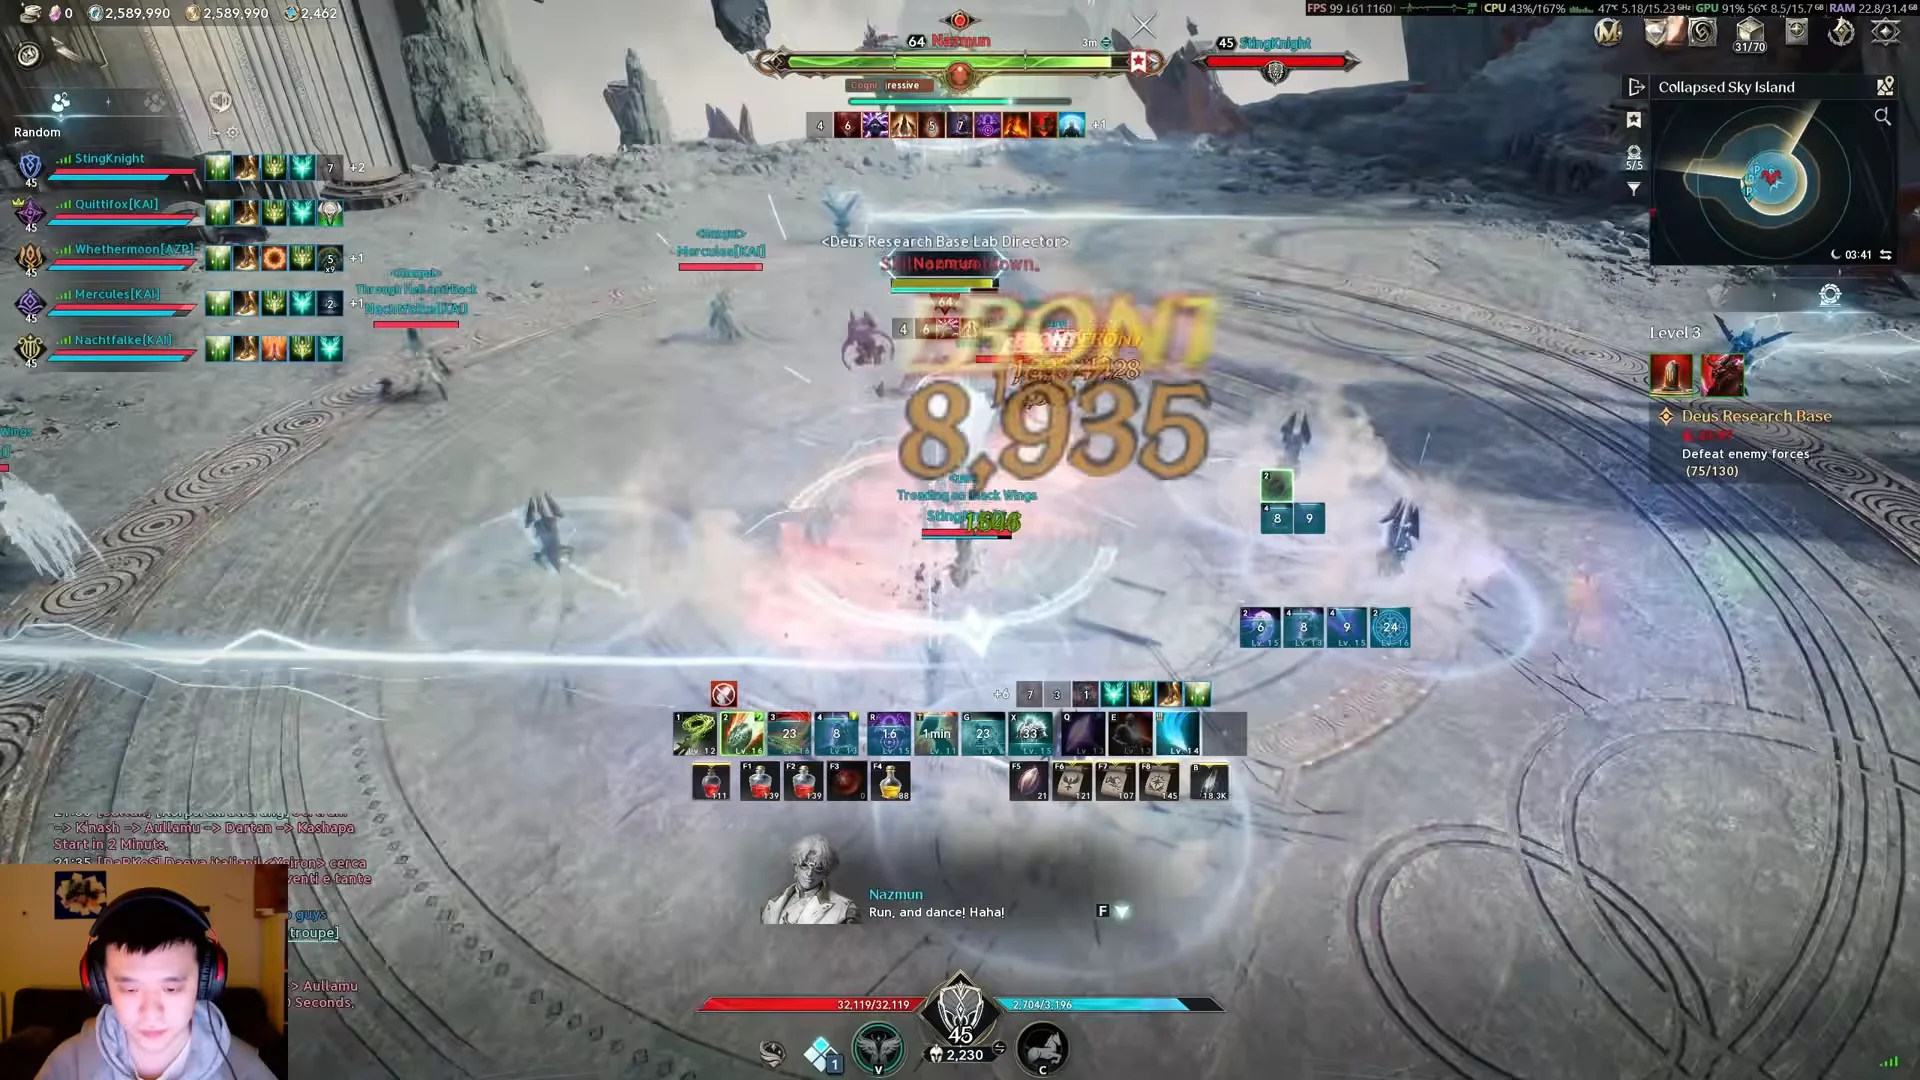
Nazmun is reached by gliding to a circular platform on the Collapsed Sky Island. The fight is about reading full attack sequences rather than single hits. Persistent lasers rotate across the floor, and jumping over the sweep saves more stamina than running around it. Beam attacks come in succession, so the first one landing does not mean the mechanic is over, which catches melee players who dash back in too early. He also drops a white ring under a player that explodes after roughly three seconds, so the marked player separates from the group, and everyone disperses when he marks multiple players at once.

Atiel
Atiel is the real test. The arena shrinks over the fight as he removes its outer layers, killing anyone standing on the sections that vanish. While he charges that mechanic he pushes players outward, so the safe play is to move toward him and stay close. After the arena shrinks he summons blue orbs that shove players off the edge, and players standing near each other get chained together during it.

He grabs a player for a downward smash that can one-shot, tethers two players together for continuous damage, and marks a player with a heavy hit that the rest of the party stacks on to share. Tethered players run apart to break the link. At 30 percent health he casts Morphic World, which gives the party ten seconds to stagger him. Fail the stagger and the whole group wipes, so damage and interrupt timing both matter in that window.
The fight only begins once a party member steps into Atiel’s range, so wait for everyone to arrive at the platform before anyone moves in.
Arcana cards and other rewards
Deus Research Base hands out the Bell, Compass, and Chalice families of Arcana, alongside enhancement and crafting materials. Fourteen distinct items can drop from the dungeon in total. Defeating the optional bosses adds their loot pools to the Odyle Energy Cube you open at the end, which is part of why most groups clear all three fights.
- Arcana: Bell of Magic, Bell of Vigor, Chalice of Magic, Chalice of Vigor, Compass of Magic, Compass of Vigor
- Upgrade materials: Amplify Stone Fragment (Unique), Enhance Stone, Silentium, Soul Codex
- Stones: Lesser and Intermediate Manastone, Lesser and Intermediate Soulstone
Atiel carries the deepest drop table of the three. His Arcana rolls favor Compass and Bell at Epic grade, with Chalice at Rare, and he also drops the Amplify Stone Fragment at a 20 percent chance. Gelcos and Nazmun share the same payout structure, each dropping a Soul Codex at 40 percent and the Amplify Stone Fragment at 20 percent.
| Drop | Atiel | Gelcos / Nazmun |
|---|---|---|
| Soul Codex | Guaranteed pool | 40% |
| Amplify Stone Fragment (Unique) | 20% | 20% |
| Compass / Bell Arcana | 16.9% each (Epic) | 11.3% each |
| Chalice Arcana | 11.2% each (Rare) | 20% each |
| Intermediate stones | 6.0% | 2.0% |
Claiming the cube consumes Odyle Energy, the entry resource for this content. You can hold up to 560 Odyle Energy, rising to 840 with membership, which caps how many runs you can bank rewards from before you need to recharge.
How you know the run counted
Atiel’s defeat brings up the Transcendence Complete screen and its rank assessment. Your performance determines the grade: finish Stage 3 cleanly with few deaths to earn Rank S. Once the results are shown, recharge and open the Odyle Energy Cube on the platform, claim the Arcana cards and materials, then equip those cards from the Arcana menu. The highest rank on a stage unlocks the next difficulty; earning S on Stage 3 opens Stage 4, where the gear score requirement is 2500.