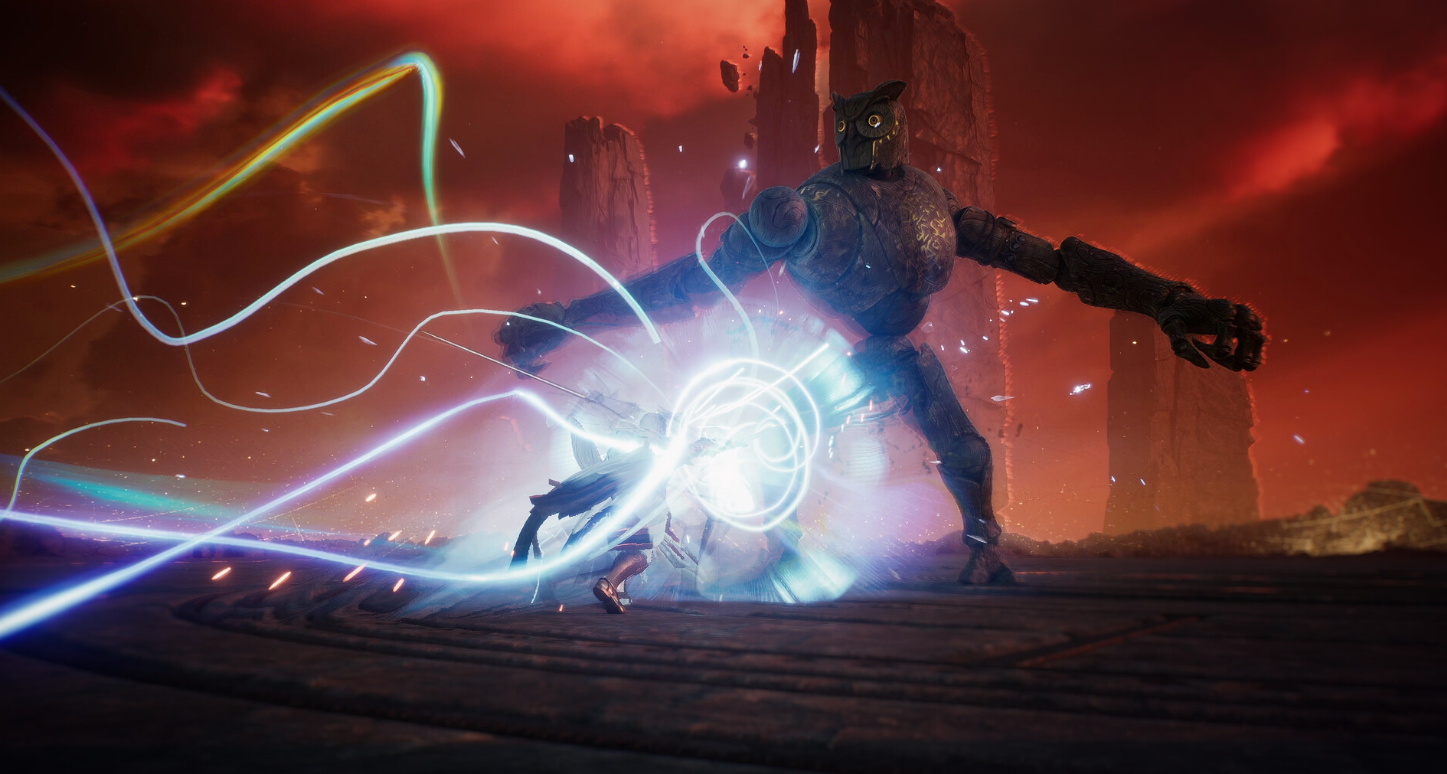
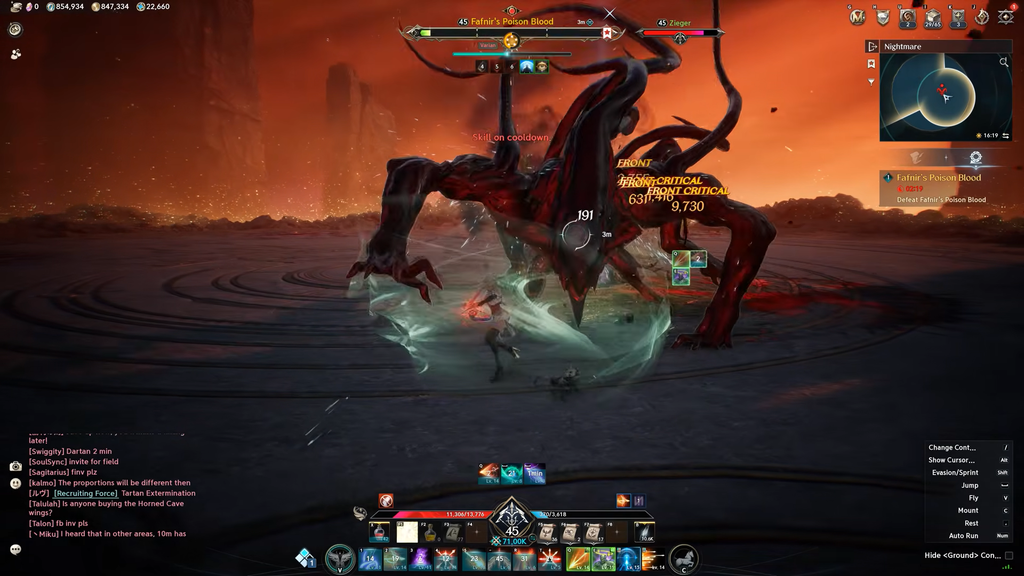
Fafnir’s Poison Blood is one of the four Common bosses that open AION 2’s Nightmare ladder, the solo boss challenge you take on alone in an instanced arena. It is a tier 1 challenge set in Root of the Sacred Tree, with 10 stages to climb. In the game’s description, it is a clot of blood that fell from Dragon Lord Fafnir and came to life as a poisonous creature. The fight is not complicated. Most of its damage comes from stepping where the boss has already told you not to step.
Quick answer: Avoid every blood puddle, dodge toward the boss on claw swipes, sidestep tail slams and uppercuts, and keep Defiance ready for the incapacitating leap. Meet the recommended power for each stage before you start it.
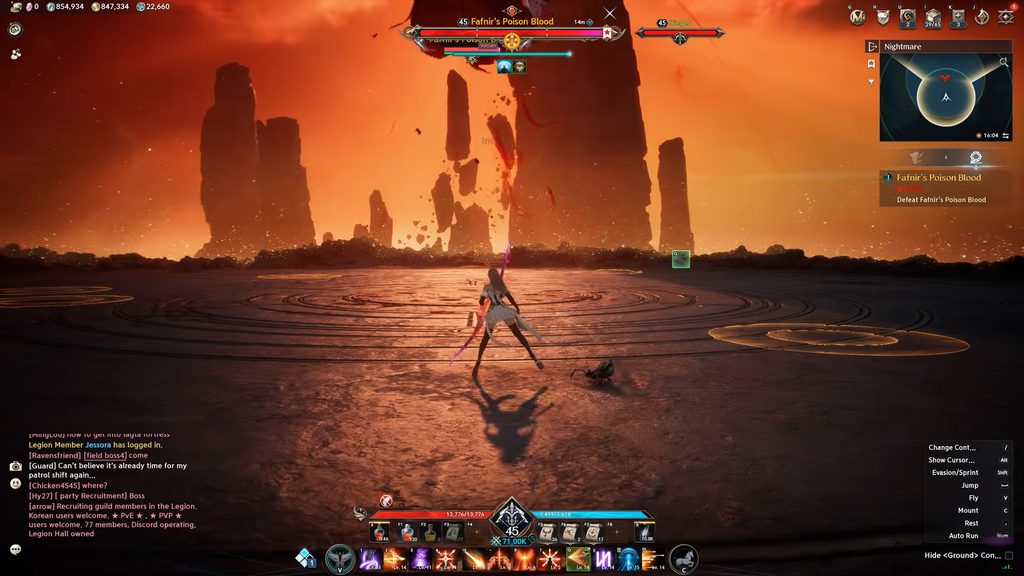
Fafnir’s Poison Blood attacks and how to avoid them
The boss fights from all fours and has a small set of moves. Each one has a tell, and each one has a direction you should dodge.
| Attack | Warning sign | How to avoid it |
|---|---|---|
| Blood Rain | Boss leaps high | Stay out of the blood circles |
| Claw Attack | Right claw raised | Dodge toward the boss |
| Claw and Slam | Boss rears onto two legs | Keep moving to its rear |
| Tail Slam | Wide line in front | Sidestep, then punish |
| Uppercut | Brief lean back, no marker | Dodge sideways |
| Incapacitating AoE | Leap onto your position | Leave the area, use Defiance if hit |
Blood Rain and the summoned blood
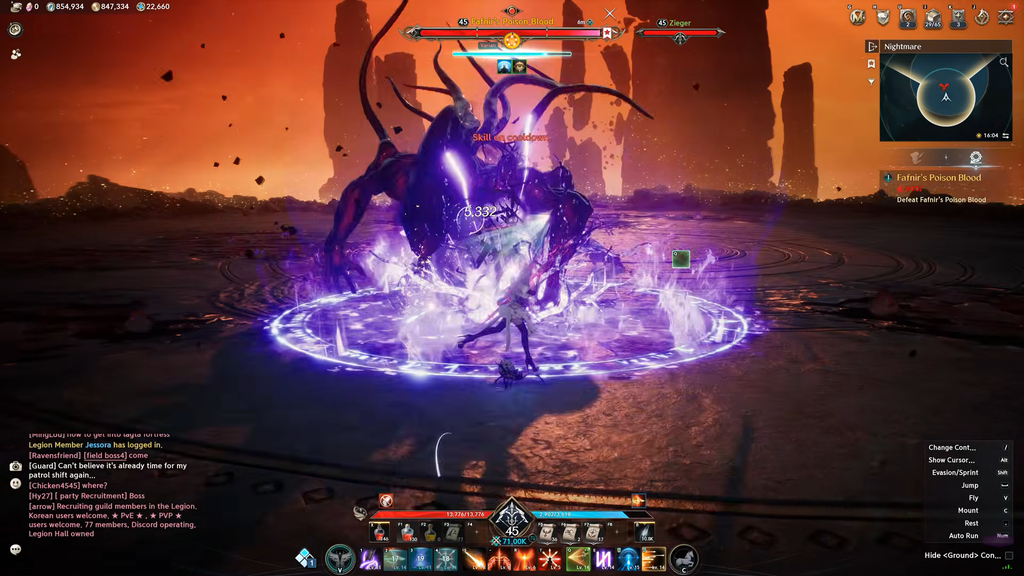
The boss jumps into the air and rains blood onto the arena, with area markers showing where each drop will land. The drops leave puddles behind. Staying outside the markers avoids the damage entirely, and the boss repeats the attack later in the fight once its health has dropped.
If you walk into a puddle, it spawns a smaller copy of the boss. These copies cannot be damaged. They chase you and explode when they get close. The blast hits lightly, and you can dodge away as the copy reaches you. The simpler fix is to never step in the puddles at all. Dark purple pools can also linger on the floor and hurt anyone standing in them, so keep track of where the hazards are as the floor fills up.
Claw Attack and the Claw and Slam follow-up
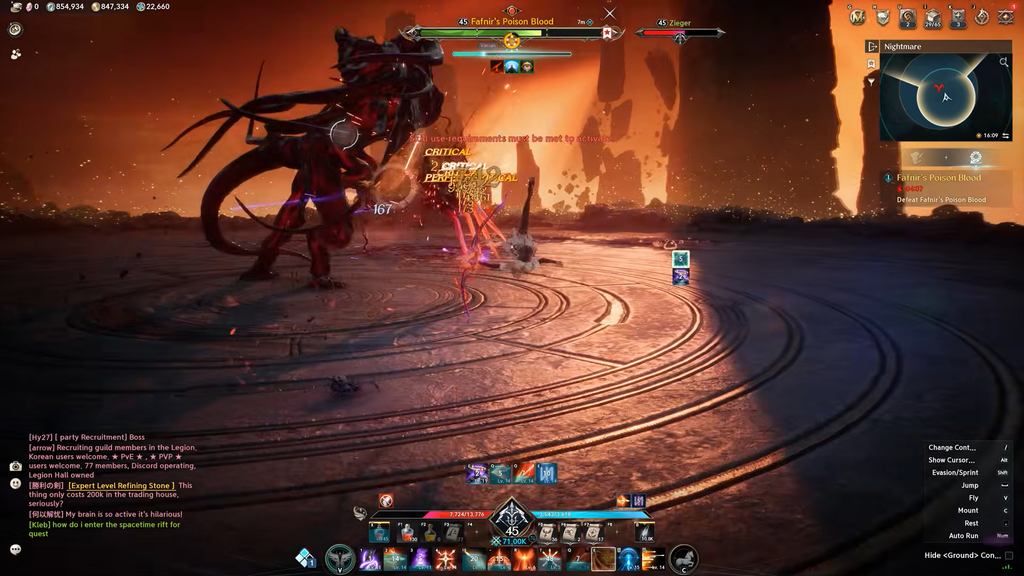
For the basic version, the boss raises its right claw and swipes in your direction. Dodging forward, into the boss, carries you past the swipe.
When the boss stands up on two legs before the claw, a ground slam follows, and it covers a large area in front of the boss. Do not stop after the first dodge. Keep moving until you are behind it before the slam lands.
Tail Slam and the Uppercut variant
A wide line marker appears in front of the boss, and a tail slam hits that strip shortly after. Step to the side before it lands. The recovery after the slam gives you a clean window to attack.
The uppercut version shows no ground marker. The warning is body language instead. The boss leans back for a moment just before it swings, and a sideways dodge clears it.
Incapacitating AoE
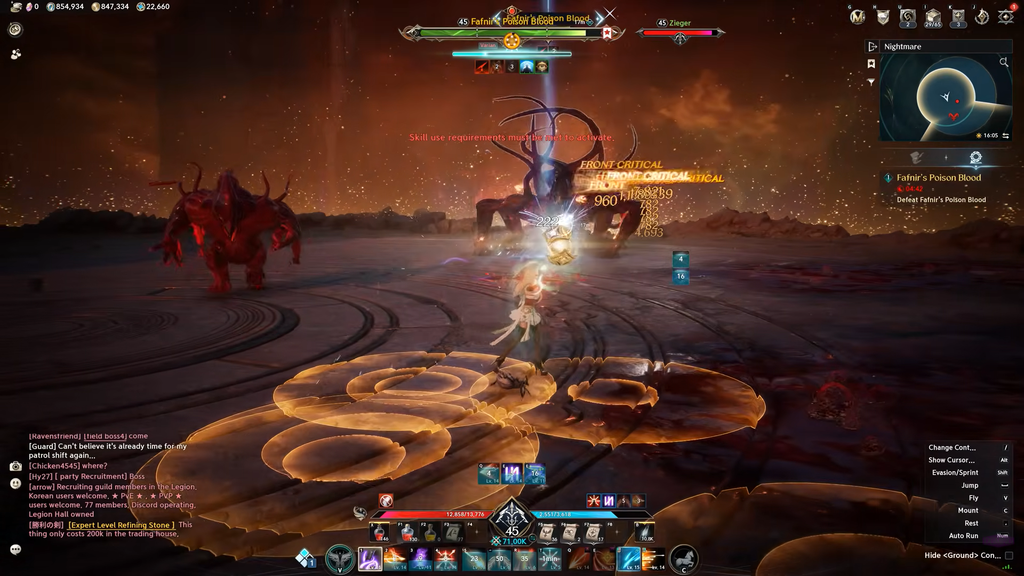
The boss leaps and comes down on your position, then sets off several area attacks around the landing spot. Move out of the marked range. Getting caught leaves your character incapacitated, which in a solo fight means nobody is going to bail you out.
Save your Defiance skill for this attack so you can clear the incapacitation the moment it lands.
Stagger meter
A Stagger meter sits under the boss’s health bar, which is split into several segments. Emptying the meter with your attacks briefly disables the boss. That is the safest time to spend your heaviest damage.
Fafnir’s Poison Blood stages and recommended power
The arena and the attacks stay the same across all 10 stages. The boss gets tougher, and the recommended power rises at each stage.
| Stage | Recommended power |
|---|---|
| 1 | 1,000 |
| 2 | 1,050 |
| 3 | 1,100 |
| 4 | 1,150 |
| 5 | 1,200 |
| 6 | 1,250 |
| 7 | 1,300 |
| 8 | 1,400 |
| 9 | 1,500 |
| 10 | 1,600 |
The increase is small for the first seven stages and gets larger for the last three. The game will still let you enter a stage while your equipped gear is under the recommendation. It warns that the battle may be too difficult and asks whether you want to continue.
Attempts, rewards and what clearing unlocks
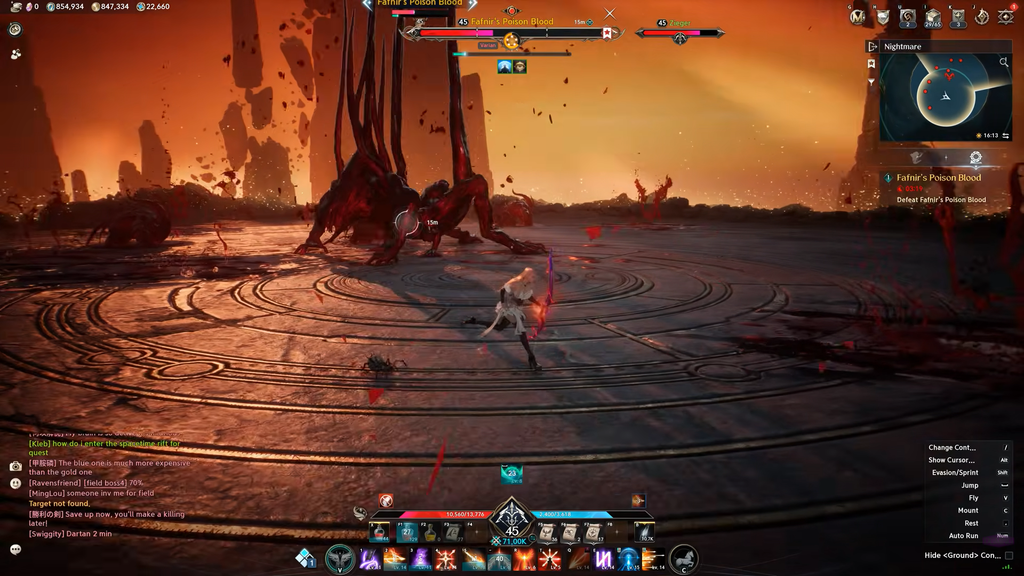
Every clear pays out Phantasmal Fragments, the currency for the Nightmare Shop. The attempt and reward rules work like this:
- Nightmare attempts refill daily and pile up to a cap if you leave them unused.
- An attempt is used only when you defeat the boss. A failed run costs nothing.
- The first clear of each stage pays a one-time fragment bonus, and the bonus grows at higher stages.
- Repeat clears of a stage pay fewer fragments, and the amount depends on your clear grade.
- Clearing stage 10 of this boss and of Wraith Giselle unlocks the Rare boss Mutated Gerod.
Because failed runs are free, early attempts at a new stage are cheap practice for learning the timing of the uppercut and the leap.
Fafnir’s Poison Blood also shows up as the boss of the Root of the Sacred Tree quest dungeon in Altgard. That is a separate, lower-level fight. The Nightmare version is entered from the Nightmare menu and shows a boss level of 45.
How to confirm a Fafnir’s Poison Blood clear
When the boss dies, it collapses into the floor and a “Nightmare Dungeon Complete” banner appears over the arena. The results screen then shows your clear time, Rank Points and the fragments you earned. On a first clear you also get the message “The next challenge level is now active,” along with a stage achievement such as “Fafnir’s Poison Blood I achieved.” Next to Exit, the screen offers a Re-challenge option and shows the next stage with its recommended power, so you can queue straight into the next step on the ladder.