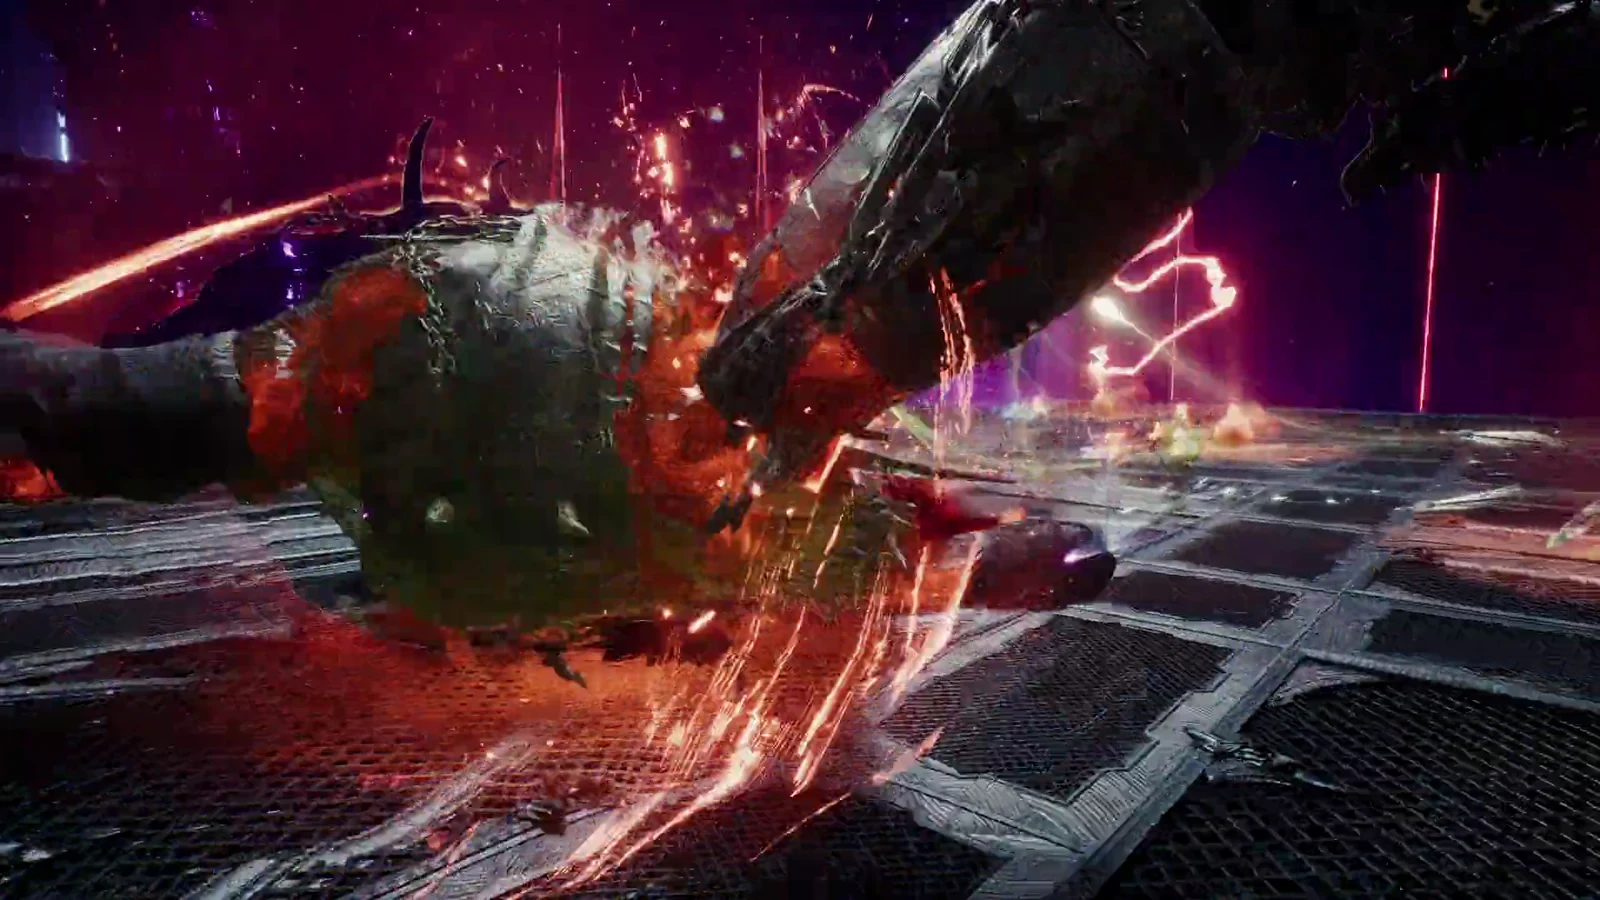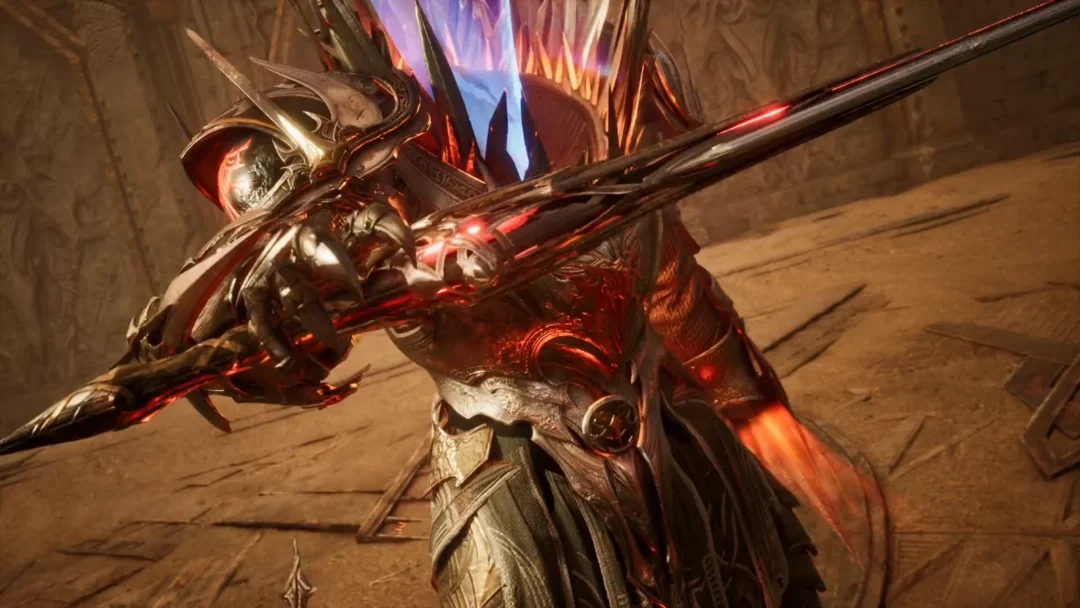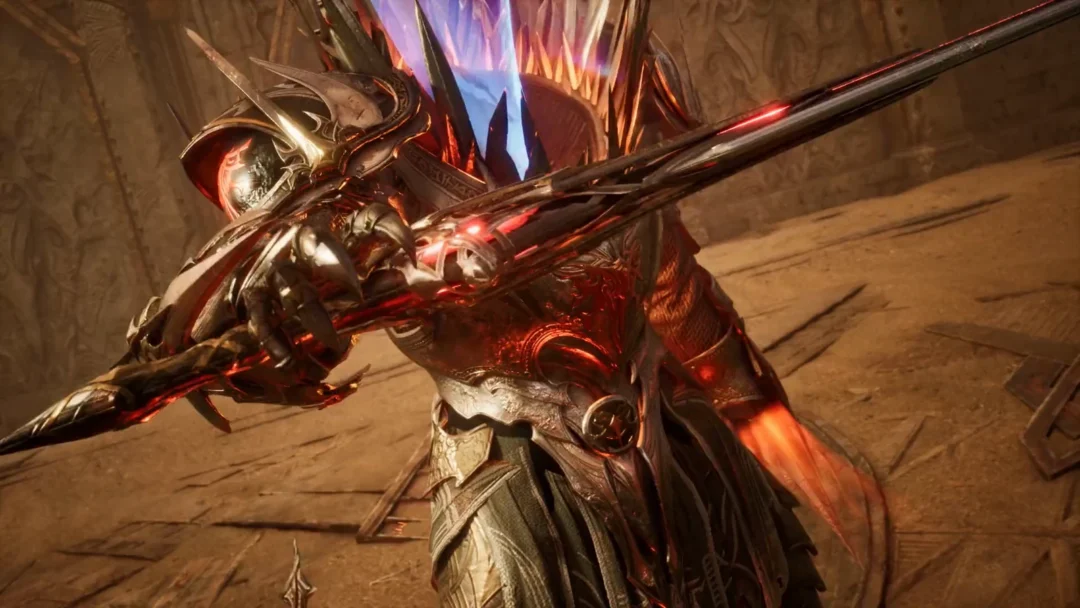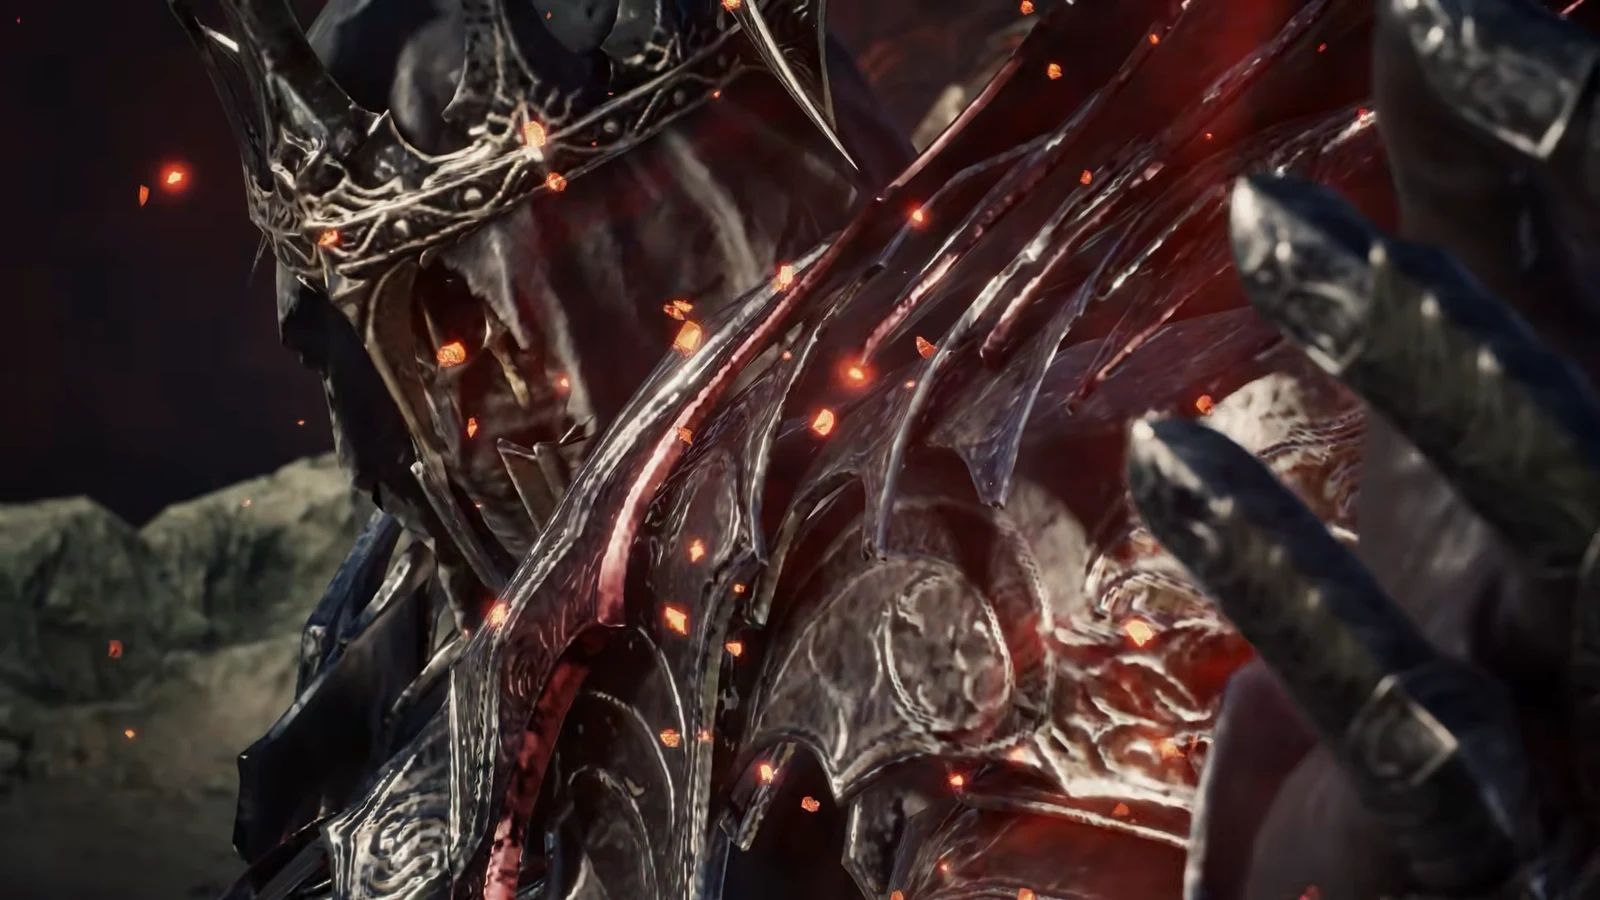
Ferocious Horn Den is a party dungeon in Aion 2 set in a den of the Ferocious Horn Mau tribe deep in the Abyss. Its Exploration difficulty is the gentler of the two versions, built for small groups working through three fights and an environmental run before the final boss, Ferocious Horn Nuakum. A Templar playthrough makes the shape of the run clear: a mini-boss on a wooden platform, a totem chamber, a necromancer, and a long glide-and-climb stretch out to the throne arena.
Quick answer: Enter at level 45 with a party of 1–5. You clear it by beating Watchdog Kwapo, destroying the Shining Mau Totem, downing Necromancer Duanka, then defeating Ferocious Horn Nuakum inside a 60-minute limit.
Entry requirements and setup
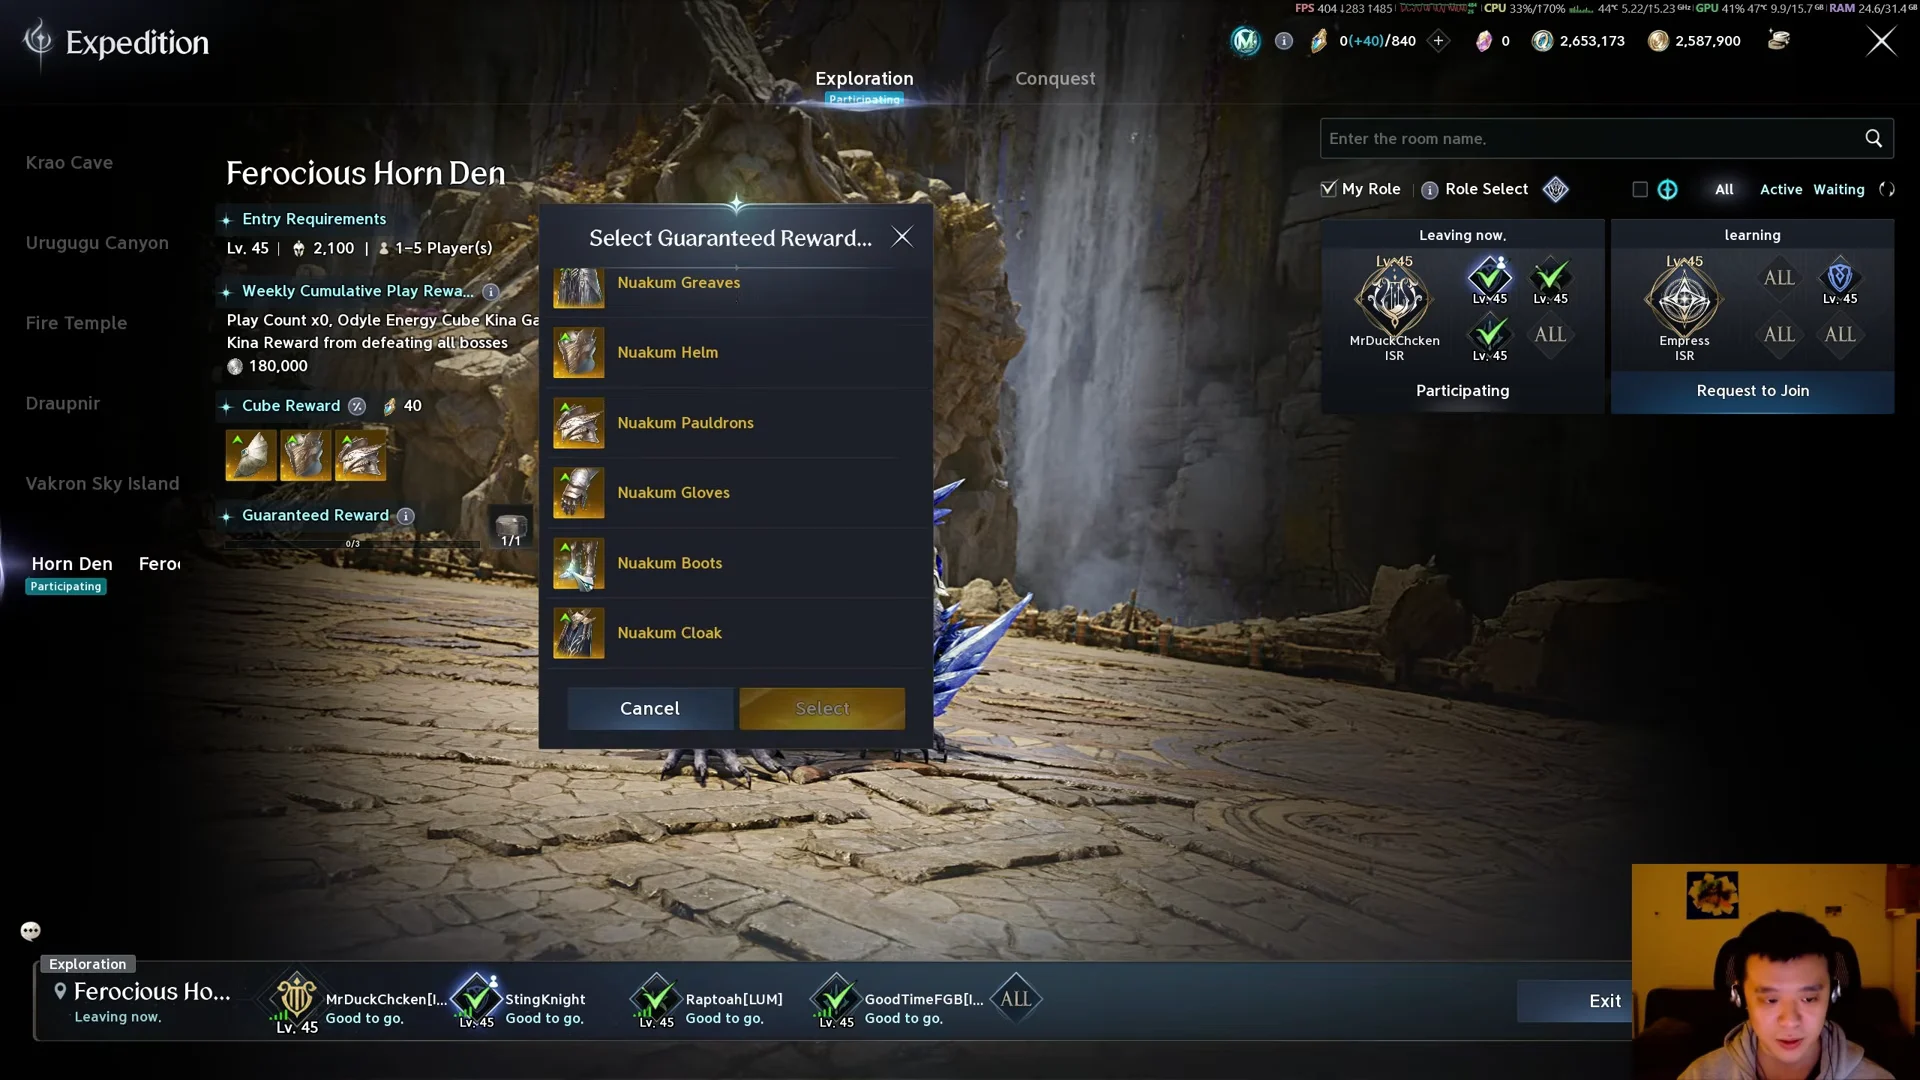
The lobby shows the gate to enter and the loot you can lock in before the run starts. Exploration unlocks early and runs on the same roster as the harder Conquest mode, so the party size and level floor stay the same across both.
- Level: 45
- Item level: 2,100
- Party size: 1–5 players
- Time limit: 60 minutes
- Bosses: Shining Mau Totem, Watchdog Kwapo, Necromancer Duanka, Ferocious Horn Nuakum (all level 63)
Odyle Energy is the resource you spend to collect from the dungeon’s reward cube. You regenerate it over time and can hold up to 560, or 840 with a membership. Opening the Odyle Energy Cube at the end costs 40 Odyle Energy, and claiming a guaranteed Nuakum piece from the selection menu costs 80.
The route and bosses in order
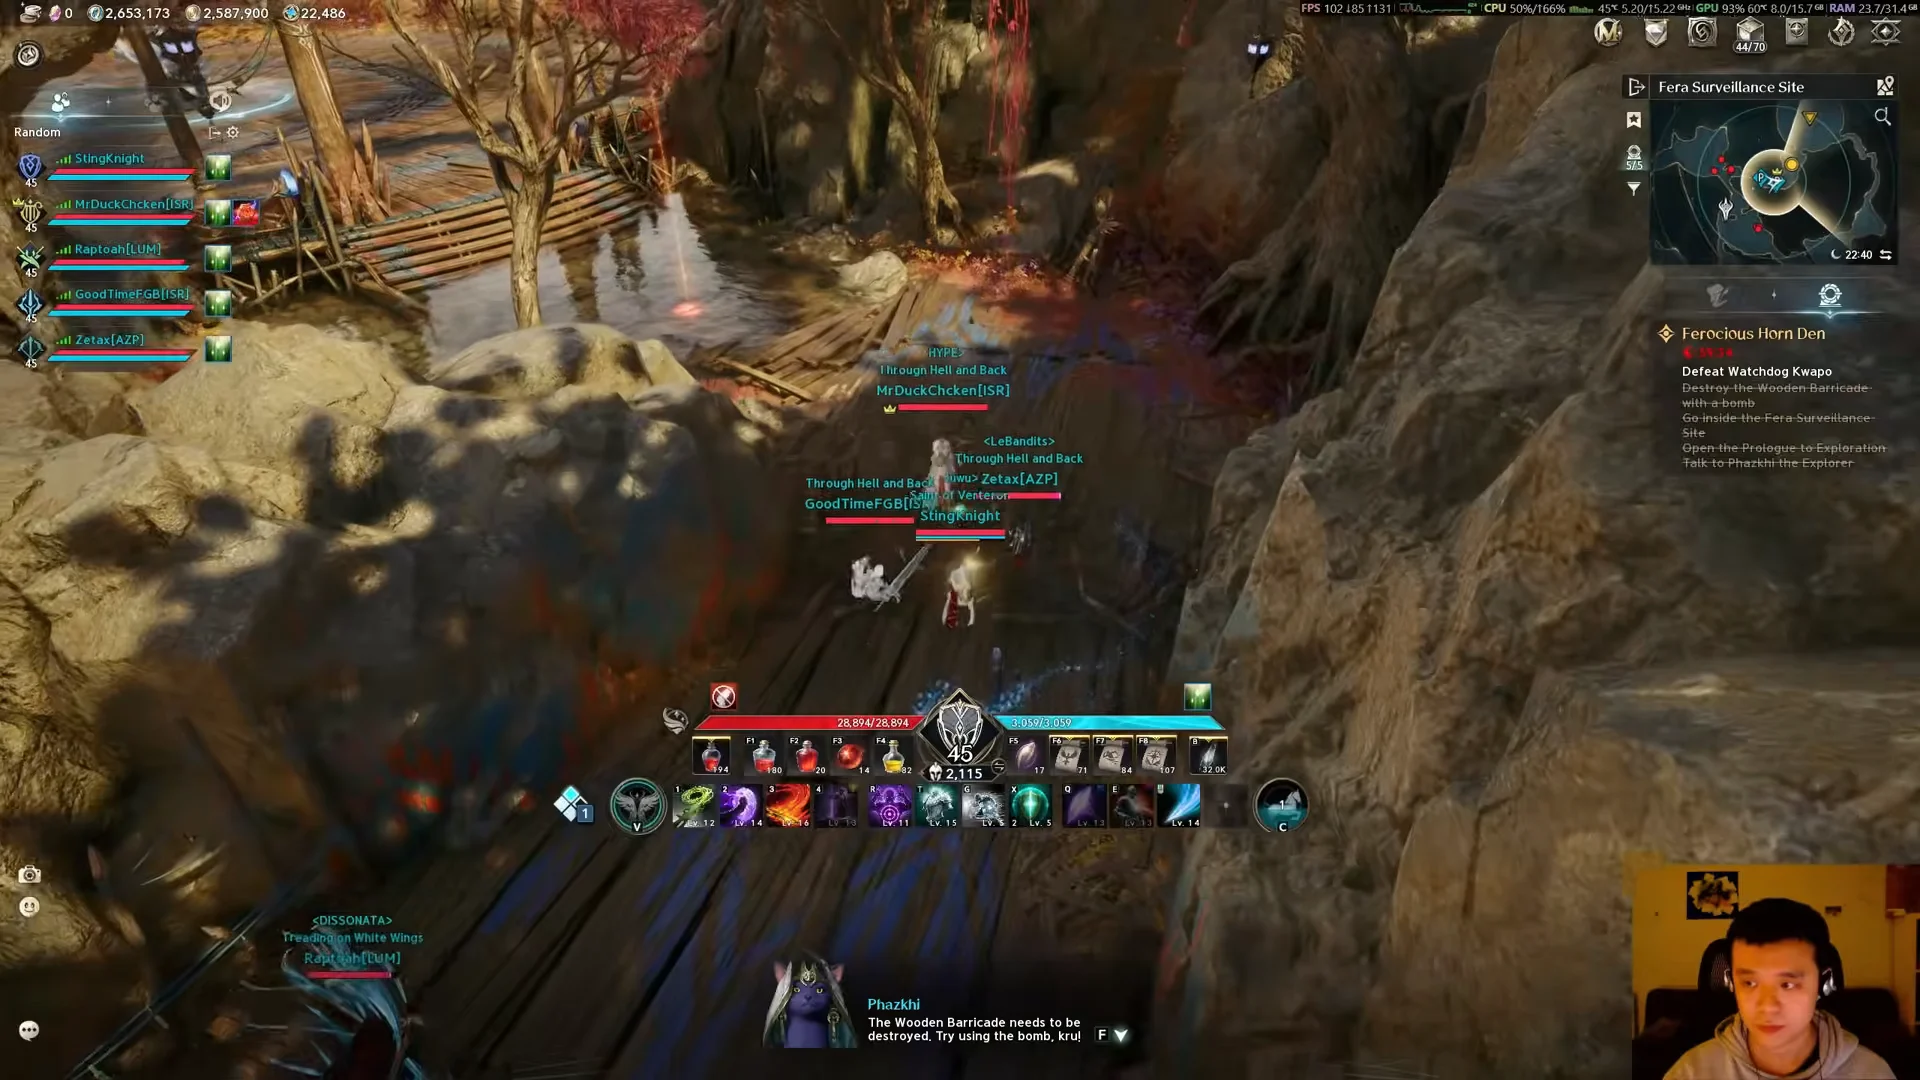
The run opens in the Fera Surveillance Site. The party mounts up, crosses a bridge, and picks up bombs from a chest to blow apart a wooden barricade blocking the path forward. The NPC Phazkhi points the group toward that barricade.
Watchdog Kwapo
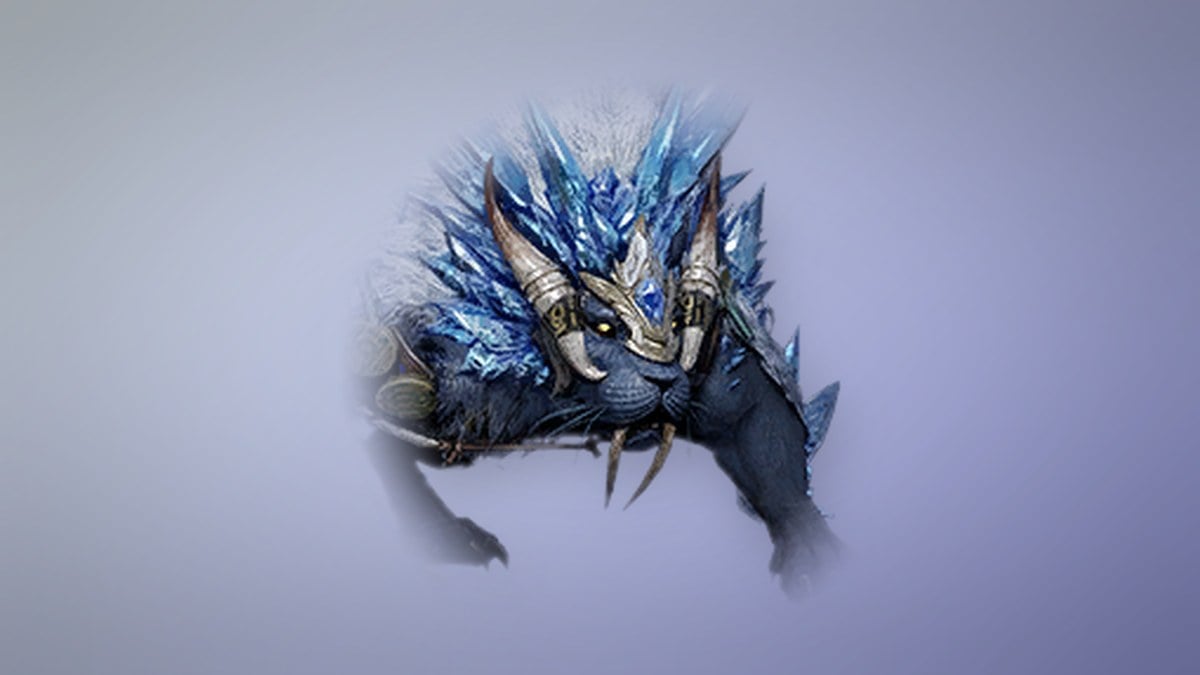
Watchdog Kwapo is the first boss, fought on an open circular platform. Its Thunder Cry phase scatters blue lightning balls across the floor before the boss leaps to the center with a point-blank blast and a roar. Any orbs left behind detonate for heavy damage, and an expanding ring sweeps outward at the same time. Clearing the orbs on one side of the arena leaves a safe strip to stand in while the ring passes.
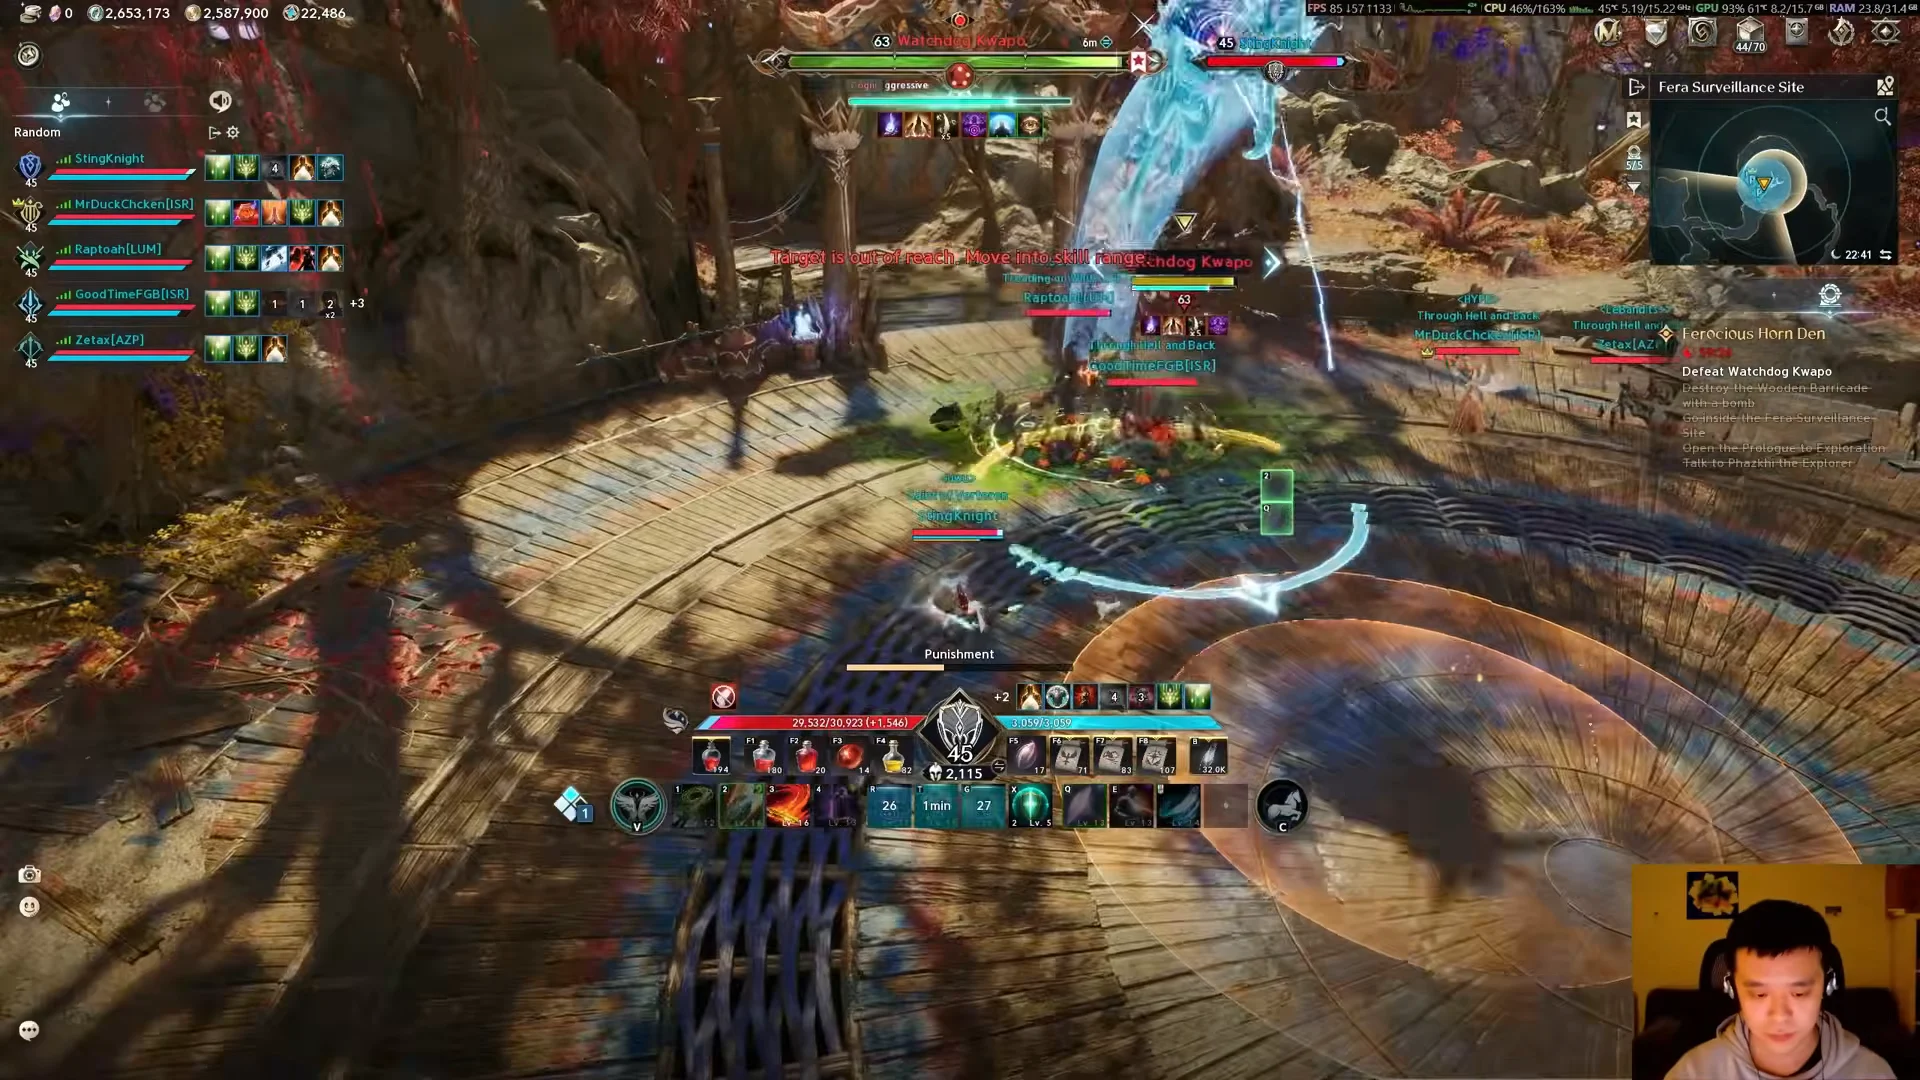
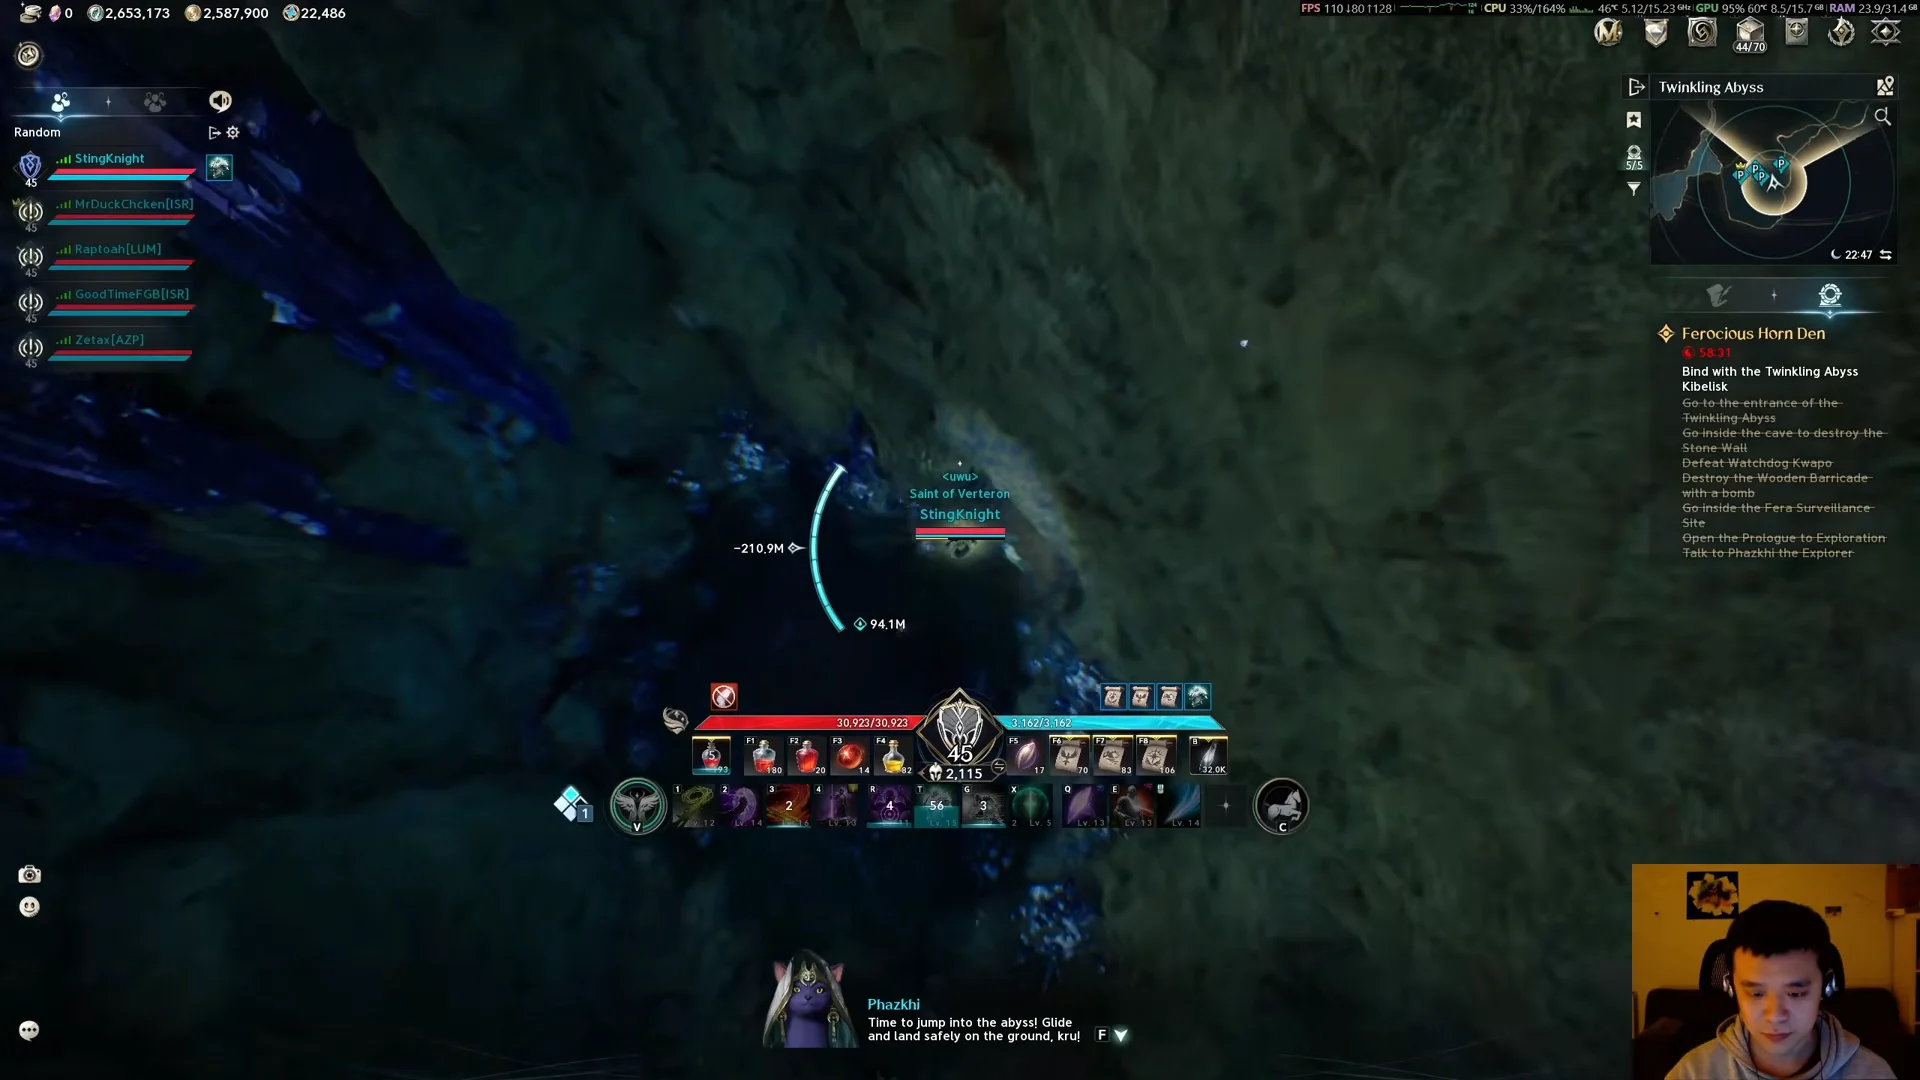
After the fight, the party drops through a tall cavern, gliding down to land safely and bind to the Kibelisk teleport below.
Shining Mau Totem
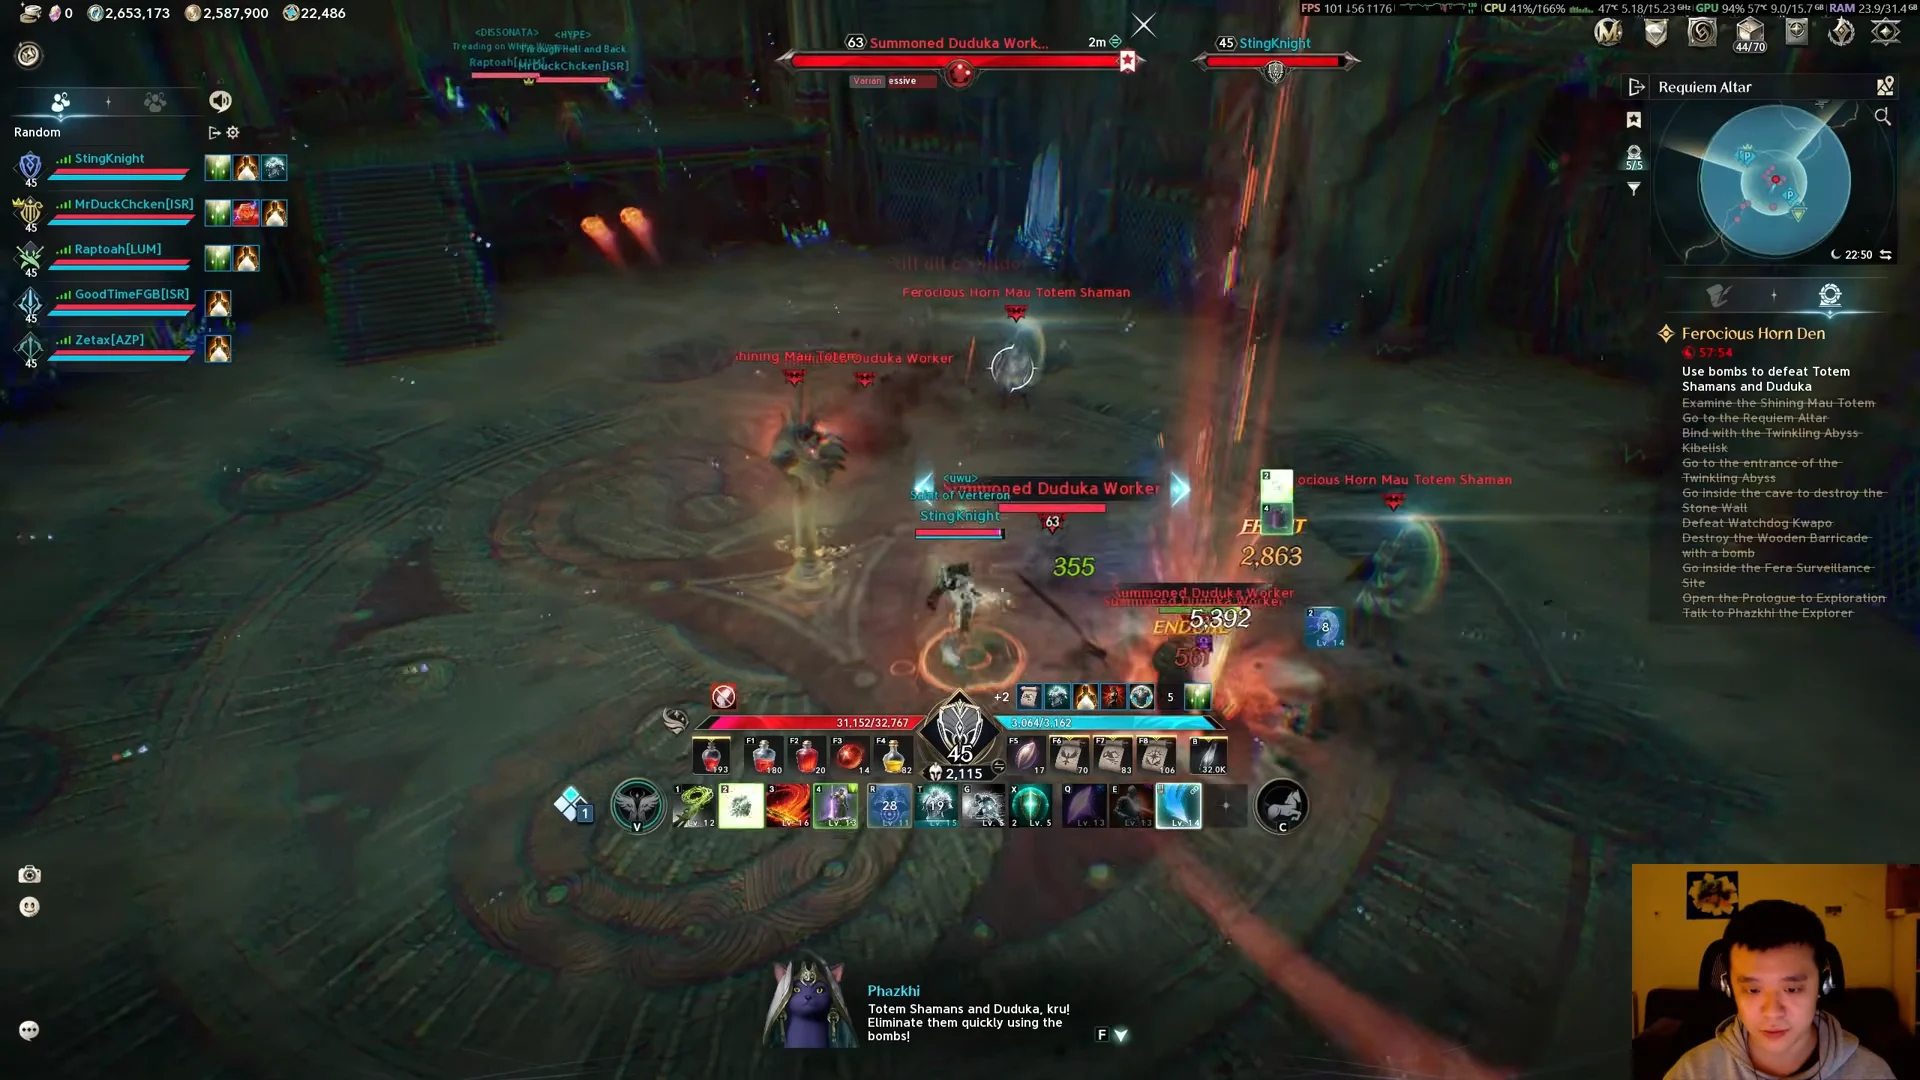
Interacting with the Shining Mau Totem seals the doors and spawns waves of Totem Shamans and Duduka Workers. Everyone needs to be inside before it triggers. Bombs from nearby boxes clear the adds quickly with their area damage, and the totem only becomes destructible once every spawned enemy is dead.
Necromancer Duanka
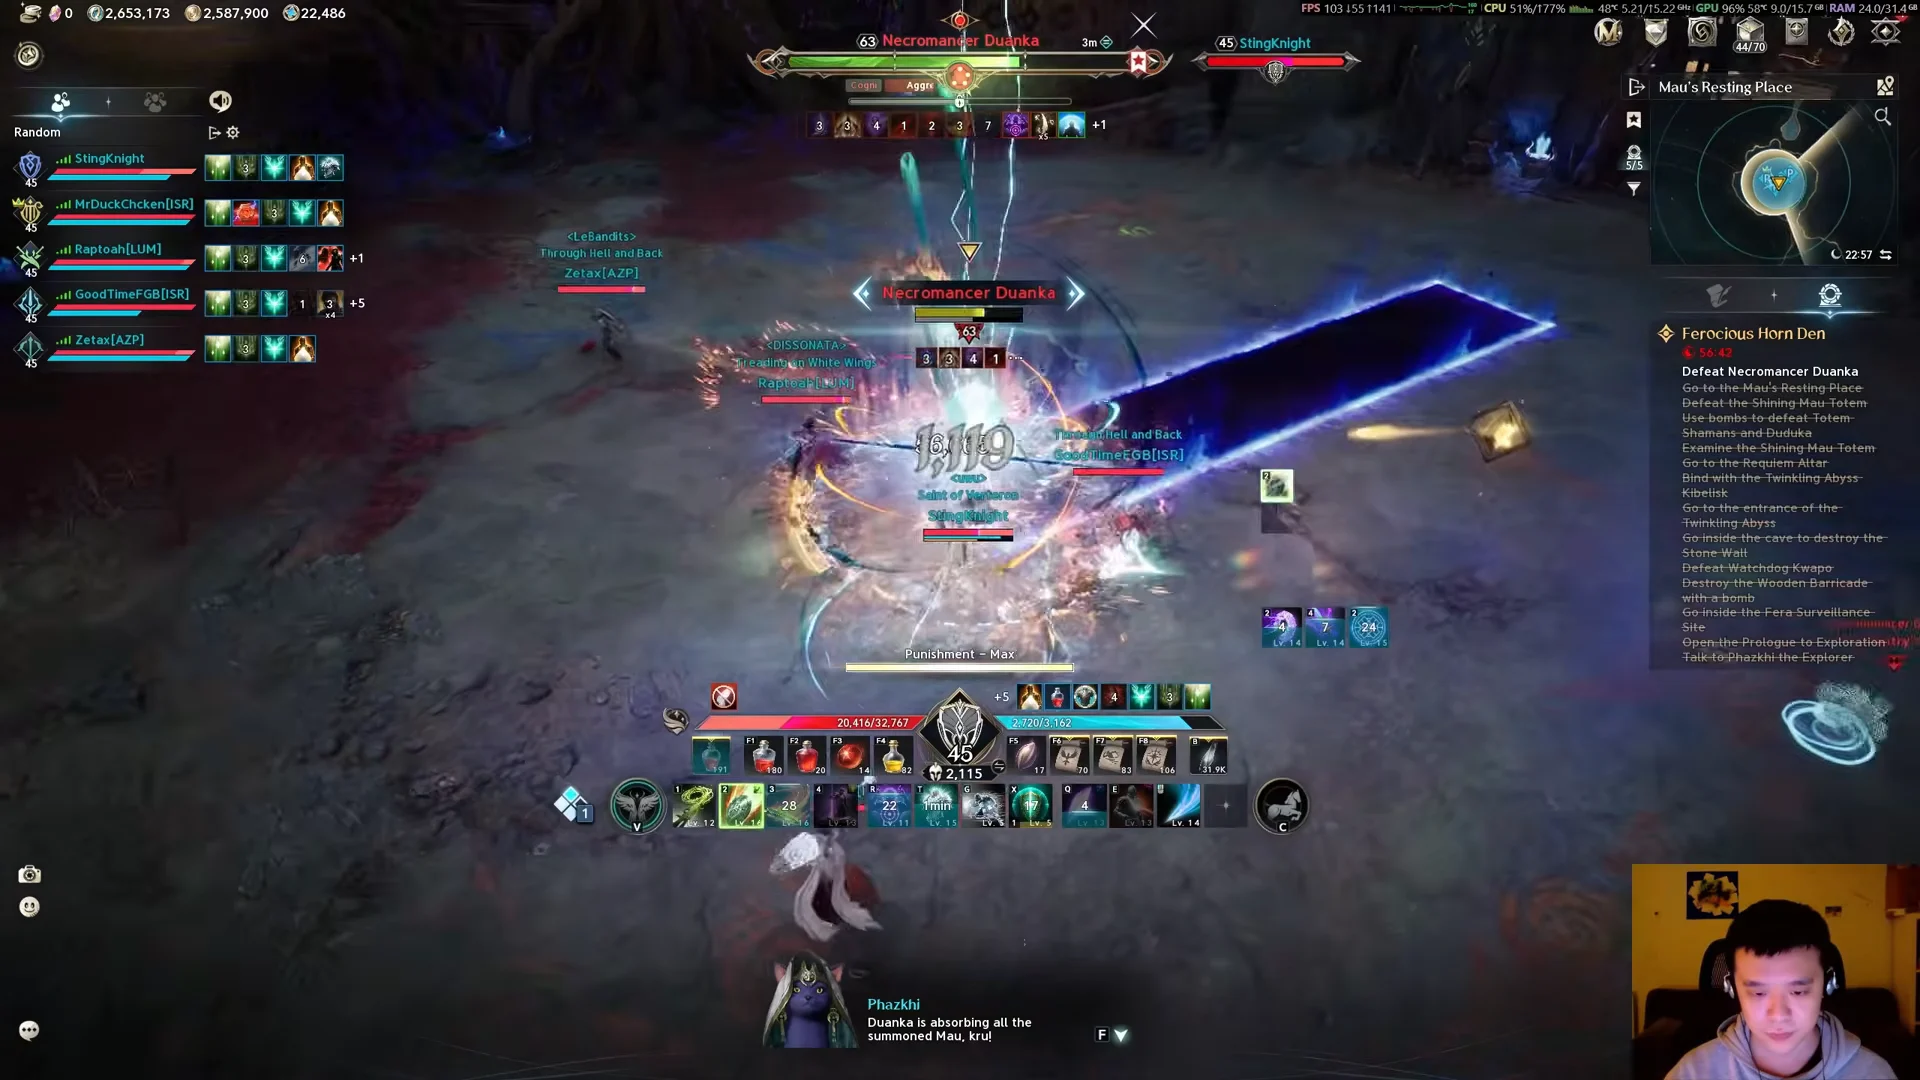
Past the Altar Door sits Necromancer Duanka. The fight’s defining trick is its summoning: Duanka calls in adds that cannot be hurt normally, and if they survive the boss absorbs them and gains stacking buffs. Grabbing the white orb near the altar grants a buff that lets a player damage those adds and move faster, so the group can wipe them out before Duanka drains them.
Ferocious Horn Nuakum
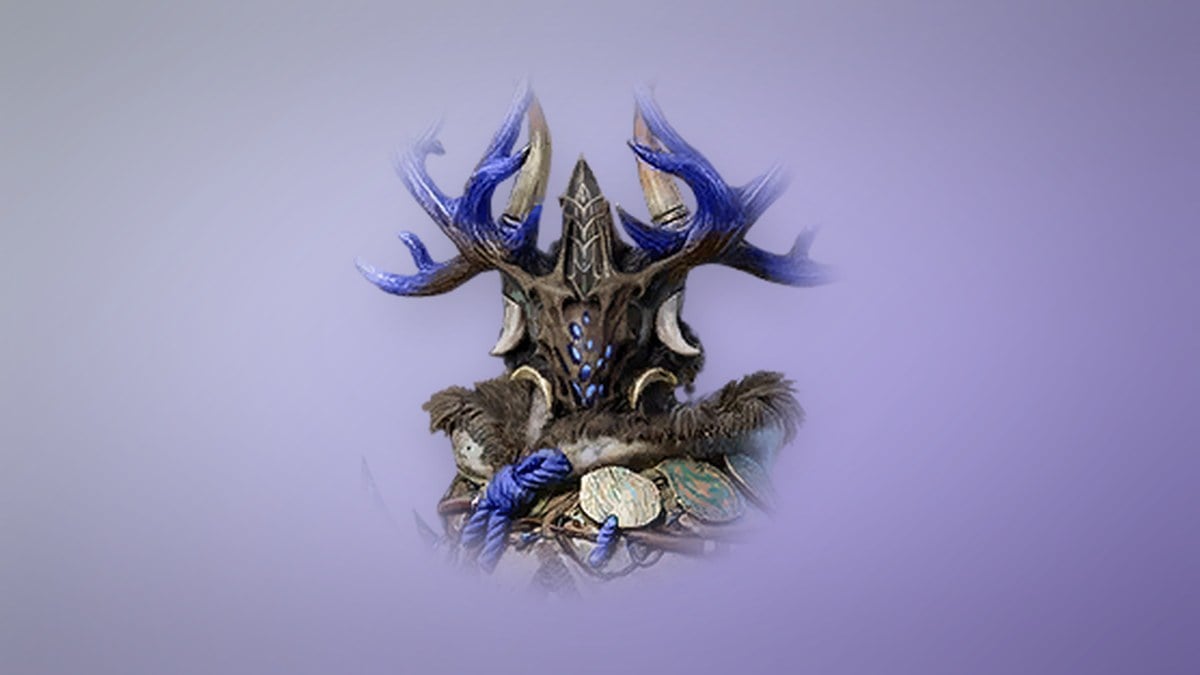
The final boss waits in the Howling Throne after a stretch of updrafts, cliffside gliding, and narrow bridges. Nuakum’s fight is triggered the moment a player steps into the arena, so the party gathers at the Kibelisk first to avoid locking anyone out.
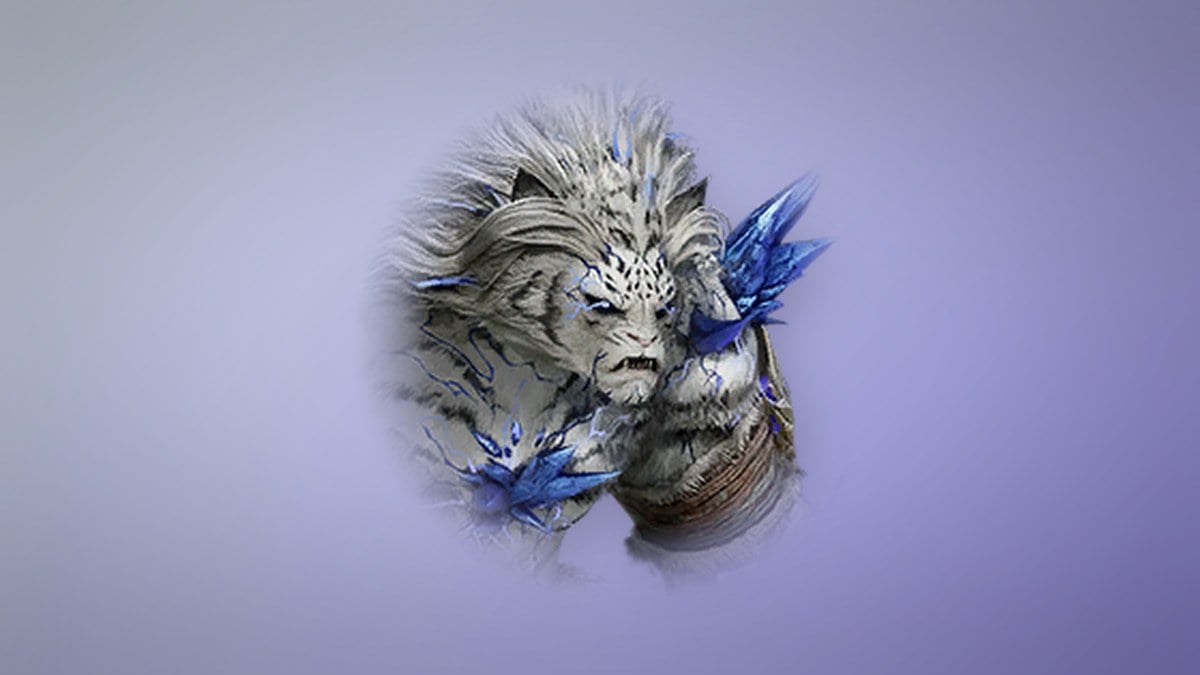
Most of Nuakum’s attacks apply a non-cleansable bleed stack. At three stacks a short timer runs out and a blood puddle forms underneath the player, and those puddles pile up over the fight, so dropping them near the arena edge keeps the center clear. Around 75% and 55% health, Nuakum leaps away, roots a marked player, and sends a clone dashing at them. A player who is not marked steps into the clone’s path to absorb the dash, then the group reads the circle under the target and either stacks in on a small circle or spreads out on a large one.
Near 30% health, a condensed energy orb appears in the center with a long wipe cast. The marked player lines the orb up between themselves and Nuakum so his thrown projectiles strike the orb instead; breaking it stops the cast. Late in the fight he also roots a player and hurls two red balls in a line, which two different unmarked players step in to intercept, one each.
Nuakum gear and the guaranteed reward
Before the run, the selection menu lets you choose one guaranteed Nuakum armor piece to claim at the end for 80 Odyle Energy. The options are the Nuakum Breastplate, Greaves, Helm, Pauldrons, Gloves, Boots, and Cloak, all Unique-grade. The Templar run locks in the Nuakum Boots.
Nuakum Boots are a tier 2 Unique shoe at item level 86, usable from level 45, with four manastone slots and a +15 enchant ceiling. Their base Defense of 424 is the third-highest among the game’s 147 shoe items, behind the 504 on the Splendent Ebony and Splendent Wise Dragon Lord Boots.
| Stat | Value |
|---|---|
| HP | 172 |
| Defense | 424 |
| Item level | 86 |
| Manastone slots | 4 |
| Max enchant | +15 |
| Required level | 45 |
| Sell price | 55,000 Kina |
Epic drop rates by boss
Each boss has its own chance to drop the Epic Black Claw set and the Fera Necklace. Nuakum’s rates are roughly double those of the two earlier bosses, so the final fight is where the set pieces come fastest. These are the per-boss drop chances.
| Item (Epic) | Watchdog Kwapo | Necromancer Duanka | Ferocious Horn Nuakum |
|---|---|---|---|
 Black Claw Ring Black Claw Ring | 5.7% | 5.7% | 12.2% |
 Black Claw Gloves Black Claw Gloves | 4.3% | 4.3% | 9.2% |
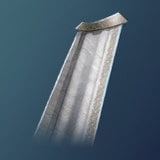 Black Claw Cloak Black Claw Cloak | 4.3% | 4.3% | 9.2% |
 Black Claw Earrings Black Claw Earrings | 4.3% | 4.3% | 9.2% |
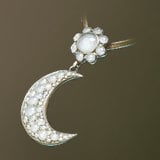 Fera Necklace Fera Necklace | 3.4% | 3.4% | — |
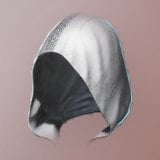 Black Claw Helm Black Claw Helm | 3.4% | 3.4% | 7.3% |
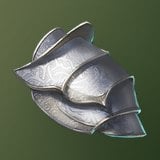 Black Claw Pauldrons Black Claw Pauldrons | 3.4% | 3.4% | 7.3% |
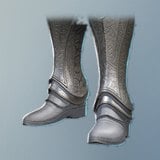 Black Claw Boots Black Claw Boots | 3.4% | 3.4% | 7.3% |
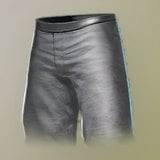 Black Claw Greaves Black Claw Greaves | — | — | 6.1% |
The full Exploration loot table runs to 76 obtainable items, including the Black Claw weapons and armor, the Earth gear set, Durable Balaur Horn, Leather and Scale, Balaur’s Essence, refining and enhance stones, an Amplify Stone Fragment, and the Artwork: Ferocious Horn Den collectible.
Clearing the run and the Perfect Clear achievement
Defeating Ferocious Horn Nuakum ends the run. The Expedition Complete banner appears, loot drops in the arena, and the Odyle Energy Cube opens for you to spend energy and collect rewards. Clearing the Exploration version without anyone dying unlocks the Ferocious Horn Den Exploration Perfect Clear achievement, which pays out one Soul Codex and 5,000 Kina.
If you move on to the harder mode, the Ferocious Horn Den Conquest Clear guide mission tracks ten Conquest clears for a 500 Kina reward, giving a longer-term reason to keep running the den after the Exploration version is on farm.