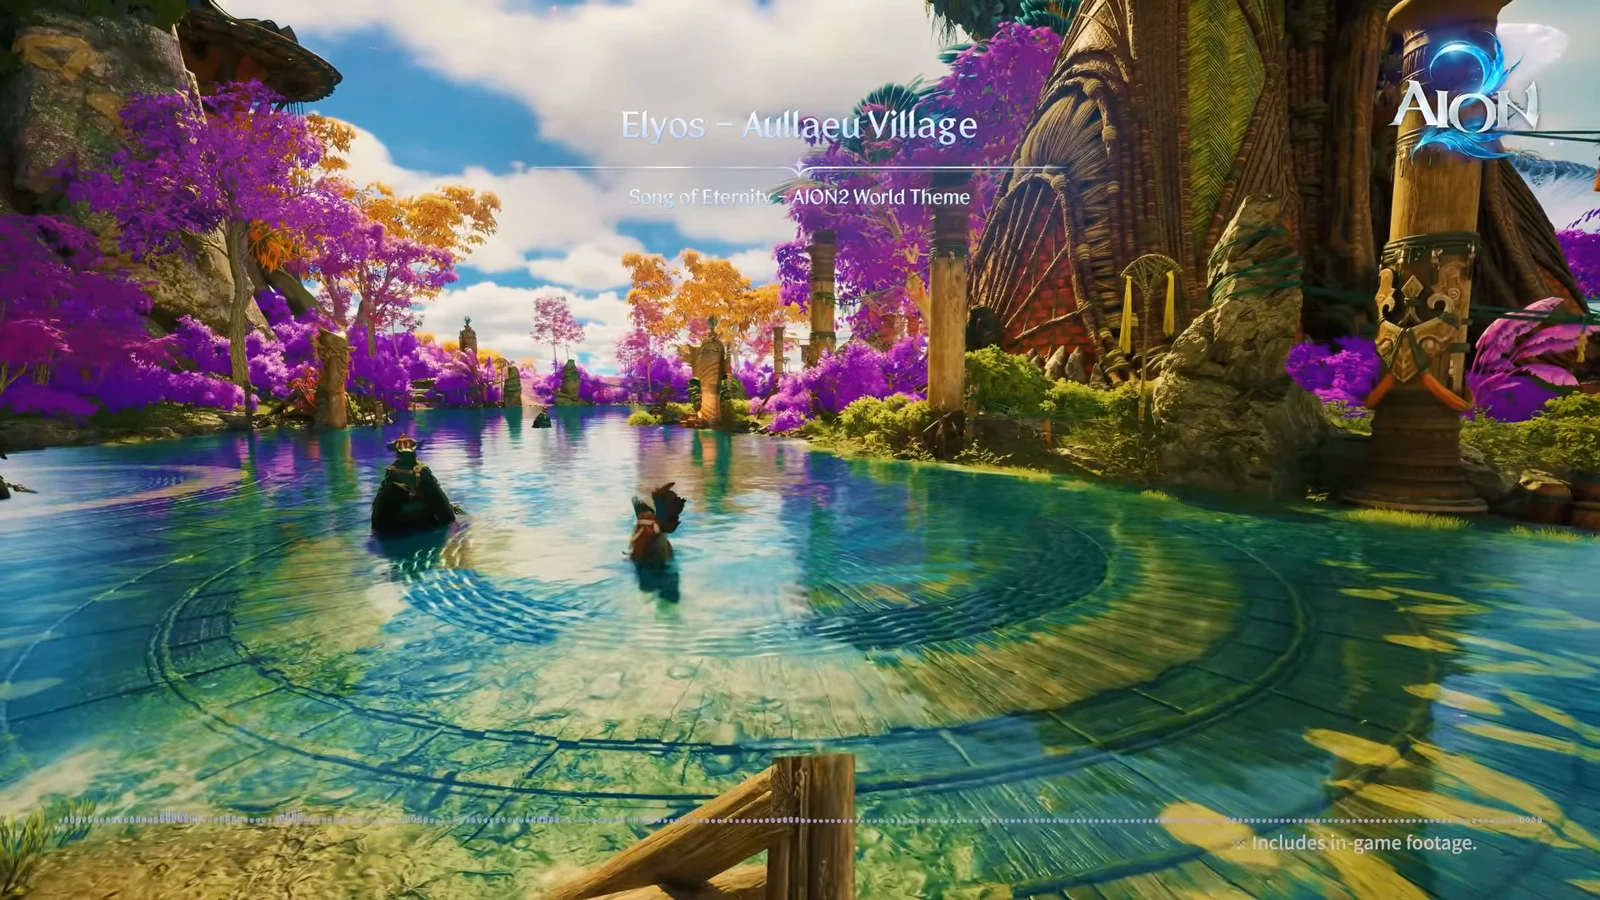
Chapter 4 of the Elyos storyline takes place entirely in Verteron, and it turns into a drawn-out detective case across Tolbas Forest. You start by trying to earn the trust of a Shugo merchant leader, get pulled into a kidnapping, chase a band of traitorous mercenaries, and finally break into a sealed Aullaeu altar to uncover what High Priestess Reda has been doing with Scarlotus. There are 16 Episode quests, and they run back to back with no branching.
Quick answer: Play all 16 quests in order from Mutual Benefit to Secrets Within Secrets. Recommended levels run 24 to 30, every quest is in Verteron, and the full chapter pays out 22,448,495 XP plus the chapter completion title.
Meeting Kochi and the kidnapping
The opening three quests introduce the Wind Breeze Merchants, set up the crime, and hand you your first clue. Caelid gives all three, and the goal is simple at first: get the Shugo merchant chief Kochi to talk, since he has dealings with Reda.
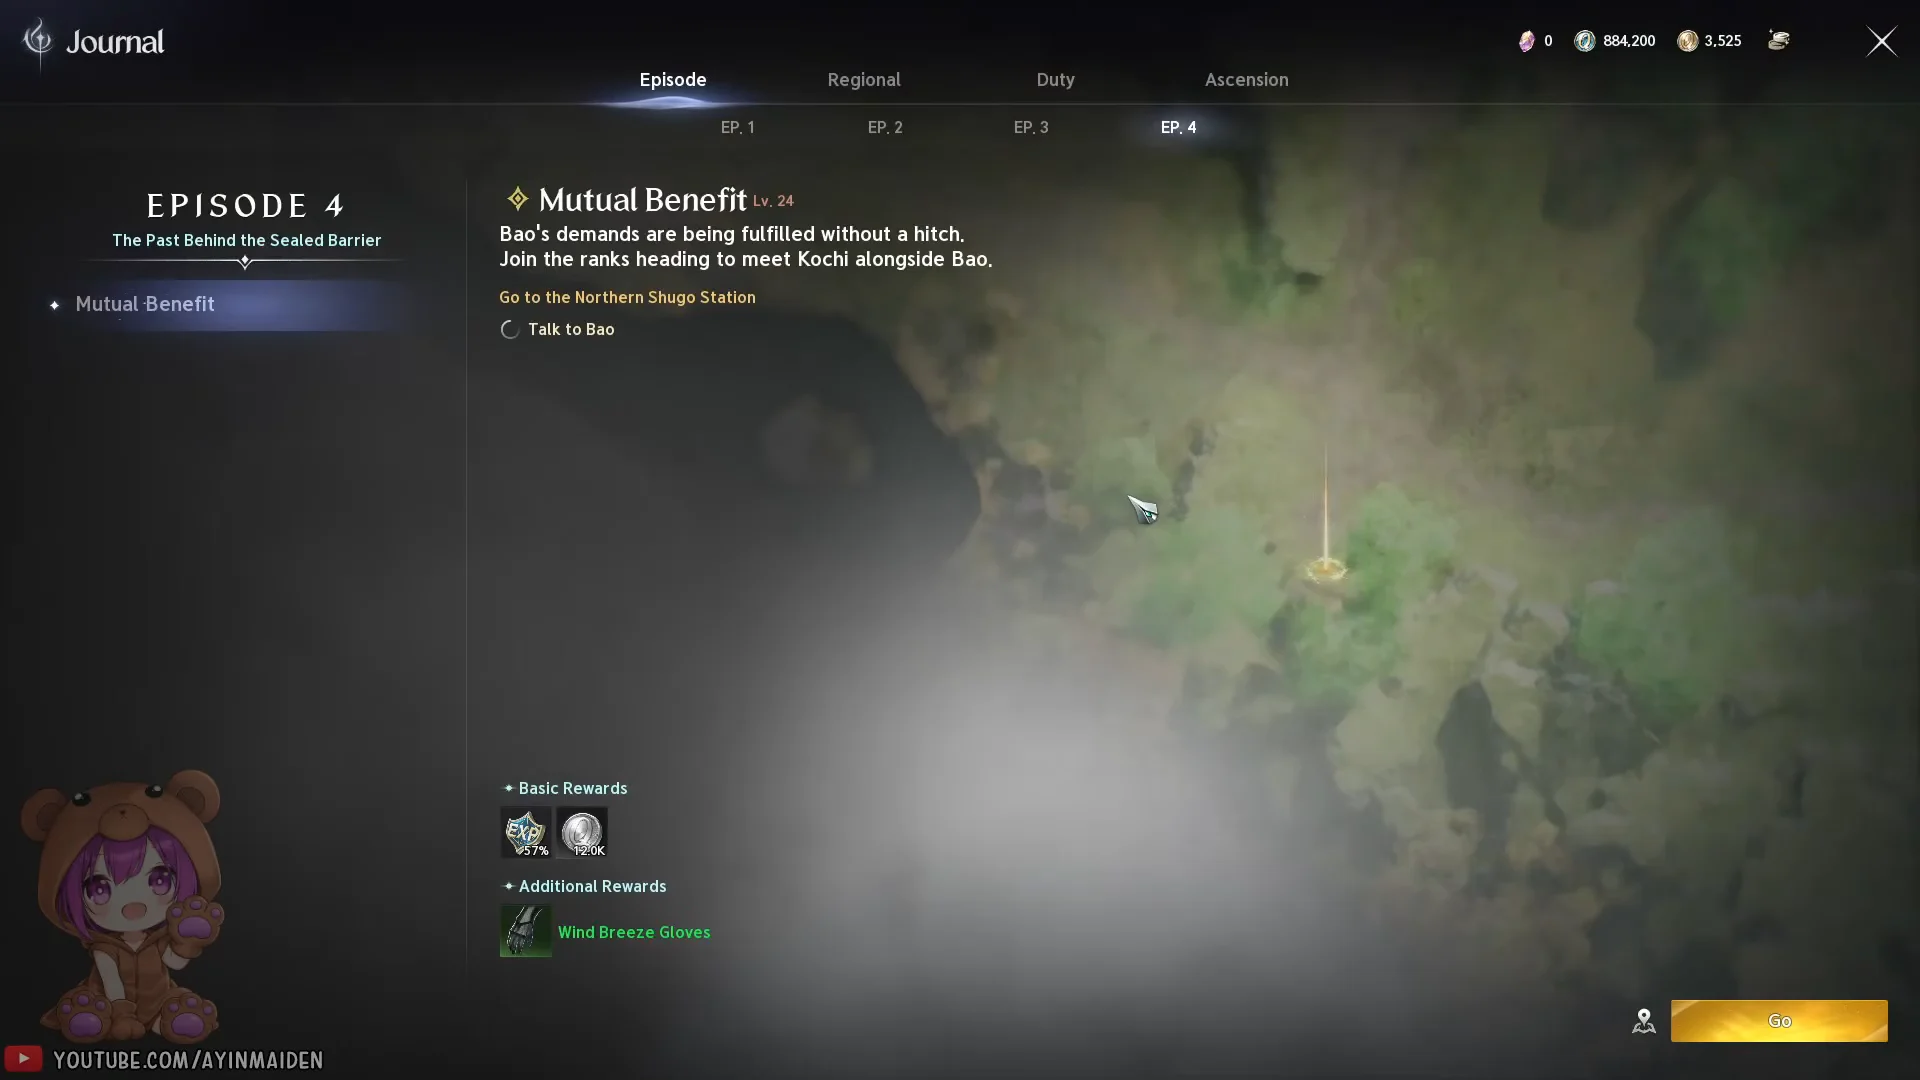
Mutual Benefit
Mutual Benefit starts and ends with Caelid. Kochi distrusts Daeva, so Bao offers an introduction in exchange for an escort job. As Caelid puts it before you set off, “We’re finally meeting the famous Kochi.”

Shugonapped
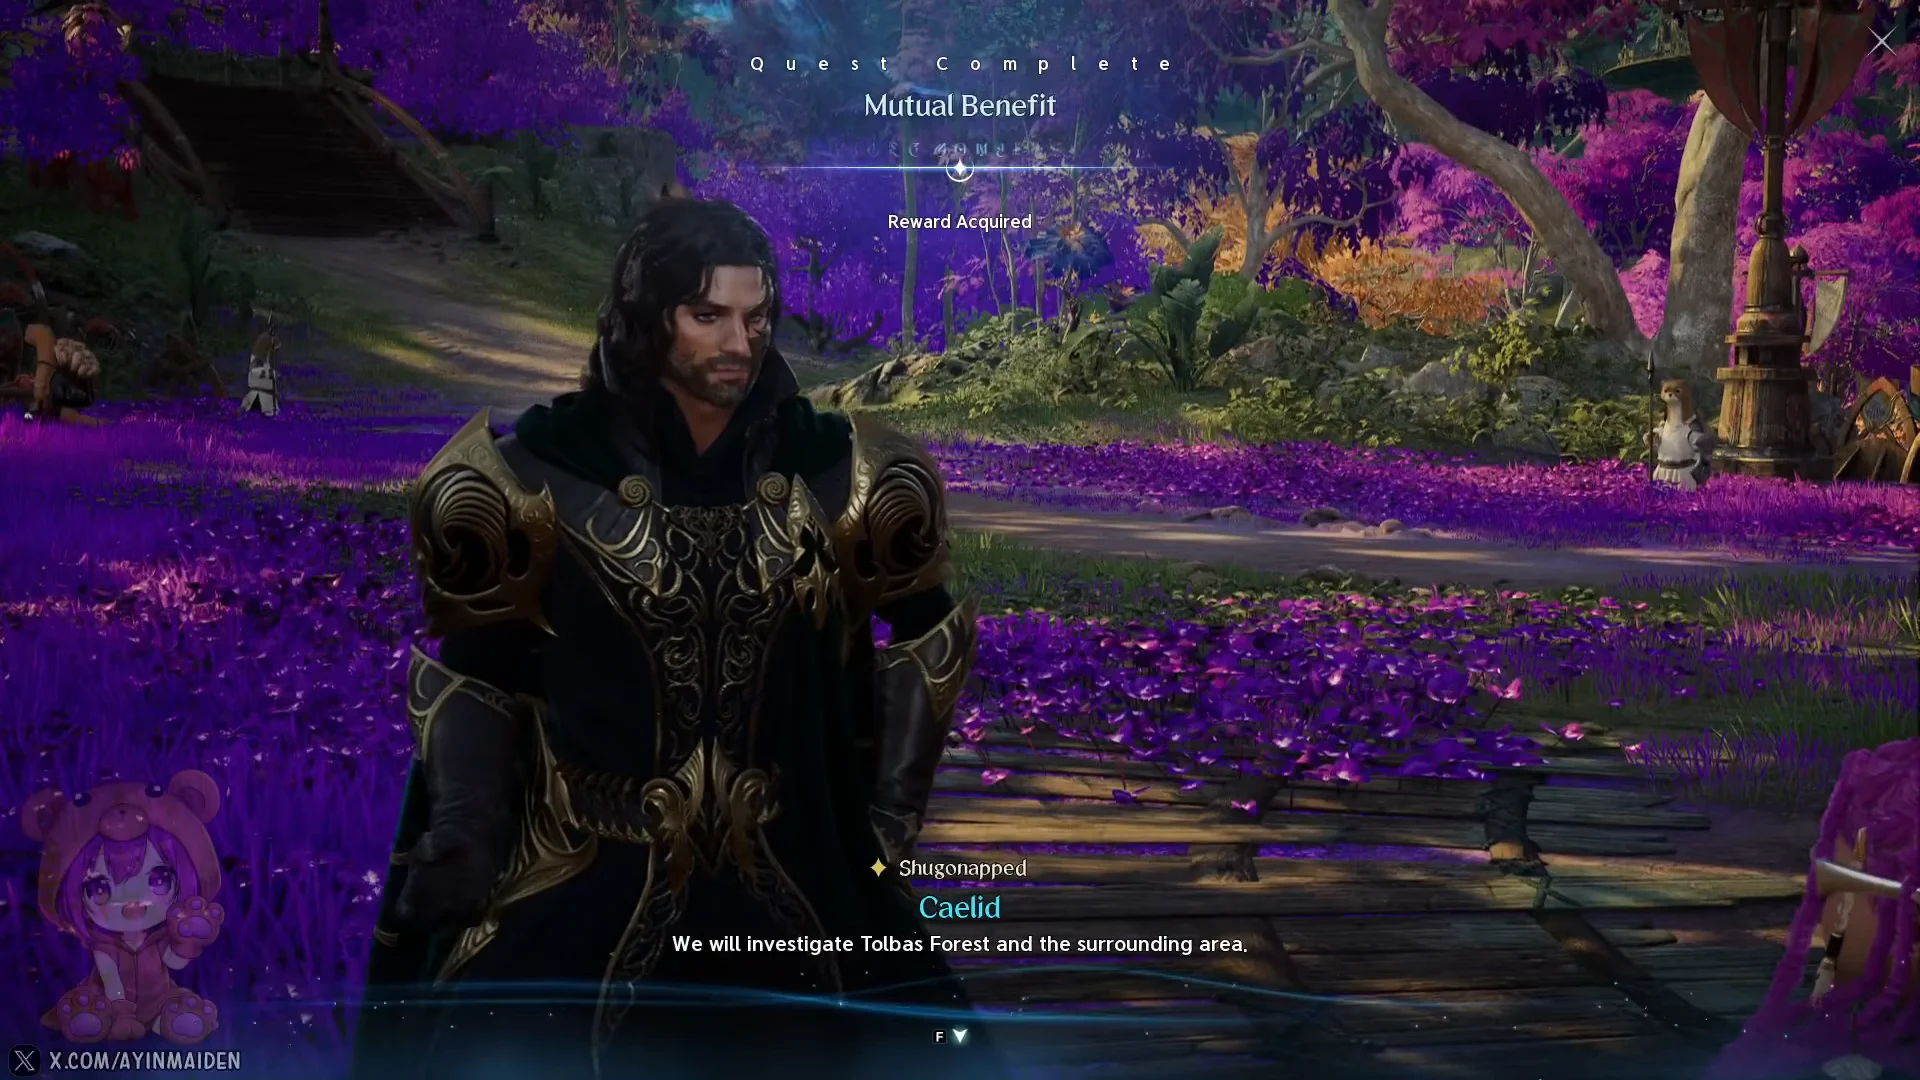
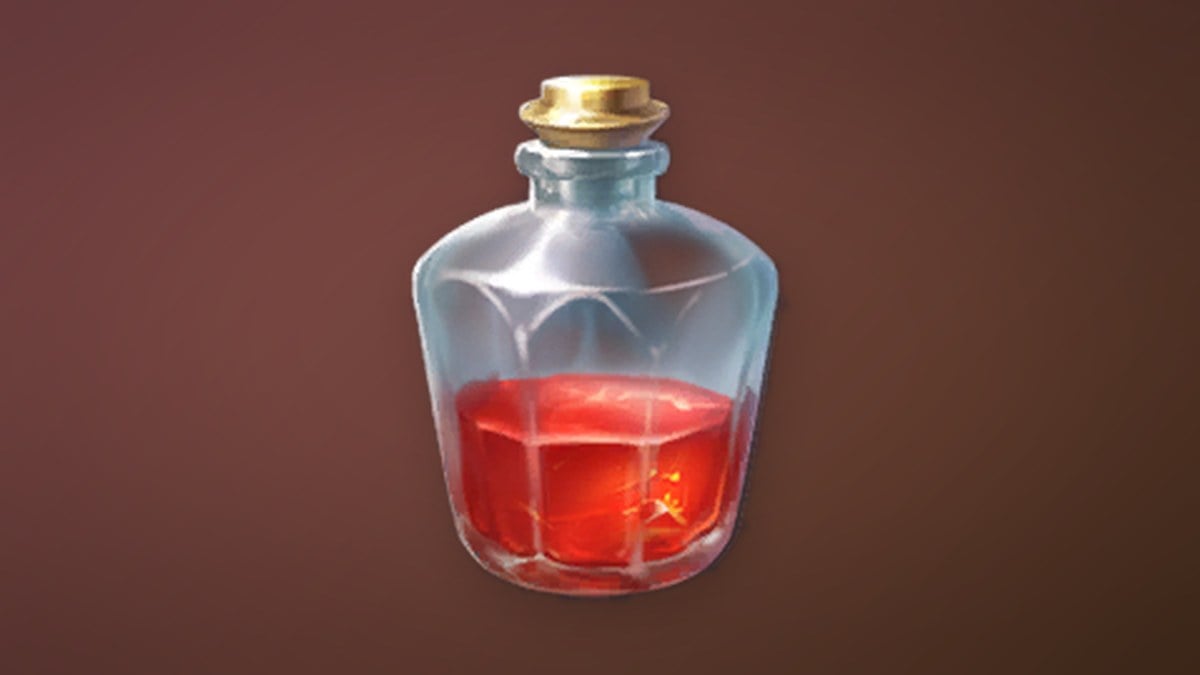
Shugonapped starts and concludes with Caelid stationed outside Kochi’s Quarters. Since Shugo frequently trade Gravi Herb, you collect the plant as a peace offering, but discover Kochi is missing.
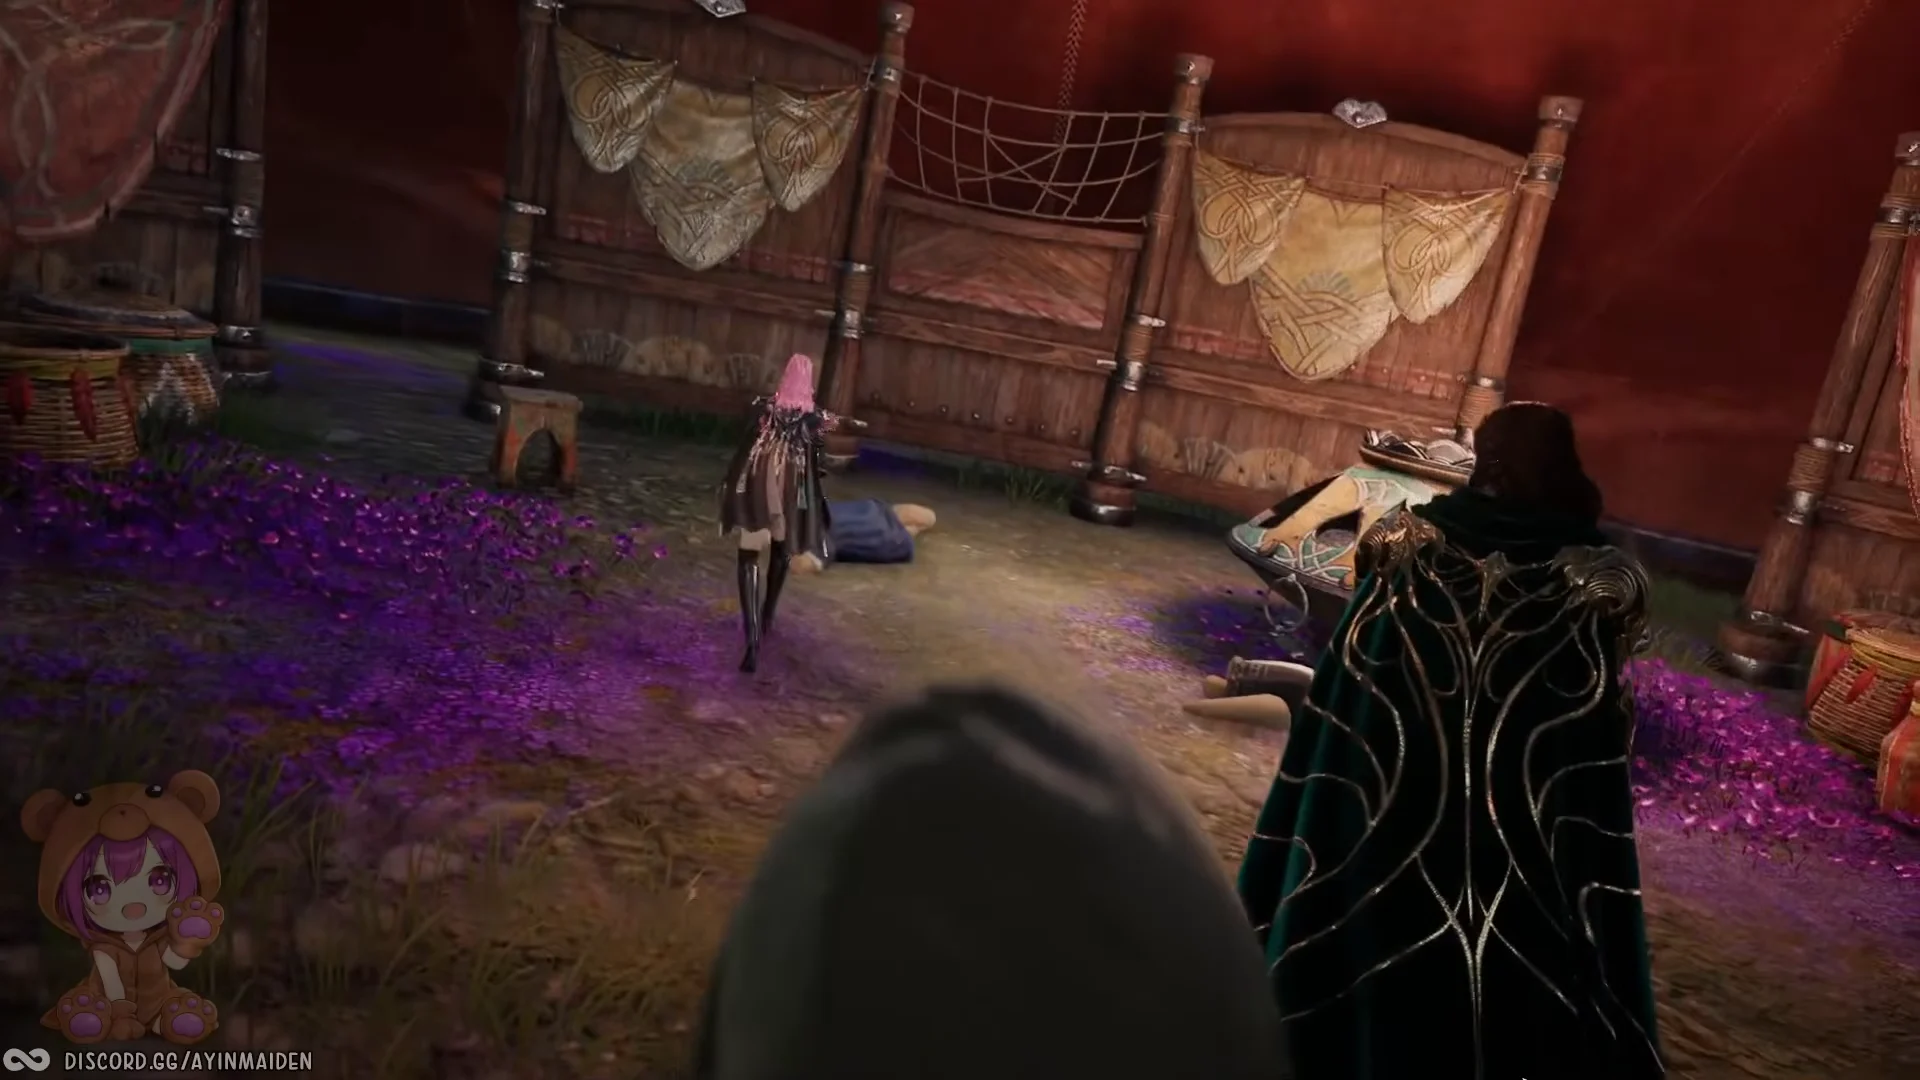
Inside, a human mercenary’s weapon is left behind among the mess, which shifts suspicion away from a simple Aullaeu raid. The scattered notes and a weapon shop receipt are what point Caelid toward following the blade.
Finding Kochi
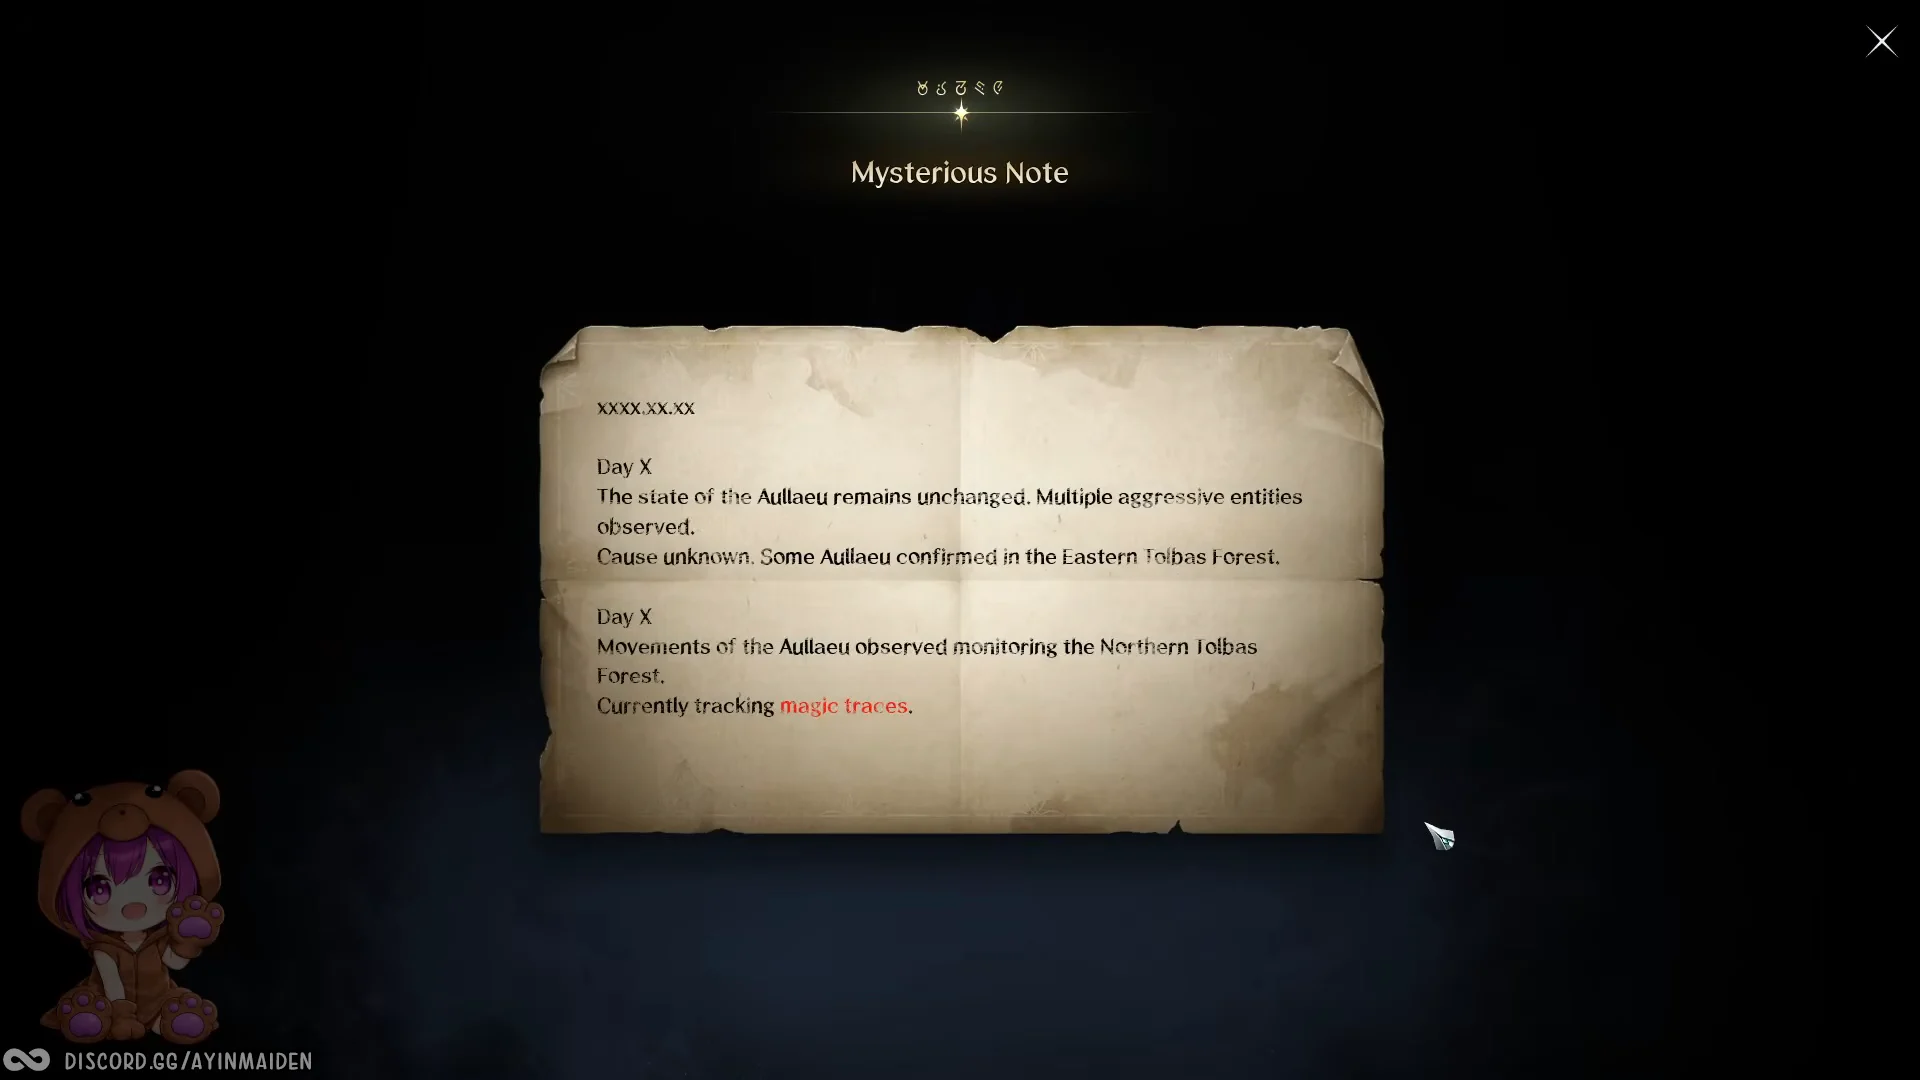
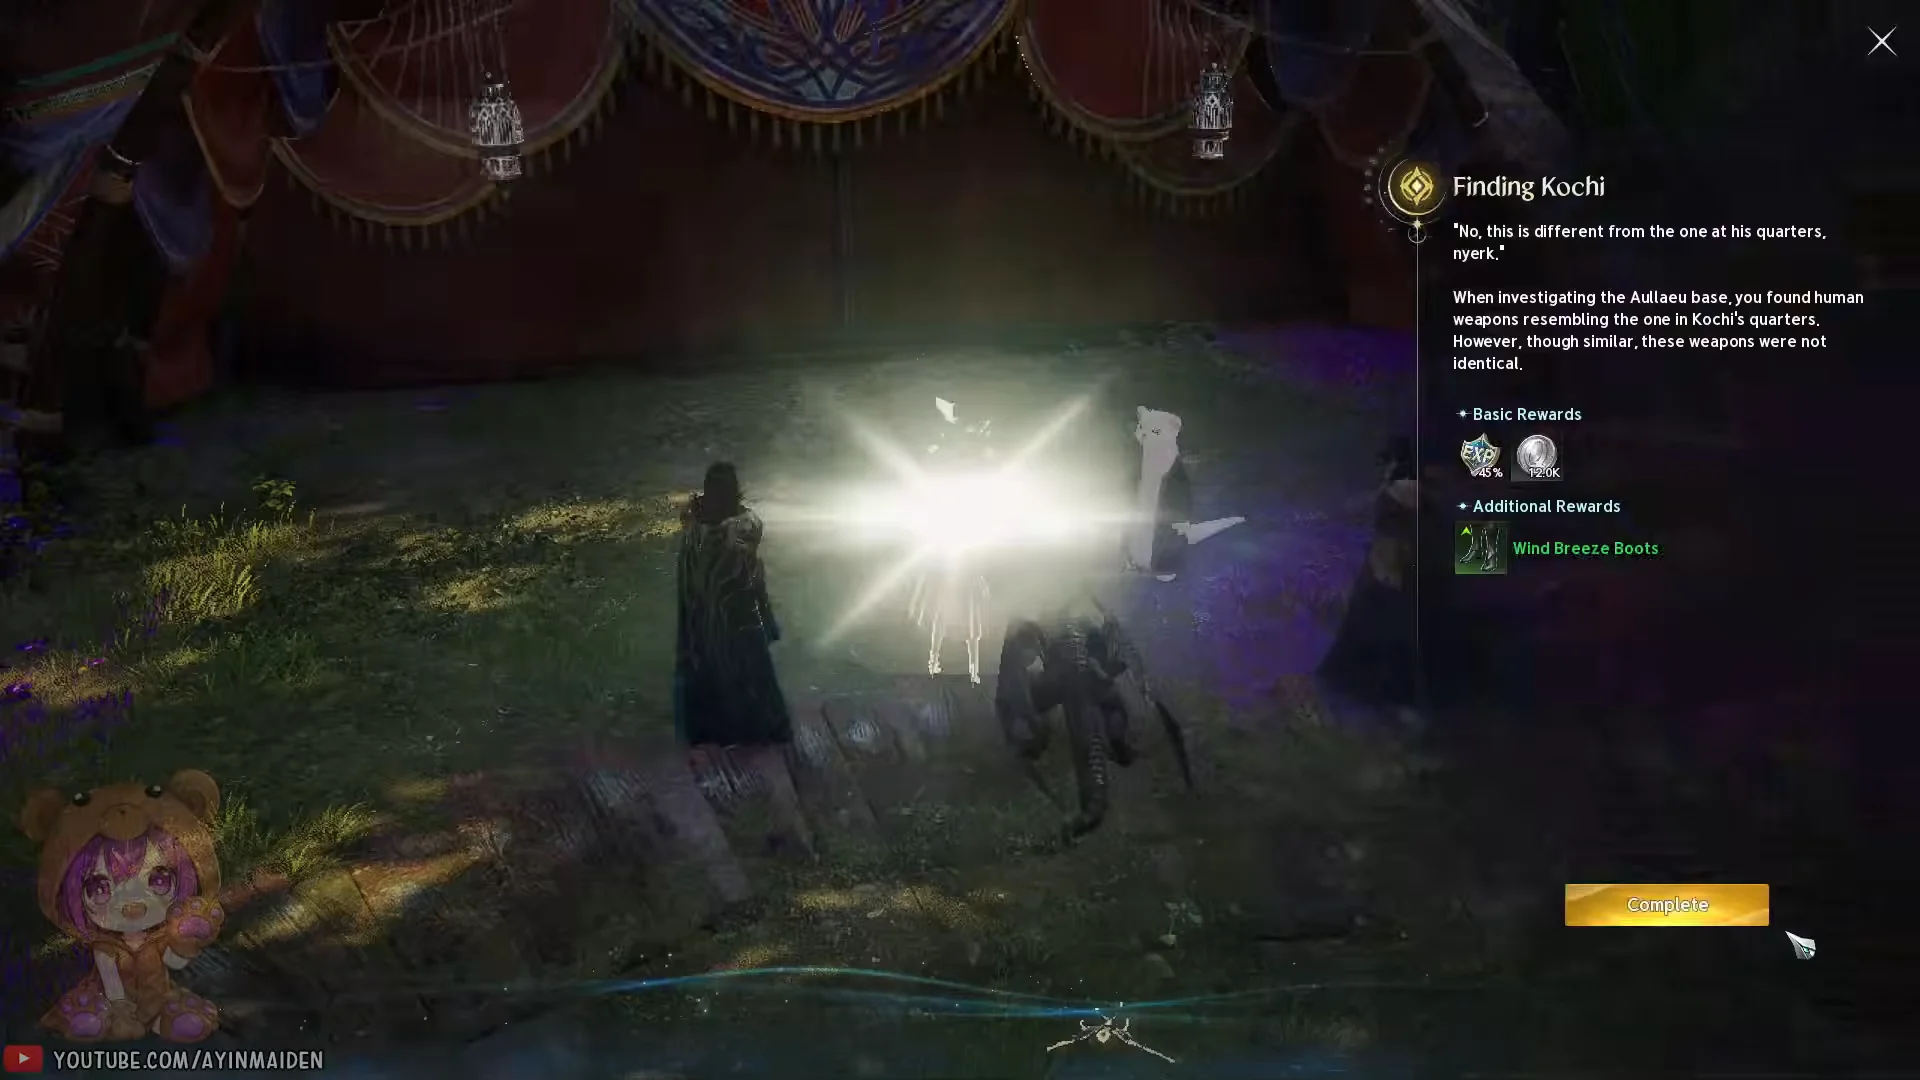
Finding Kochi is assigned by Caelid and completed with Bao. The Aullaeu and Shugo have been rivals for a long time, so begin by checking the Aullaeu’s northern base. Enter the Northern Tolbas Forest, destroy 2 Aullaeu Defense Totem, defeat 6 Tolbas Konutin Seeker and Tolbas Konutin Worker, then inspect the Weapon Remnants twice. Their weapons look like the one found in the tent, but differ from it, leaving the culprit unidentified.
Chasing the Astin Mercenaries
The trail now leads to a mercenary company that once worked for Kochi. These five quests expose a double-cross and end with the leader captured.
Mercenary Pursuit
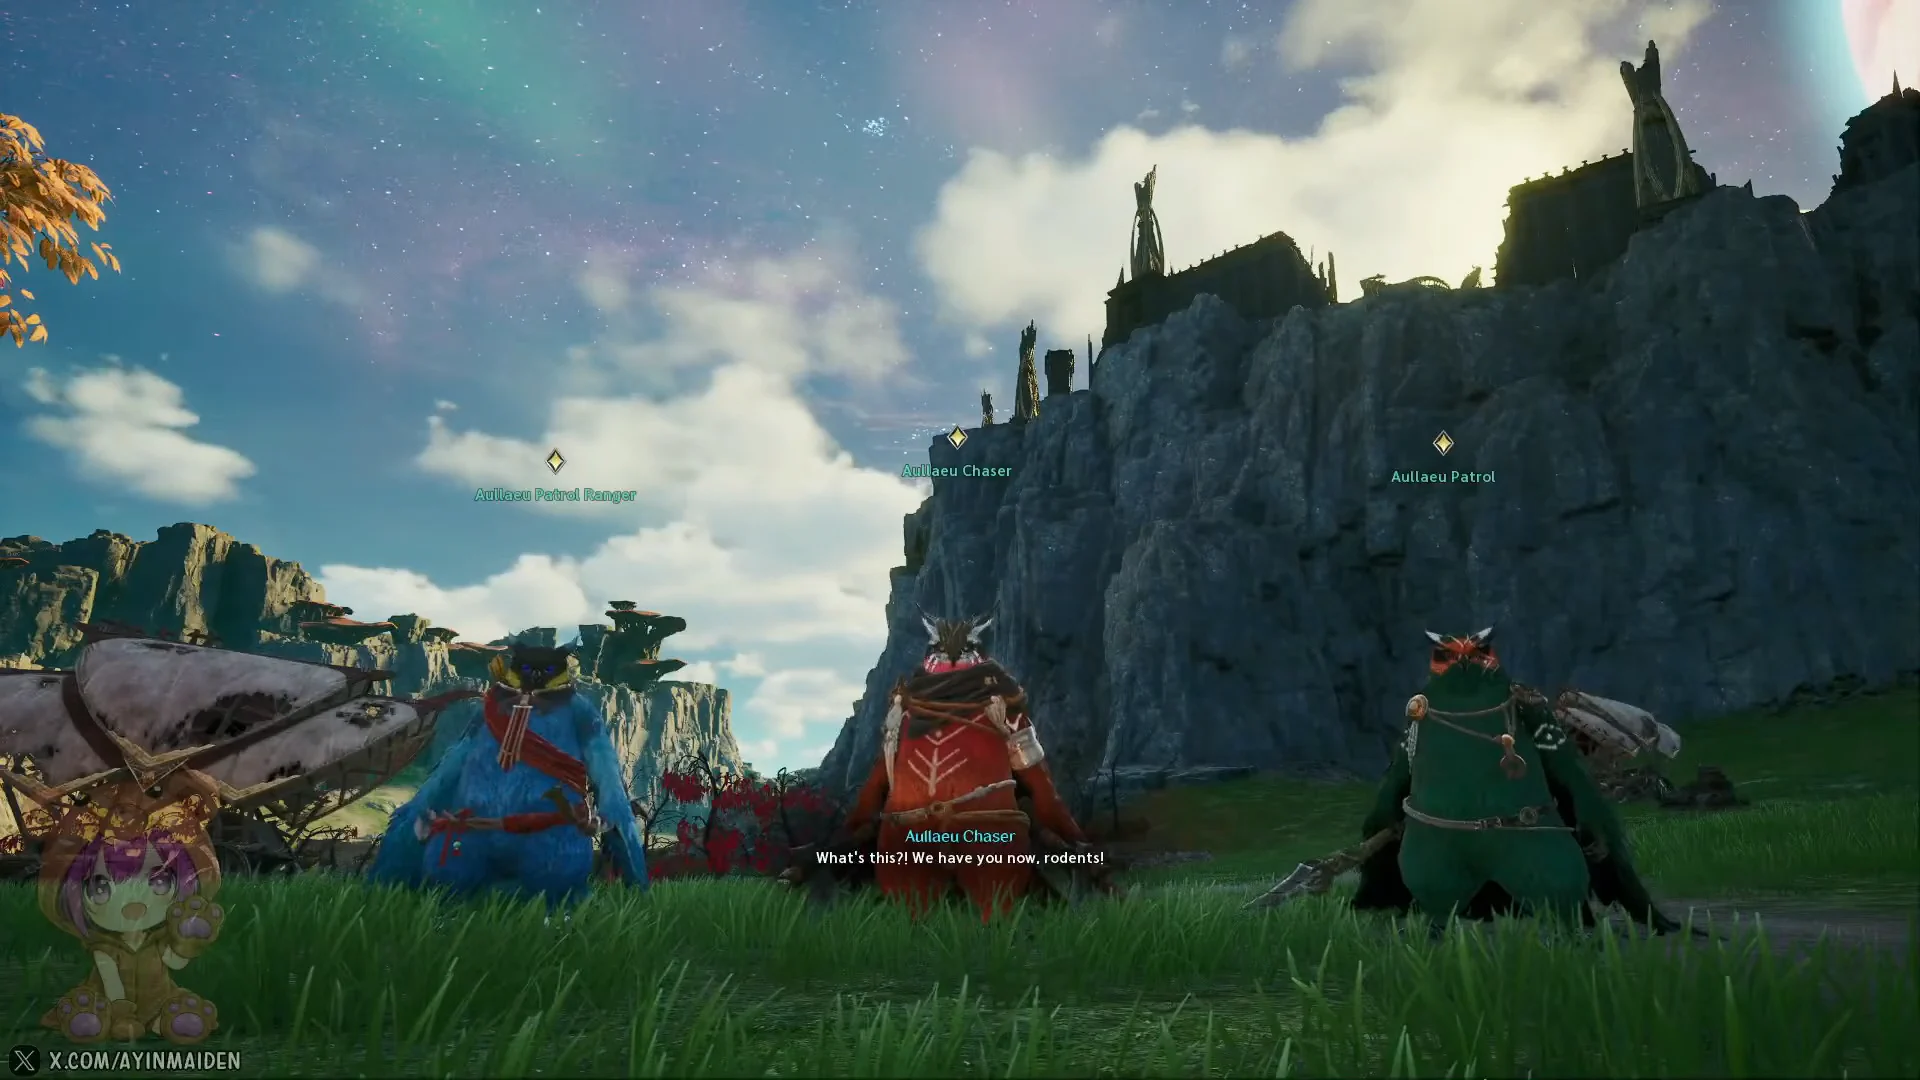
Mercenary Pursuit is handed over by Arin and turned in to Astin. Arin reports that mercenaries caused trouble at the Southern Shugo Station, and they turn out to be the Astin Mercenaries, who previously had a contract with Kochi. Talk to Caelid to head to the Southern Shugo Station, where you fight off the attackers and interrogate a captured mercenary, learning Astin’s location and that he holds no goodwill toward the Shugo despite his deal.
Weapon’s Owner
Weapon’s Owner is given by Astin and turned in to Baison. Astin refuses to cooperate and even drops a veiled threat, so you question the rank and file instead. Talk to Carter, then talk to Jade. During the questioning, a disillusioned founding member named Baison offers to trade information for a favor. As he admits, “I’m sick of doing Astin’s dirty work.”

Best Served Cold
Best Served Cold starts and finishes with Baison. He asks you to raid Astin’s hidden cache in return for his help. Enter the Secret Storage, defeat the monster-like creature guarding the area, and retrieve the trade ledger. Once you deliver it, Baison provides the information.
Hidden Scheme
Hidden Scheme is given by Baison and turned in to Caelid. The ledger reveals Astin never meant to pick a side in the Shugo-Aullaeu feud, and that most of his dealings happened in the Night Dew Cave.

Crime Scene
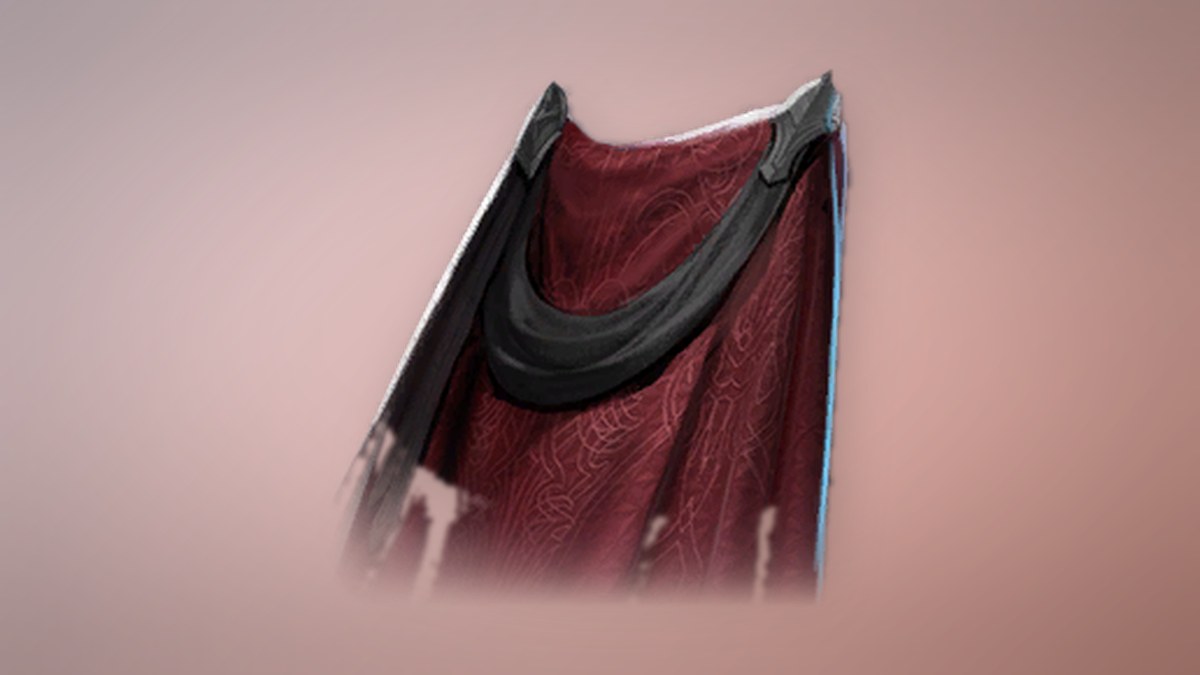
Crime Scene is given by Caelid and turned in to Bao. Go to the Illicit Trade Spot at the appointed time. Astin and the Aullaeu are caught discussing the sale of captured Shugo, and the ambush lets you take Astin alive. Kochi himself, however, has already been moved elsewhere. Caelid’s order going in is clear: “Remember, we need Astin alive. He’s the only way to find Kochi.”
Infiltrating the Aullaeu Village
With Astin caught, the truth lands: the Aullaeu took Kochi, and Kochi had been supplying Reda with Scarlotus materials. These three quests cover the disguise, the search inside the village, and the rescue.
Thorough Preparation
Thorough Preparation is given by Bao and turned in to Caelid. Rather than storm the village, you prepare a transformation disguise and gather intel. Bao warns that the perimeter is defended with sorcery totems.
Shugo Tracks
Shugo Tracks is given by Caelid and turned in to Bao. Aullaeu command papers say Kochi is held in the Root Cellar, so you slip inside disguised.
Shugo in the Cellar
Shugo in the Cellar comes from Bao and is completed with Kochi. Beneath a giant tree to the east, the Root Cellar is protected by numerous explosion totems. Meet Caelid outside the Root Cellar, then enter and rescue Kochi, with every Dawn legionnaire contributing. Kochi is safe, though shaken. As he says while leaving, “This place is too dangerous, nyerk. Let’s move somewhere else!”

The sealed altar and Reda’s secret
Kochi finally explains what Reda was doing, and the last five quests open the sealed underground altar to confirm it. Chief Aulamus locked the altar, so you need another way in.
Exiled Aullaeu
Exiled Aullaeu is given by Kochi and turned in to Daki. Kochi admits he helped Reda gather Scarlotus materials, and that she experimented at the Aullaeu’s underground altar to bring her dead daughter back to life. Since Aulamus sealed the altar, Kochi points you toward Holyaul, Aulamus’s exiled rival.
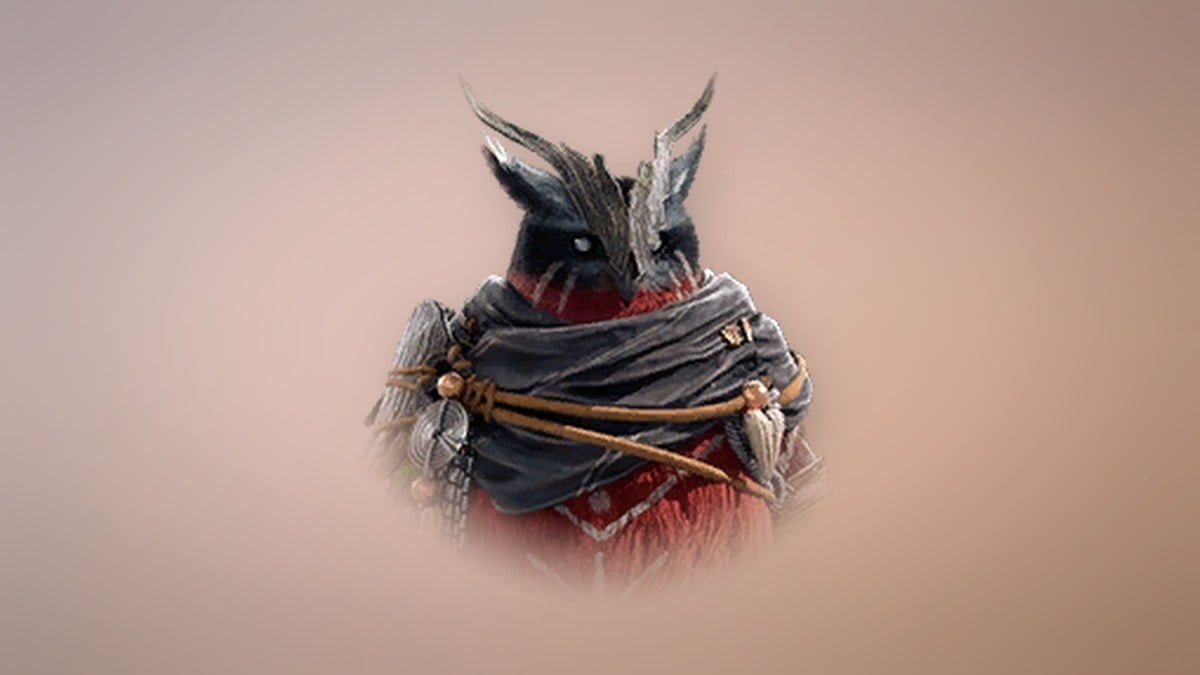
Holyaul Rescue Operation
Holyaul Rescue Operation is given by Daki and turned in to Kochi. Daki shares what he knows, and Holyaul agrees to break the altar’s seal if you free him first. Commence the rescue to get Holyaul moving. The escape route is rigged with Aulamus’s traps, and Holyaul is killed by a spell before he can help, so the only remaining option is to steal Aulamus’s key.
Aulamus’s Key
Aulamus’s Key is given by Kochi and turned in to Caelid. Phernos is determined to confirm something about Reda, so you hunt down Aulamus for the key.
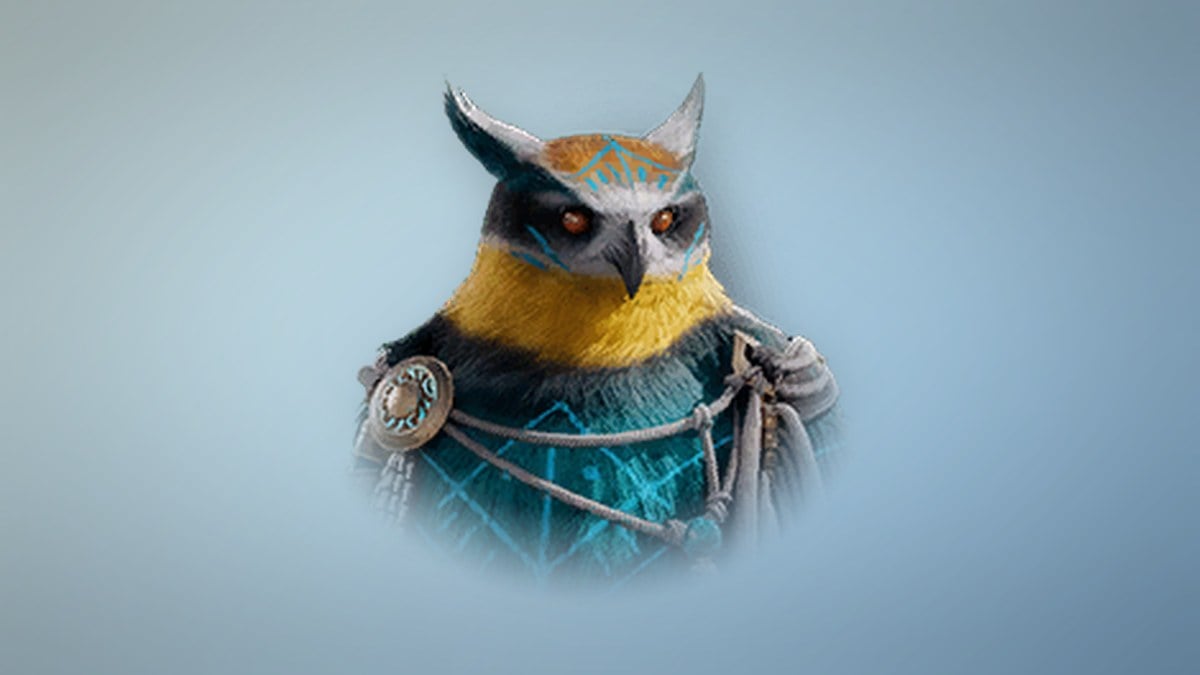
Secrets of the Altar
Secrets of the Altar comes from Caelid and is completed with Caelid. Unlock the Aullaeu Altar with the key, then discuss your discoveries with Phernos. The altar holds corrupted Aullaeu and summoned wraiths, along with a photo of Teina, Reda’s daughter. Reda brought her back to life with Scarlotus, and Phernos vows to reclaim the Core from her by any means necessary.

Secrets Within Secrets
Secrets Within Secrets is given by Caelid and turned in to Nania, and it closes the chapter. Reda’s trail leads to Altamia Canyon, home of the Notos Legion, but Kochi flags one last problem in Tolbas Forest: the Urugugu tribe, Aullaeu who now worship Dragon Lord Ishtar.

All chapter 4 quest rewards
Every quest pays Kina (Bound) and XP, with most also dropping a piece of the Wind Breeze armor set or a batch of scrolls. The XP across all 16 quests adds up to 22,448,495.
| Quest | XP | Kina (Bound) | Other reward |
|---|---|---|---|
| Mutual Benefit | 601,603 | 12,000 | Wind Breeze Gloves x1 |
| Shugonapped | 601,603 | 12,000 | Life Serum (Bound) x20 |
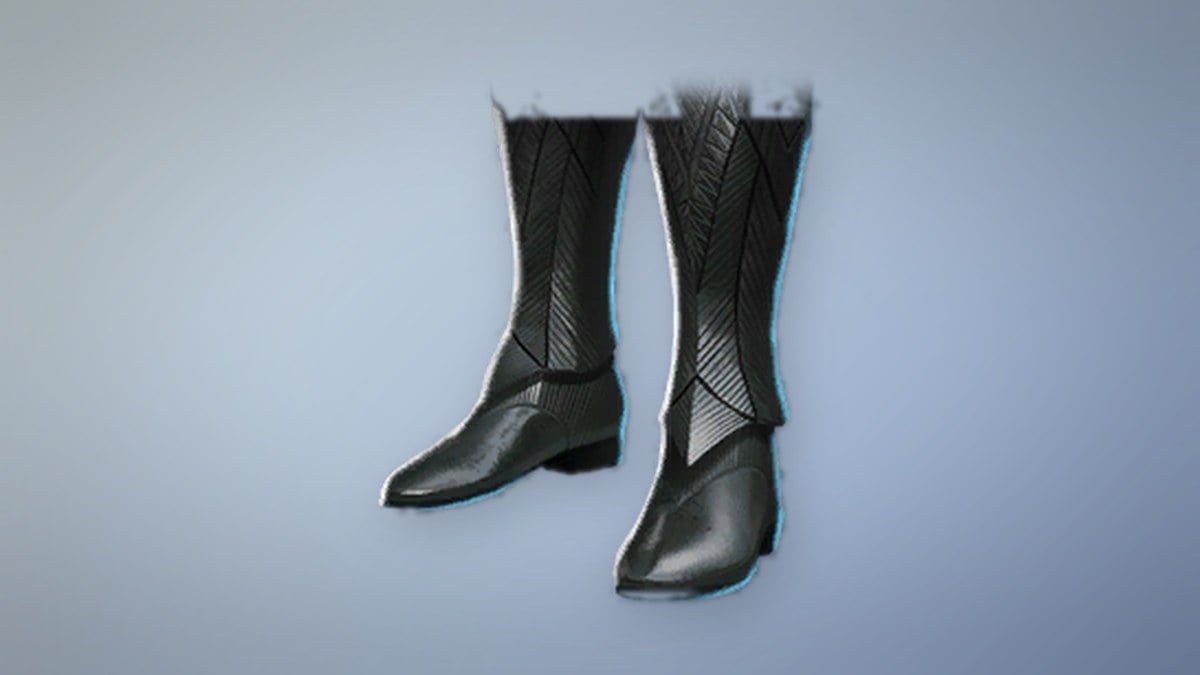
| Finding Kochi | 601,603 | 12,000 | Wind Breeze Boots x1 |
| Mercenary Pursuit | 601,603 | 12,000 | Power Shard (Bound) x1,000 |
| Weapon’s Owner | 601,603 | 12,000 | Wind Breeze Breastplate x1 |
| Best Served Cold | 849,322 | 13,000 | Wind Breeze Greaves x1 |
| Hidden Scheme | 849,322 | 13,000 | Courage Scroll (Bound) x20 |
| Crime Scene | 849,322 | 13,000 | Wind Breeze Cloak x1 |
| Thorough Preparation | 1,079,138 | 14,000 | Status Effect Resist Scroll (Bound) x5 |
| Shugo Tracks | 1,567,939 | 16,000 | Wind Breeze Guard x1 |
| Shugo in the Cellar | 1,992,205 | 17,000 | — |
| Exiled Aullaeu | 1,992,205 | 17,000 | Benediction Scroll (Bound) x20 |
| Holyaul Rescue Operation | 1,992,205 | 17,000 | Battle Enhance Scroll (Bound) x2 |
| Aulamus’s Key | 2,756,274 | 18,000 | Wind Breeze Pauldrons x1 |
| Secrets of the Altar | 2,756,274 | 18,000 | Wind Breeze Helm x1 |
| Secrets Within Secrets | 2,756,274 | 18,000 | Aullaeu Wings (Bound) x1 |
How to know the chapter is done
Hand Secrets Within Secrets to Nania to finish Chapter 4. The journal then moves to Episode 5, Two-Faced, which opens with An Uneasy Alliance. Complete all 16 Episode quests to earn the The Past Behind the Sealed Barrier title through its associated achievement, along with 36,000 Kina (Bound) and 5 Life Crystal (Bound). Worn, the title grants Critical Attack +17; adding it to your title collection contributes Accuracy Bonus +5 to the collection bonus.
Reward and Level Reference for Thorough Preparation and Secrets Within Secrets
Two quests in Chapter 4 sit at opposite ends of the Verteron run: Thorough Preparation, where the Aullaeu Village push begins, and Secrets Within Secrets, the last quest of the chapter. Here is what each one asks of you and pays out.
| Detail | Thorough Preparation | Secrets Within Secrets |
|---|---|---|
| Given by | Bao, Eastern Shugo Station | Caelid, Aullaeu Village Border |
| Turned in to | Caelid, Aullaeu Village Border | Nania, Wind Breeze Merchant HQ |
| Recommended level | 26 | 30 |
| XP | 1,079,138 | 2,756,274 |
| Kina (Bound) | 14,000 | 18,000 |
| Item rewards | Status Effect Resist Scroll (Bound) x5 | Aullaeu Wings (Bound) x1 |
| Next quest | Shugo Tracks | An Uneasy Alliance |
Secrets Within Secrets has four steps: two conversations with Kochi, a conversation with Sami, and an interaction with the Urugugu Canyon Entrance. Kochi explains that the Urugugu, a group of Aullaeu who once followed Tiamat, now worship the Dragon Lord Ishtar and are building an altar at Urugugu Canyon. After the quest, Caelid, Phernos and Nania head for Zumion Village to ask the Notos Legion for help.
All of it takes place in Verteron, which has 61 teleport statues and 15 rifts. The region also holds 2 monoliths and 85 dungeon entrances if you want to take detours between quests.