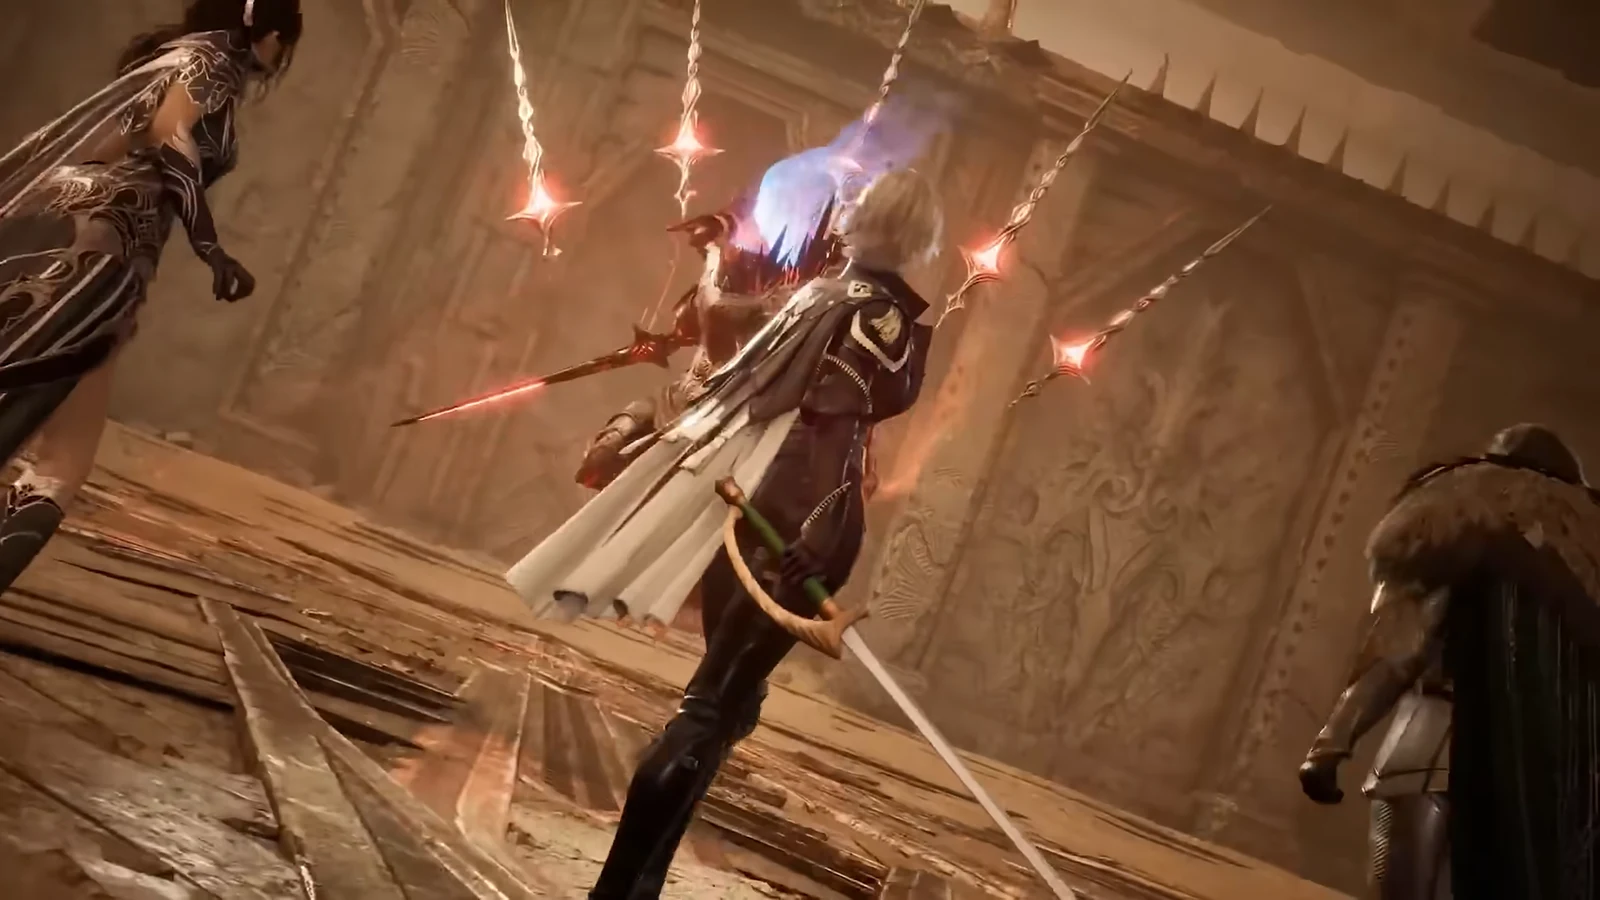
Shattered Arkanis is one of the two party dungeons that make up Aion 2’s Season 1 Transcendence rotation, alongside Deus Research Base. A Templar tank run through its second stage shows exactly what the mode asks of a five-player group: a chain of three bosses across broken floating islands, an enemy-clear objective, and a final fight that punishes mistakes right up to an enrage timer. Watching it from the front line makes clear where the pressure sits and what you walk away with.
Quick answer: Stage 2 of Shattered Arkanis needs a gear score of 1,900, adds the Poison Blood effect, and ends with Talisra of the Void dropping Soul Codex, Silentium, and Arcana scrolls after you charge the Odyle Energy Cube.
Entry requirements for Shattered Arkanis Stage 2
Transcendence is Aion 2’s seasonal challenge content, and every dungeon inside it is split into four stages that each demand a higher gear score. Shattered Arkanis runs in all four scheduled seasons, with its four stages gated from 1,600 up to 2,500. Stage 2 is the second rung on that ladder.
| Stage | Gear score | Stage effects |
|---|---|---|
| Stage 1 | 1,600 | None |
| Stage 2 | 1,900 |  Poison Blood Poison Blood |
| Stage 3 | 2,200 | Poison Blood, Elevation |
| Stage 4 | 2,500 | Poison Blood, Elevation, Tolerance |
The run is built for a party of up to five players and keeps three bosses at level 56 on every stage. Meeting the gear score only opens the door; a working skill rotation, defensive cooldowns, and knowledge of the mechanics still decide whether you finish. Clearing the stage grants Arcana, and the grade of those cards scales with the stage you complete.
The Poison Blood effect and the floating route
Stage 2 is the point where Shattered Arkanis starts layering extra danger on top of its normal mobs. Poison Blood forms a hazard zone on the spot wherever an Elite Tier 3 or higher enemy dies. Inside that zone, surviving monsters are healed while players standing in it take damage over time. In the footage, dying water spirits and heavy guards leave persistent red pools that the group has to step around, so clearing a pack and then lingering on its remains quietly bleeds the party down.
The temple itself is broken into disconnected aerial islands. Windstreams carry the party between boss arenas, gliding through the sky toward each platform. Between fights the group binds at a Kibelisk so that anyone who dies can respawn and glide straight back, which matters more than usual on the final boss.
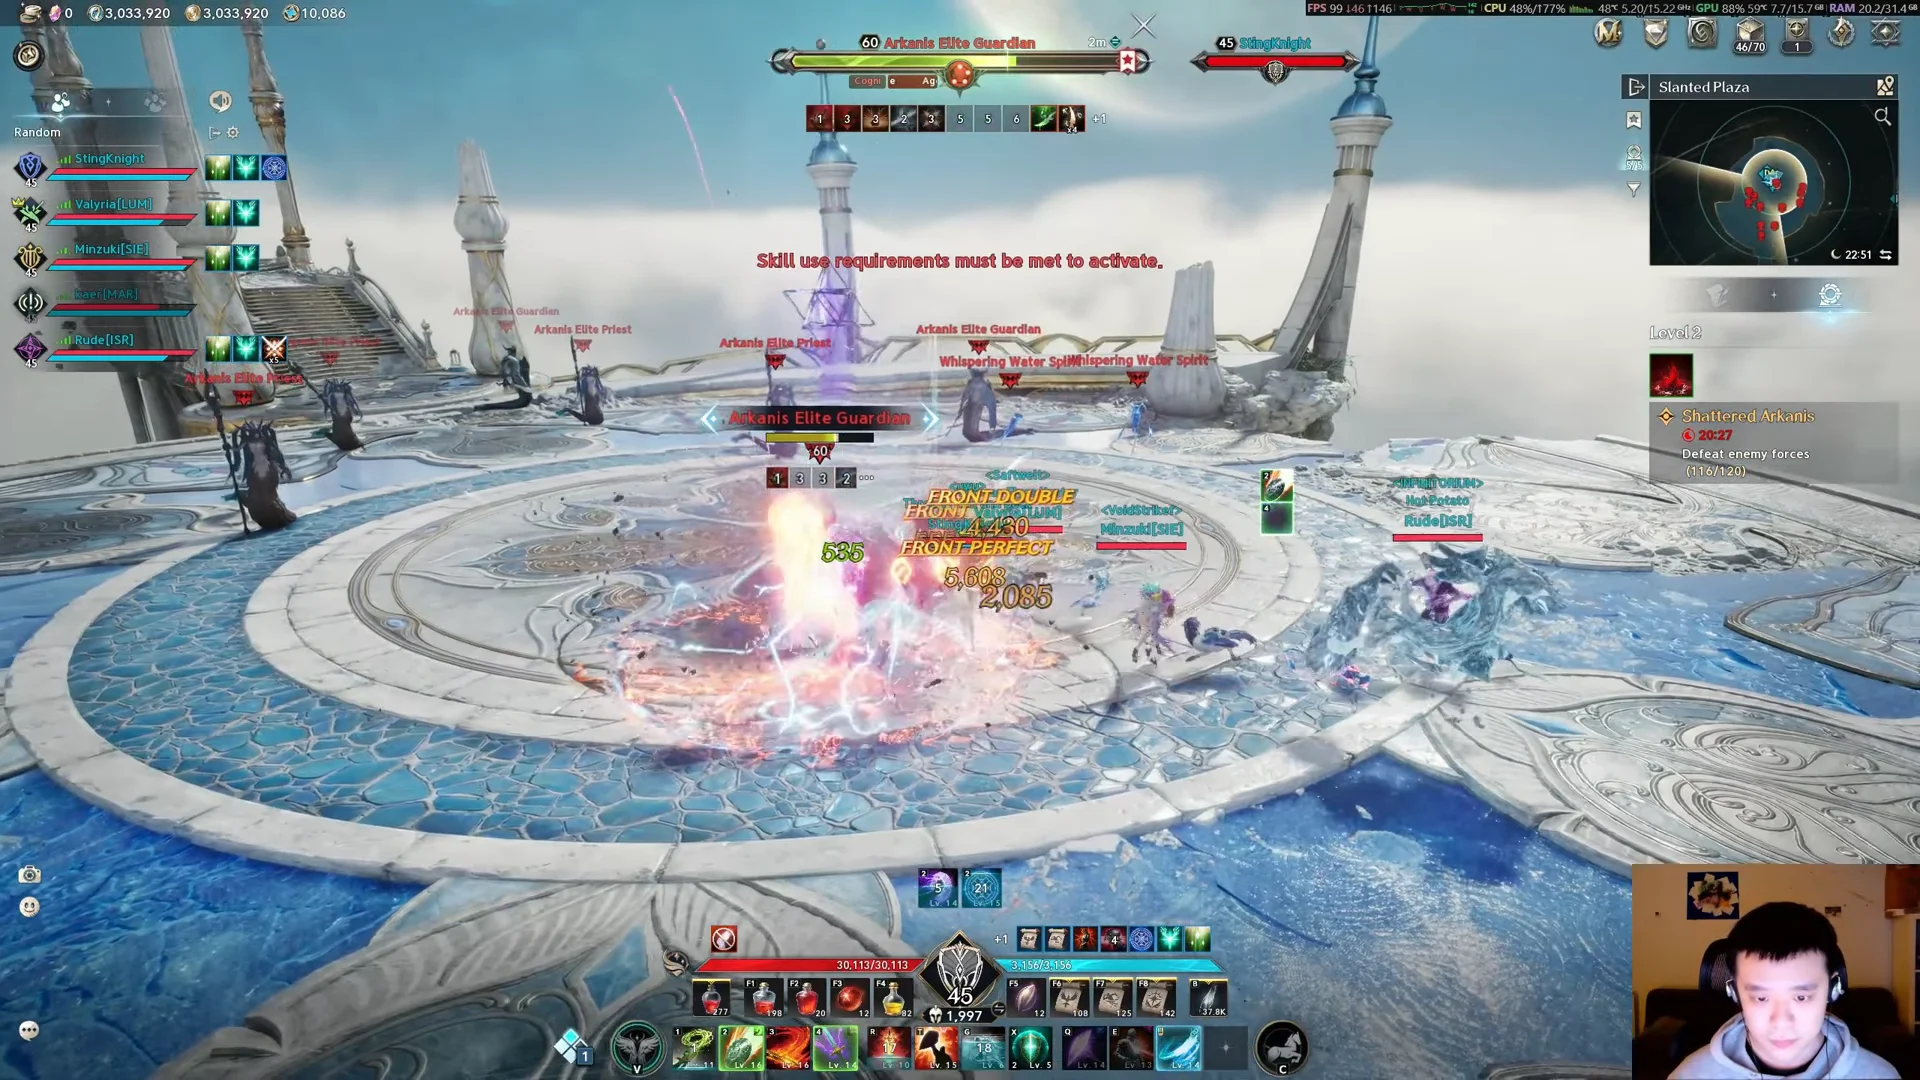
Alongside the boss kills, the group fills an enemy-clear gauge up to 100. Trash packs on the stairs and courtyards feed that counter, so the run is a mix of routing between windstreams and cleaning up enough monsters to unlock progress.
The three bosses
Shattered Arkanis holds three bosses, all level 56, and they must be beaten in order. Each one has a 20% chance to drop an Amplify Stone Fragment, and the real prize sits behind the last of them.
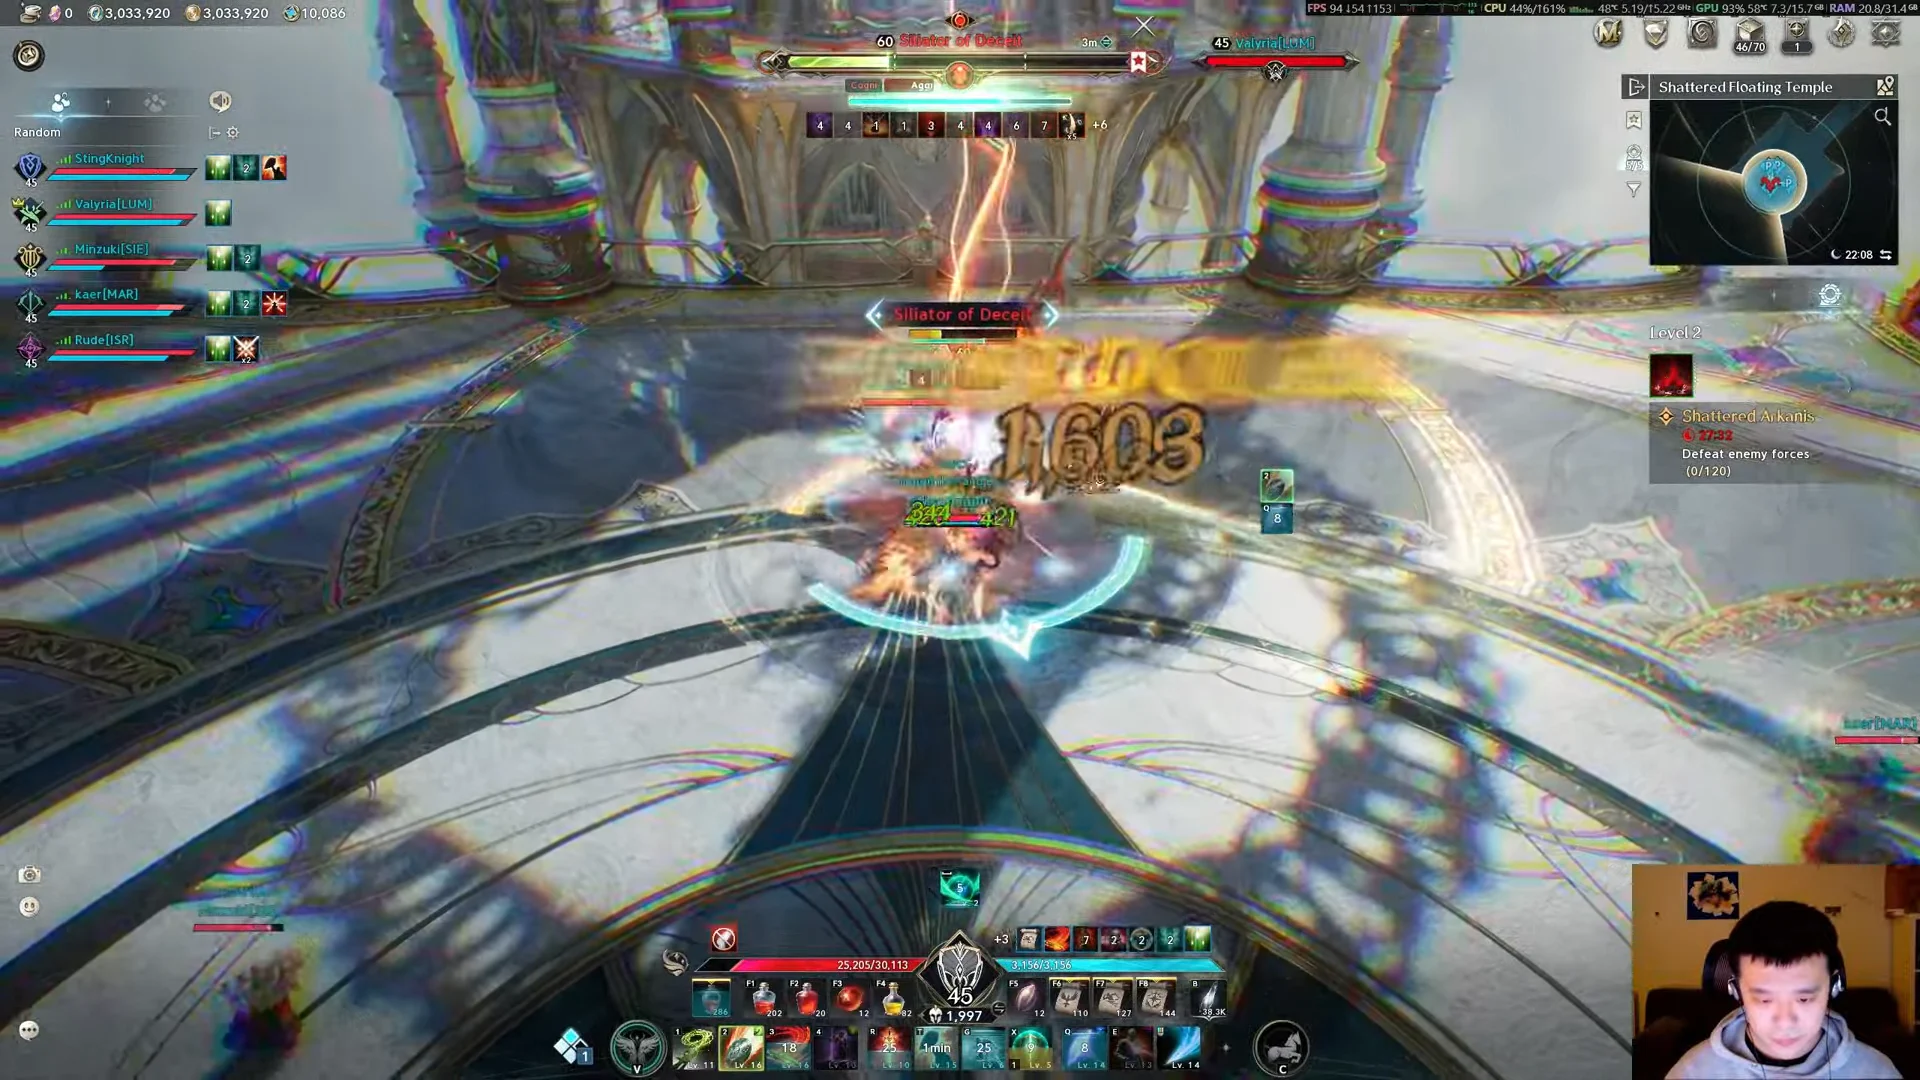
Siliator of Deceit
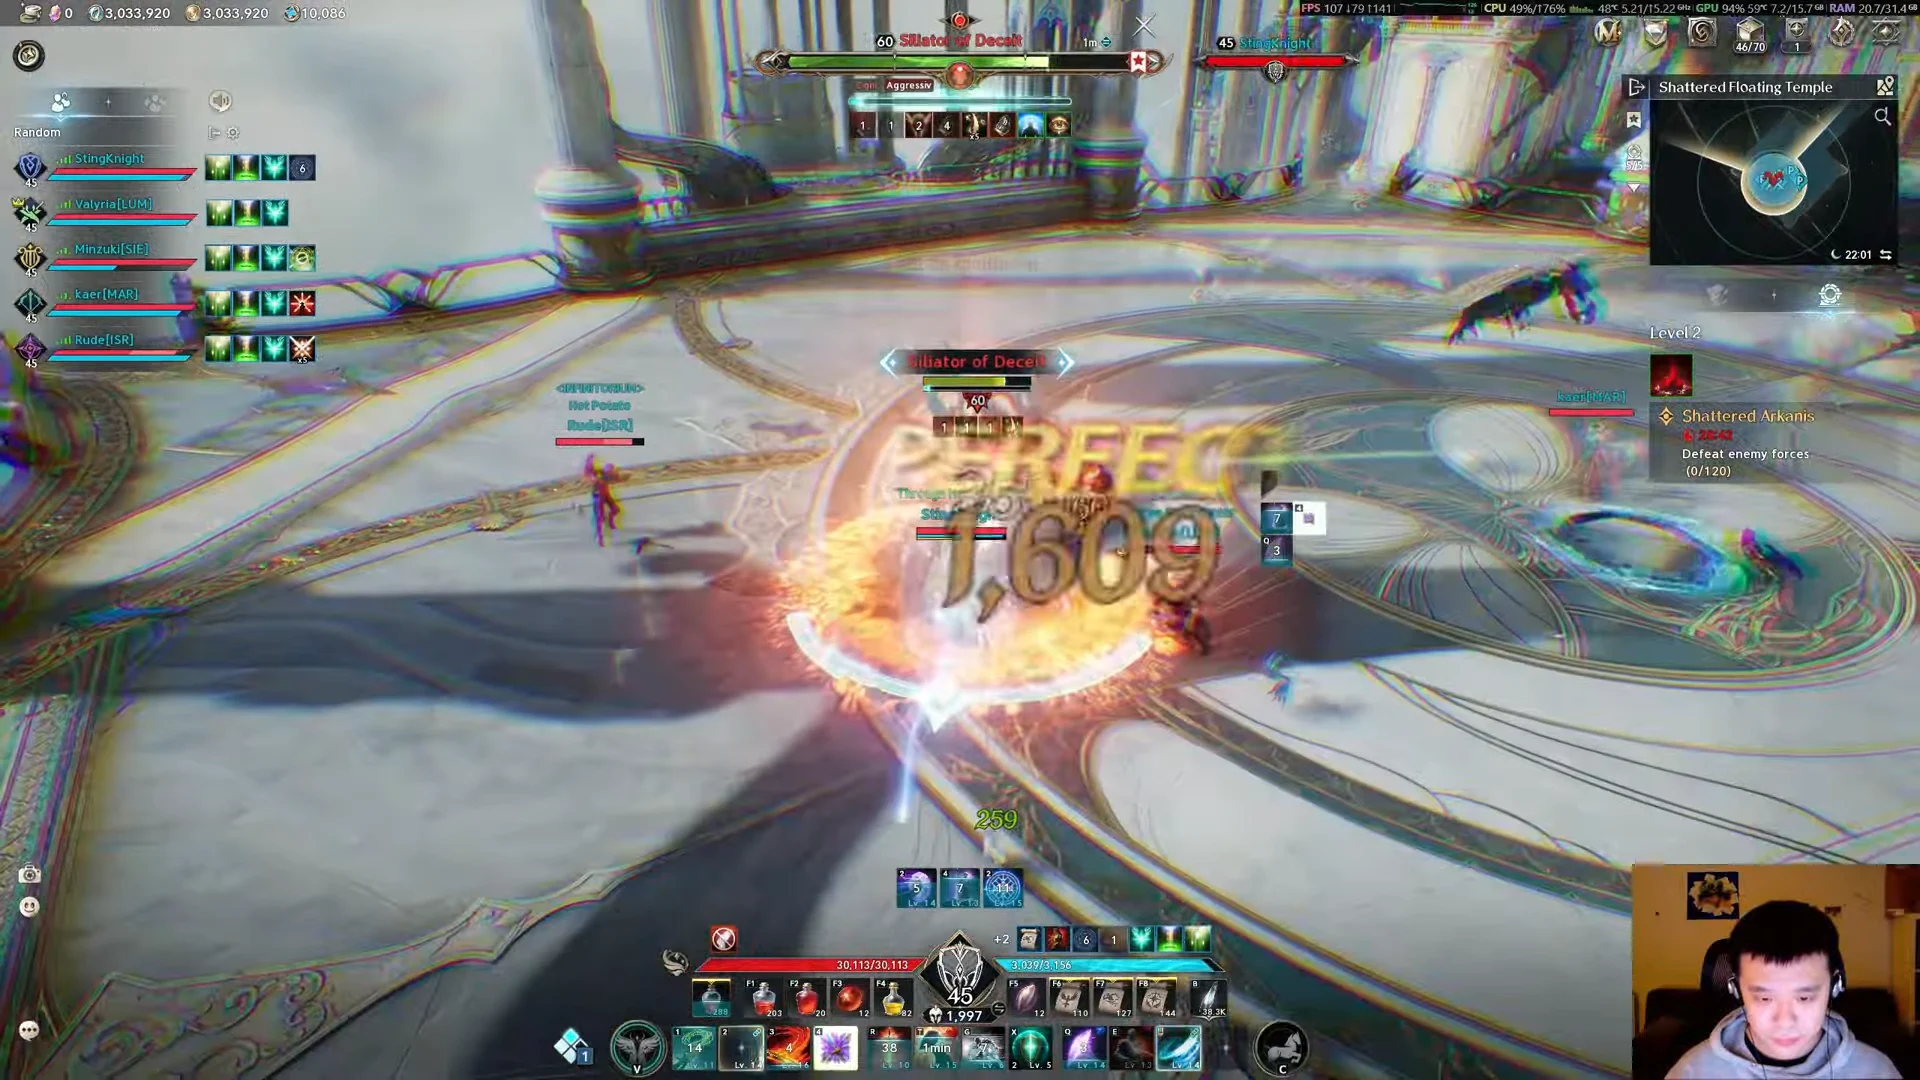
The opening fight takes place on a circular platform in the Shattered Floating Temple. Siliator of Deceit layers circular area telegraphs and a break mechanic that the group triggers before burning down its health. Its signature pattern links two targeted players with tracking lines, forcing them to cross their chakram paths so the bouncing blades neutralize safely, while donut and cleave attacks push melee behind the boss and ranged out to the edges.

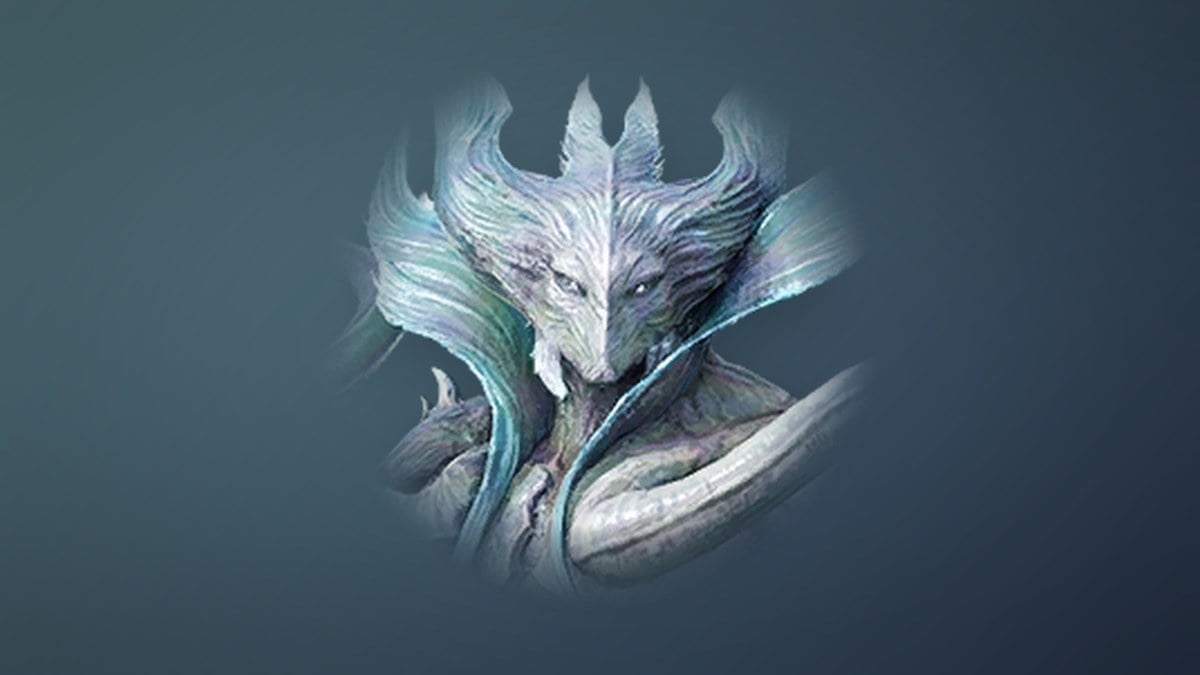
Ruthilis of Pain
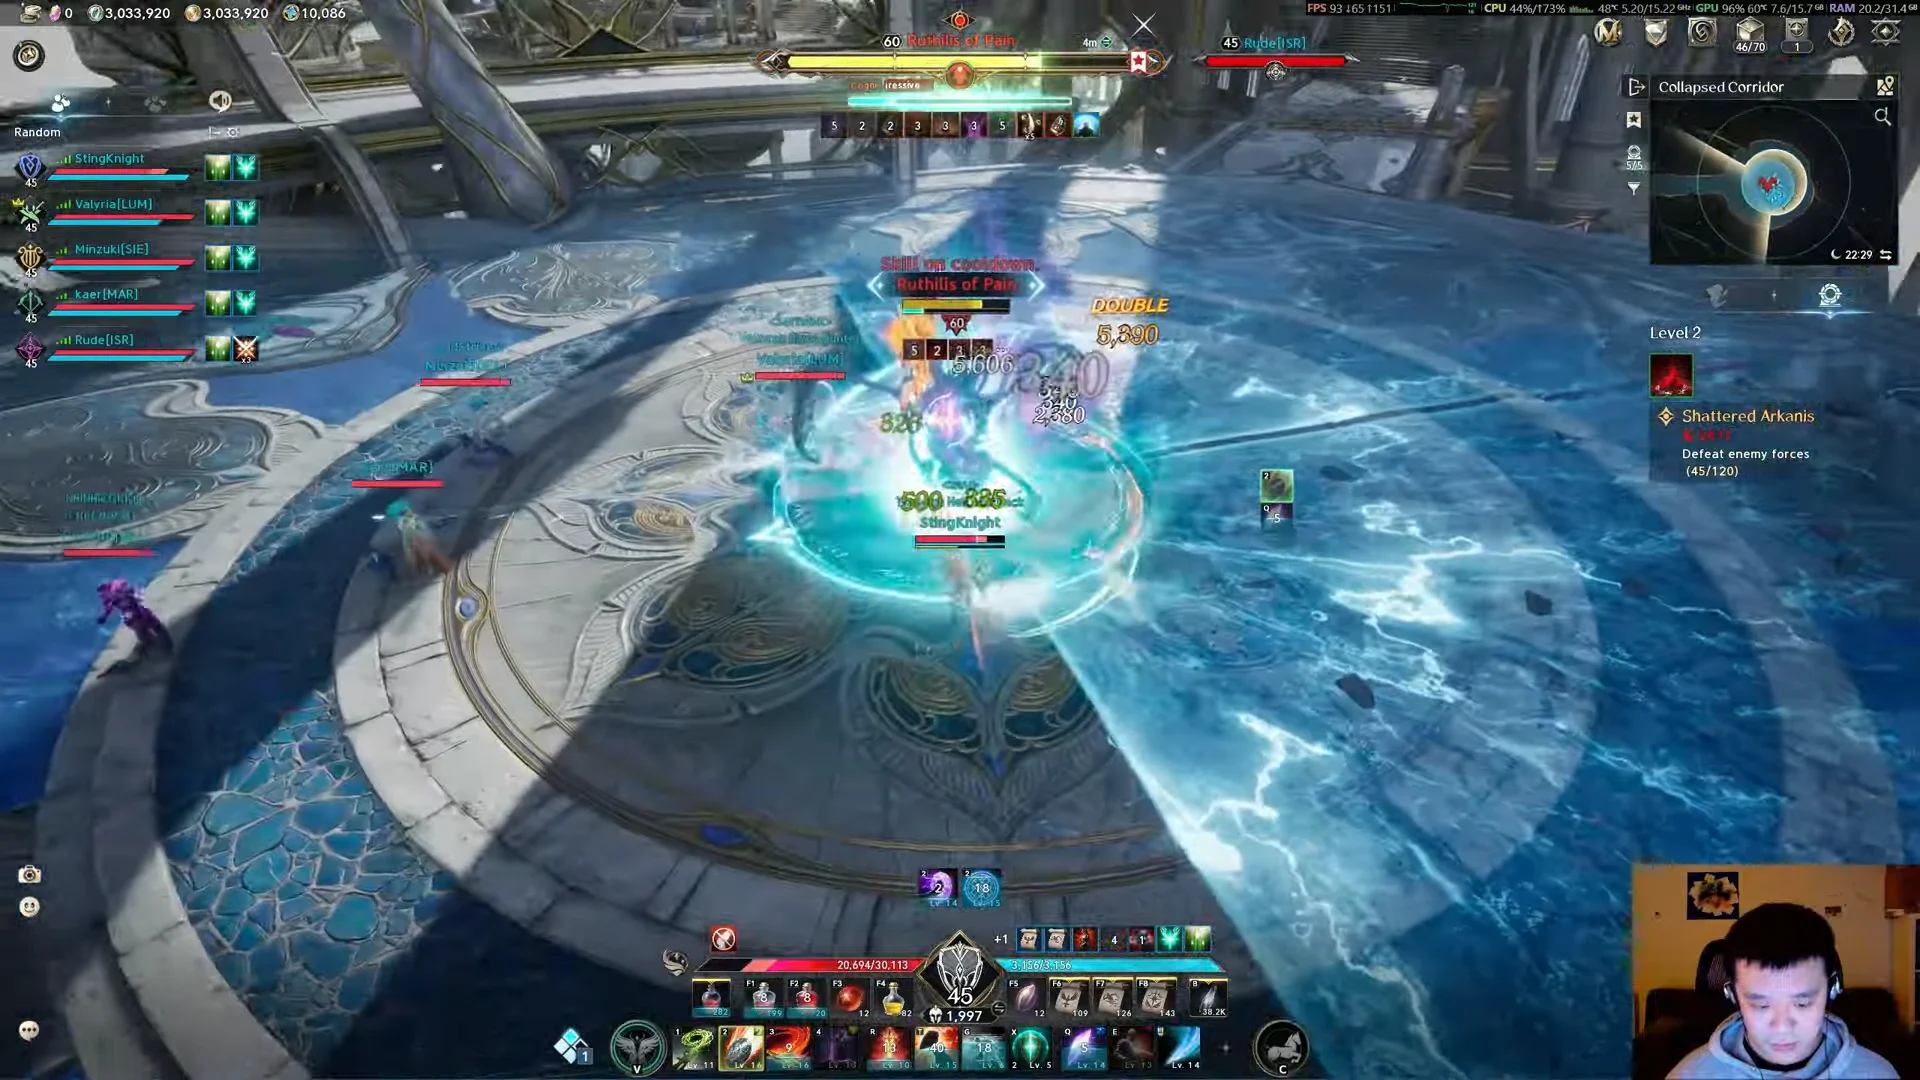
The second boss is on a round platform you reach by gliding through the Collapsed Corridor. Ruthilis of Pain covers the arena with crossing lightning lines, water waves, and puddles on the ground. When a lightning mark appears, a growing ring forms beneath its target and erupts in a shockwave, making jump timing important. The boss also leaps at the farthest player for a donut slam; stand directly beneath it to stay safe.
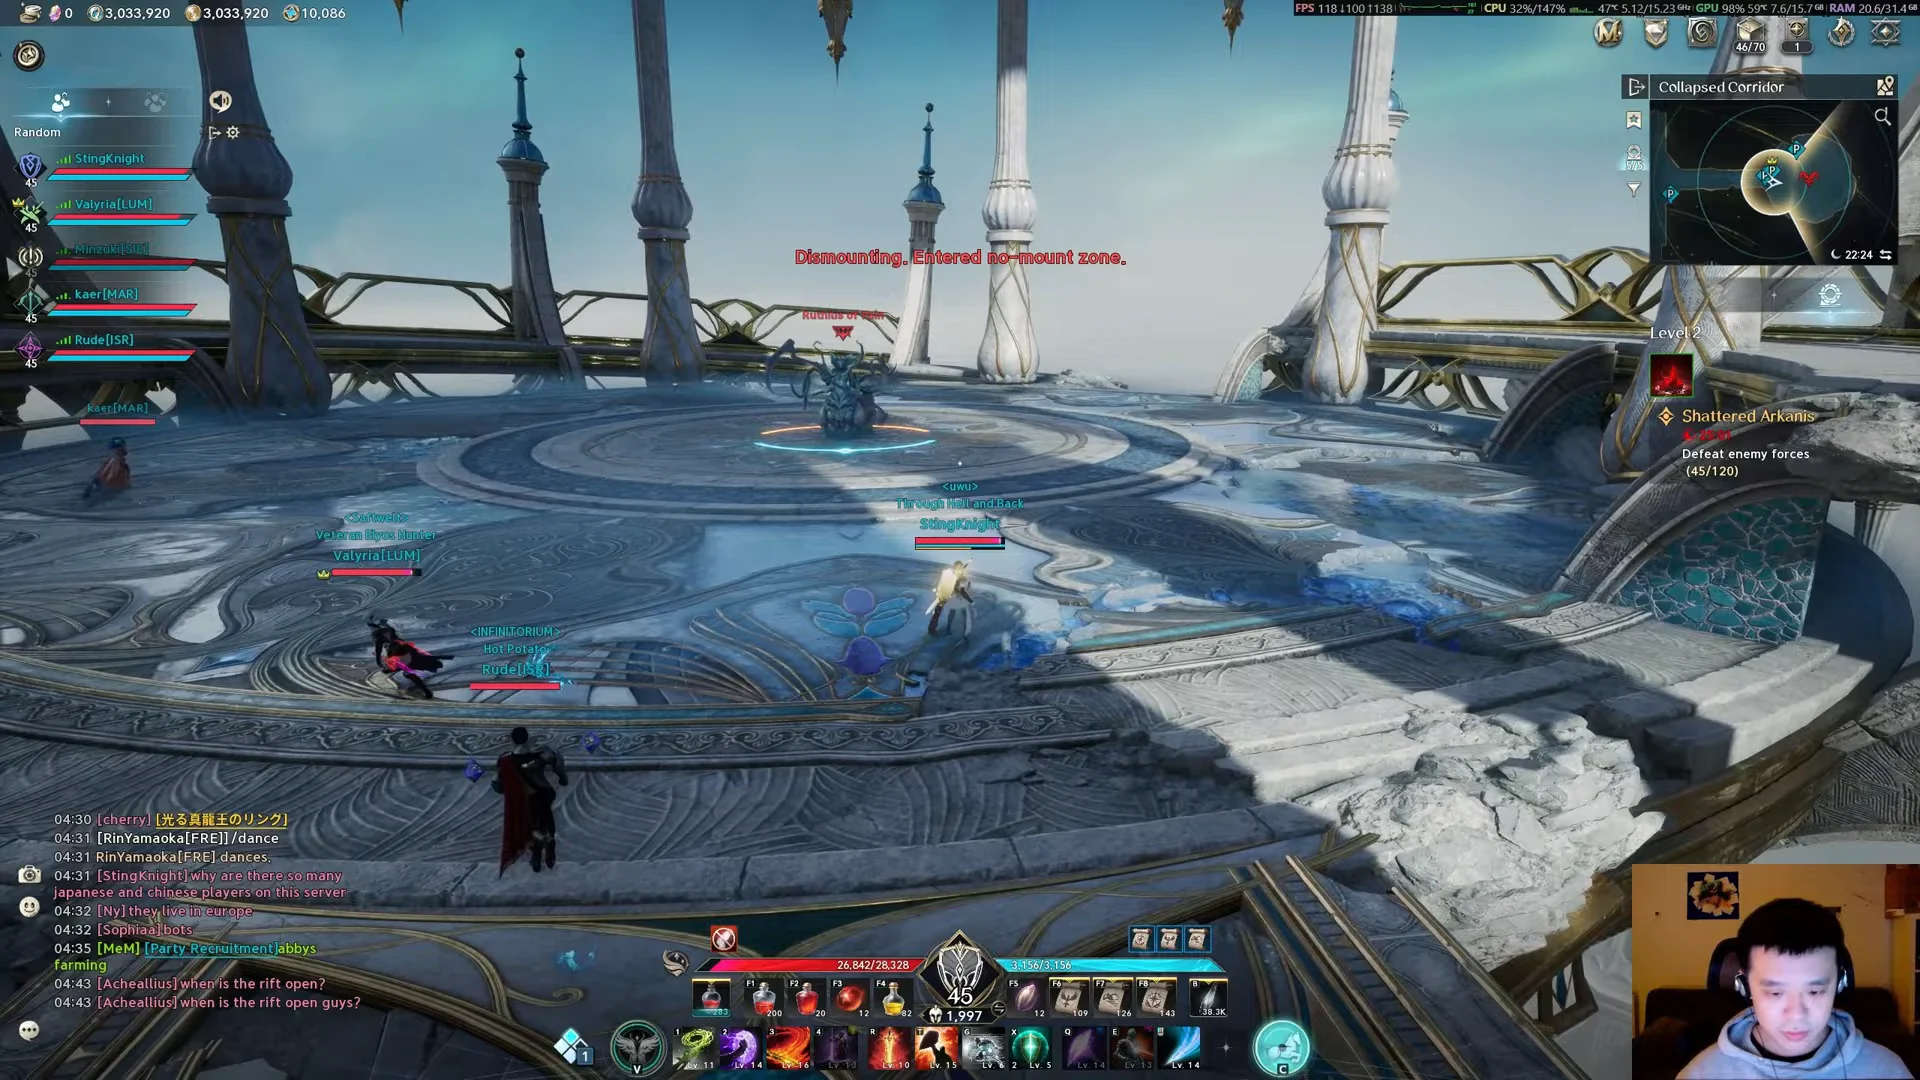
For the Templar, the encounter demands sustained tanking. Repeated cleave bursts call for cycling defensive skills and blocking during periods of low stamina. Stay in place through the water waves to keep the fight clear for the rest of the group.
Talisra of the Void
The run ends at the Void Altar, a water-covered circular arena reached by a high-altitude windstream. Talisra of the Void is the fight the whole run builds toward, and its light-and-dark spear of judgment mechanic is where most parties die. The boss calls down light and dark spears, summons floating white and purple orbs that assigned players must soak by color, and deploys protective domes that the group must stand inside in the sequence the boss’s staff lights up. A tracking circle also locks onto one player, who has to kite it clear of the center without dragging it through teammates.

A white spear mechanic is the hard check: Talisra encloses the arena in dark spears and spawns a white pillar that the party must destroy quickly, or the room-wide blast wipes the group. In the Templar run, the final push is messy, with three deaths during the judgment phases, two respawns at the Kibelisk followed by a glide back, and one spot resurrection to land the last of the boss’s health. The kill lands just before Talisra enrages.
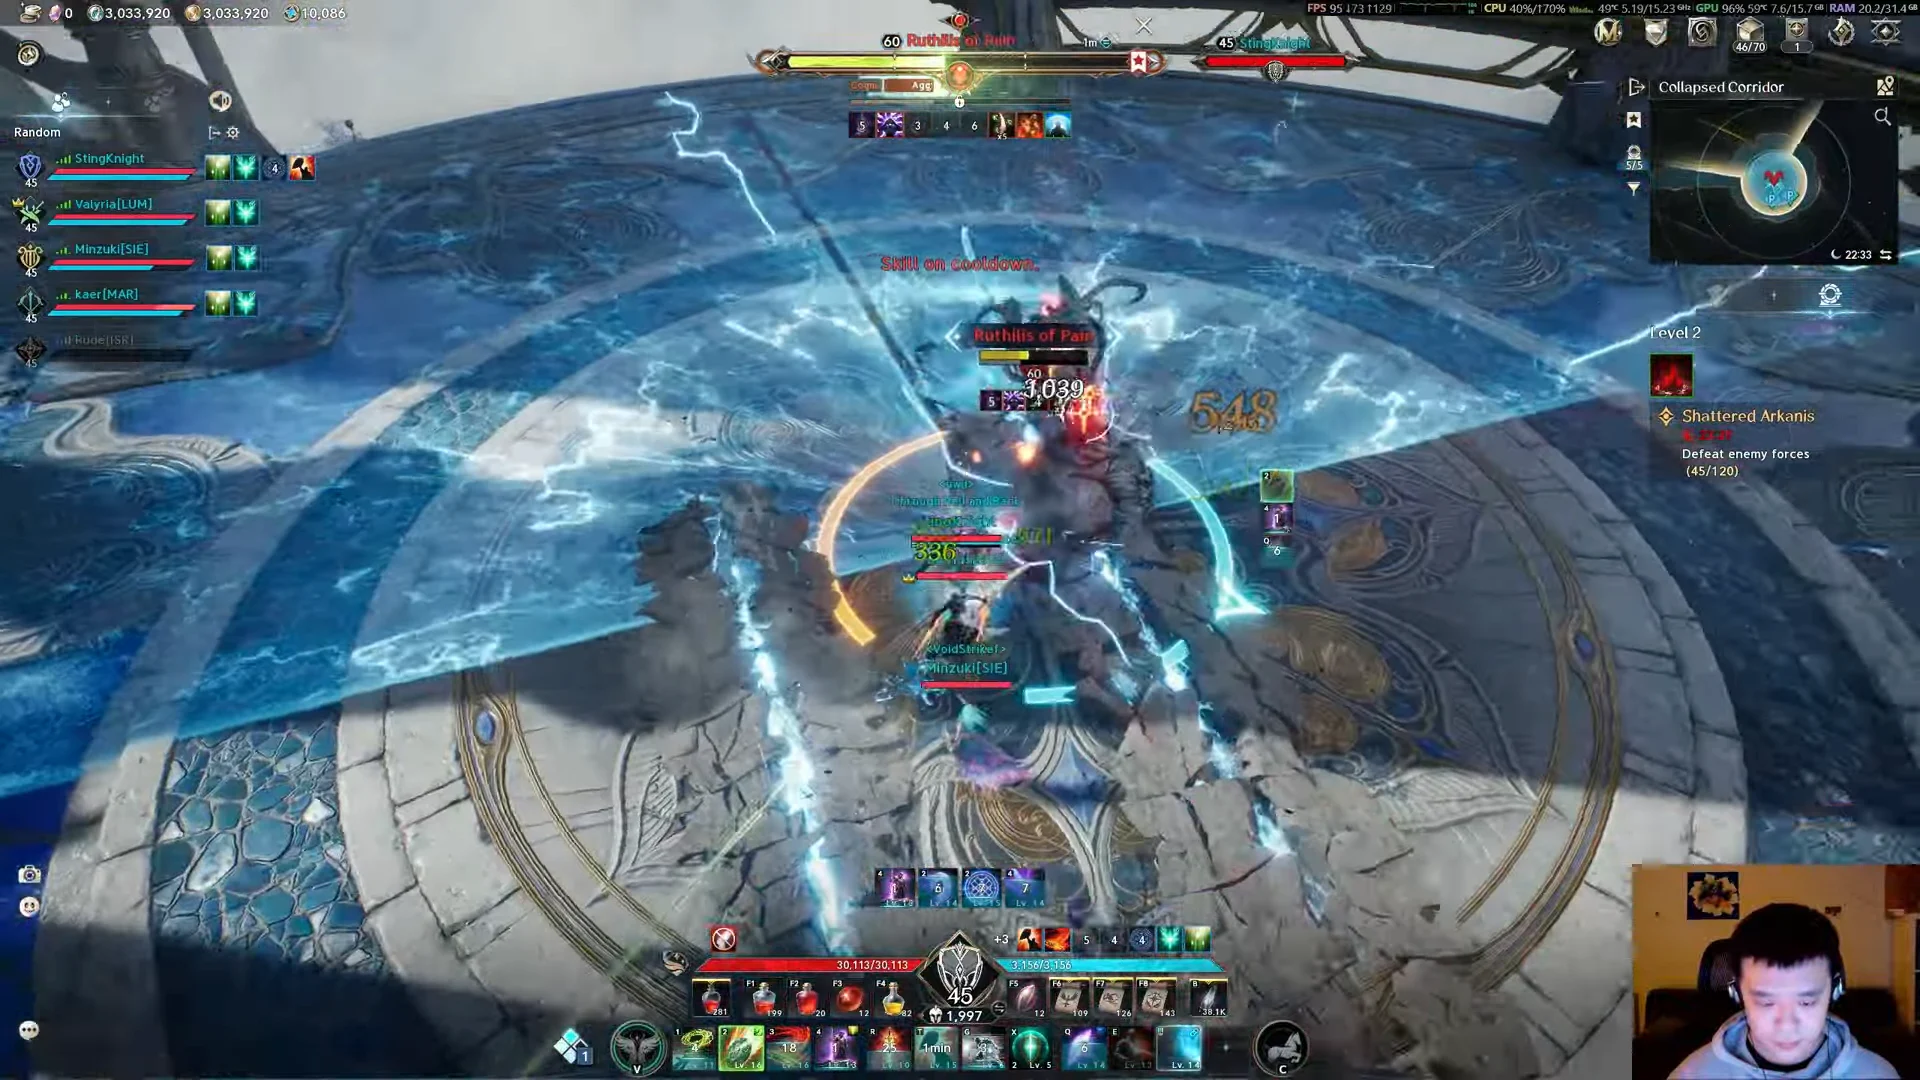
Binding at the Kibelisk near the Void Altar before the pull is what makes those deaths recoverable; a player who dies can respawn and glide straight back into the fight rather than losing the run.
Rewards and the Odyle Energy Cube
Rewards do not drop into your bag automatically. When the stage completes, an Odyle Energy Cube appears in the center of the arena, and claiming its loot costs Odyle Energy. In the run, interacting with the cube charges 40 Odyle Energy and then hands over the Arcana scrolls and codices. One Odyle Energy item recharges 40; a Small Odyle Energy recharges 10, and both stack up to 1,000.

Shattered Arkanis lists 14 obtainable items across the dungeon. The headline pulls are the Arcana families tied to this dungeon, which pair with Deus Research Base’s own set to build out your card power.
| Reward | Type |
|---|---|
 Soul Codex (Bound) Soul Codex (Bound) | Progression material |
 Silentium (Bound) Silentium (Bound) | Material |
 Amplify Stone Fragment (Unique) (Bound) Amplify Stone Fragment (Unique) (Bound) | Enhancement material |
| Arcana: Mirror of Vigor / Magic (Bound) | Arcana card |
| Arcana: Parchment of Vigor / Magic (Bound) | Arcana card |
| Arcana: Chalice of Vigor / Magic (Bound) | Arcana card |
| Enhance Stone | Enhancement material |
| Lesser / Intermediate Manastone (Bound) | Manastone |
| Lesser / Intermediate Soulstone (Bound) | Soulstone |
Each of the three bosses carries a 20% chance to drop an Amplify Stone Fragment, while Talisra of the Void is the source of the Mirror, Parchment, and Chalice Arcana. Run access refills over time rather than being unlimited: the Transcendent dungeon reward count regenerates by one every 12 hours up to 14, and Shattered Arkanis itself allows two reward claims per day up to a cap of four.
Why the Templar fits the front line
The player in this run fills the tank role, which is the Templar’s designed job. The class wields a Longsword and brings a deep defensive kit built for holding a boss while a party works around telegraphs. That toolkit is what lets the Templar sit in Ruthilis of Pain’s burst cycles and block through low-stamina moments instead of being forced out of melee range.
The class carries 36 regular skills plus a bank of Stigma skills, several of them centered on survival and threat. Shield Rush, Shield Smite, Warding Shield, Ironclad Defense, Defiance, Block Pain, and Survival Willpower cover the mitigation and sustain a tank leans on, while Taunt, Insulting Roar, and Guarding Seal handle aggro and party protection. A Templar who keeps threat glued to themselves keeps the rest of the group free to focus on the color soaks and spear destruction that decide the Talisra fight.
How you know the stage is cleared
Defeating Talisra of the Void brings up the Transcendence Complete screen, which scores the run. The Templar run finishes in 13:12 and earns an S rank worth 2,275 rank points, with the breakdown crediting time, monsters defeated, and a bonus score. Those rank points accumulate across the season and set your final seasonal rewards, so a faster, death-light clear is worth more than simply surviving. Once the results screen appears, the Odyle Energy Cube in the arena is ready to charge and loot before you leave the instance.