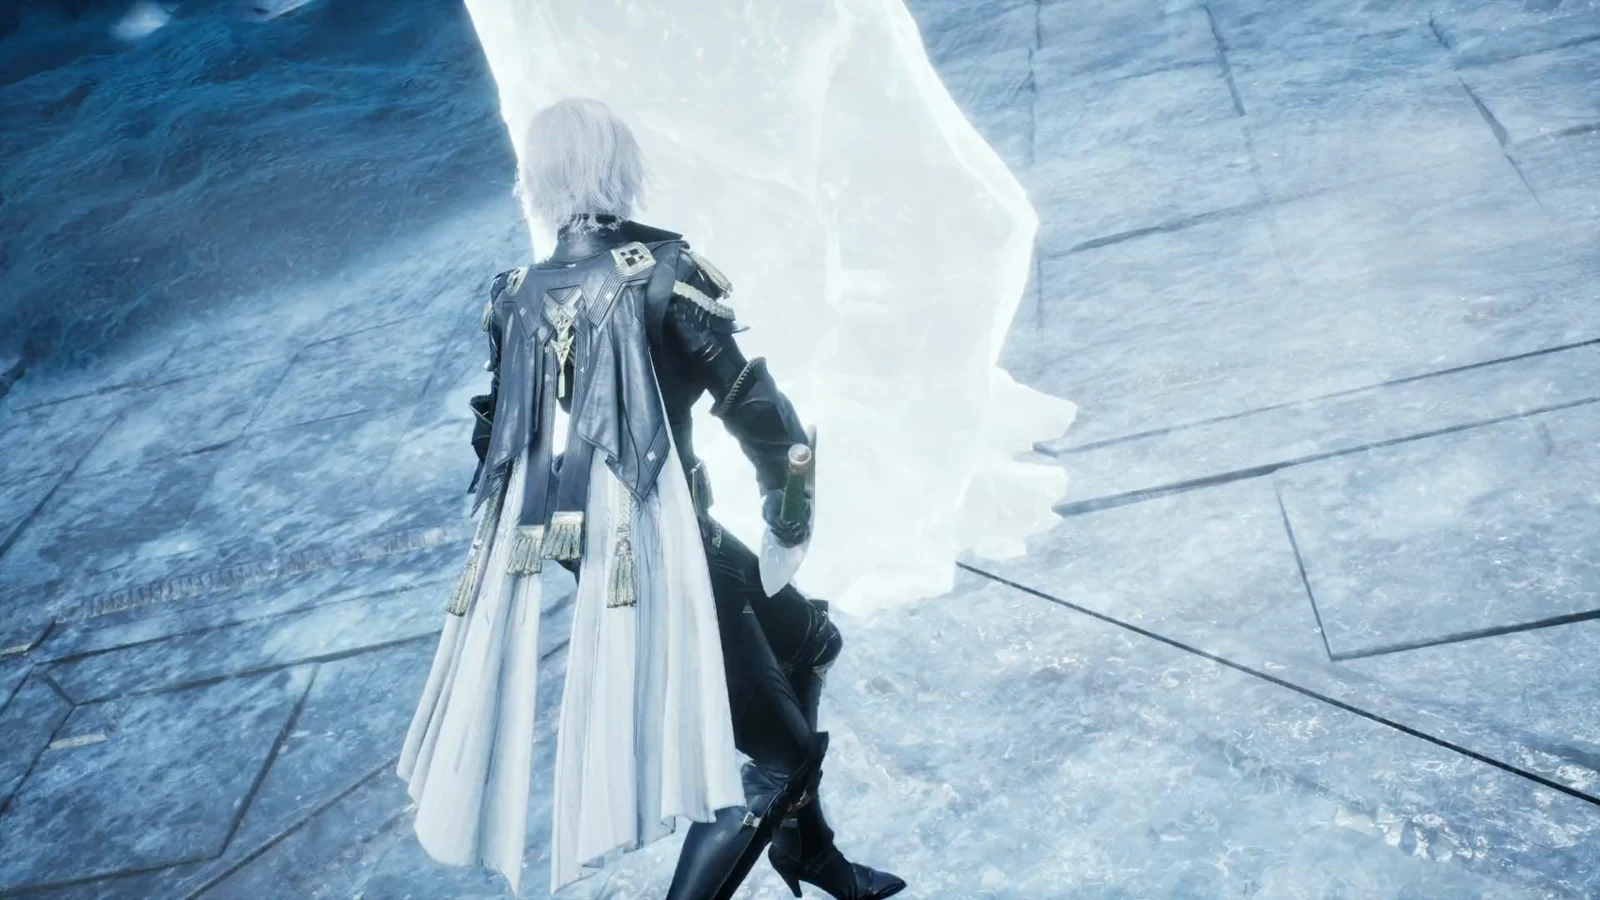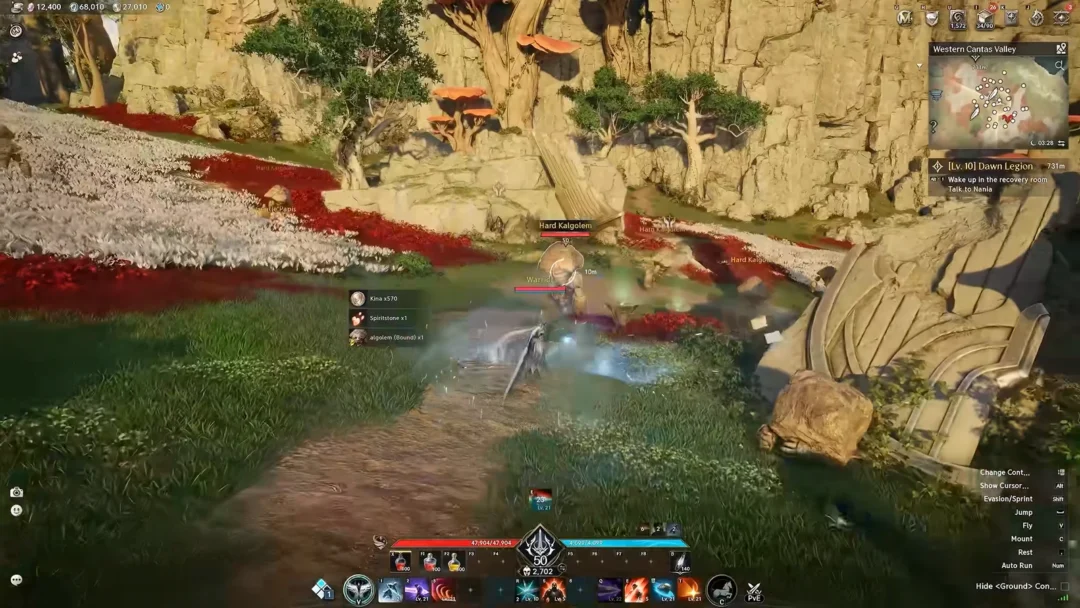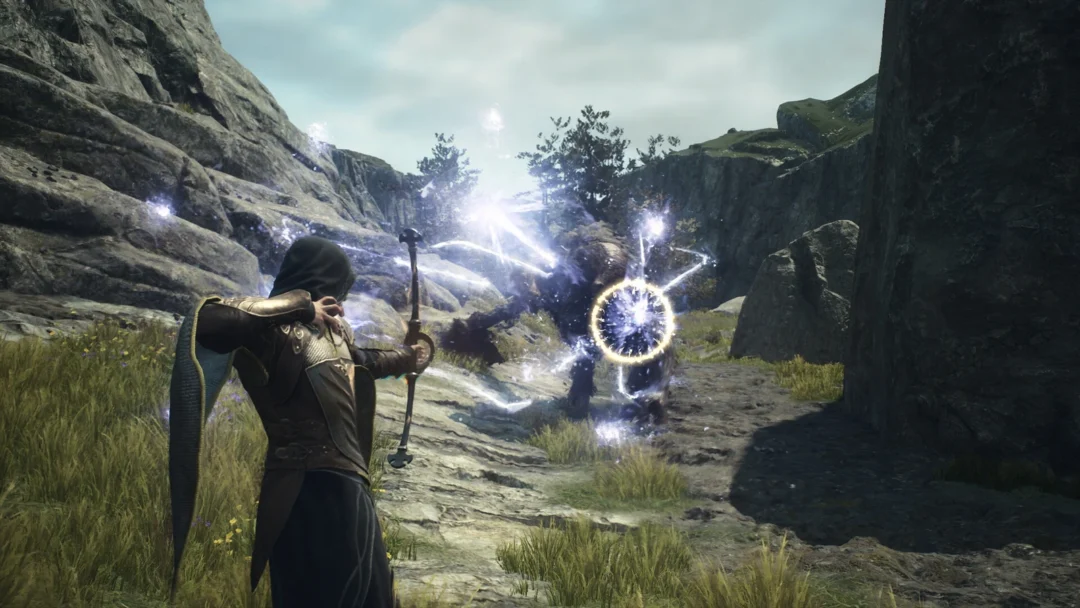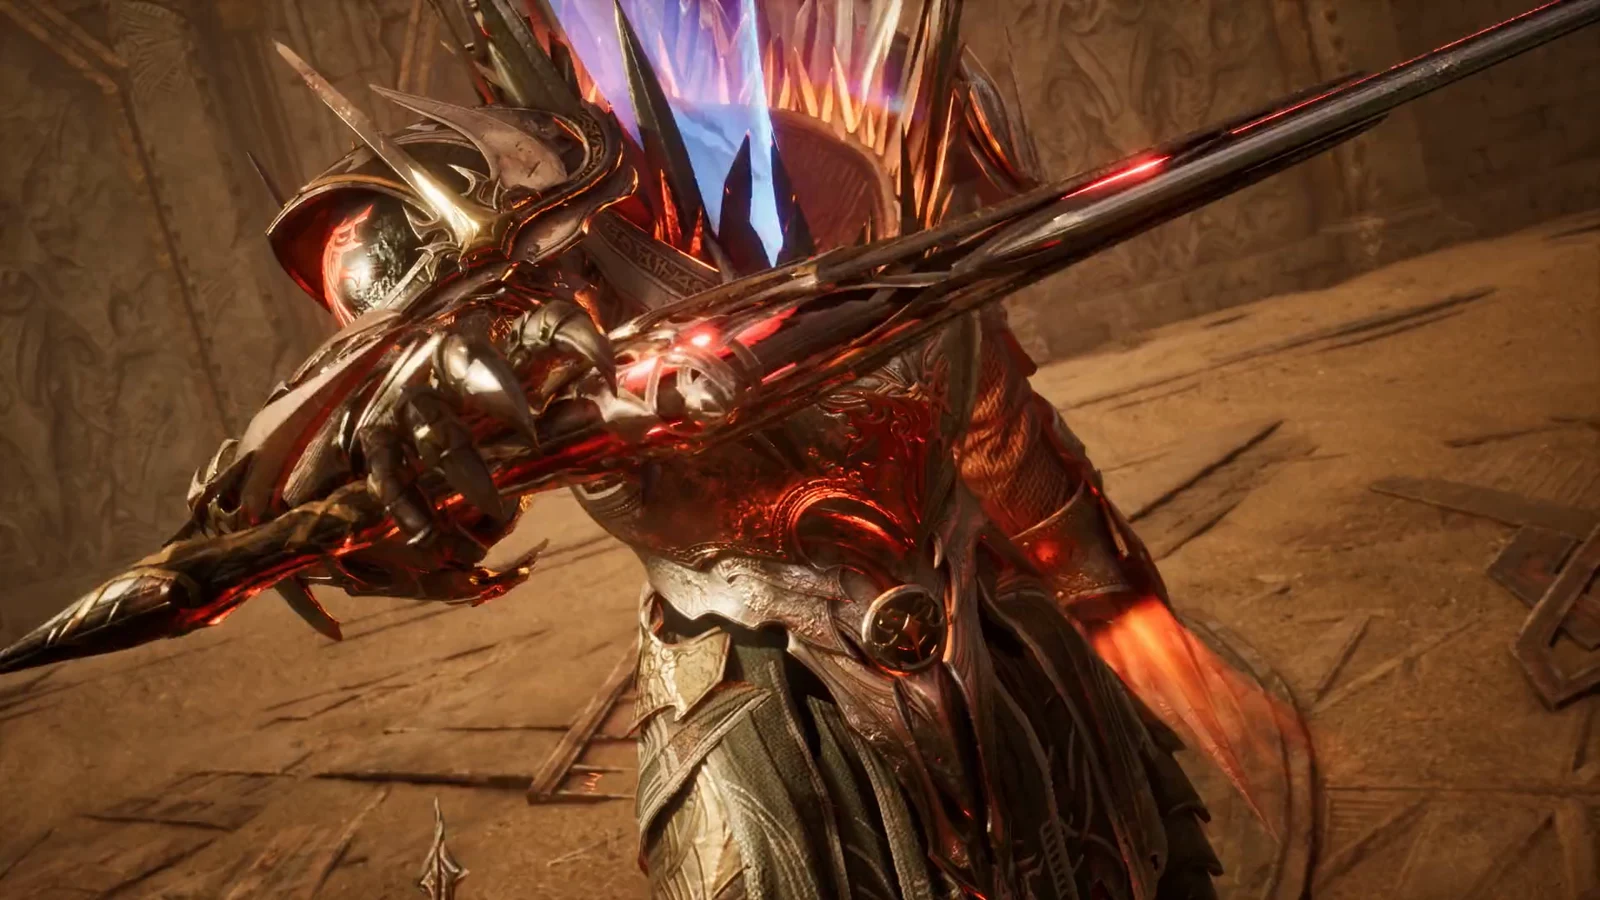
The Templar in Aion 2 holds aggro and grinds through packs by chaining a few skills off a single held button. The in-game macro system does the heavy lifting here, firing a priority chain while you weave basic attacks by hand. Set it up once and most of your damage comes from two inputs instead of a crowded hotbar.
Quick answer: Build a macro that runs Noble Armor, Taunt, Judgment, and Debilitating Smash on 10 ms delays, bind it to the right mouse button, and keep mobility and charge skills on manual keys.
Build the core Templar combat macro
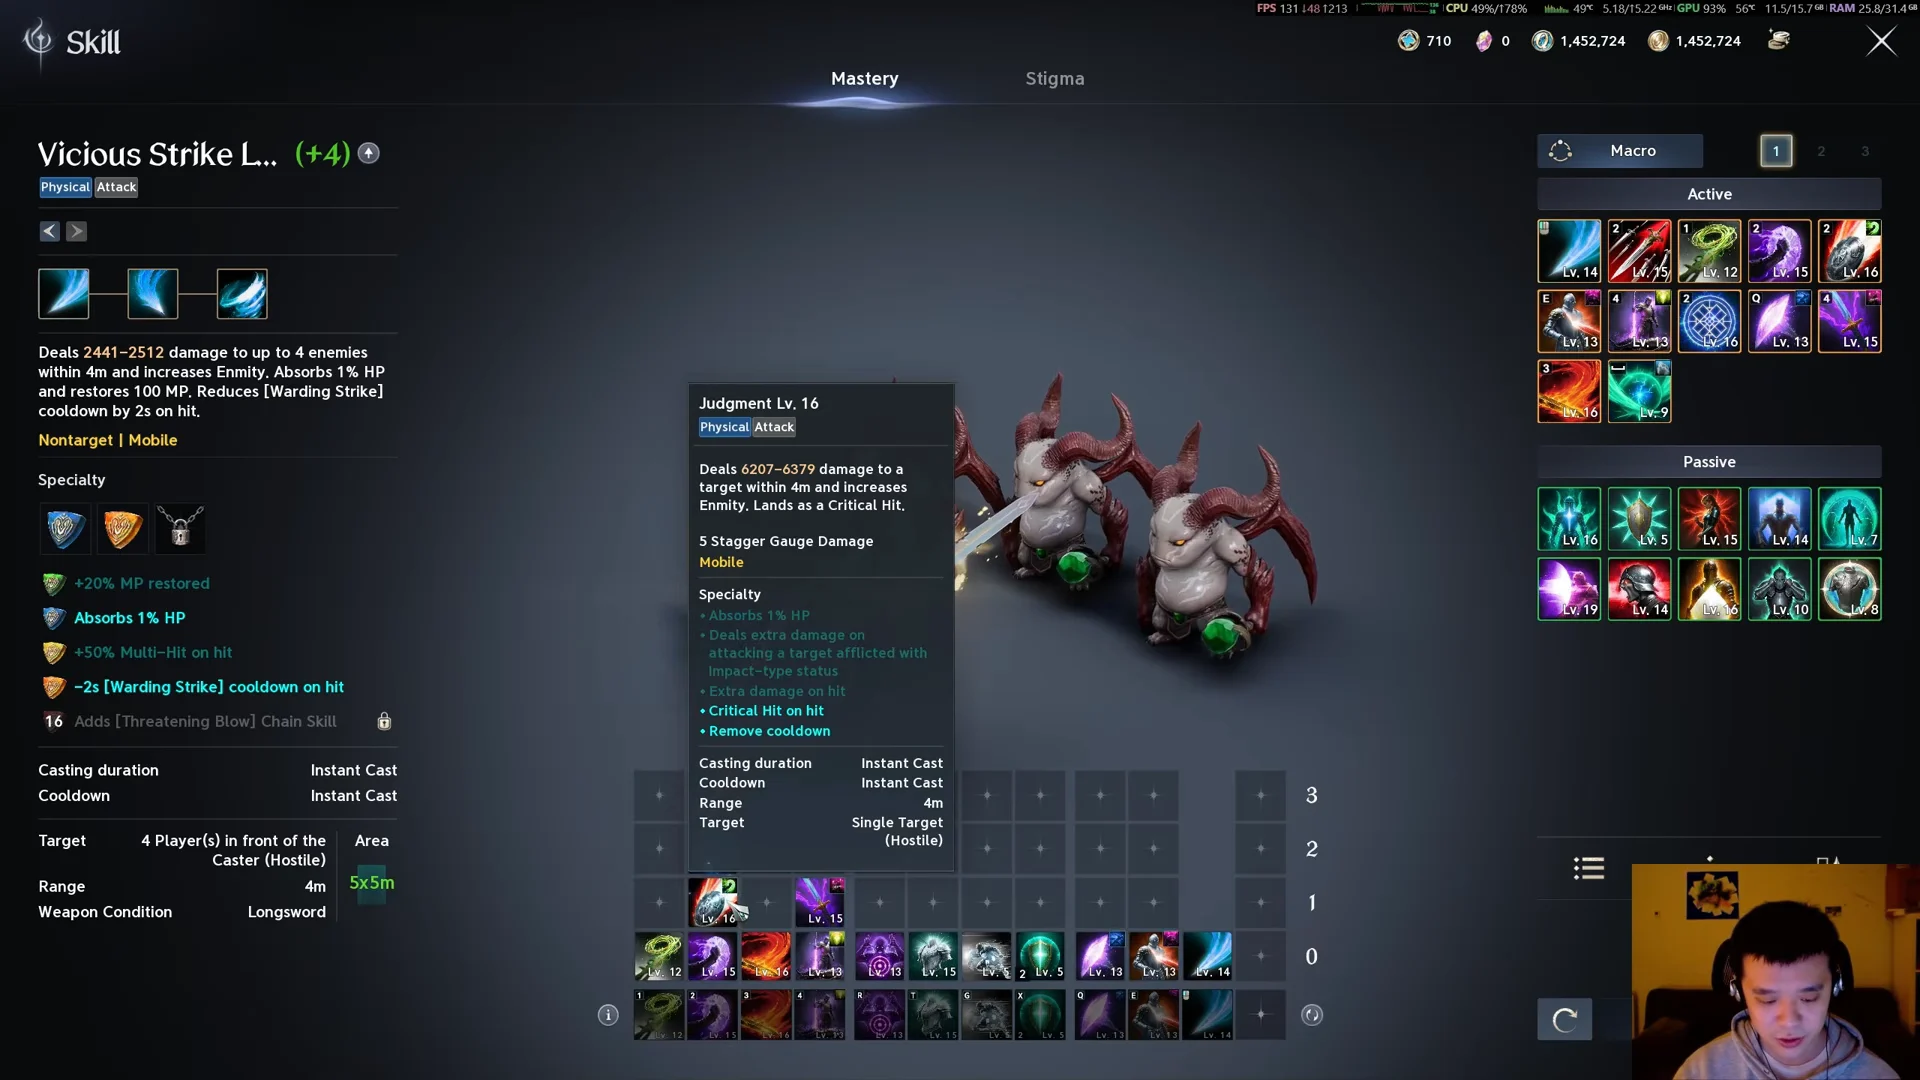
Macros in Aion 2 run a chain of skills in slot order and only fire a skill that is off cooldown or currently procced. That means a well-ordered chain collapses into spamming your cheapest attack when nothing else is ready, then auto-weaves the heavier hits the moment they light up. The four-skill setup below leads with a persistent buff so nothing in the chain gets interrupted.
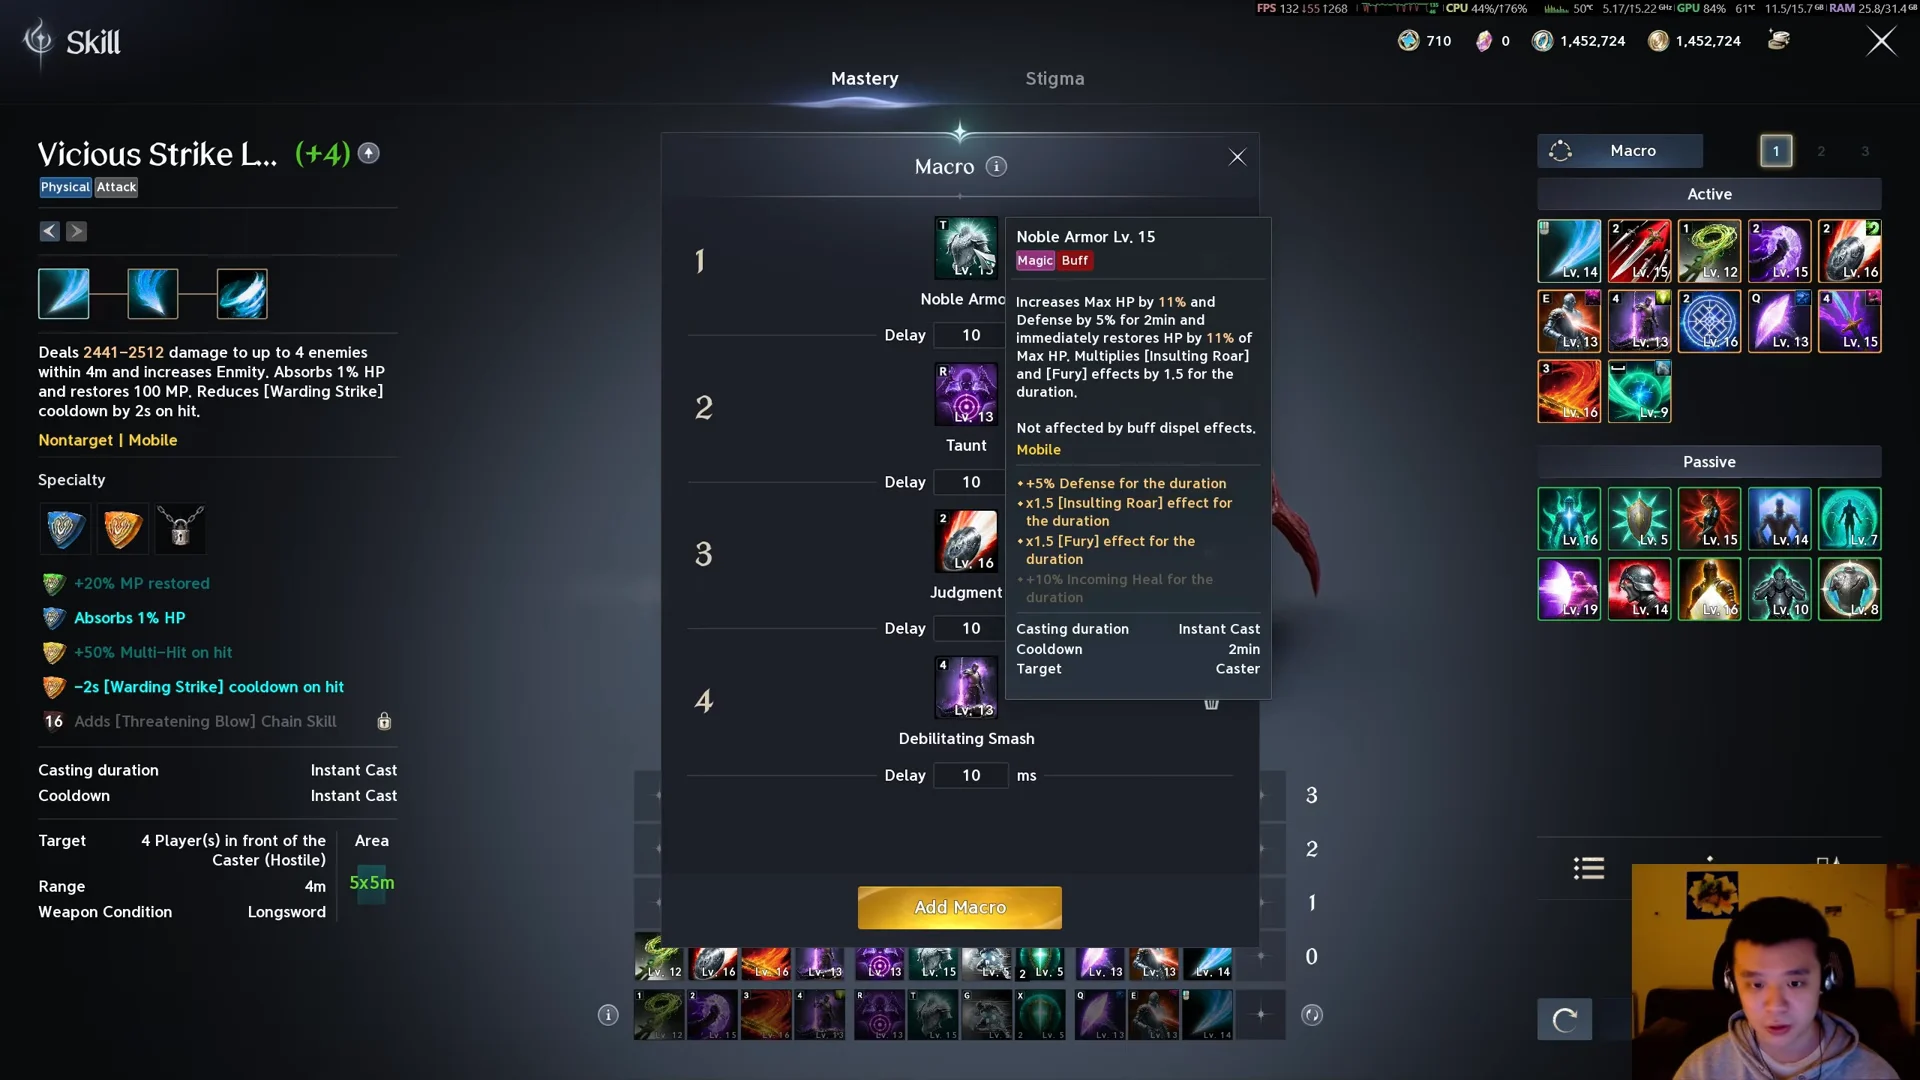
Group skills that share a purpose on the same Quick Slot line before building the macro, then add that line to the chain. Even inside one line, order them by cooldown and condition, since a poorly arranged slot makes an otherwise good macro feel inconsistent.
Bind the macro to the right mouse button
Go to Settings → Key Settings → General and find the Skill Macro entry. Assign it to the right mouse button. That keeps it under your main hand so you can hold it continuously while your left hand and left click handle everything else.
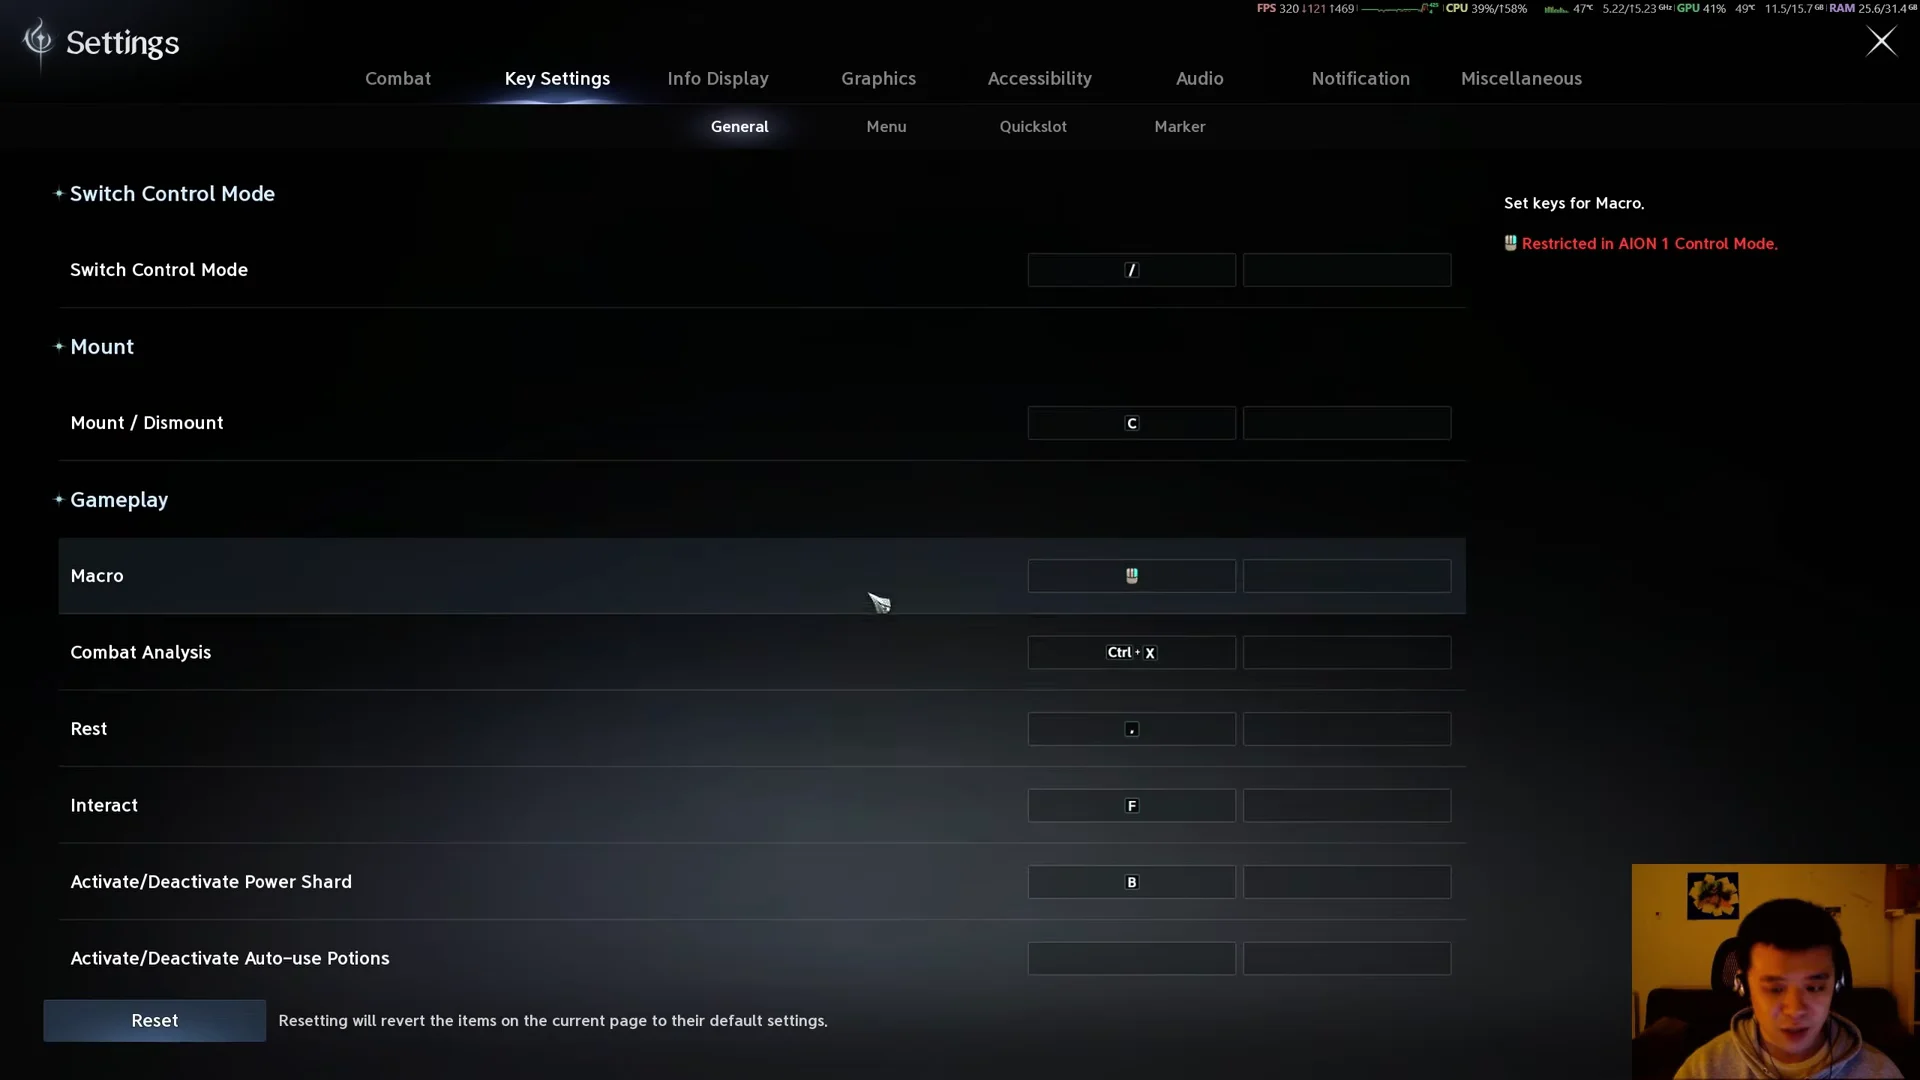
You know it is working when holding the bound button cycles the chain on its own, casting each skill as it becomes available without any extra presses.
Keep these skills off the macro
Not every skill belongs in an automated loop. Movement and charge abilities need your judgment in the moment, and baking them into the macro gets you killed or wastes their value. Leave the following on their own keys.
- Poach, Doom Shield, and Shield Rush — a macro can dash you straight into a boss AoE zone, so handle all movement manually.
- Punishment — a charge skill the macro cannot hold long enough to reach its maximum charge level, so press and hold it yourself.
- Shield Rush — it will not fire from a seated or sheathed stance; your weapon must be drawn and you must trigger a combat dash for it to proc.
- Short-duration burst buffs — trigger these on demand rather than letting an automated loop waste them off-timing.
Doom Shield earns its own key for a second reason: at level 5 it resets the cooldown of Annihilate, so you want to fire it the instant Annihilate comes up and re-cast.
Animation cancel for higher sustained damage
Hold left click and right click at the same time. Left click fires your basic attack, Vicious Strike, which restores 100 MP and shaves 2 seconds off Warding Strike’s cooldown on each hit. Right click drives the macro. Alternating the two cancels animations and lets you squeeze extra Vicious Strike hits between the macro’s casts, keeping Warding Strike almost always ready.
When a cancel succeeds, a shadow duplicate briefly appears above your character. Repeatedly clicking only the right mouse button won’t produce that effect, and costs you damage. A steady connection helps, since lower ping makes cancels more reliable.
Full boss rotation
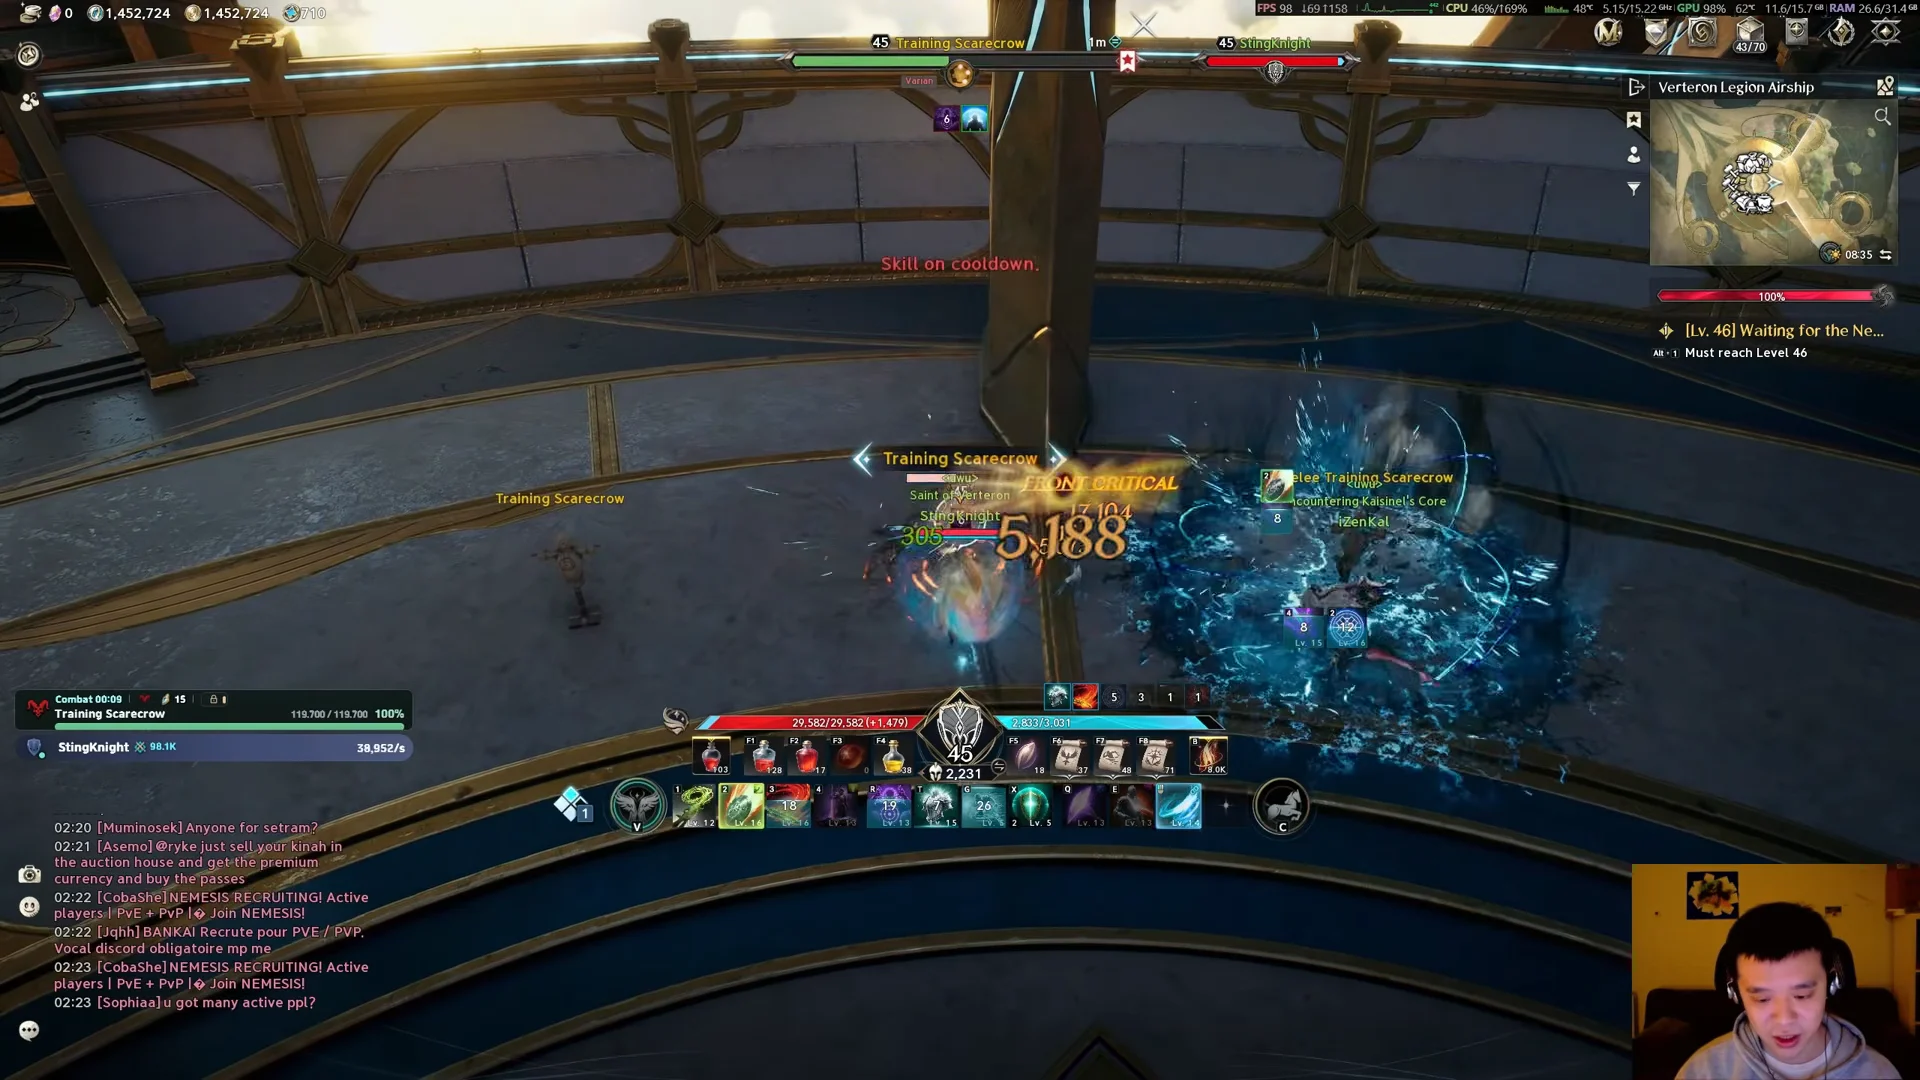
Practice this on a Training Scarecrow first. You can watch cooldowns line up and confirm Vicious Strike is pulling Warding Strike back early before you take it into a live dungeon fight.
Templar skill reference figures
These are the shipped values for the Templar skills that matter to the macro and rotation above. Damage scales with skill level, so the table lists the figure at level 1 and at the skill’s maximum level, plus the flat attack coefficient. Longsword is the weapon for all of them.
| Skill | Cooldown | Damage (Lv.1 → max) | Req. level |
|---|---|---|---|
 Vicious Strike Vicious Strike | — | 79 → 2,024 (+94.8%) | 1 |
 Pummel Pummel | — | 93 → 2,545 (+119.5%) | 1 |
 Poach Poach | 15s | 49 → 1,845 (+87.5%) | 1 |
 Shield Smite Shield Smite | 10s | 173 → 3,780 (+175.75%) | 3 |
 Judgment Judgment | 5s | 227 → 4,936 (+229.5%) | 4 |
 Flash Rampage Flash Rampage | — | 152 → 2,368 (+108%) | 5 |
 Debilitating Smash Debilitating Smash | 10s | 336 → 4,112 (+184%) | 7 |
Judgment has the highest coefficient here at +229.5% of Attack, which is why it sits in the macro chain and gets refreshed through your shield skills. Debilitating Smash reduces the target’s Defense by 25% when it lands on Block, and at skill level 8 its specialization adds a 30% chance to Stun for 3 seconds along with -60% Incoming Heal on the Debilitate. Shield Smite triggers Judgment for 2 seconds on hit, and its level 8 options include a 50% chance to trigger Debilitating Smash.
Poach reaches 20m and pulls the target in front of you with a chance to Root, which makes it your gap-closer when a boss walks off. Flash Rampage only connects on a target already afflicted with Stagger, so it rewards following up your crowd control.
Stigma and passive skills
The Stigma skills unlock at level 22 and cost 1 Stigma point each. They give the Templar its defensive toolkit and a ranged opener, and all cap at skill level 25.
| Skill | Cooldown | Effect | Req. level |
|---|---|---|---|
 Empyrean Lord’s Punishment Empyrean Lord’s Punishment | 60s | 20m AoE, 939 → 2,976 (+164%), Stun | 22 |
 Shield of Protection Shield of Protection | 20s | Guaranteed Block, +100% Block reduction | 22 |
 Nezekan’s Shield Nezekan’s Shield | 60s | Party shield worth 41% of Max HP, 3s | 22 |
 Battlefield Banner Battlefield Banner | 90s | Attack up from Defense, 10s | 22 |
Empyrean Lord’s Punishment picks a target within 20m and hits up to 4 enemies within 4m of it, with a 50% Stun chance that becomes 100% against NPCs. Nezekan’s Shield covers you and party members within 40m. On the passive side, Punishing Benediction raises Critical Hit by 100 and adds a chance for extra damage on your attacks, while Ironclad Defense gives a flat 7% Defense and 1% Endurance. Both passives cap at skill level 40.
With the macro bound, the manual skills mapped to their own keys, and the weave producing that shadow after-image, the Templar runs on two held buttons and a handful of situational presses. Dial the macro delay to your ping, then spend your attention on positioning and the Doom Shield reset rather than hammering a full hotbar.