Urugugu Canyon is the second expedition you reach in Aion 2, set in a Verteron canyon held by the Urugugu tribe of Aullaeu. It runs for up to five players with a 60-minute limit and keeps the same three-encounter shape as Krao Cave, while adding a windstream traversal section and a few sharper boss mechanics. You first enter it through the main story, then return in Exploration mode, and finally unlock the tougher Conquest version once your gear is ready.
Quick answer: Clear the two mid-bosses, Guardian Captain Raur and Judge Urahum, ride the windstreams up to Urugugu Temple, then beat Divine Auldor. Conquest needs level 45 and 1,400 item power.
Entry requirements for both difficulties
Exploration opens at level 28 and is where most players learn the layout. Conquest keeps the same party size but raises the gates sharply, and the item power floor matters because Divine Auldor has several attacks that can end the run on their own.
| Difficulty | Level | Item level | Players |
|---|---|---|---|
| Exploration | 28 | 300 | 2–5 |
| Conquest | 45 | 1,400 | 2–5 |
At least two players are required for the Divine Auldor fight, even though you can handle the rest of the dungeon with fewer. His stack mechanic can only be survived if someone else is standing with the marked target.
Route through Urugugu Canyon
The route proceeds through four zones: Urugugu Village, Windy Valley, Urugugu Temple, then Auldor’s Sanctum. Both mid-bosses are near the beginning, close to one another; in Windy Valley, windstreams lift you toward the temple.
Boss mechanics in Urugugu Canyon
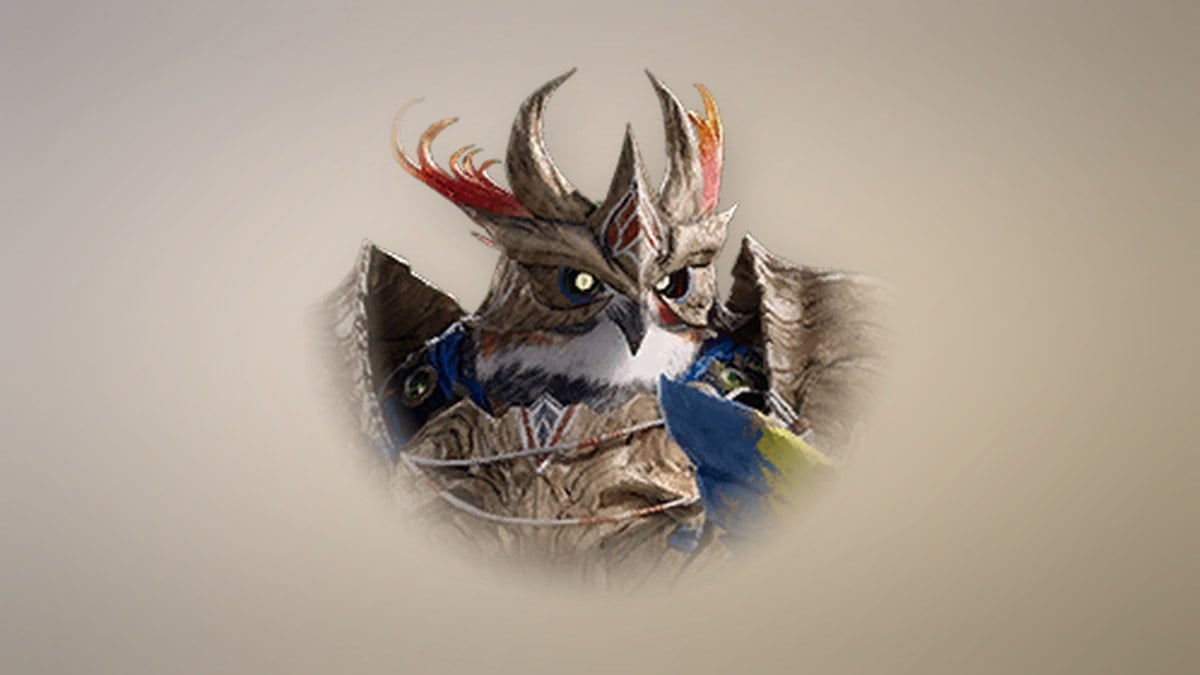
Guardian Captain Raur
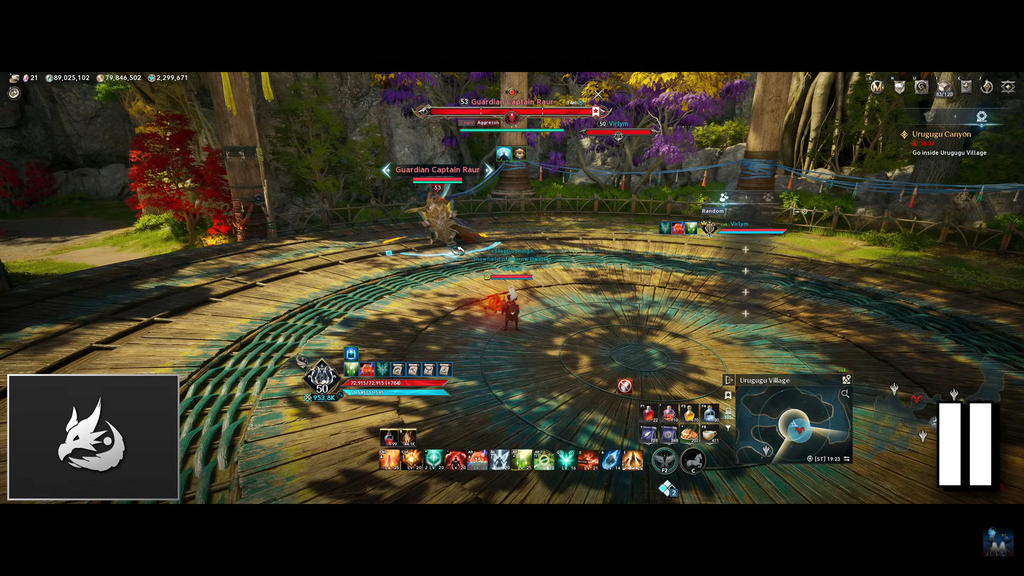
Raur opens by charging his shield at the closest player who enters the arena. With decent gear he is not much of a threat on his own, but he carries one attack that can wipe the group if you misplay it. His regular patterns are easy to read.
- Shield charge: closes the gap to the nearest player at the start of the fight.
- Grapple: if players stray too far, he pulls one back beside him for a follow-up.
- Spin attack: a charged circular AoE that ends in a spin. Block or perfect-dodge to take no damage.
- Double swing: a quick double slash into a shield bash. He briefly charges the sword first, which is your cue to step back.
Once the first health bar is gone, Raur plants his shield, calls out “Feel your strength turned against you! Strike me!”, and raises a reflect shield for a few seconds. Stop attacking completely. Every hit you land during the reflect gives him a stack of the Slayer buff, each worth 30% more damage, and at the end he releases a large point-blank slam. That slam cannot be dodged, and with enough stacks it kills the whole party. If nobody hits him during the window, the slam does nothing.
Judge Urahum
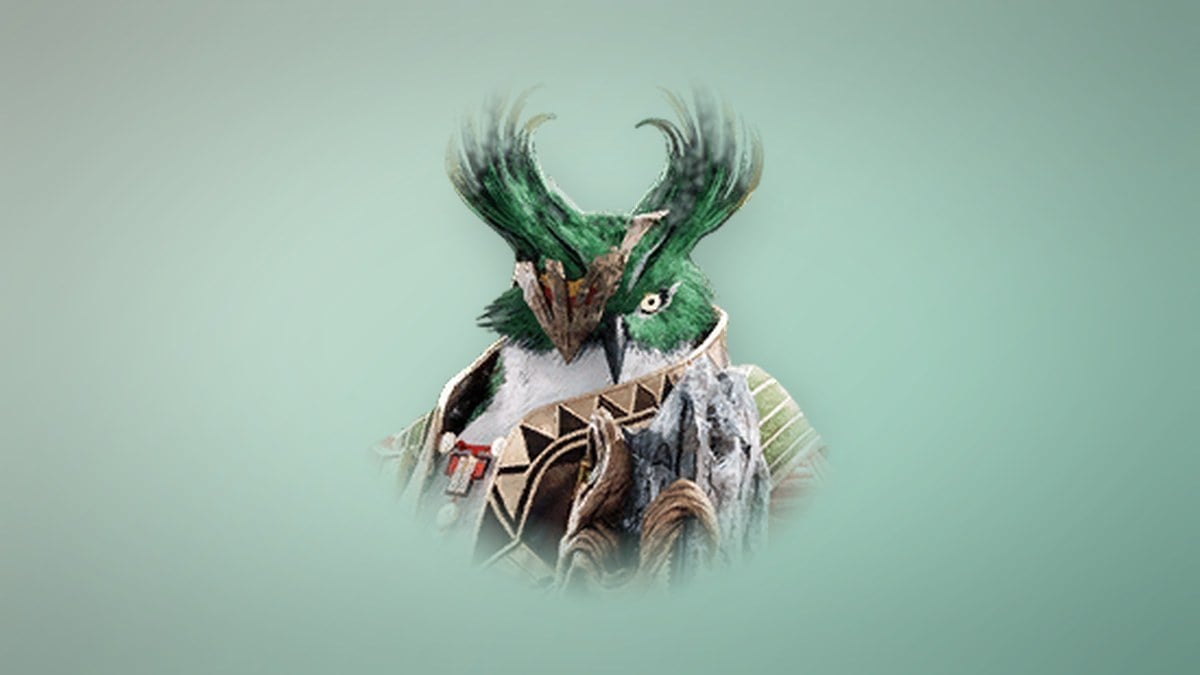
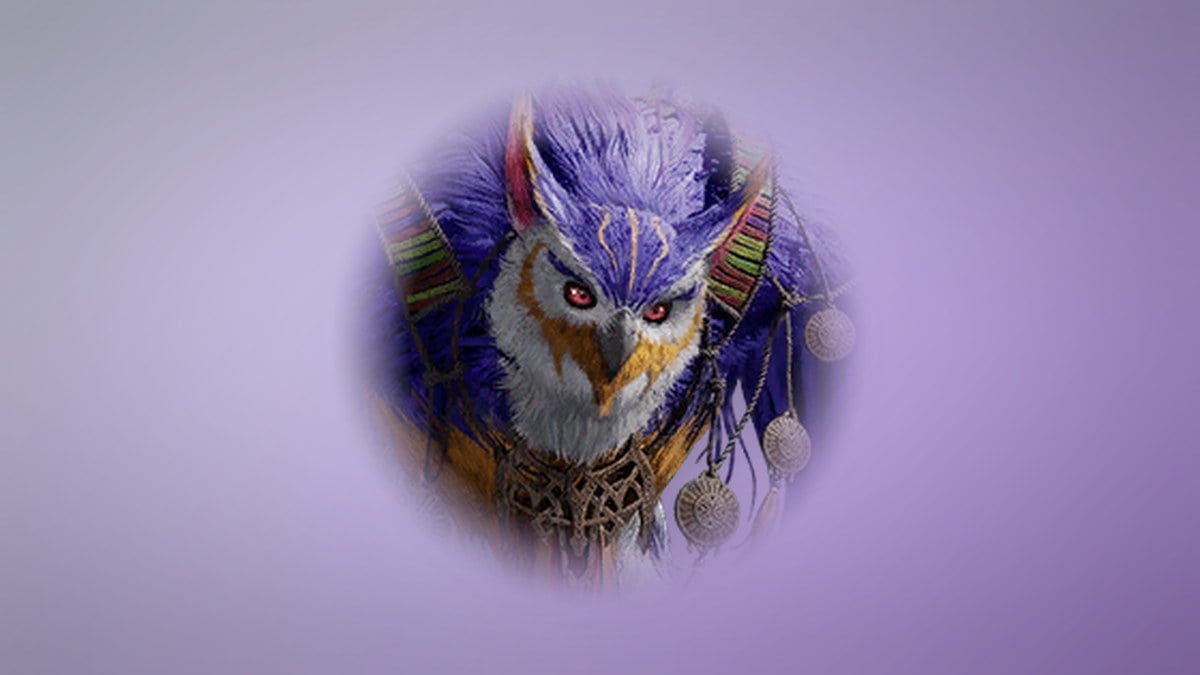
Urahum sits right beside Raur, so you fight him second regardless of the order you choose. Most of his hits apply a short poison debuff that, when it expires, leaves a bright pink puddle dealing damage over time for a while. The damage looks small at first, but it adds up fast on higher difficulties if you keep standing in it. Blocking or perfect-dodging stops the debuff from applying at all.
- Double swing: two quick claw swipes in succession.
- Charged slash: a brief claw charge into a single slash.
- Spin attack: a spin that scatters projectiles outward.
- Triple slam: two ground slams with his fists followed by a body slam.
The triple slam is the one to respect. A single slam barely hurts, but taking all three can wipe the party. Move out of the AoE as soon as he starts it. Everything else is weak enough to face-tank.
Divine Auldor
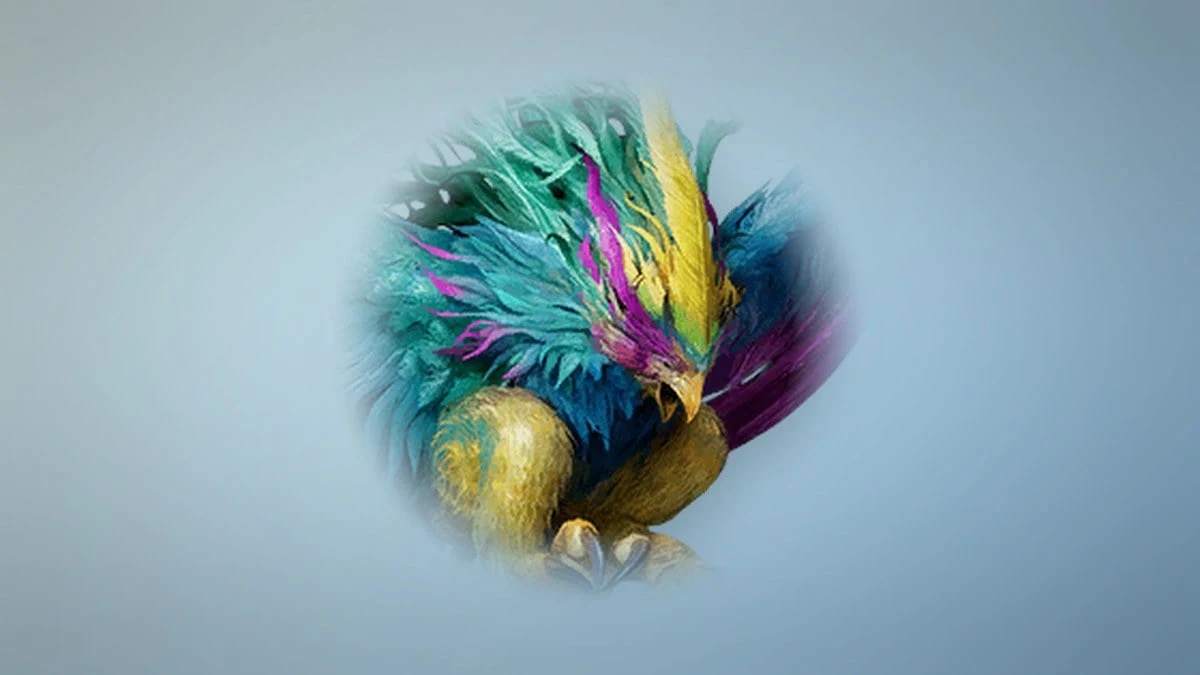
Divine Auldor, the sacred bird the Urugugu shamans summon, is the final boss and carries far more to watch for. In Conquest he enrages at the five-minute mark, after which he moves twice as fast and hits roughly three times harder, so the damage check is real. Exploration has no enrage. Bring attack scrolls and cooked food, and do not waste time getting caught by tornadoes.
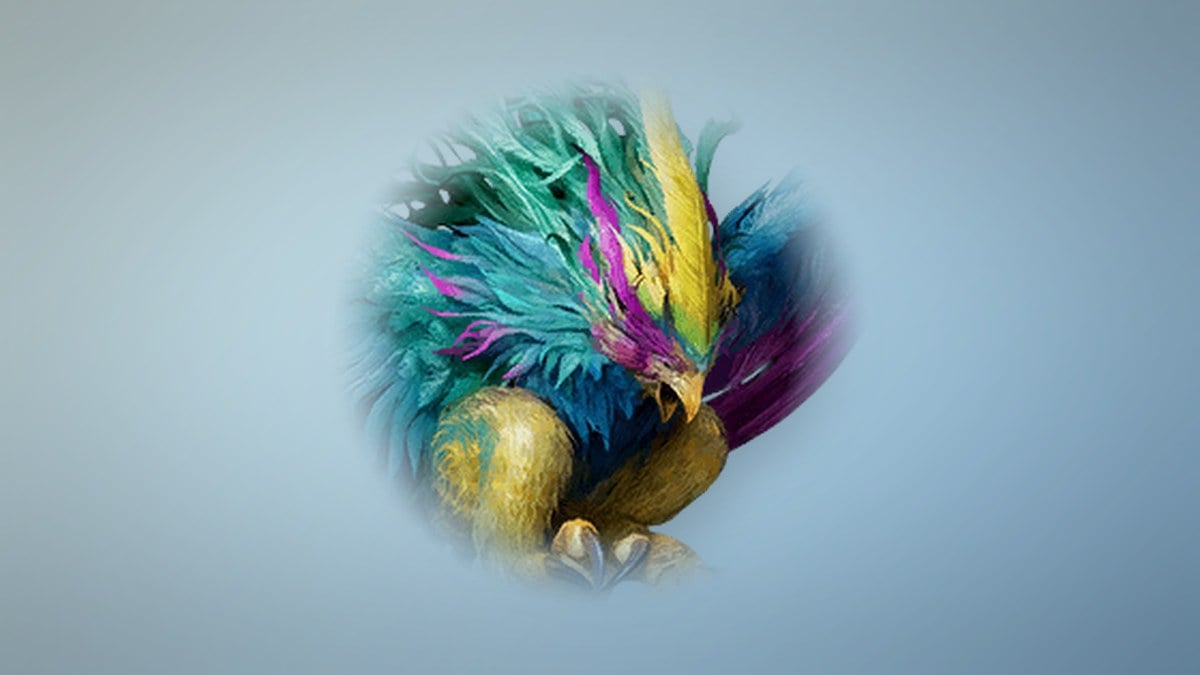
His core mechanic is a stacking soak that triggers near 75% and again near 30% health. Auldor flies to the center, rises into the air, and marks one player while tornadoes begin crossing the arena. The whole party must stack on the marked player before he lands. Alone, the marked player dies no matter what defenses they use; two players split it to about 70% each, and with more the damage drops further. The tornadoes bind anyone they touch, so dodge them on the way in and have ranged players swing wide where the gaps are larger. Below 30%, a burning ring also forms around the arena edge, so keep the fight near the middle.
His other attacks are survivable once you learn the tells:
- Shoulder slam: marks a small circle, then jumps and slams it. A single dodge clears it.
- Mega slam: he flies off-screen and drops onto a large area, knocking you down. A perfect dodge avoids it.
- Charge: he targets one player and dashes at them, leaving a burning trail. The tank sidesteps, then pulls him off the trail.
- Wing swipe: a slow projectile that passes through everything in one direction.
- Grab: after a tornado suspends you, he can grab and slam you down. Nearby players should watch for the shockwave.
- Spin attack: he leaps up and rains projectiles across the floor.
After the first health bar, Auldor also marks a player for an unavoidable slam. If the group can survive it, stack to spread the hit evenly. If not, let the marked player take the fall alone rather than losing the whole team.
Loot and rewards
All three bosses share the Faith armor set as their Epic drops, with the final boss paying out at much higher rates. Clearing both mid-bosses adds their loot pools to the Odyle Energy Cube, so fight both in Conquest. Guardian Captain Raur and Judge Urahum carry identical drop tables.
| Item | Mid-boss rate | Divine Auldor rate |
|---|---|---|
 Faith Gloves Faith Gloves | 5.2% | 11.7% |
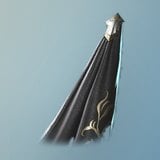 Faith Cloak Faith Cloak | 5.2% | 11.7% |
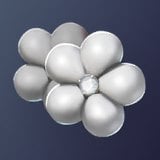 Brave Warrior Earrings Brave Warrior Earrings | 5.2% | — |
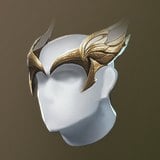 Faith Helm Faith Helm | 4.2% | 9.3% |
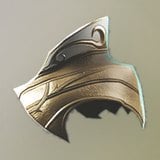 Faith Pauldrons Faith Pauldrons | 4.2% | 9.3% |
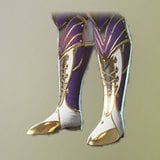 Faith Boots Faith Boots | 4.2% | 9.3% |
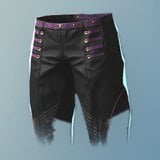 Faith Greaves Faith Greaves | 3.5% | 7.8% |
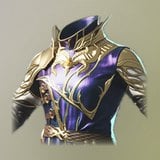 Faith Breastplate Faith Breastplate | 2.6% | 5.8% |
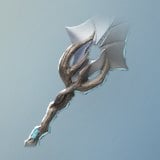 Faith Greatsword Faith Greatsword | — | 3.9% |
In Exploration, the Cube offers only Epic and Rare equipment at item levels 33 and 35, making Odyle Energy better saved for the story and learning the layout. Conquest is the main prize: its drops include Unique Aulamus equipment at item level 70, Divine Canyon armor, refining stones, and the Divine Auldor Mask helm skin. Once you’ve claimed Cube rewards 21 times, you can select an accessory; that’s the run’s pity ceiling.
You know the run is done when the Expedition Complete banner for Urugugu Canyon appears and the Odyle Energy Cube opens on the arena floor for you to collect. Interact with it, take the rewards, and confirm the exit prompt to teleport out. The dungeon resets weekly on Wednesday, so your Conquest clears refresh for another attempt at the Unique drops.