Chapter 7 of Valor Mortis, Witch Hunt, sends William from the ruined bridges of The Outskirts into the City of Orphans and down through its sewers. It holds more optional loot than most chapters, and much of that loot sits behind side quests rather than in plain chests. None of it is missable. You can return to every area later.
Quick answer: Chapter 7 holds 8 Ambers, 4 Ferrofluid Flask Power Upgrades, 2 Empty Ferrofluid Flasks, 1 Quintessential Blade Material, 1 Masterwork Firearm Parts, and a Quintessential Transmutation Material for finishing Monster Hunt.
Valor Mortis Chapter 7 collectible checklist
Each row below is one pickup, listed in the order you reach it on a normal run through the chapter. Lantern names are given so you can fast-travel straight to the right area on a cleanup trip.
| Collectible | Type | Lantern | How you get it |
|---|---|---|---|
| Dominatus | Amber |  Broken Bridge Broken Bridge | Rooftop chest left of wall jumps |
| Flask Power Upgrade | Ferrofluid upgrade |  Breach Breach | Chest on slope past boss arena |
| Empty Ferrofluid Flask | Flask charge |  Island of Whispers Island of Whispers | Chest in candle-lit waterside house |
| Surplus | Amber | Island of Whispers | Chest in open shed on main road |
| Potent Concoction | Amber | Island of Whispers | Laudanum quest reward |
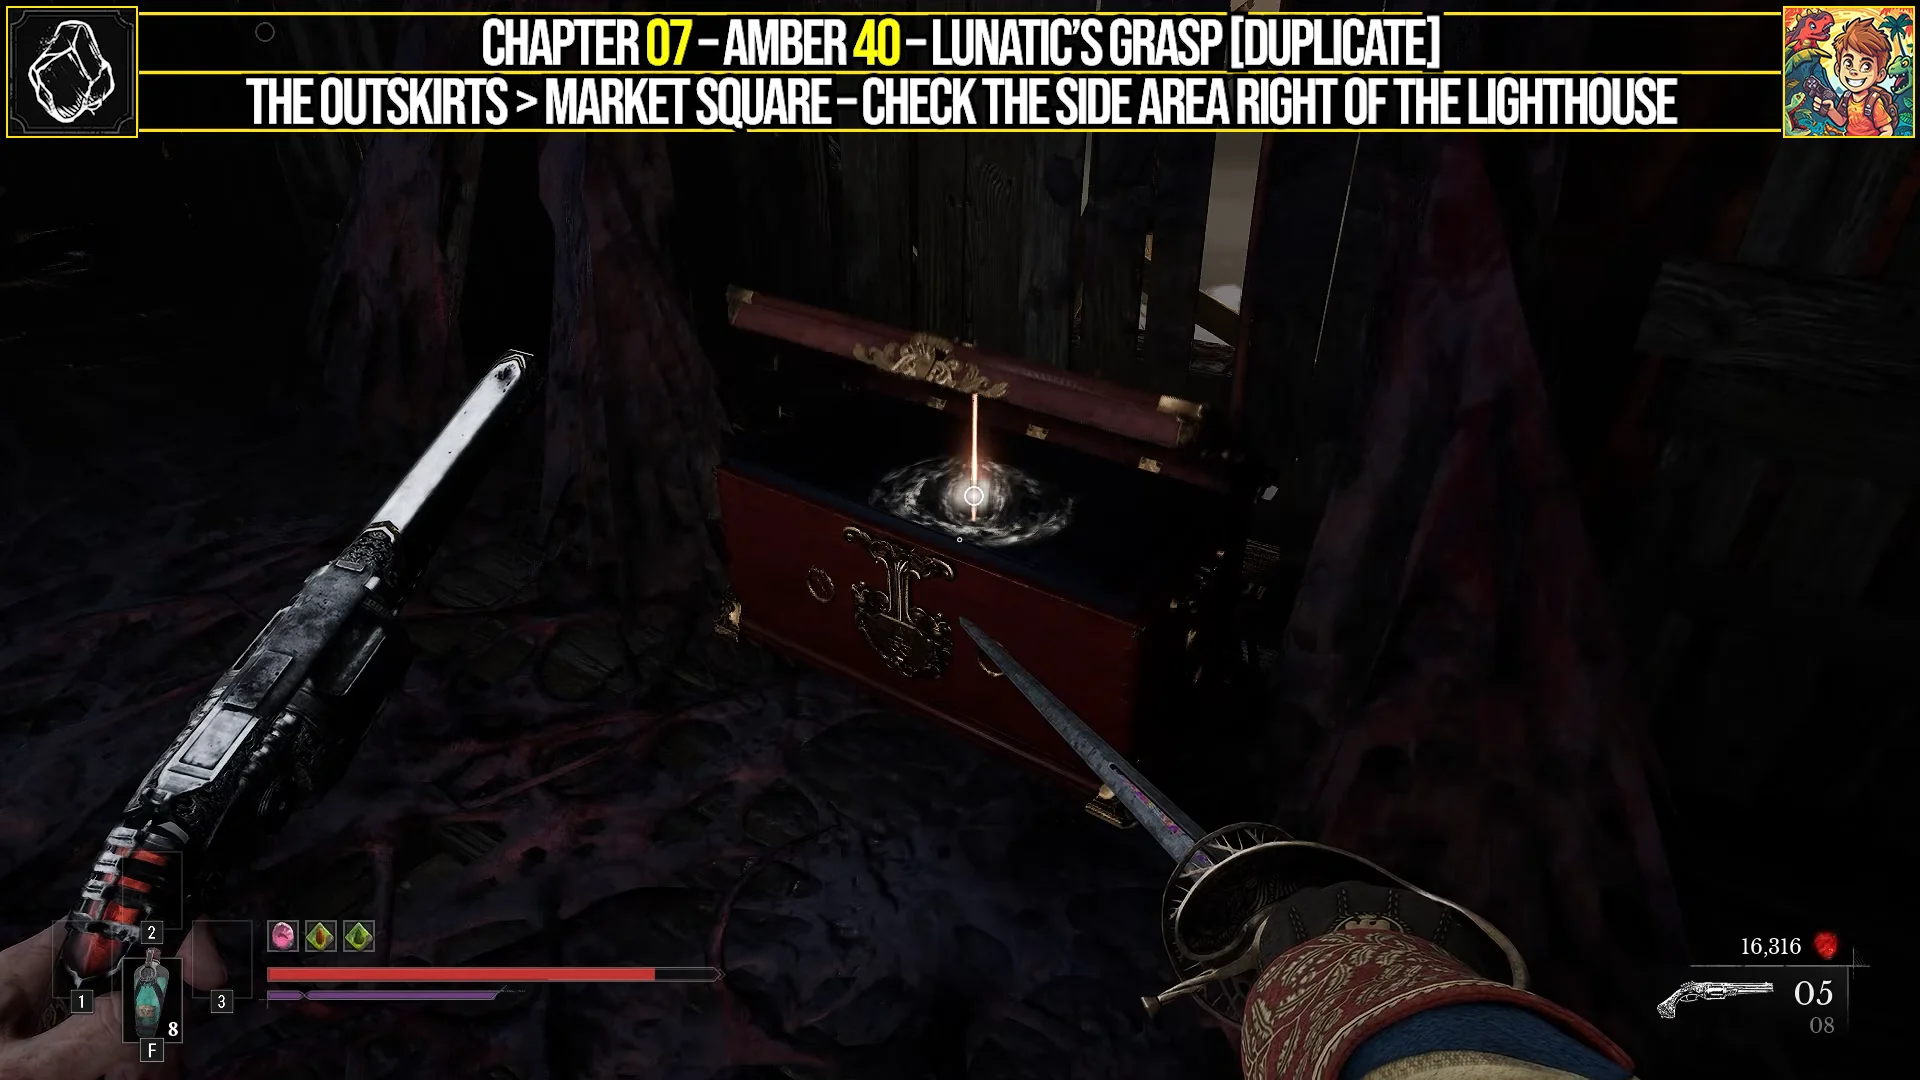
| Lunatic’s Grasp | Amber |  Market Square Market Square | Shack reached via rowboats |
| Empty Ferrofluid Flask | Flask charge | Market Square | Workshop chest near lighthouse |
| Quintessential Blade Material | Upgrade material |  Lighthouse Lighthouse | Chest in ruined lighthouse foundation |
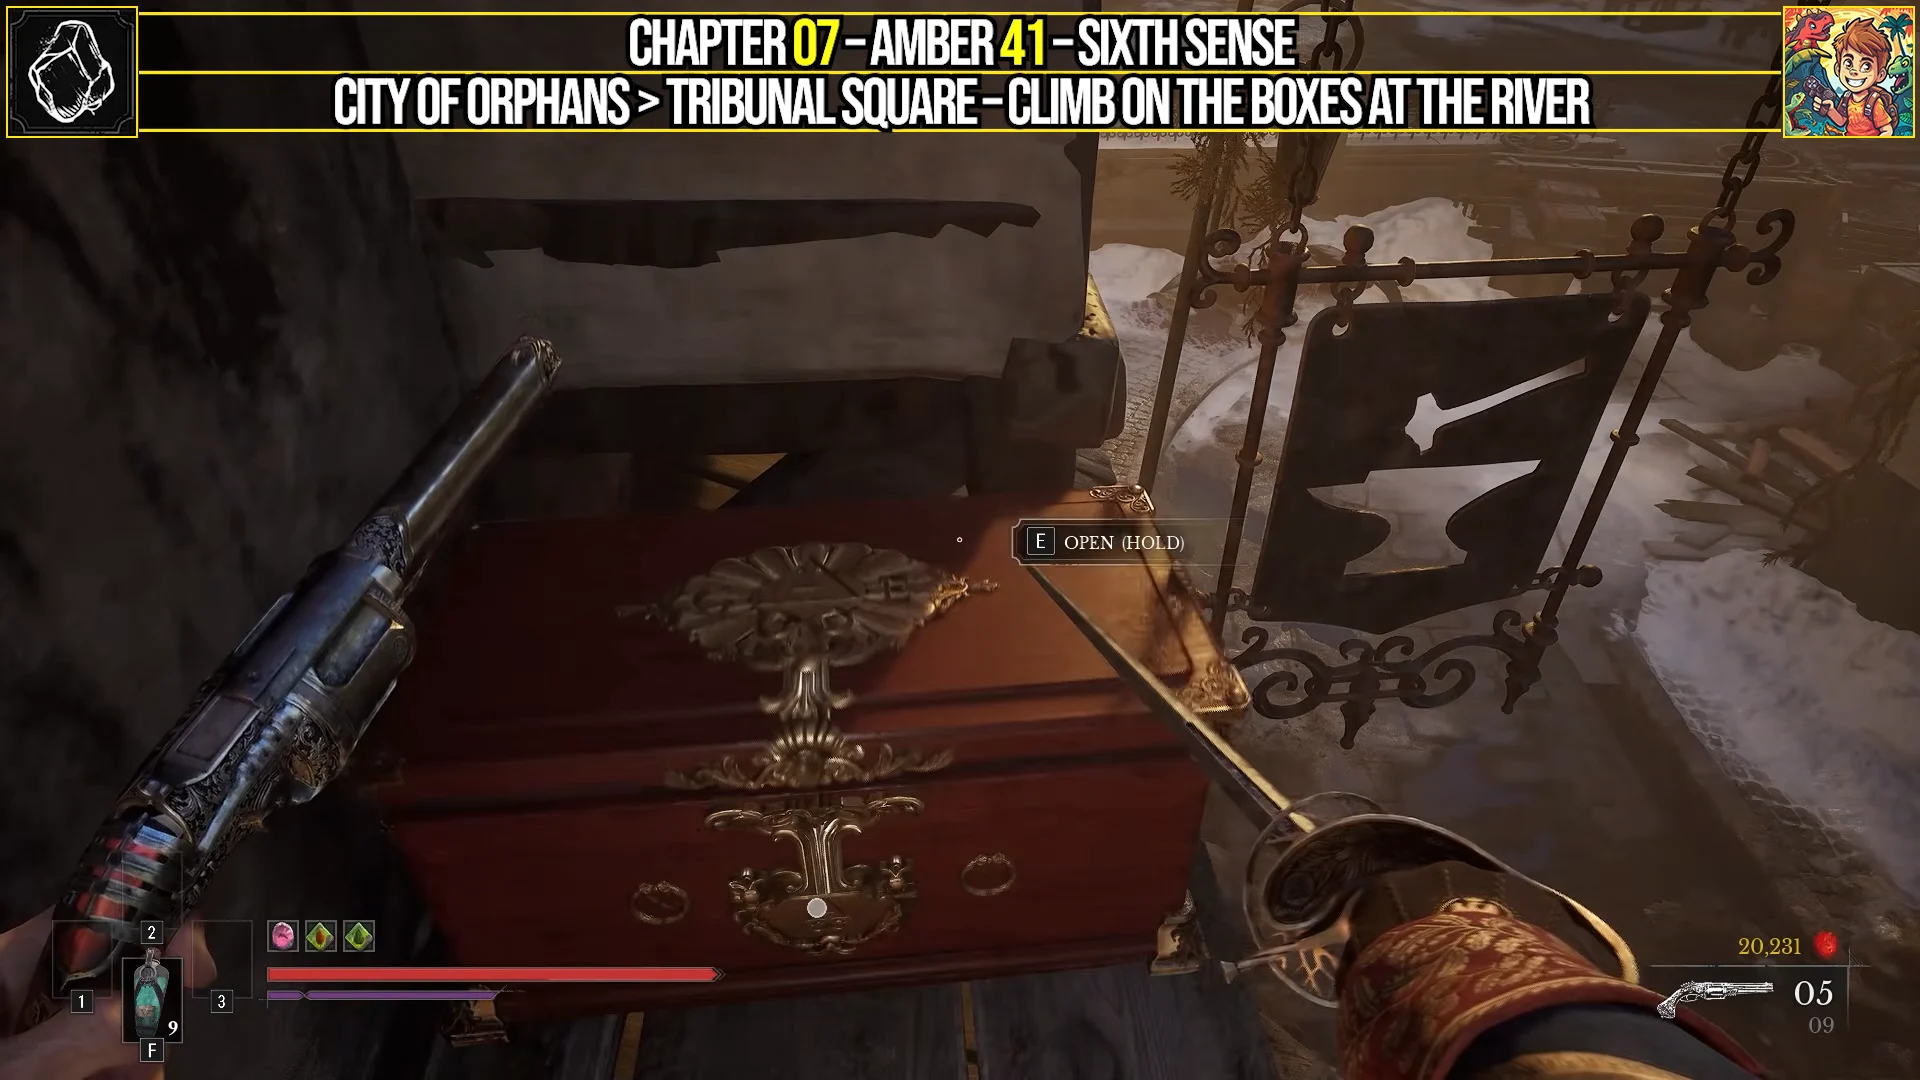
| Sixth Sense | Amber |  Tribunal Square Tribunal Square | Rooftop chest above the canal |
| Bottomless Well | Amber | Tribunal Square | Miniboss drop in side courtyard |
| Flask Power Upgrade | Ferrofluid upgrade | Tribunal Square | Chest beside the miniboss |
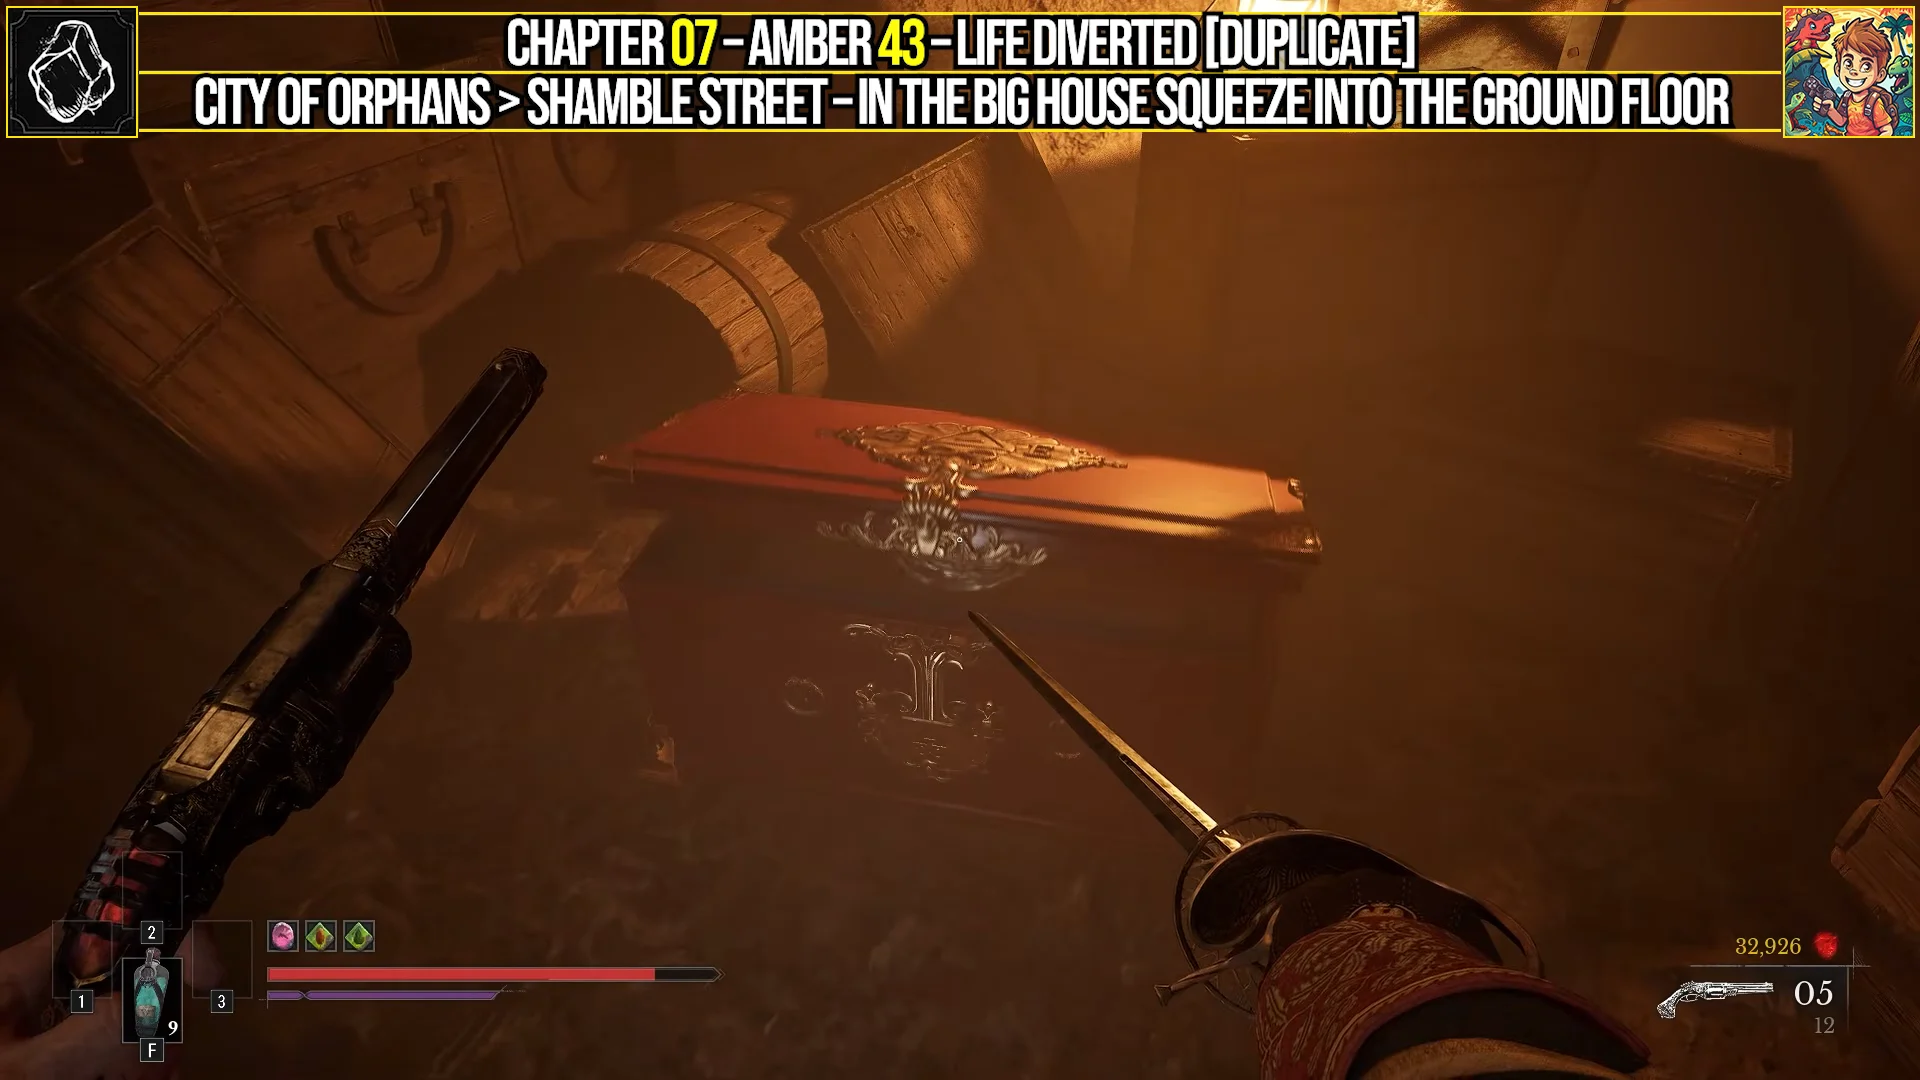
| Life Diverted | Amber |  Shamble Street Shamble Street | Chest deep in manor crawlspace |
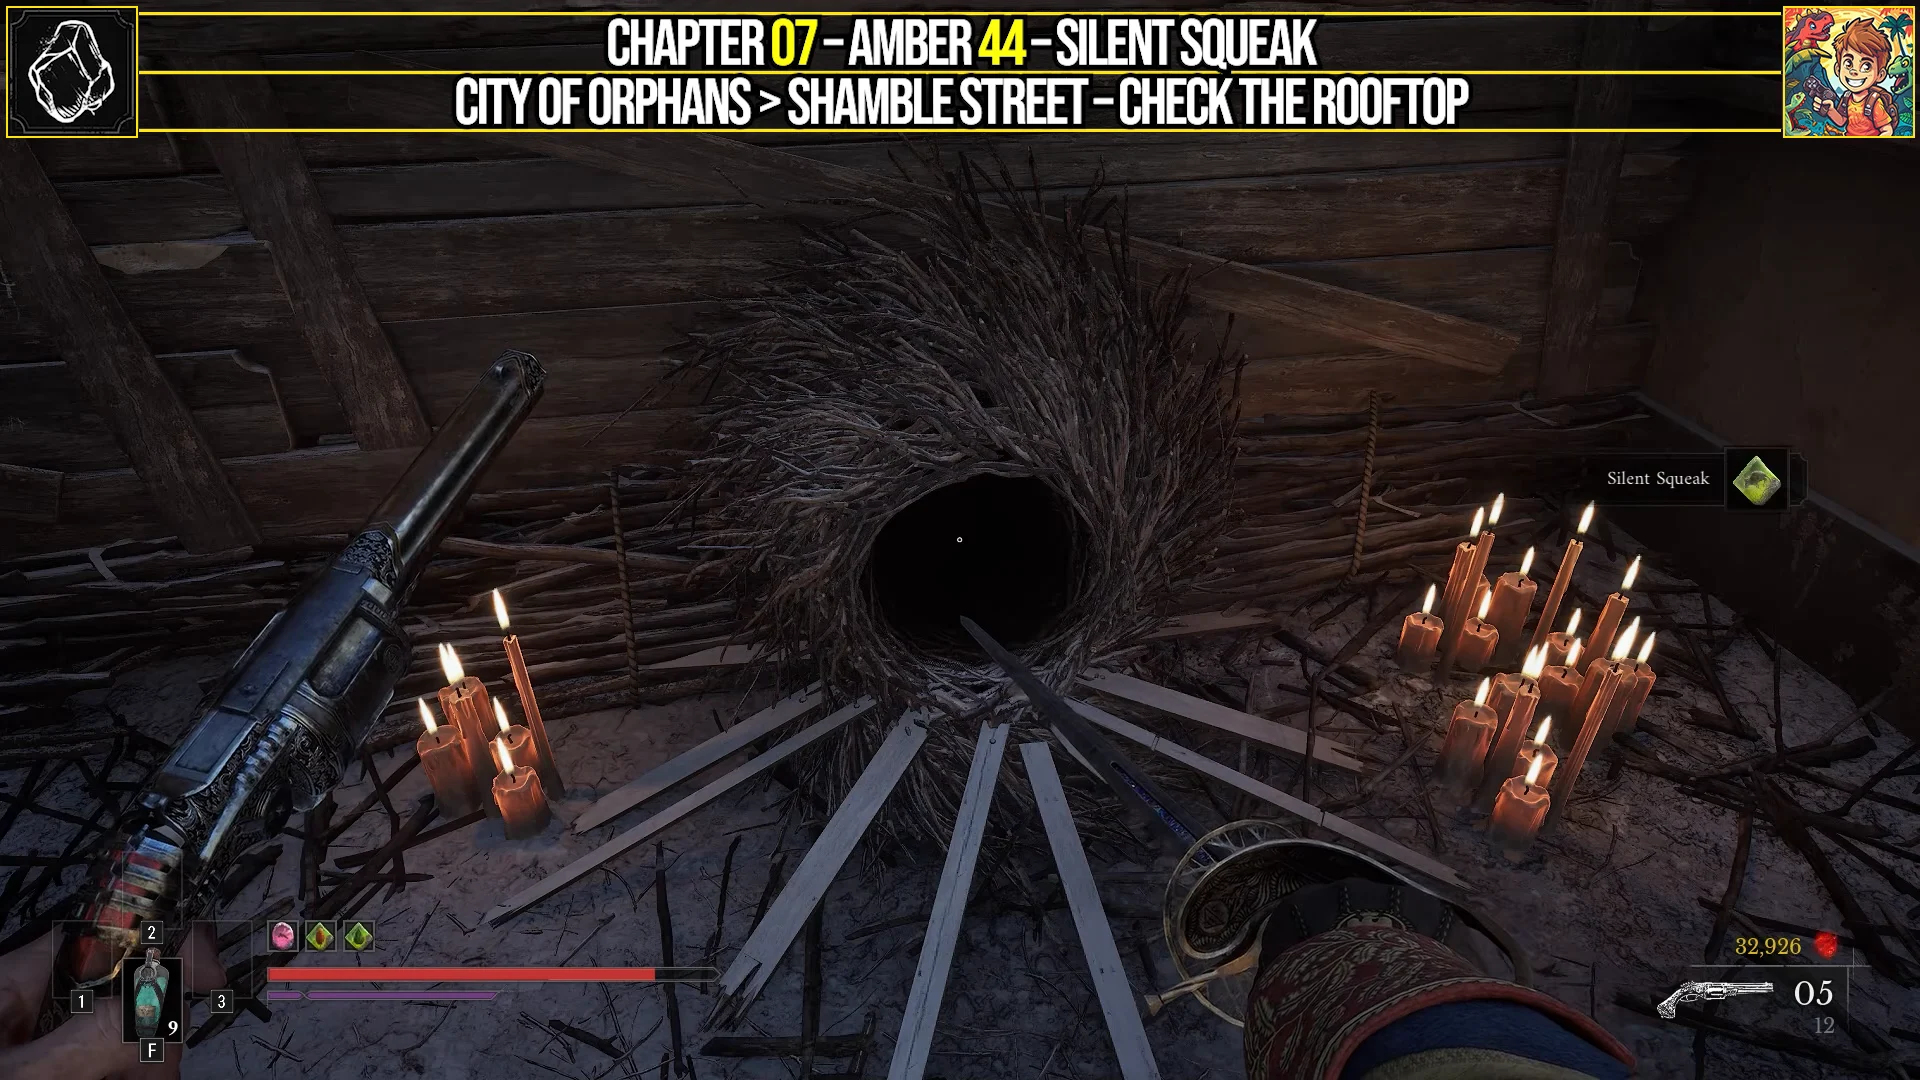
| Silent Squeak | Amber | Shamble Street | Talk to mice in attic burrow |
| Flask Power Upgrade | Ferrofluid upgrade | Tribunal Square | Chest behind crates near statue |
| Flask Power Upgrade | Ferrofluid upgrade |  Sewers Sewers | Upper ledge, circular sewer room |
| Masterwork Firearm Parts | Upgrade material | Sewers | Behind the master gate |
| Quintessential Transmutation Material | Upgrade material | Sewers | Monster Hunt completion reward |
Two smaller extras turn up along the way. A Distilled Transmutation Material sits near the second Empty Ferrofluid Flask in Market Square. Bedtime Stories and Laudanum each pay out a Tiny Whisker Gift.
The Outskirts: Chest locations from Broken Bridge to the Lighthouse
Broken Bridge and Breach
From the Broken Bridge lantern, follow the main path until you reach an open area with enemies and a wall-jumping section. Before you start the wall jumps, look left. A run of climbable platforms leads up to a red chest holding the Dominatus Amber.
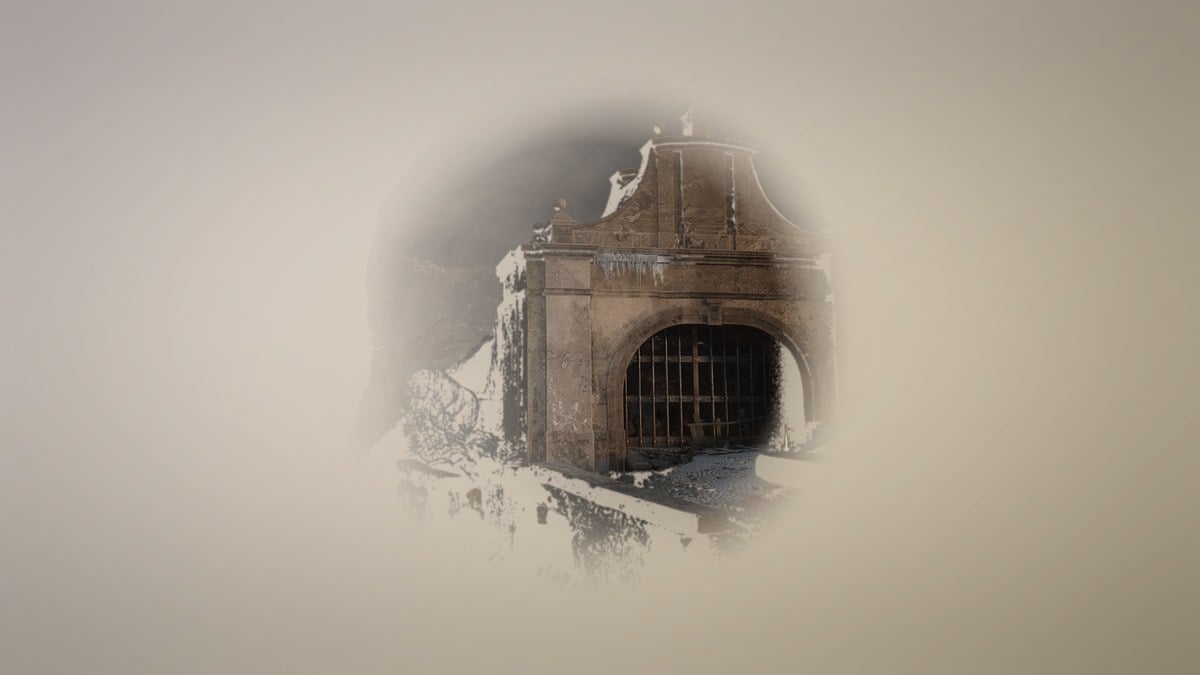
Keep going to the mandatory Justicar Aurelius fight. Once he’s down, or later from the Breach lantern, cross the bridge past the arena and take the downward slope. A red chest on the way down holds a Ferrofluid Flask Power Upgrade.
Island of Whispers
Island of Whispers has two chests and two side quests. One chest is the Empty Ferrofluid Flask inside the waterside house ringed with candles, which you pass during The Shrike’s Anthem. The other is Surplus. Follow the main road toward the two tall enemies, and about halfway along the street an open shed on the left holds the chest. Potent Concoction comes from finishing Laudanum, covered in the side quest section below.
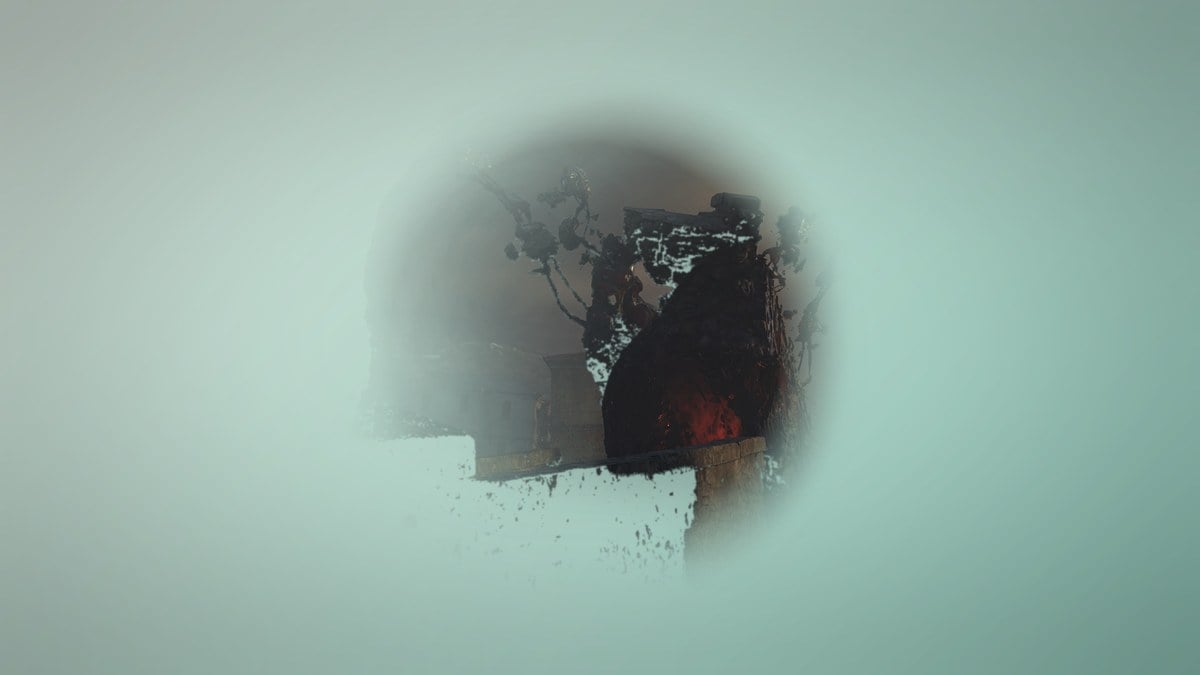
Market Square and the Lighthouse
From the Market Square lantern, head toward the lighthouse. Near a barn with a grapple point, skip the grapple and loop around the outside of the barn instead. Jump across the floating rowboats, grapple onto a shack roof, and drop inside. The chest there holds Lunatic’s Grasp.
For the second Empty Ferrofluid Flask, follow the shoreline path to the right of the lighthouse. You’ll find a way down into a workshop, and the chest inside holds the Flask. If the larger house nearby is sealed, shoot the explosive barrels through its window to blow a hole in the wall. A second chest in the same building holds the Distilled Transmutation Material.
The Quintessential Blade Material is inside the ruined lighthouse itself, near the Lighthouse lantern. Climb in and open the red chest hidden in the lower foundation. It sits beside the side lab you reach after the Experiment 83 boss fight, so grab it before you move on to the City of Orphans.
City of Orphans: Tribunal Square, Shamble Street, and Sewers chests
Tribunal Square
Follow the route to the burrow by the river. Climb the boxes to its left and follow the wooden scaffolding along the canal buildings to a rooftop chest holding Sixth Sense.
Later, you come to a house where the intended path takes you upstairs to shoot weak points through a window. Instead, loop around the outside and drop into a barricaded courtyard on the side. A miniboss is waiting there. Defeat it to get Bottomless Well; the red chest next to its body contains another Ferrofluid Flask Power Upgrade.
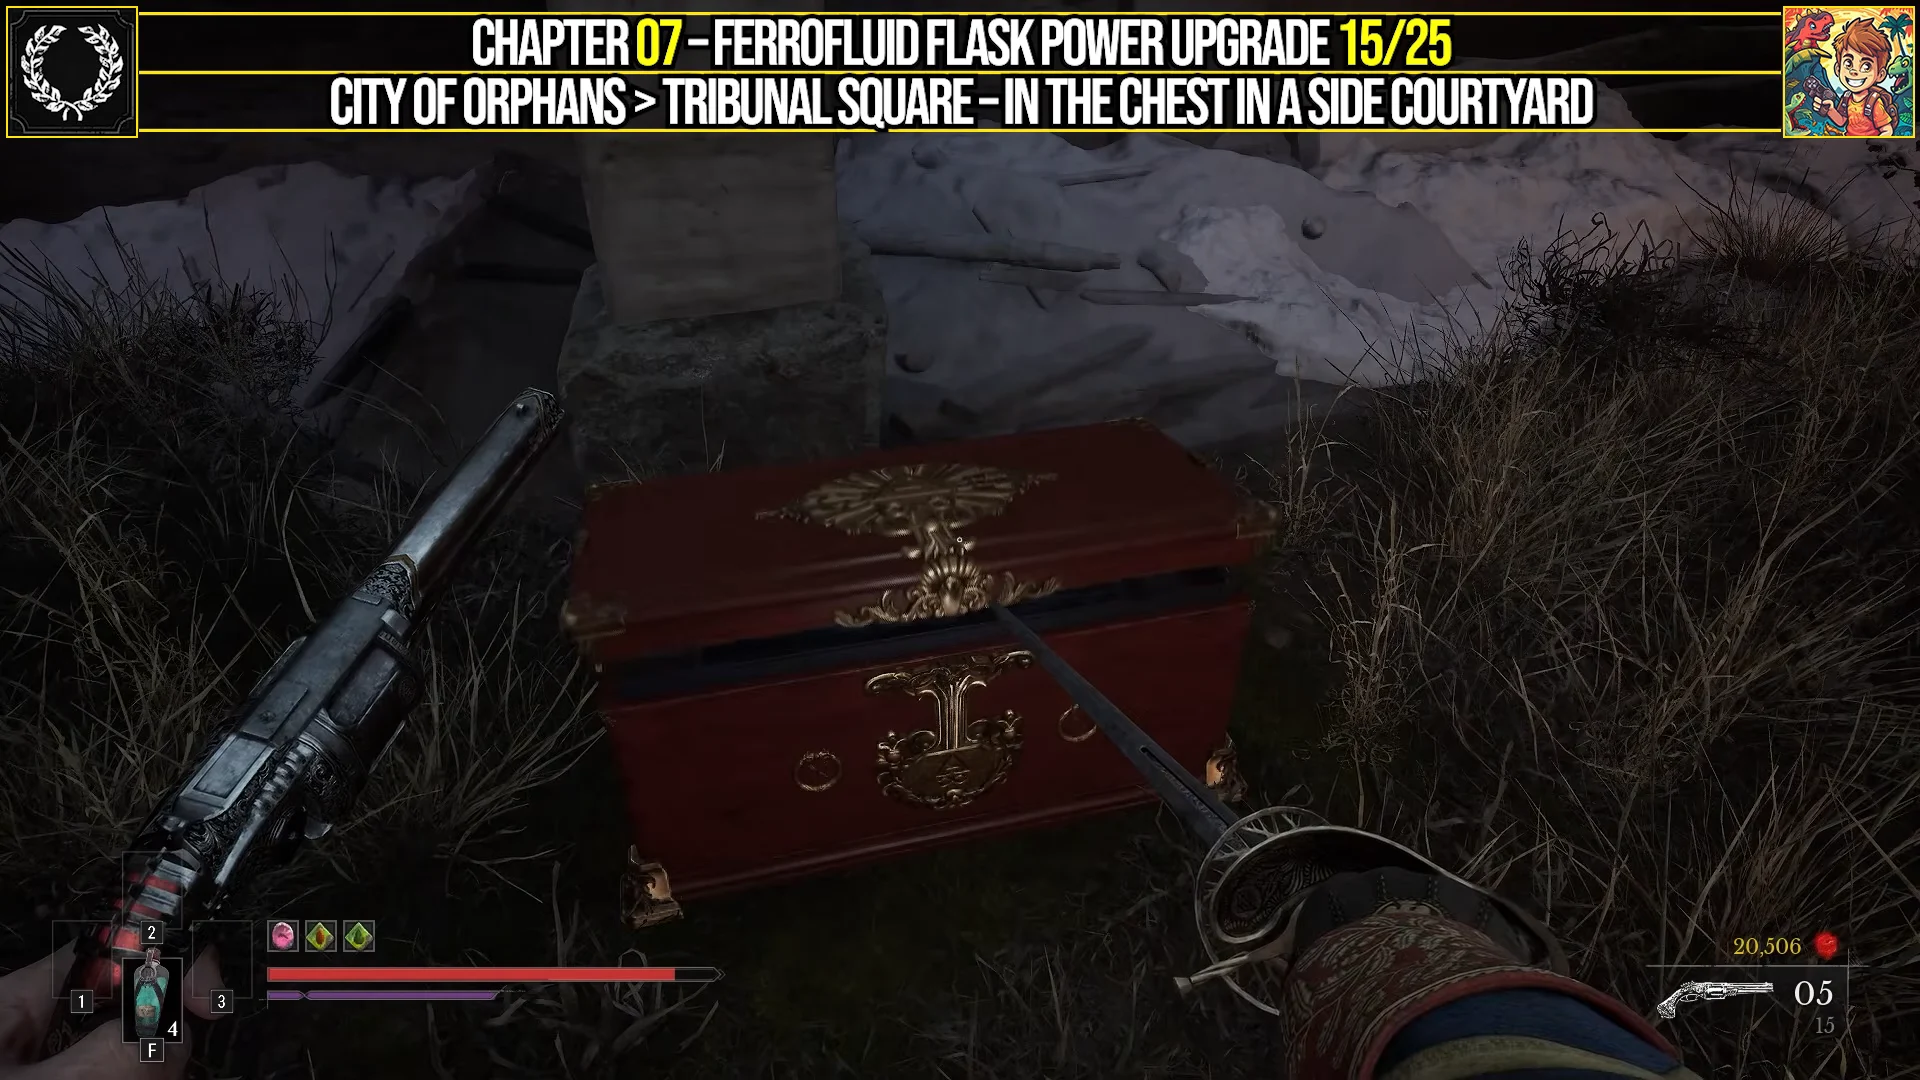
The third Power Upgrade in the City of Orphans is in Tribunal Square’s main plaza. Look behind the wooden crates near the statue for a red chest.
Shamble Street
Squeeze into the low crawlspace of the ruined manor on Shamble Street and keep working through the ground-floor corridors. A red chest among the crates holds Life Diverted.
Silent Squeak is obtained without opening a chest. From Shamble Street, climb the ladders and roof beams to reach a burrow in the attic, then speak with the mice inside. They give you the Amber, and a pickup notification confirms it.
Sewers
In the circular sewer room near the lantern, grapple up to the upper ledge for the last Ferrofluid Flask Power Upgrade of the chapter. Masterwork Firearm Parts sits behind the sewers’ master gate. Unlock it with the Sewers Master Key and open the chest inside.
Chapter 7 side quests: Steps and rewards
Six side quests start in Witch Hunt. Each one triggers a “NEW SIDE QUEST” banner when it begins, and each pays out on completion.
| Side quest | Starts at | Reward |
|---|---|---|
 The Shrike’s Anthem The Shrike’s Anthem | Island of Whispers | Completion (Empty Flask on route) |
| Laudanum | Island of Whispers | Potent Concoction, Tiny Whisker Gift |
 Monster Hunt Monster Hunt | Tribunal Square | Quintessential Transmutation Material |
| Bedtime Stories | Tribunal Square | Tiny Whisker Gift |
| Misericorde | Shamble Street | Remnant’s Return |
| Mummy and Daddy | Sewers | Completion |
The Shrike’s Anthem
Laudanum
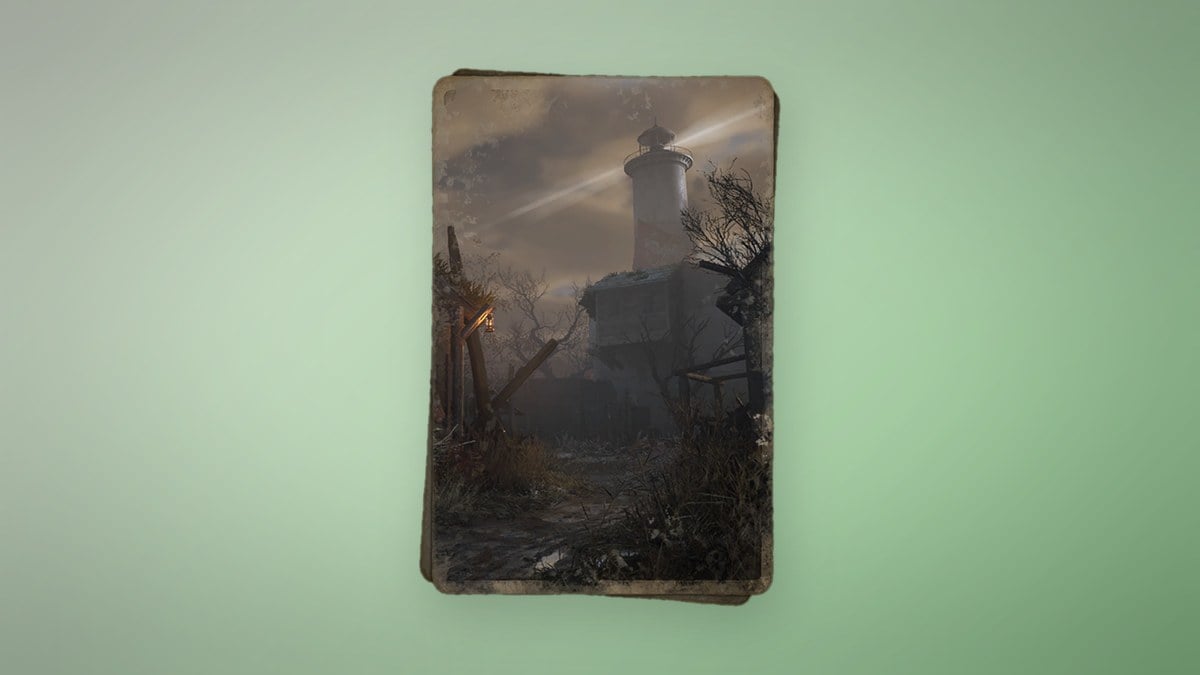
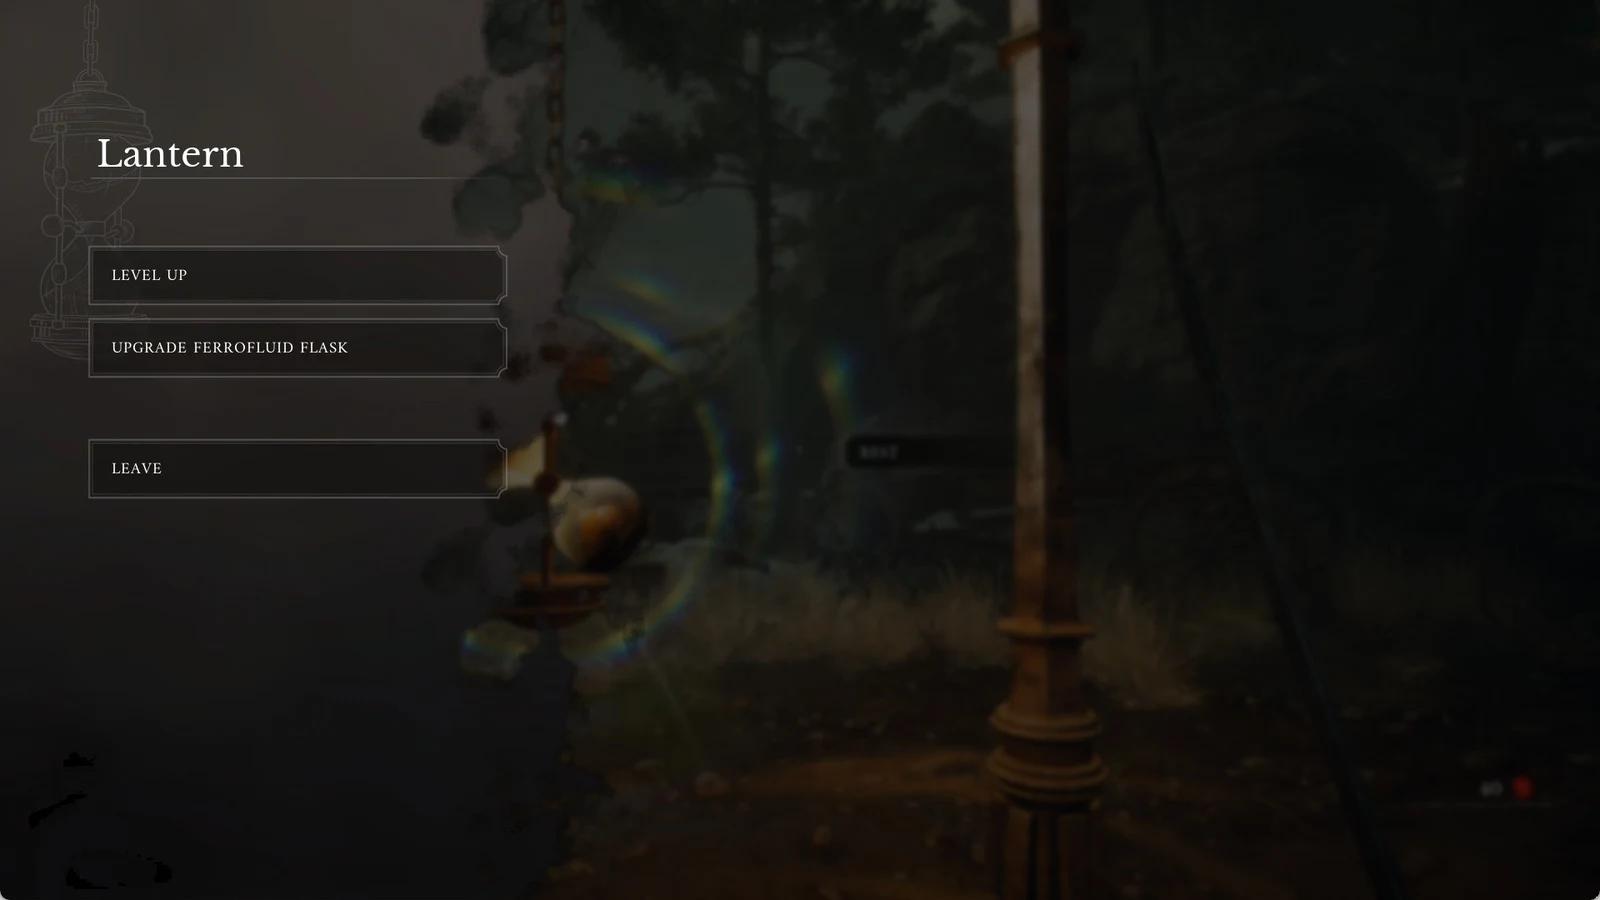
Siding with the children is the route confirmed to pay out Potent Concoction and a Tiny Whisker Gift. If you refuse, you skip the poison and hand over plain Laudanum instead, and the ending plays out downstairs rather than upstairs.
Bedtime Stories
Past the burning tunnel in Tribunal Square, take the stairs up and talk to the children in the burrow. Then go into the warehouse next door, climb the rafters, and drop onto the shelves to pick up the Bedtime Storybook.
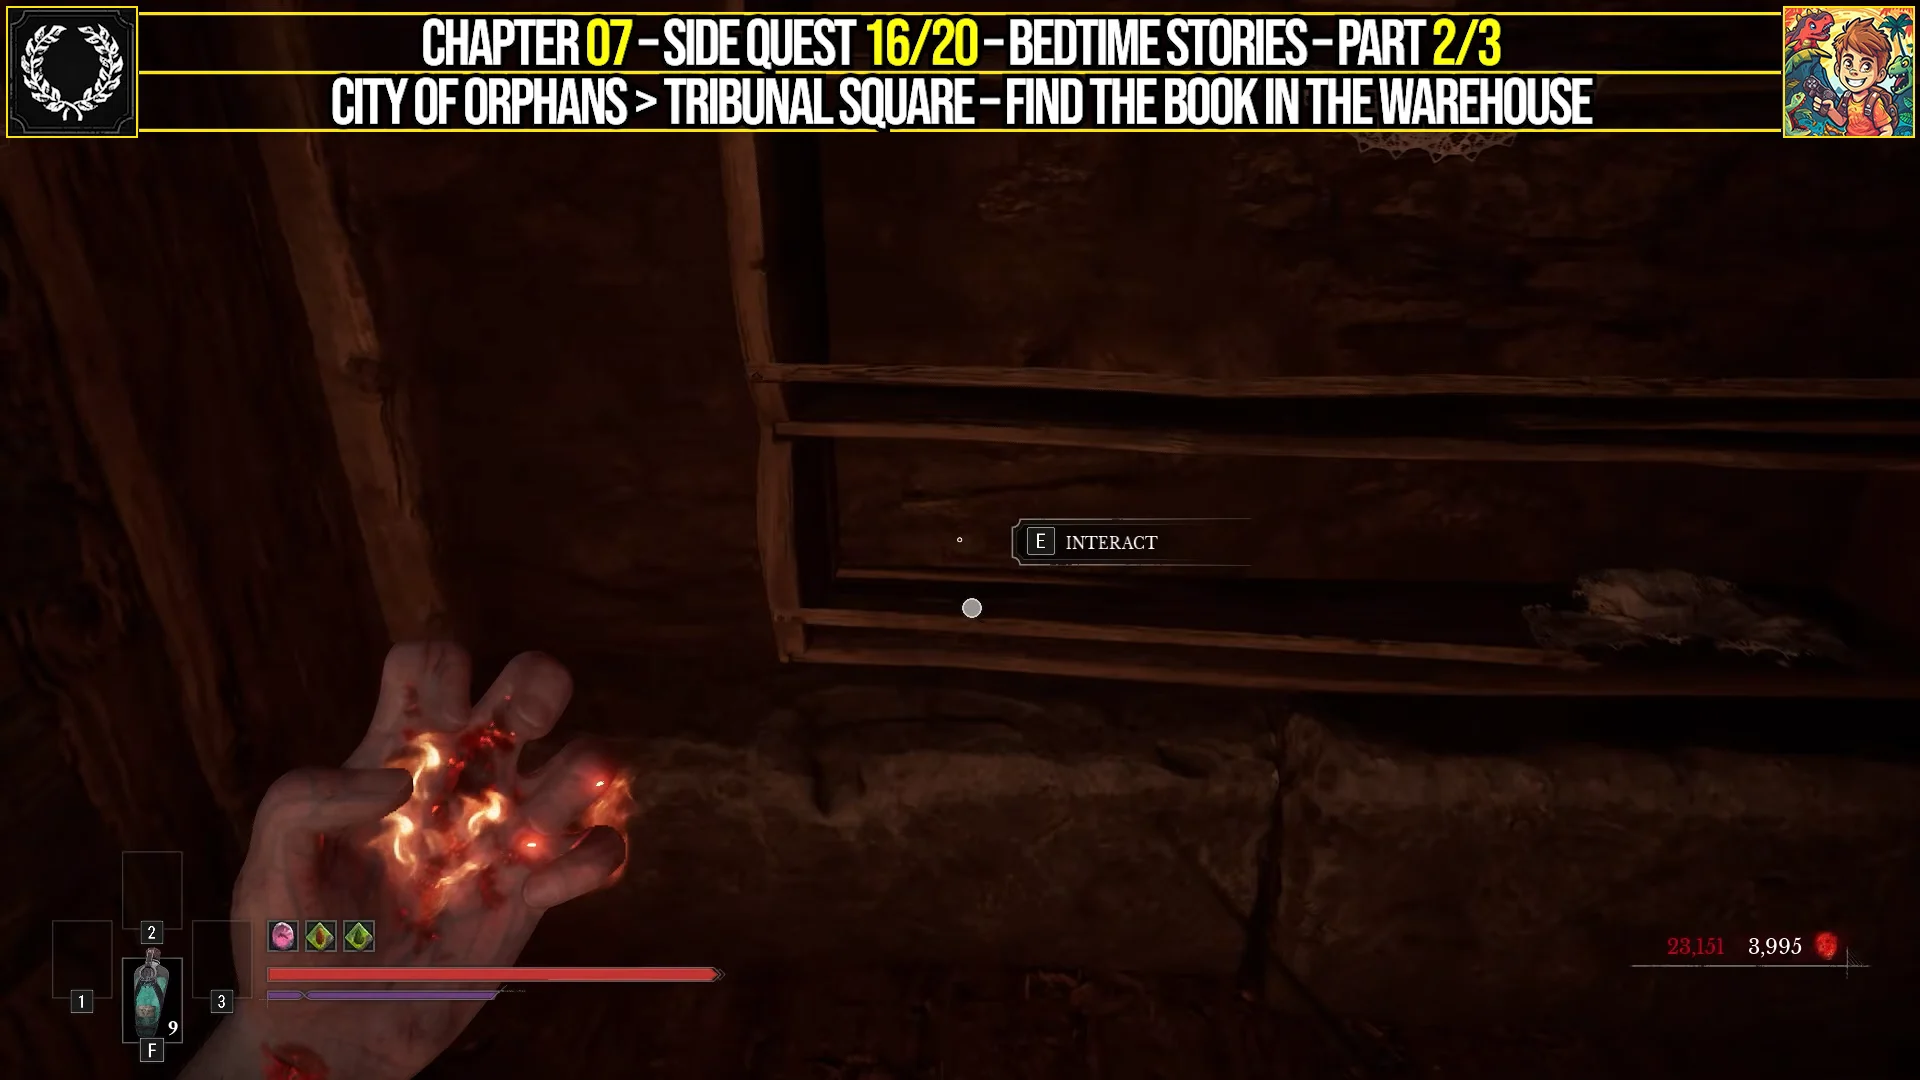
Take the book back to the burrow and read the story aloud to finish the quest and collect a Tiny Whisker Gift.
Misericorde
Mummy and Daddy
Monster Hunt: All 17 drawing locations
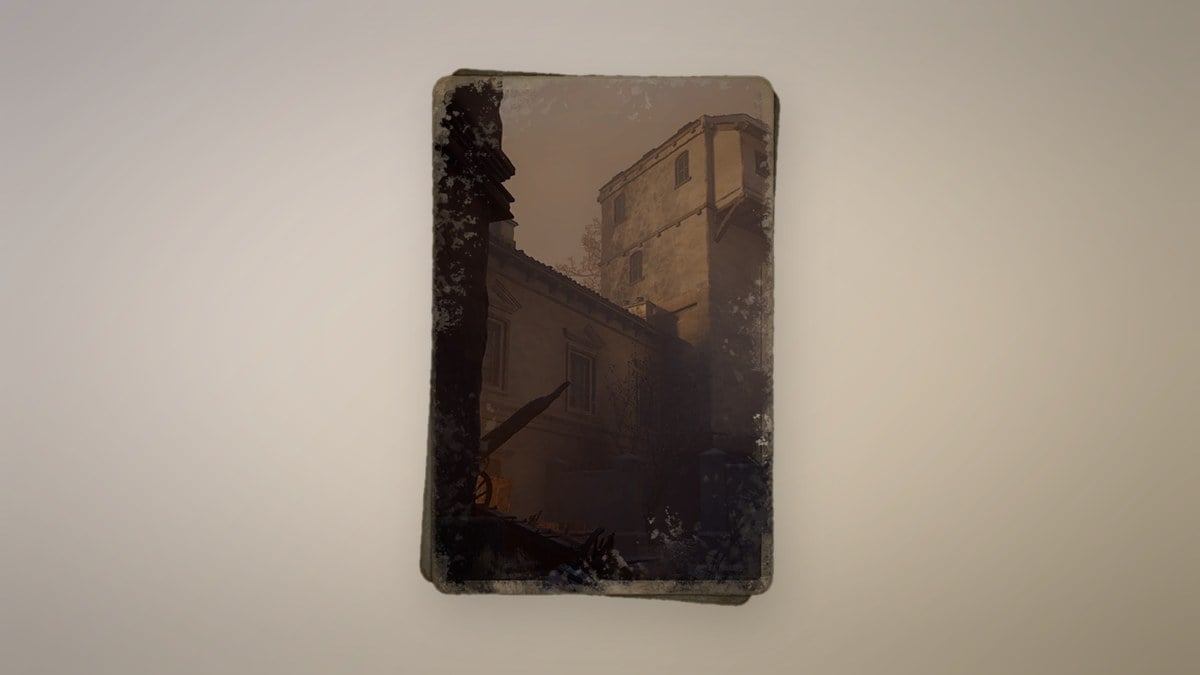
Monster Hunt starts when you pick up the first drawing next to the Tribunal Square lantern. All 17 drawings are needed for the reward, and they’re spread across Tribunal Square, Shamble Street, and the Sewers. Most are posters on walls, doors, or trees, so check every flat surface along these routes.
| # | Drawing | Area | Spot |
|---|---|---|---|
| 1 | Lancer | Tribunal Square | Tree beside the lantern |
| 2 | Roam Soldier | Tribunal Square | Under the canal bridge arches |
| 3 | Howler | Tribunal Square | Door just past burning tunnel |
| 4 | Volunteer | Tribunal Square | Upstairs wall in the warehouse |
| 5 | Eternal Guard | Tribunal Square | Alley wall past barricades |
| 6 | General Lothaire | Tribunal Square | Cart outside the warehouse |
| 7 | Sapper | Shamble Street | Manor lower crawlspace |
| 8 | Slaughtermill | Shamble Street | Room door across courtyard |
| 9 | Swarm Mother | Shamble Street | Balcony of plank-filled building |
| 10 | Shambling Civilians | Shamble Street | Left alley near staircases |
| 11 | Remnant of the Iron Regiment | Tribunal Square | Main building arches |
| 12 | Sphinx | Shamble Street | Gated dead end below zipline |
| 13 | Grenadier | Sewers | Scaffolding past prison cells |
| 14 | Carrion | Sewers | Reward in toxic labyrinth |
| 15 | Unknown Monstrosity | Sewers | Upper ledge, Sewer Key area |
| 16 | Abomination | Sewers | Alcove left of main channel |
| 17 | Unknown Figure | Graveyard | Just outside the sewer gate |
Some targets take a closer search. To find Slaughtermill, grapple across the courtyard from the manor’s upper floor. The Sphinx is at the foot of the long zipline connecting the main tower to Shamble Street. Carrion has no poster location: instead, use flame magic to light each unlit wall torch throughout the toxic sewer labyrinth, pleasing the children there.
Picking up the Drawing of an Unknown Figure in the graveyard completes Monster Hunt on the spot and awards the Quintessential Transmutation Material.
What Chapter 7’s upgrade materials do
Ferrofluid Flask healing and charges
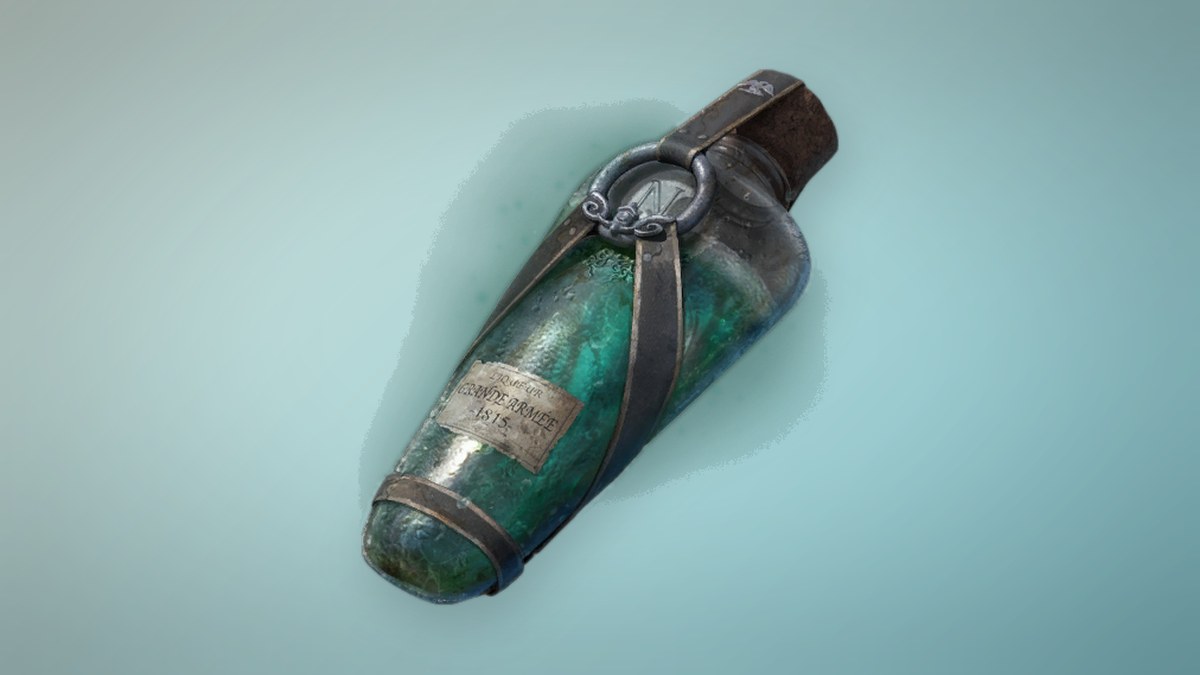
Both Flask items are spent at a Lantern. Each Empty Ferrofluid Flask adds one more Flask charge, so Chapter 7’s two Empty Flasks give you two extra heals per rest. Ferrofluid Flask Power Upgrades raise how much each Flask heals, starting from a base of 50 Health. The cost rises as you go, so the full track takes 24 Power Upgrades in total.
| Potency upgrade | Healing per Flask | Power Upgrades needed |
|---|---|---|
| Base | 50 | — |
| 1 | 60 | 1 |
| 2 | 70 | 2 |
| 3 | 80 | 2 |
| 4 | 90 | 2 |
| 5 | 100 | 3 |
| 6 | 110 | 3 |
| 7 | 120 | 3 |
| 8 | 130 | 4 |
| 9 | 140 | 4 |
If you’re short on drops, Louis’s Laboratoire sells Ferrofluid Flask Power Upgrades for $3,000 each and Empty Ferrofluid Flasks for $5,000, one in stock at a time.
Top-tier weapon and Transmutation materials
All three high-end materials in this chapter go toward a weapon’s or Transmutation’s final level. One of each is enough for one upgrade.
- Quintessential Blade Material: takes the Saber, Rapier, or Claymore to level 10.
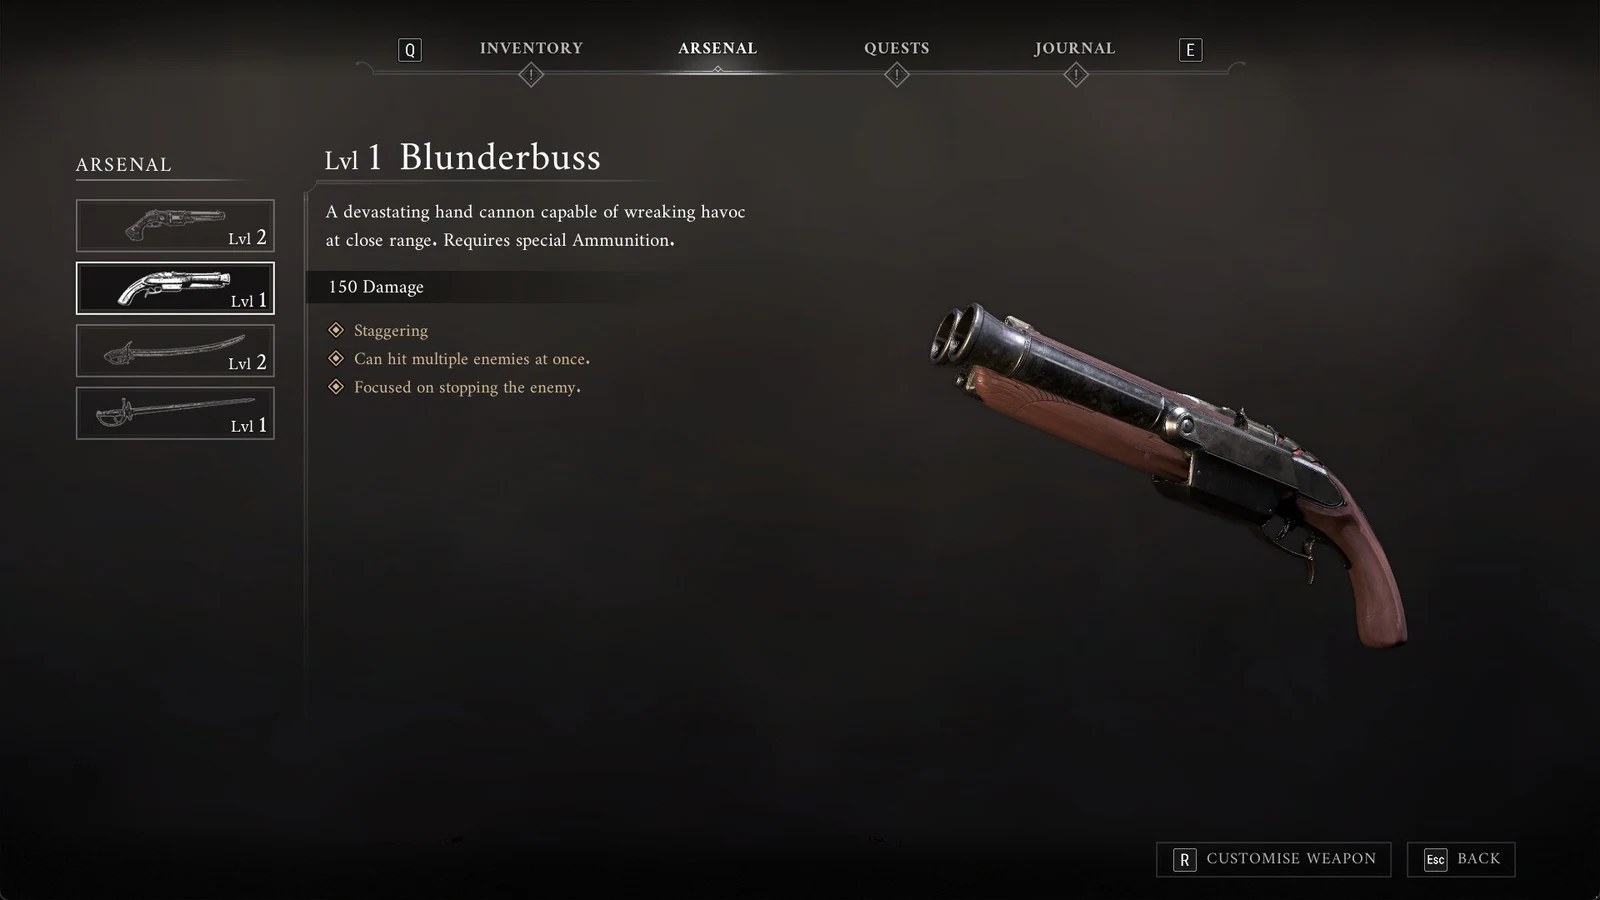
- Masterwork Firearm Parts: takes the Pistol, Blunderbuss, or Musket to level 10.
- Quintessential Transmutation Material: takes Fire, Stasis, or Shield Transmutation to level 5.
For the Blunderbuss, the level 10 upgrade raises damage from 26 to 30 and the damage cap from 310 at level 9 to 350. It also grants Back-Breaker, making attacks against an enemy from the rear inflict extra Posture damage.
Potent Concoction and Tiny Whisker Gift
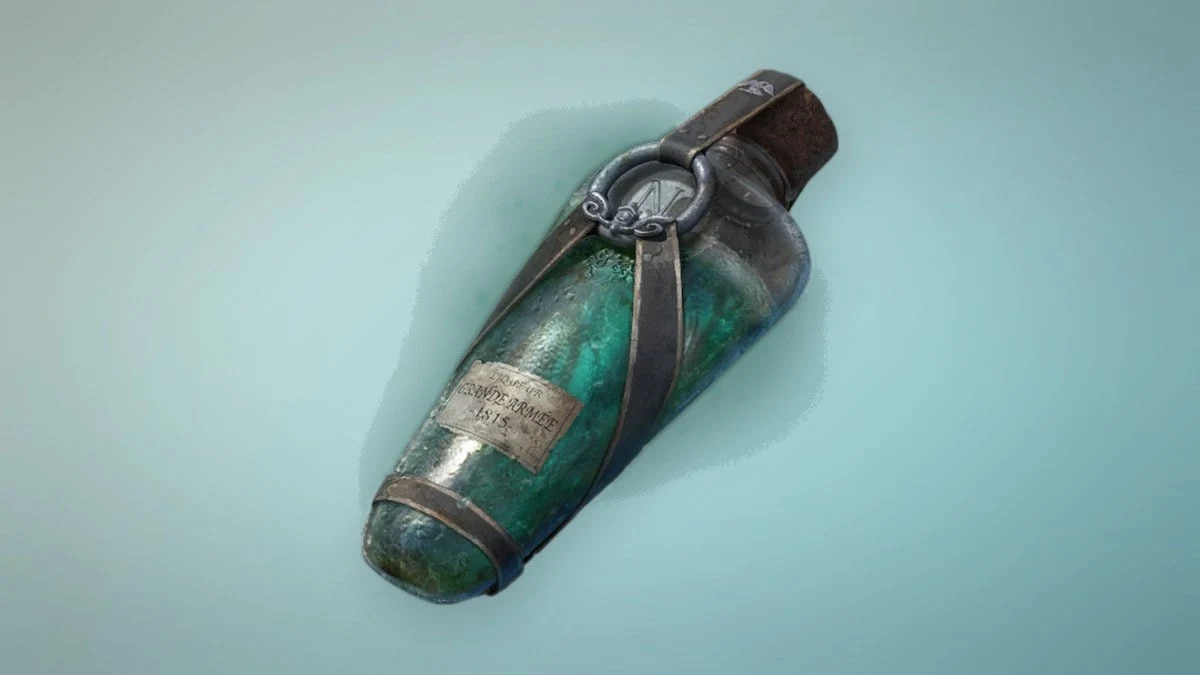
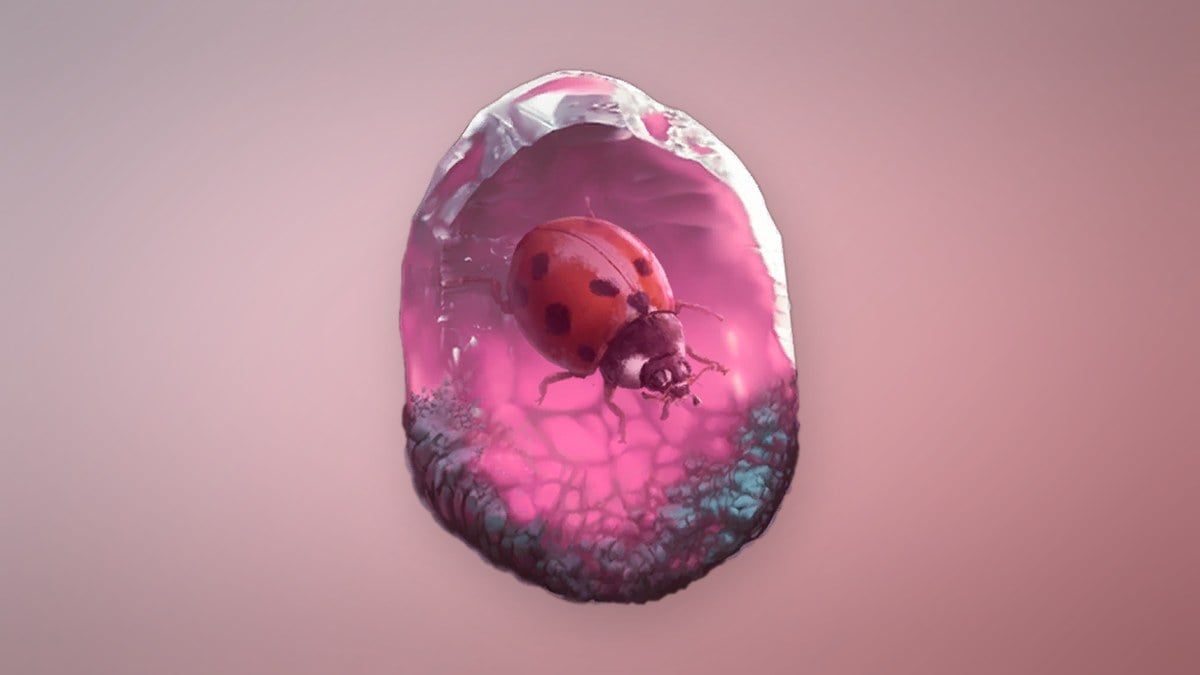
Potent Concoction makes your Ferrofluid Flask restore Nephtoglobin along with Health. It ranks up to 3, restoring 20 percent, 30 percent, and then 40 percent Nephtoglobin per Flask. The two Tiny Whisker Gifts from Laudanum and Bedtime Stories are consumables from the Mice. Each one is worth 3,000 Catalysts when used.
With all 17 rows of the checklist ticked off and the six quests marked complete in your journal, Witch Hunt is fully cleared. Anything you skipped can still be picked up later by fast-traveling back to the matching lantern.