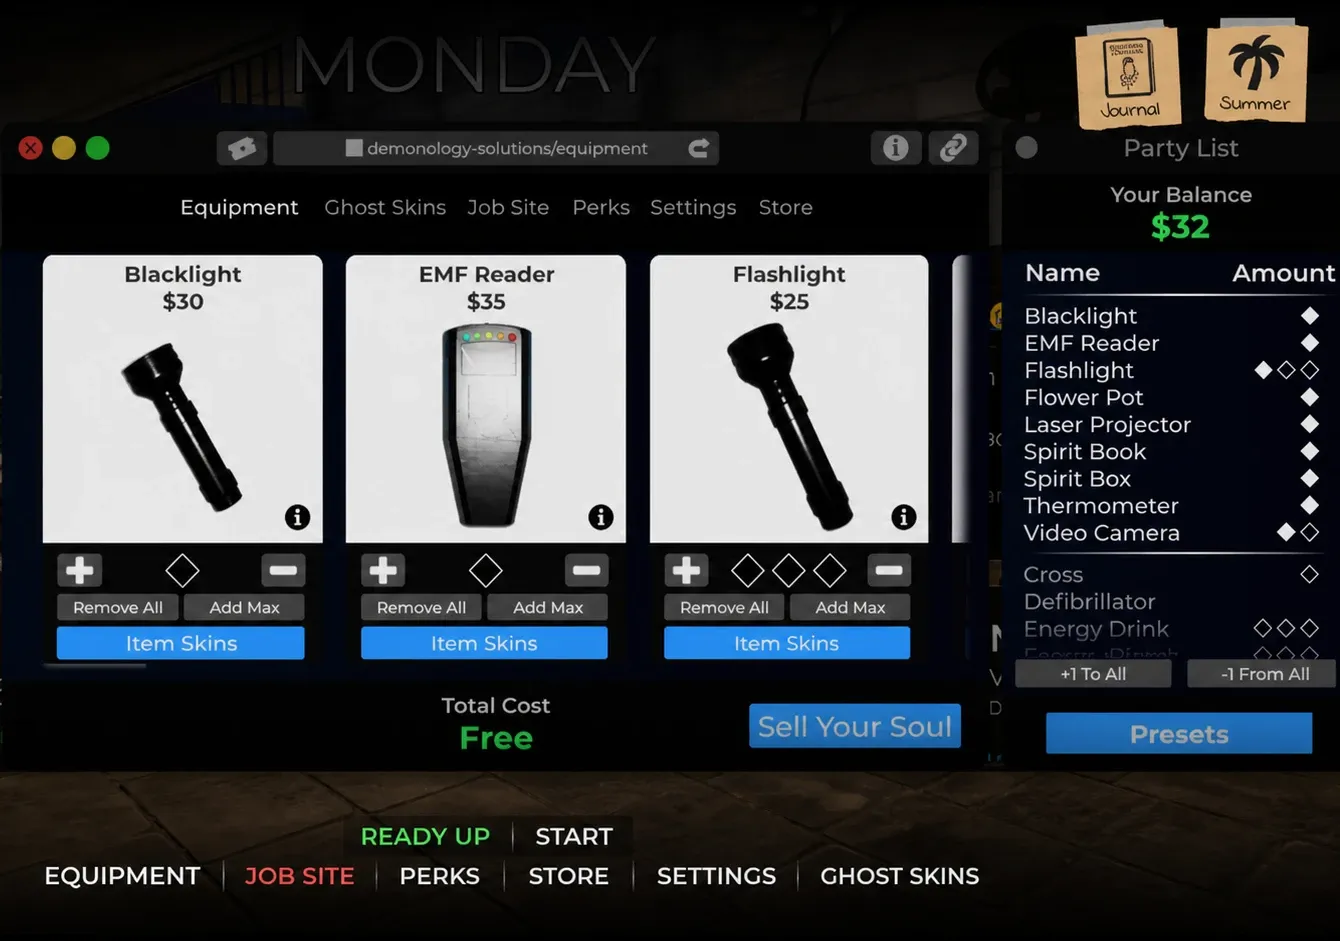
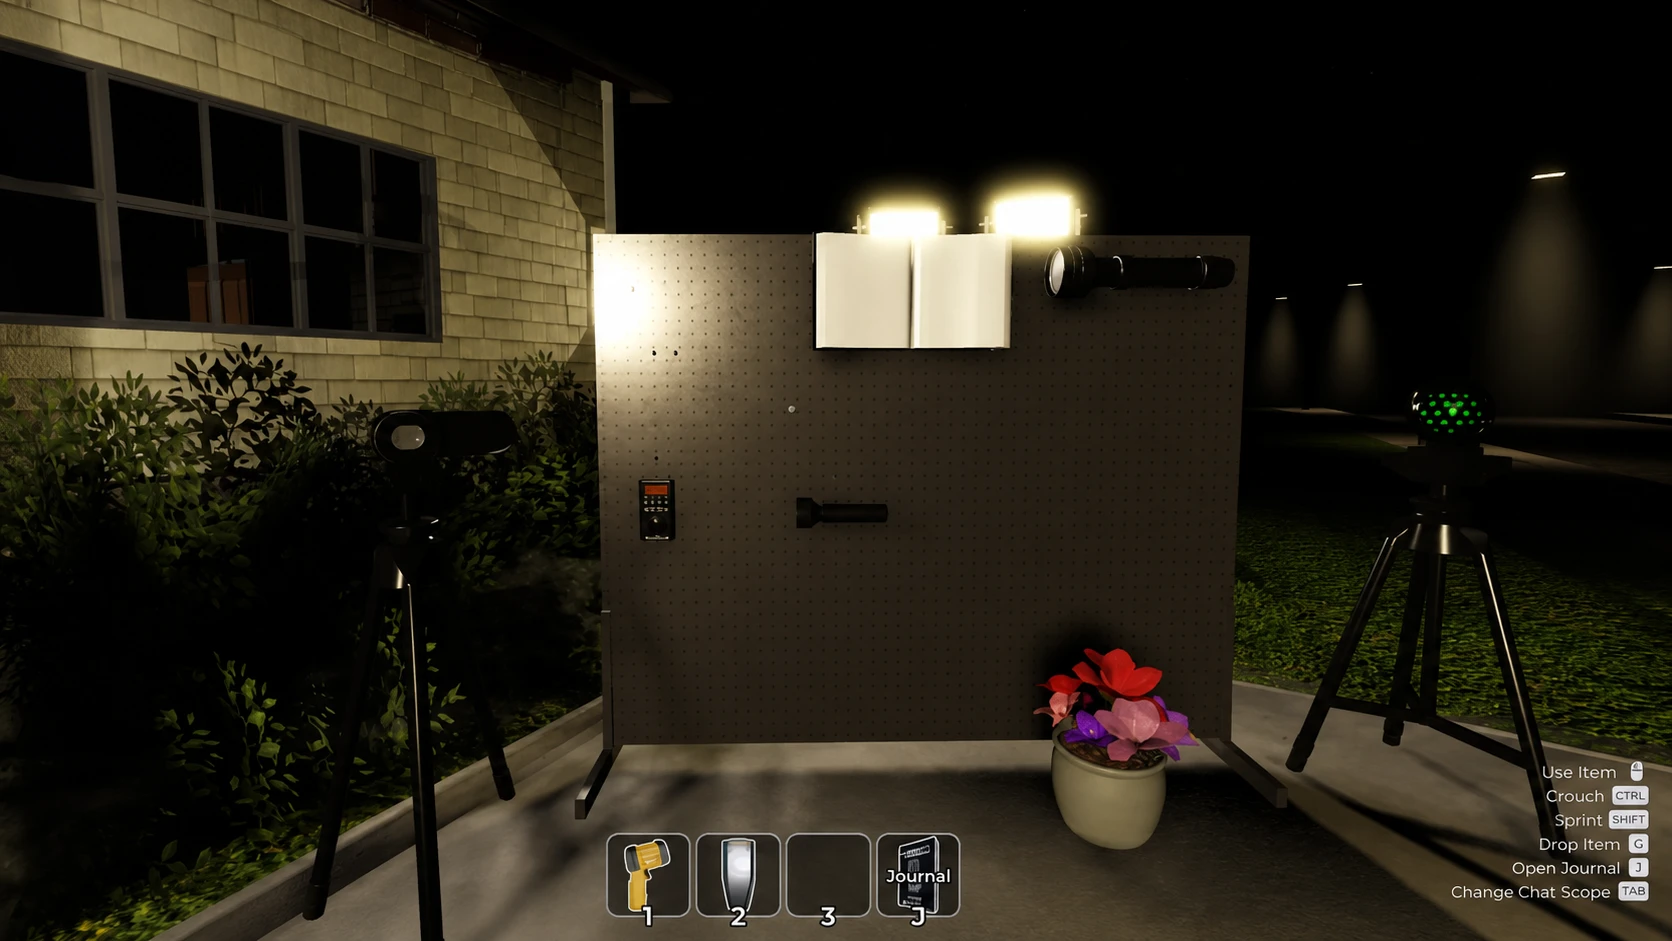
Equipment is the backbone of every job in Demonology, the first-person ghost-hunting game on Roblox. Each tool either gathers one of the evidence types, points you toward the ghost’s favorite room, or keeps you alive when a hunt starts. You bring a free starter set into every job, and you can buy extra units or unlock higher-level tools as you gain XP.
Quick answer: There are 22 pieces of equipment in total: 9 starter tools that are free in every job, plus 13 purchasable tools that unlock by level. Buying one of everything costs the party $1,890. You can carry up to three items at once, use the held item with RMB (M2), and drop it with the G key.
How equipment works in Demonology
Tools fall into two broad behaviors. Active equipment has to be held and used to do its job, like the LIDAR Scanner or Spirit Box. Passive equipment can be dropped and left in a room, where it collects evidence on its own as long as the ghost is nearby. The Spirit Book and Laser Projector both work best when placed inside the ghost’s favorite room.
You can add equipment from the menu before a job starts, and any member of the party can do it, not just the leader. Purchased items only last for the next run, so plan around what the team needs. Some tools also spawn naturally inside job sites, so it is worth searching rooms before spending money.
Note: Several tools count as electronic equipment, including the Blacklight, EMF Reader, Flashlight, and Spirit Box. These can malfunction once a ghost begins a hunt. Ghosts can also flick most electronics on and off, though the EMF Reader cannot be toggled by a ghost even though it still malfunctions during hunts.
Starter equipment (free in every job)
The nine starter tools are available from level 0 with no requirements, and one of each is free in every job. You can still buy duplicates if you want multiple players carrying the same tool. This set covers the core evidence-gathering work, since each piece confirms or rules out a specific evidence type.
| Item | Price | Max. carry | What it does |
|---|---|---|---|
| Blacklight | $30 | 2 | Reveals fingerprints, handprints, and footprints on certain surfaces. |
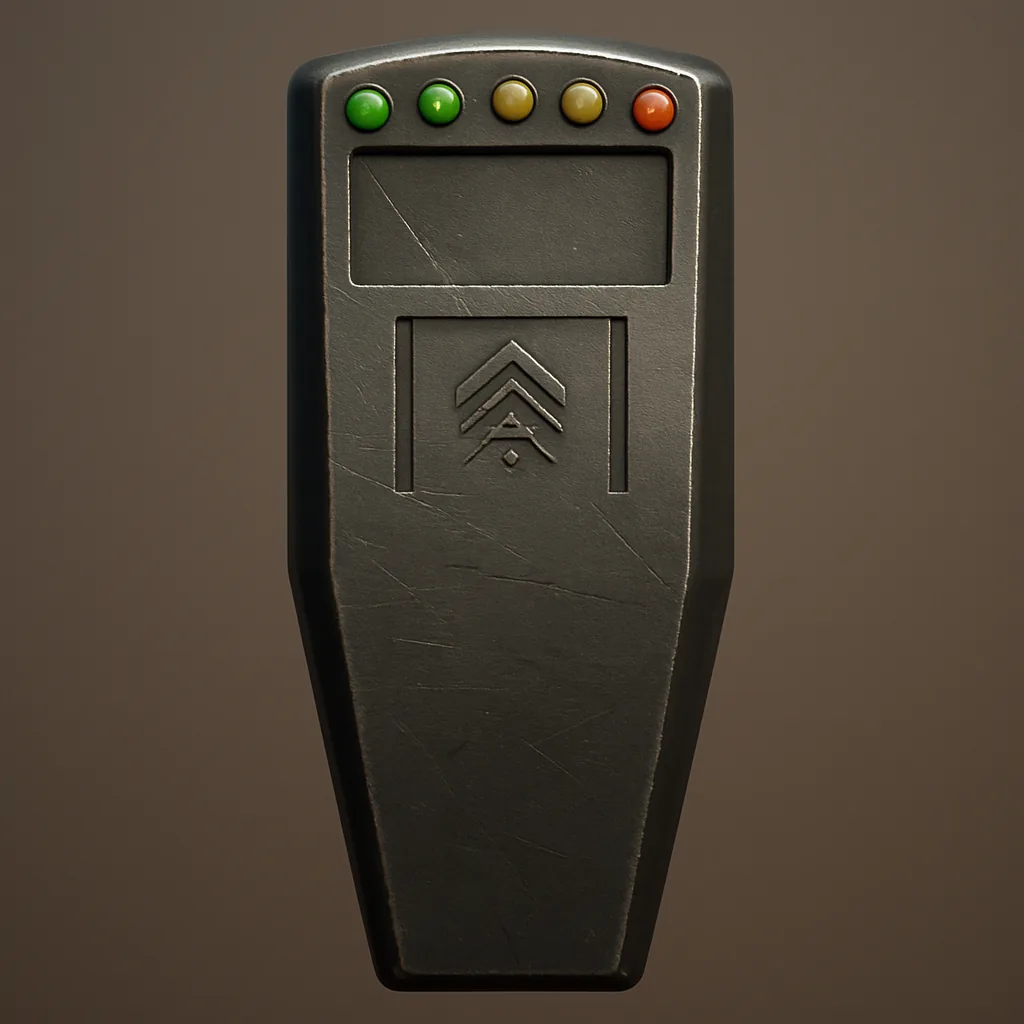 EMF Reader | $35 | 2 | Tracks ghost activity from level 2 to 5. An EMF Level 5 reading counts as evidence. |
| Flashlight | $25 | 4 | Basic cone of light for navigation. Gathers no evidence. |
 Flower Pot | $40 | 2 | Flowers wither near ghosts that give Wither evidence. The primary tool for confirming Wither. |
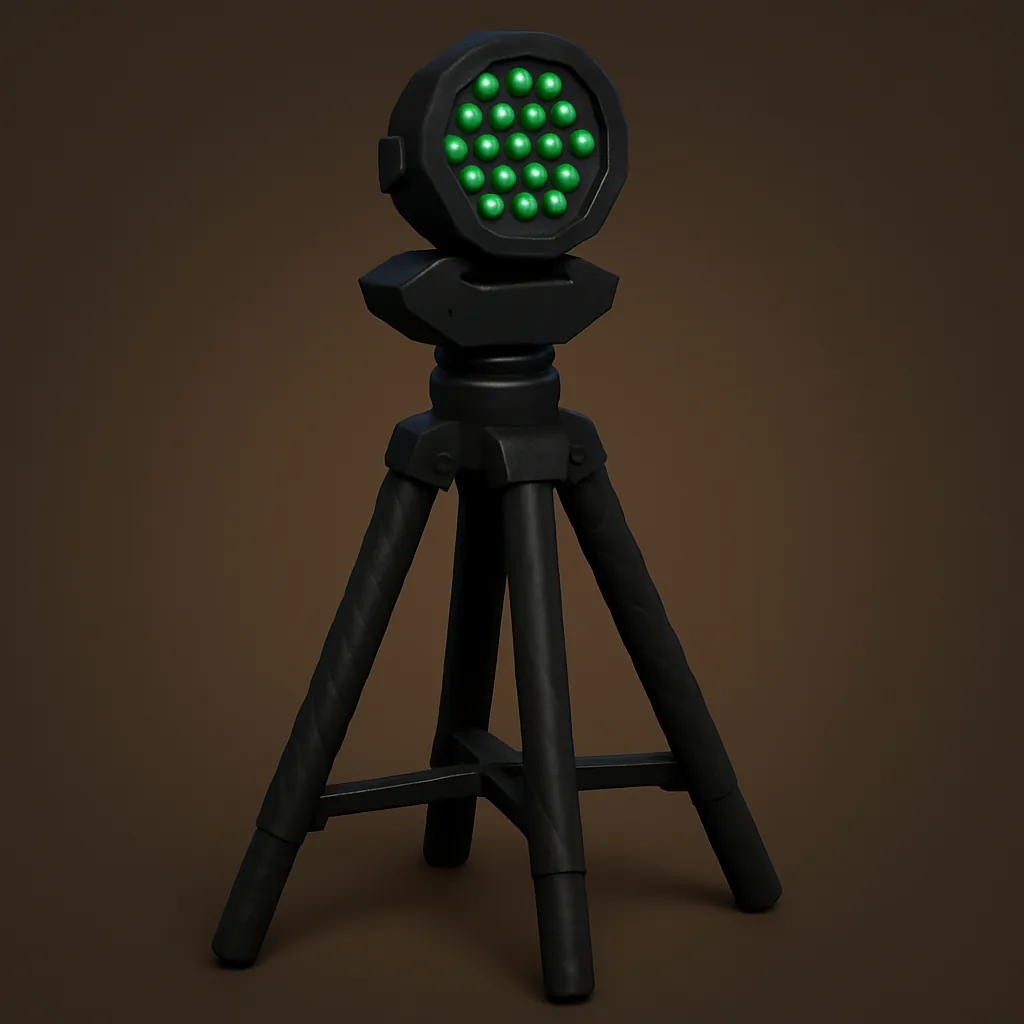 Laser Projector | $50 | 2 | Displays a ghost’s translucent shadow when placed in its favorite room. |
| Spirit Book | $40 | 2 | Left in the favorite room, the ghost may write in it to reveal Ghost Writing evidence. |
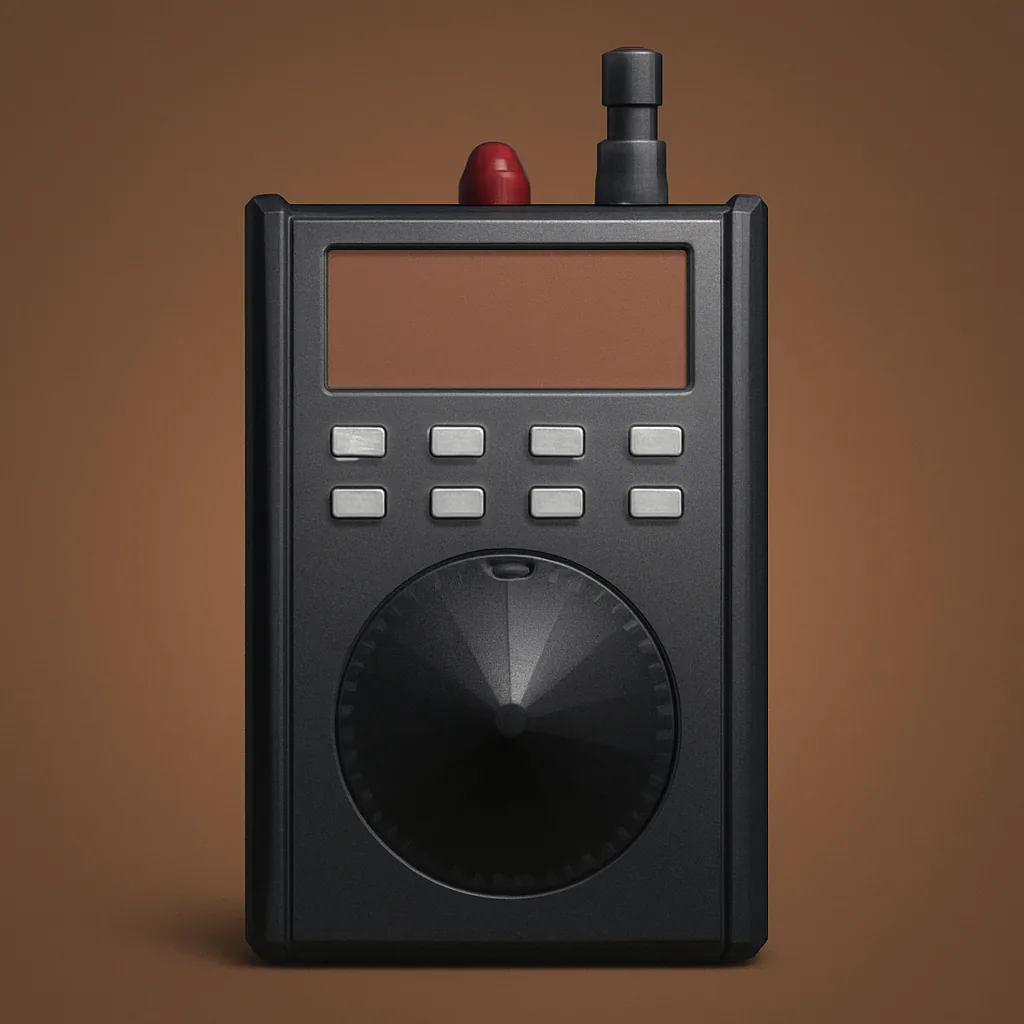 Spirit Box | $40 | 2 | Lets the ghost respond when used in its favorite room with the lights off. |
 Thermometer | $30 | 2 | Shows room temperature. A reading of 0°C/32°F or lower confirms Freezing Temperatures. |
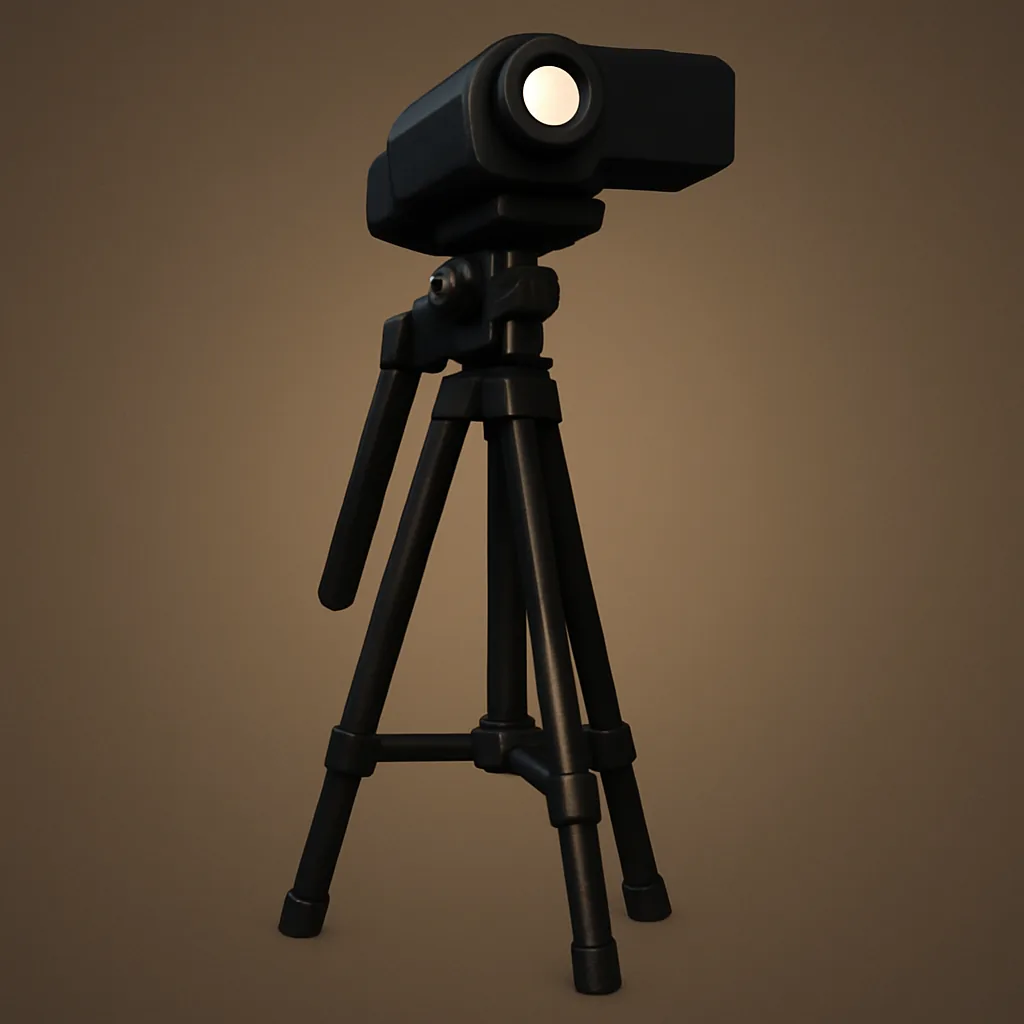 Video Camera | $40 | 3 | Detects Ghost Orbs when held or viewed through the base camp computer. |
Tip: The Thermometer is a fast way to find the favorite room early. Sweep rooms and look for the coldest one, since the ghost almost always lingers where the temperature drops most.
Purchasable equipment and level requirements
The 13 purchasable tools unlock as you level up, and most of them focus on survival, navigation, and earning extra money rather than gathering evidence. A few, like the Salt Canister and Plushie, still help confirm or disprove specific evidence types. You raise your level by gaining XP, which you earn from completing jobs.
| Item | Price | Level | Max. carry | What it does |
|---|---|---|---|---|
| Photo Camera | $45 | 3 | 3 | Takes up to six photos. You earn money based on what you capture. |
| Cross | $40 | 5 | 2 | Stops a hunt from starting within a 3-meter radius. Must sit in the favorite room and burns after use. |
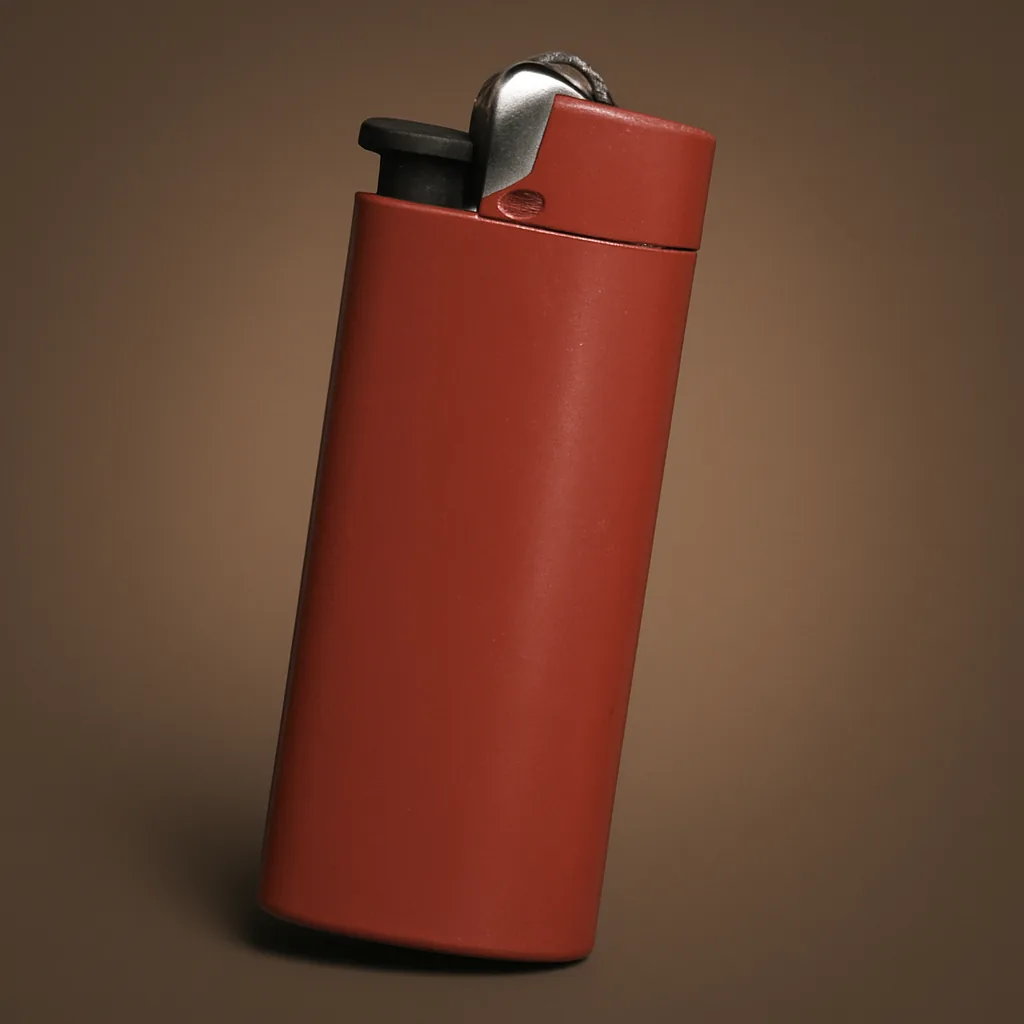 Lighter | $10 | 5 | 3 | Lights lanterns, candles, and a summoning circle, and gives a small amount of light. |
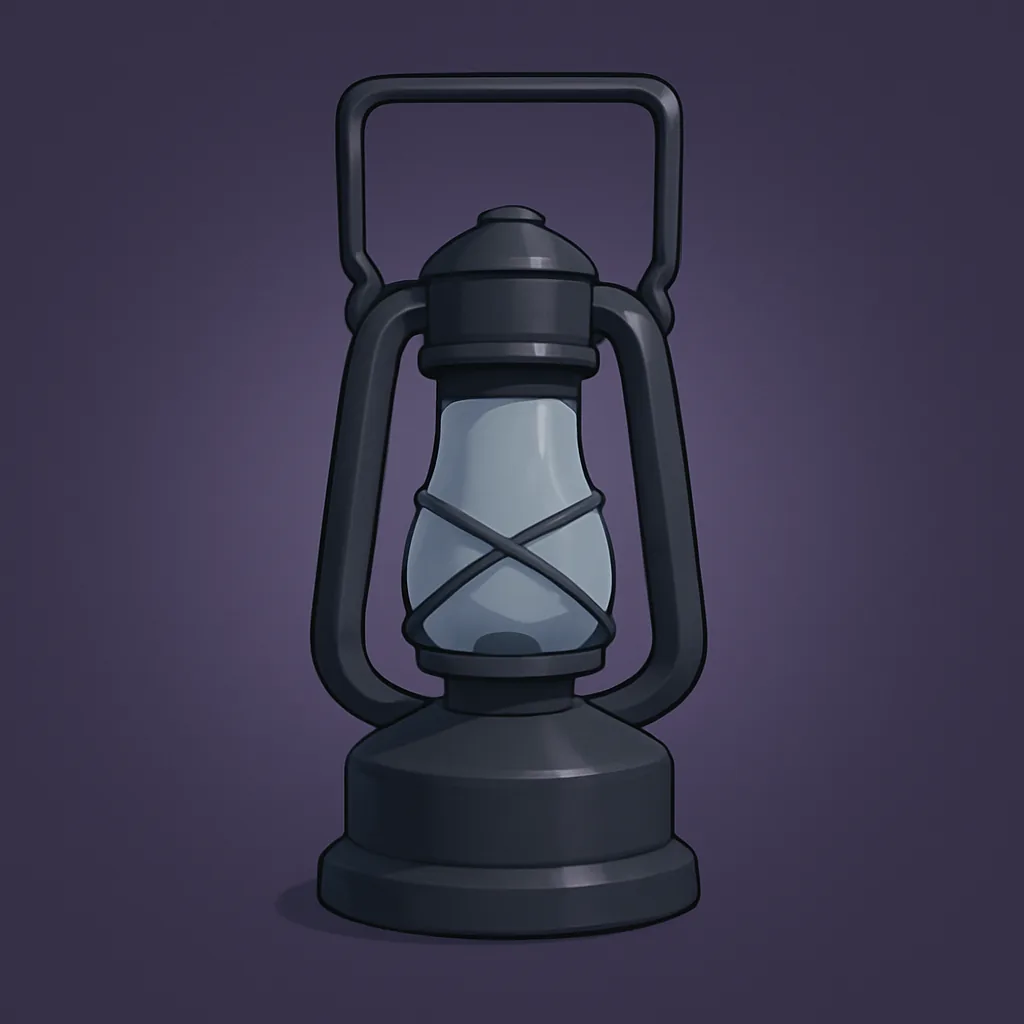 Lantern | $15 | 7 | 3 | Brighter than a flashlight and slows passive energy drain for you and nearby hunters when lit. |
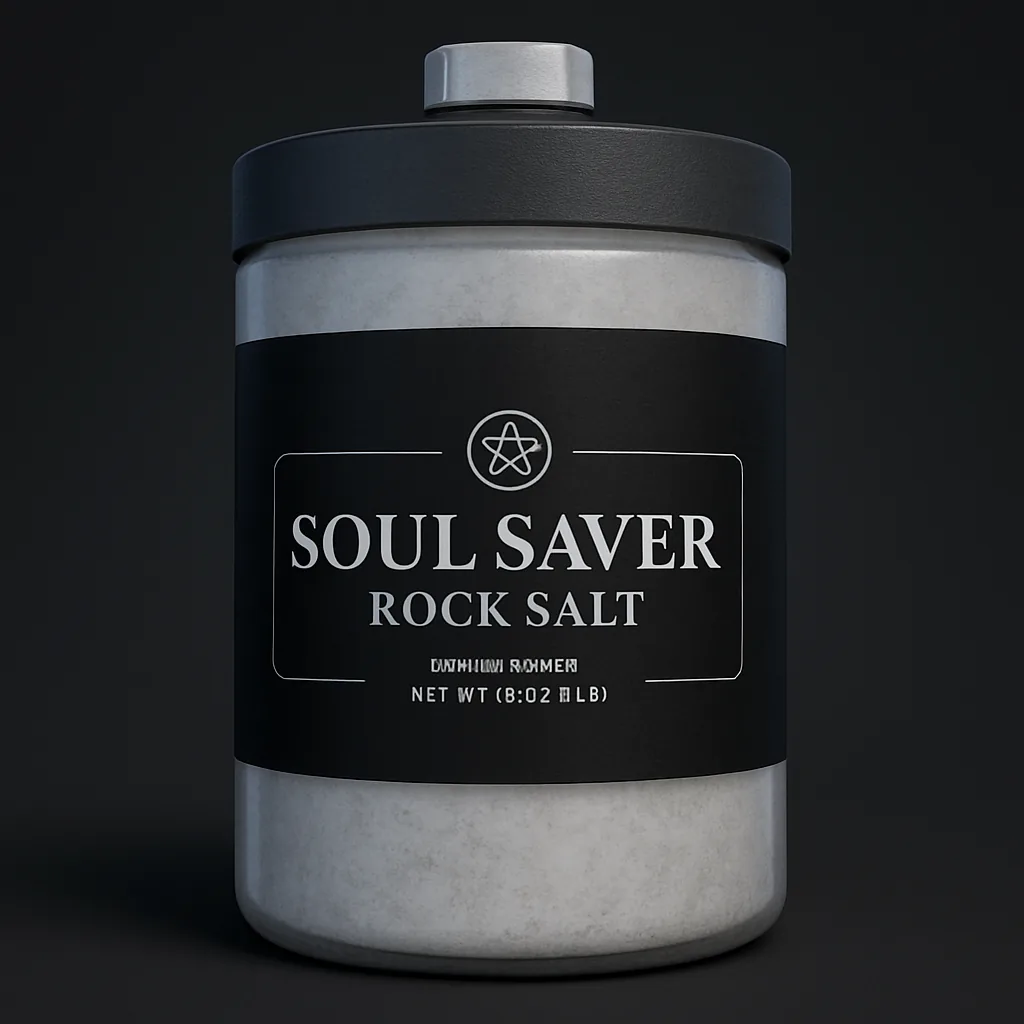 Salt Canister | $35 | 10 | 3 | Lays salt lines to capture Handprint evidence. Three lines per canister. |
 Energy Drink | $35 | 12 | 4 | Restores 50% of your energy when consumed. |
| Head-Mounted Camera | $25 | 15 | 4 | Hands-free camera teammates can watch from base camp without using an inventory slot. |
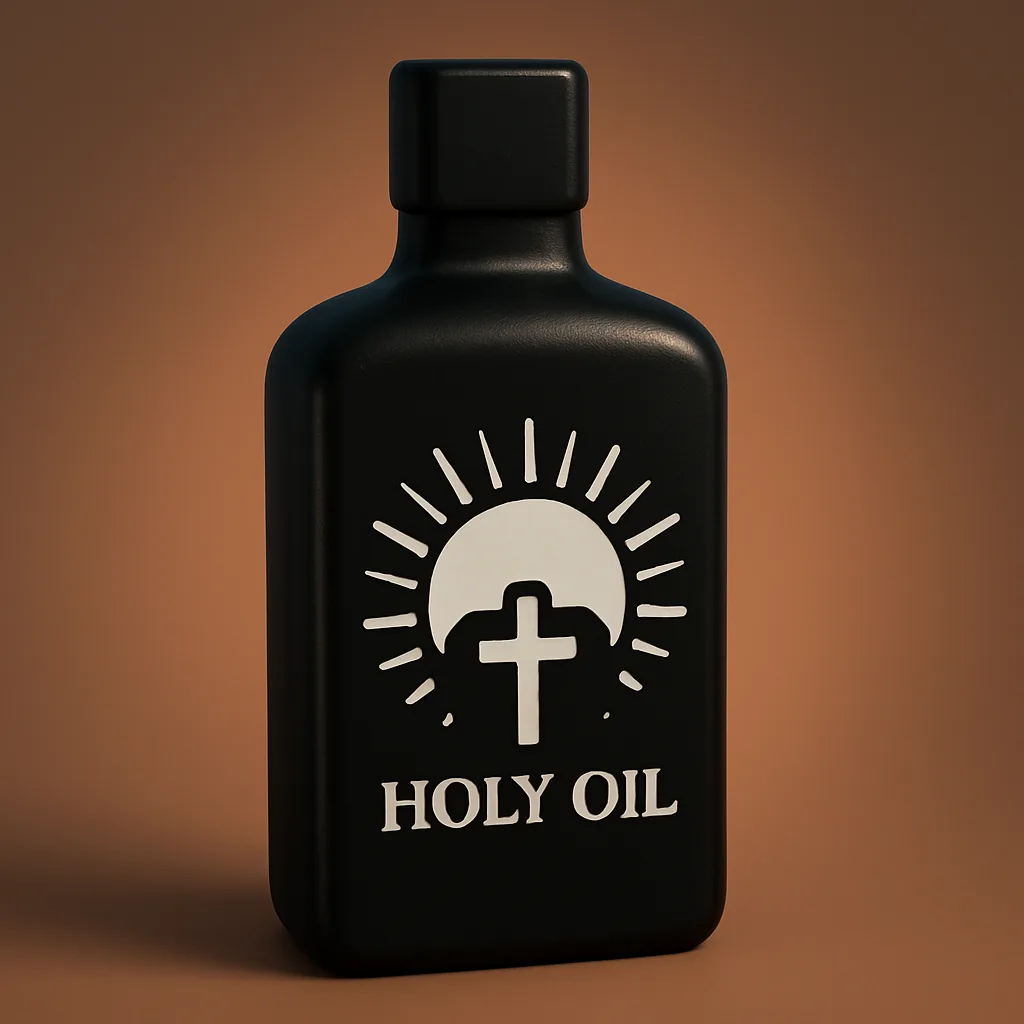 Holy Oil | $60 | 19 | 1 | Laid in a line, it ignites when a hunt begins and blocks the ghost from crossing. |
 Energy Watch | $30 | 20 | 4 | Shows your energy level without returning to base camp. |
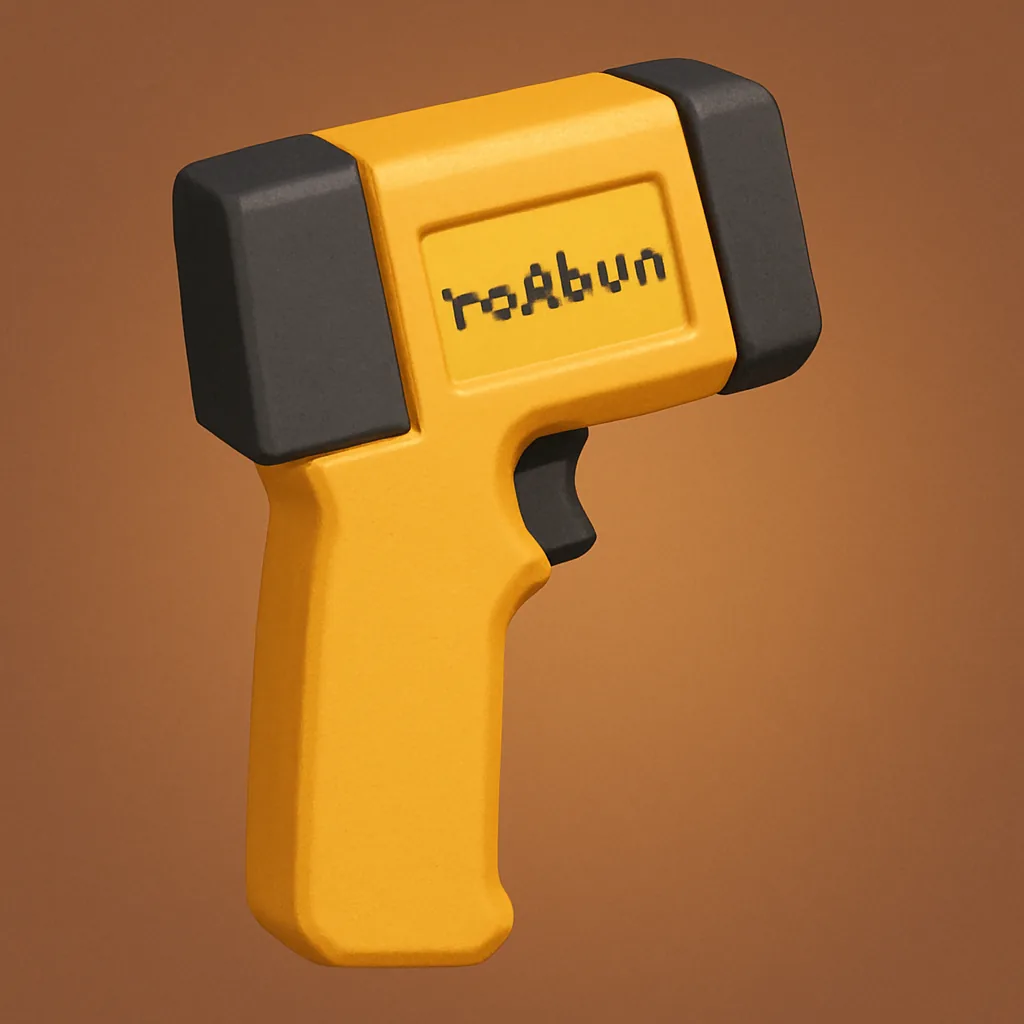
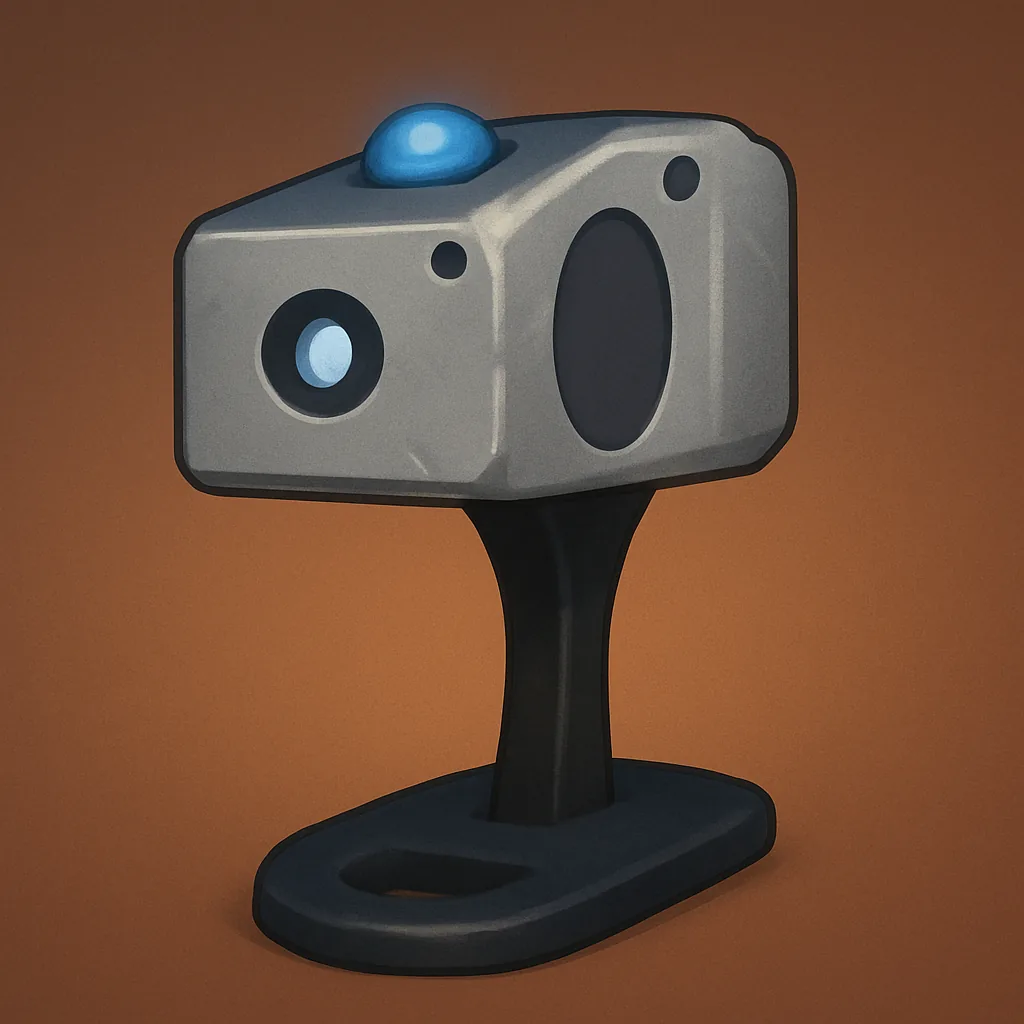 LIDAR Scanner | $45 | 25 | 2 | Reveals the ghost’s outline when scanned. Used to locate the ghost, not for evidence. |
 Plushie | $35 | 30 | 1 | Floats when a ghost interacts with it and responds to the Spirit Box for 15 seconds, helping gather or disprove Spirit Box evidence. |
| Defibrillator | $100 | 40 | 1 | Revives a dead hunter once. |
| Rock Salt Shotgun | $100 | 45 | 1 | Two shots. Fire at the ghost to end a hunt instantly, or at a teammate to ragdoll them. |
If you do not want to wait for a level, locked equipment shows an “Unlock Instantly” button that costs R$ 160 in Robux per item. That skips the XP requirement and grants the tool immediately.
Equipment quirks worth knowing
- The Photo Camera pays out for pictures of ghosts, handprints, burned crosses, and cursed objects, with larger, well-framed shots earning more.
- Not every ghost interacts with salt. The Wraith floats over salt and leaves no footprints, so a clean salt line can help rule it out.
- Passive tools are most reliable when placed inside the ghost’s favorite room, which raises the chance of collecting evidence.
- The Cross only works from the favorite room and burns once it stops a hunt, though the Hanged Man perk lets a cross burn twice.
Build your loadout around the three-item carry limit and the evidence you still need to confirm. Early on, the starter set is enough to identify most ghosts, and the purchasable tools become useful once hunts and longer maps start putting real pressure on your energy and survival.