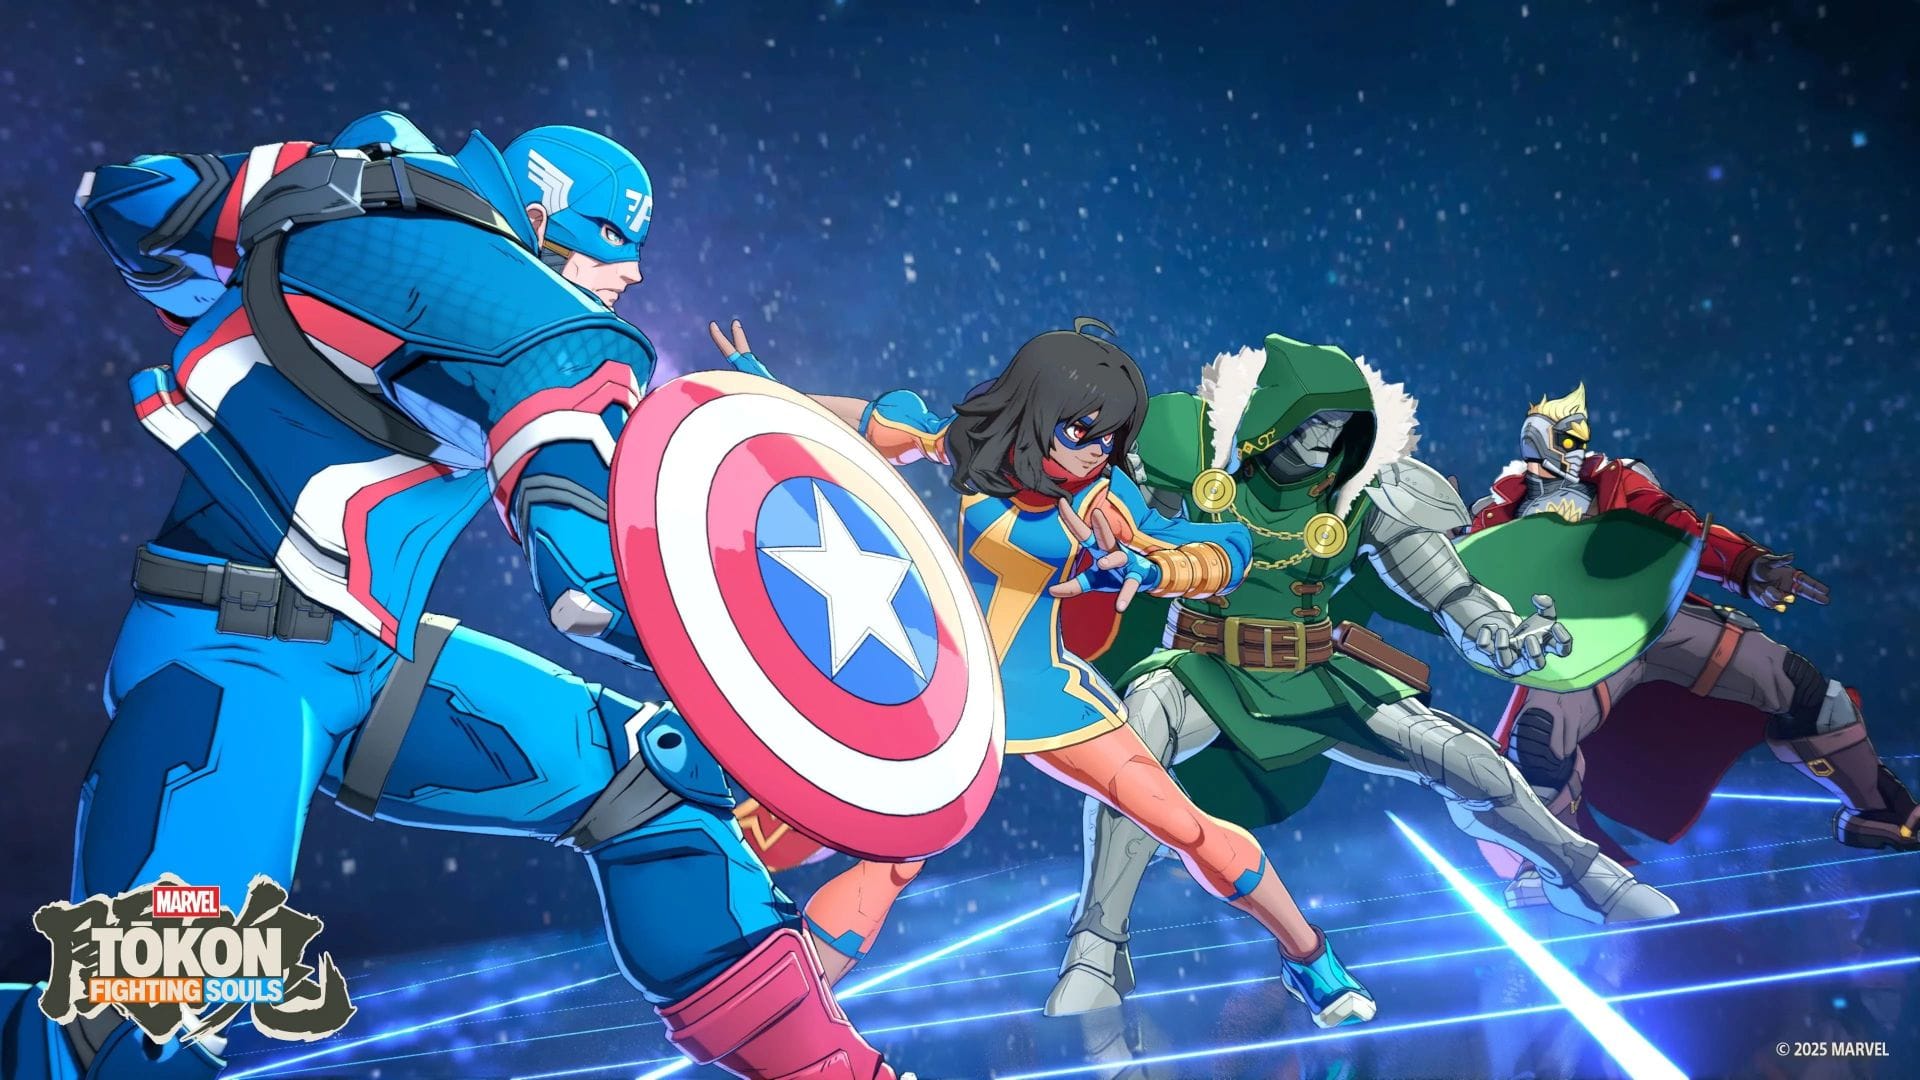
Defense in Marvel Tōkon: Fighting Souls runs through your teammates. Because all four characters share a single health bar and a single Assemble Gauge, the game’s counter tools pull an ally onto the screen to interrupt pressure, buy space, or punish a bad read. The Assemble Counter, the Crossover, and the Crossover Reflect all key off the same two buttons, and knowing which one comes out is mostly about what your character is doing at the moment you press them.
Quick answer: Press Light Attack + Assemble (□ + ×) together. While guarding, you get a Crossover; while not guarding, you get an Assemble Counter. Each use spends one full segment of your Assemble Gauge, so it will not fire on an empty gauge.
One input, two outcomes: guard state decides
Both defensive tools use the identical press of Light Attack and Assemble at the same time. You do not choose between them with a different button. Your guard state at the instant of the press picks the outcome for you.
| Your state | Input | Result |
|---|---|---|
| Not guarding | □ + × (Light + Assemble) | Assemble Counter (defensive backstep with automatic counterattack) |
| Guarding a hit | □ + × right after a successful block | Crossover (teammate interrupts the attacker) |
| Being hit by an enemy Crossover | □ + × during their Crossover | Crossover Reflect (ally blocks the incoming Crossover) |
In practice this means your defensive habits determine your default tool. Players who block on reflex will mostly produce Crossovers, while players who backdash will mostly produce Assemble Counters.
Assemble Counter: a read, not a reaction
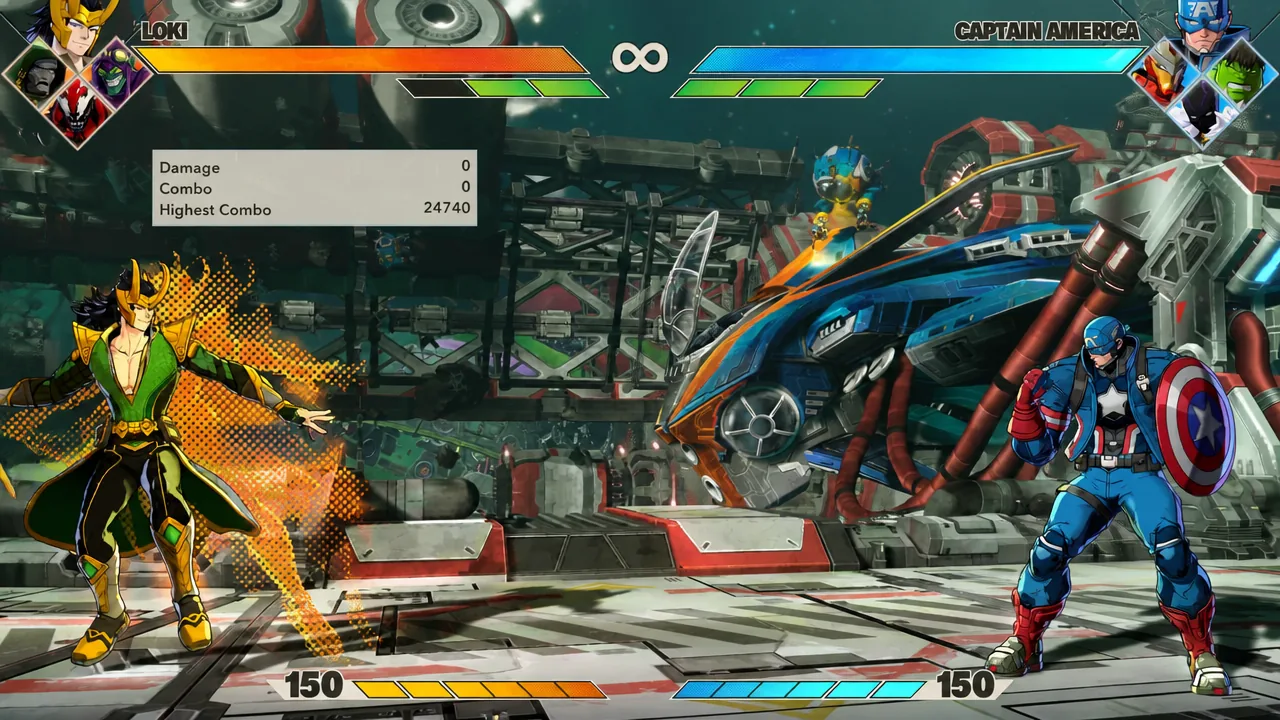
The Assemble Counter stops an incoming attack and immediately calls a teammate to strike back. When you trigger it, your character performs a backdash, leaving orange afterimages as they step back roughly a foot. It rewards you for expecting an attack rather than for reacting to one that has already landed.
The timing window is tight. The full backstep animation lasts 60 frames, which is one second. Any damage your opponent throws out that connects during the first 20 frames triggers the counterattack. If you get hit after that 20-frame window closes, the counter does not save you and you eat the hit as normal.
The real danger is a complete whiff. If nothing connects during the active window, you are locked in the rest of that lengthy animation and left fully open. A poorly timed Assemble Counter is easy to punish, so treat it as a spacing tool to force enemies back or escape a corner rather than a button to mash.
Crossover: counter out of a block
The Crossover is the guarding version of the same press. Immediately after you successfully block an attack, hit Light Attack and Assemble together to summon a teammate who strikes the opponent no matter where they are on screen. This is your escape valve when you are stuck holding block under pressure.
Input: after a successful block, press Light Attack + Assemble (□ + ×).
You can perform a Crossover on the ground or in the air, as long as you trigger it right after a block connects. It costs one full segment of the Assemble Gauge and will not come out if you have less than a single filled segment. This creates a clean punish opportunity: an opponent who burns through their Assemble Gauge cannot Crossover until at least one segment refills, leaving them without that defensive out.
Crossover Reflect and the Perfect Reflect
A Crossover can itself be answered. If you predict an opponent’s Crossover, press Light Attack and Assemble during their Crossover attack to perform a Crossover Reflect. Your ally appears and blocks the incoming Crossover before it can open you up.
Input: Light Attack + Assemble (□ + ×) during the opponent’s Crossover.
Delay the input until you are about to be hit and it upgrades into a Perfect Crossover Reflect. Instead of only blocking, your teammate blocks and launches an attack of their own. The enemy is knocked down and afflicted with the Disassembled status effect. While Disassembled, that player loses all access to Assemble moves and counters for a short window, which is a serious opening.
Like the standard Crossover, a Crossover Reflect costs one full segment of the Assemble Gauge and cannot trigger without a filled segment available.
Managing the Assemble Gauge
Every one of these tools draws from the Assemble Gauge, the bar that sits just below your Vital Gauge (your shared health). The gauge is divided into segments, and each defensive call spends one full segment. If you have drained the gauge, none of these options will fire until at least one segment fills back up.
| Tool | When it comes out | Cost | Fails to trigger when |
|---|---|---|---|
| Assemble Counter | □ + × while not guarding | One gauge segment | Gauge empty, or you are hit after the 20-frame window |
| Crossover | □ + × right after a block | One gauge segment | Gauge below one full segment |
| Crossover Reflect | □ + × during an enemy Crossover | One gauge segment | Gauge below one full segment |
Because each option is gated by the gauge, resource discipline matters as much as timing. Spending everything on counters leaves you defenseless the moment your opponent commits, while an enemy who overspends theirs hands you a window to pressure freely. Save your segments for the moments that decide a round, and let a Perfect Crossover Reflect turn a defensive stand into a full turnaround.