Aniimo Rising Wind Sanctum Walkthrough: All 3 Chests
Find the Argent Strait island, master Chirpi's tornado shot, and grab every chest before you restore the Vein.
Find the Argent Strait island, master Chirpi’s tornado shot, and grab every chest before you restore the Vein.
by AllThingsHow Staff
Image: Pawprint Studio
Rising Wind is a solo puzzle Sanctum built entirely around one tool: an air shot fired by the trial Chirpi waiting inside. Every crate, ball, and chest in the room reacts to the same tornado, so once you understand that single loop, the run is short. The catch is that touching the Vein at the end closes the Sanctum instantly, which means any chest you skipped is gone.
Quick answer: Twine with the trial Chirpi, use its air shot to seat both wooden balls in their sockets, then open the caged chest, the side-corridor chest, and the pedestal chest before you touch the Vein.
Rising Wind location and how to get inside
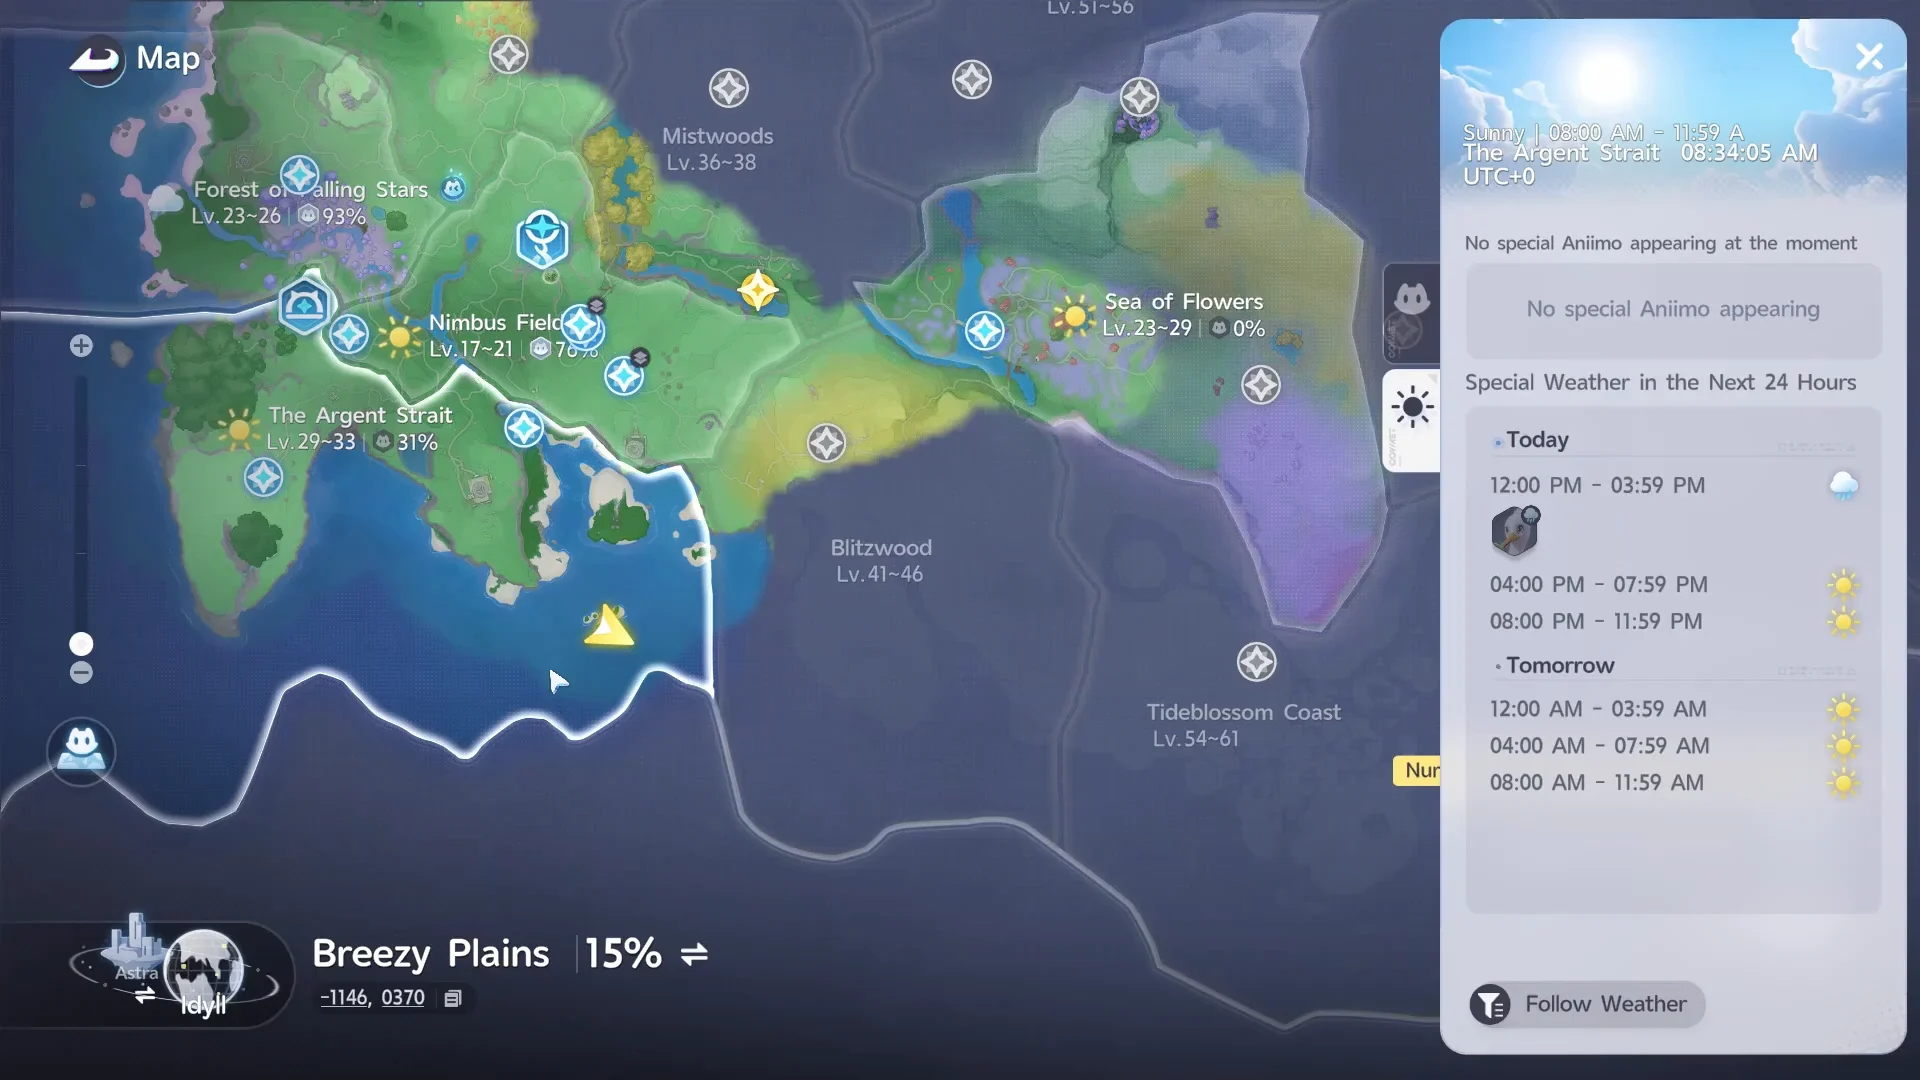
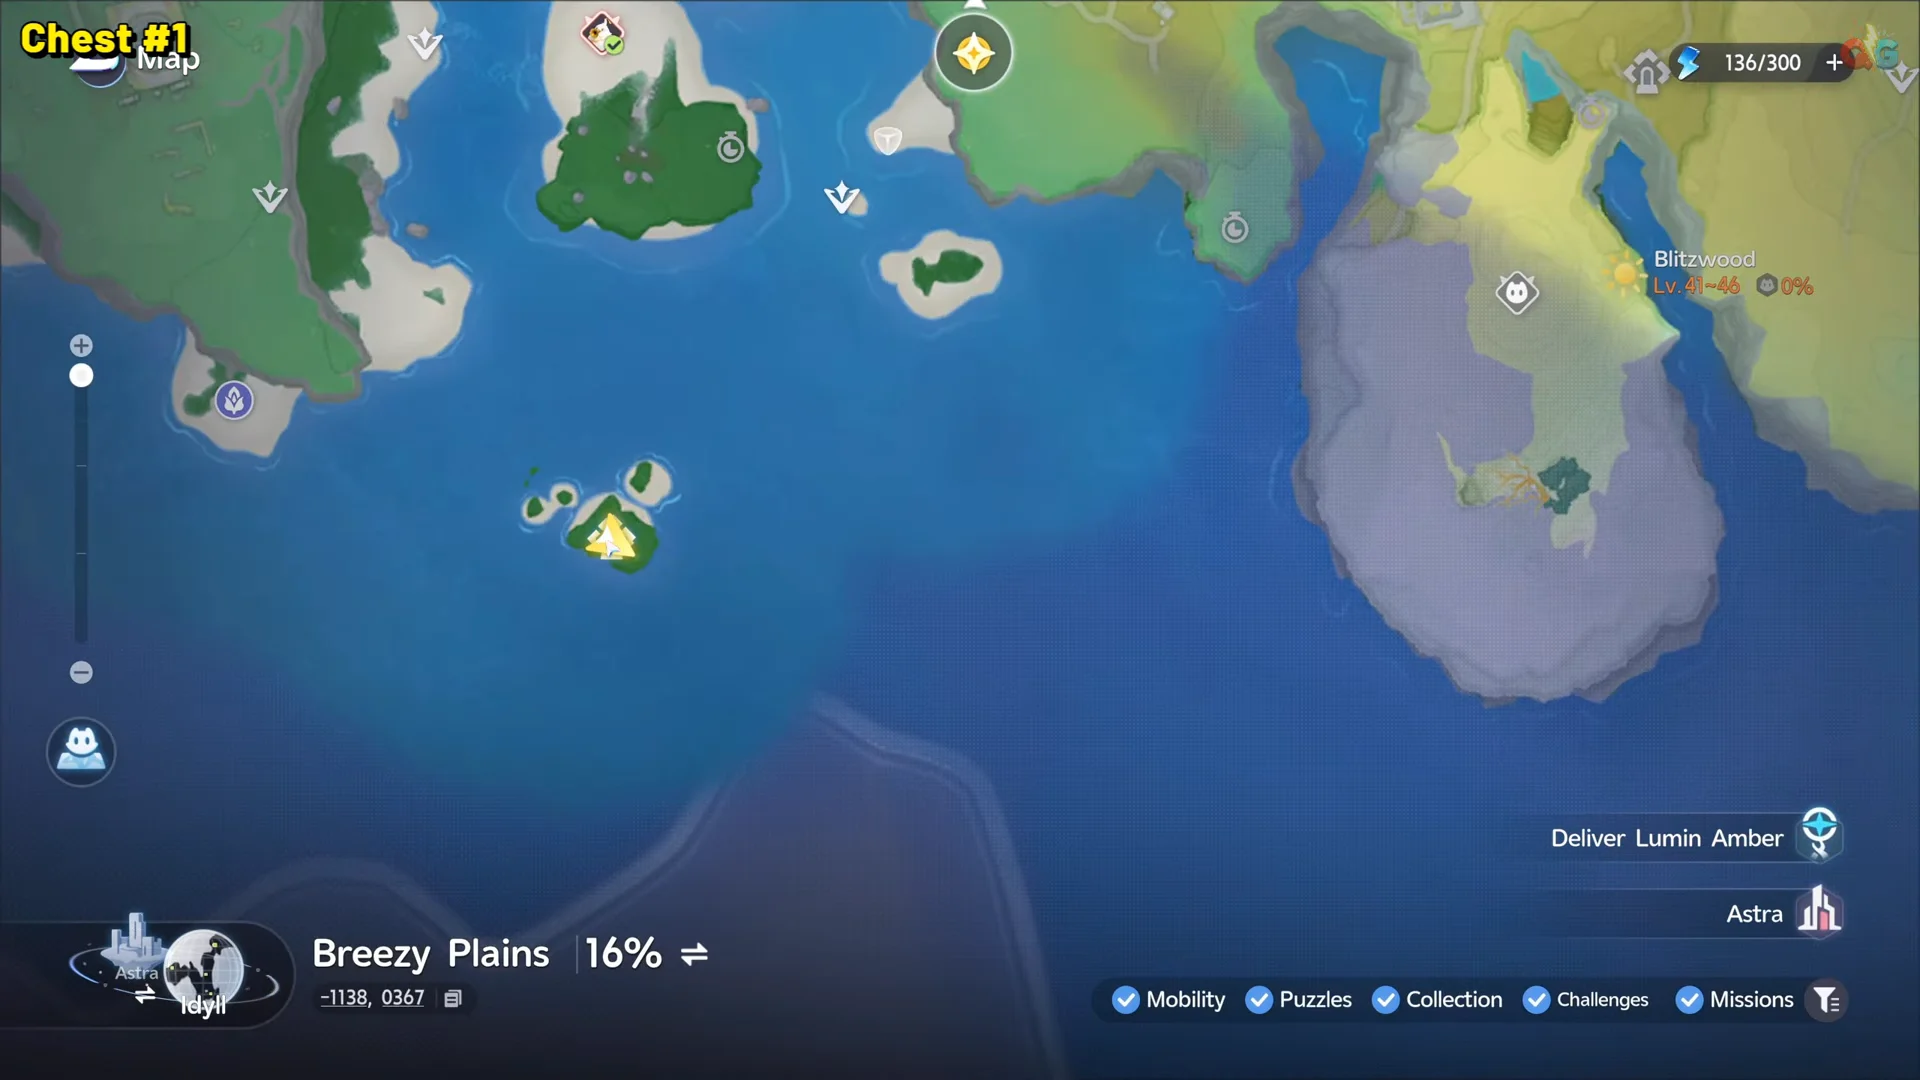
The Sanctum occupies a tiny island southeast of the Argent Strait and just south of Alpha Tubster island. Its map position is -1135, 0365. Breezy Plains appears in the map footer, whereas The Argent Strait appears in the local area record; either label identifies the same isolated pin.
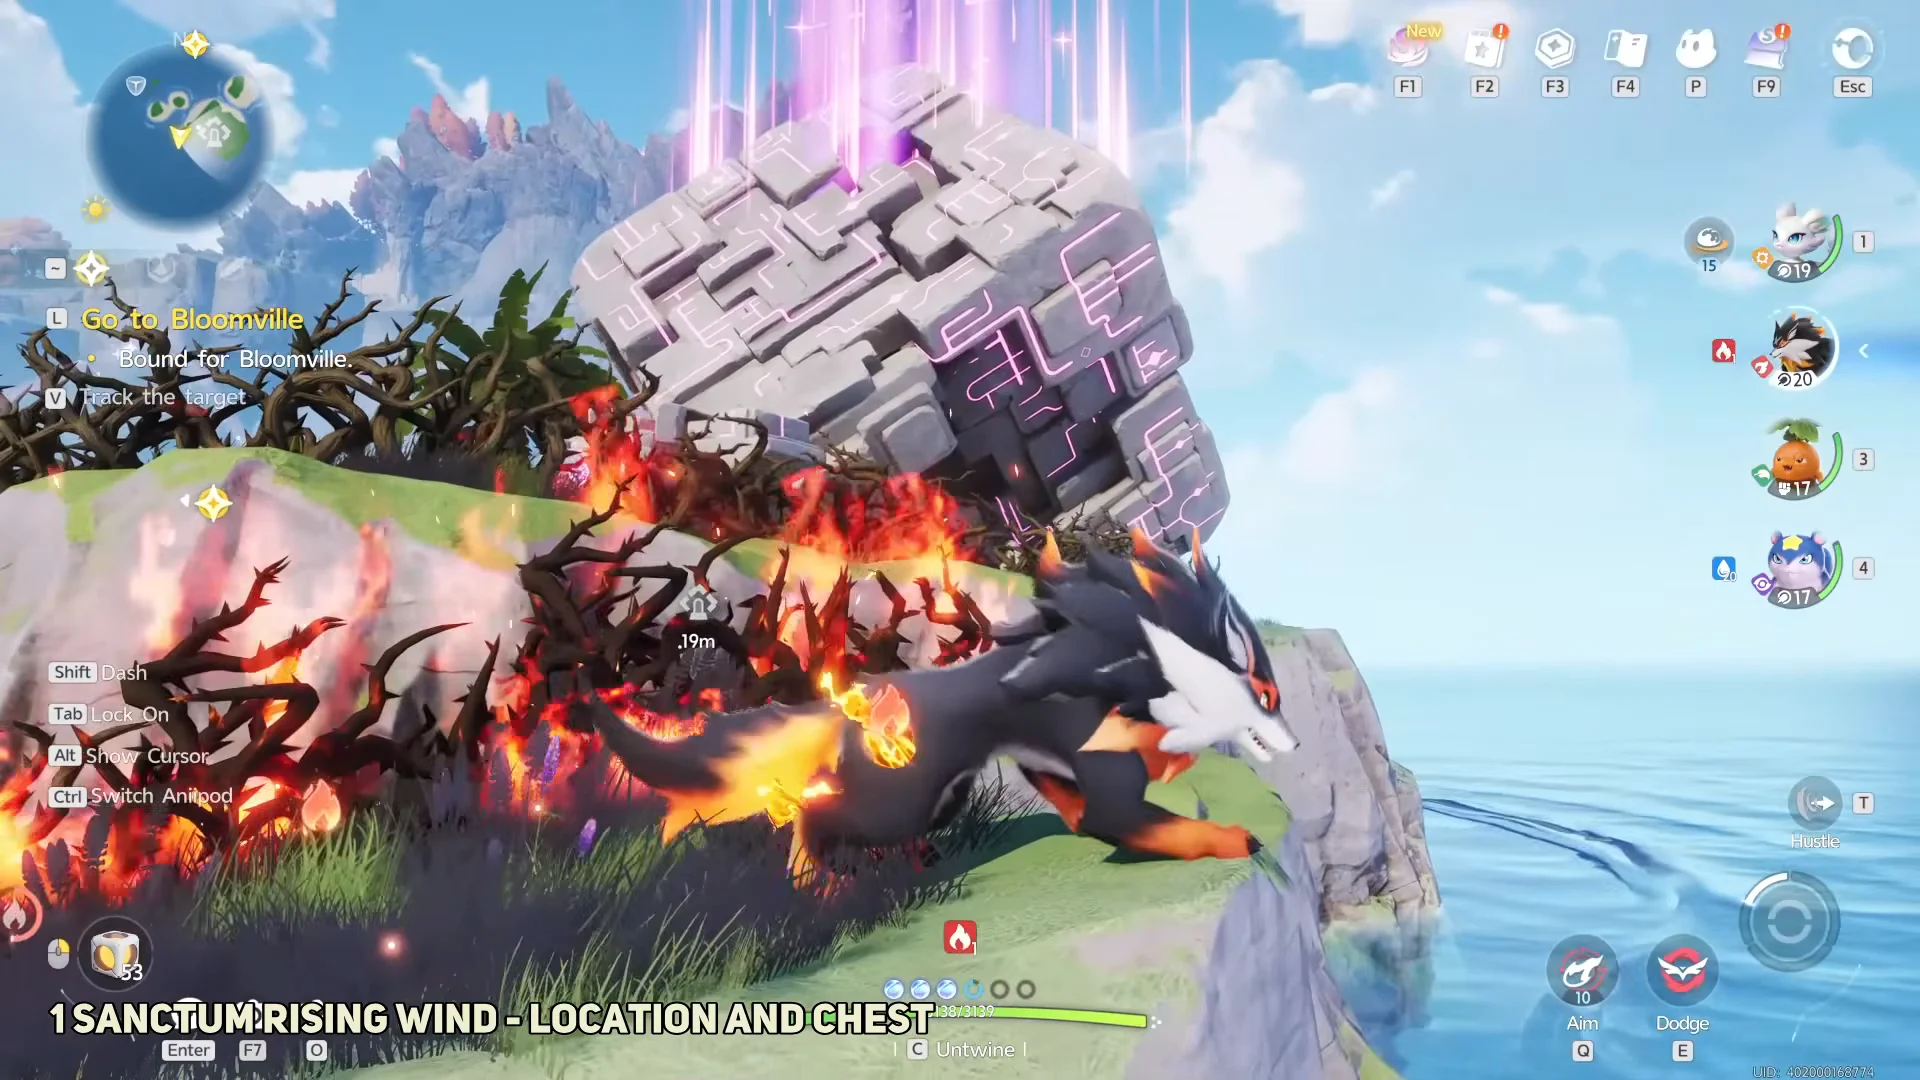
Reaching the structure means crossing open water and clearing the thorny vines wrapped around the entrance. A fire-type mount burns them off in seconds. Once the vines are gone, interact with the structure and confirm the challenge to open the portal.
The trial Chirpi carries one skill, Tornado Wind Orb, a Wind attack that costs 20 EP and lands 67 power on impact. That combat detail matters less than what it leaves behind. The orb explodes where it hits and spawns a tornado that lifts and moves lighter objects, including crates, barrels, wooden balls, and chests.
Chirpi. Image: Pawprint Studio
Hold the skill input to aim the shot, then release to fire it.
On impact, the air shot bursts and creates a tornado at that location.
Move to a tornado’s center, then tap jump twice to switch into Flight.
You can use blue currents on the floor to gain height just as you would with tornadoes.
Create a current yourself if none is available where you need it. Shoot the floor or a nearby lamp to spawn a tornado you can ride; this lets you get to several ledges that seem out of reach.
Enter the hall below and head for the purple, glowing aniimo statue in front of you. Choose Awaken and twine with the trial Chirpi that appears. Read its ability card, as there won’t be another lesson later.
Crates and barrels block the hall. Shoot them directly with an air shot; the light crates will scatter, spawning your first tornado ride. Move into its center, tap jump twice to enter Flight, and touch down on the raised pad ahead. Then use the floor current beyond the pad to ascend to the next level.
On this platform, you’ll find a wooden ball. Face the circular socket in the floor from the opposite side, then use brief air shots to move the ball a little at a time. Let it settle between shots instead of blasting it. Once it falls into the socket, blue light will spread over the floor and open the gate at the far end.
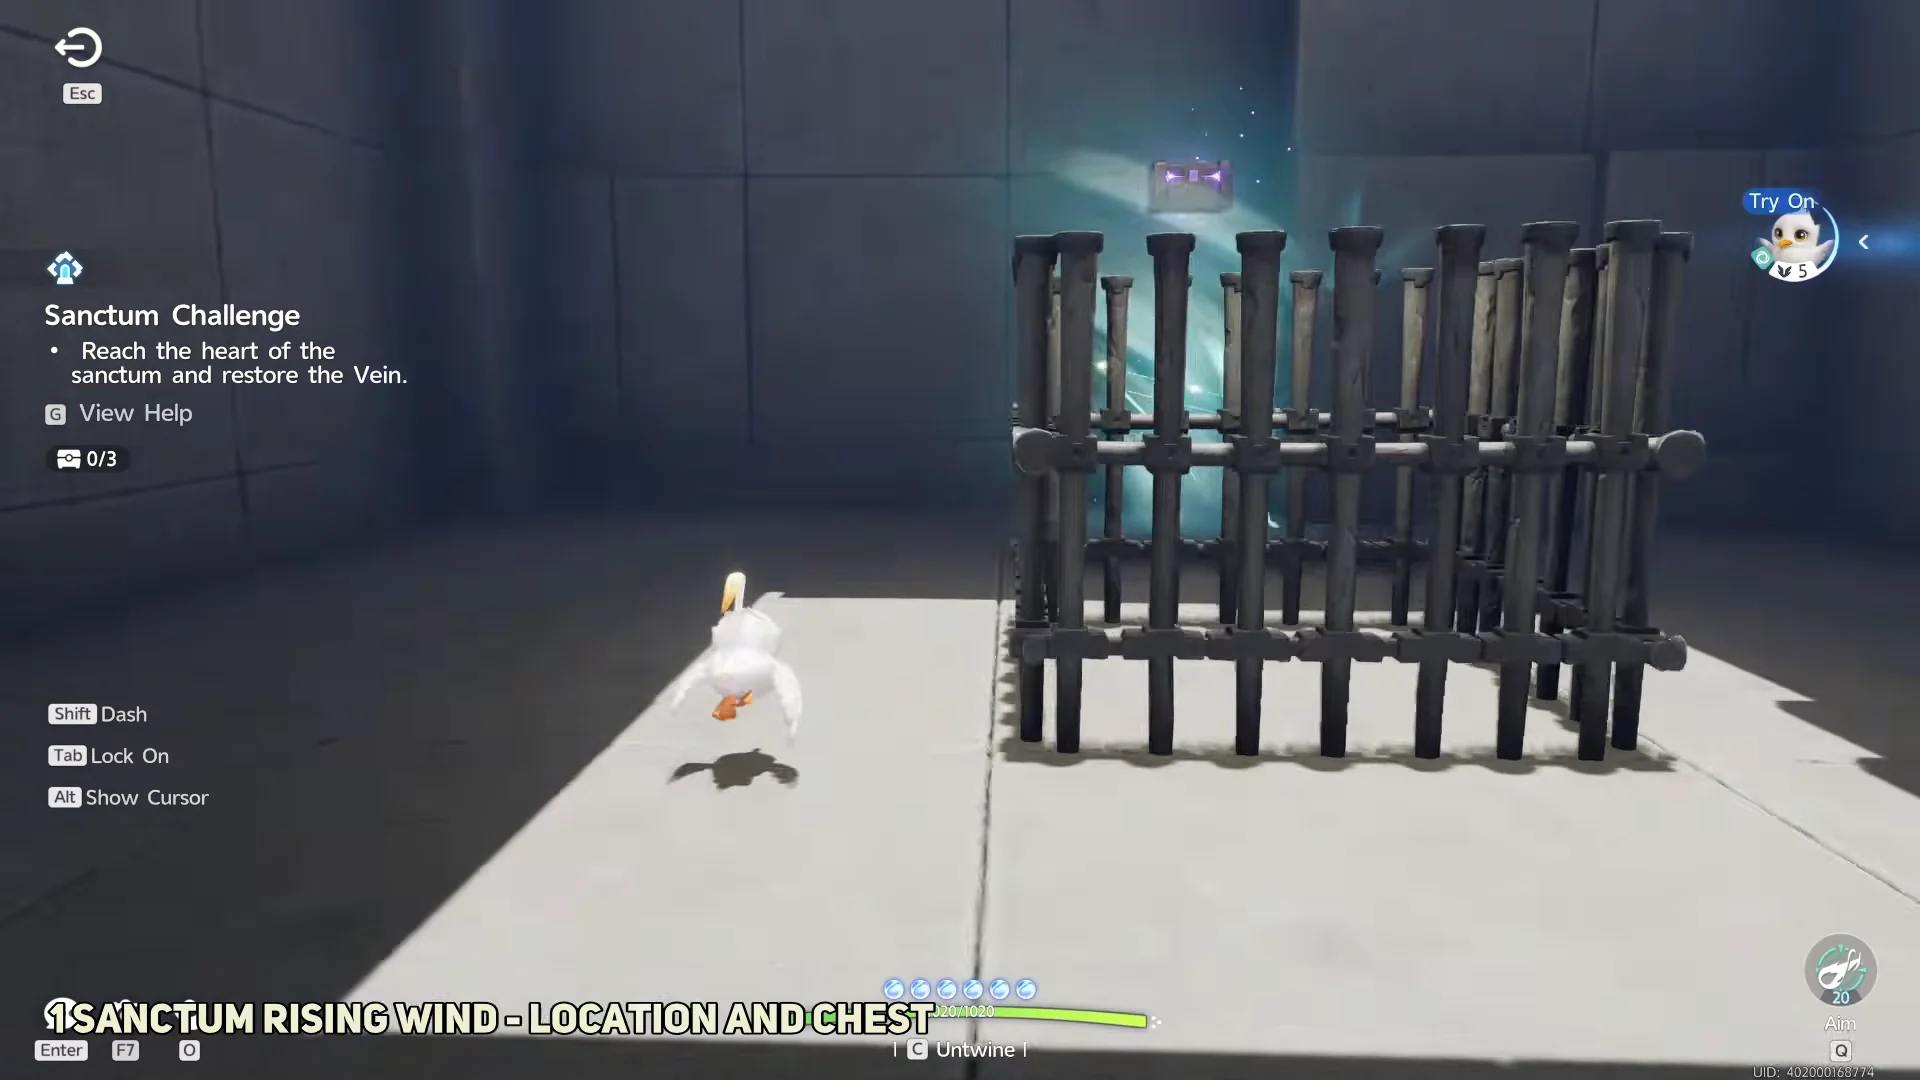
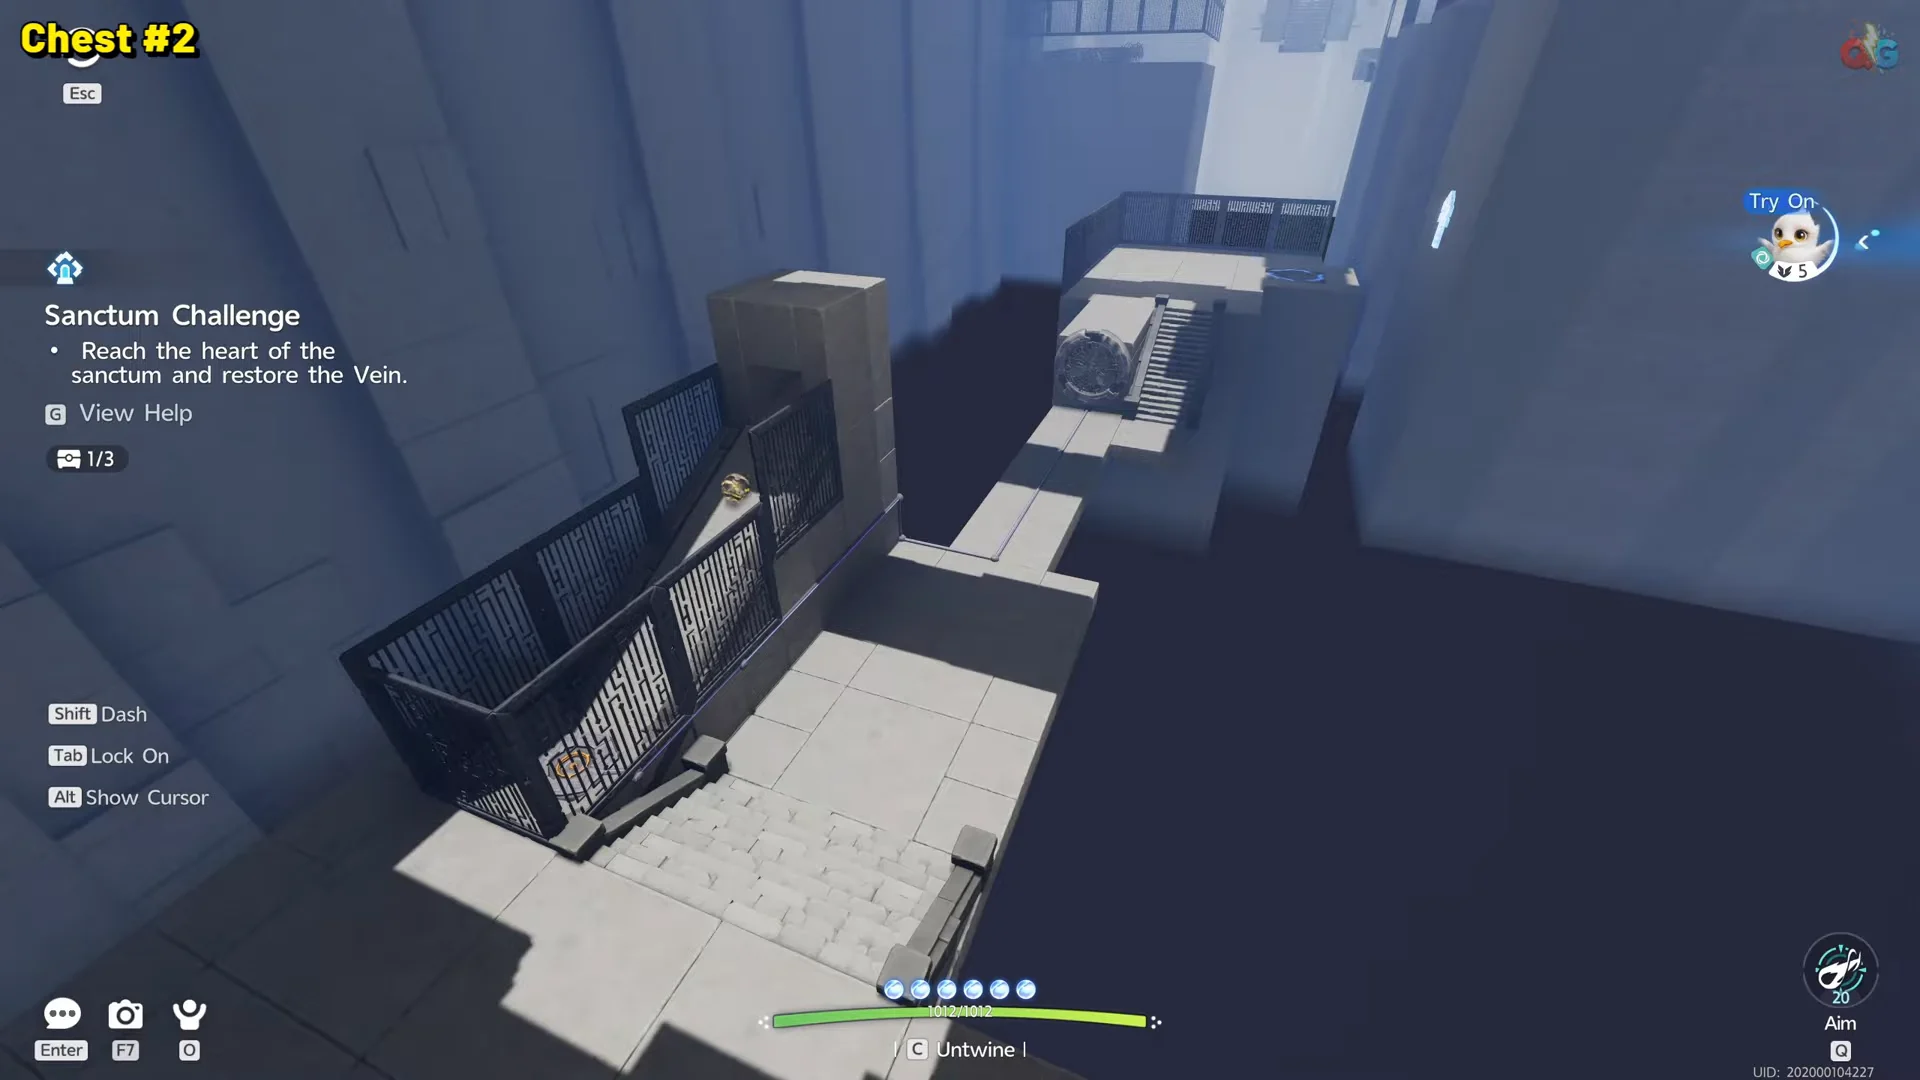
Face the corner with bars next to the socket. On a shelf above the illuminated plate, the first chest is locked in an iron cage. Fire an air shot at the cage to lift the chest through its open top, then use the activated current to rise and open it. The counter should show 1/3.
00:54Chest 1The first chest glows behind the bars at the corner beside the first socket. Shown at 00:54 in WoW Quests’s video. Image: Pawprint Studio
Go through the gate onto the walkway, then use the yellow rings in the air to guide you across the platforms. The blue arrow glyphs show where to take off and land next; they aren’t targets for your shots.
A large circular fan blocks the passage, and a round power object resting nearby controls it. Lift that object with an air shot and settle it onto its charging plate to change the fan’s state, then pass through to the stairs. It is the lightest object in the room, so one shot underneath floats it and small corrections walk it into place.
At the stair top, ride the launch current to the high landing. Continue across the open water by linking the stationary and moving tornadoes beyond it. Aim toward your intended landing before entering each current, because falling into the pits or pool sends you back to the last respawn pad.
The second wooden ball sits on a raised ledge behind a short fence. Use repeated air shots to float it up and over the barrier, then drop to floor level and tap it into the circular receptor to open the passage to the final room.
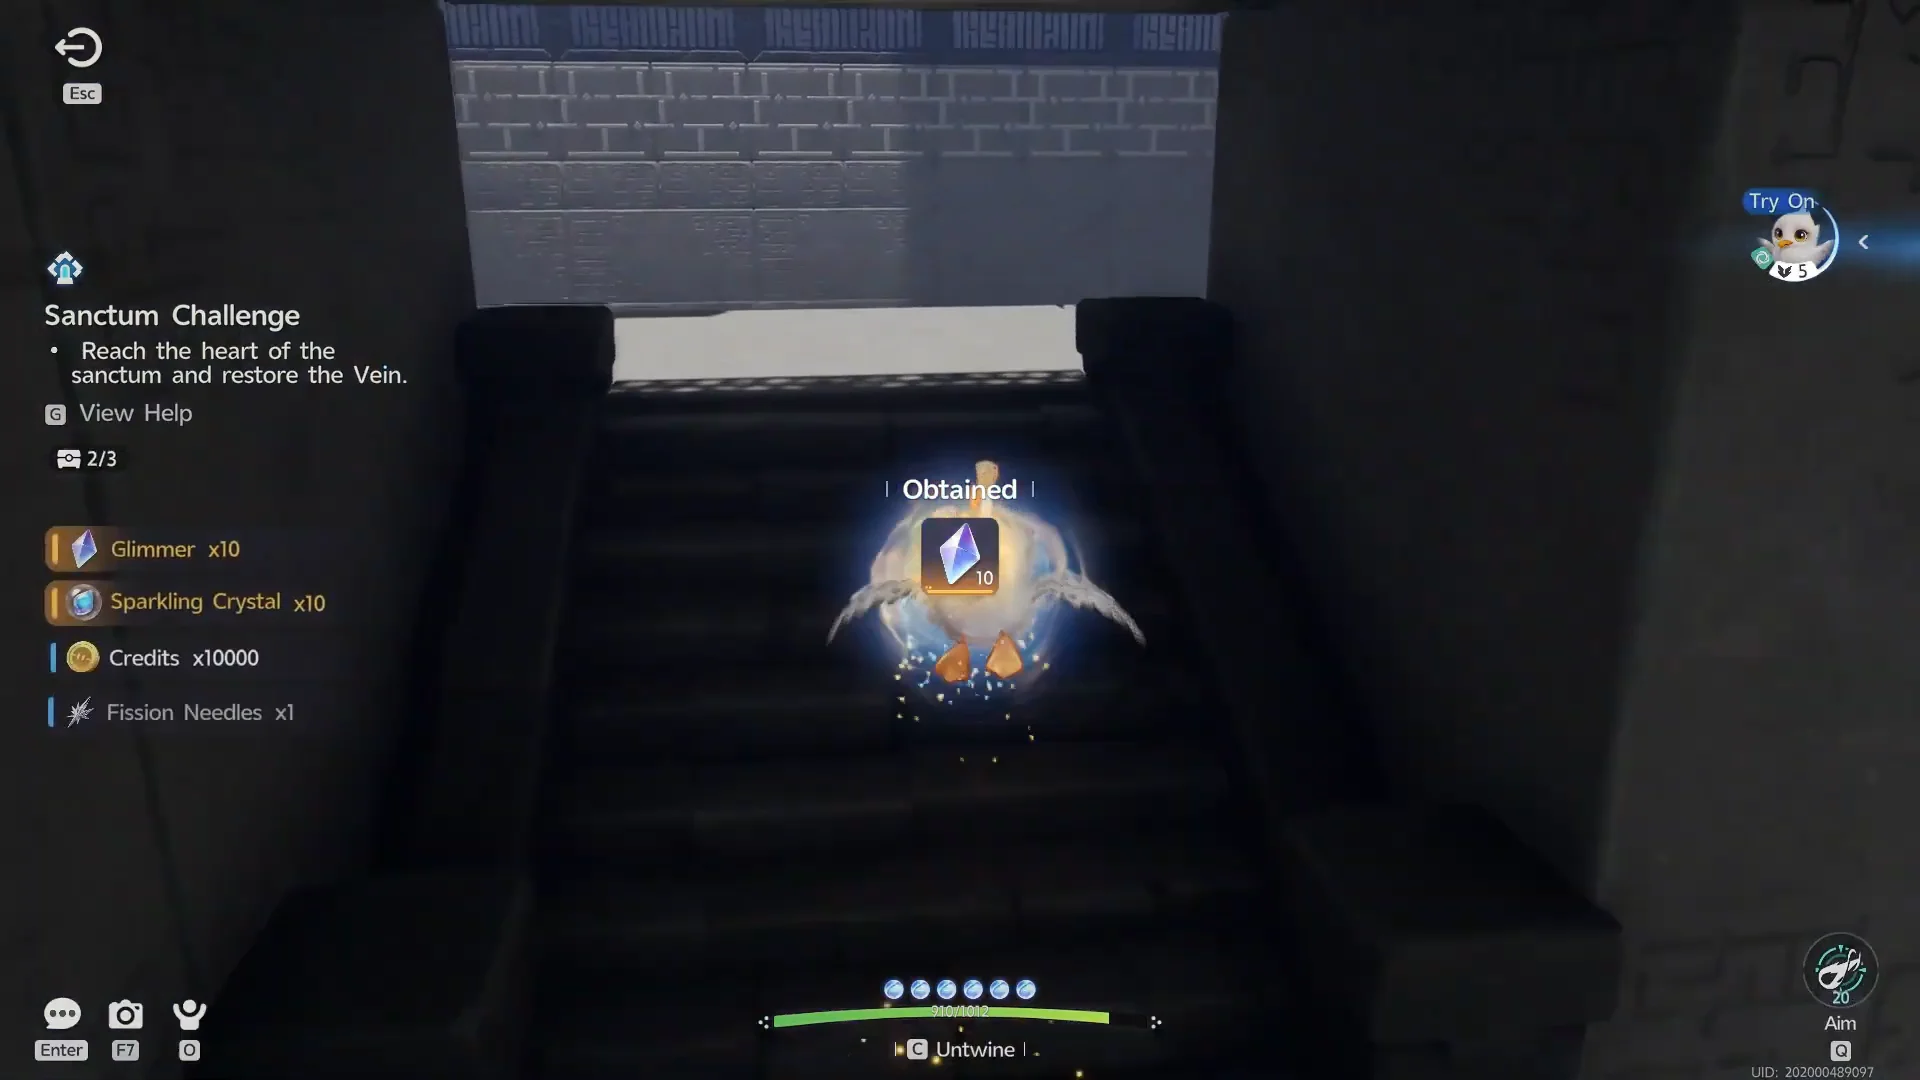
Chest 2 is particularly easy to miss. Leave the second socket by going down the small ramp, then enter the side opening underneath it. The chest is off the main path in a short passage behind metal bars. Open it to bring the count to 2/3.
03:06Chest 2The chest 2 reward screen showing Glimmer, Sparkling Crystal, Credits, and a carried item. Shown at 03:06 in Game Guides Channel’s video. Image: Pawprint Studio
Near the entrance to the final room, look off to the side for a platform encircled by thorns and water. Ride a current across, then use an air shot to scatter the crates and reveal the hidden platform. The third chest rests on a fixed stone pedestal that cannot be moved. Fire at the floor beside its base to create a tornado, then ride it up to the chest. Check that the counter reads 3/3.
Fly back the way you came, climb the stairs into the final chamber, and interact with the glowing Vein core at the far end. Touching it restores the Vein and ends the run.
Chest rewards and first-clear payout
Every chest contains a set amount of currencies. Your first Sanctum clear also awards Lumin Amber x1 and 500 EXP as a one-time reward; replaying is worthwhile only if you left a chest behind.
Chest
Glimmers
Sparkling Crystal
Credits
Chest 1 (caged corner)
10
10
10,000
Chest 2 (side corridor)
10
10
10,000
Chest 3 (pedestal)
20
15
20,000
On top of the currencies, each chest holds one carried item, and that slot is not fixed between runs. The first chest has produced a Heritage Amulet, Explosive Gloves, or Avenging Gear. The second has dropped Fission Needles, a Lightning Needle, or a Marching Flask. The third has yielded a Spirited Feather or a Giant Tortoise Shell.
How to confirm the Sanctum is fully cleared
Check for two signs that the run has registered correctly. Before touching the Vein, make sure the challenge tracker shows 3/3 chests; interacting with the core should change the objective from restoring the Vein to its completion state. The clear screen then displays your EXP and Lumin Amber reward before sending you back to the island. If you open the Sanctum entry on the map again, its chest total should now show 3/3 instead of 0/3.
The Sanctum shuts as soon as you touch the Vein, leaving any unopened chests behind. Verify that the chest counter is at 3/3 before entering the final chamber.