Gaming Guide

Aniimo Sanctum of First Sight Walkthrough (All 5 Chests)

Twine with Helmut, steer the ball into every socket, and clear all five chests before restoring the Vein.

Twine with Helmut, steer the ball into every socket, and clear all five chests before restoring the Vein.

First Sight is a solo Sanctum centered on a simple mechanic: a launcher sends a ball through the room while blue barriers called rams move up and down to guide it. Get the ball into the right socket to open a gate; if it misses, reset and make another attempt. There are five chests beyond the gates, and the first remains hidden until you awaken the Sanctum’s Animo. Follow these steps to unlock everything and finish the run.

Quick answer: Enter the Sanctum at -0551, 1612 in Breezy Plains, twine with Helmut, then send the ball into the right, left, upper-right and upper-left sockets, collect all five chests, and restore the Vein.


Where the First Sight Sanctum entrance is

The Sanctum entrance lies where Breezy Plains meets Russet Highlands, a level 46-51 zone. On the world map, navigate to Breezy Plains and locate the Sanctum icon at coordinates -0551, 1612. If you have touched the portal before, teleport directly to it. If not, walk there and interact with the stone structure to activate it.
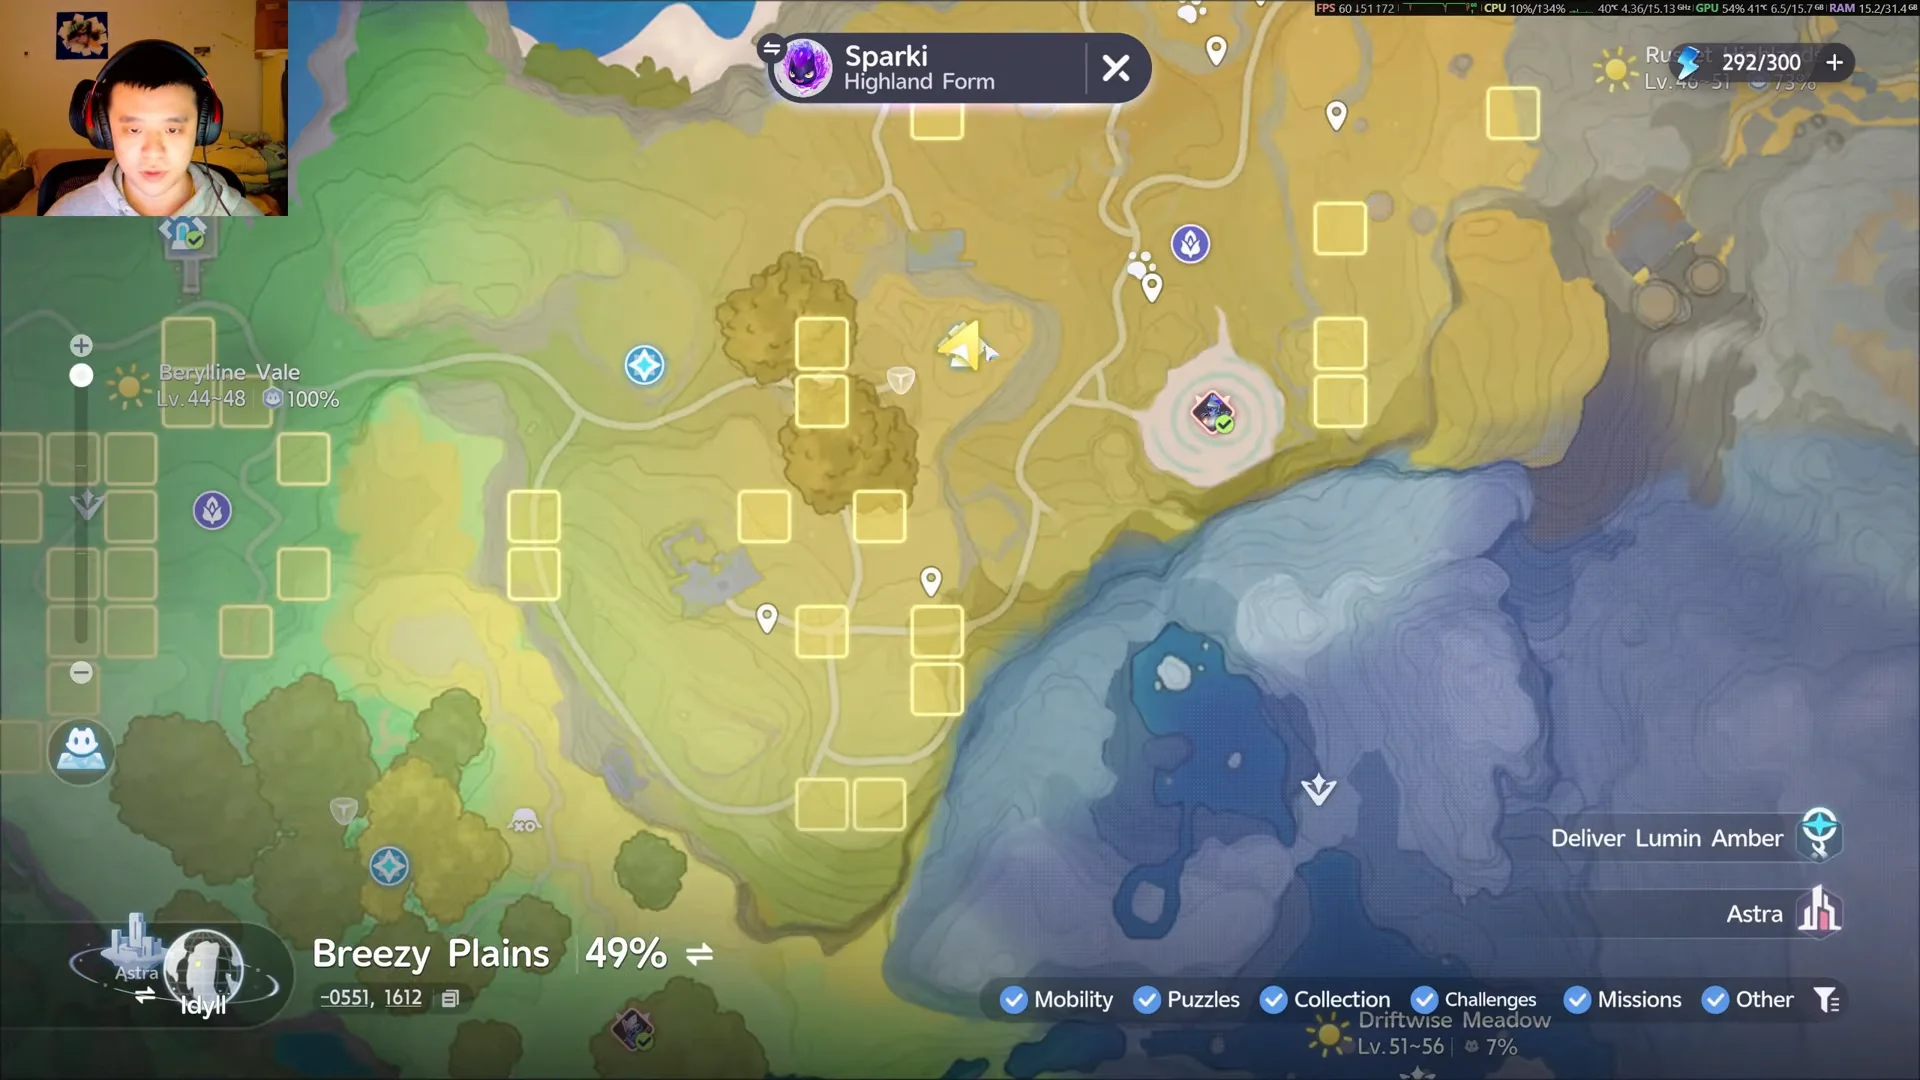
Sanctum Location on Map00:07Sanctum Location on Map
The map marker for First Sight in Breezy Plains at -0551, 1612. Shown at 00:07 in StingKnight’s video. Image: Pawprint Studio

Activate the portal to bring up the solo-instance challenge prompt. Confirm to enter, where your objective is to reach the Sanctum’s heart and restore the Vein. The chest counter begins at 0/5.

Getting the “No flying Animo equipped” message when you try to glide over Breezy Plains? Before setting out, equip a flying Animo from the Animo Management Exploration tab. Long sprints across the terrain can also trigger “Not enough stamina.”


How the ram, ball and Helmut Detection work

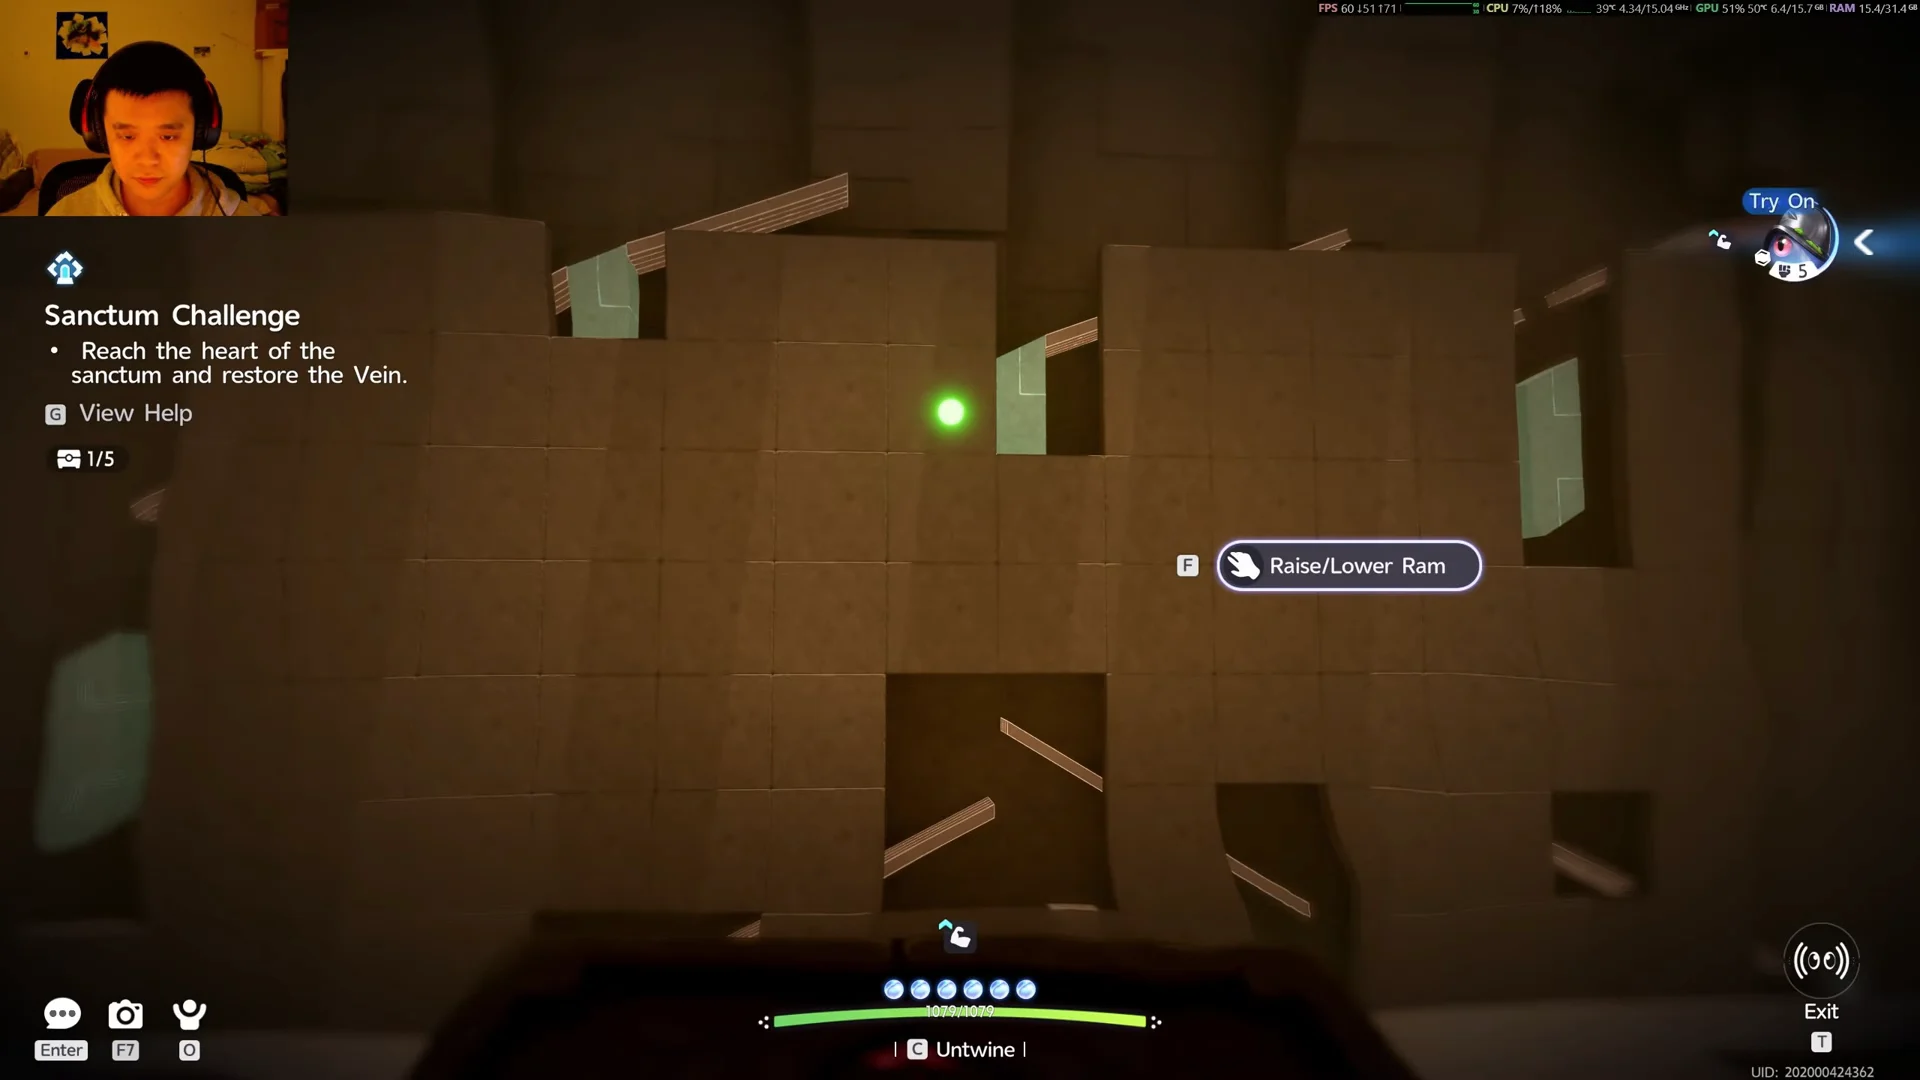
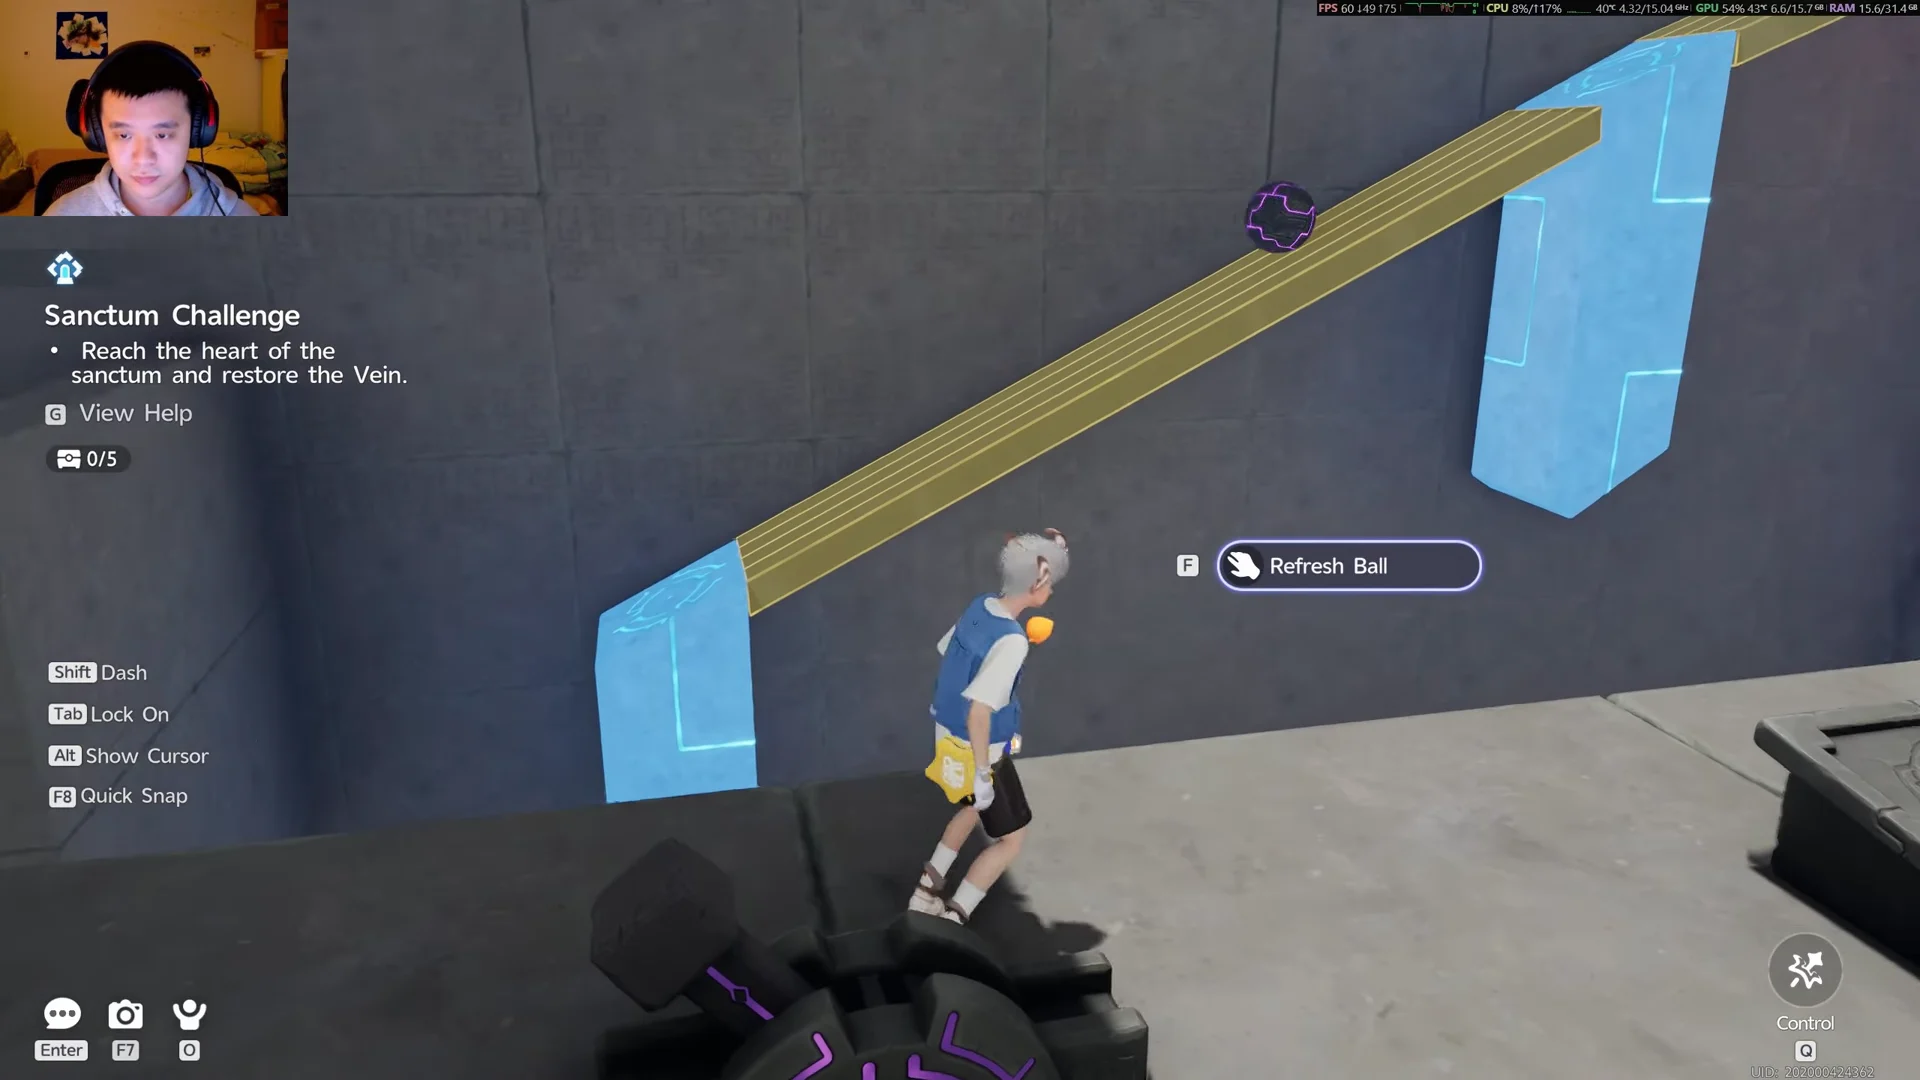
The square object near you is a control panel; it isn’t a ram or a platform to stand on. Approach it and select Raise/Lower Ram to change the height of a barrier farther away. When raised, a ram knocks the ball off course; when lowered, it leaves the route open. The puzzle relies on this same switch, with a new ram setup for each gate.

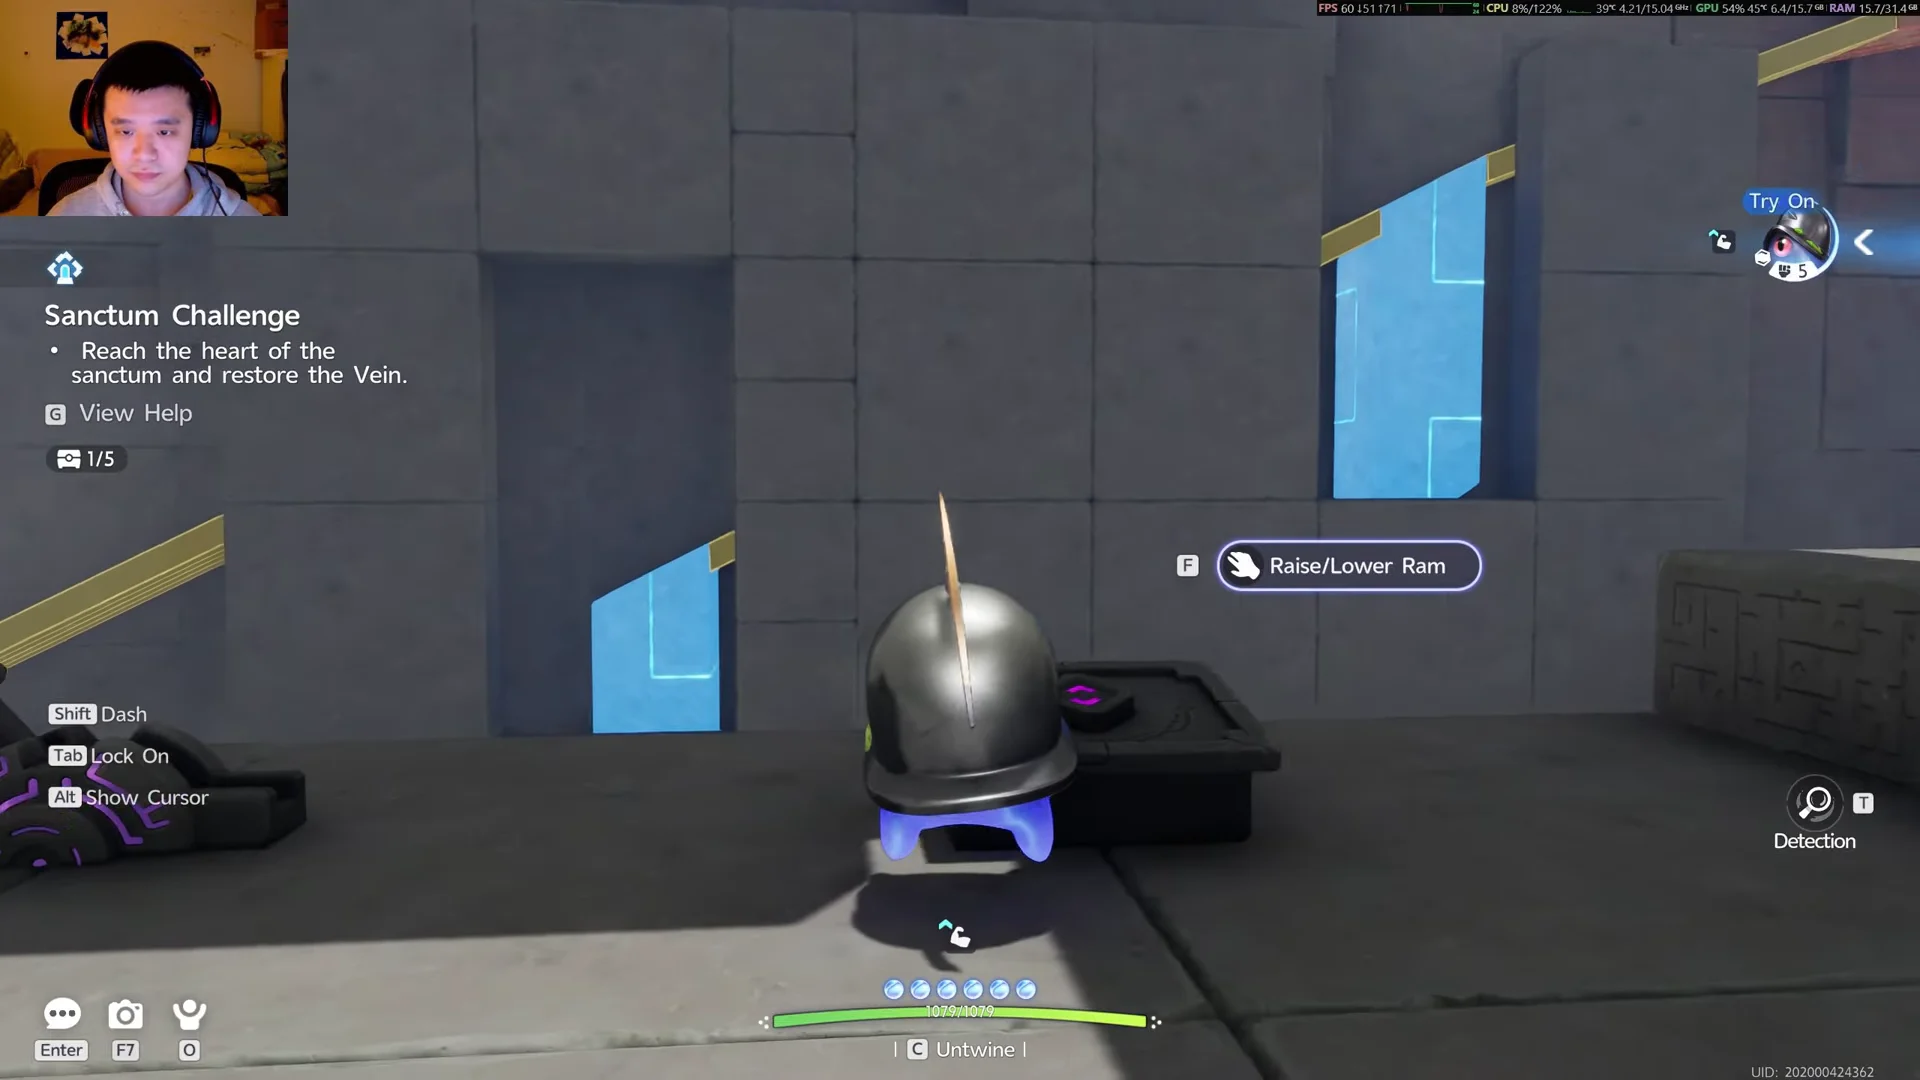
Helmut
Helmut. Image: Pawprint Studio
Backtracking to Reset Mechanism01:21Backtracking to Reset Mechanism
The control panel with the Raise/Lower Ram prompt that moves a distant barrier. Shown at 01:21 in StingKnight’s video. Image: Pawprint Studio

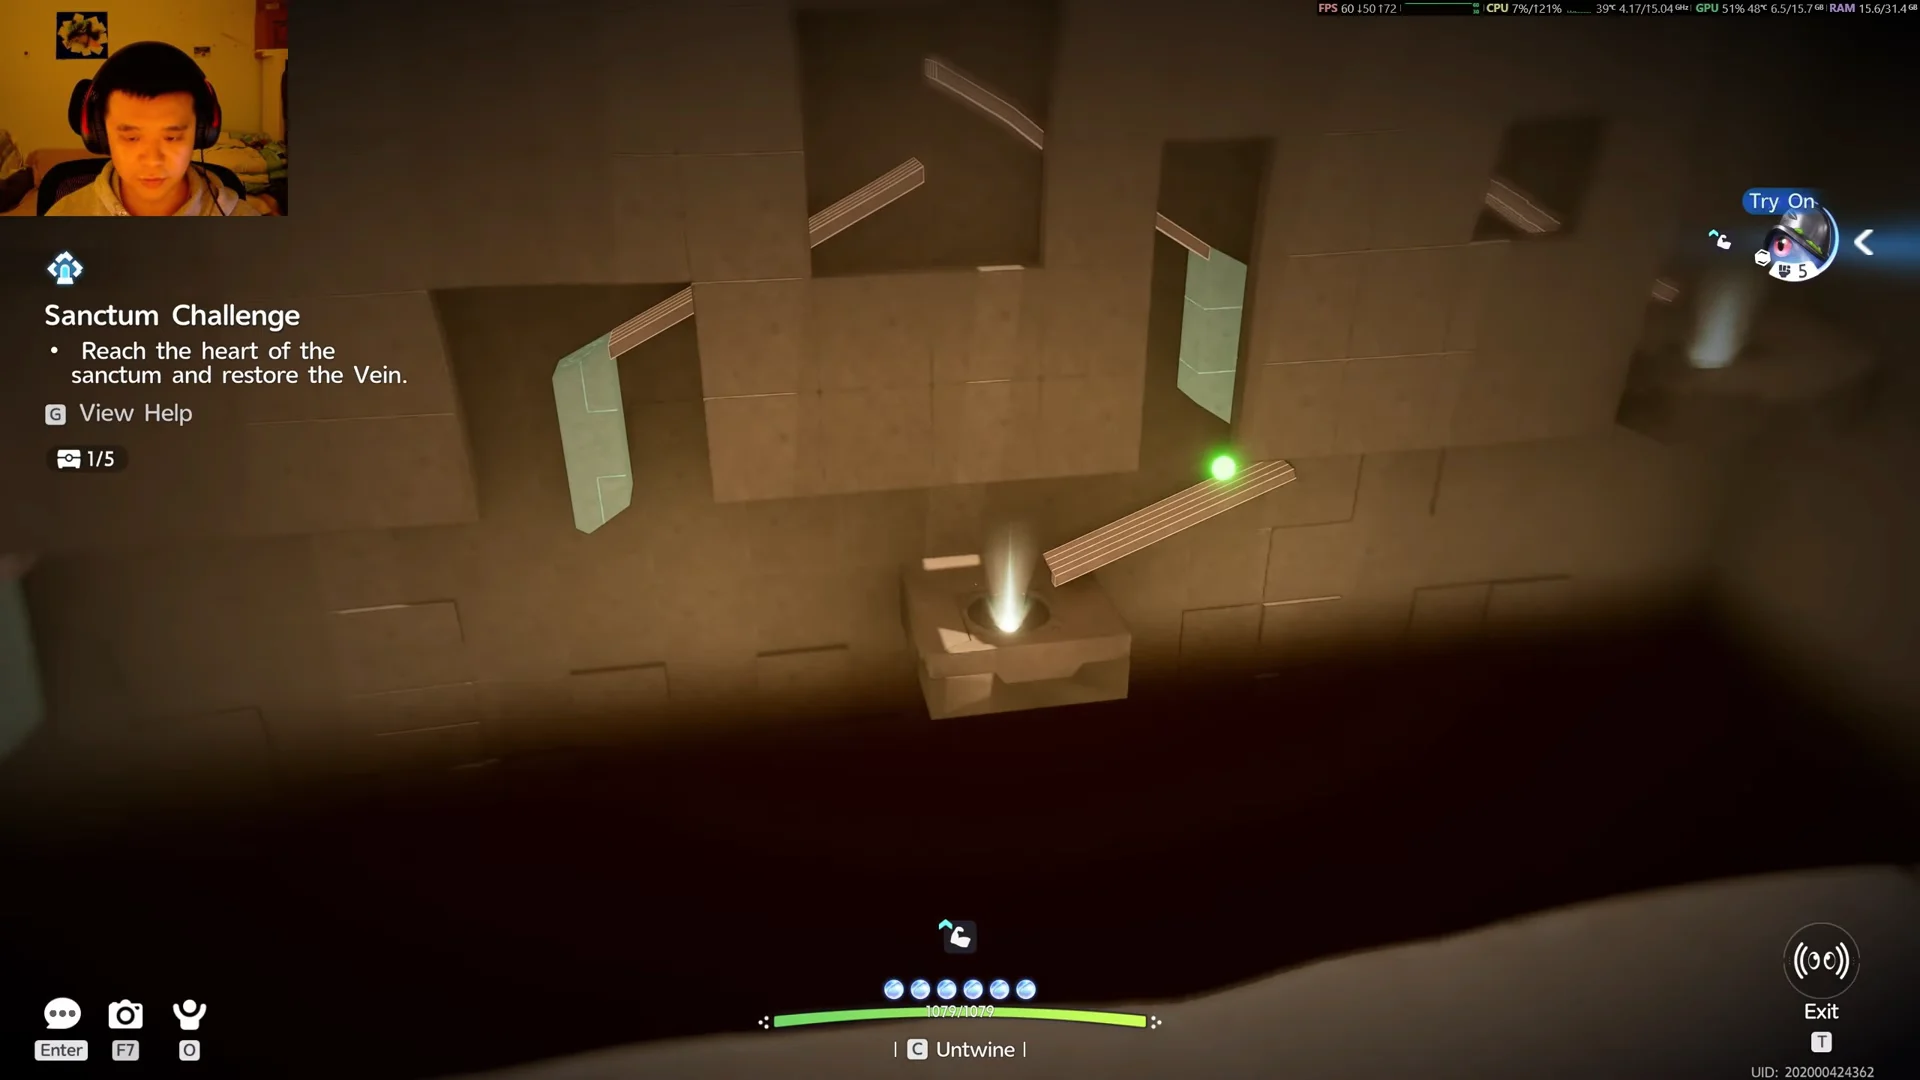
If a shot sends the ball somewhere unhelpful, leave it there. At the launcher, choose Refresh Ball to replace it, adjust one ram, and launch again. Avoid rapid repeated inputs, which trigger the “Actions too frequent” message. Twining with Helmut enables the Animo’s Detection vision; it reveals concealed rails, the ball, and socket states through walls, making it the sole way to locate the first chest.

There are four key sockets, each tied to a separate door:

Target socketWhat it opens
Right sideMain gate to the Animo statue
Left sideLeft-hand side passage
Upper rightMiddle-level chest gate
Upper leftRemaining upper chest alcoves

The upper-right and upper-left paths take more finesse: the ball must get past multiple barriers before it drops into place. You may need to refresh it a few times while working out which ram heights send it high enough.


Walkthrough: open every gate and collect all 5 chests
Go to the first launcher by the entrance and position the ram to guide the rolling ball into the socket on the right. Once the ball settles in, the chamber’s main security door at the back opens.
First Track Puzzle00:31First Track Puzzle
The opening track puzzle: raise the ramp to send the ball into the socket. Shown at 00:31 in StingKnight’s video. Image: Pawprint Studio
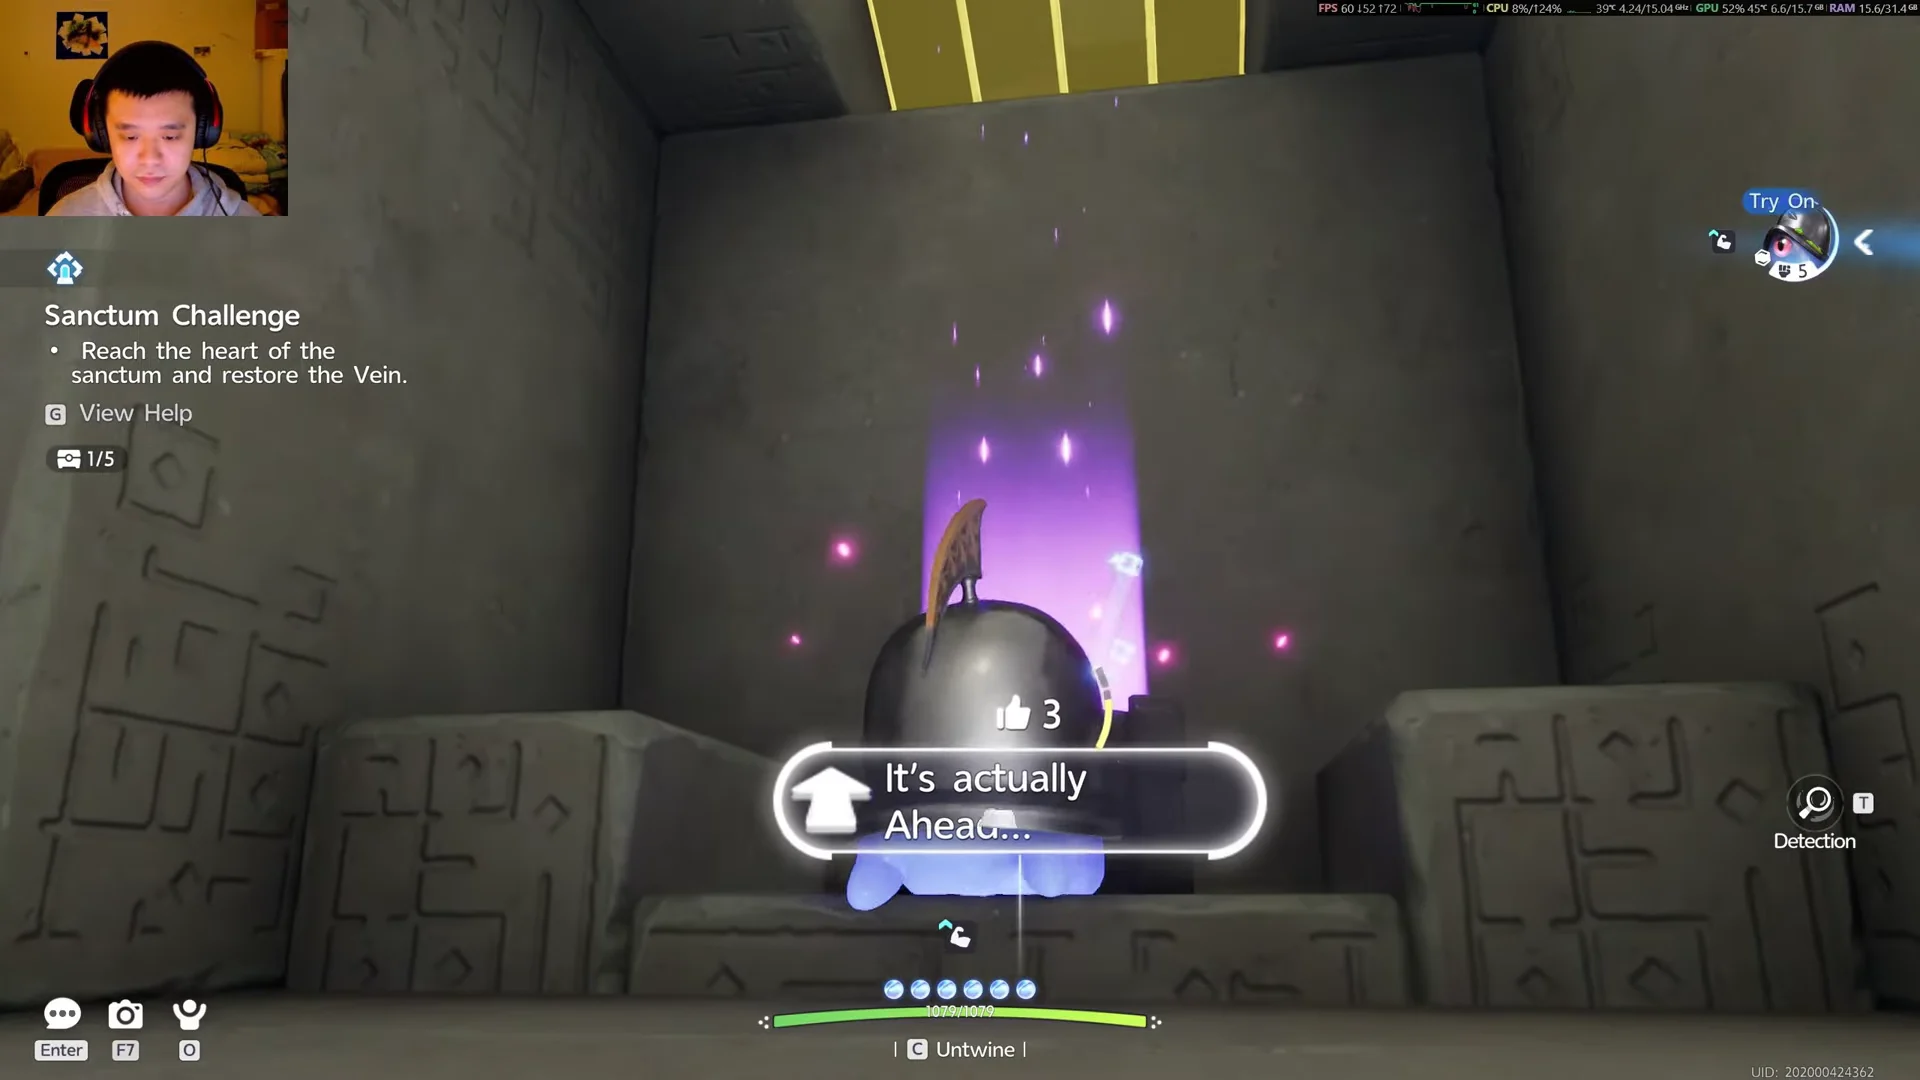
Pass through the open door into the central hall and approach the purple, helmet-shaped Animo statue. Select Awaken; as Helmut stirs, a message explains that its lone eye uncovers concealed truths. Twine with it to enable Detection vision.
Turn back toward the entrance stairs and pillars. With Detection active, a chest is revealed in a side alcove behind the wall. Open it and the counter ticks to 1/5.
First Chest and Creature Twining01:00First Chest and Creature Twining
Twined with Helmut, with the counter reading 1/5 after the hidden first chest. Shown at 01:00 in StingKnight’s video. Image: Pawprint Studio
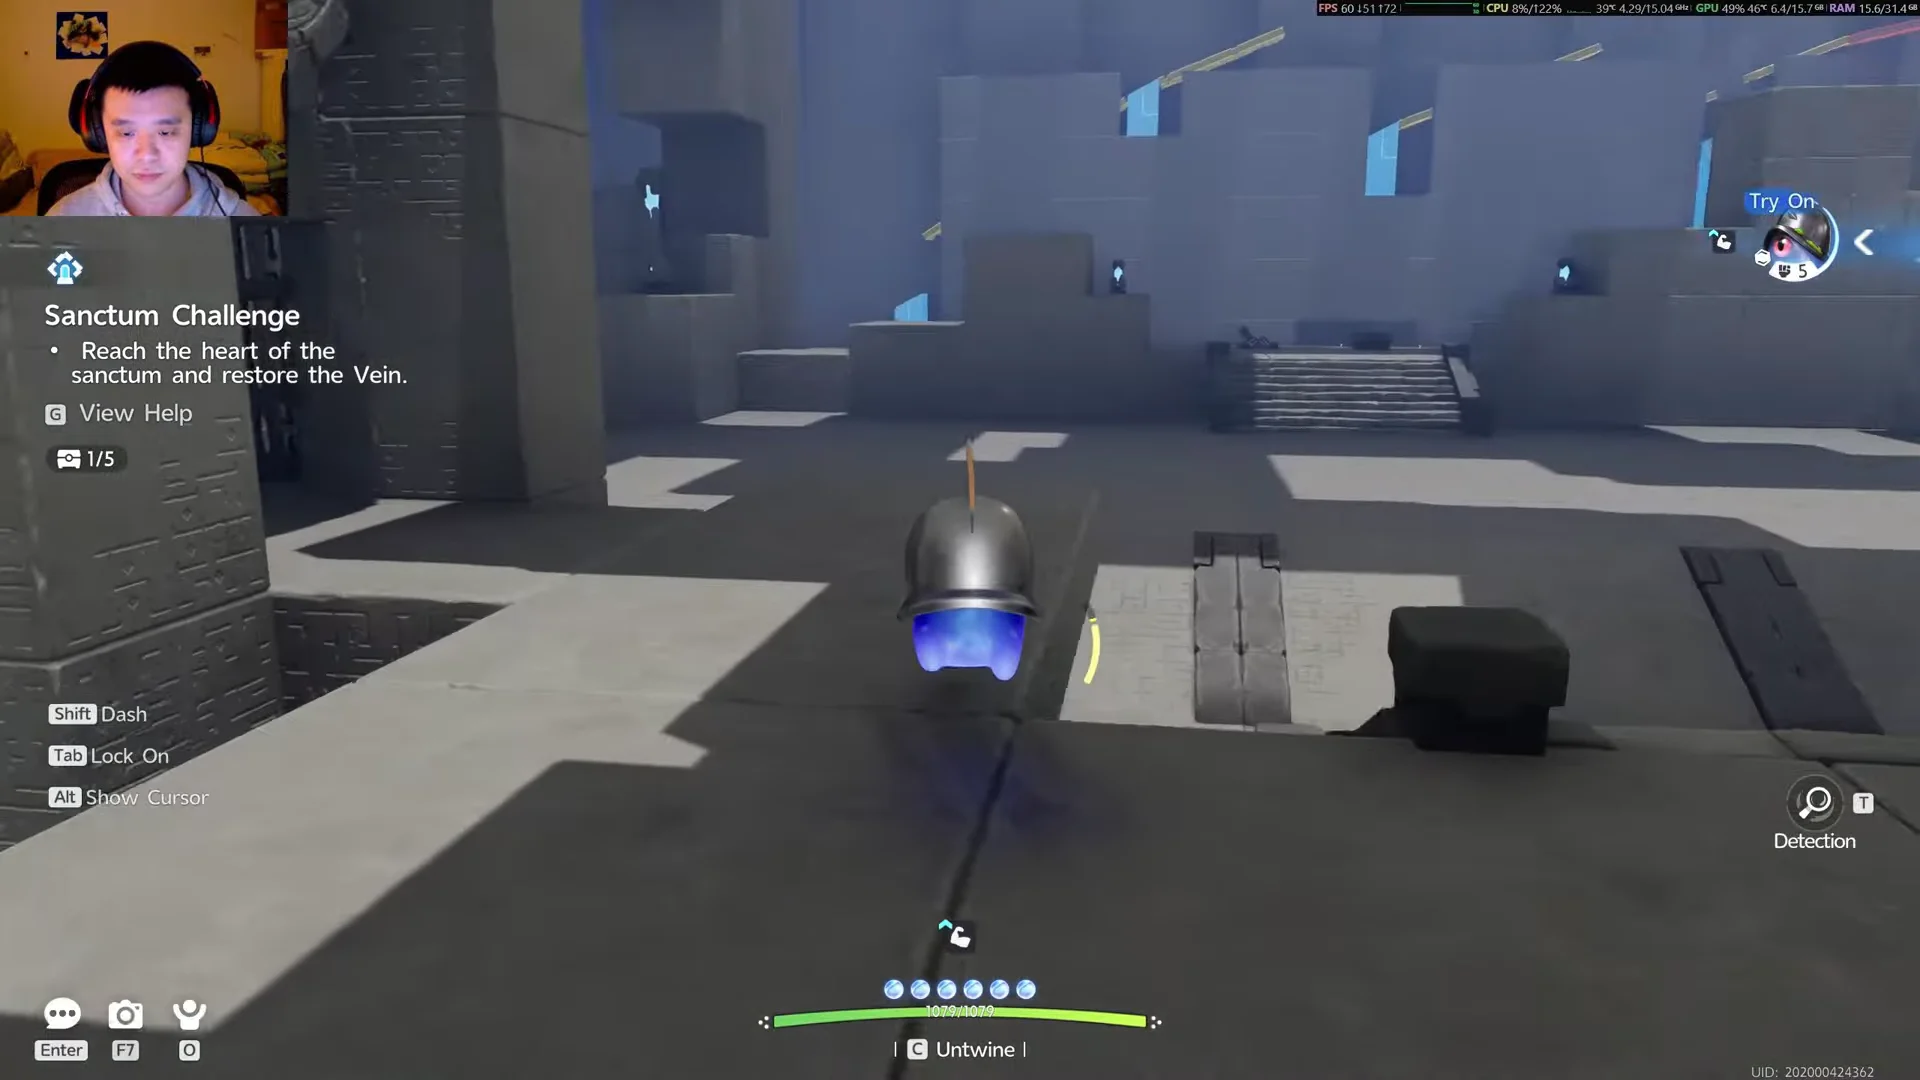
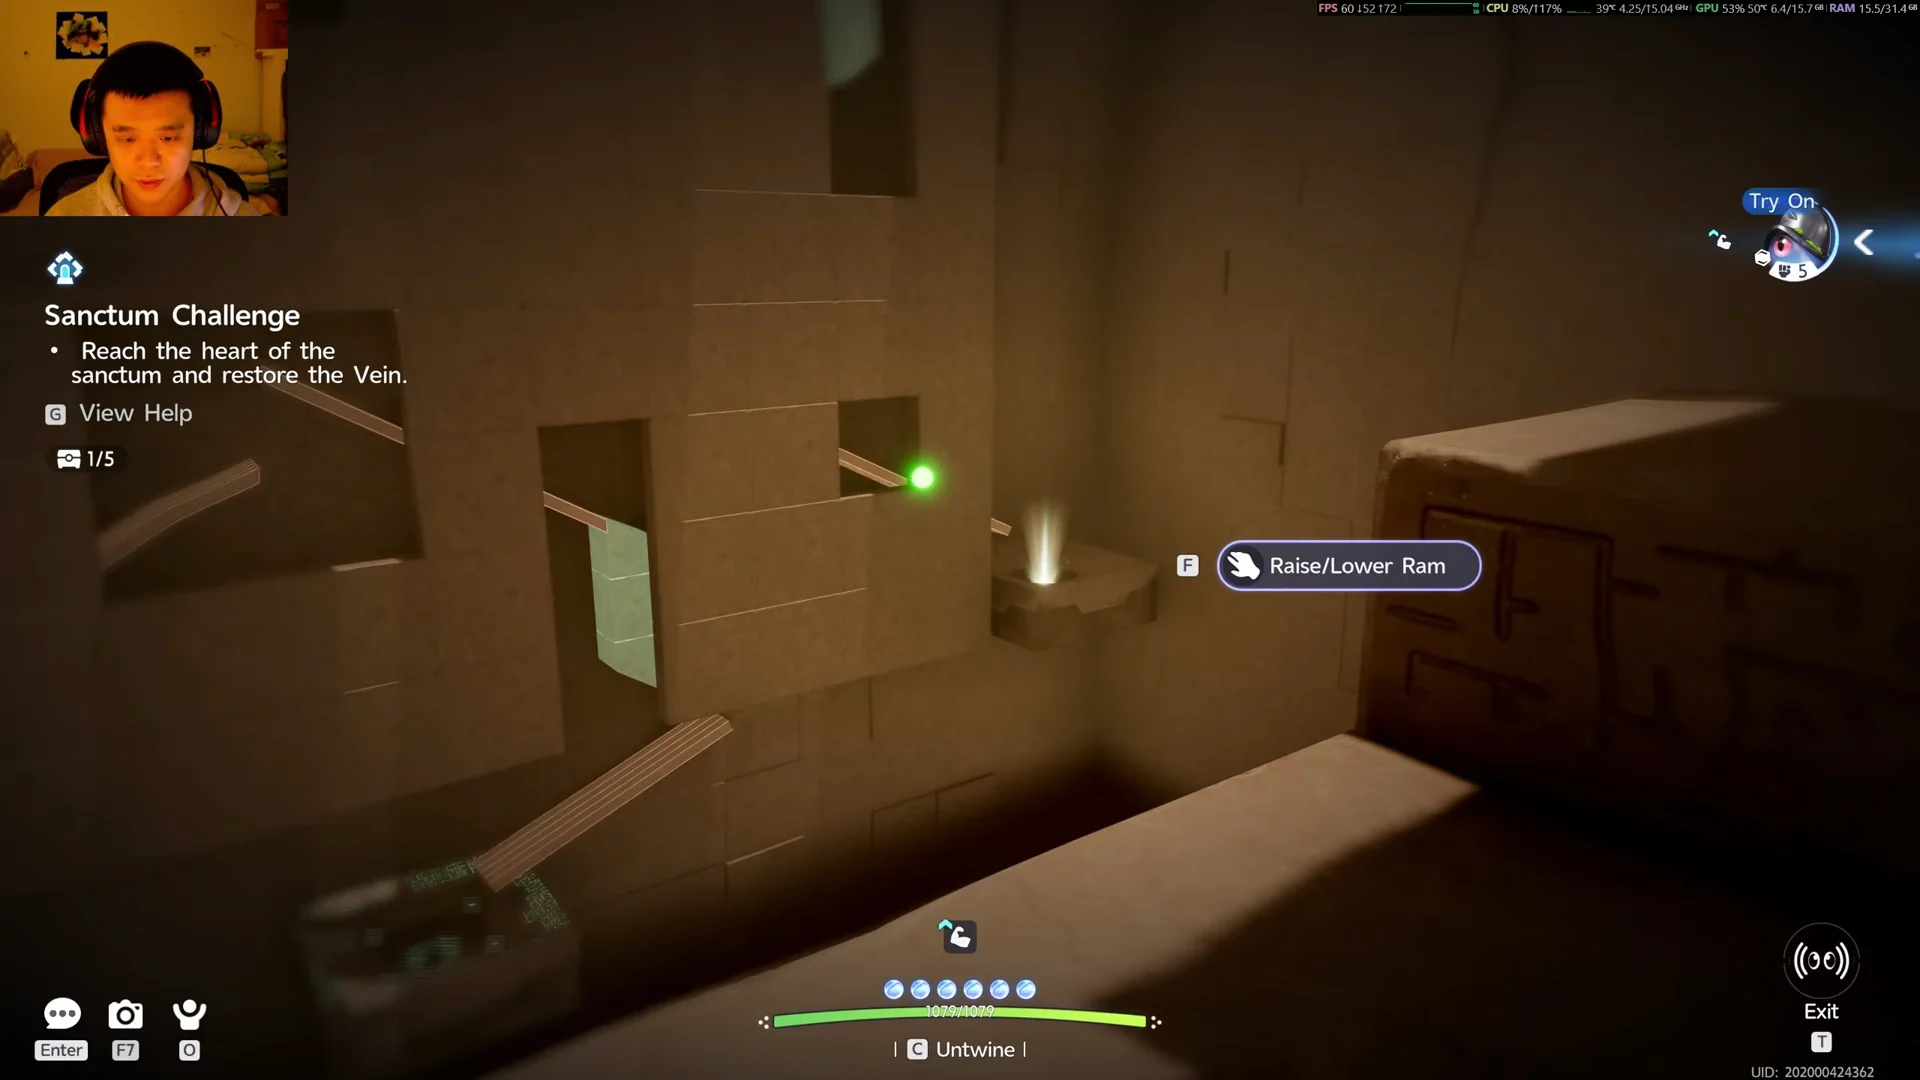
Move deeper into the main puzzle chamber. This larger room holds multiple wall tracks, rolling balls, and the gates that guard chests 2 through 5.
Central Puzzle Chamber Setup02:03Central Puzzle Chamber Setup
The central chamber, where the wall tracks and locked gates hold the remaining chests. Shown at 02:03 in StingKnight’s video. Image: Pawprint Studio
Use the ram platform and let the ball run down the lower track, uninterrupted, into the bottom socket. Seating it there opens the lower gate.
Lower Socket Activation02:40Lower Socket Activation
Guiding the ball down the lower track into the glowing socket. Shown at 02:40 in StingKnight’s video. Image: Pawprint Studio
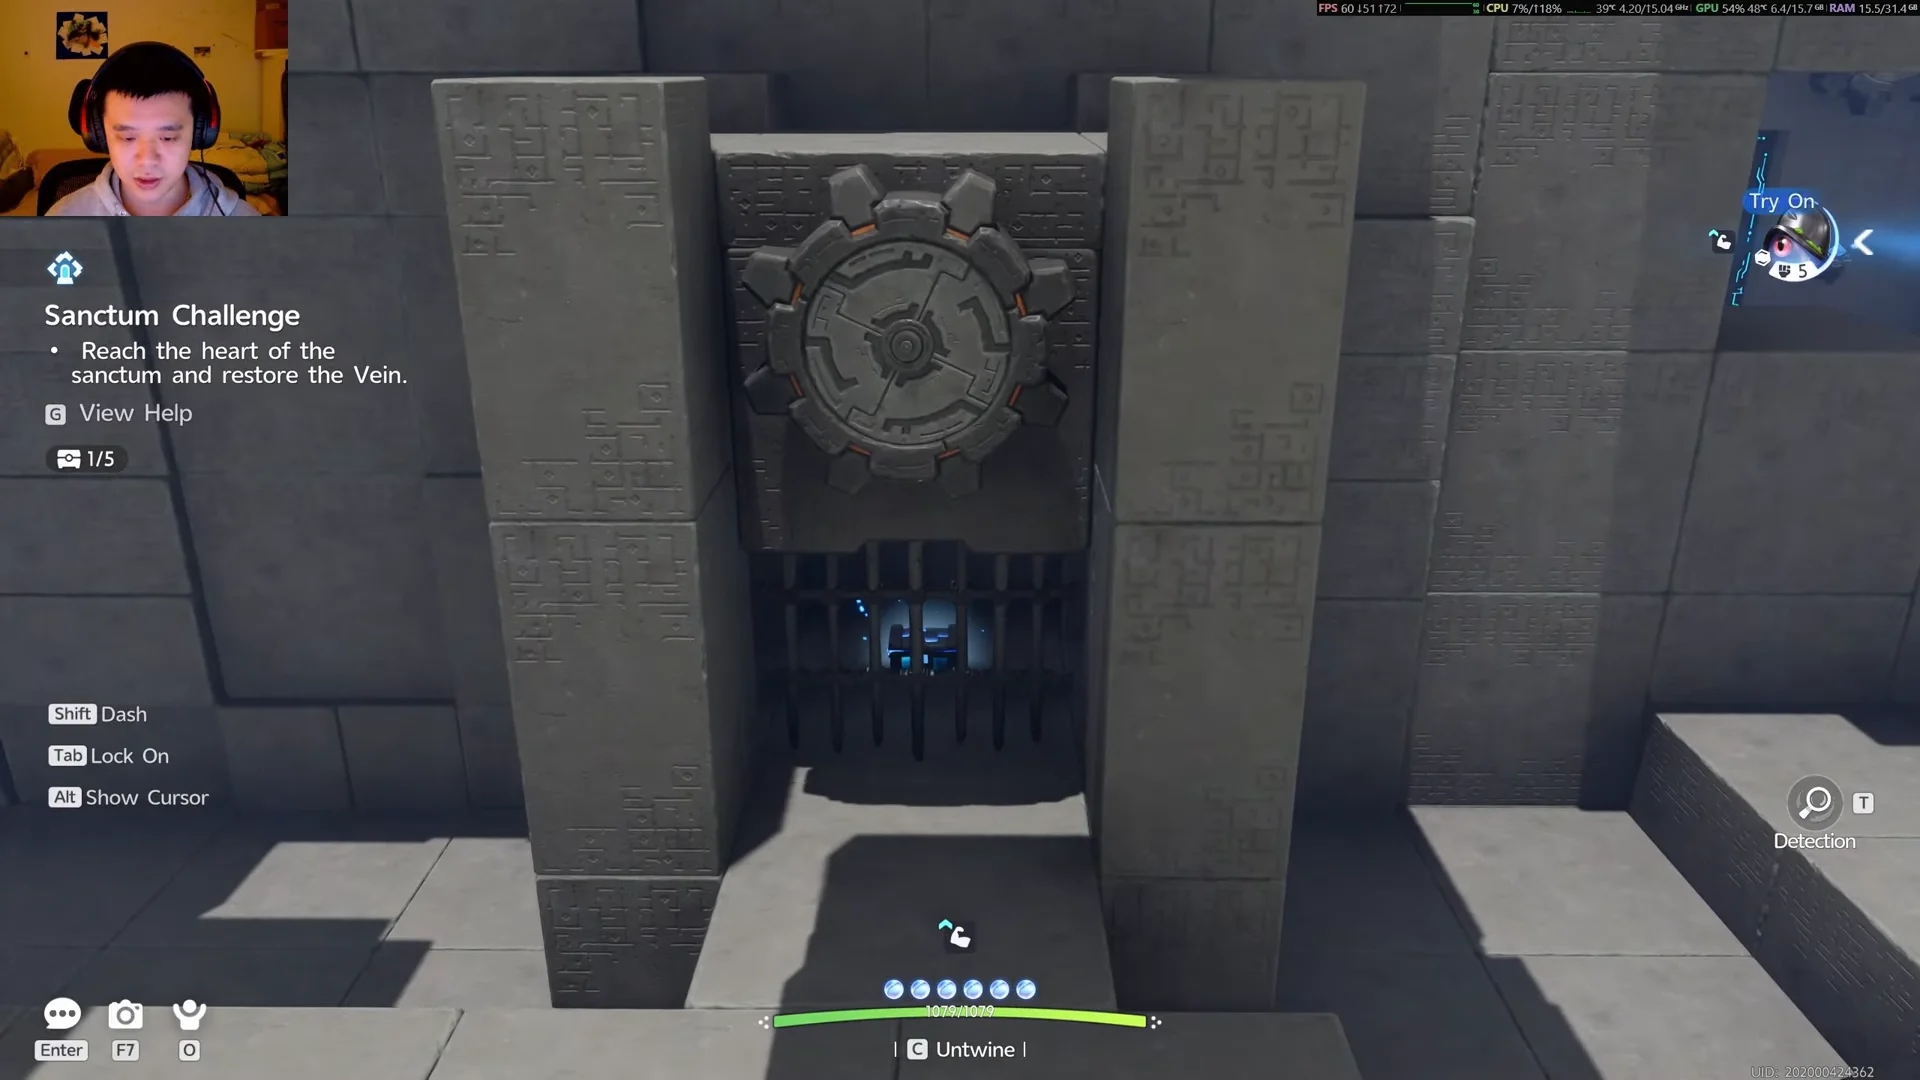
The lower gate swings open to reveal a chest in the alcove behind it. Grab it before moving on.
Gate 1 Unlocked02:52Gate 1 Unlocked
The first chamber gate opens, showing the chest waiting behind the bars. Shown at 02:52 in StingKnight’s video. Image: Pawprint Studio
Replace the ball, then set the barriers for the route on the right. Position the ram to send the ball toward the socket beside the right wall.
Right Socket Puzzle Attempt03:13Right Socket Puzzle Attempt
Lining up the right-wall socket attempt with the Raise/Lower Ram control. Shown at 03:13 in StingKnight’s video. Image: Pawprint Studio
Time the ram so the ball travels along the upper-right ramp and drops into the socket. Getting it seated releases the next gate.
Right Socket Success03:52Right Socket Success
The ball clears the upper-right ramp and reaches its socket. Shown at 03:52 in StingKnight’s video. Image: Pawprint Studio
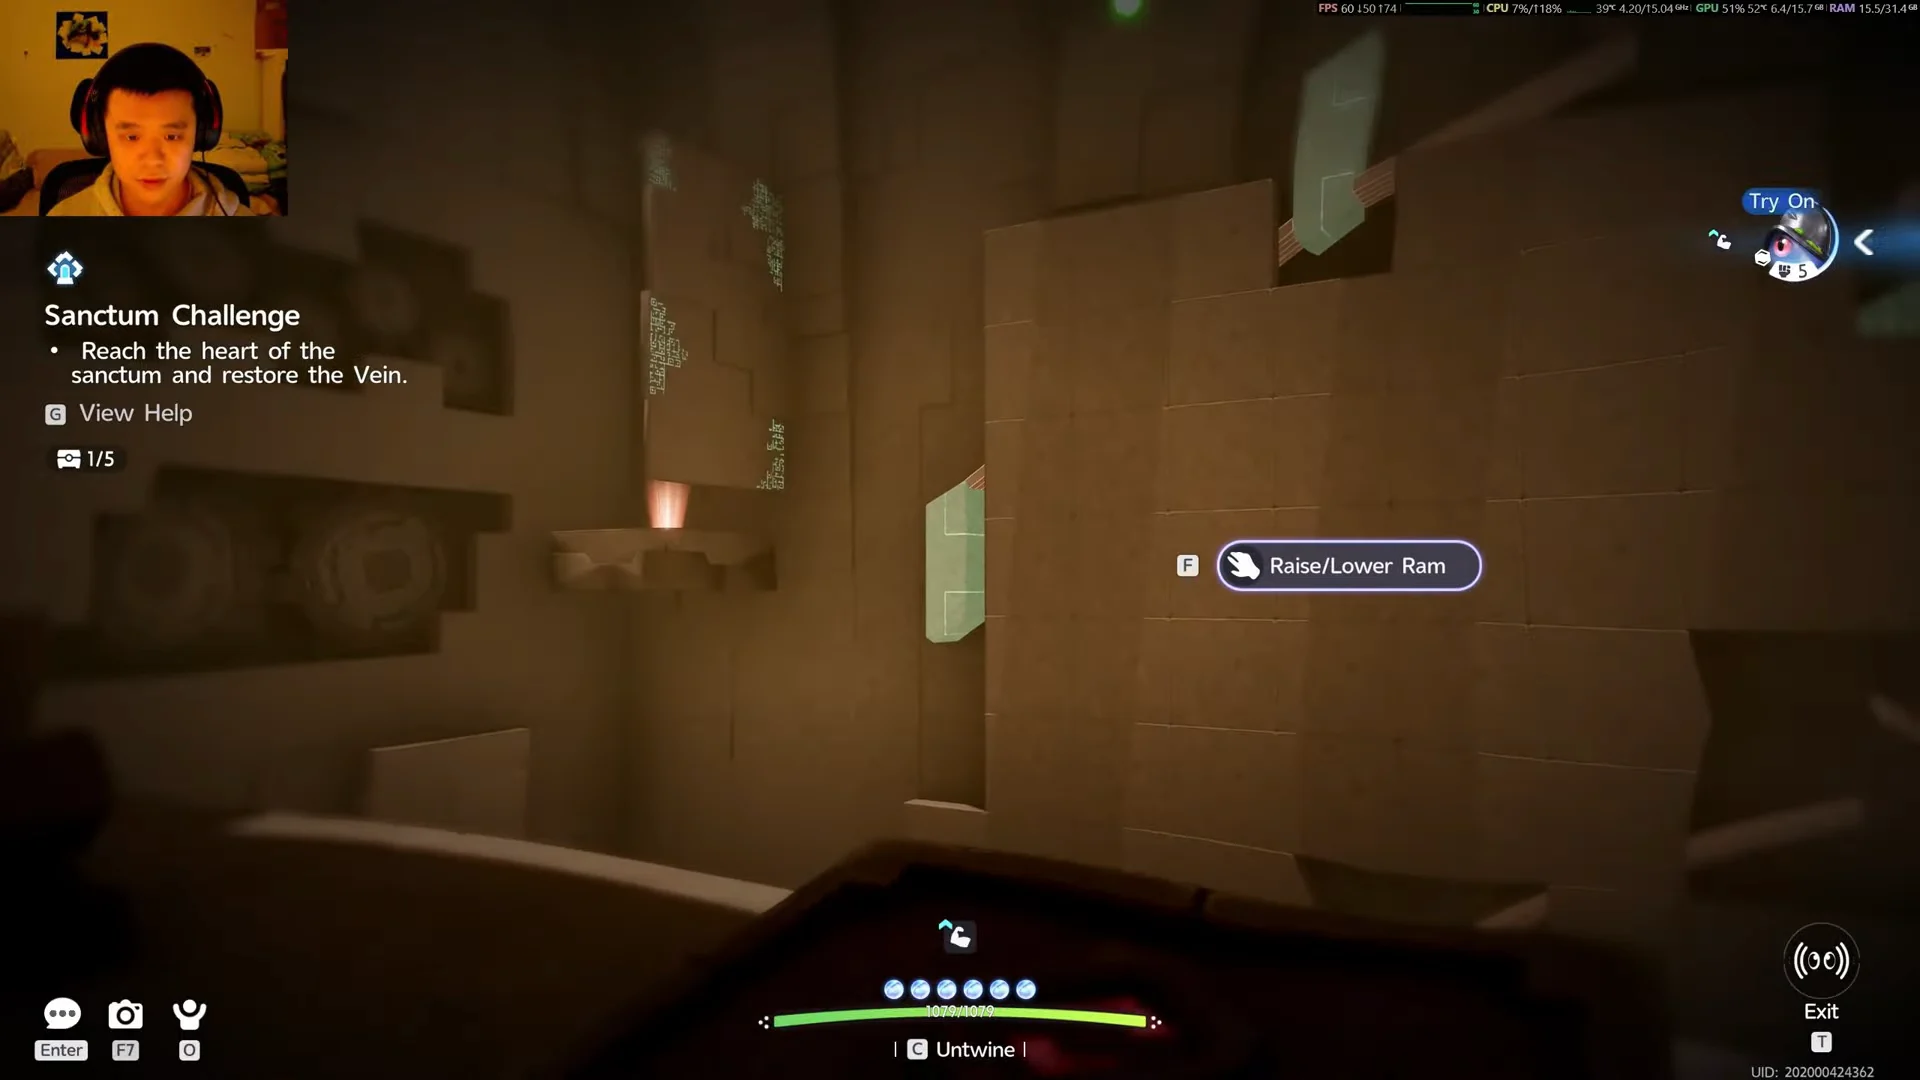
At the last upper gate, keep an eye on the vertical pillar as it moves. Once it finishes a cycle, lower the ram; this aligns the track as the ball reaches the gap, triggering the upper socket and opening the final alcove containing the golden chest.
Upper Level Final Timing Puzzle04:34Upper Level Final Timing Puzzle
The final timing puzzle, where the ram must sync with the moving pillar. Shown at 04:34 in StingKnight’s video. Image: Pawprint Studio
After opening every gate, run through the chambers and collect the chests from the unlocked alcoves in order: 2/5, 3/5, 4/5, then 5/5. Verify the counter before heading up to the core.

If other players’ pings clutter your screen, open Settings, go to the Game tab, scroll to Mark Sharing, and set Stranger Marks Displayed to zero to hide interfering markers.


Restore the Vein and confirm 5/5

The game records chest collection separately from Sanctum completion. Restoring the Vein finishes the run even if you haven’t reached 5/5, so collect all the chests before proceeding; you can’t rely on returning afterward.

Once the counter shows 5/5, follow the objective marker to the last chamber and climb the stairs in the center to the glowing core. Interact with the core to restore the Vein. The completion sequence plays, the objective is cleared, and you return outside the entrance in Breezy Plains. On the world map, First Sight will show 5/5 chests obtained, and the activated portal remains usable for teleporting back through the region.

The chests reward Glimmer, Sparkling Crystal and Credits, along with rotating crafting materials, so it is worth clearing all five before you touch the core.