Animal Hospital throws a lot of spending choices at you, and most of them quietly waste your Animal Coins. Classes change one passive trait for the whole shift, while shop items and station upgrades shape how fast you clear patients and how long your Sanity holds. The smart move is to buy the few things that pay off every single run and skip the rest.
Quick answer: Surgeon is the strongest class you can buy with Animal Coins, Secret Agent is the best premium pick, and for items the Gun, Chocolate, and the 50% Faster DNA Analysis upgrade give the biggest return on what you spend.
Animal Hospital class tier list
Classes are bought once from the Class Shop in the lobby and stay unlocked on your account. You pick one before a run and can swap it between shifts. The Intern is equipped by default, and everything else costs Animal Coins or Robux.
| Tier | Classes |
|---|---|
| S | Surgeon, Secret Agent |
| A | Doctor, Psychologist |
| B | Secretary, Head Nurse, Security |
| C | Paramedic, Nurse |
| D | Intern |
| Class | Cost | Perk |
|---|---|---|
 Surgeon | 2,500 Animal Coins | Gain Sanity and a short speed boost after healing a patient |
 Secret Agent | 320 Robux | Start with a gun (20 uses) |
 Doctor | 900 Animal Coins | Recover 1 Sanity when healing patients |
 Psychologist | 500 Animal Coins | All Sanity effects are doubled (positive and negative) |
 Secretary | 120 Animal Coins | Recover 1 Sanity when checking in patients |
 Head Nurse | 80 Robux | +3 max inventory capacity |
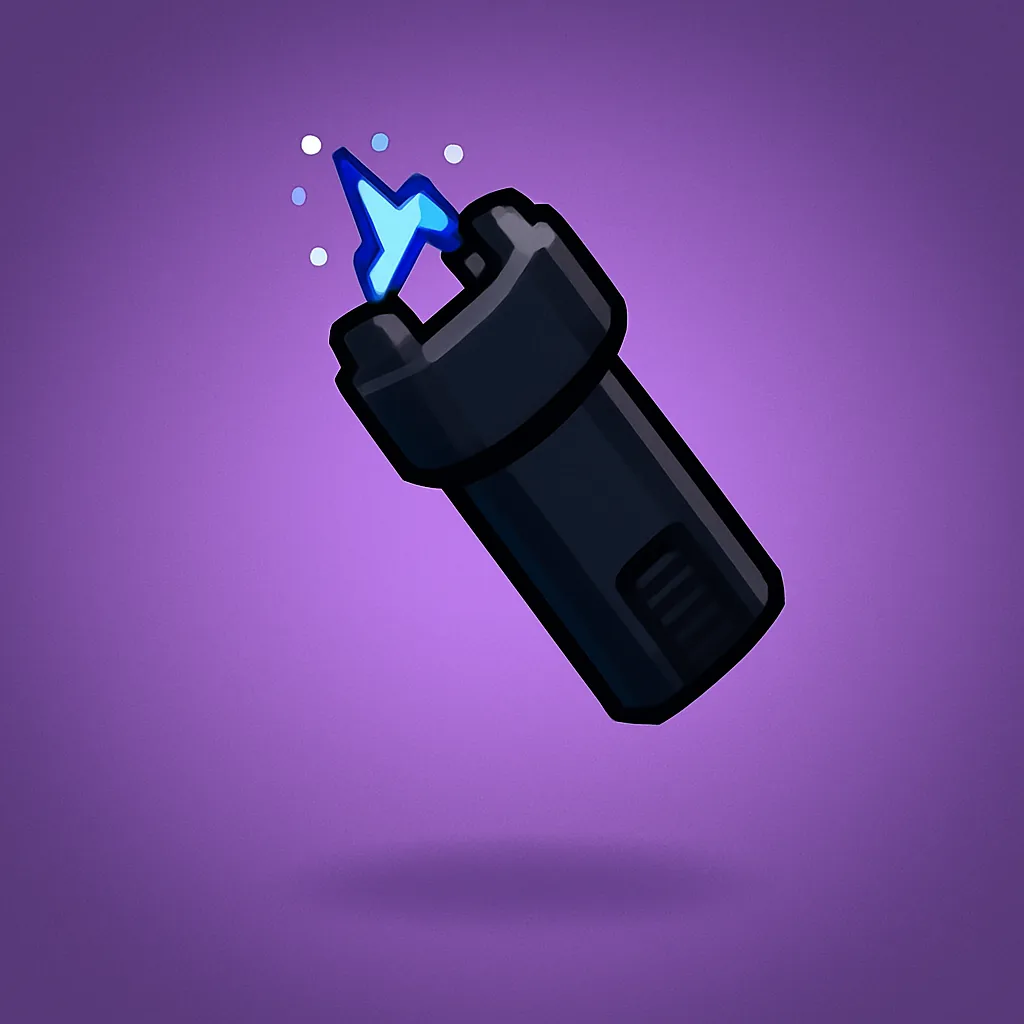
 Security | 1,250 Animal Coins | Start with X-Taser (5 uses) |
 Paramedic | 250 Animal Coins | Start with Large Speed Cola (6 uses) |
 Nurse | 10 Animal Coins | +1 max inventory capacity |
 Intern | Free | Start with +10 bonus Sanity |
Best classes to buy first
S tier: Surgeon and Secret Agent
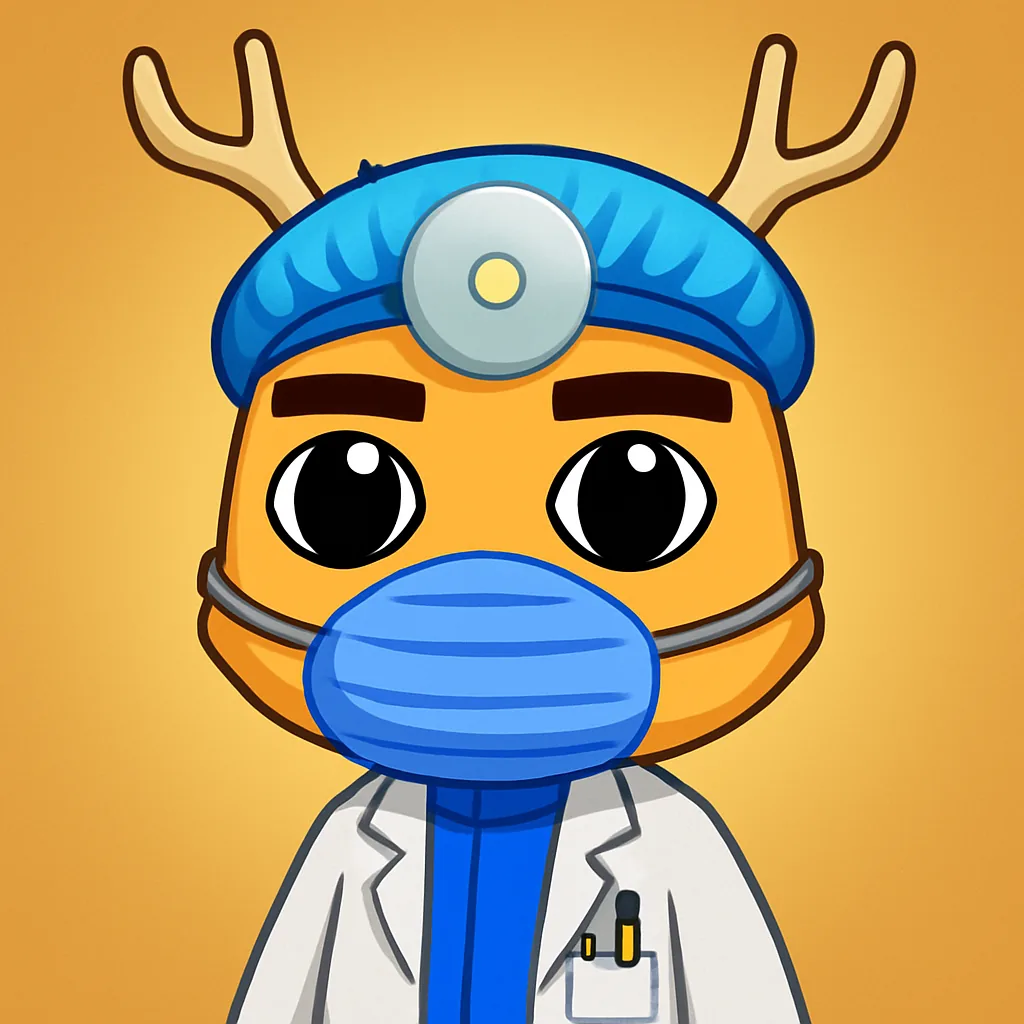
Surgeon is the best class you can earn without spending Robux. Every patient you heal hands back Sanity plus a short burst of movement speed, so the work you are already doing keeps your meter topped up and gets you between rooms faster. That combination matters most late in a shift, when patients pile up and you cannot afford to stop for the coffee machine. At 2,500 Animal Coins it is the priciest earnable class, but it is the one to save toward.
Secret Agent is the strongest pick overall if you are willing to spend Robux. Starting every shift with a gun loaded with 20 shots removes the danger from anomalies entirely, since you can deal with hostile entities from range instead of risking Sanity in melee. It is locked behind a 320 Robux price tag, which is the only reason it is not an automatic buy for everyone.
A tier: Doctor and Psychologist
Doctor is the cheaper Sanity engine to grab while you save for Surgeon. Recovering Sanity on every heal keeps you stable across a long shift without leaning on Coffee, and it shines in team runs where you are the dedicated healer parked in the patient rooms. It just lacks Surgeon’s speed boost, which is what keeps it a step below.
Psychologist doubles every Sanity change, good and bad. If you already manage your meter well, doubled Coffee and Chocolate gains can carry a run. If you do not, rituals, stress events, and jumpscares drain you twice as fast, which makes this a high-risk pick that punishes beginners.
B tier: Secretary, Head Nurse, and Security
Secretary restores 1 Sanity each time you check in a patient, which is steady and useful while the lobby is busy early in a shift. The value fades once the flow of patients slows down. At 120 Animal Coins it is a fine first investment for learning Sanity management.
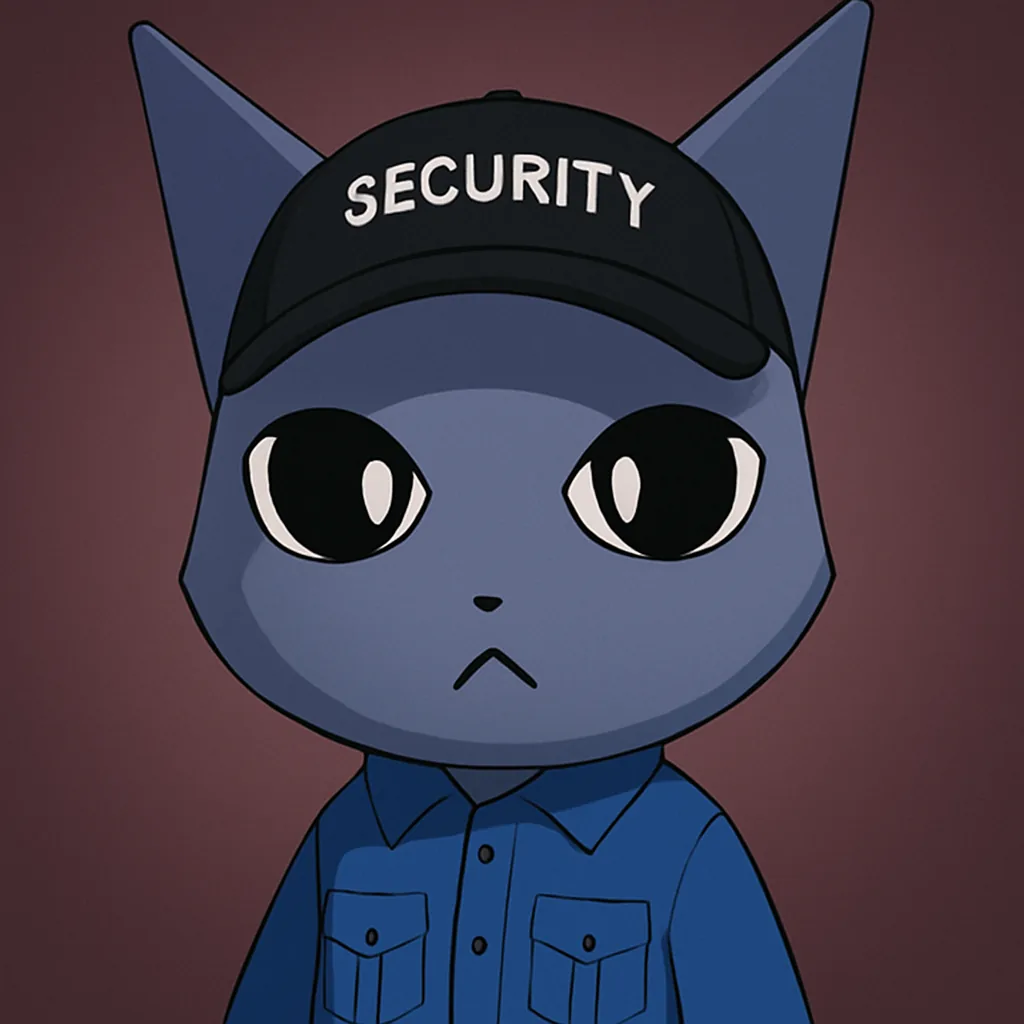
Head Nurse adds three inventory slots, cutting down on trips to the supply shelves. It is genuinely practical, but it costs Robux, so it competes with everything else you could spend real money on. Security starts you with an X-Taser carrying five charges. The tool helps in dangerous moments, yet a Taser is available for free in the Reception Office, which makes the 1,250 Animal Coin price hard to fully justify.
C and D tier: Paramedic, Nurse, and Intern
Paramedic begins each run with a Large Speed Cola good for six uses. Speed alone does not stop patients from dying or your Sanity from draining, and you can buy similar speed items from the shop anyway. Nurse adds a single inventory slot for 10 Animal Coins, which is so cheap it is almost a free upgrade but barely moves the needle. Intern, the free default, gives +10 starting Sanity that runs out quickly and offers nothing else, leaving it at the bottom.
Note: Surgeon, Doctor, and Secret Agent perks scale up as you level the class, with later levels adding longer speed boosts, bigger Sanity recovery, and more ammo. That makes the top picks even stronger the longer you play them.
Animal Hospital item tier list
Items split into tools you carry, station upgrades you buy with shift earnings, and treatment gear used on patients. The tools and upgrades below are where your spending decisions matter, since they directly change how fast you process patients and how well you survive anomalies.
| Tier | Items |
|---|---|
| S | Gun (20 shots), Chocolate, 50% Faster DNA Analysis, Patients Recover 25% Faster |
| A | Taser, Extra Check-In Window, +10% NPC Speed, 33% Faster Computers |
| B | Coffee, Revive 1 Dead Player, +12% NPC Speed, Visitors Check In Faster |
| C | Shock People (3 uses), +1 Carry Capacity, Give Medicine From Inventory |
| D | Fire Extinguisher, Run Fast Cola, Speed Boost (30s), Shock People (1 use), 1–3 Animal Coins |
S tier items
| Item | Type | Cost | Description |
|---|---|---|---|
 Gun (20 shots) | Tool | $410 / 99 Robux | Ranged weapon with 20 shots, stronger than the Taser |
 Chocolate | Tool | $120 / 29 Robux | Restores 20 Sanity per bite, 3 bites total (60% max) |
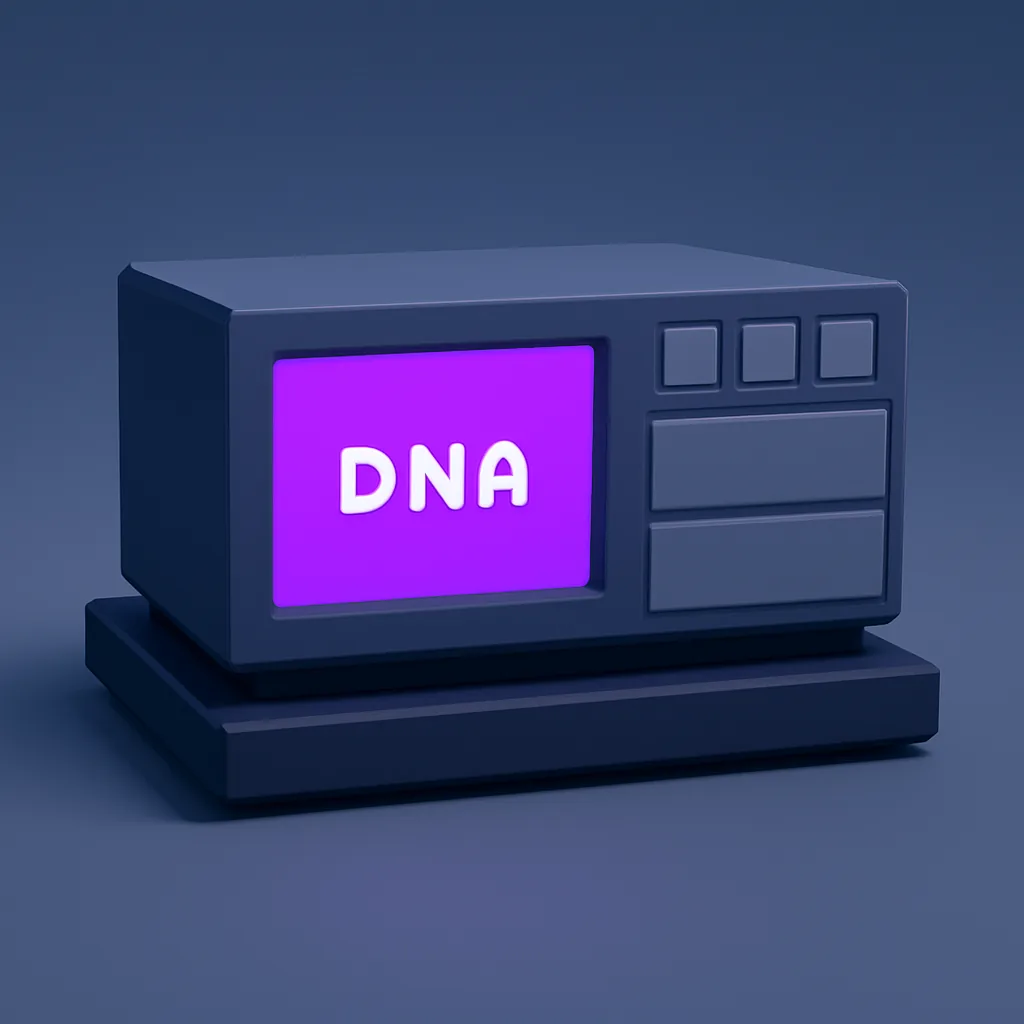 50% Faster DNA Analysis | Upgrade | $110 | Cuts DNA processing from 9 seconds to 4.5 seconds, stackable |
 Patients Recover 25% Faster | Upgrade | $115 | Reduces patient recovery time from around 35 seconds to roughly 26 seconds |
The Gun is the best answer to anomalies because it works from range and 20 shots cover a full shift. Chocolate restores four times more Sanity per use than Coffee, making it the most efficient Sanity tool in the shop. The DNA Analysis upgrade is the highest-impact purchase you can make, since DNA processing is one of the biggest time sinks each shift and halving it speeds up your entire patient pipeline. Faster patient recovery clears beds quicker so more patients can move through.
A tier items
| Item | Type | Cost | Description |
|---|---|---|---|
 Taser | Tool | Free | Instantly incapacitates hostile entities, found in Reception Office |
 Extra Check-In Window | Upgrade | $190–200 | Lets two patients check in simultaneously |
 +10% NPC Speed | Upgrade | $150 | Patients move faster, indicated by blue boots |
 33% Faster Computers | Upgrade | $110 | Speeds up patient room computers from 2 seconds to about 1.3 seconds |
The free Taser in the Reception Office is enough for most shifts, but the multi-use shop version is worth it once anomaly activity ramps up. The Extra Check-In Window clears the most common backlog in a busy shift by letting two patients register at once. NPC Speed cuts the time patients spend walking to their rooms, and faster room computers add up across an entire shift.
B tier items
| Item | Type | Cost | Description |
|---|---|---|---|
 Coffee | Tool | Free / $55 | Restores 5 Sanity per sip, 3 sips total (15% max) |
 Revive 1 Dead Player | Tool | $750 | Brings back a teammate who hit 0 Sanity |
| +12% NPC Speed | Upgrade | $250 | Further speed boost for patients, requires +10% first |
 Visitors Check In Faster | Upgrade | $20 | Removes hesitation delay when patients reach the check-in window |
Coffee is your free baseline Sanity tool. The recovery per sip is modest, but it is always available from the coffee machine. Revive only matters in multiplayer, where it can save a run when a teammate hits zero Sanity. Visitors Check In Faster is one of the best-value buys in the whole shop at just $20, since it removes the annoying hesitation delay at the window.
C tier items
| Item | Type | Cost | Description |
|---|---|---|---|
 Shock People (3 uses) | Tool | $250 | Three-use Taser |
 +1 Carry Capacity | Upgrade | $100 | Adds one extra inventory slot |
 Give Medicine From Inventory | Upgrade | $450 | Automatically gives any medicine in your inventory to a patient |
D tier items
| Item | Type | Cost | Description |
|---|---|---|---|
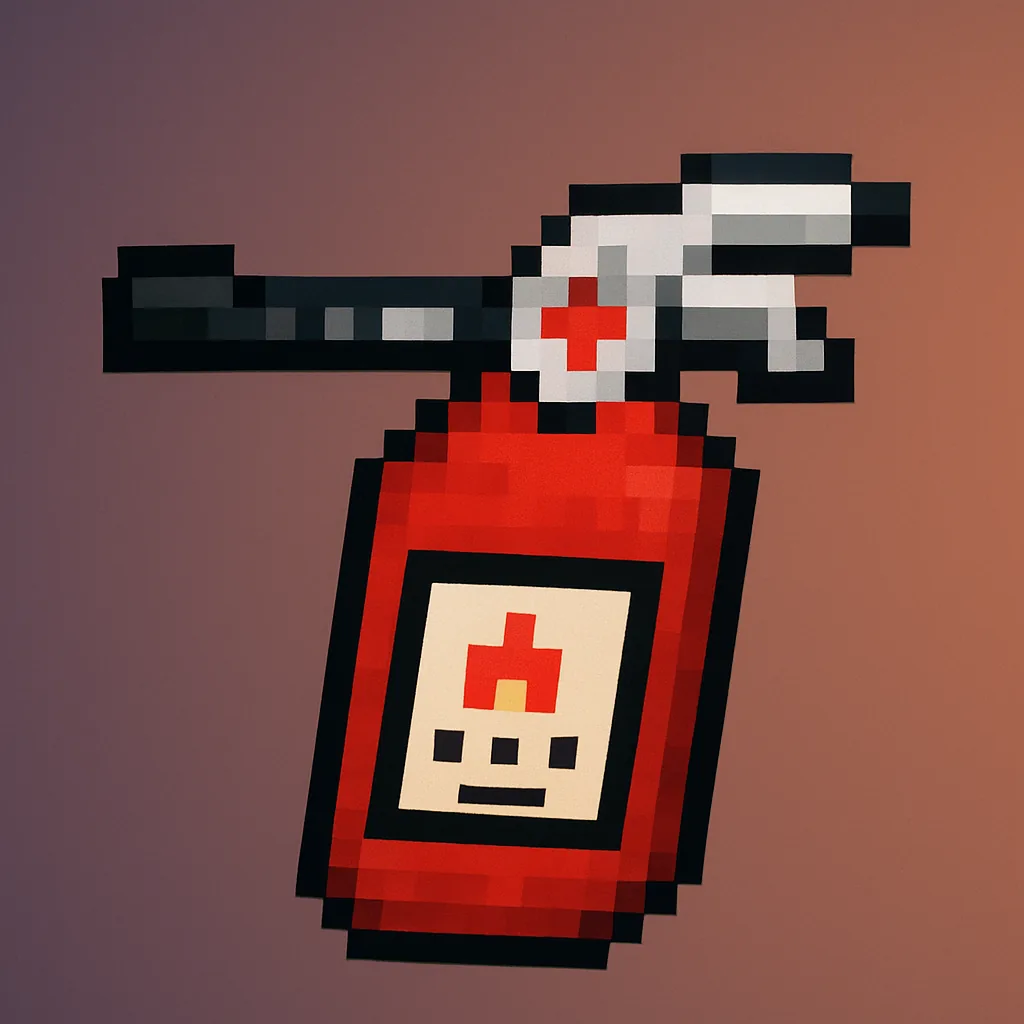 Fire Extinguisher | Tool | Free | Puts out fires, recharges at its spawn point |
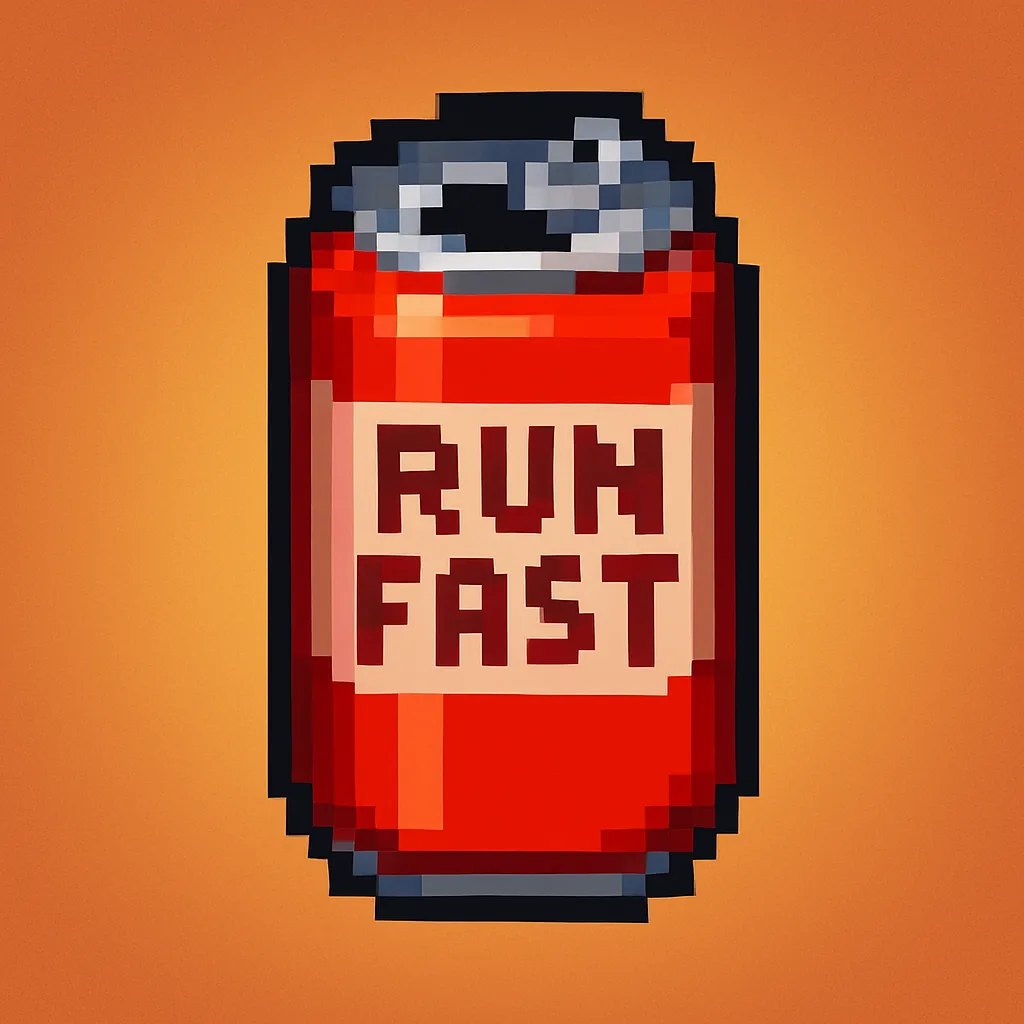 Run Fast Cola | Tool | $19 Robux / in-game cash | Temporary movement speed boost |
| Speed Boost (30s) | Tool | $75 | 30 second movement speed boost |
| Shock People (1 use) | Tool | $150 | Single-use Taser |
 1–3 Animal Coins | Currency | $100 | Small bonus of Animal Coins |
The Fire Extinguisher is free and recharges at its spawn point, so paying to put one in your inventory rarely pays off. The single-use Taser and short speed colas burn cash for one-off effects, and the 1–3 Animal Coins purchase returns far too little to ever pick over a real upgrade.
Spending priority for new players
Treat the tier lists as a shopping order. Start free with Intern, then grind the early shifts and put your first big coin payout toward Surgeon. After that, the DNA Analysis and patient recovery upgrades do the most to speed up every shift, with Chocolate covering Sanity emergencies. Combat tools like the Gun and shop Taser are insurance for when anomalies slip past your check-in, not a replacement for spotting them at the window. If you are spending Robux, Secret Agent and Head Nurse smooth out the grind, but neither is required to clear later shifts.