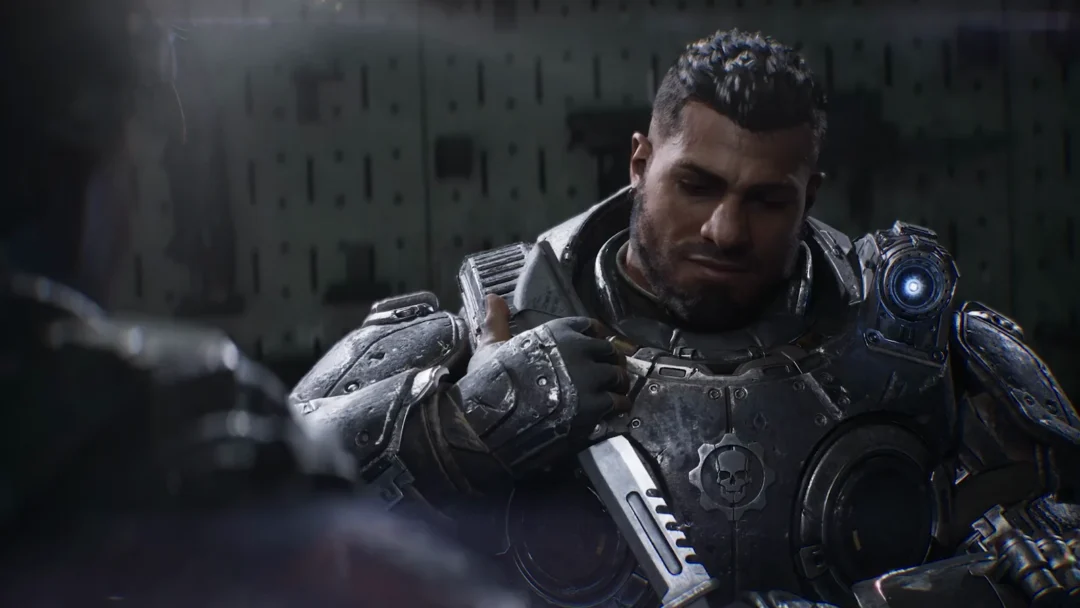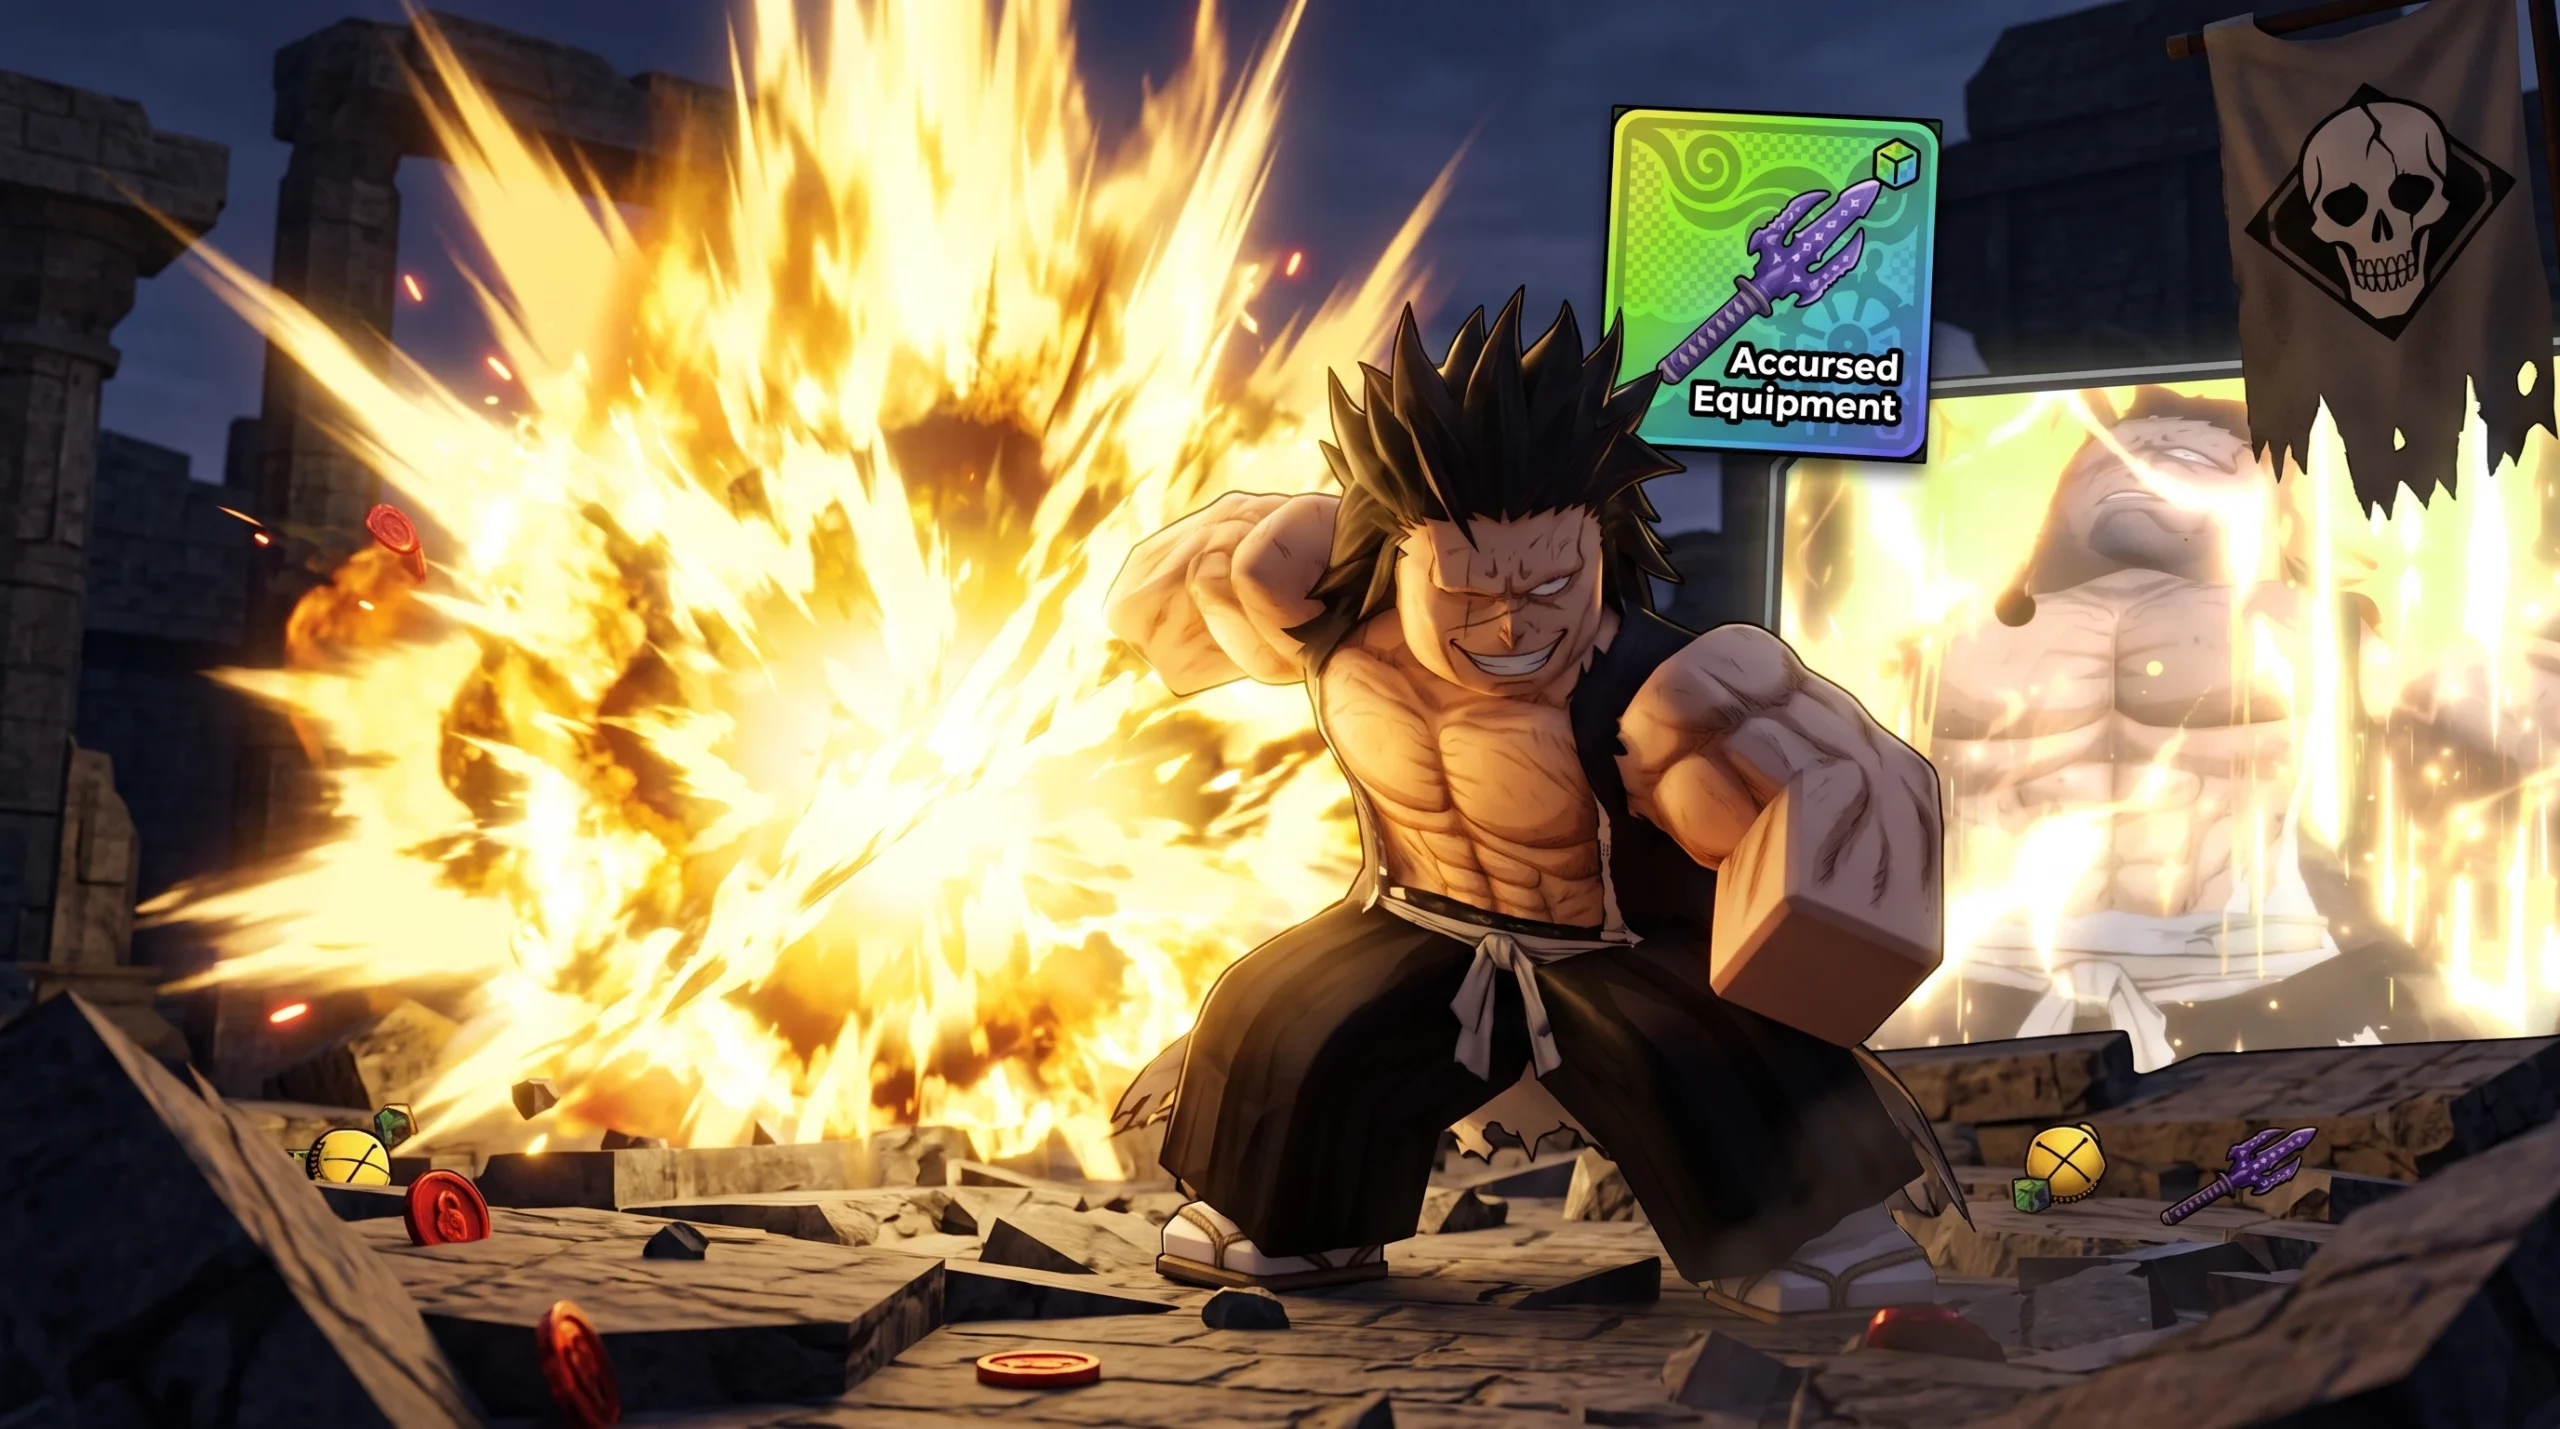
The 8th Sword (Berserk), better known as Kenpachi, is the strongest single-target DPS unit in Anime Expeditions right now. On paper he already hits like a truck, but the real jump comes from three equipment slots and a handful of clean stat rolls. Get those right and the right raid buff, and his damage climbs past six figures per hit.
Quick answer: Slot Hair Bells, Shinigami Sword, and a rerolled Accursed Equipment (SPA reduction) on the 8th Sword, roll Damage and Crit Chance to mythic tiers with Stat Lock, then deploy him in Spirit City Act 3 (Hard) with The Hero buffing and enemies packed in range. The Shinigami Sword passive and the 2.00x raid buff carry his hit into the 100K+ range.
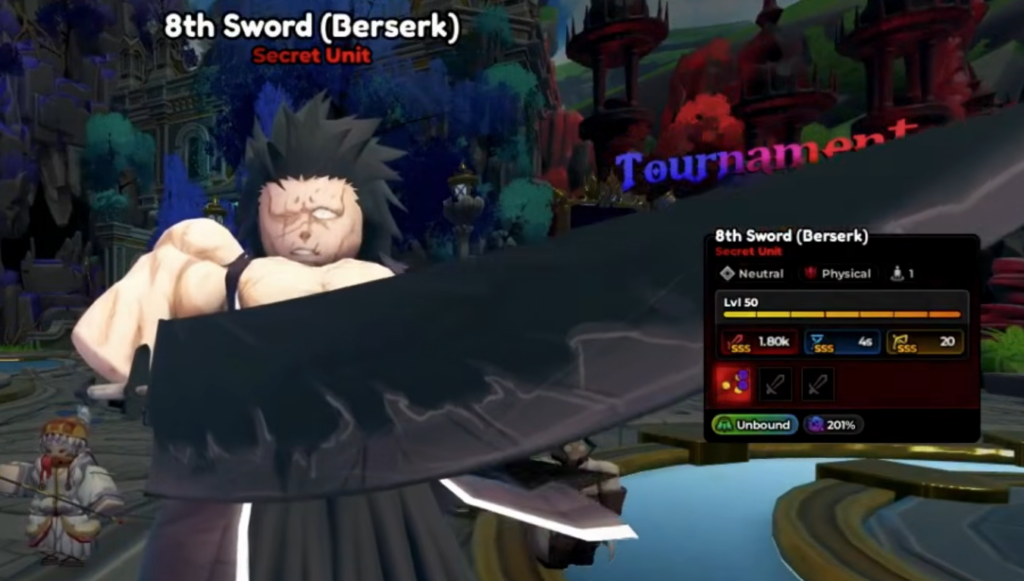
8th Sword (Berserk) base stats and passives
At Upgrade 10/10 with no equipment and an unbound trait, the 8th Sword lands at these numbers. Everything in his kit scales off his current damage, which is why raw Damage rolls matter more than anything else on him.
| Stat | Value (maxed, default) |
|---|---|
| DMG | 37,956 (SSS) |
| SPA | 7s (SSS) |
| RNG | 26.8 (S) |
| Critical Chance | 1.8% |
| Critical Damage | 100% |
His five passives all feed off the same damage stat, so buffing that number amplifies every effect at once.
| Passive | Effect |
|---|---|
| Shinigami Sword | +0.61% Damage per enemy in range, up to 15% |
| Demonic Presence | Enemies within 50% of his range take 15% of his current damage every second |
| Savage Rebound | When stunned, cleanses the stun and follows up (Thunderclap Cut) for 125% of current damage; all follow-ups apply Dismembered |
| Dismemberer’s Rush | When an enemy drops below 10% HP, follows up (Unrestrained Rampage) for 100% of current damage |
| The Nameless Demon | After 25 Takedowns, enters Berserk for 15 seconds: +20% DMG, -10% SPA, Dismembered on every attack |
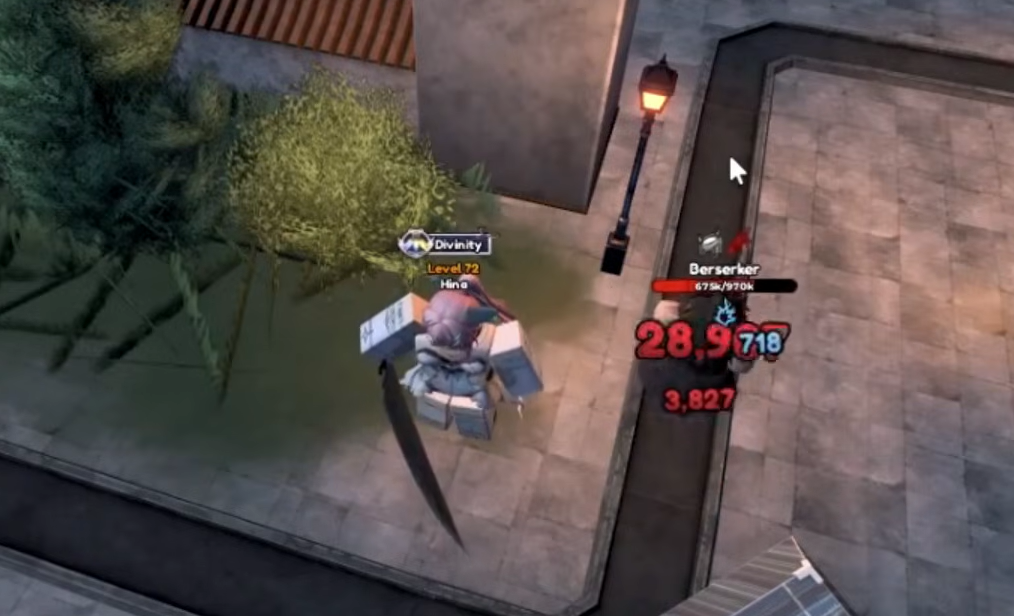
Best equipment for the 8th Sword
Because his damage feeds his passives, you want a mix of raw Damage, SPA reduction, and enemy-count scaling. Two setups work. The Three Swords from Hell version is the strongest ceiling if you have the piece; the Accursed Equipment version is easy to craft and delivers most of the value.
| Slot | Equipment | What it does |
|---|---|---|
| Unit slot | Hair Bells | Adds Damage and Range; carries Demonic Presence and Savage Rebound passives |
| Standard | Shinigami Sword | Crit Chance plus damage that grows with enemies in range (up to 15%) |
| Standard | Three Swords from Hell (or Accursed Equipment) | Up to 15% general damage; Accursed Equipment instead gives up to 10% SPA reduction |
Warrior’s Axe (+5.05% Physical DMG, -1.8% SPA) is a fine placeholder, but you outgrow it fast. Swap it out once you can craft or roll a better SPA or general-damage piece.
Crafting Accursed Equipment at the Armory
Accursed Equipment is a standard piece that rolls between -1% and -10% SPA. Faster attacks mean more procs from every follow-up passive, so it is worth crafting even before you high-roll it.
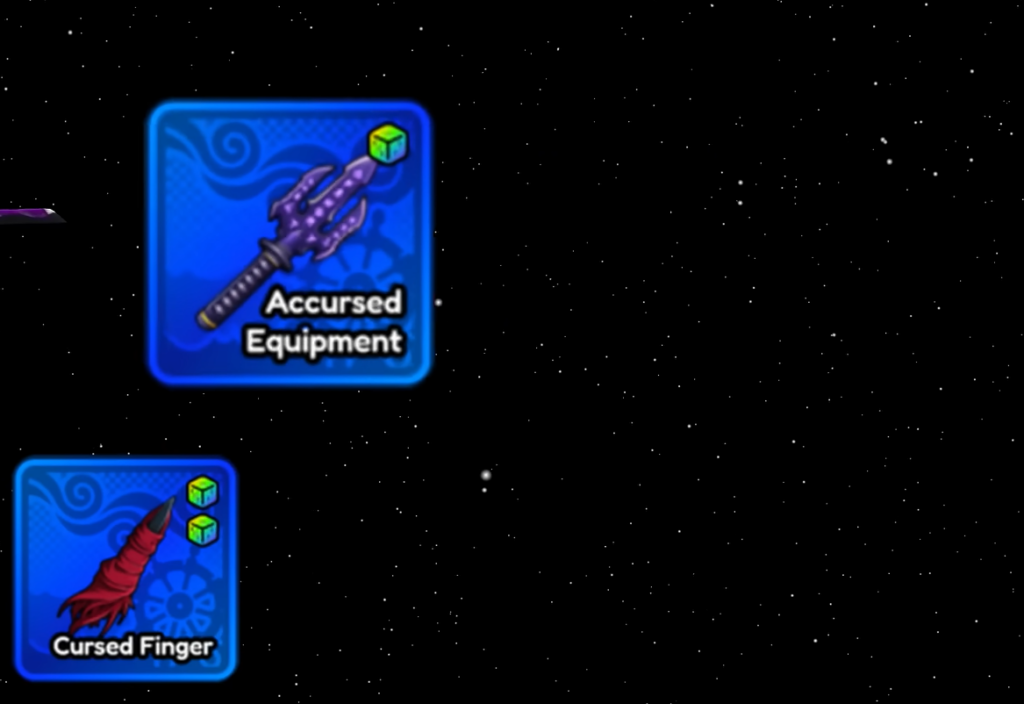
Rerolling and locking the right stats
Rerolls happen back at the Armory under Reroll Equipment. Use a Stat Lock item to freeze a good roll so you only gamble the other stat. Prioritize Damage on Hair Bells, Critical Chance on Shinigami Sword, and the deepest SPA reduction on Accursed Equipment.
After this pass, the maxed 8th Sword sits at 40,713 DMG, 6.4s SPA, 27.5 RNG, and 9.6% Critical Chance in the showcase, up across the board from his base numbers.
Hitting 100K damage in a raid
The showcase number is only the starting point. Real damage comes from stacking the raid buff, a support buffer, and the Shinigami Sword passive filling up as enemies crowd his range.
You know it worked when the damage number on his hit crosses 100,000 and the raid clears at Wave 15. A successful Spirit City Act 3 (Hard) clear pays out 125 Gems, 20 Spirit Tokens, and additional items.
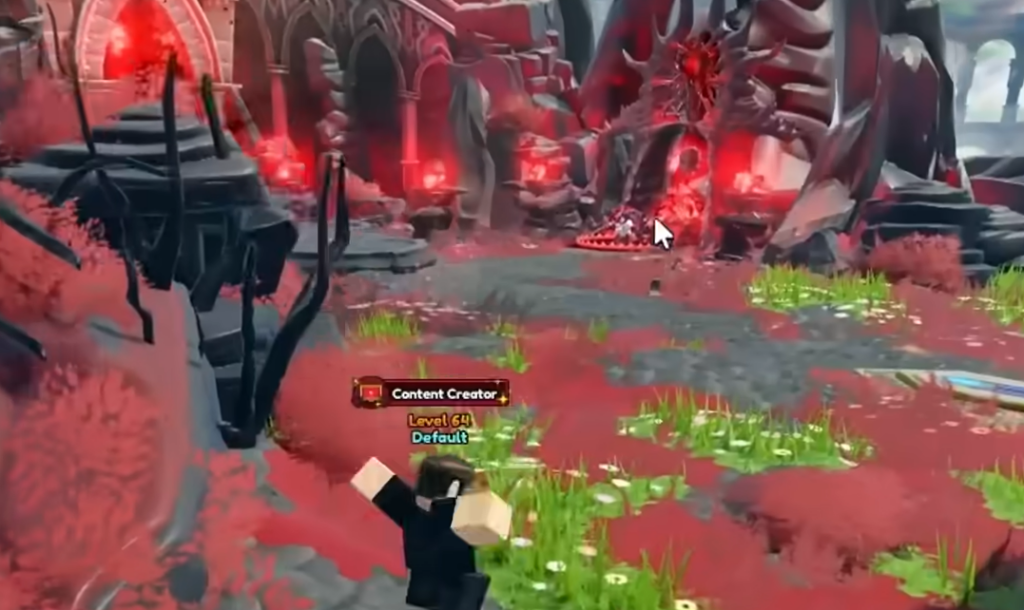
Why the build hits so hard
The 100K figure only lands when three multipliers stack at the same time. Miss one and the number drops fast.
- The raid’s 2.00x damage buff doubles his base hit before any passives apply.
- The Hero’s buff adds on top of that, which is what lifts him near 99,746.
- Shinigami Sword adds up to 15% more damage, but only once enough enemies stand in his range, so his damage climbs as waves get denser.
If your damage comes up short, the usual causes are placing him too far from the enemy path (Shinigami Sword never fills), skipping the support buffer, or maxing him too early and running out of Yen before the final waves. Line those three up and the 8th Sword comfortably clears hard content as your main carry.