Aphelion Pulse Machines: How to Disable All Three in Chapter 11
Walkthrough for shutting down every Newstar pulse machine and triggering Aphelion's ending sequence.
Walkthrough for shutting down every Newstar pulse machine and triggering Aphelion’s ending sequence.
by Shivam Malani
Image credit: DON’T NOD
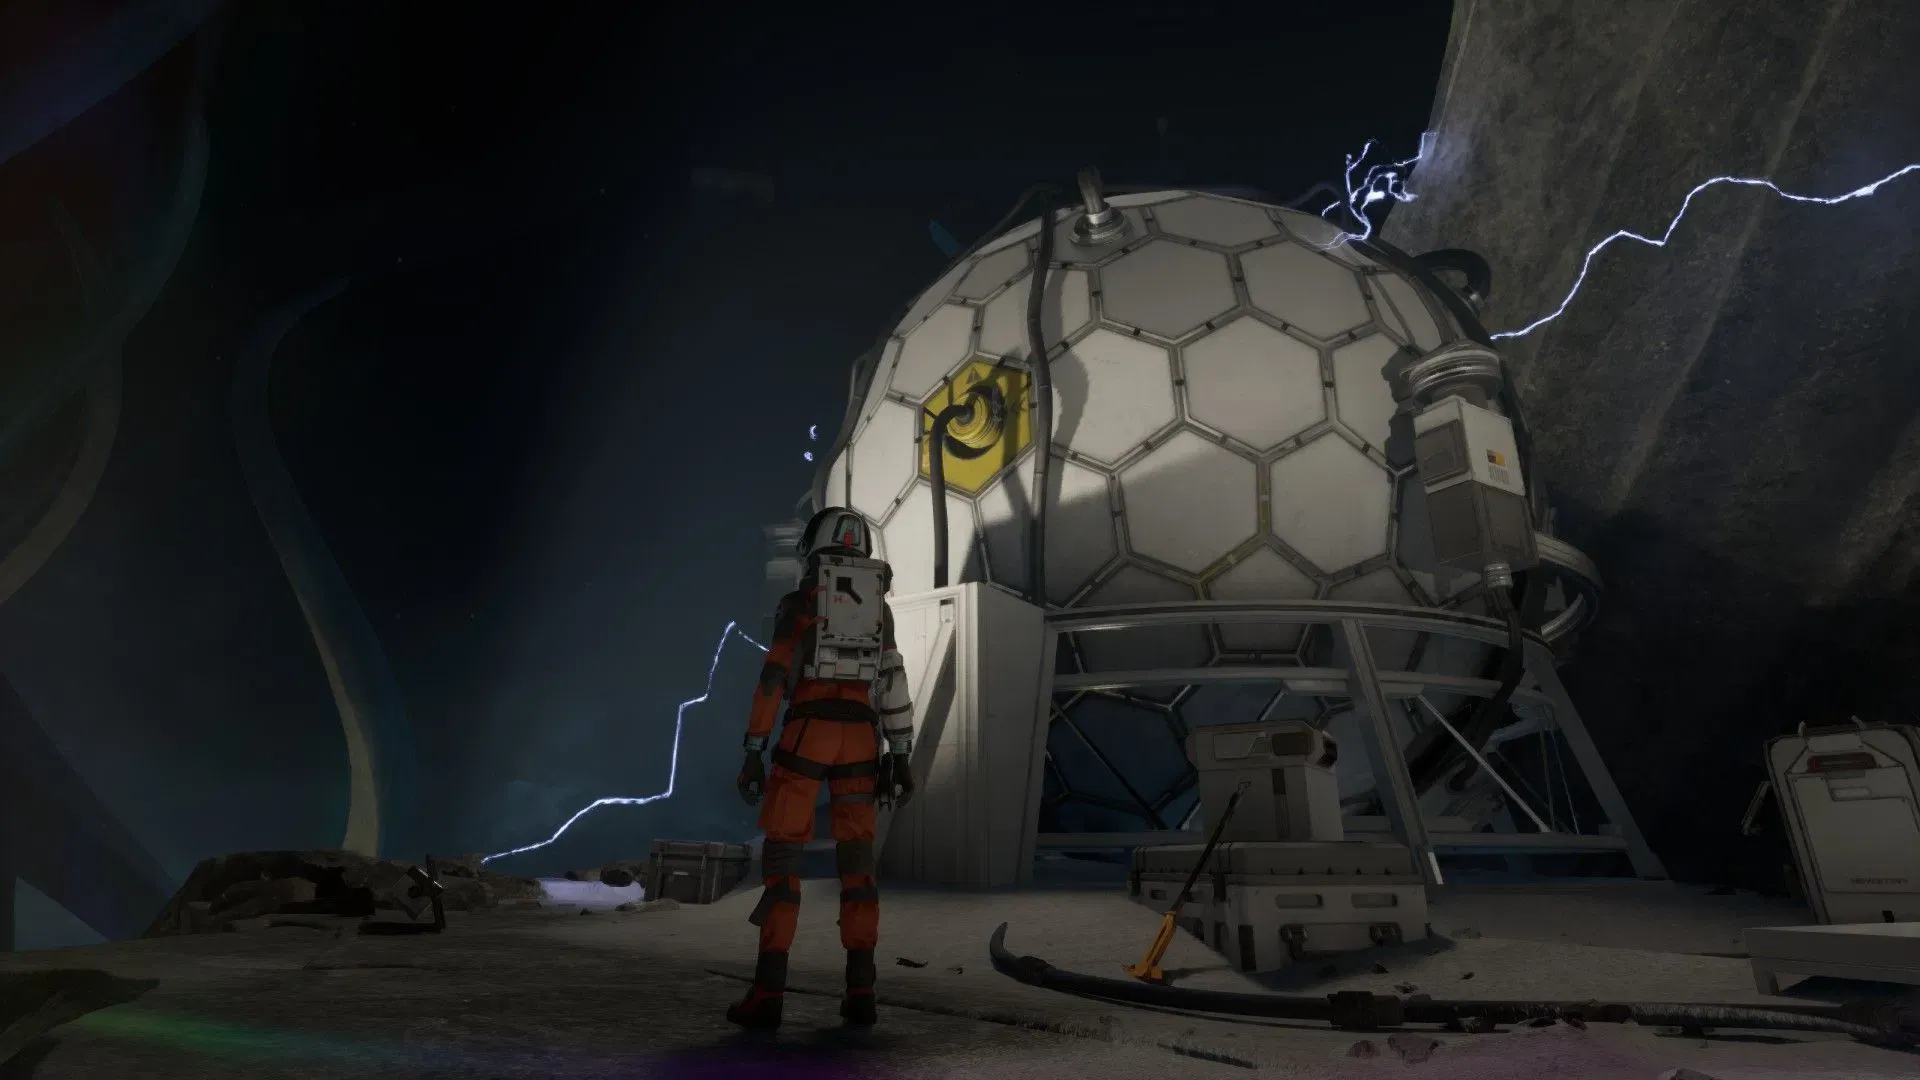
The pulse machines are the final obstacle in Aphelion, blocking Ariane from restoring Persephone during the eleventh chapter. Three of them surround a central source point, each protected by terrain hazards, ice barriers, and the nemesis creature that hunts you between segments. Disabling all three triggers the closing cutscene.
⚡
Quick answer: From the source, take the right-hand path for machine one, the downward-curving path for machine two, and the rear path (behind the source) for machine three. Use the EM scanner to build ice bridges, distract the nemesis with red rocks, and interact with each dome to shut it down.
Before you start
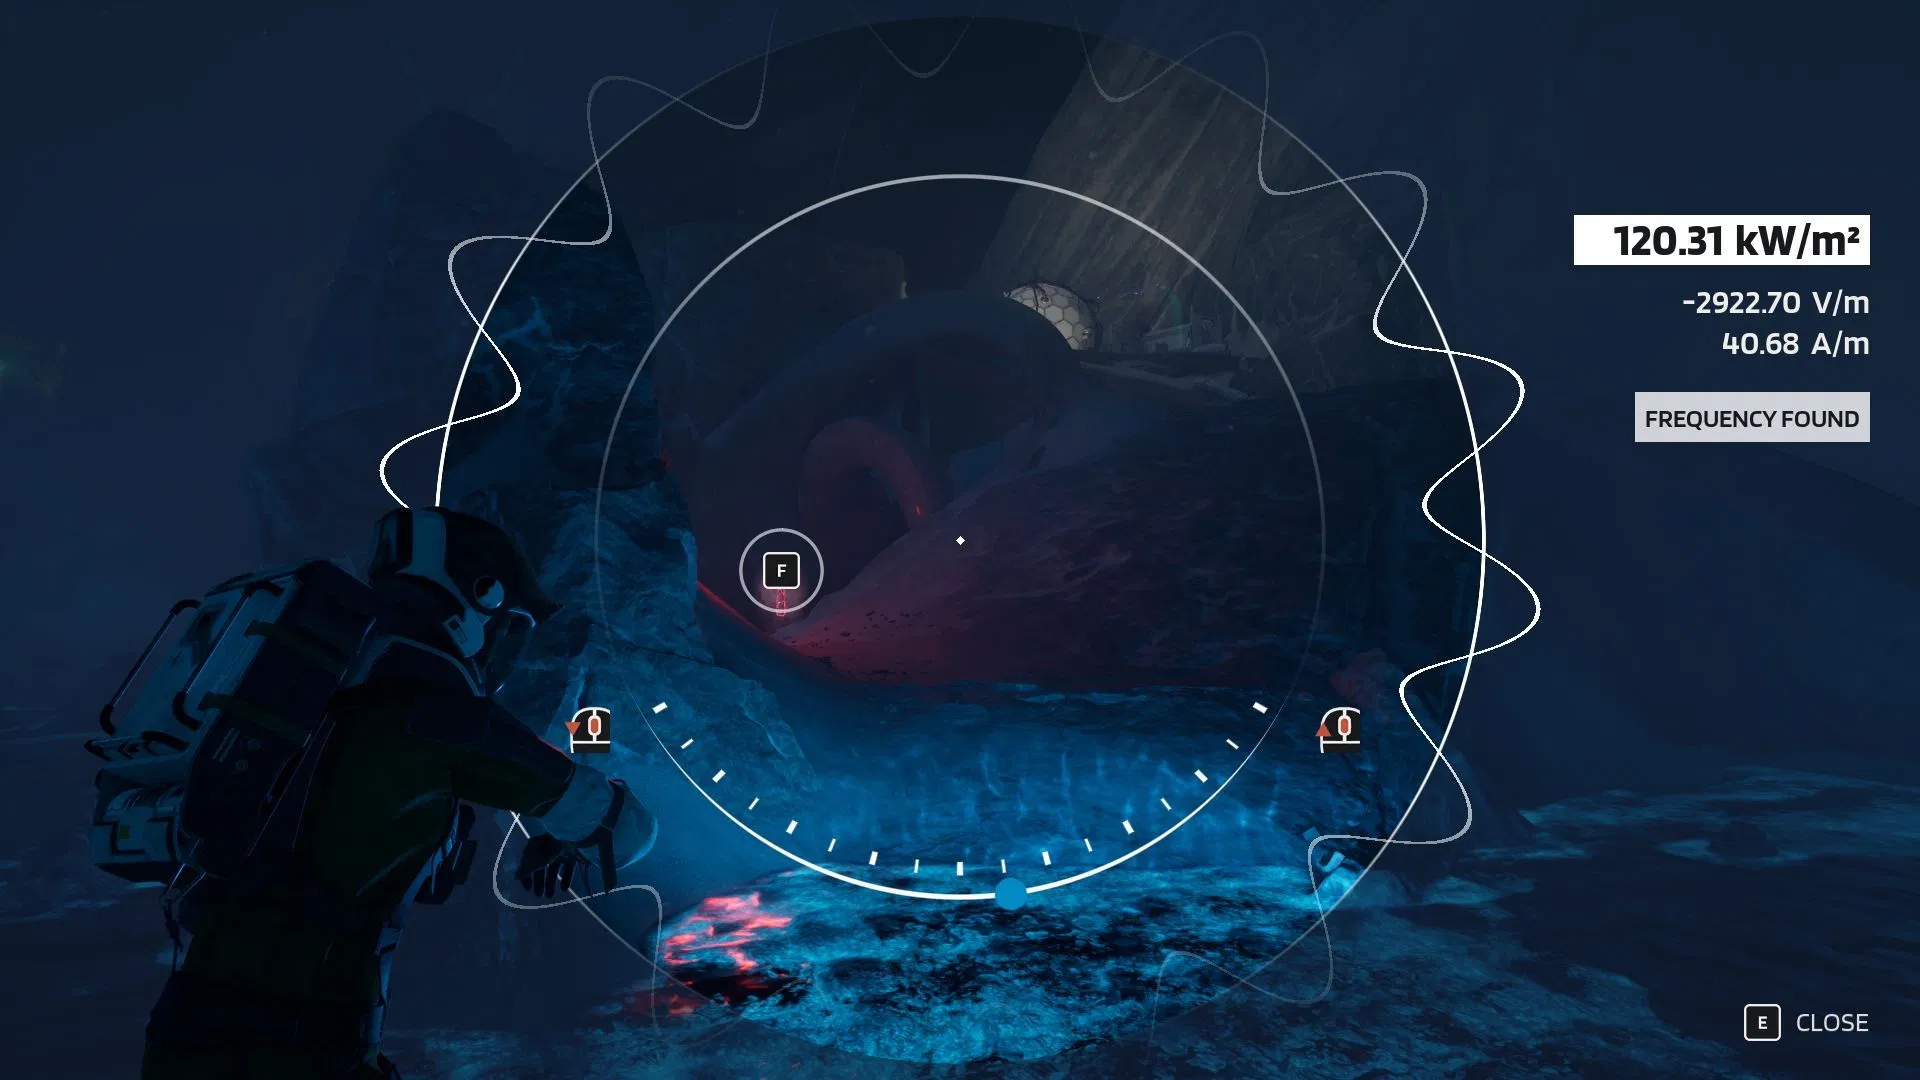
You’ll need the EM scanner, which Ariane already carries by this point in the campaign. Two interactions matter throughout the area: tuning the scanner’s frequency on ice formations to create paths, and pinging red rocks to pull the nemesis creature away from your route. Stealth is mandatory in most segments. The creature kills in one hit if it spots you.
The hub for all three routes is the central source. After each machine goes down, you return here to start the next path.
Continue forward to the dome and interact with it. The shield drops and the first machine powers down.
Second pulse machine: Downward path with water crossings
This route is the longest of the three because the nemesis patrols every water crossing. You’ll cycle through the same pattern repeatedly: ping a red rock, sprint across shallow water, reach dry ground, repeat.
Use the EM scanner to locate the first red rock and interact with it. The nemesis will move toward the sound. Cross the water to your right immediately.
Turn left, locate the final red rock on this route, and trigger it. Sprint across the last water crossing and slip past the creature toward the uphill section on the right. Speed matters here, the distraction window is short.
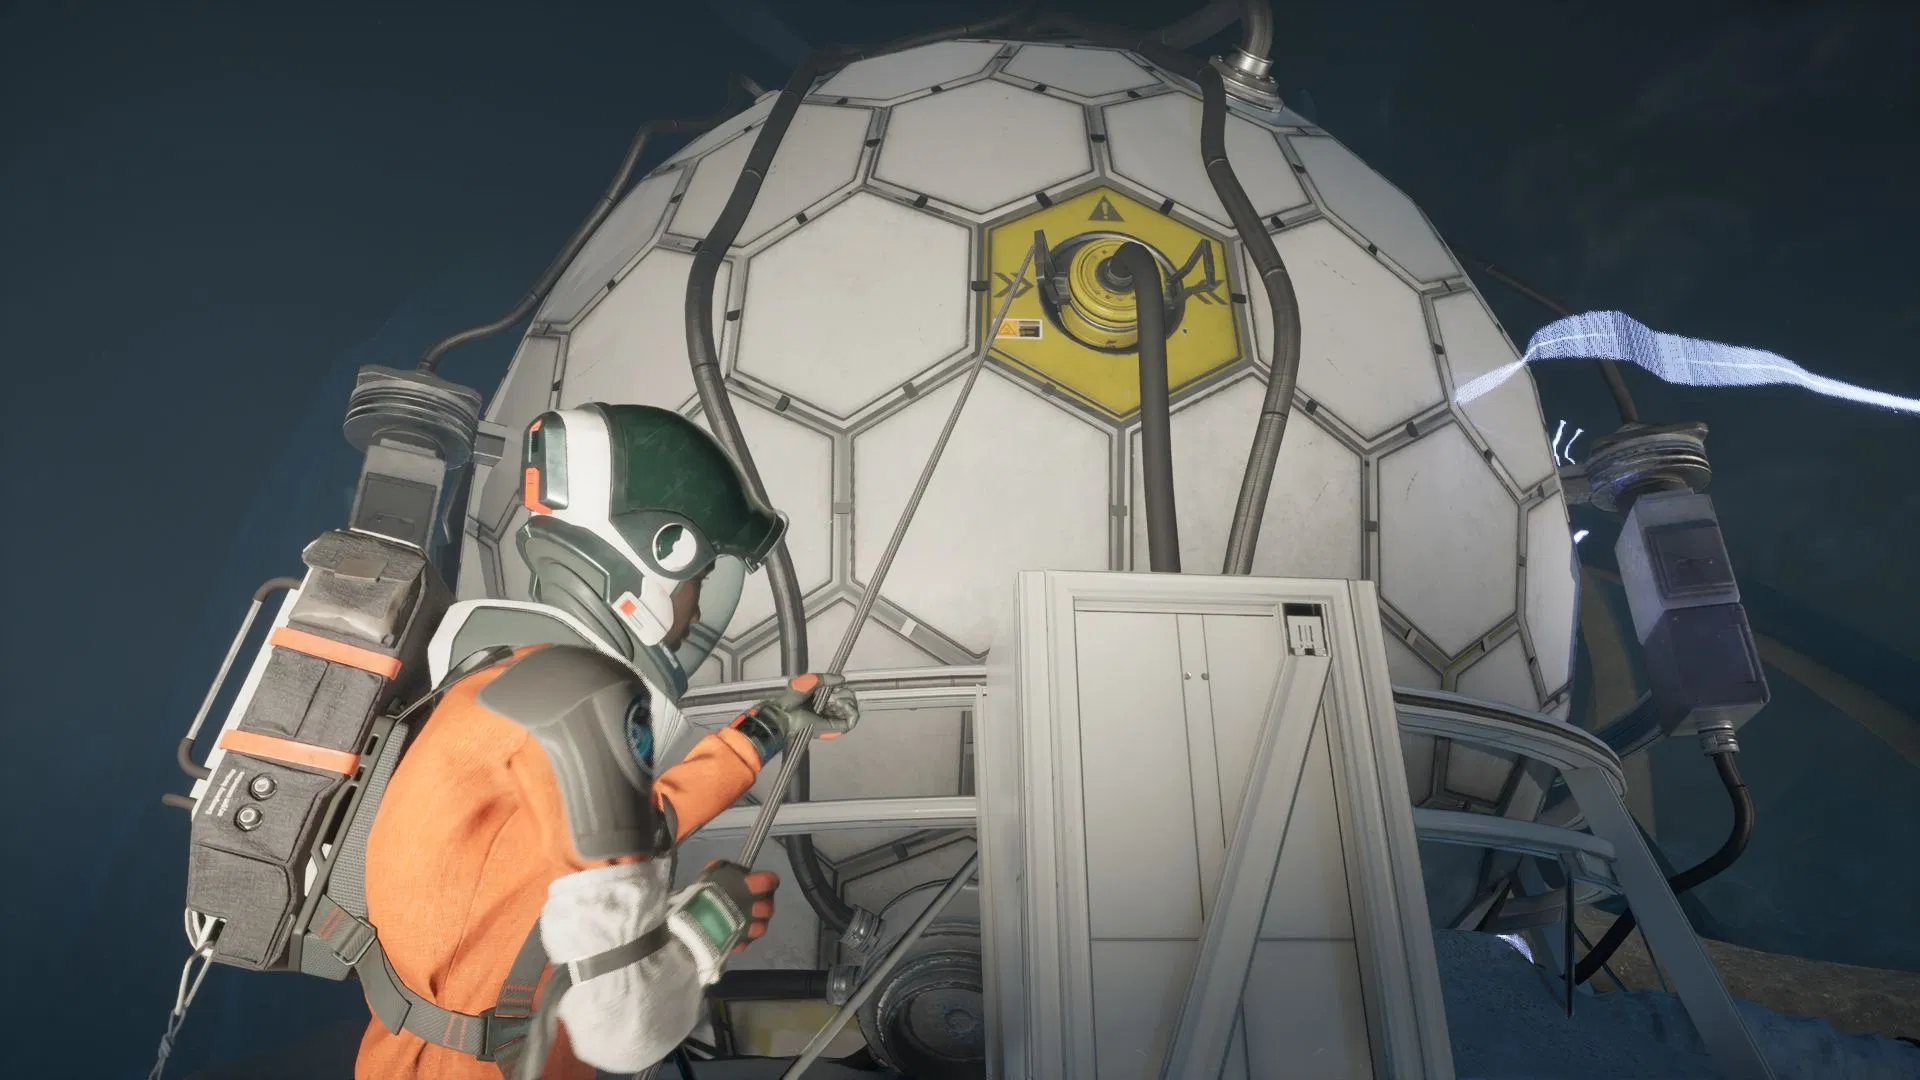
Walk up to the second dome and interact to disable it.
Image credit: DON’T NOD
⚠️
If the nemesis turns toward you while you’re in the water, stop and wait for it to recommit to the rock. Moving while it’s looking guarantees a kill.
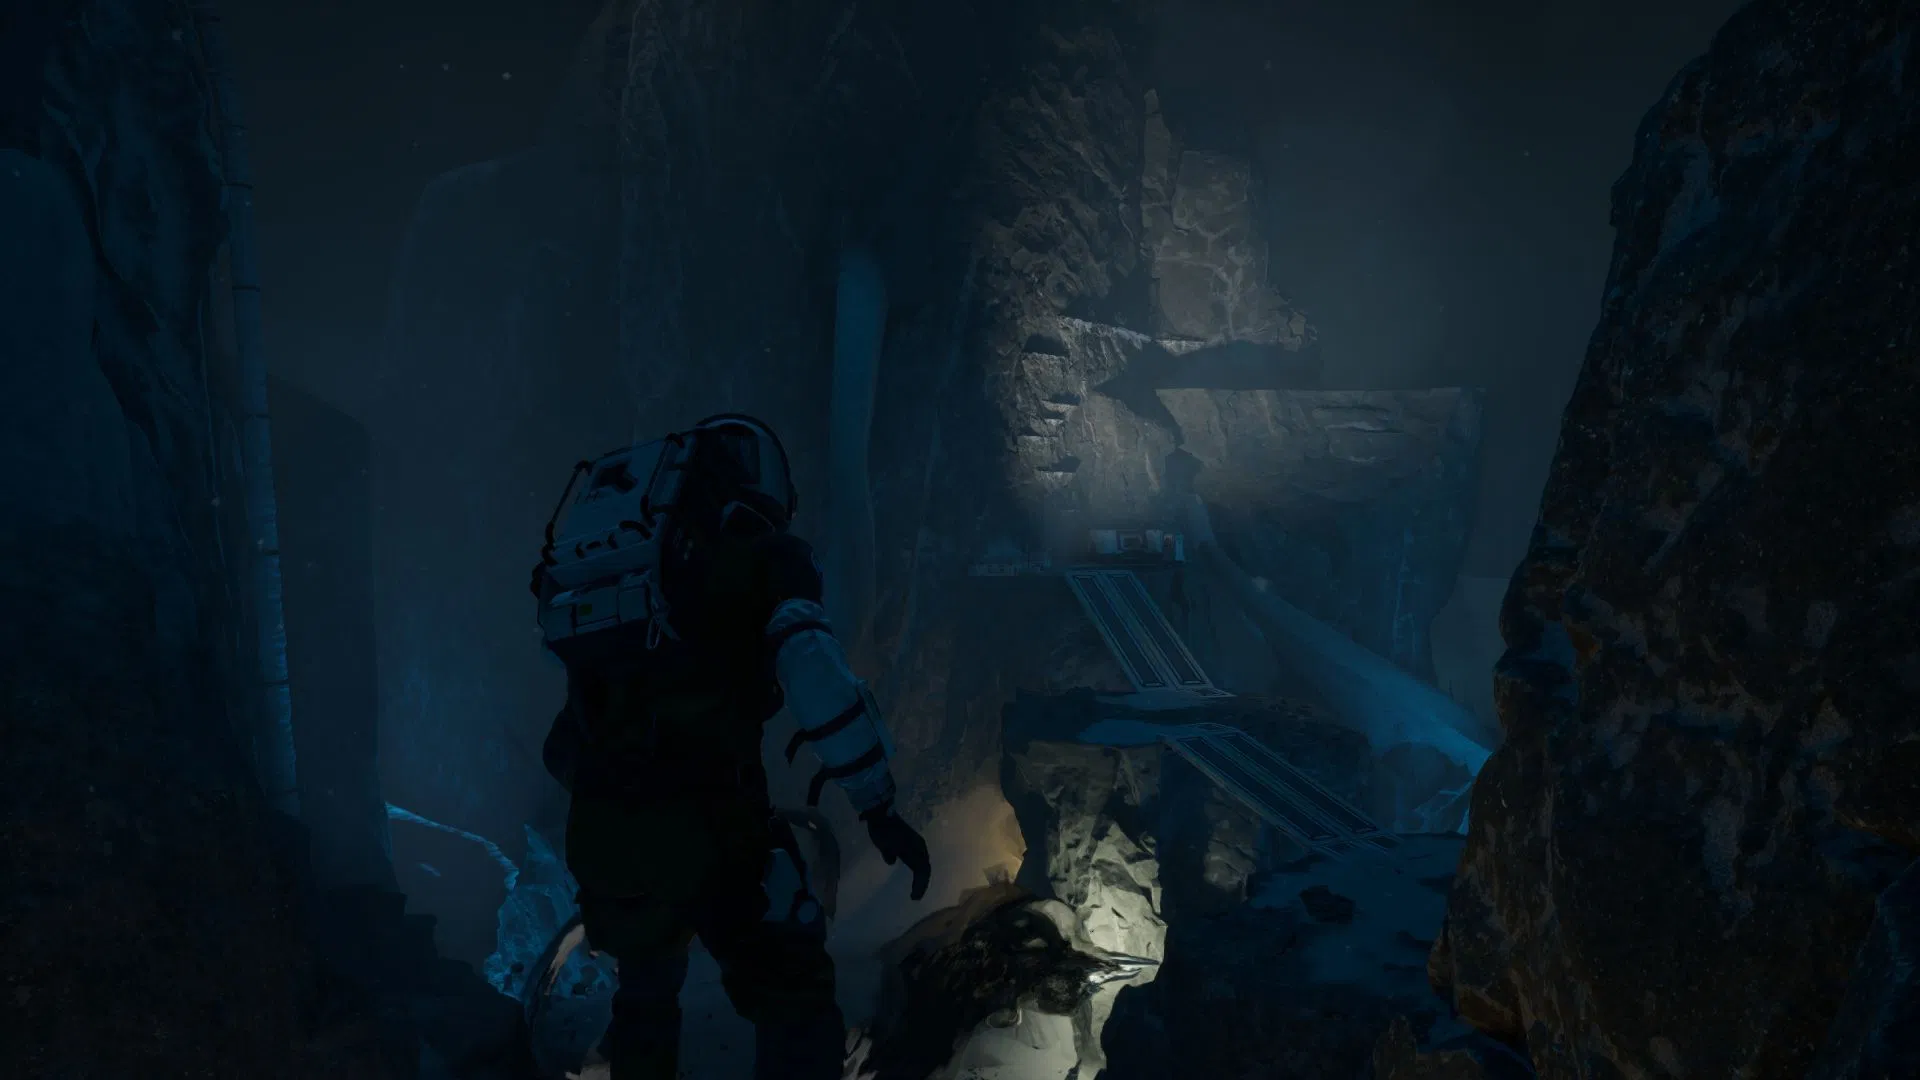
Third pulse machine: Rear path with ice particle gauntlet
The final machine combines stealth, climbing, and a timed sprint through deadly ice particles. Checkpoints are forgiving here, so expect a few attempts on the jumping sections.
Cross the bridge to reach the gauntlet section. Stop using stealth here. Hold sprint and steer with your movement input to weave around the falling ice particles while jumping the gaps.
Climb the ledge on the far side and crouch past the last nemesis patrol to reach the final dome. Interact with it to disable the third machine.
How you know it worked
Disabling the third dome immediately transitions into the ending cutscene. There’s no return trip and no additional objective. If the cutscene doesn’t trigger after the interaction, you missed an earlier dome, the prompt only completes the chapter when all three machines are down.
Route summary
Machine
Direction from source
Key obstacles
First
Right path, downward slope, ledge jump
Ice bridge, nemesis patrol
Second
Downward curve, then right
Multiple water crossings, red rock distractions, ice frequency puzzle
Third
Behind the source, through ice barrier
Stealth ramp, climbing wall, ice particle sprint, final stealth section
Once the ending sequence plays out, the chapter resolves and the credits follow. The pulse machines are the last interactive objective in Aphelion, so there’s nothing further to clean up before the conclusion.