The Emperor Gateway Conduit is the legendary key that opens the sealed hatch at the base of the Fallen Emperor on Pendola Pass in ARC Raiders. You can’t buy it or find it finished in the world. Instead you learn its blueprint, gather three different couplers, and craft the key yourself. Every part of that recipe comes from the same place.
Quick answer: Queue Pendola Pass while the Redirection condition is active, search a lit Damaged Emperor Relay for an Emperor Beacon, deploy it, then loot the large payload that drops for the blueprint and couplers.
What you need before you start
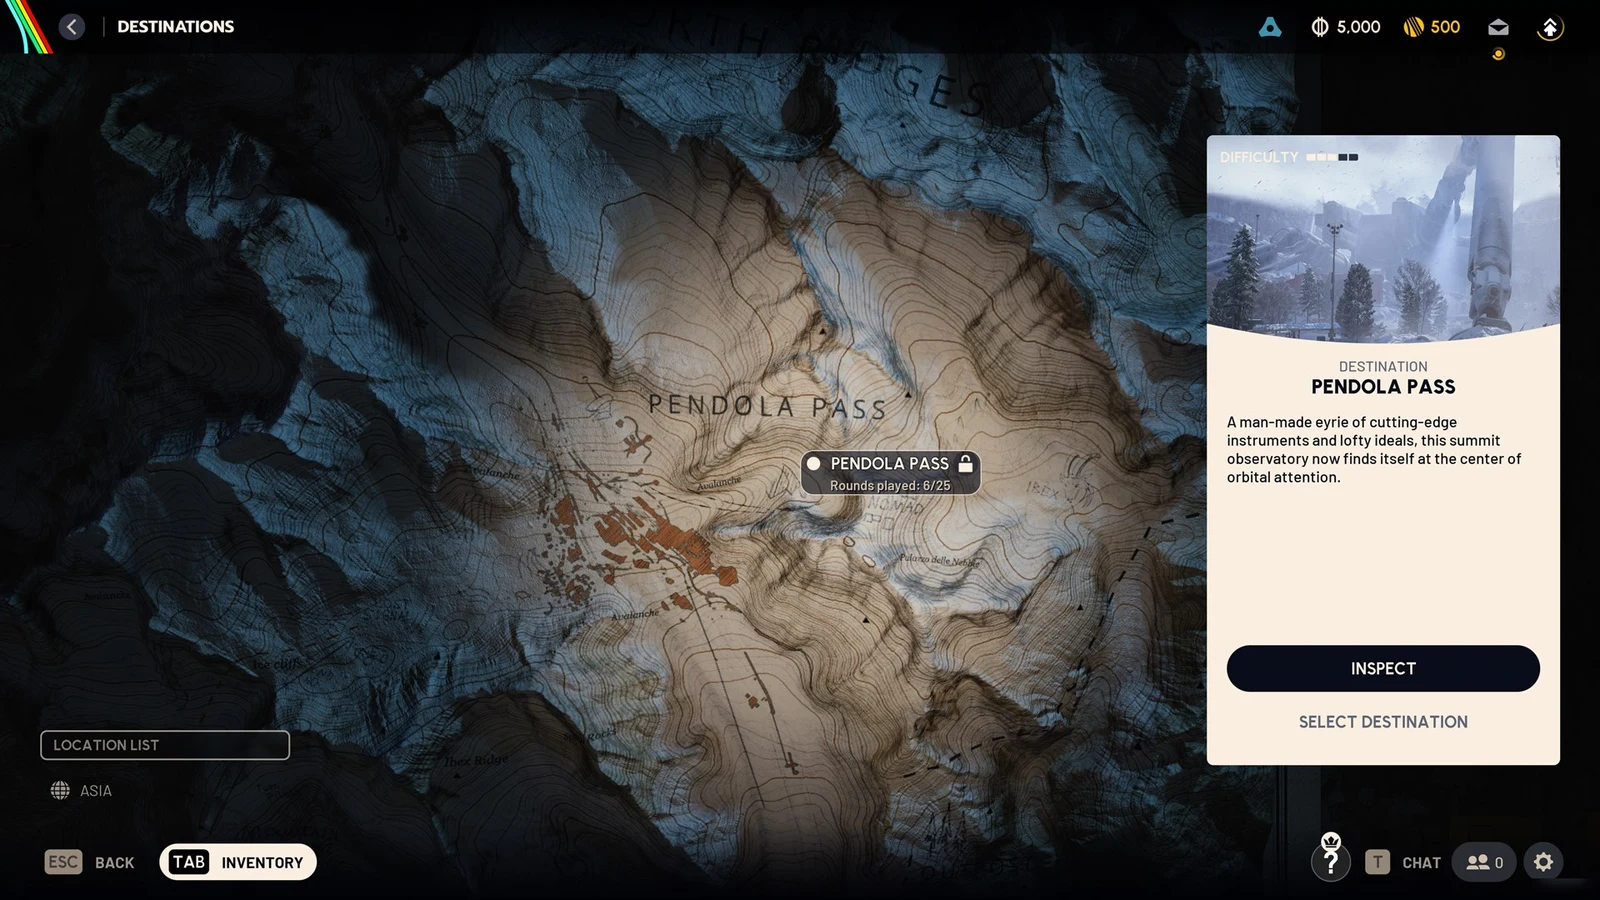
Everything for the key is tied to one map and one condition. Pendola Pass unlocks after 25 rounds played and sits at difficulty 3 of 5. The blueprint and the couplers only appear reliably while Redirection is running on that map, so there is no point queuing in during any other condition.
When Redirection is active, the Emperor Relays spread across the map power up. Flash Freeze stops, and debris begins to fall. Raiders can summon Harvester Payloads and guide them to their location. The blueprint is inside one of those payloads.
You cannot craft the conduit during a raid, and you cannot pool couplers with other players. Each piece has to be carried back to Speranza, stored, and assembled at a Workbench. Plan on several runs rather than one.
Farm the blueprint during Redirection on Pendola Pass
The repeatable route is working Harvester Payloads. A single payload can give you the blueprint and the couplers at the same time, so the goal is to call in and loot as many as the clock allows.

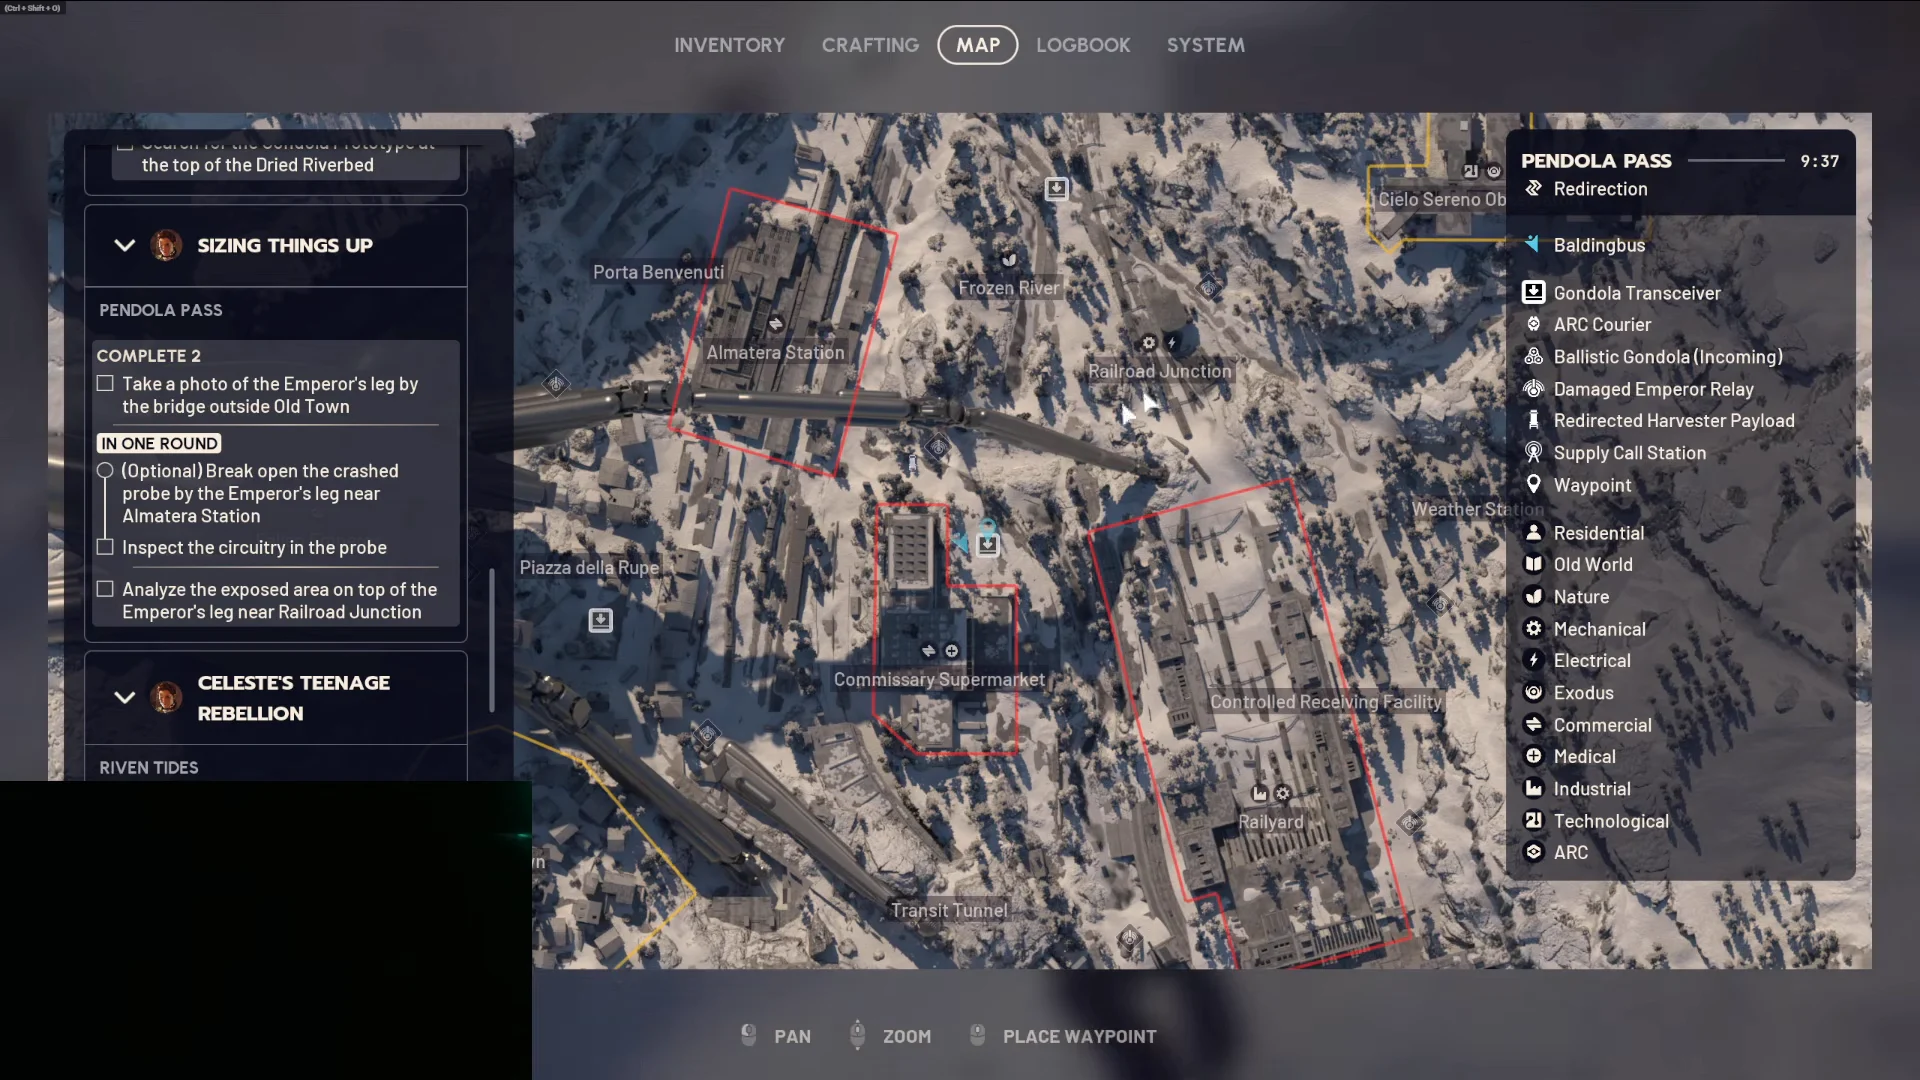
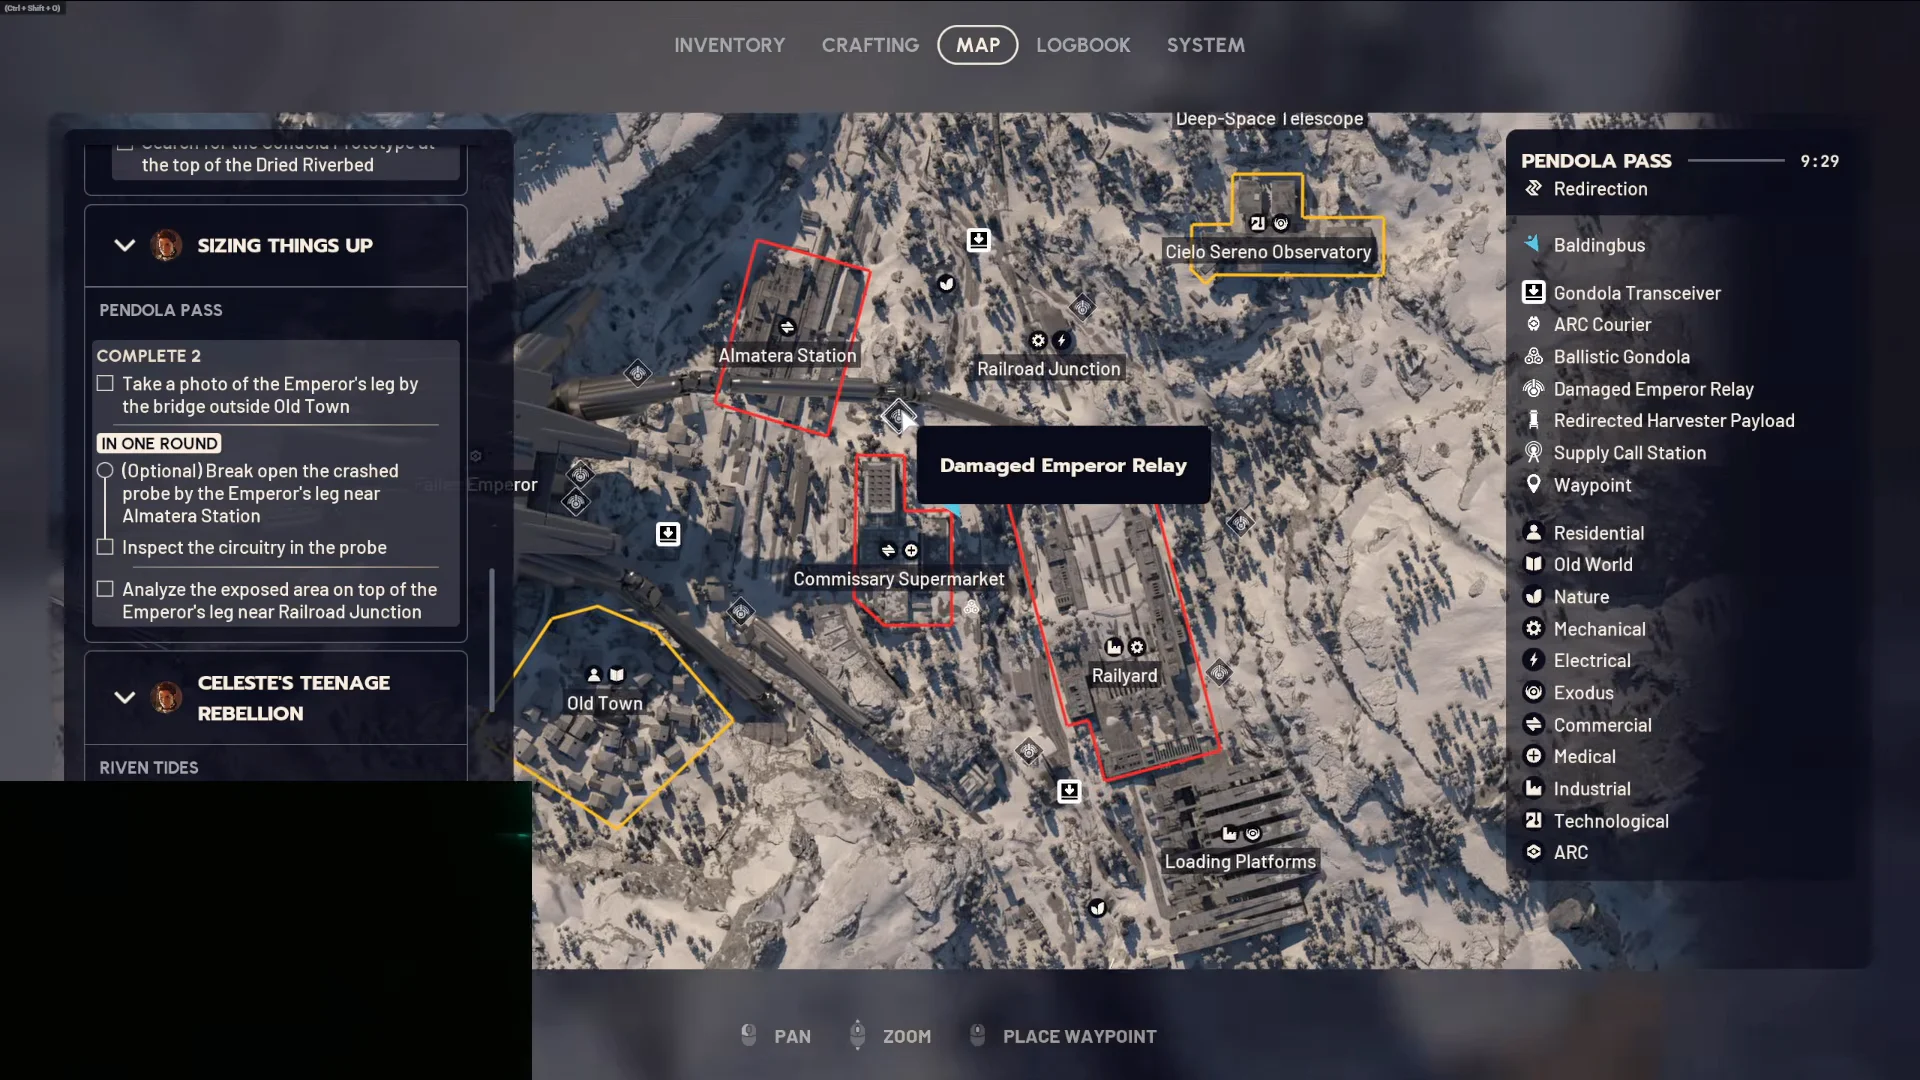
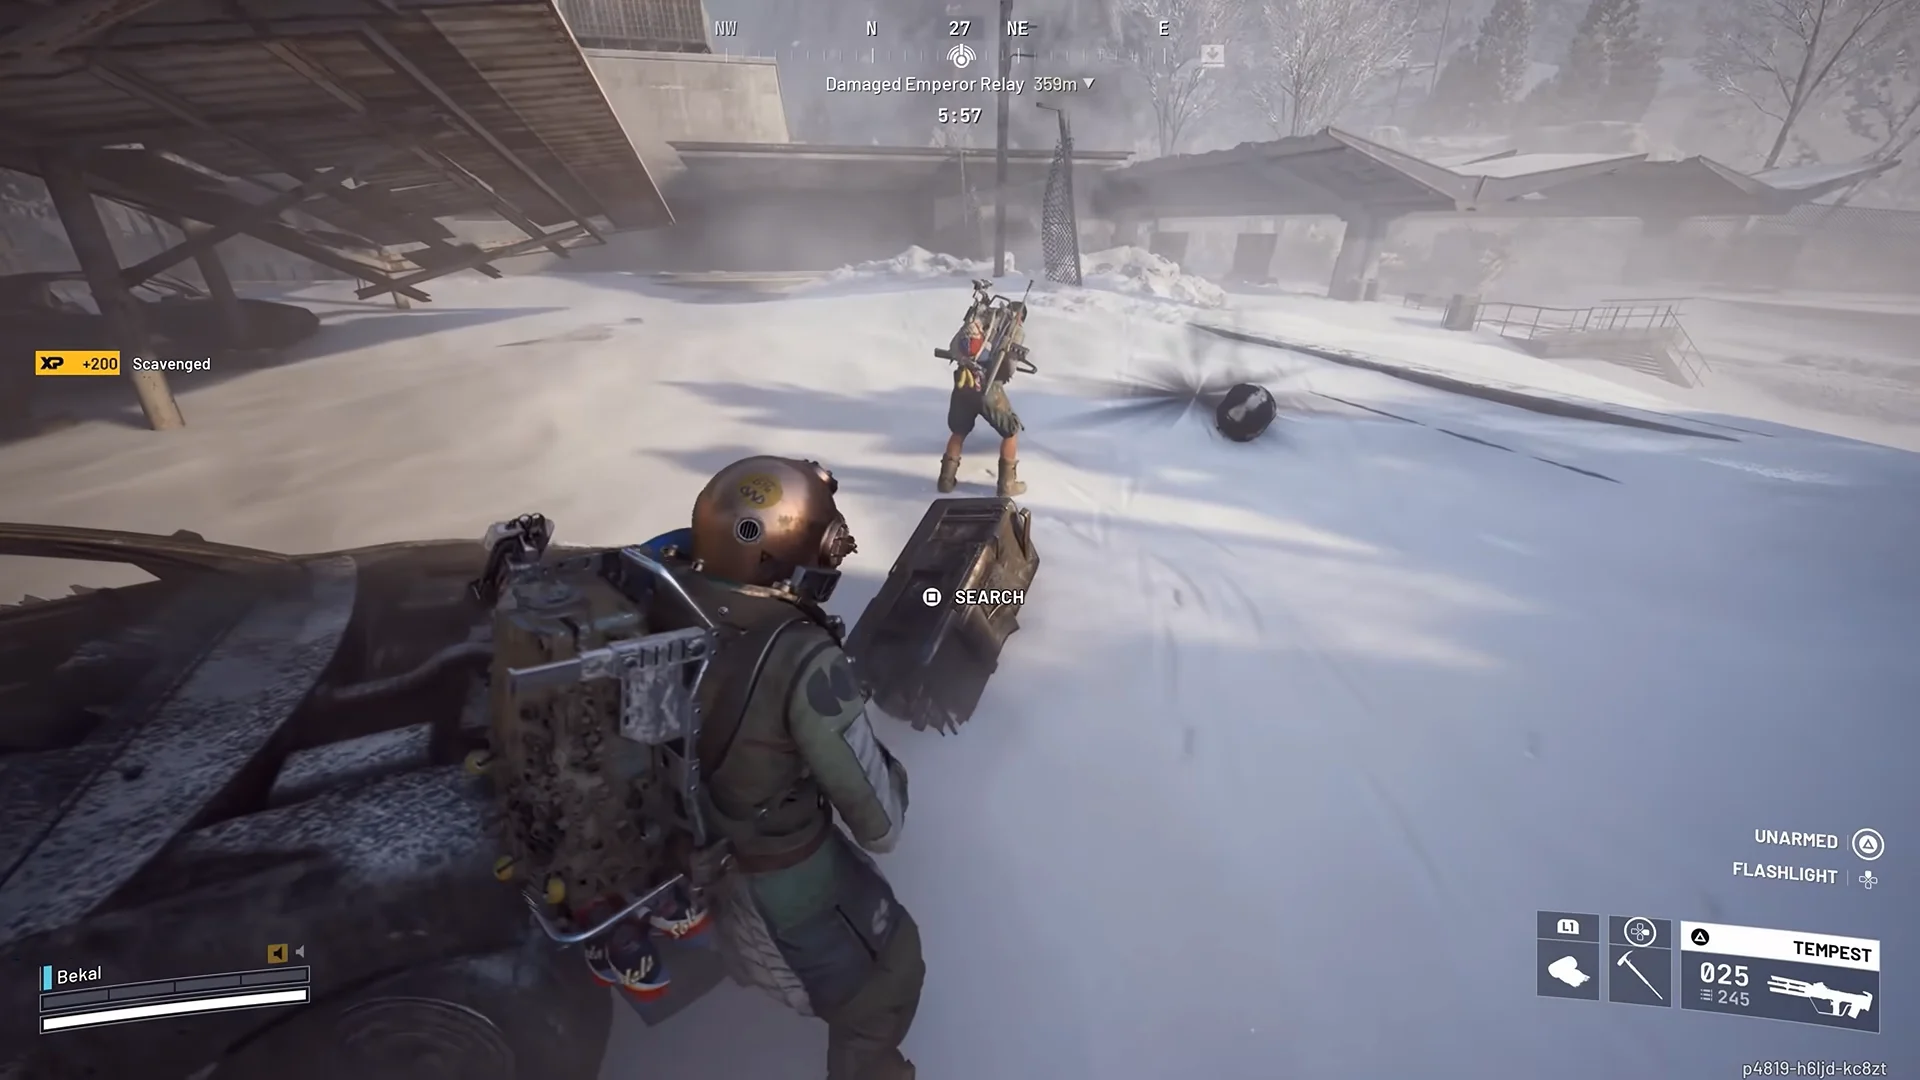
The blueprint is a rare roll from that main container, not a guarantee. Many runs give only couplers or blue ARC materials, and some players have called in dozens of payloads before one dropped. Keep looting payloads and extracting with anything you don’t want to lose.
Carrying spare beacons lets one relay feed several payloads, and placing a beacon next to a roofed building gives you cover from the debris before you push the loot.
Surveyor Vaults as an alternate blueprint source
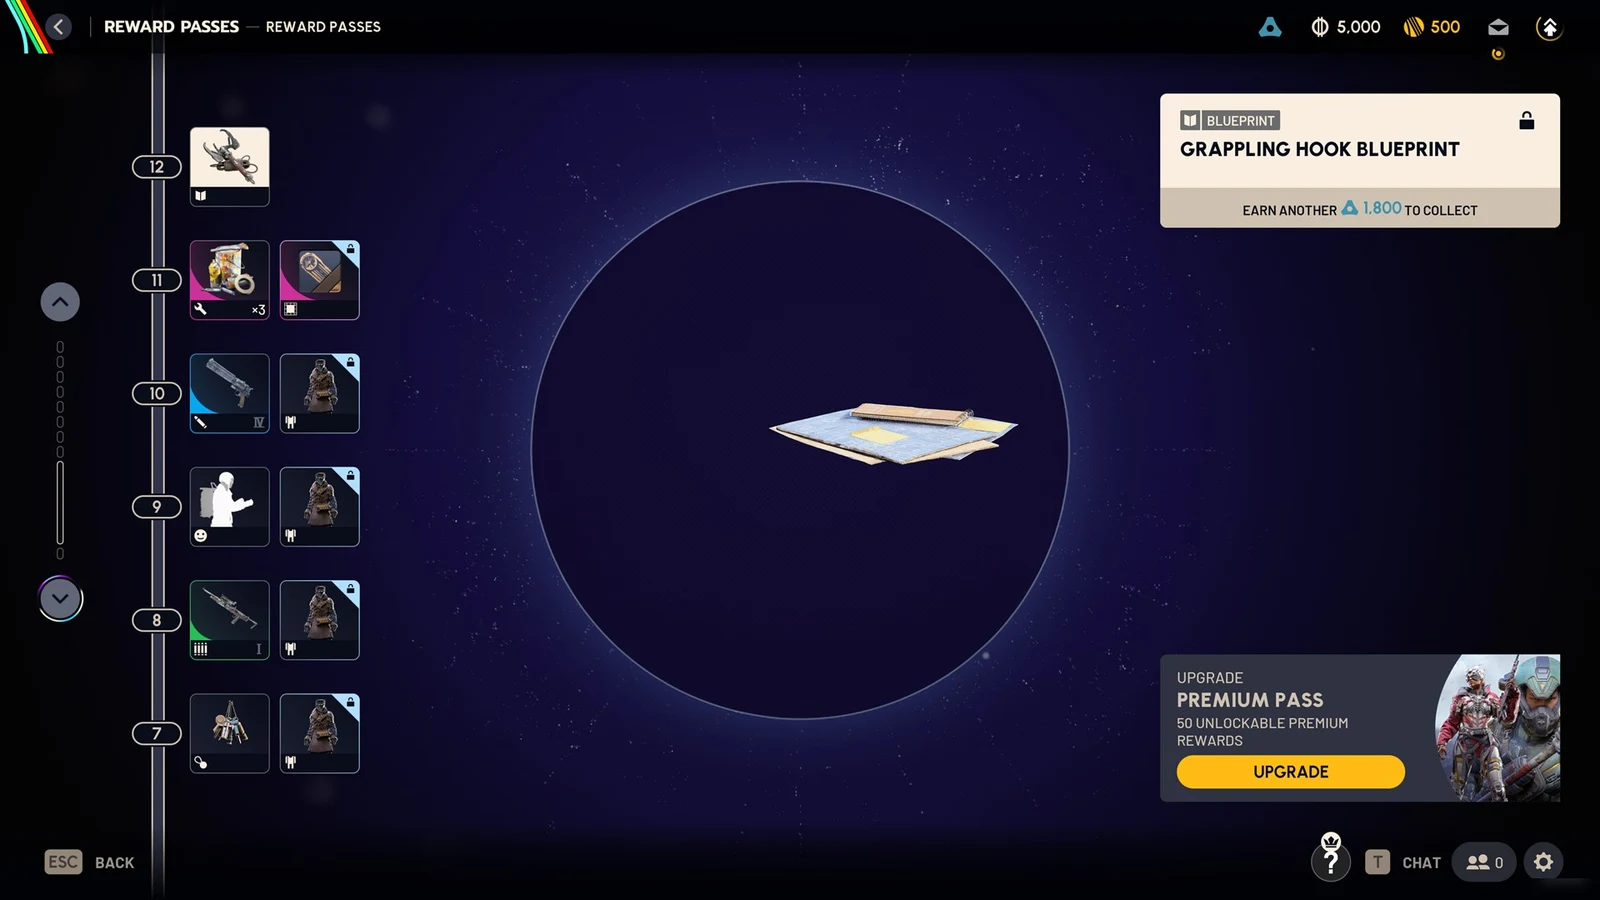
Payloads are not the only source of the blueprint. A Surveyor Vault—the core taken from a destroyed Surveyor—may hold one as well. It has also been found on Surveyors in areas beyond Pendola Pass, including Blue Gate and Spaceport, so destroy any Surveyor you encounter while working on other objectives.
Couplers are more limited. They drop from the payloads during Redirection and can also appear on the Frigate, but the Surveyor route is primarily a shot at the blueprint itself.
Craft the Emperor Gateway Conduit at Workbench I
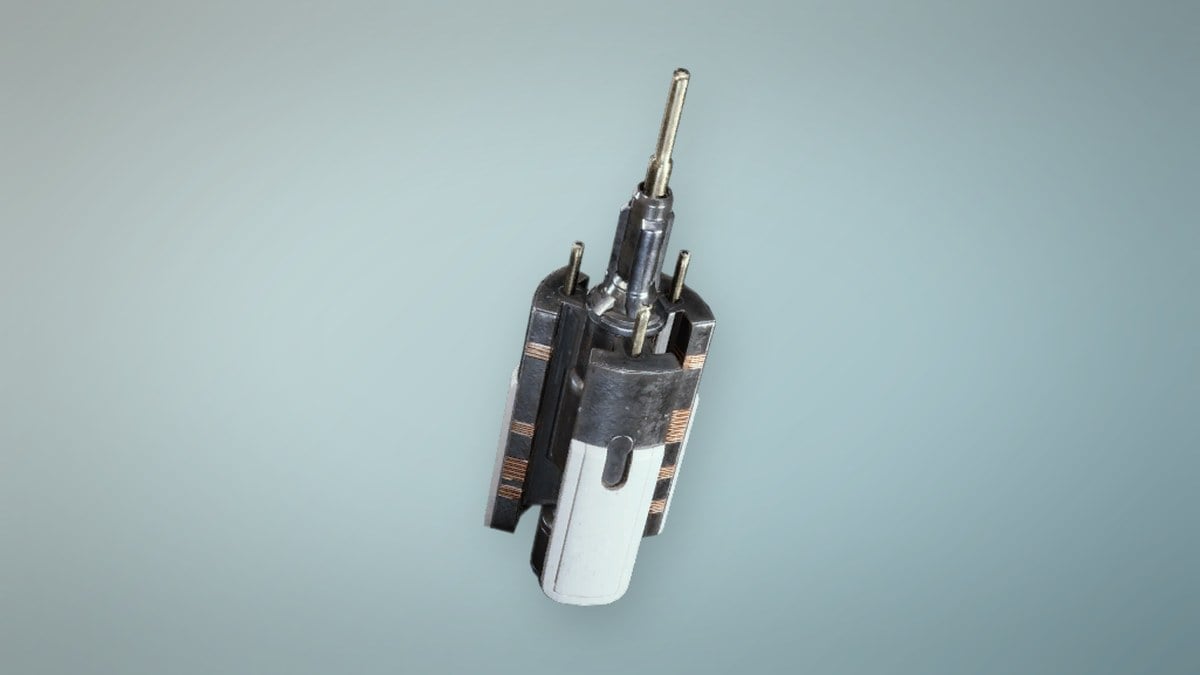
After you get the blueprint, learn it and craft the key using a basic Workbench I; upgrading the bench is unnecessary. The recipe calls for one coupler of each of the three types, all collected from the same Redirection payloads.
| Requirement | Quantity | Where it comes from |
|---|---|---|
 Workbench Workbench | Level I | Speranza |
 ARC Insulated Coupler ARC Insulated Coupler | 1 | Harvester Payloads (Redirection) |
 ARC Conductive Coupler ARC Conductive Coupler | 1 | Harvester Payloads (Redirection) |
 ARC Plated Coupler ARC Plated Coupler | 1 | Harvester Payloads (Redirection) |
Couplers come easily, often several per payload, so the holdup is almost always the blueprint rather than the materials. You do not have to collect all three in one raid. Stash each coupler you find and keep farming until you hold a full set alongside the blueprint.
Equip an augment that gives you three safe-pocket slots. Stow the blueprint first, since it is the rarest drop, then pocket one coupler of each type. That way, a death still leaves you with all the recipe components.
Emperor Beacon reference values
The beacon you pull from a relay is the item that calls the payload down. Knowing its stats helps you plan how many to carry and how much stash weight you are committing per run.
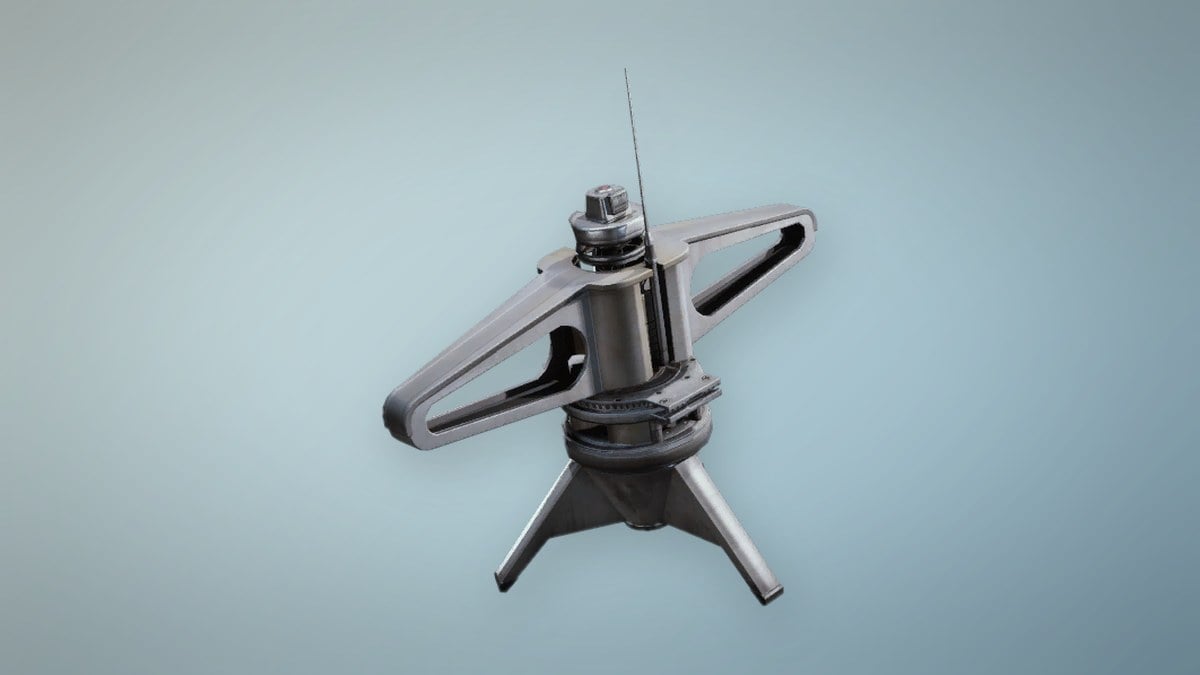
| Property | Value |
|---|---|
| Category | Quick Use |
| Rarity | Epic |
| Item weight | 2 |
| Max stack | 3 |
The beam from a deployed beacon is visible to everyone on the map, which is why payload sites draw other Raiders. Fireflies also only appear on Pendola Pass while Redirection is live, so expect extra company at every drop.
Where the conduit is used and how to confirm it worked
Take the completed conduit into a Pendola Pass raid and head to the Fallen Emperor. Its socket is set into the hull at the body’s base. When the Unlock: 0/1 Emperor Gateway Conduit prompt appears, interact with the socket to open the nearby round hatch. The conduit works once, and all players on the server can enter during that match.
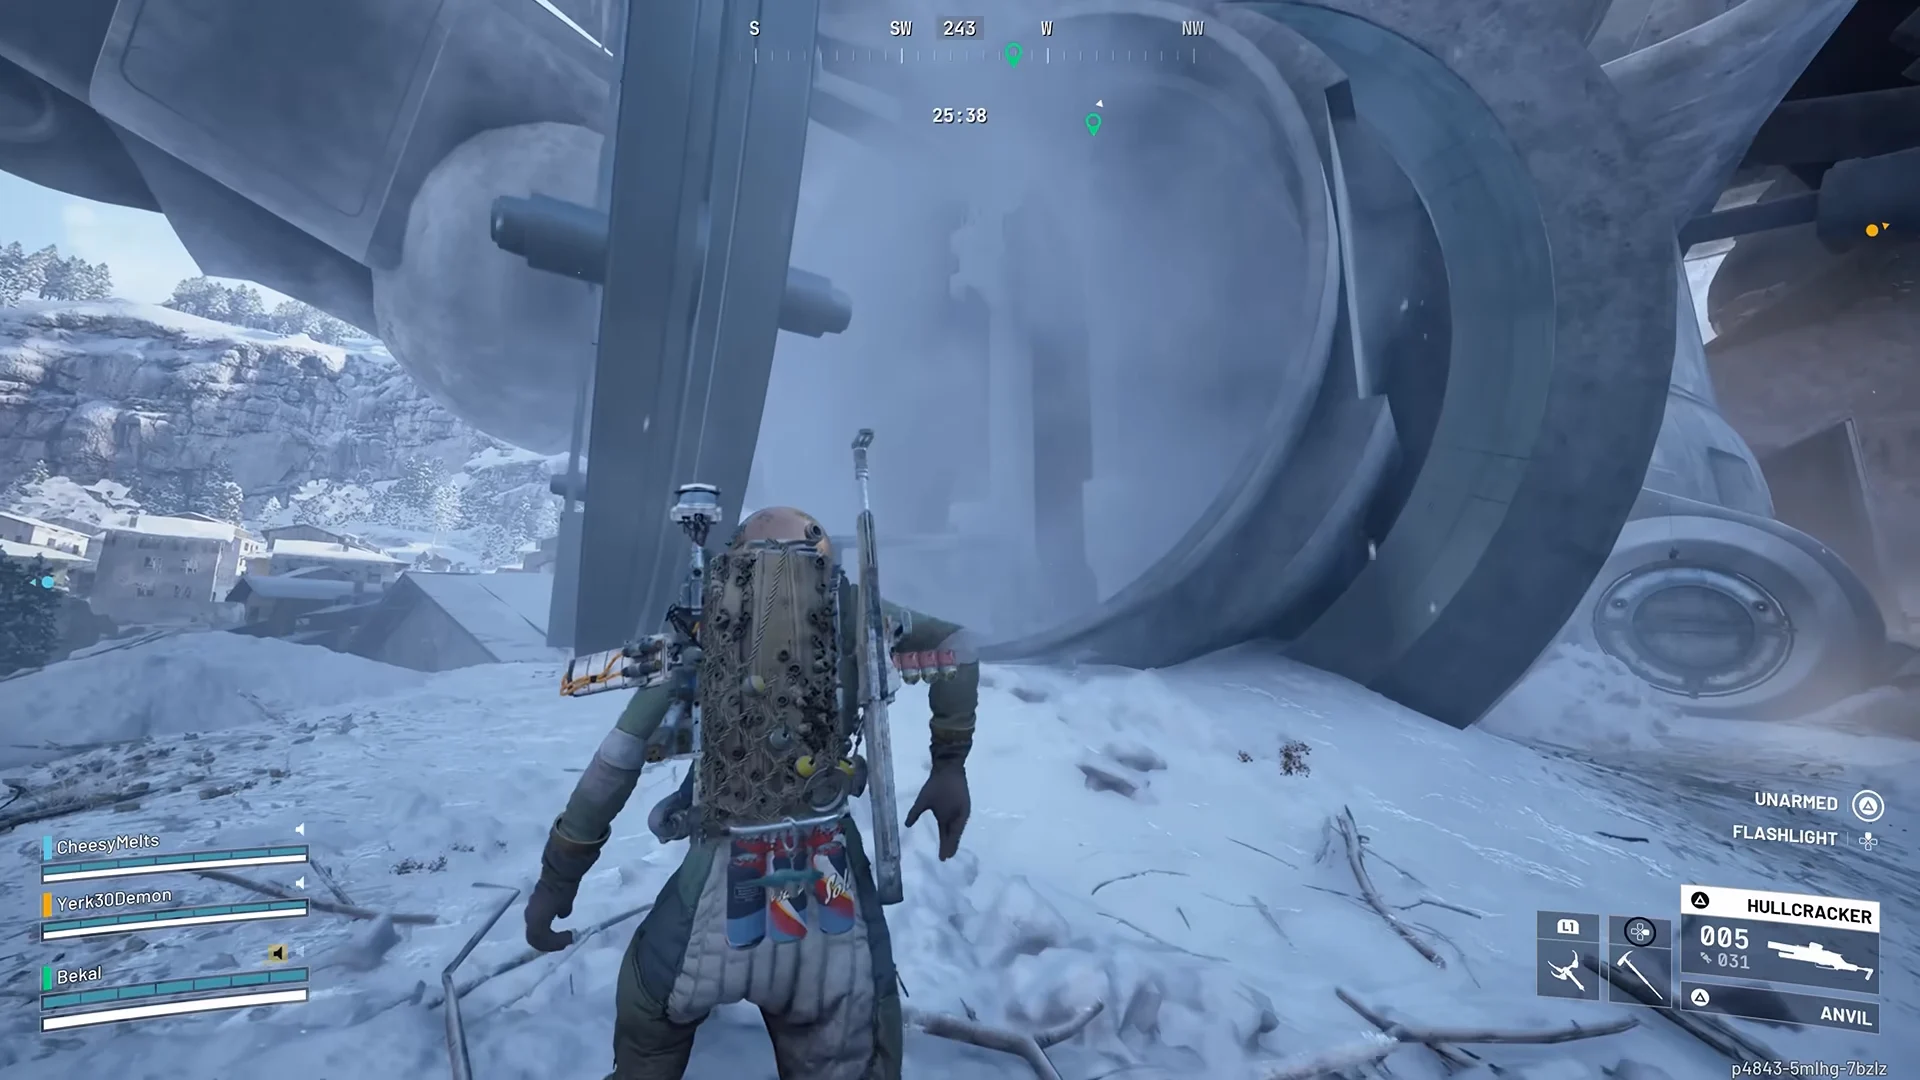
Past the entrance, a dungeon-style sequence of roughly twelve trials winds through enormous rings and shafts before ending at a loot hangar. Amplification Modules appear there; these materials are required to advance supported weapons to their new quality tier and to improve the Gunsmith Workbench. This is endgame content, so bring a Snap Hook or Grappling Hook for getting around.
You know the whole chain is complete when the hatch stands open and you can walk through it. From there the key is consumed, but the blueprint stays learned, so every future set of three couplers lets you craft another conduit and head back in.