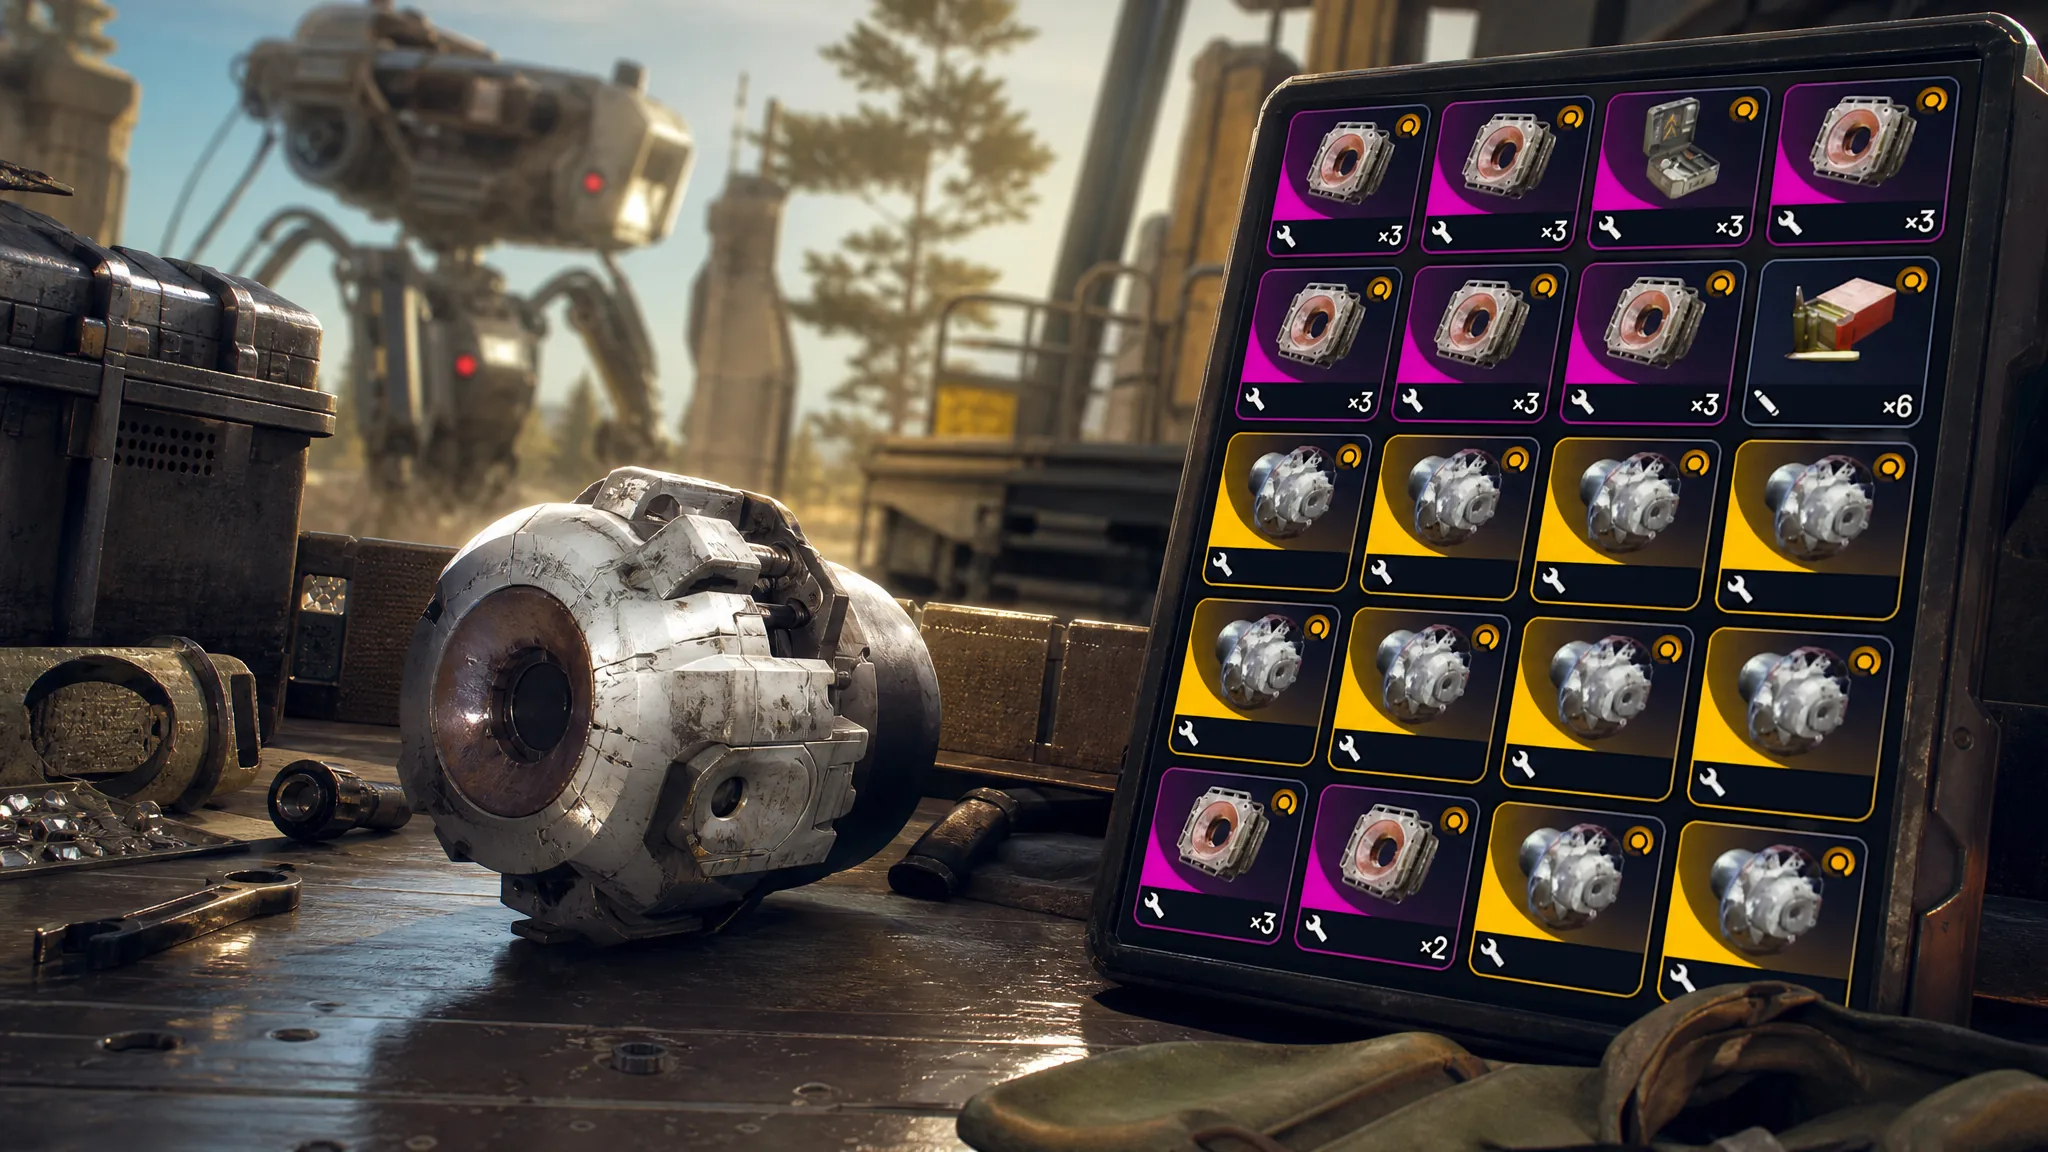
The Matriarch is the most punishing ARC in the game, built around a full squad wearing it down from range. There is a faster route for a lone Raider, though. Instead of trading fire with its shield and missile barrages, you climb onto the machine, drop into its core chamber, and destroy the reactor from the inside. Done cleanly, a single run leaves the wreckage packed with Matriarch Reactors.
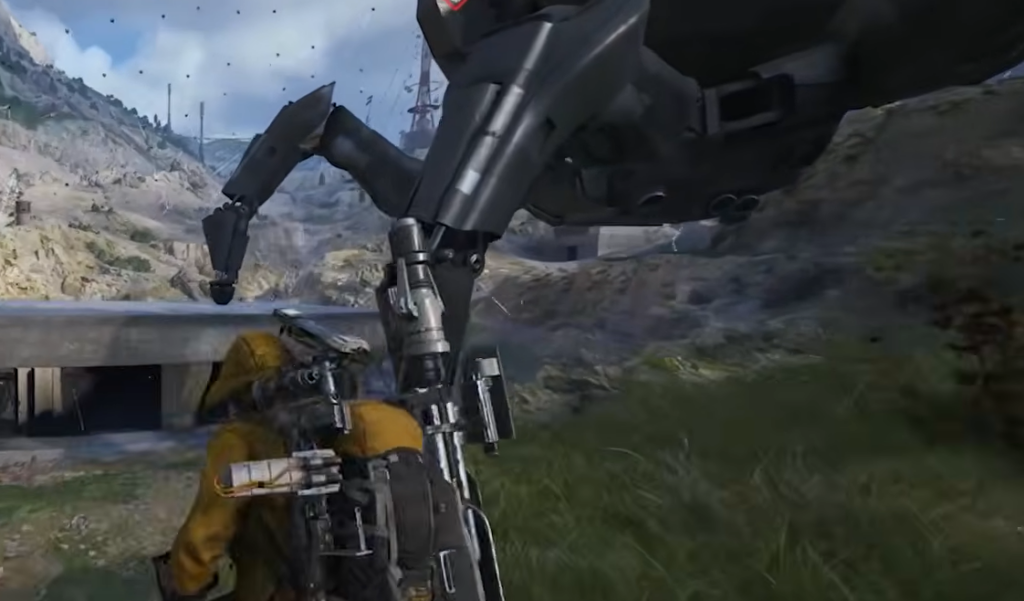
Quick answer: Bring a Snap Hook, an Equalizer with at least 25 Energy Clips, a Photoelectric Cloak, and two Deadlines. Latch onto the Matriarch’s rear from within 20 meters, land on top, shoot the front plate to open the core compartment, drop inside, and empty the Equalizer into the red core, finishing with Deadlines when its health is low.

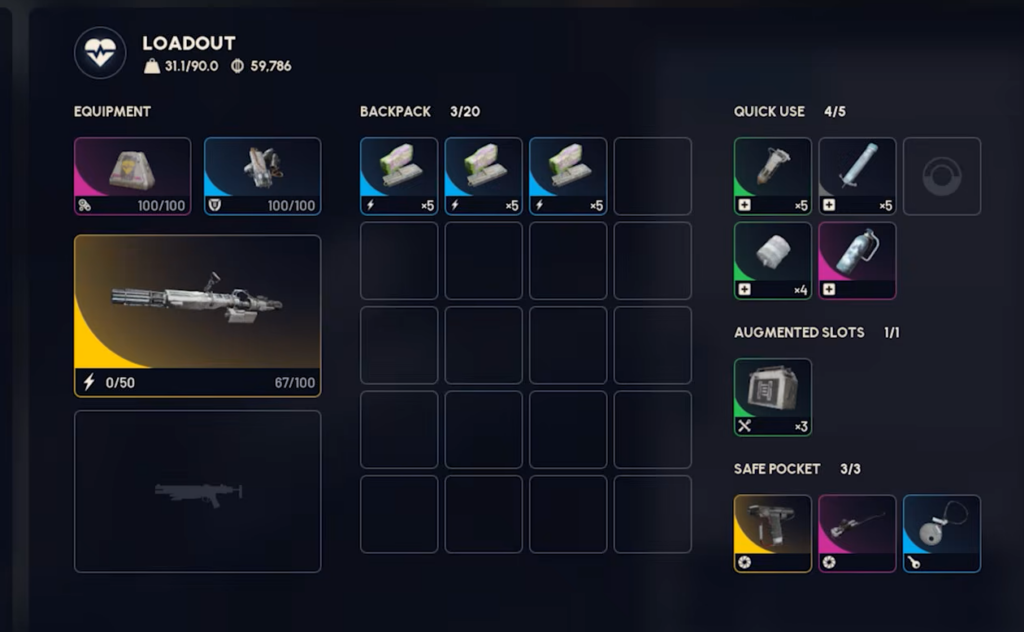
Loadout for the solo boarding run
Every piece here has a specific job. The Snap Hook is your way onto the boss, the Equalizer is your damage, the Cloak keeps ARC aggro off you during setup, and the Deadlines close out the core. The Equalizer is the weapon to bring because its projectiles behave predictably. The Dolabra can misfire against the core, so it is not reliable for this method.
| Item | Role | Notes |
|---|---|---|
| Snap Hook | Boarding | Range of 20m, the exact distance needed to latch onto the boss |
| Equalizer | Primary damage | Fully automatic, 50-round magazine, very strong ARC armor penetration |
| Energy Clips | Ammo | Minimum of 25 to kill the core without mines |
| Photoelectric Cloak | Utility | Keeps ARC enemies off you while you set up |
| Deadline (x2) | Finisher | Deploy on the core once its health is low |
If you skip mines entirely, plan for the full 25 Energy Clips or more so you do not run dry mid-chamber. Carrying two Deadlines shortens the fight significantly once the core is exposed.
Why trios lobbies make the solo easier
Queuing into a trios lobby as a solo sounds backwards, but it works in your favor. Most trios teams ignore the Matriarch unless they have an active trial that forces them toward it. That means far fewer players fighting you for the boss, and far fewer eyes on you while you climb aboard. The Matriarch spawns during its map event on the Dam Battlegrounds, Blue Gate, and Spaceport, and the boarding run is easiest at the Dam where you can approach through cover.
How to board the Matriarch

Destroying the core from inside
Inside the chamber you will see a glowing red core. This is the only target that matters now. Hold the Equalizer on it and keep firing. Because the weapon has very strong ARC armor penetration and a 50-round magazine, sustained fire chews through the core quickly, which is why 25 Energy Clips is the floor for a gun-only kill.
When the core drops to low health, deploy your Deadlines directly onto it to finish the job. Two Deadlines are enough to end the fight once you have already worn the core down with the Equalizer. You will know it worked when the core is destroyed and the Matriarch collapses, dropping its loot.

Looting the reactors and extracting
The wreckage is where the payout lands. A clean kill can yield up to 13 Matriarch Reactors along with other rare components pulled from the machine. The Matriarch Reactor is a legendary material used in high-end blueprints, so this is the single most valuable part of the run.
| Drop | Recycles / salvages into |
|---|---|
| Matriarch Reactor | 10.0 |
| Advanced ARC Powercell | 1.5 |
| ARC Motion Core | 0.6 |
| ARC Circuitry | 0.5 |
Loot fast and put the Matriarch Reactors into your Safe Pockets first. Even if another Raider catches you on the way out, the reactors stay protected. From the Dam, the Pump House extraction point is a short, direct route out. Move to it quickly rather than lingering near the kill, since a dead Matriarch draws attention across the map.
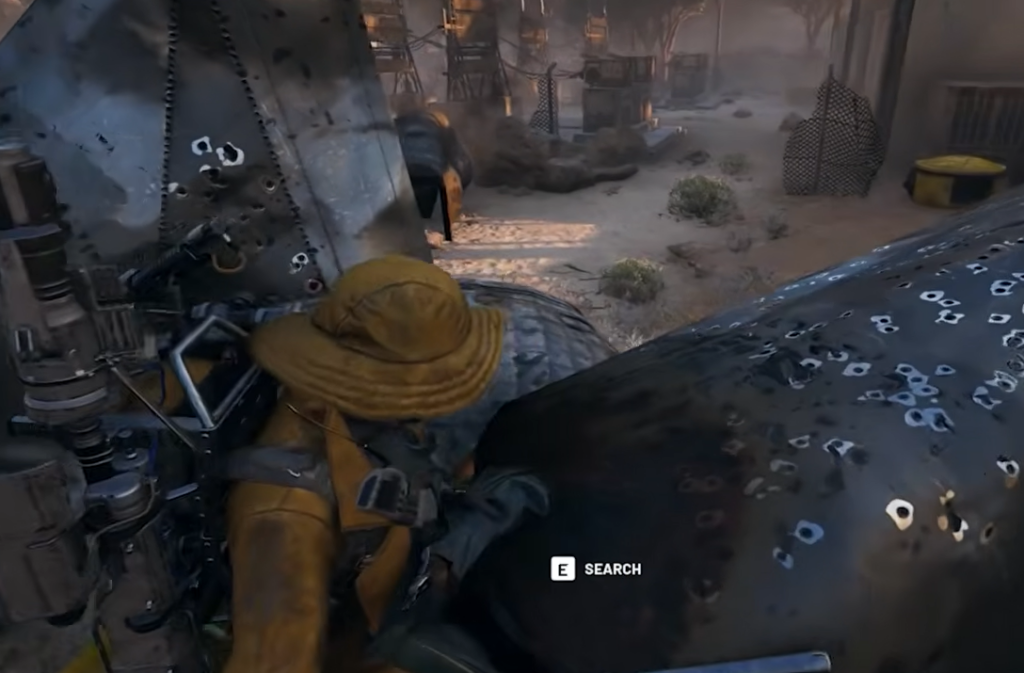
Common reasons the run fails
- Firing the Snap Hook from the front or sides instead of the rear, which prevents a clean latch.
- Hooking from outside 20 meters, so the grapple never connects.
- Not holding jump on the way up, which drops you short of the top plate.
- Bringing too few Energy Clips and running dry before the core breaks.
- Using the Dolabra, whose projectiles can behave inconsistently against the core.
Get the rear hook, the landing height, and the ammo count right, and the rest is repetition. Once you are comfortable dropping into the chamber, the Matriarch stops being a wall and becomes one of the most efficient reactor farms a solo player has.