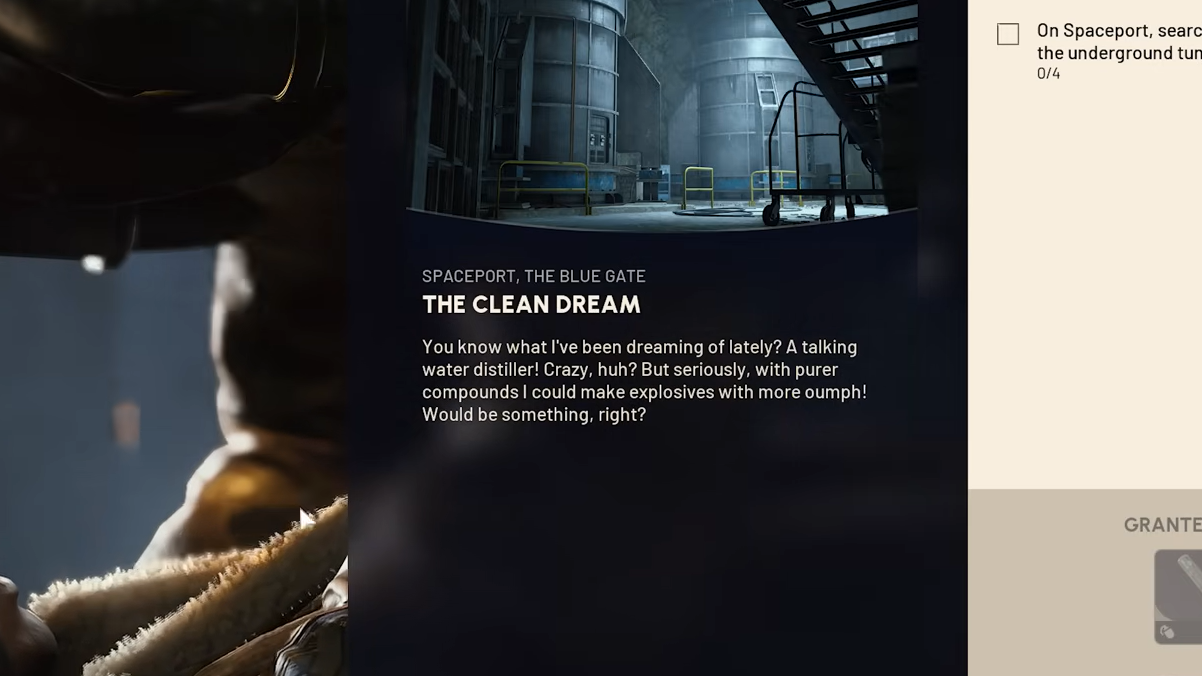
The Clean Dream is an Arc Raiders quest from Apollo that plays out across two raids, first on Spaceport and then on Blue Gate. The objectives are simple on paper—open containers, inspect a Filtration System, then a Purification System, and photograph some blueprints—but the underground layouts and unmarked entrances make it easy to waste time.
This walkthrough follows the actual order of objectives the quest gives you and focuses on where you need to go and what each interactable looks like.
The Clean Dream overview
The quest breaks down into four objectives:
- On Spaceport:
- Search four containers in the underground tunnels.
- Find and monitor any Filtration System in the tunnels.
- On The Blue Gate:
- Visit the Maintenance Bunker and monitor the Purification System.
- Find and photograph the blueprints in the bunker.
You do not need a specific weather condition, and you don’t have to extract with any loot to keep your progress. Because of that, many players choose to run this on a free loadout and treat it as a low‑risk objective run.
Spaceport tunnels: how to reach the underground
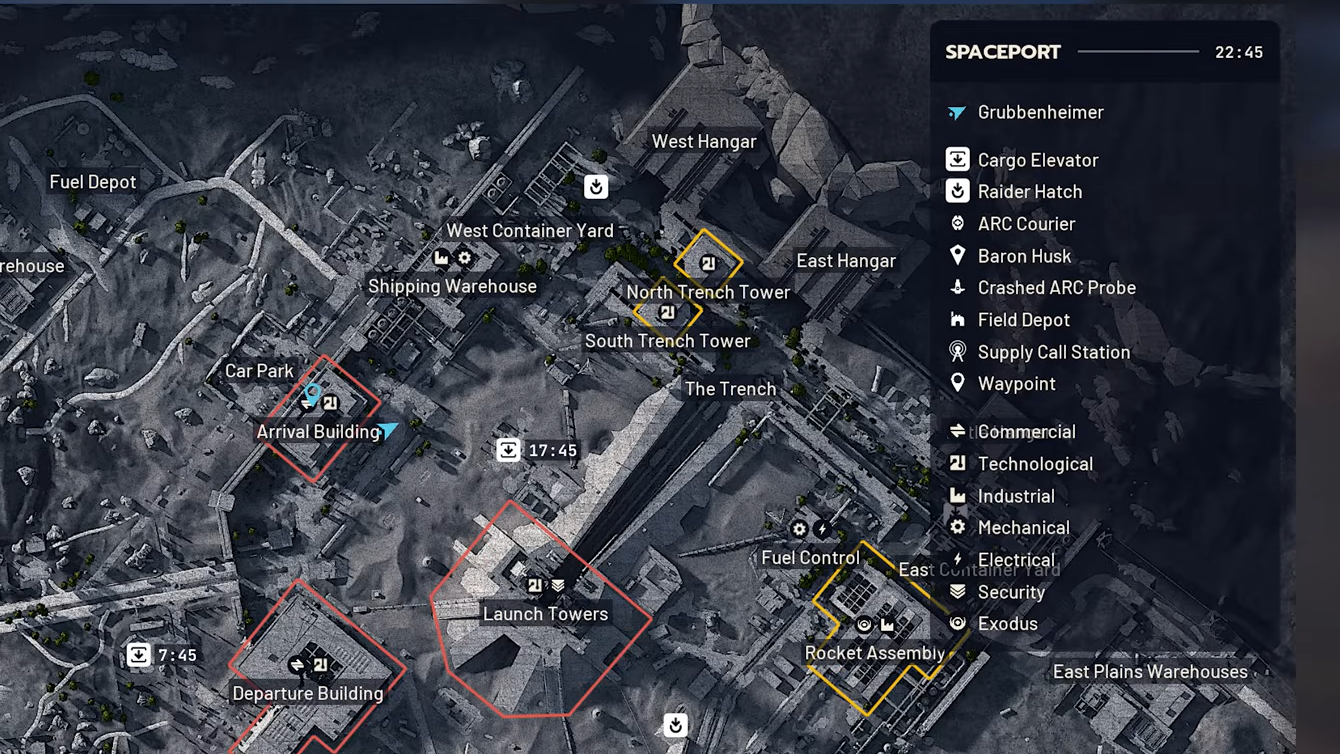
The first two objectives happen in Spaceport’s underground tunnels. These tunnels loop around the central Launch Tower area and are not shown as a separate layer on the in‑game map, so entrances are the main thing to learn.
Entrance landmarks include:
- A collapsed concrete hole slightly southwest of the Launch Tower. This is the most commonly used entrance and is shared with the “Switching the Supply” quest.
- Several smaller tunnel mouths and hatches spaced around the base of the Launch Tower, which all feed into the same tunnel network.
Drop into any of these and follow the sloped concrete down to reach the main tunnel corridor. You’ll see a wide ground‑level roadway and, running along one side, a raised metal walkway with control rooms and wall‑mounted boxes.
Search four containers in the underground tunnels (Spaceport)
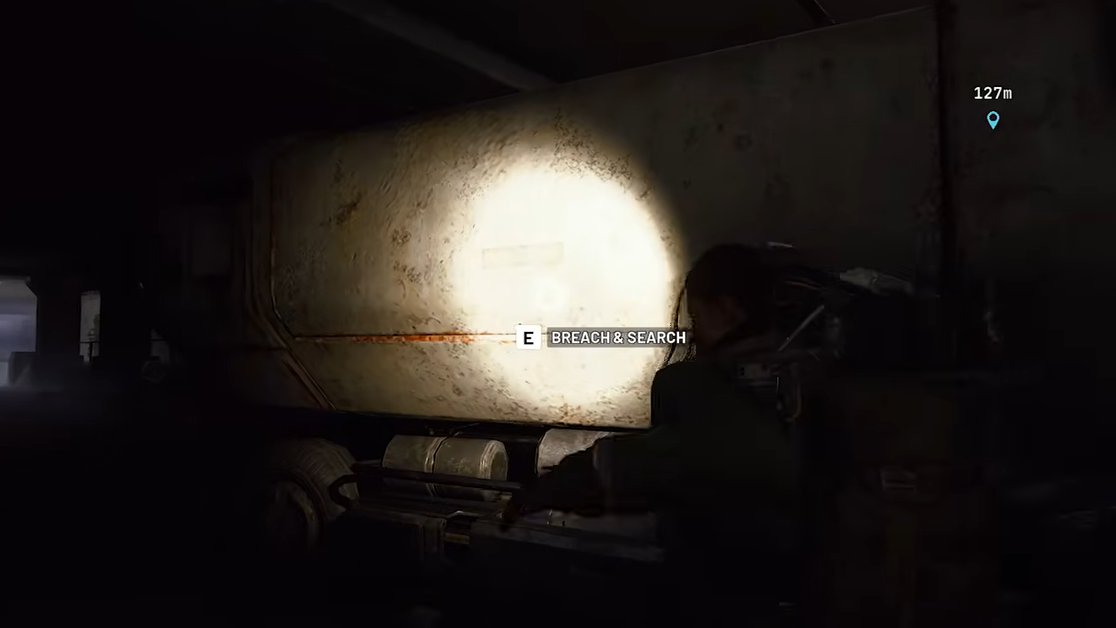
Once you’re in the tunnels, the quest asks you to “search four containers.” This does not refer to a specific container type or location; almost any lootable object counts.
Valid containers include:
- Wall‑mounted electronic boxes you breach and search.
- Lockers and cupboards along the raised walkway.
- Breachable trailers or vehicles parked on the main roadway.
Important detail: containers still count even if another raider has already opened them. You only need to interact and perform the search; you can leave the loot inside if you do not care about it.
Find and monitor any Filtration System in the tunnels (Spaceport)
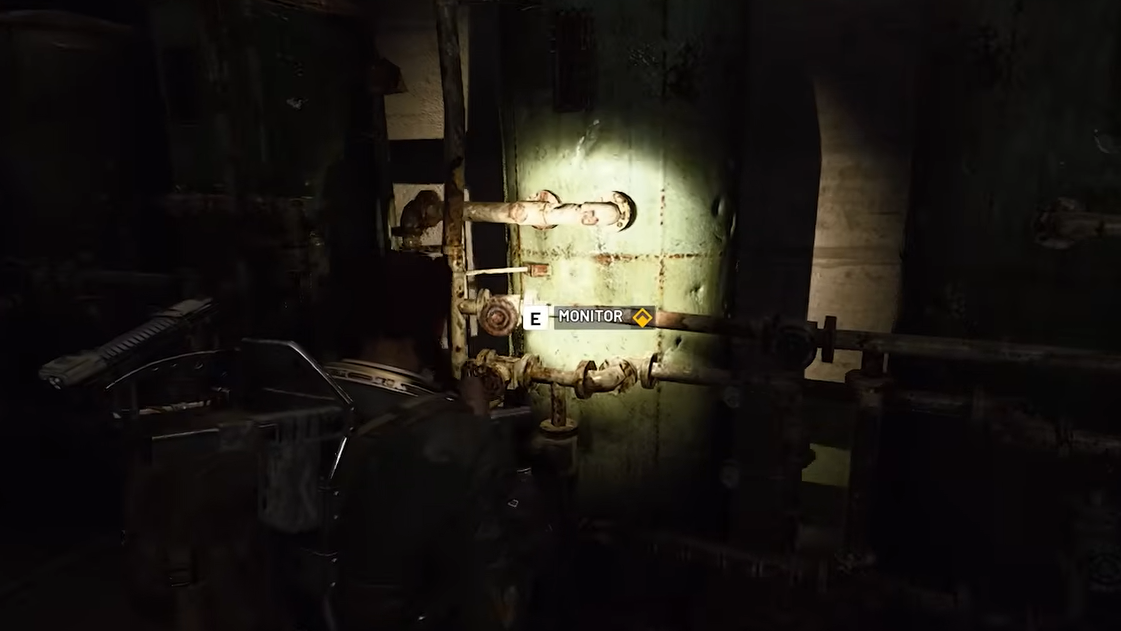
After four successful searches, the quest updates to “find and monitor any Filtration System in the tunnels.” Filtration Systems are environmental machines rather than loot containers.
There are two main types you may encounter, depending on how you think of them:
- Aon the wall in the central tunnel section, close to the water valve used during the “Switching the Supply” quest.
- Green, wall‑mounted filtration units along the tunnel walls. Any unit that offers the monitoring prompt will work.
If you entered through the popular collapsed concrete hole near the Launch Tower, the Filtration System that’s directly relevant to “Switching the Supply” is very close:
Once the Filtration System objective is complete, the Spaceport portion of The Clean Dream is done. You can extract, surrender, or die and still keep quest progress.
Travel to The Blue Gate and locate the Maintenance Bunker
The remaining two objectives are on The Blue Gate map, centered on the named location “Maintenance Bunker.” This is an underground facility near the middle of the map.
Broadly, Maintenance Bunker is:
- Toward the center of Blue Gate, southeast of the Checkpoint POI in many map layouts.
- Very close to an Overlook Airshaft or similar airshaft extraction point on the surface.
There are usually two ways into the bunker:
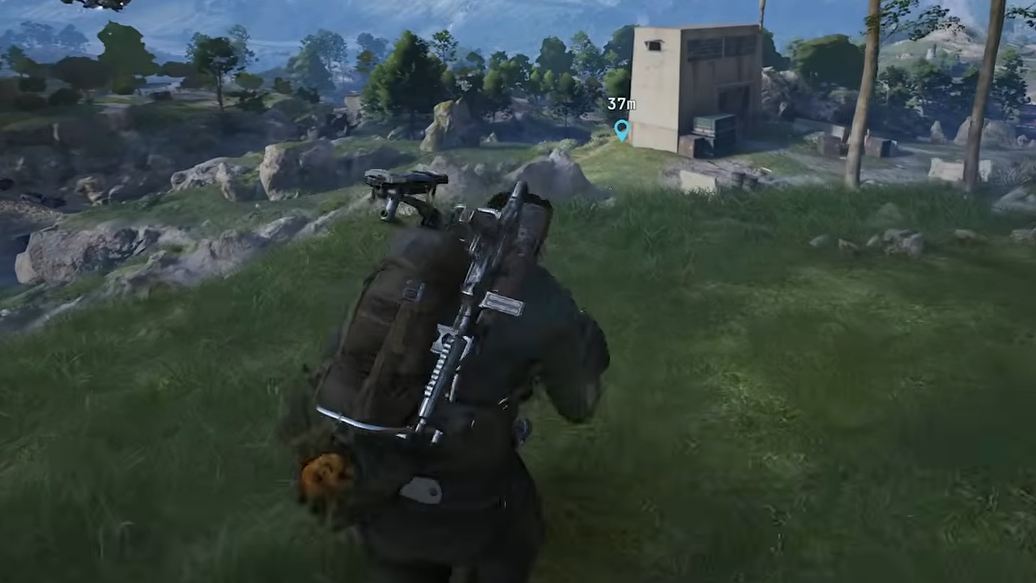
- A small surface building with a hatch and ladder leading straight down into the bunker corridors.
- An alternate entrance via nearby tunnels or a secondary shaft that connects into the same interior.
Monitor the Purification System in the Maintenance Bunker (Blue Gate)
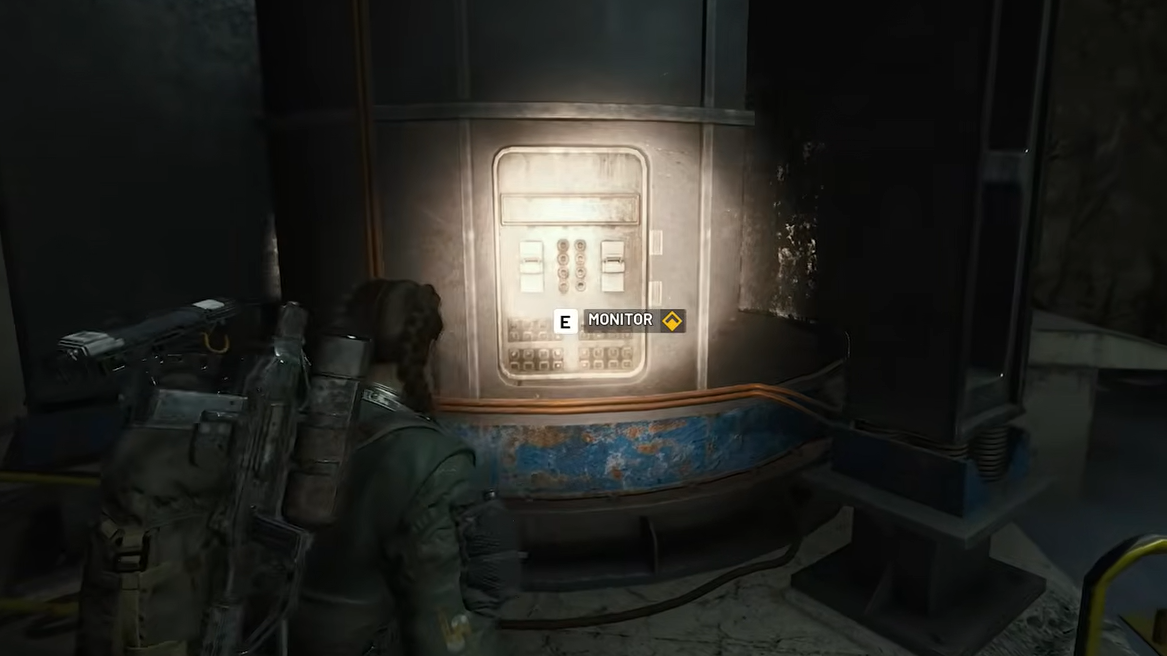
Once inside the bunker, your next task is to “monitor the Purification System in the bunker.” This is located in the main interior chamber.
Key visual for this room:
- A large central space containing two huge vertical cylinders or tanks side by side, reachable from both a ground floor and an upper walkway.
Find and photograph the blueprints in the Maintenance Bunker (Blue Gate)
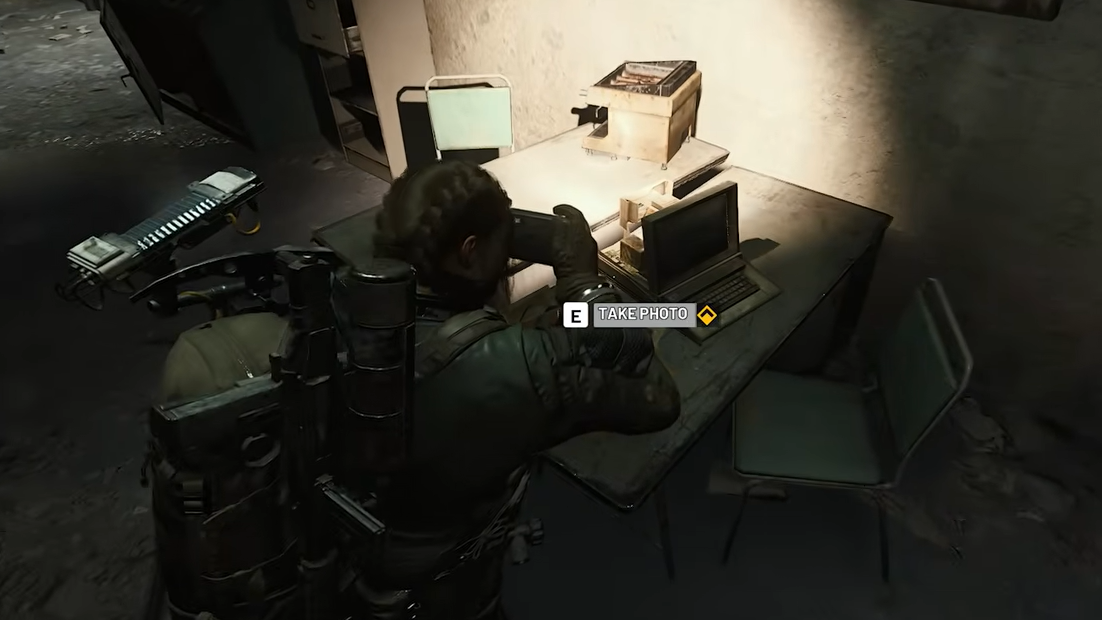
The final part of The Clean Dream is a simple fetch‑style objective: “find and photograph the blueprints in the bunker.” These documents are in a small office space connected to the same main room as the Purification System.
There are two slightly different internal layouts described, but they share the same idea: from the main tank room, reach a side office with desks and interactable paperwork.
- A room to your right as you walk along the gantry, containing desks, lockers, and sometimes a Security Breach.
- A room reached by turning back on yourself along the walkway and then going through a door into a desk‑filled office.
Once the blueprints objective is done, your remaining job is to get out of Blue Gate. An extraction point is located very close to the Maintenance Bunker—often an airshaft or elevator nearby—so you can leave quickly if it’s open.
Turning the quest in with Apollo back at Esperanza rewards a Deadline weapon and multiple grenades, making The Clean Dream a solid return on a pair of relatively low‑risk raids, especially if you run it on free loadouts.