
Directly connecting a Brother laser printer to a computer with a crossover Ethernet cable enables network printing without a router or switch. Assigning a static IP address to the printer is essential for communication and driver installation, especially when a traditional network infrastructure is unavailable or you need a quick, isolated setup.
Assigning an IP Address via Printer Control Panel
Step 1: Power on the Brother laser printer and ensure it is connected to your computer using a crossover Ethernet cable. A crossover cable allows two network devices to communicate directly by crossing the transmit and receive signals.
Step 2: On the printer’s control panel, navigate to the network or LAN settings menu. The exact menu name may vary by model, but it’s usually labeled as Network or LAN.
Step 3: Locate the TCP/IP or IP Address settings. Set the IP configuration method to Static or Manual instead of Auto or DHCP. This ensures the printer keeps the same IP address even after restarts.
Step 4: Enter an IP address in the same subnet as your computer’s Ethernet adapter. For example, if your computer’s Ethernet IP is 192.168.1.10, assign the printer an IP like 192.168.1.20. Set the subnet mask to 255.255.255.0. Leave the gateway blank or set it to 0.0.0.0 since there is no router involved.
Step 5: Save your changes and allow the printer to restart if prompted. This applies the new IP address settings.
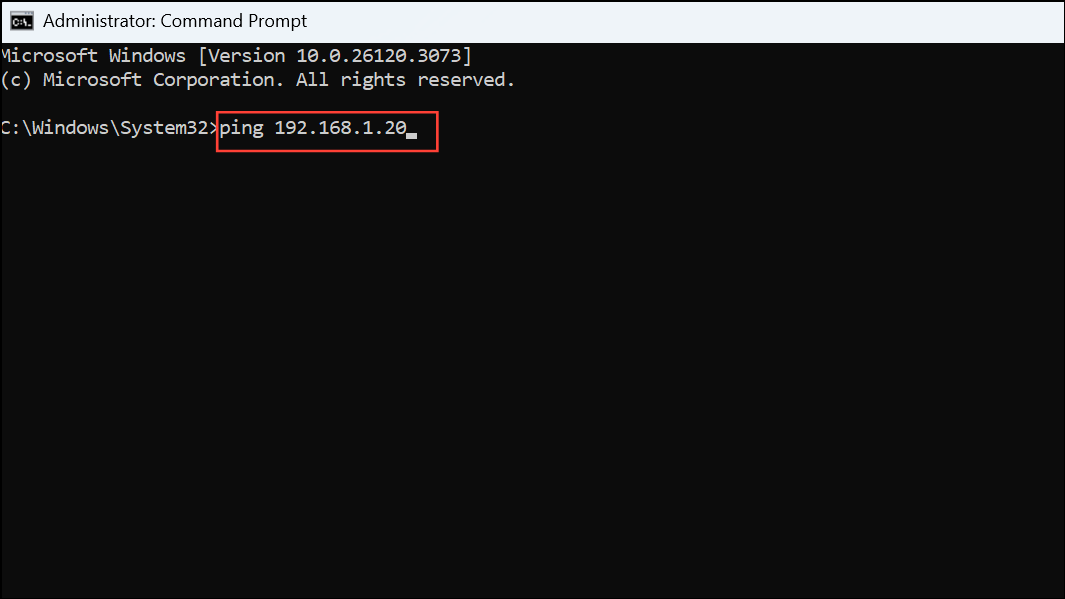
Step 6: On your computer, open a Command Prompt and type ping [printer IP address] (for example, ping 192.168.1.20) to verify connectivity. A successful reply confirms the printer is reachable.
Assigning an IP Address Using Brother Printer Web Interface
Step 1: After connecting the printer and computer with the crossover cable, configure your computer’s Ethernet adapter with a static IP address in the same subnet you plan to use for the printer. For example, set your computer’s IP to 192.168.1.10 and subnet mask to 255.255.255.0.
Step 2: Print a network configuration page from the printer’s control panel. This page lists the current IP address assigned to the printer, which may be set to a default or auto-assigned value.
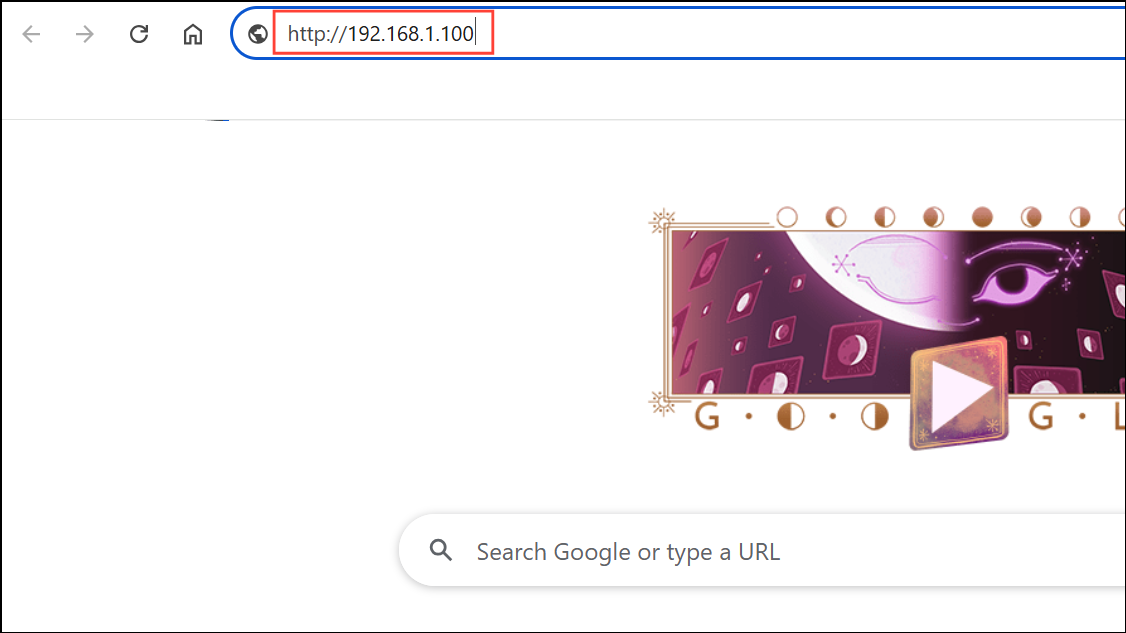
Step 3: Open a web browser on your computer and enter the printer’s current IP address in the address bar (for example, http://192.168.1.100).
Step 4: Log in to the printer’s web management interface. Look for Network or TCP/IP settings. Change the IP configuration from Auto or DHCP to Static or Manual, then enter your desired IP address and subnet mask (matching your computer’s subnet).
Step 5: Apply the changes and allow the printer to restart. Print another network configuration page to confirm the new IP address is active.
Step 6: Test connectivity by pinging the printer’s new IP address from your computer.
Alternative: Assigning an IP Address with Brother BRAdmin Utility
Step 1: Download and install the Brother BRAdmin Light or BRAdmin Professional utility from Brother’s official website on your computer.
Step 2: Ensure the printer and computer are connected with the crossover cable, and both devices are set to static IP addresses in the same subnet.
Step 3: Open the BRAdmin utility. The software scans the local network segment and lists available Brother devices. Select your printer from the list.
Step 4: Right-click the printer entry and choose Configure TCP/IP or a similar option. Enter the desired static IP address and subnet mask, then apply the settings.
Step 5: After configuration, verify the new IP address by pinging the printer from your computer or printing a network configuration page from the printer’s control panel.
Assigning a static IP address to your Brother laser printer over a crossover cable streamlines direct printing and troubleshooting. Keep a record of the IP address for future driver installations or network changes.