

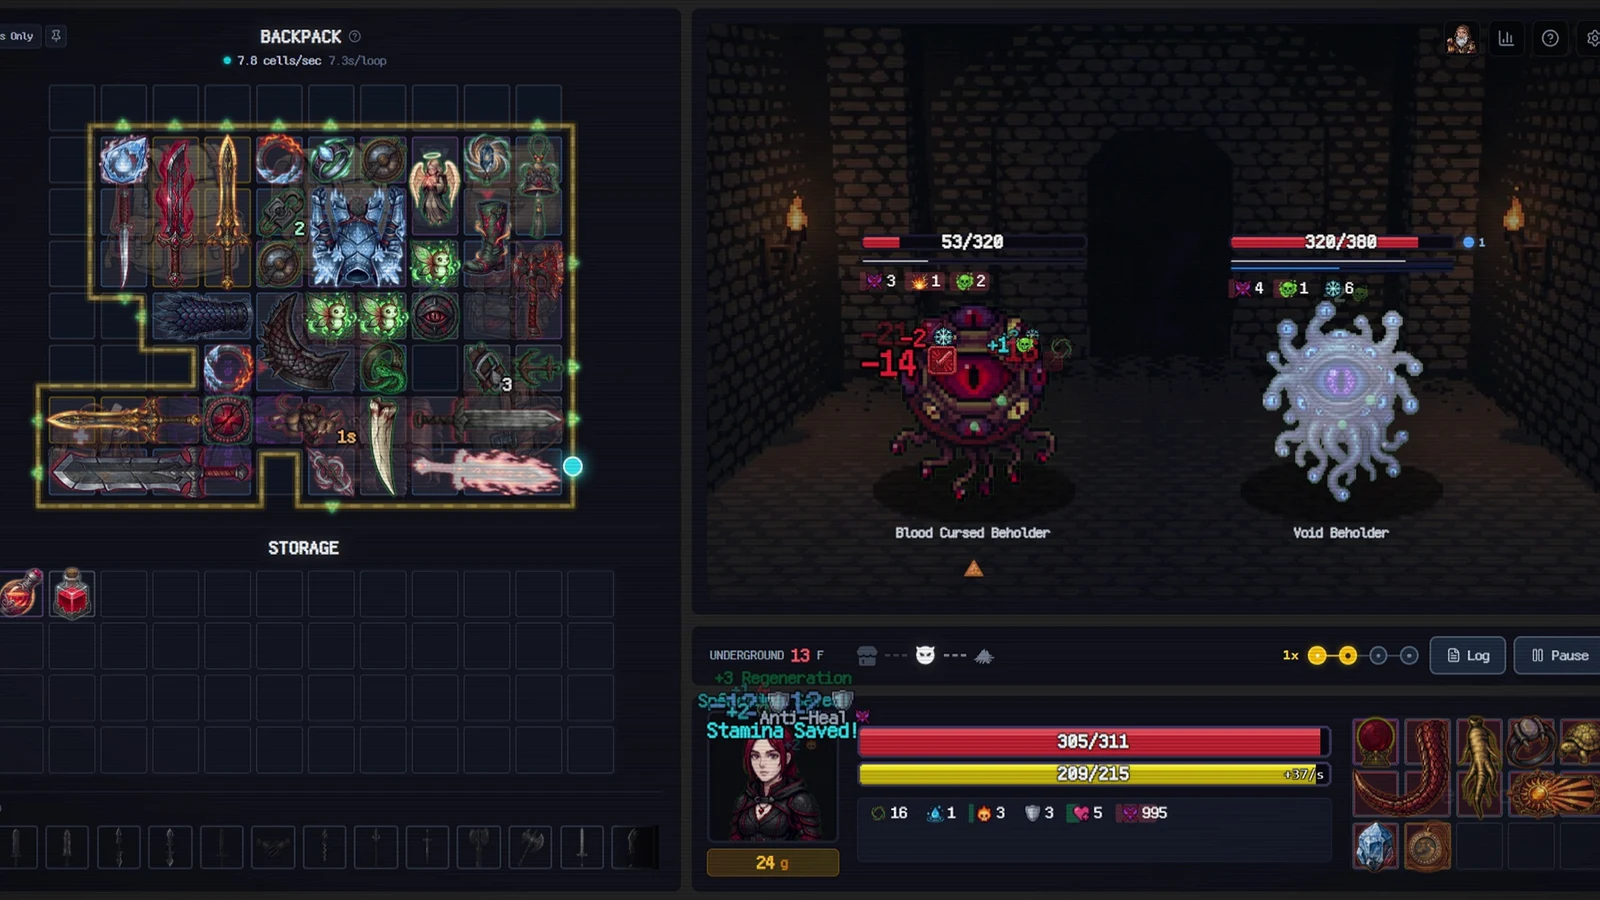
In Backpack Dungeon, the grid is the build. Combat runs on its own once a fight starts, and a trigger ball travels a path through your backpack, setting off whatever it touches along the way. Stats matter, but position matters more. A strong sword sitting one tile off the path does nothing at all.
Quick answer: Put every weapon and its supporting accessory directly on the trigger ball’s path, then shorten that path with pocket bags so the loop repeats faster.
The pixel-art roguelike from developer 夜喵 and publisher Shuffle Play Games arrived on Steam in July 2026 with a free demo, 50 achievements, and 20 difficulty levels. A single run takes you down through numbered Underground floors, and each floor gives you one shopping window to fix your layout before the next fight resolves itself.
How the trigger ball turns your backpack into an attack loop
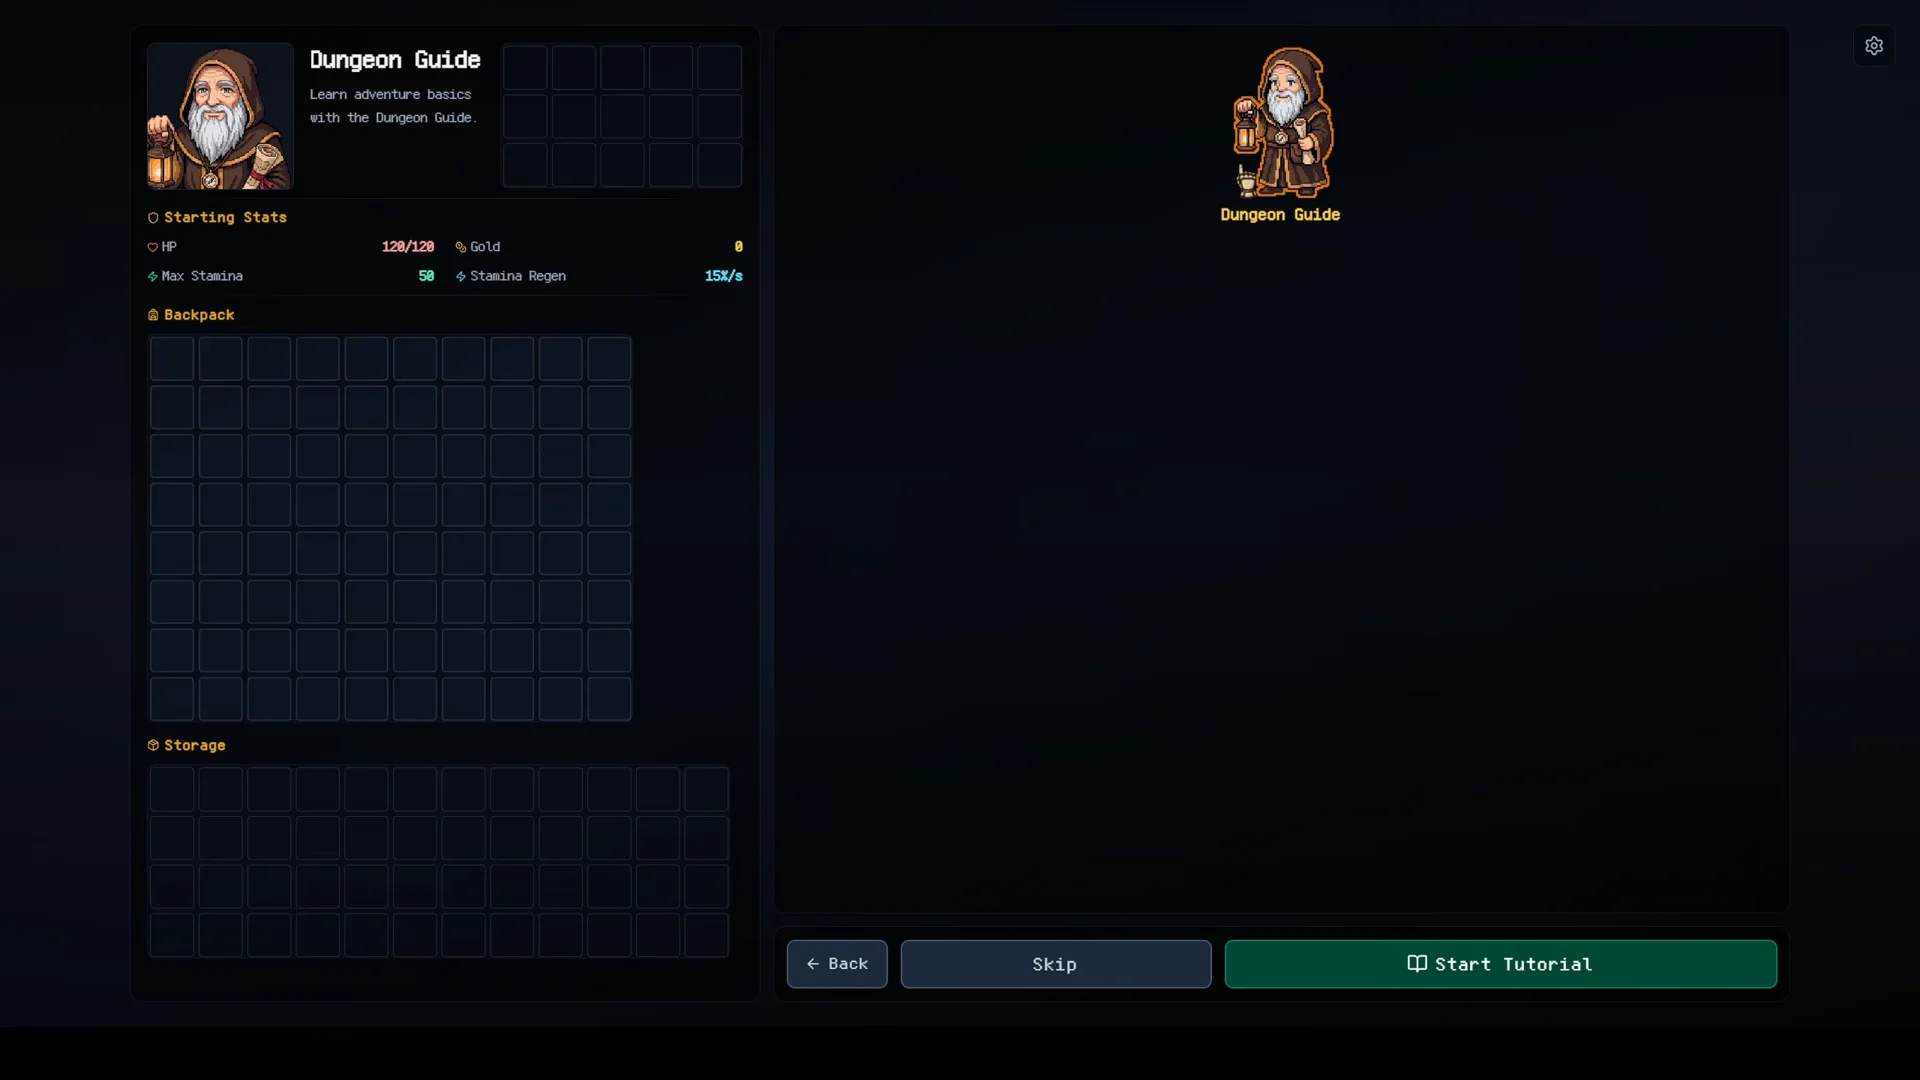
Everything starts with a bag in the active slot. The tutorial hands you an Explorer’s Backpack, and once it is placed, the Iron Sword and Whetstone go inside it so the trigger ball can activate both during battle. The ball moves along a track, hits the items on that track, and repeats. That loop is your entire damage output.
Ranged weapons follow the same rule with an extra dependency. A Short Bow needs Feather Arrows placed with it, so the ball activates the weapon and its ammunition in the same pass. Relics work differently. They sit in dedicated relic slots rather than on the track, and there is a separate non-battle relic bar for effects like the Alchemist’s Heart that apply outside combat.
Consumables are yours to fire manually. Dragging a Health Potion onto your character heals mid-fight, and a Stun Bomb can lock down a target long enough for the loop to finish it, which is exactly how the tutorial Goblin at 42 HP goes down without a scratch.
Backpack controls and shortcuts for fast layout edits
You will rearrange the grid dozens of times in a run, so learn the handling early. The controls below cover everything the tutorial teaches about moving items and reading them.
- Drag multiple items at once instead of moving them one tile at a time.
- Shift the entire layout with the arrow keys when you need room for a new bag.
- Press
Sto toggle the “Bags Only” view and rearrange containers without their contents getting in the way. - Hover or double-click an item to read its stats and craft recipes.
- Open the help screen for the full hotkey list and the status effect reference.
Rotate weapons before you commit to a spot. Orientation changes which tiles an item covers, which changes whether the track reaches it.
Spend souls on meta upgrades before you enter
Souls carry over between runs and are spent on the character selection screen. Finishing the tutorial and claiming the “Into the Dungeon” achievement gives you 1,000 Souls to start with, which is enough for two or three early upgrades.
Useful first picks include Free Shop Refreshes Per Floor, Post-Battle Gold Increase, Stamina Regen Increase, Max Stamina Increase, and Starting Gold Increase. The shop refresh and gold upgrades matter most because your build quality is limited by how many item options you see per floor. Five classes are available in total, Adventurer, Priestess, Assassin, Ranger, and Wanderer, and each has its own meta growth track and starting craft recipes.
The floor loop: Shop, map, battle, loot, rest
Every Underground floor follows the same rhythm, and treating the shop as the decision point rather than the fight is what keeps runs alive.
Shops and relic shops
Standard shops sell weapons, accessories, bags, and crafting ingredients. Buy for a specific synergy rather than raw stats. A War Drum, Metronome, and Strength Emblem all push physical and medium weapon damage, while a Frenzy Gem, Dragon Fang, and Lucky Doll stack buffs that are already active when combat starts. Dragon Fruit does the same thing for Frenzy at the opening of a fight.
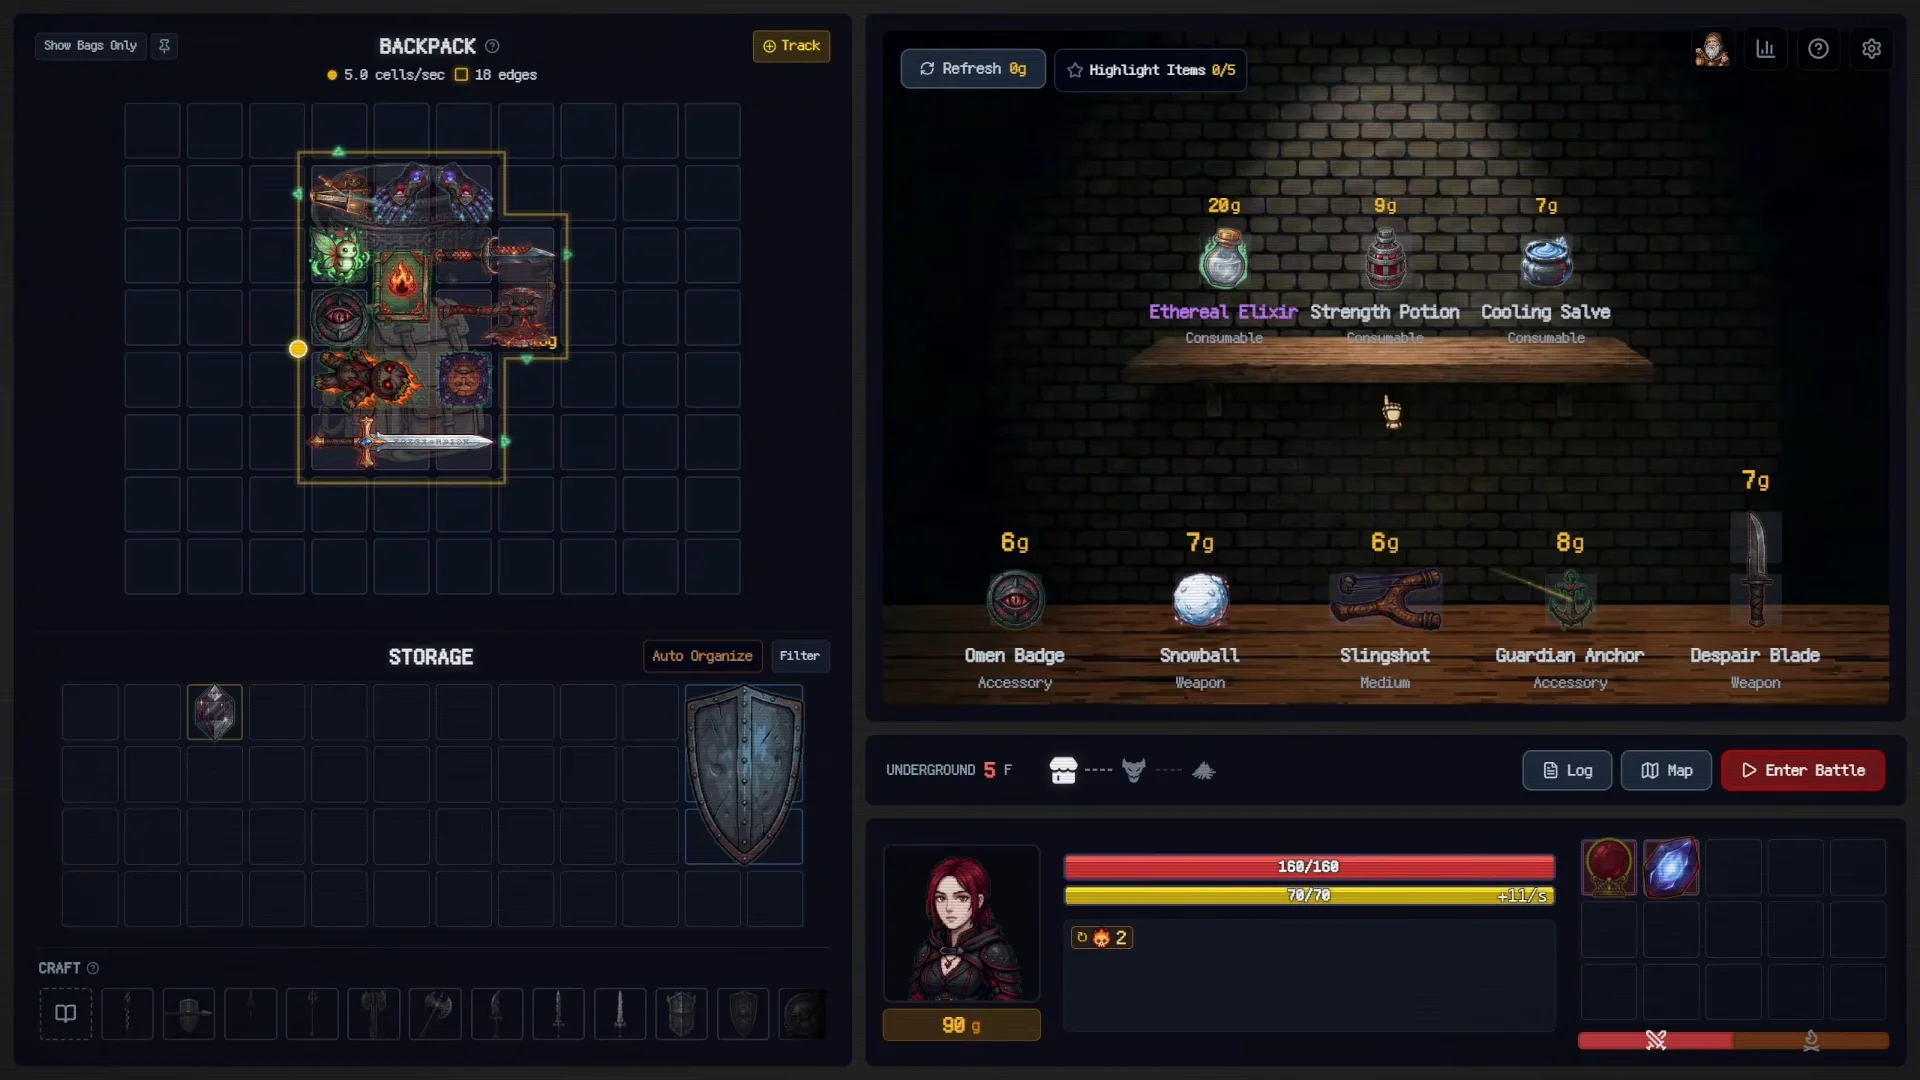
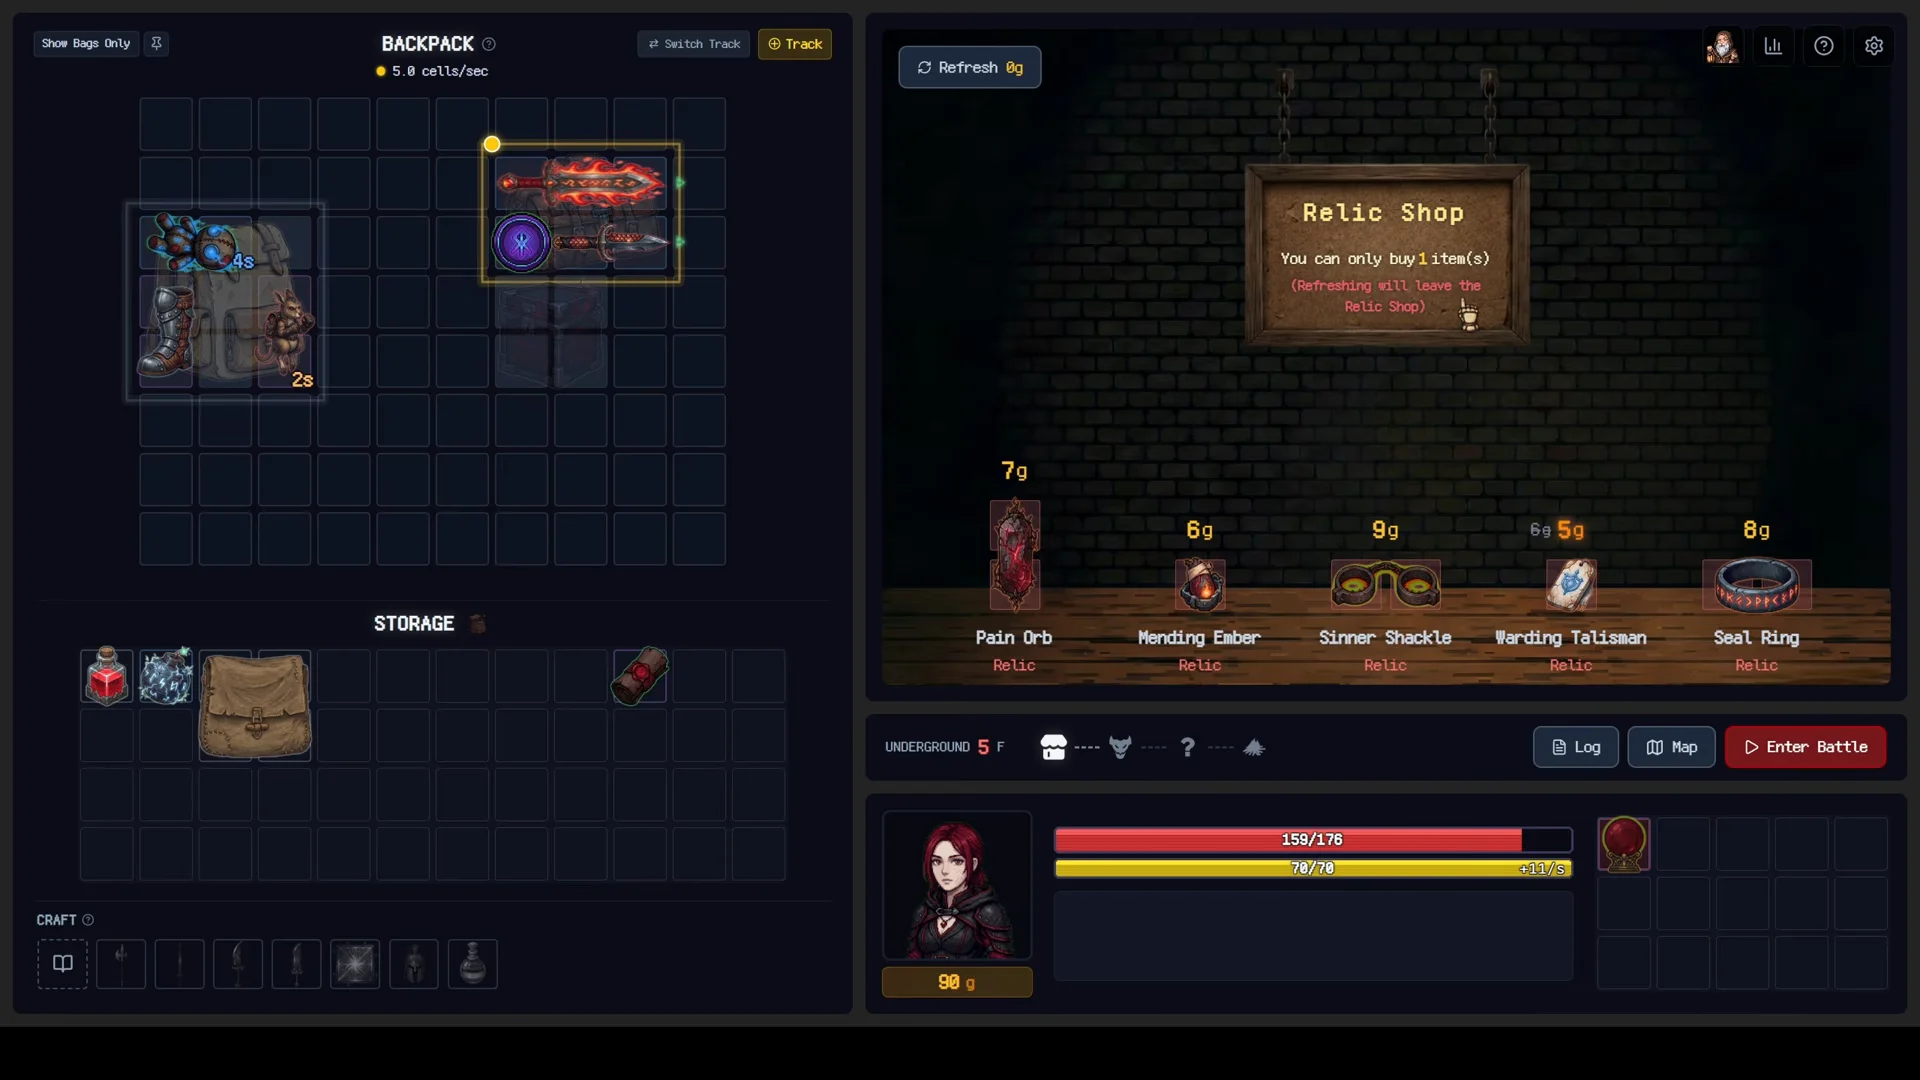
Relic shops appear on their own floors and sell passives only, such as the Ancient Mana Crystal, Battle-Mending Heart, Thorn King Crown, and Seal Ring. Relics never occupy grid space, so they are a clean way to add power when your backpack is already full.
Scout the map before you enter a fight
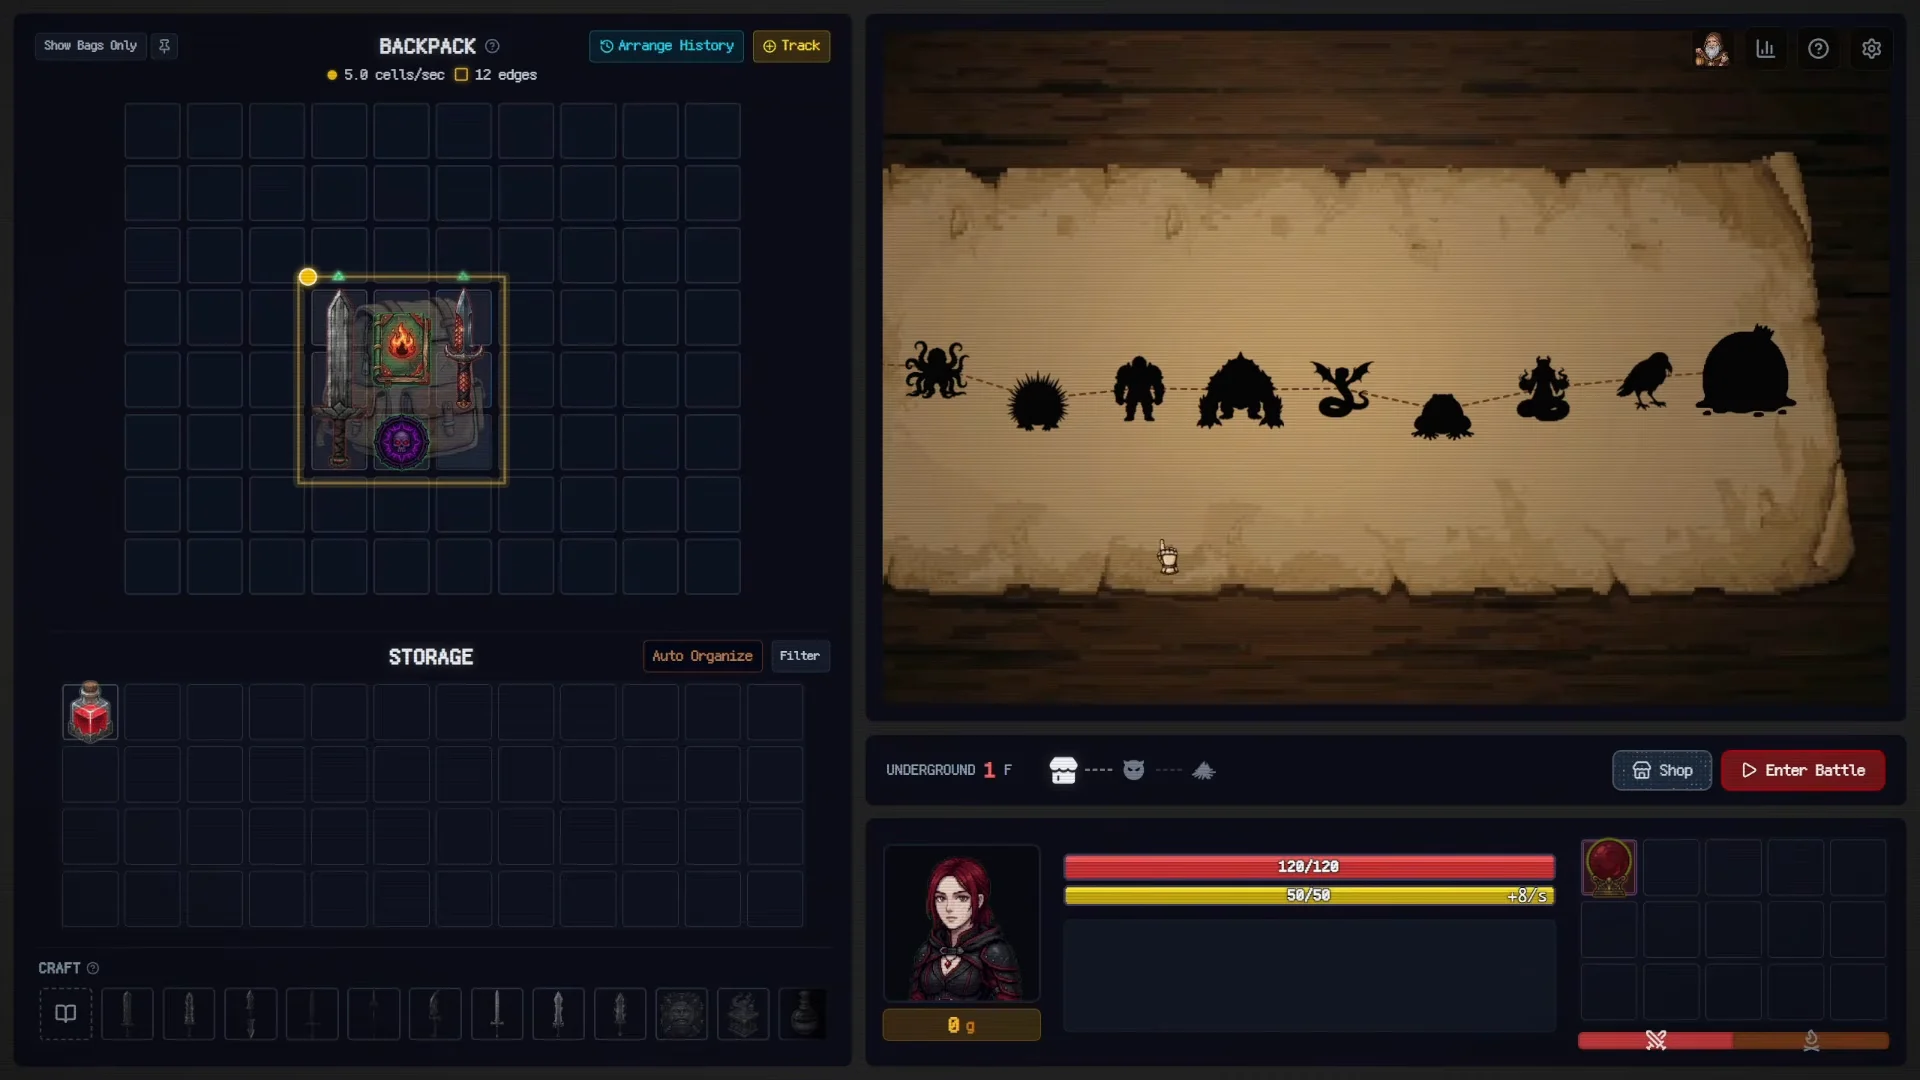
The Map button shows the encounters ahead and lets you inspect enemy stats before you commit. That preview is how you spot a wall in advance. The Shark-Lizard Beast, for instance, sits at 160 Armor with an Invincible skill, so you want a fast repeating loop that chips through armor stacks rather than a single heavy hit.
Rest sites and events
After each victory you loot and then reach a rest site with two options. Exercise gives +5 Max Stamina, Meditate gives +20 Max HP. Take stamina while your loop is still short and cheap, then swap to health once your triggers are firing often enough to carry fights.
Events break up the pattern. The Phosphor Card Keeper runs a 6×6 memory matching minigame on a 90-second timer, and clearing it opens a secret coffer with item choices. The Nameless Trader barters, taking a spare weapon in exchange for an accessory. An Ancient mirror can duplicate an item you are carrying, and a Ragged Traveler asks for food, which you can only satisfy if you have fruit on hand.
Bags that change trigger timing and grid space
Bags are not storage. They are timing tools. A smaller pocket bag creates a shorter track, and a shorter track means the trigger ball comes back around sooner.
| Bag | What it does |
|---|---|
| Explorer’s Backpack | Main container for the active slot |
| Pocket Pouch | Shortens trigger tracks, speeds up activation intervals |
| Travel Bag | Cheap early expansion, 10 gold |
| Arcane Pocket | Adds two slots |
| First Aid Kit | Restores HP per orbit of the ball |
| Black Box | Holds accessories in their own track |
Later floors add more containers, including the Treasure Basin, Void Interlayer, Sacred Pouch, and Void Pouch. Whenever you add one, expect to redraw the whole layout. Bag adjacency and rotation change which items sit on which track, and a new bag dropped into a working build can easily push a weapon off its path.
Crafting combinations that upgrade your engine
Combining items is how you keep damage scaling without adding more grid clutter. Double-click anything in the shop or your bags to see what it feeds into before you spend gold.
| Result | Ingredients |
|---|---|
| Flame Sword | Iron Sword + Embers |
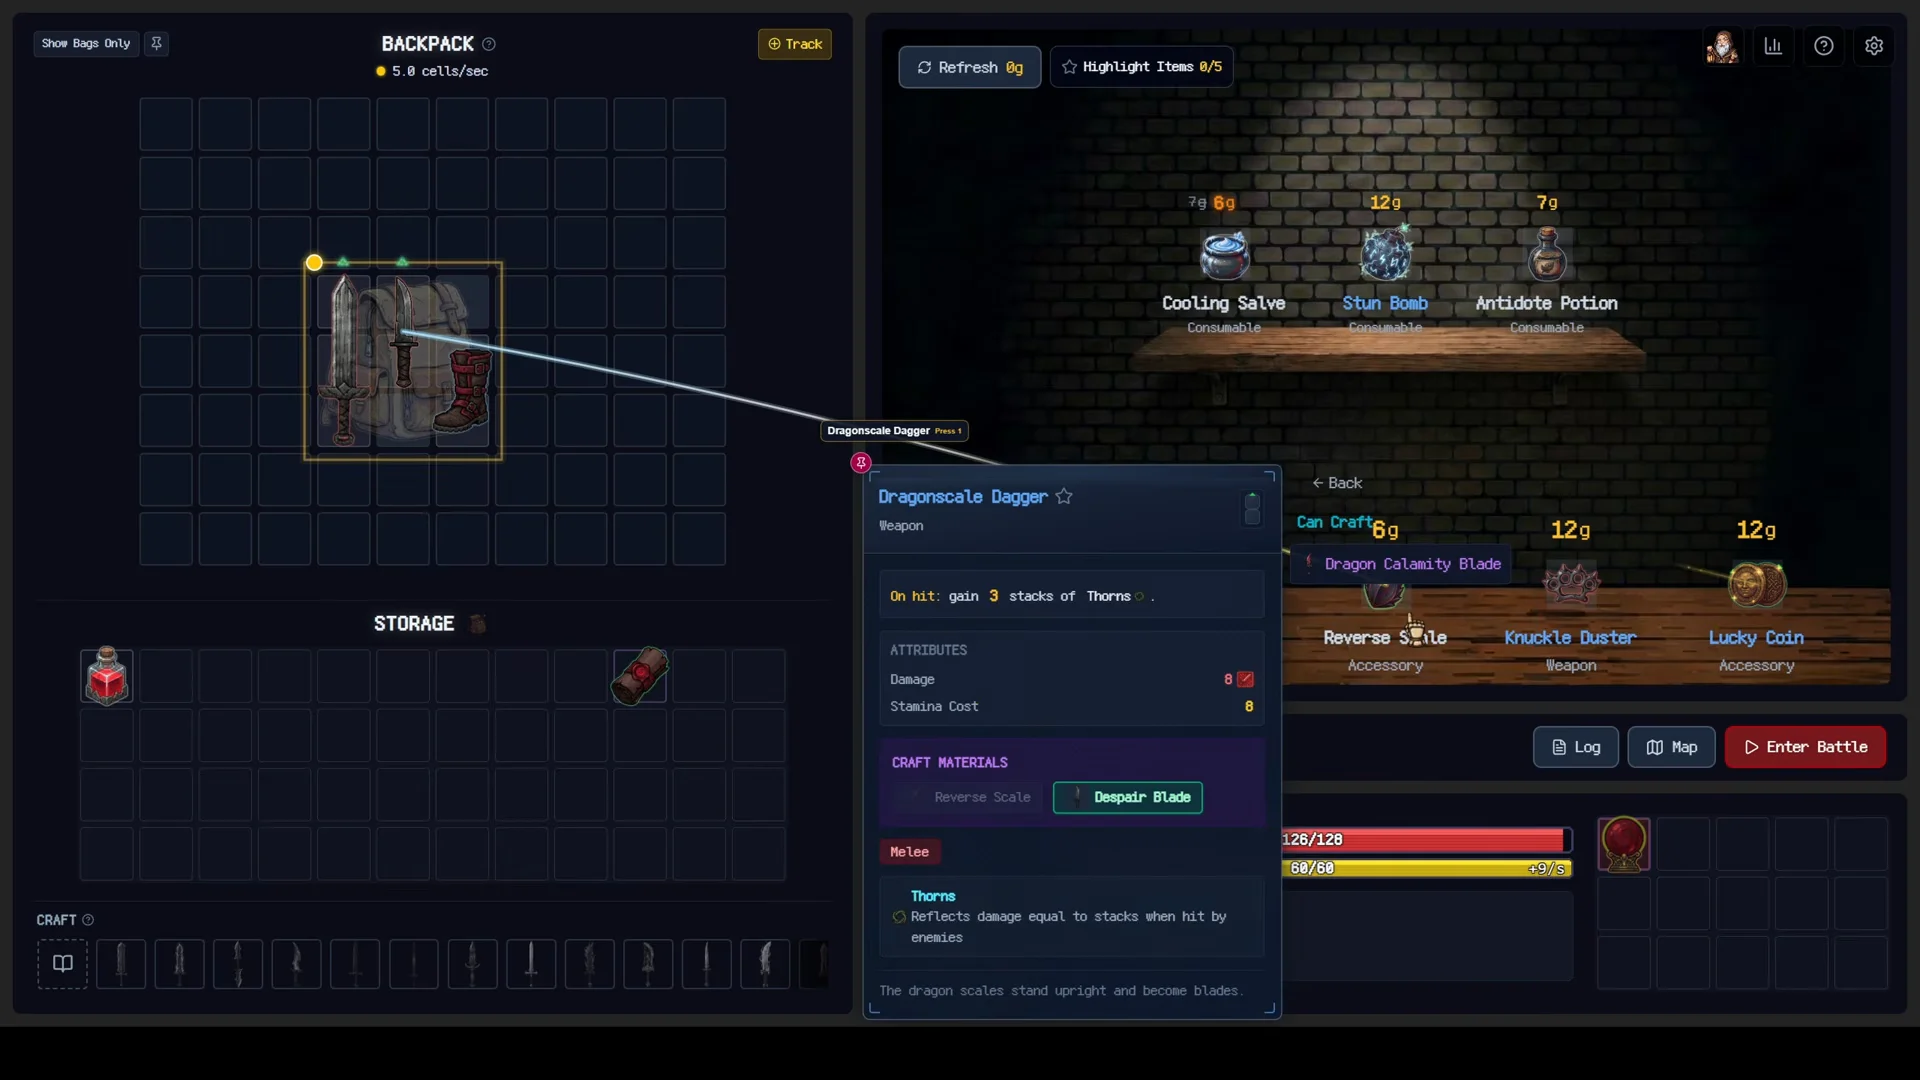
| Dragonscale Dagger | Iron Sword + Reverse Scale |
| Silence Stone | Brick + Dark Emblem |
| Frost Dart | Snowball + Throwing Dart |
| Frostflame Wheel | Blazing Dart + Frost Dart |
| Advanced Health Potion | Health Potion + Health Potion |
Some crafts change how fights play out rather than how hard you hit. The Silence Stone adds an interrupt chance to weapon triggers, which shuts down enemy skills mid-cast. That is what makes a trio of Living Armor enemies collapse quickly. Leather Boots branch into Ironwall Boots and Rampage Boots, a Holy Emblem leads into the Sacred Sword, and a Frenzy Gem feeds the Frenzy Sword.
Fix a backpack that stops attacking
The most common run-ending mistake is not a weak weapon. It is a broken link. Entering a Tentacle Monster fight with poorly connected triggers means the weapons never swing at all, and the fight is lost before you can react, leaving the Revive option as the only way forward.
You know the layout works from the battle itself. A functioning loop shows the ball activating each weapon in sequence, with damage numbers appearing on every pass. The clearest confirmation is a fight that ends with your health bar untouched, which registers as a Perfect Battle. If a weapon sits silent through a whole encounter while everything around it fires, it is off the path, and no amount of extra stats will fix that.
Treat each floor’s shop as a chance to rebuild rather than top up, and the grid stops being an inventory problem and starts behaving like a machine you tune. The runs that fall apart are almost never the ones with bad loot. They are the ones where a good item was sitting in the wrong square.





