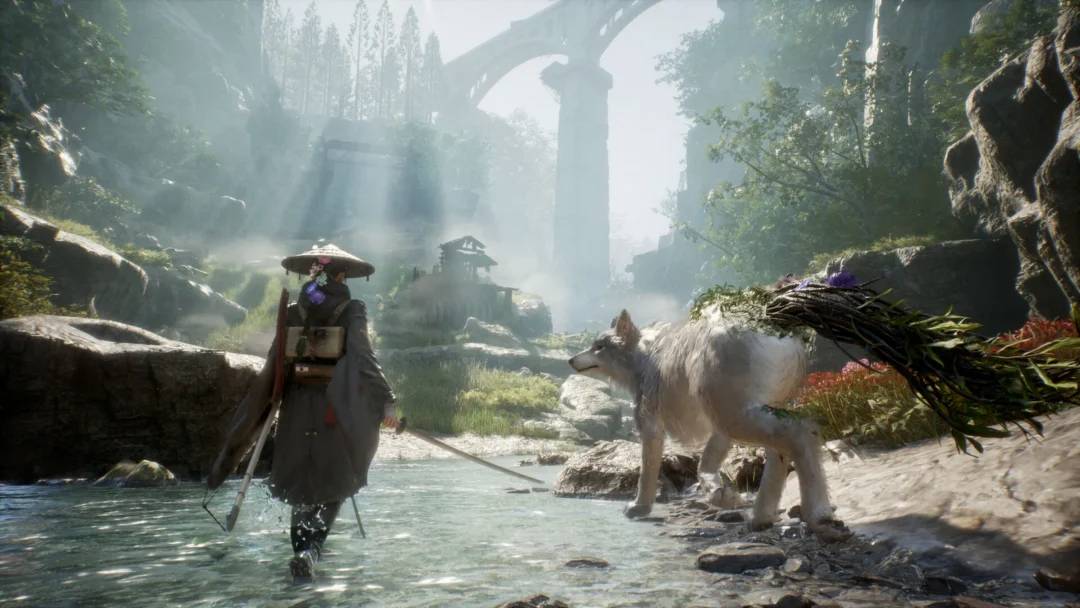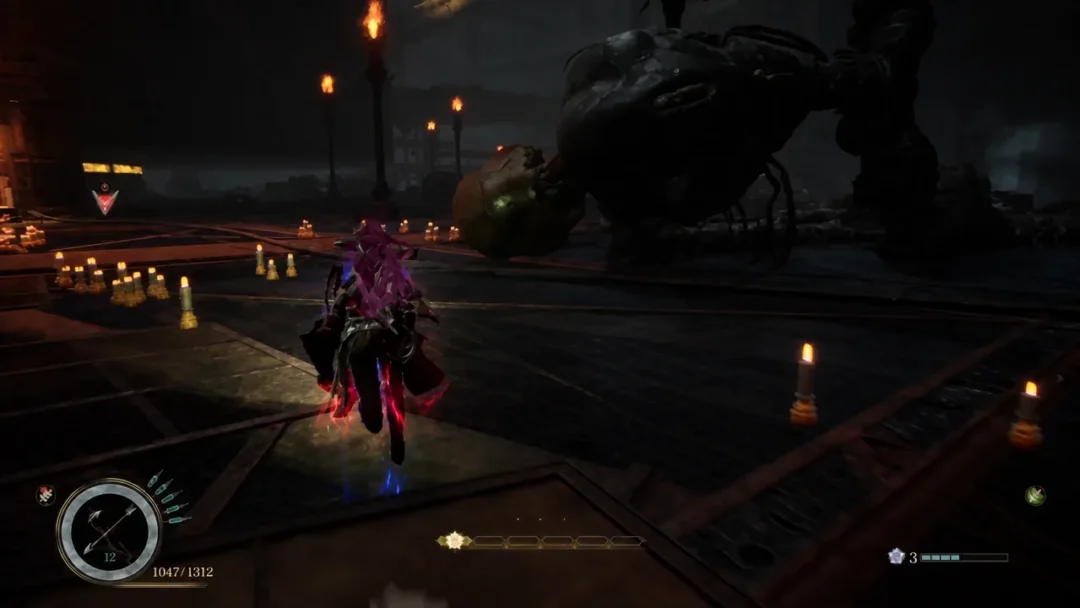
Chapter 1 Seedling drops Emma and Koo into the Ogouchi Buffer Zone, a sprawling stretch of blighted forest where you learn the game’s core combat and hunt down the region’s Nushi, a giant stag called Rangifer. The path forward is mostly linear, but the map hides camps, keys, and crafting materials worth grabbing before each boss. Here is the exact order of events to reach the end of the chapter.
Quick answer: Investigate the village, find the Subcity 01 entrance, defeat the Door Golem to earn the Zangetsu Bow, then fight Rangifer at its lair. After two flashbacks and a return to Subcity 03 for the Red, Blue, and Yellow Keys, you fight Nue Malefact and finally defeat Rangifer a second time to close the chapter.
Chapter 1 objective order
The chapter runs through three boss encounters and two flashback segments. Use this list to track where you are before diving into the details below.
| Objective | Key reward or event |
|---|---|
| Opening combat tutorial | Learn Blade Arts and Koo’s abilities |
| Investigate the Village | Talk to the Rusted Golem |
| Find the Subcity 01 entrance | Parry tutorial, first Campsite |
| Defeat the Malefacts on the tower | Death from Above tutorial |
| Clear the Golems and Door Golem | Zangetsu Bow |
| Chase the Nushi to its lair | Chain Mail, first Rangifer fight (Lv. 9) |
| Flashback: Hunt the Pale Malefacts | Perfect Dodge tutorial |
| Head to Subcity 03 | Red Key, Cirrus Sword |
| Find the Blue and Yellow Keys | Opens the Sealed Lair |
| Flashback: Ogouchi Colony | Nue Malefact fight (Lv. 16) |
| Defeat Rangifer | Chapter ends, Sakura Blade Art unlocked |
Prologue and combat tutorial
The game opens with a gauntlet of enemies that you cannot lose. Treat it as a sandbox. Practice parrying and cycle through Koo’s Bloom Arts freely, since his point meter stays maxed for the whole run. Follow the on-screen prompts to break enemies apart with Blade Arts, and use Koo’s follow-up attacks, which briefly pause the action while you pick a move.
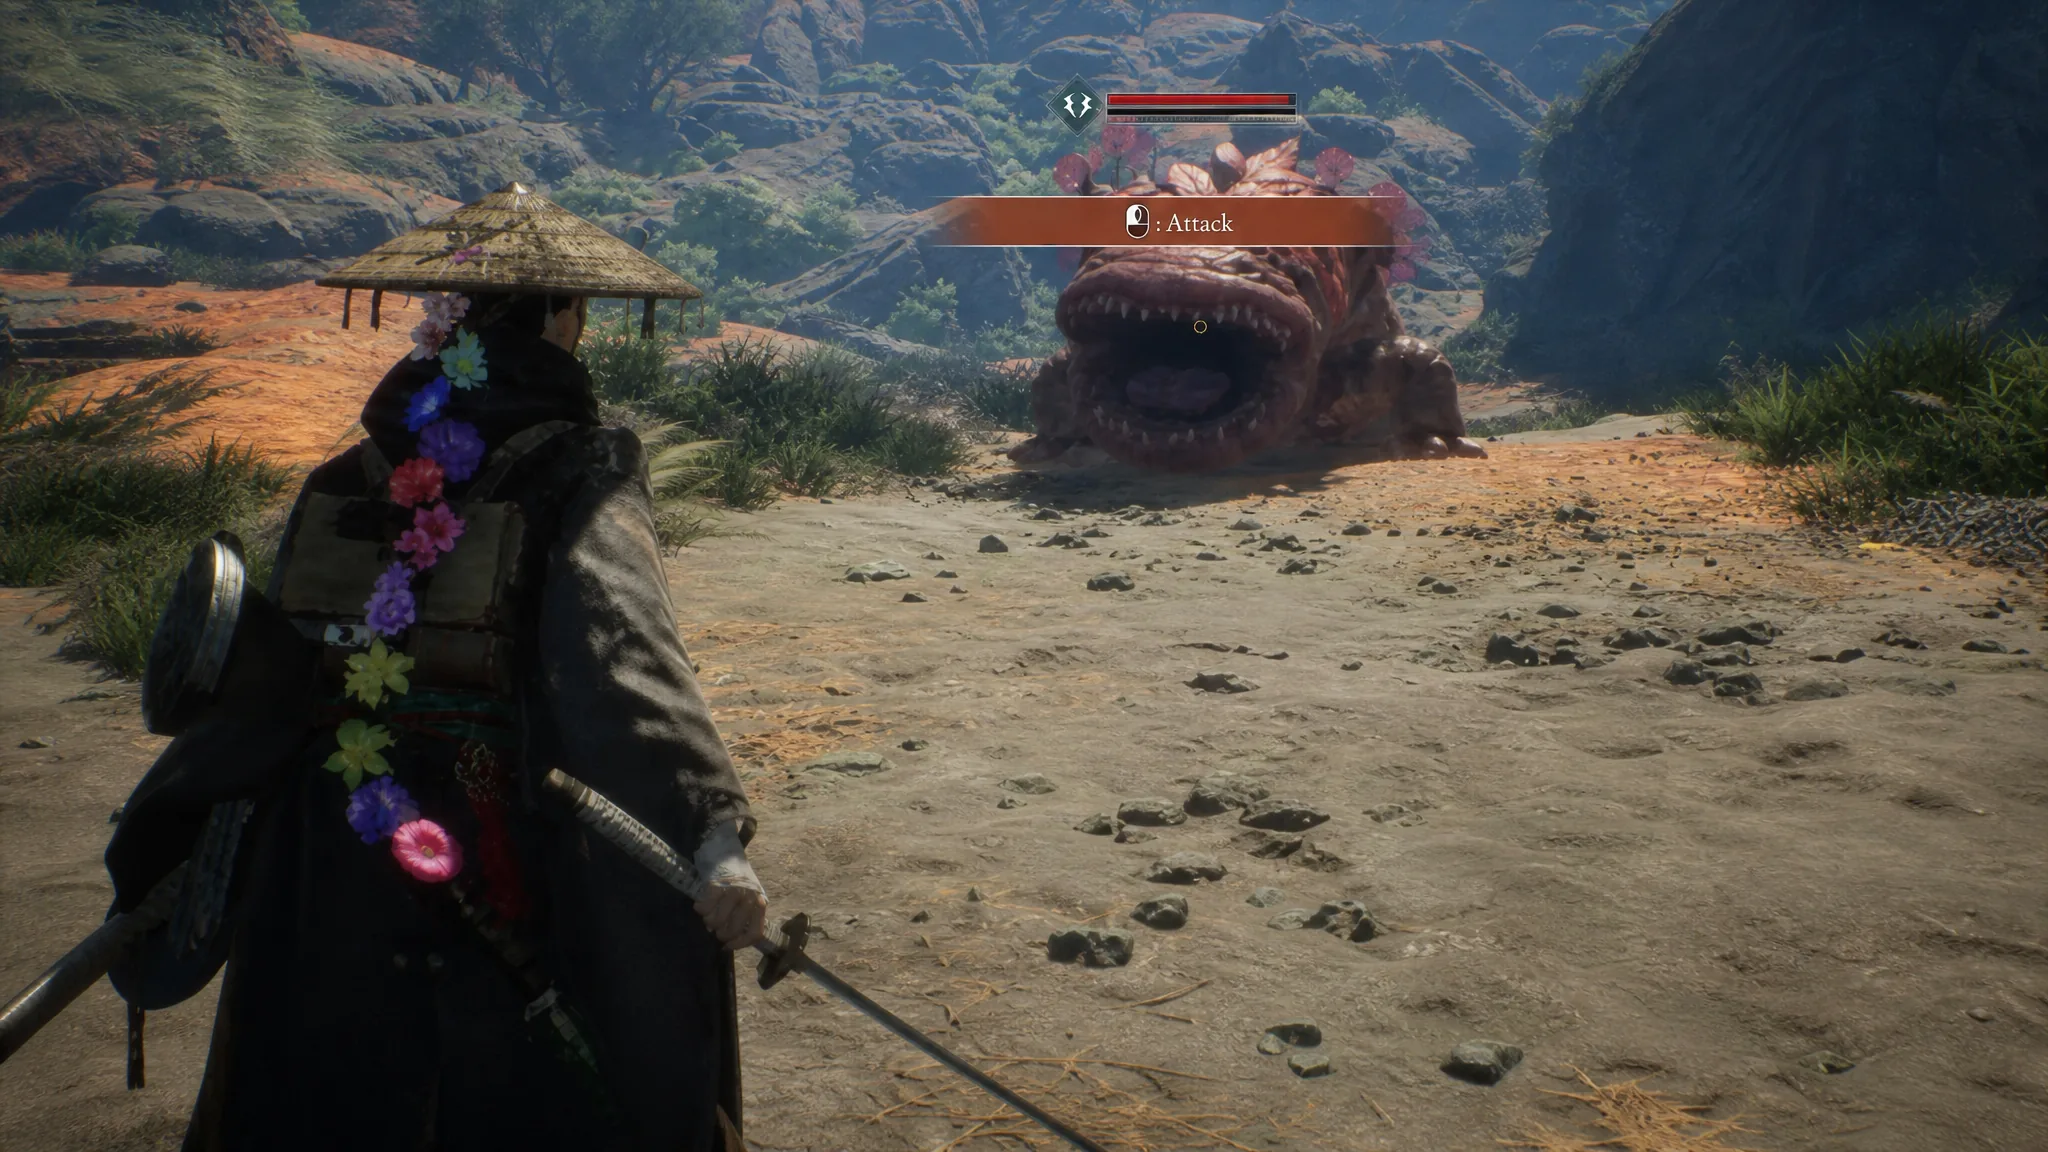
You will eventually leap to higher ground, shoot flying enemies with your crossbow, and face a helmeted rival named Shidou before the story rewinds to the start of Emma’s journey.
Investigate the Village
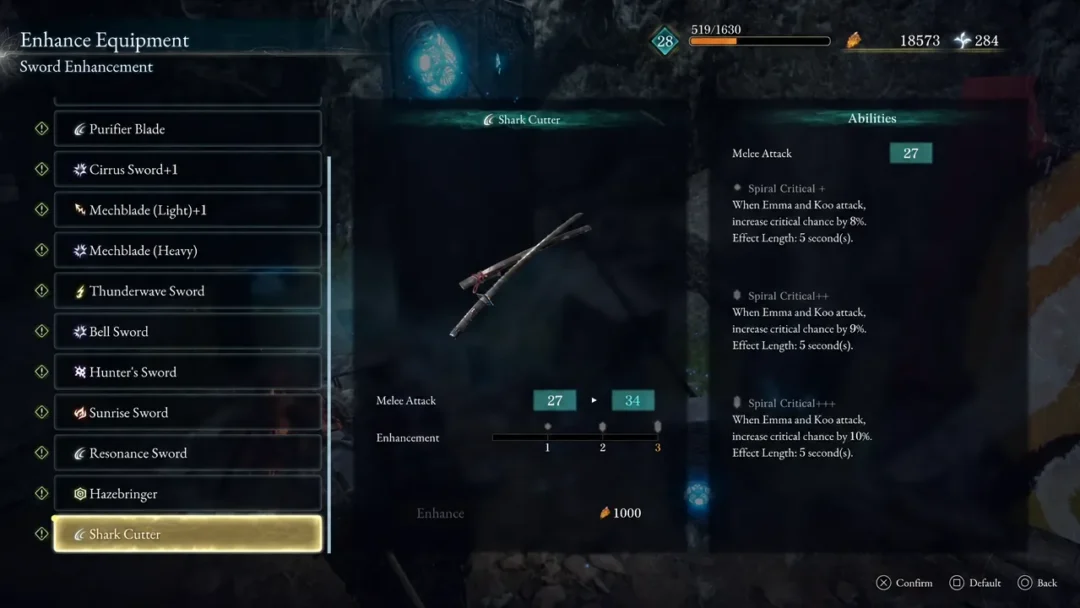
Run down the hill and unlock the Campsite you pass along the way. Campsites let you rest to restore health, save the game, fast travel, level up Attributes, unlock skills, and enhance equipment. Resting also cooks certain foods like meat and fills the Hunger meter, which slowly restores health when it is not empty.
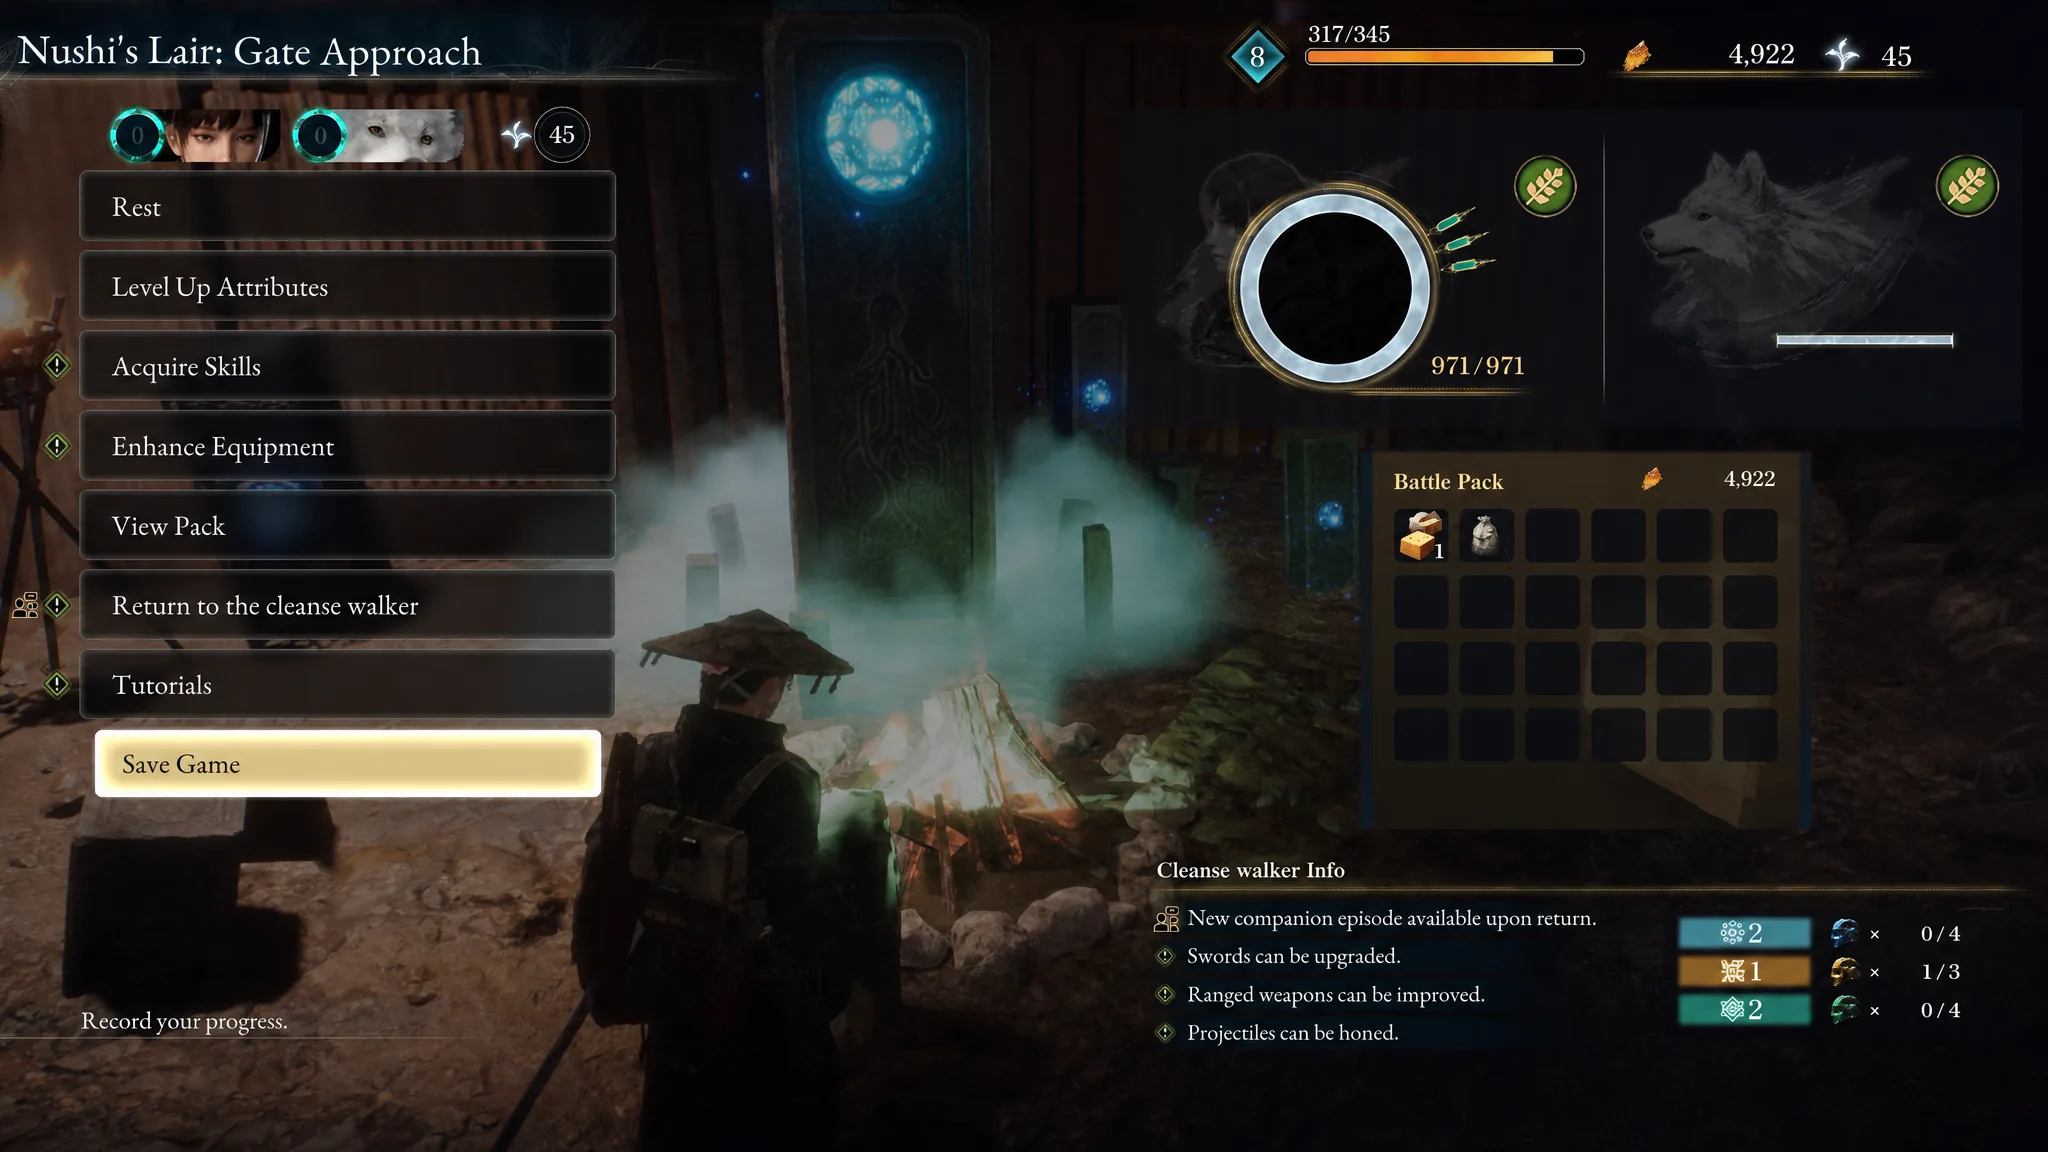
Fight through the corrupted Golems and reach the ruined house holding a dying Golem. Talking to it points you toward the foreman of a nearby subcity, who has details on the Nushi you need to seal.
Find the Subcity 01 entrance
The subcity entrance sits roughly 215 metres from the Golem you just spoke to. A bear bursts from the ground the moment you leave the shack. This is your parrying tutorial, and you need to parry twice to win. Koo’s scent color helps you navigate: blue means your objective is far, red means you are close.
Loot the surrounding buildings for boxes of Amber, the game’s currency. Follow the path north until you reach a bridge guarded by a shield-carrying Golem. Break the shield with Koo’s Higanbana: Bloom, then use Emma’s hair to cross the ravine and unlock The Village by the Bridge Camp.
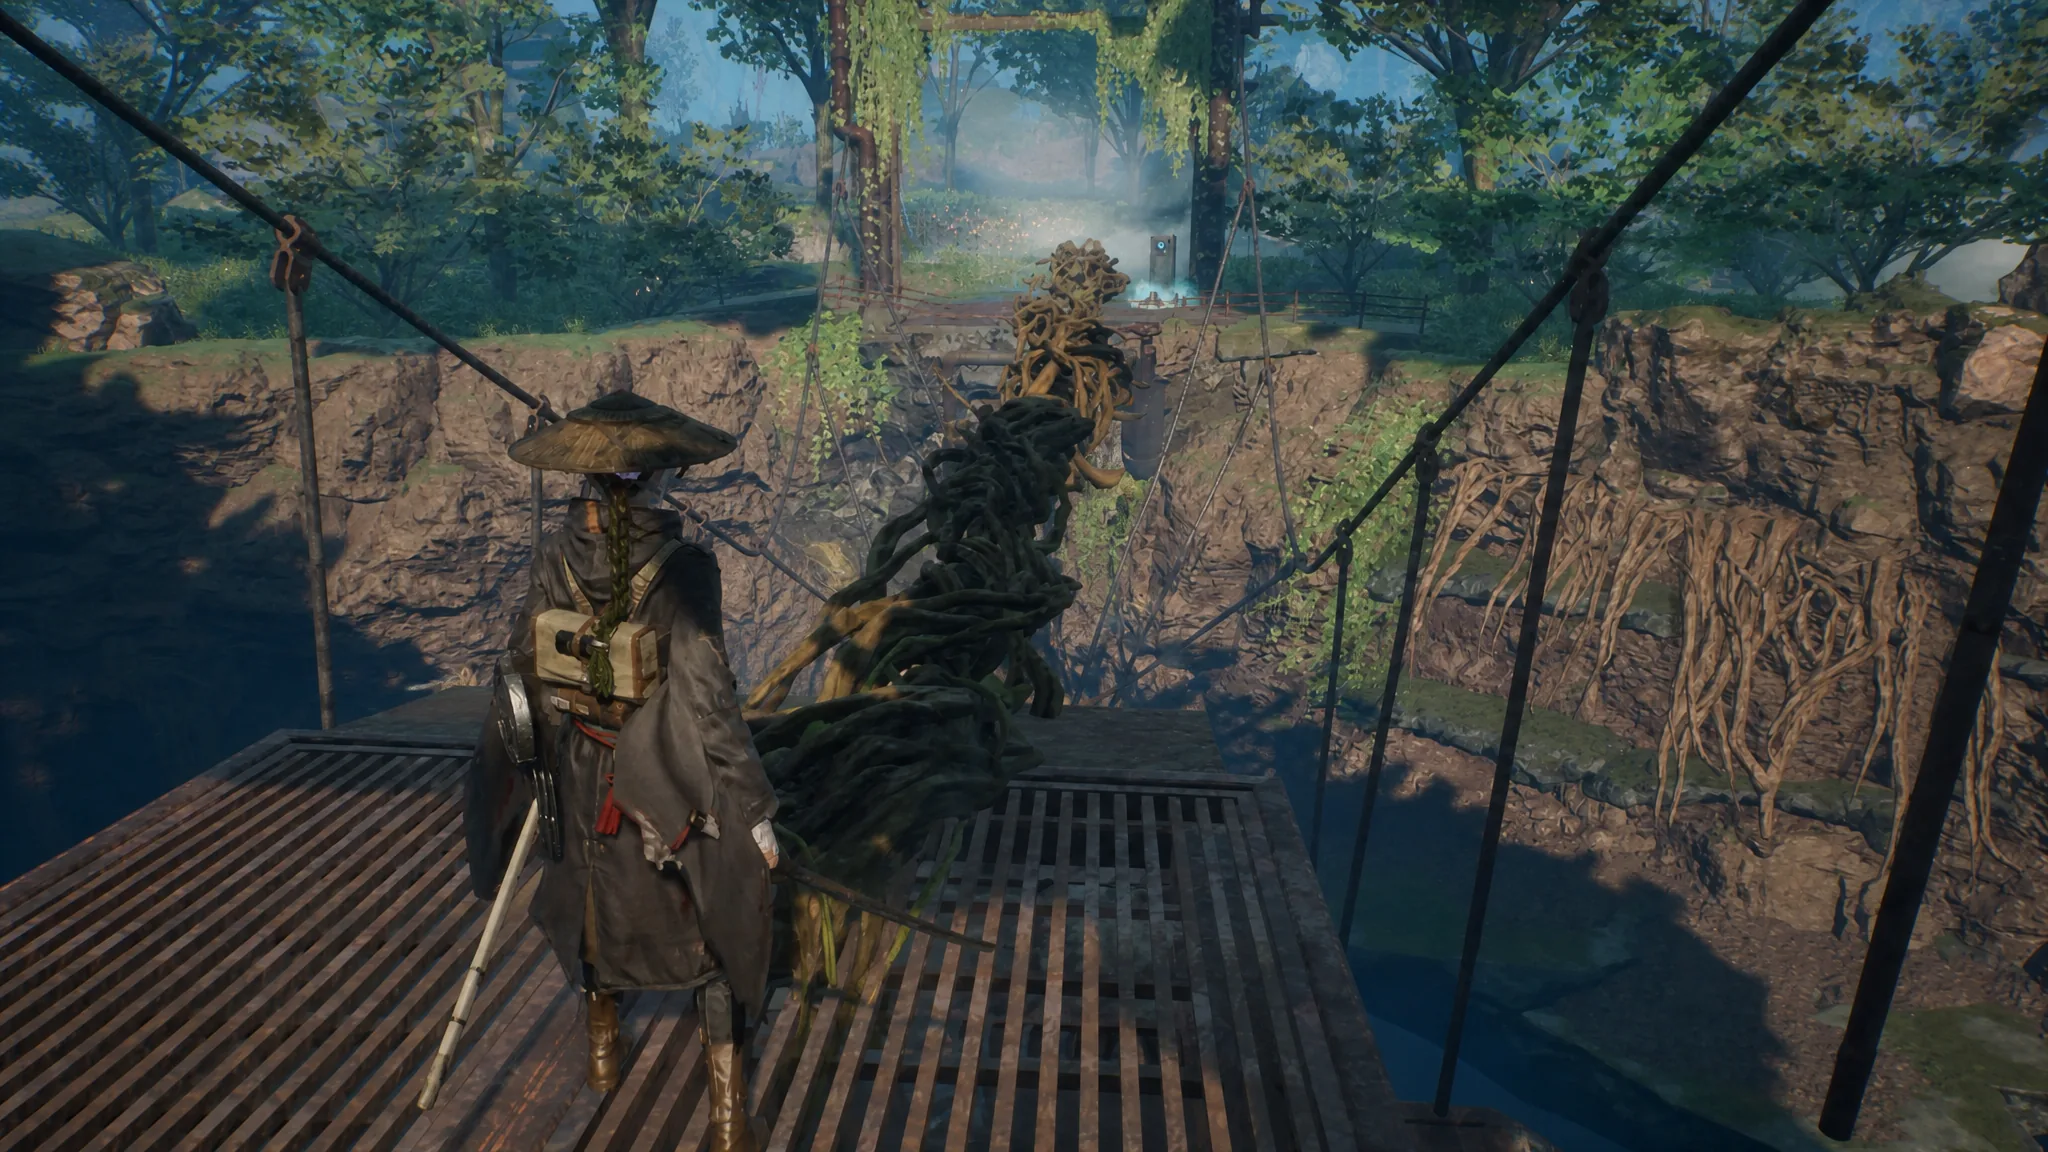
After the camp, the sun sets and the Blight rises, sprouting new trees and tougher enemies. A deer and a bear rush you. Kill them fast. The deer drops Malefact Meat, which cooks when you rest at a Camp and refills the Hunger meter.
Death from Above tutorial
Keep moving north until you stand atop a tower with three enemies below: a deer, a bear, and an Elite bear. Grapple with Emma’s hair to form a bridge, then drop down for the Death from Above attack. A regular sneak attack from above is an insta-kill, but the Elite bear survives it, though its health drops sharply.
Target the Elite bear first, since it is the strongest of the three. Once it falls, clean up the fast-attacking deer and the harder-hitting second bear. Loot every body, and the Blight lifts from the forest afterward.
Continue north to a tent holding an Onslaught Spirit Stone worth equipping. Turn the nearby wheel to open the underground door, then descend to the Subcity 01 Entrance Camp.
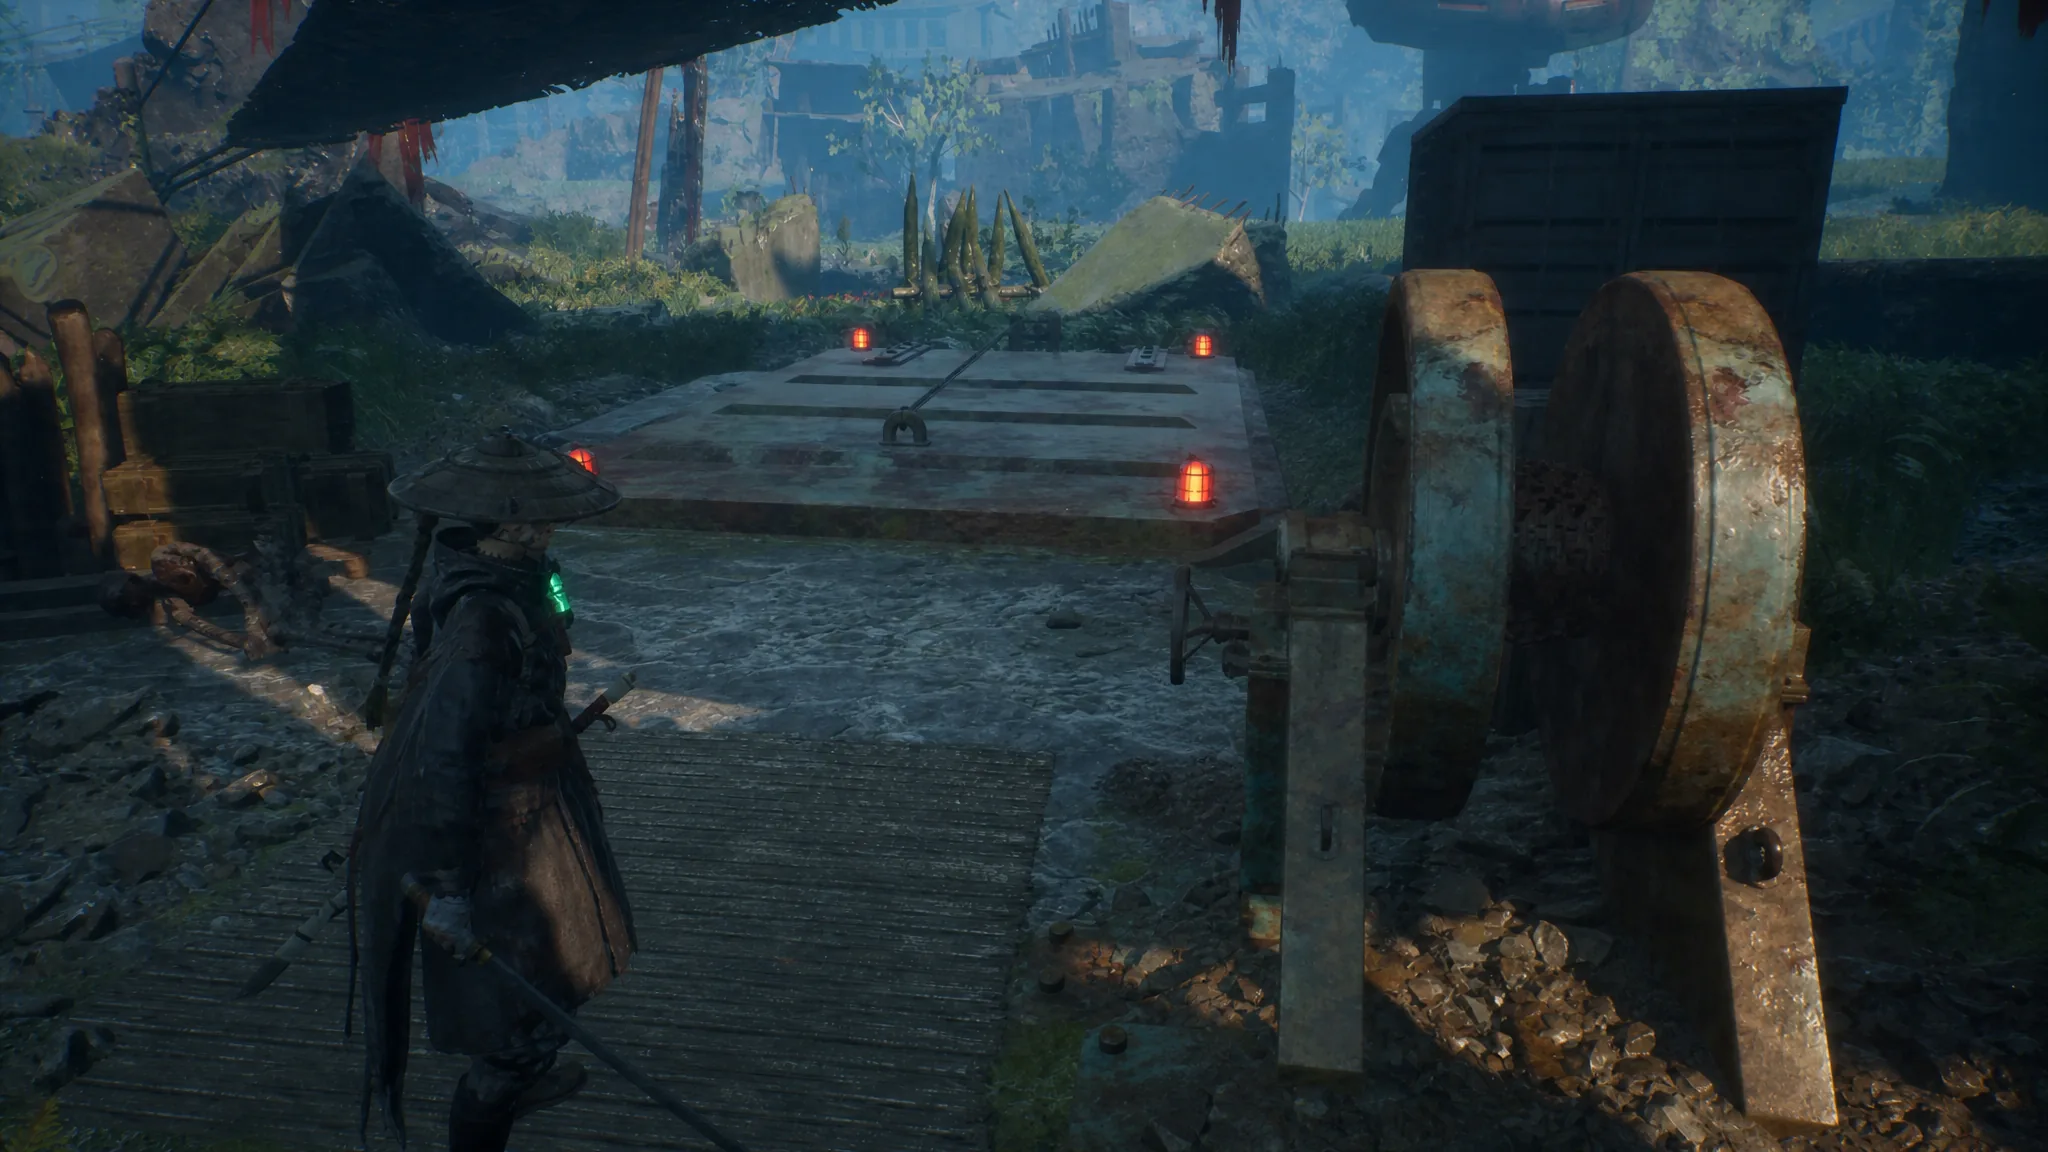
Clear the six Golems and the Door Golem
Six Golems patrol the areas inside the subcity. Use Emma’s stealth and grapple to high ground to insta-kill them from above without melee. One shield-carrying Golem stands near a tent holding an Electronic Brain, a Cleanse Walker upgrade you should not skip. There is also a strongbox on the second floor of a small building, reached by jumping across the containers.
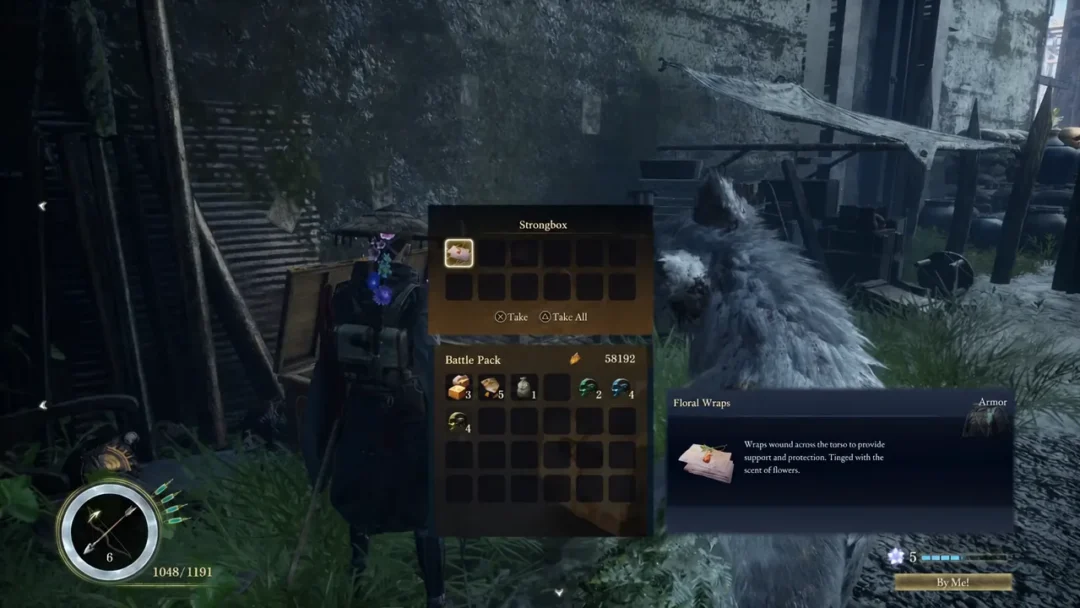
After all six fall, a green door opens onto the Door Golem, an Elite enemy. Before fighting it, grapple to the roof of the wooden structure ahead for a strongbox containing a Memory Chip. Open strongboxes by pressing the matching directional inputs before the timer runs out.
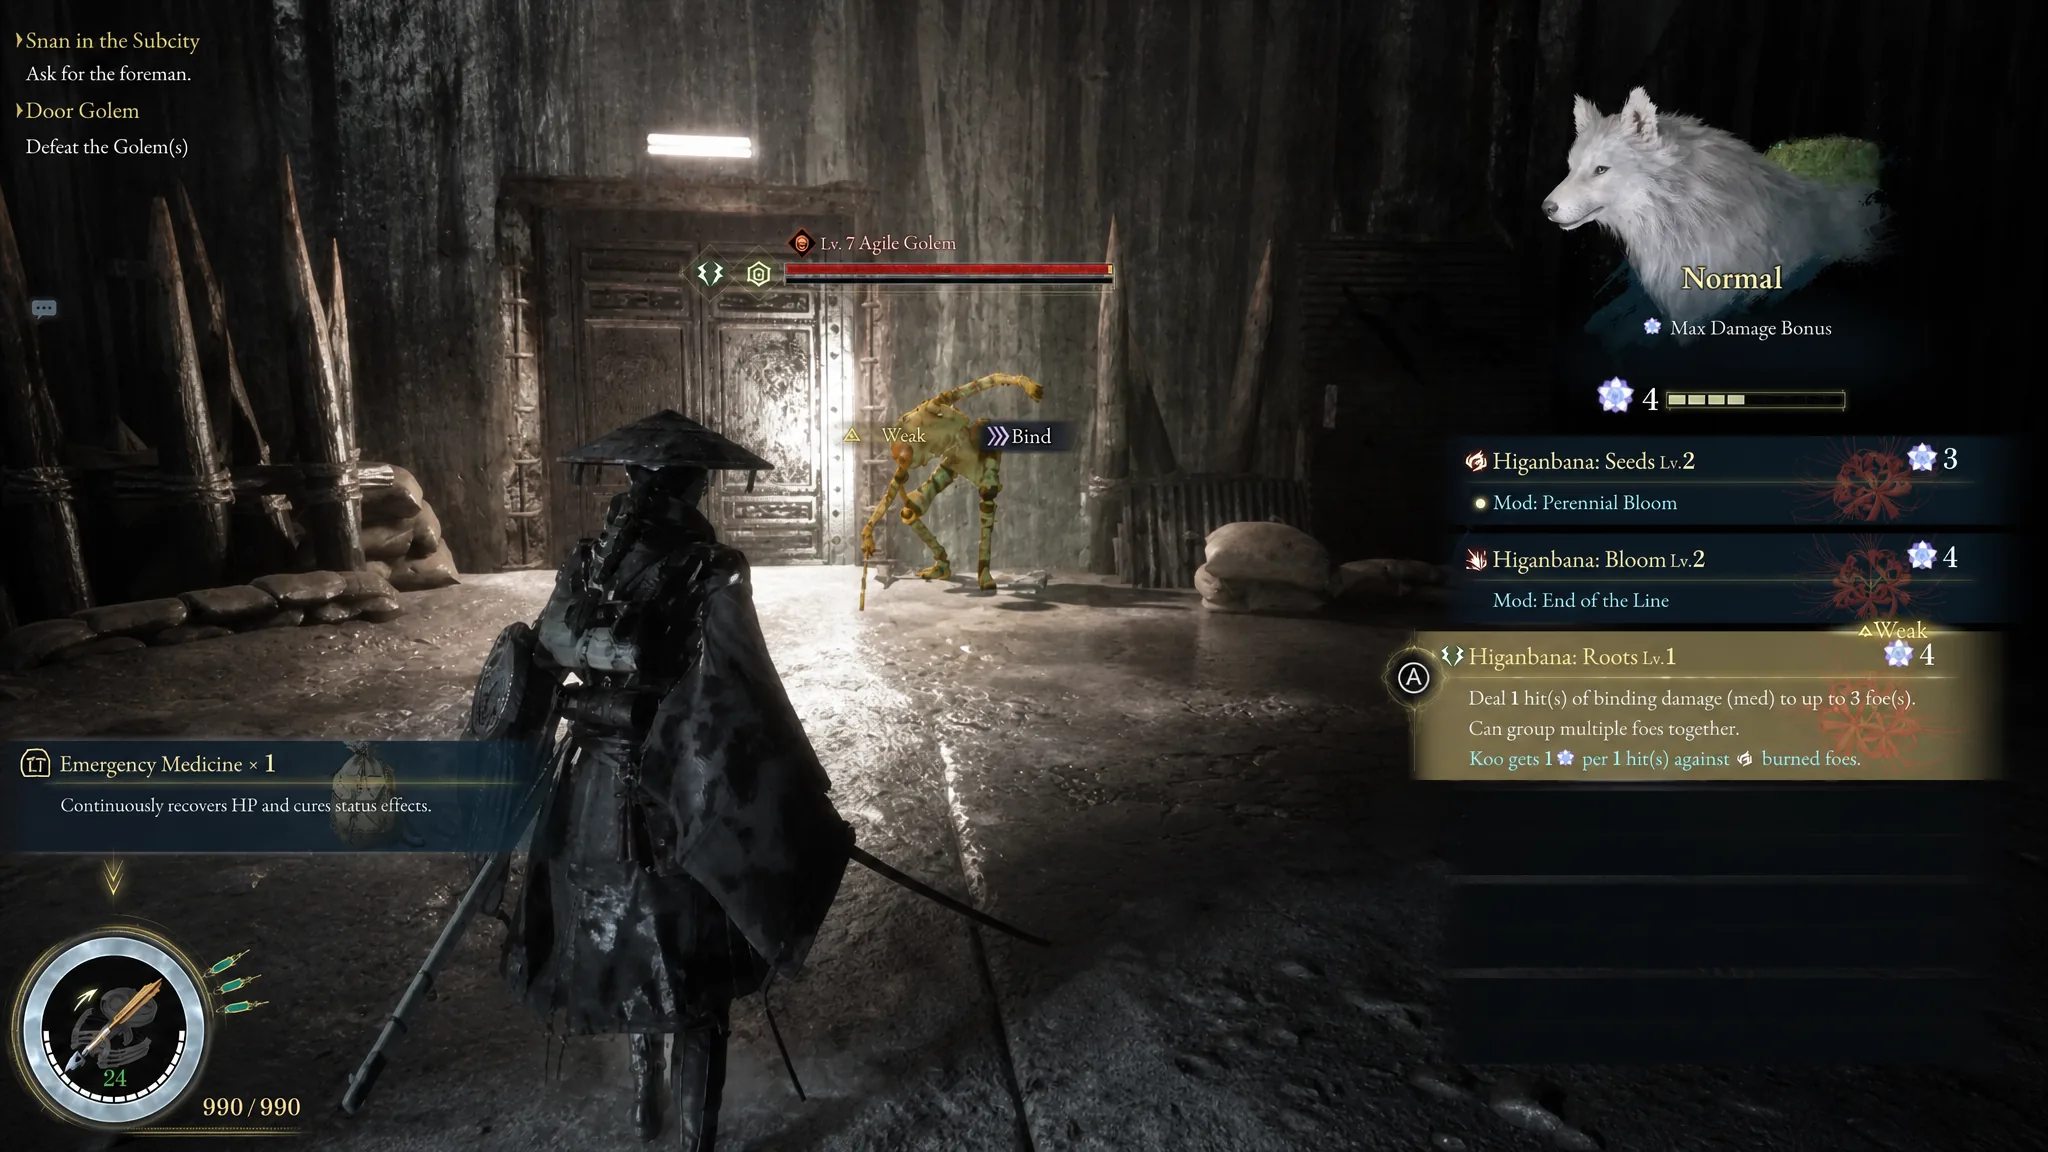
The Door Golem is fast, wields a sword, and can chain up to five hits. Use Koo’s Higanbana: Roots to bind it in place for free hits, and parry as many attacks as you can to stagger it. It favors long-range lunges, so let it come to you, defend, land your hits, then jump away.
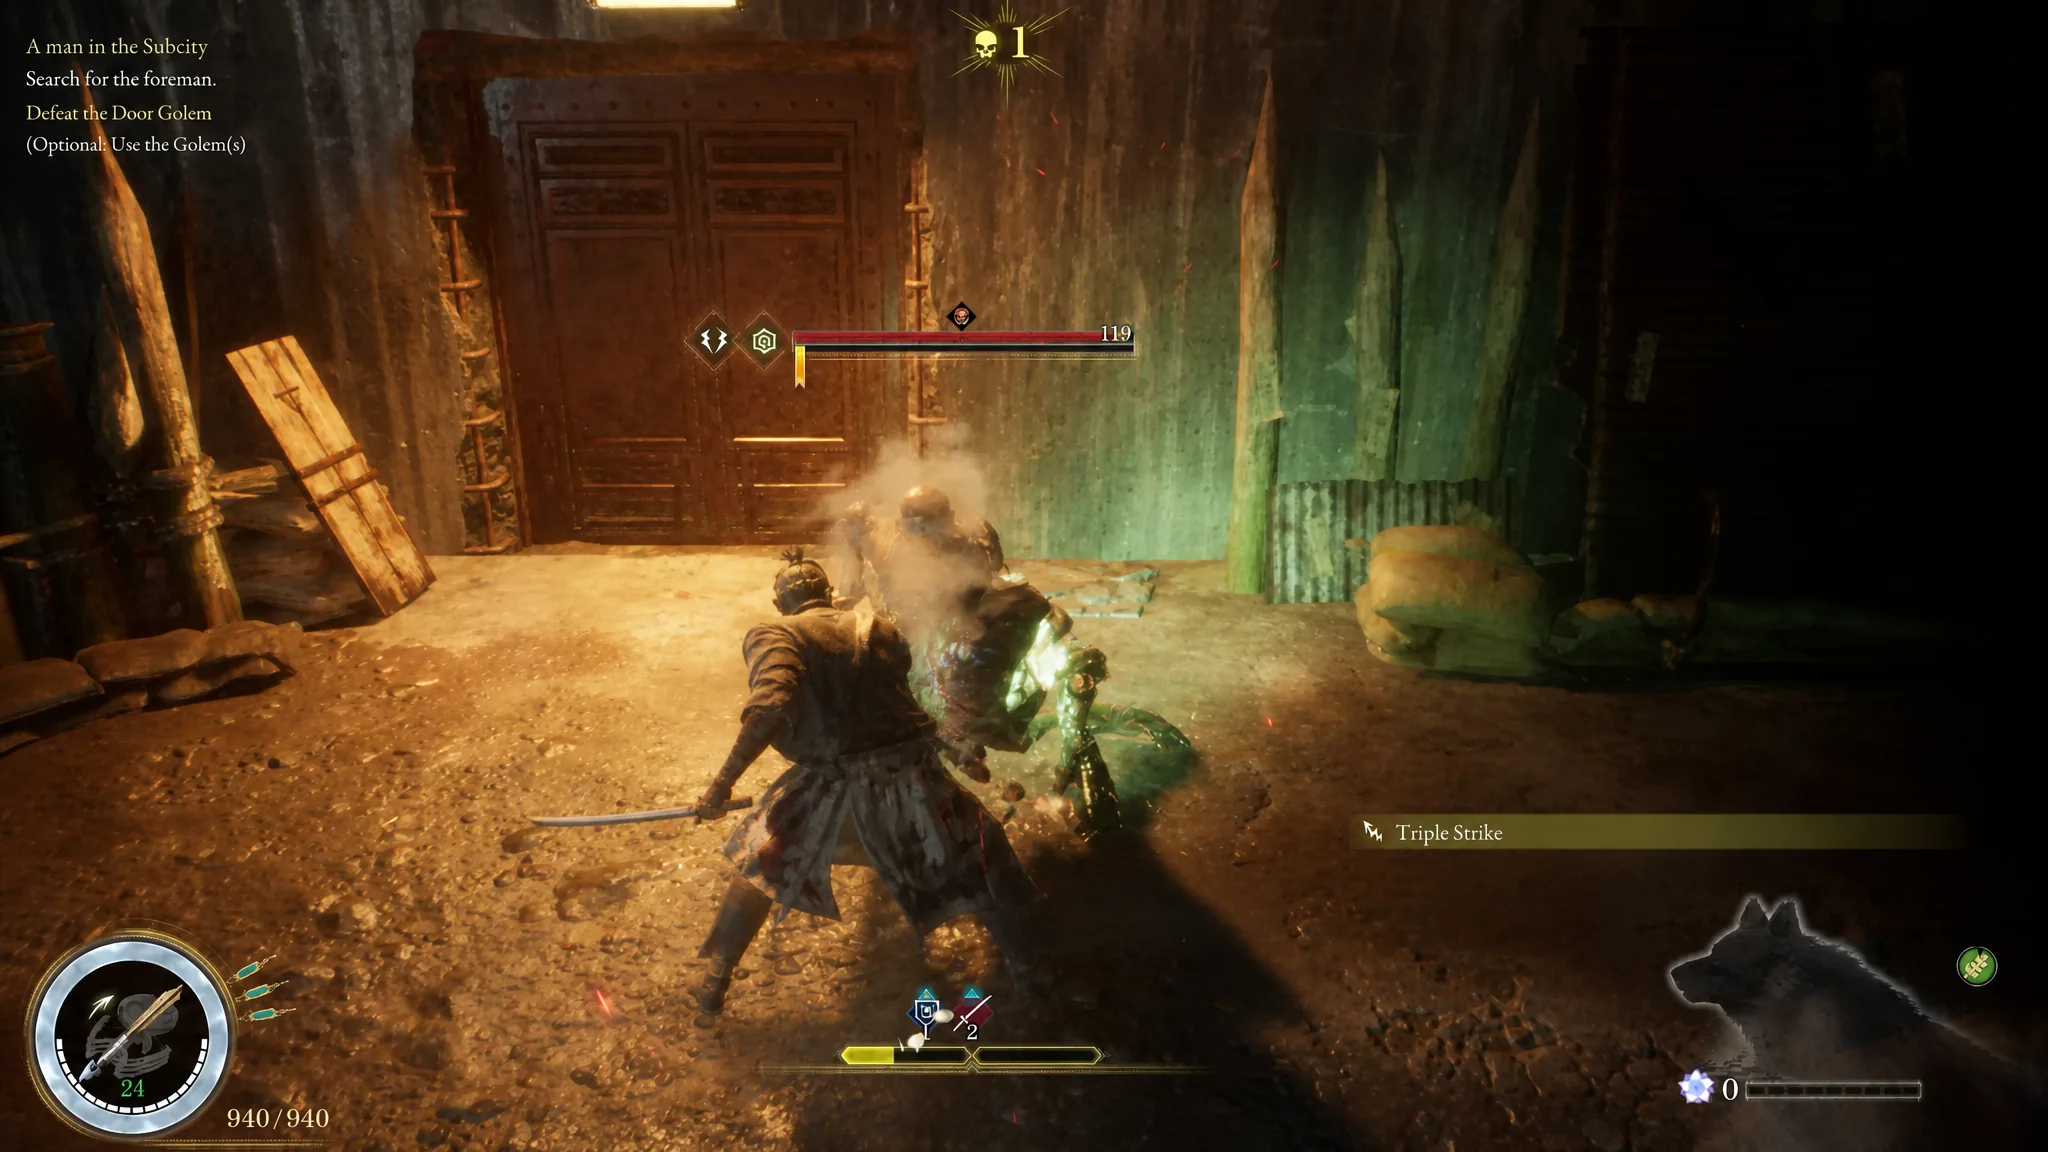
With the Door Golem dead, enter the next room, grab the Amber-filled strongbox, and speak to the Broken Golem for the Zangetsu Bow. Complete the short shooting tutorial by hitting the five vases. The Zangetsu Bow holds less ammo than your crossbow but deals more damage over longer range, at a slower fire rate.
First Rangifer fight at the lair
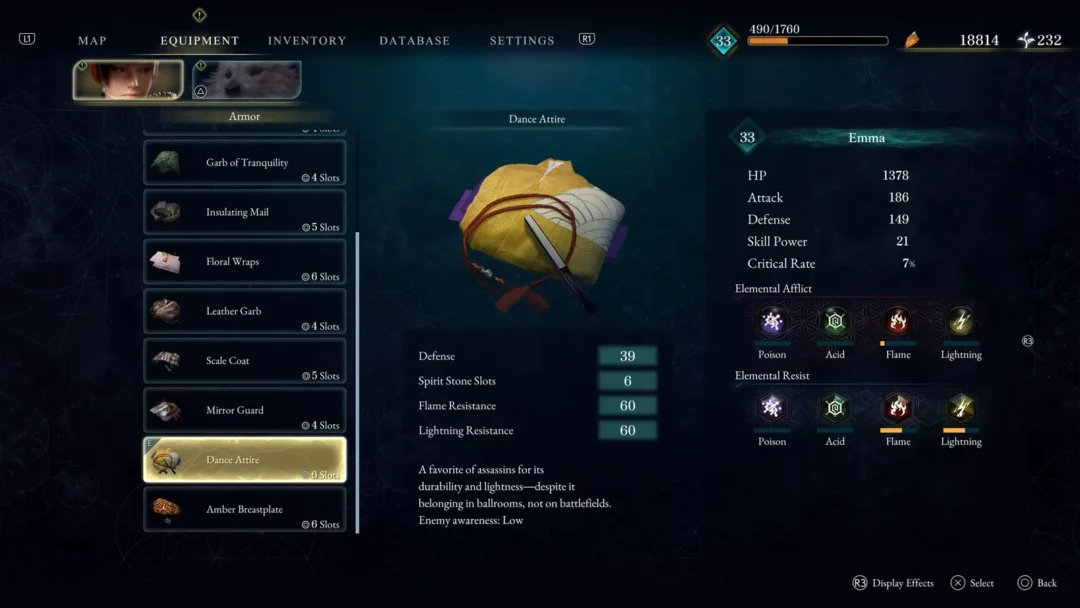
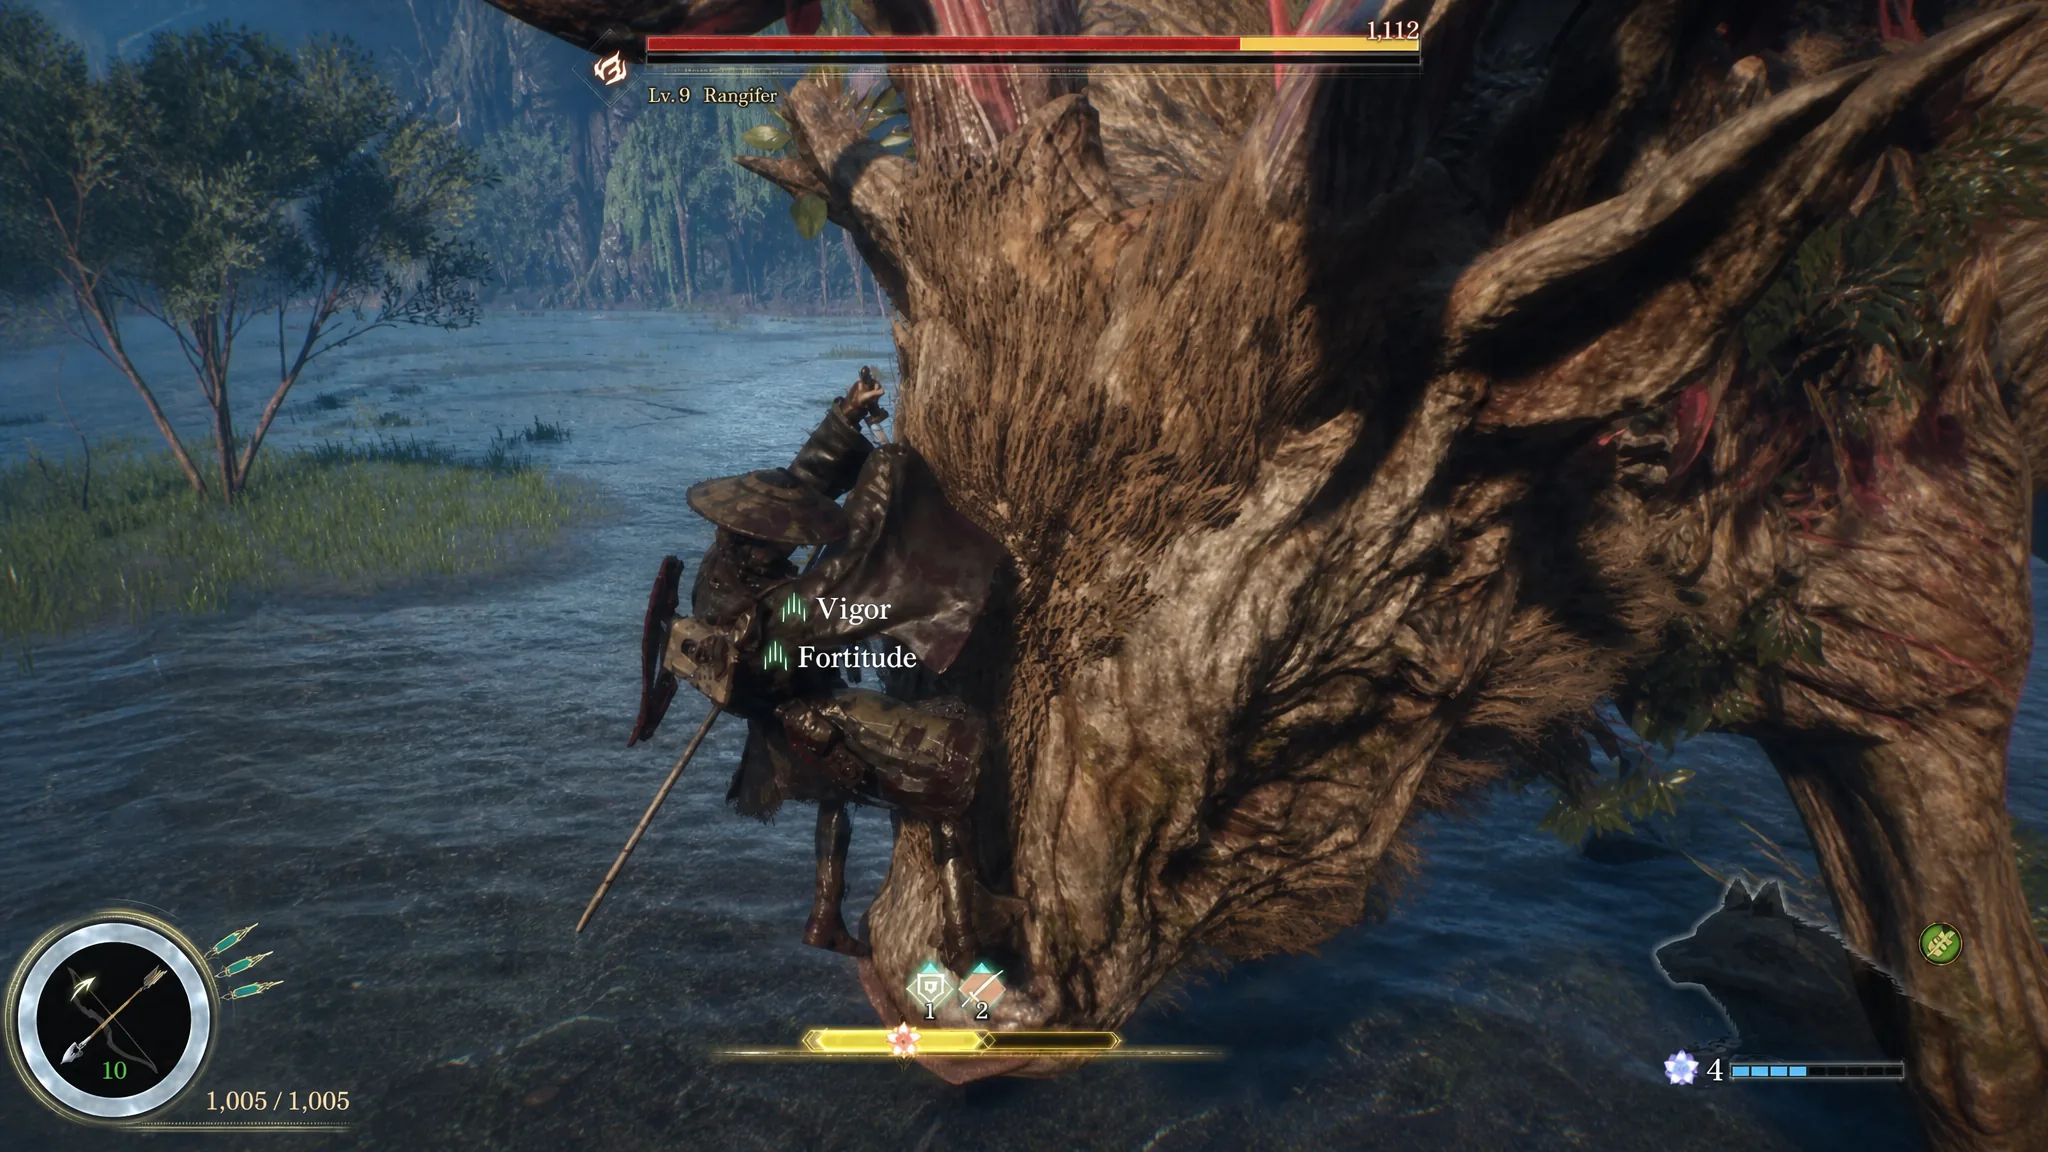
Leave the subcity and watch the cutscene where the Nushi appears, warping the forest as it moves. Head to the nearby gully and use Emma’s hair to reach the tower in the middle. Open the strongbox for Chain Mail, equip it for a defense boost, and rest at the Cliff-Facing Tower Camp so it becomes your respawn point.
Rangifer is Level 9. You can level up beforehand or challenge it right away, since every boss here is beatable once you learn its parry patterns. Defeating the giant stag rewards the Rangiferine Memories and unlocks the Nushi Skill: Sakura Storm.
Return to the Cleanse Walker
Rangifer flees, and you return to the Cleanse Walker. Use this downtime to enhance equipment and level up Attributes. Spend time with Koo, petting him and giving him a shower to raise your Rapport, which unlocks more skill slots as it climbs.
Flashback: Hunt the Pale Malefacts
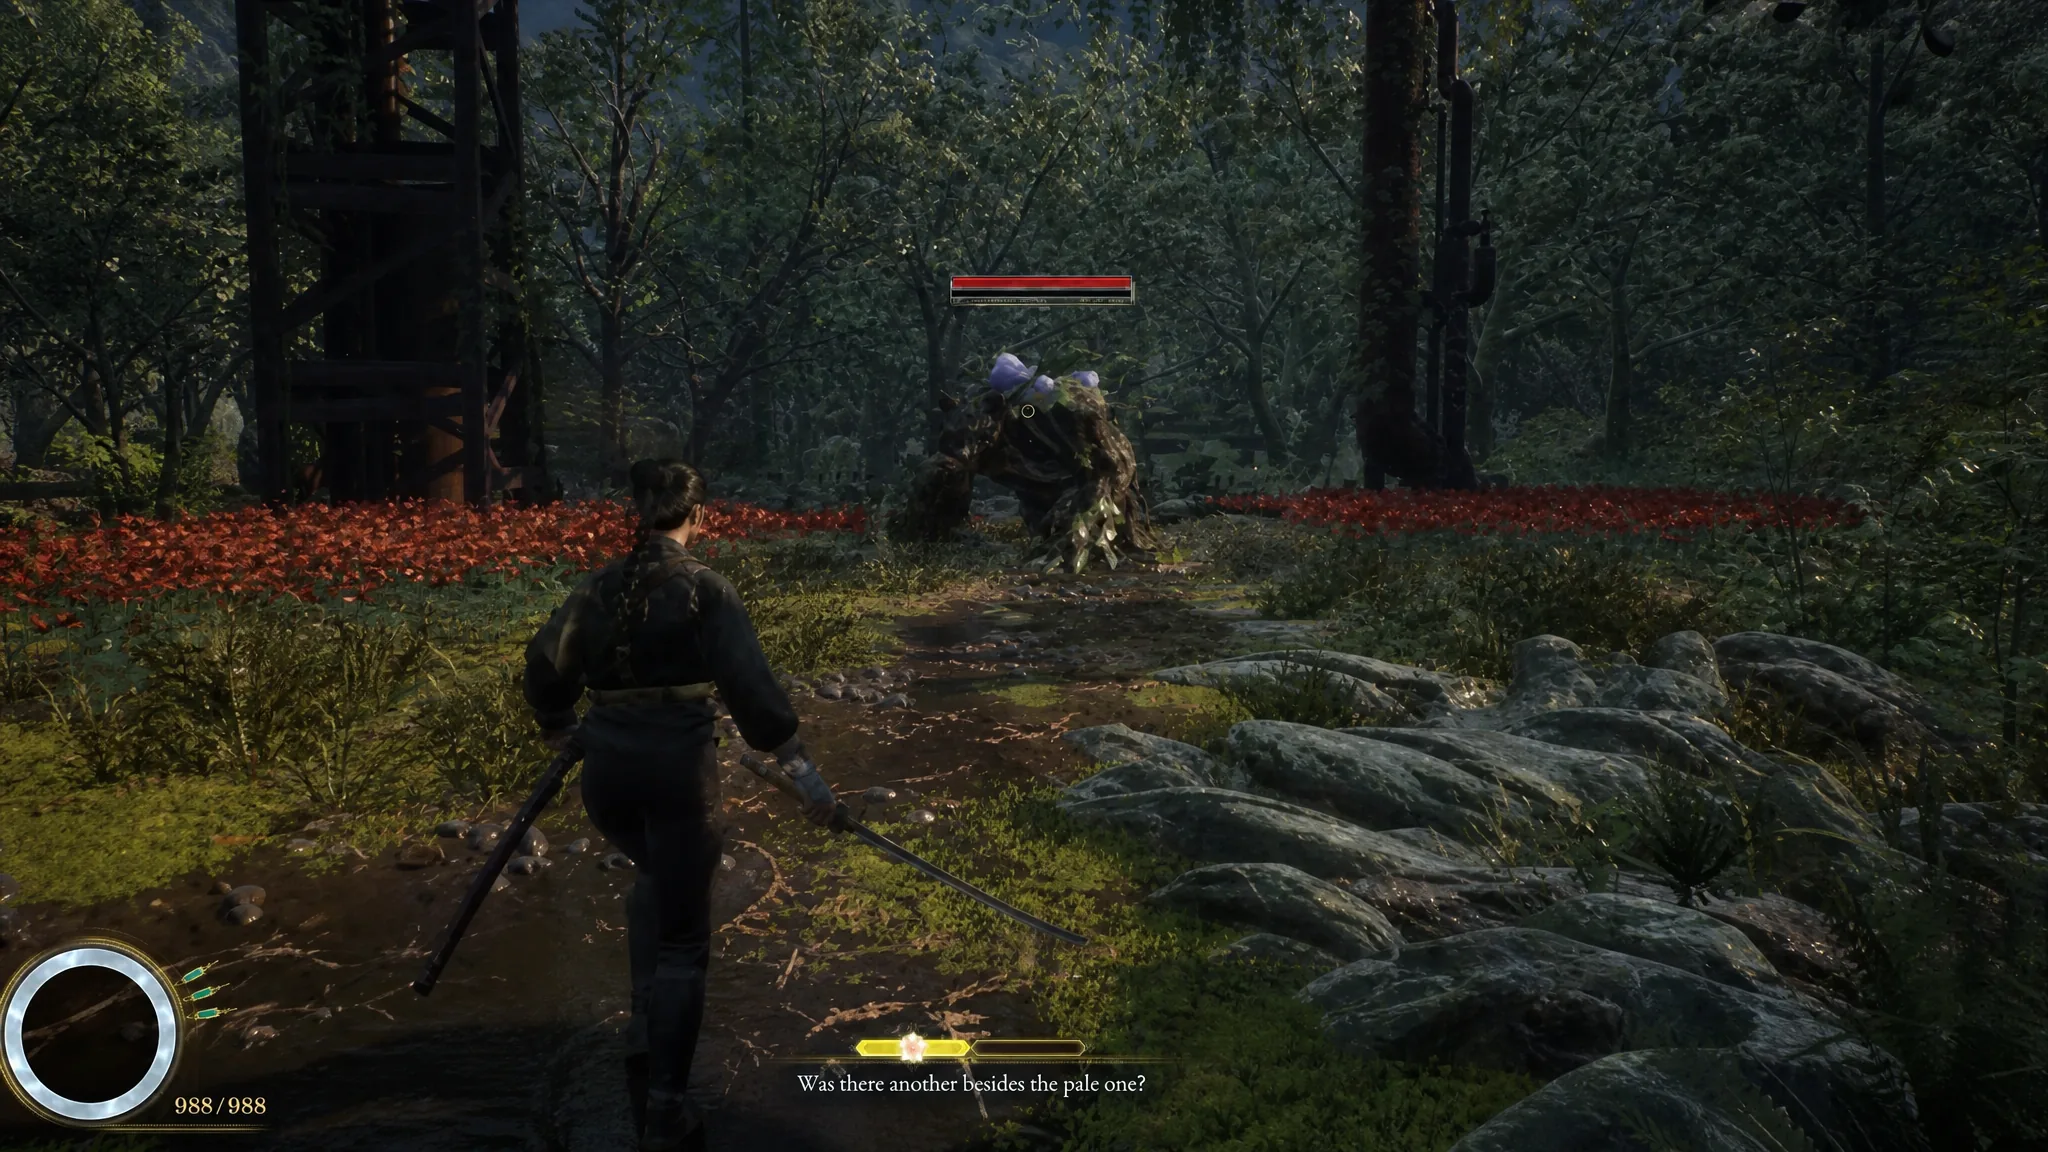
Once the cutscene ends, head into the woods. Violet warns you if you stray off course. Reach the circular area and destroy the corrupted Golems, then push forward for a sneak-attack Golem kill. Take the right-hand path to a cutscene, retrace your steps, and fight a bear that teaches the Perfect Dodge. Afterward, take the left-hand path into another cutscene.
Head to Subcity 03 and collect the keys
Back at the ruined village, Subcity 03 sits roughly 579 metres away. Explore freely on the way, since Koo flags useful items and enemies. At the entrance, talk to the Rusted Golem first for a Manual: Recovery Tonic (S) and Water. Set the Recovery Tonic (S) as one of Koo’s Items for an extra heal in battle.
Pull the lever to open Subcity 03. Inside you will find another Campsite and a dying Golem who explains you need three keys for the Sealed Lair. It hands you the Red Key. You also pick up the Cirrus Sword, which briefly boosts Emma and Koo’s damage. The Blue and Yellow Keys are yours to find.
Blue Key
The Blue Key sits close to Subcity 03, marked by a plume of red smoke on the cliff behind the entrance. Head just north of the entrance to a metal tower near the small lake. Use Emma’s hair to reach its top, then grapple again to the platform holding the key. Grab it from the destroyed Golem, and pick up the nearby Normal Recipe: Boiled Beans.
Yellow Key
The Yellow Key lies roughly 477 metres away in the map’s north-eastern corner, inside a cave past the rice fields. Follow the cliff line from the Blue Key location, using Emma’s hair to cross gaps. At the rice field, use Emma’s lift ability to climb the cliffs rather than fighting the grenade-throwing Golems guarding the bridges. Search the fields for a Rice Seedling to grow in the Cleanse Walker.
The cave has a small bridge leading to it and holds an Elite bear. The space is cramped, so dodge carefully and avoid the torches, since the bear can set them alight and burn you. Use fire against the bear’s weakness. Once it drops the key, head to the back room for the Yellow Key, plus a Fertilized Egg for raising chickens, more Rice, a Rice Seedling, and the Normal Recipe: Fried Egg. Fast travel back to the Cleanse Walker and talk to Kagura.
Flashback: Ogouchi Colony and Nue Malefact
Visit the Ogouchi Colony, head up the street and stairs to the Apothecary at his stall, then return to talk to Kagura. After a cutscene and a short door puzzle, head back into the forest. Use Emma’s lift jump to take a lower route, killing a Golem and smashing orange plants until you reach three more Golems to destroy.
Move toward the distant metal pillar, using lift to reach the cliff top. Climb the pillar by jumping at its base and lifting to the top, grabbing the nearby amber butterflies. Use Emma’s hair to cross the gap, run to the end, and trigger a cutscene. Return to the colony square, and after another cutscene, run in the opposite direction whenever a path is blocked.
The chase ends in a fight with Nue Malefact at Level 16. Clear it to continue the story.
Final Rangifer fight and chapter end
Back on the Cleanse Walker, a short tutorial covers Cooking and Kagura’s Rapport. Raising it improves the quality and variety of her meals, which grant Emma and Koo stat boosts. Set up your Rice Seedling in the Grow Chamber and the Fertilized Egg in the Incubator, spend any spare Attribute and Skill points, and enhance your gear before departing.
Fast travel to Subcity 03 and unlock the Sealed Lair door with your three keys. Beyond it are a Campsite and a Merchant. If you have the Amber, buy Manual: Torch, Manual: Acid Arrows, and Manual: Fire Bolts, plus Fortification 2 and Onslaught 2 Spirit Stones for the fights ahead. Use Emma’s hair to climb into Rangifer’s lair.
This second Rangifer fight closes the chapter. Defeating it unlocks the Sakura: Javelin Bloom Art and the Blade Art: Sakura Blade Art/Finisher. Emma returns to the Cleanse Walker one last time, giving you space to upgrade and organize. Go to bed or pick “Depart” from the front door, and Chapter 2 Creeping Tendrils begins in the Ancient Civilization Zone.