Power up two generators, reach the reservoir, and put down Lacerta twice to close out the Ancient Civilization Zone.
Power up two generators, reach the reservoir, and put down Lacerta twice to close out the Ancient Civilization Zone.
by AllThingsHow Staff
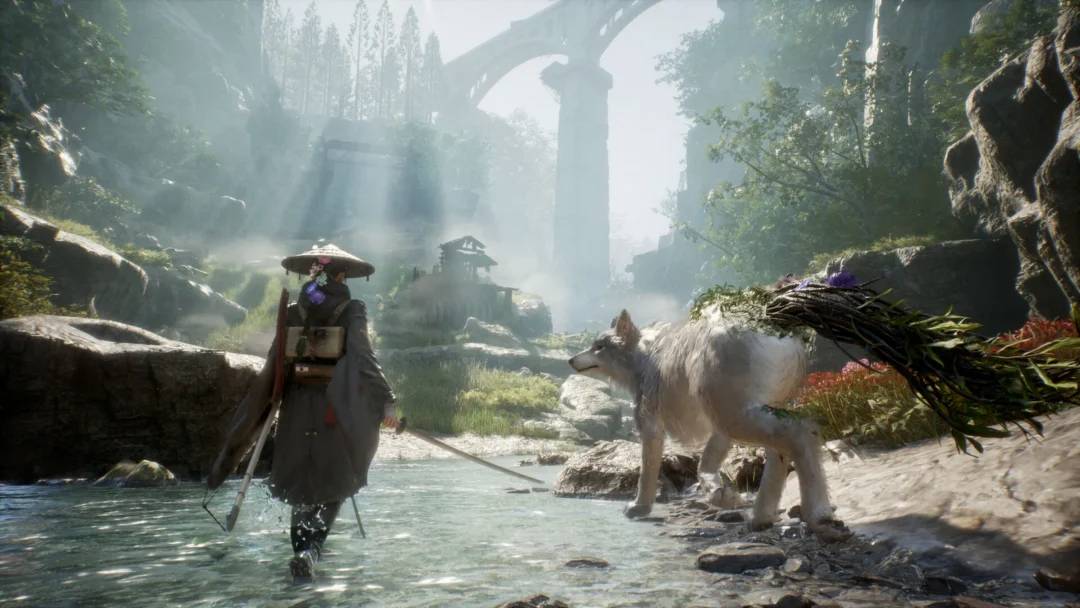
The Ancient Civilization Zone is where Emma and Koo pick up after the Oguchi Buffer Zone, and the whole chapter funnels toward one goal. You need to switch on two power generators to raise a gate, push through to a reservoir, and seal the region’s Nushi, Lacerta. Expect spoilers below, since finishing Creeping Tendrils means beating Lacerta not once but twice.
Quick answer: Talk to the Ancient Golem north of the Cleanse Walker, activate both power generators to open the gate, reach the reservoir and defeat Lacerta (Lv. 13), collect a Lightning Stone from a sword-wielding Golem, use it in the control room to open the water tank gate, then beat Lacerta (Lv. 16) at the Nushi’s lair to end the chapter.
Start the chapter: Find the Ancient Golem north of the Cleanse Walker
Chapter 2 opens with no objective at all. You are free to roam the Ancient Civilization Zone first, picking up items, farming XP off monsters, and unlocking Campsites. If you keep wandering, the game eventually loops you back to the Cleanse Walker for a night’s sleep and a cutscene.
To move the story forward, head north of the Cleanse Walker to find an Ancient Golem. Getting there involves riding a series of elevators and clearing a little light platforming.
Where to find the Golem who tells you about the power generators.
Talk to the Ancient Golem and it points you toward the reservoir, but first you must raise a gate by turning on two power generators. Before you leave, browse its wares. It stocks Manuals, Seedlings, and Spirit Stones, so spend your Amber carefully.
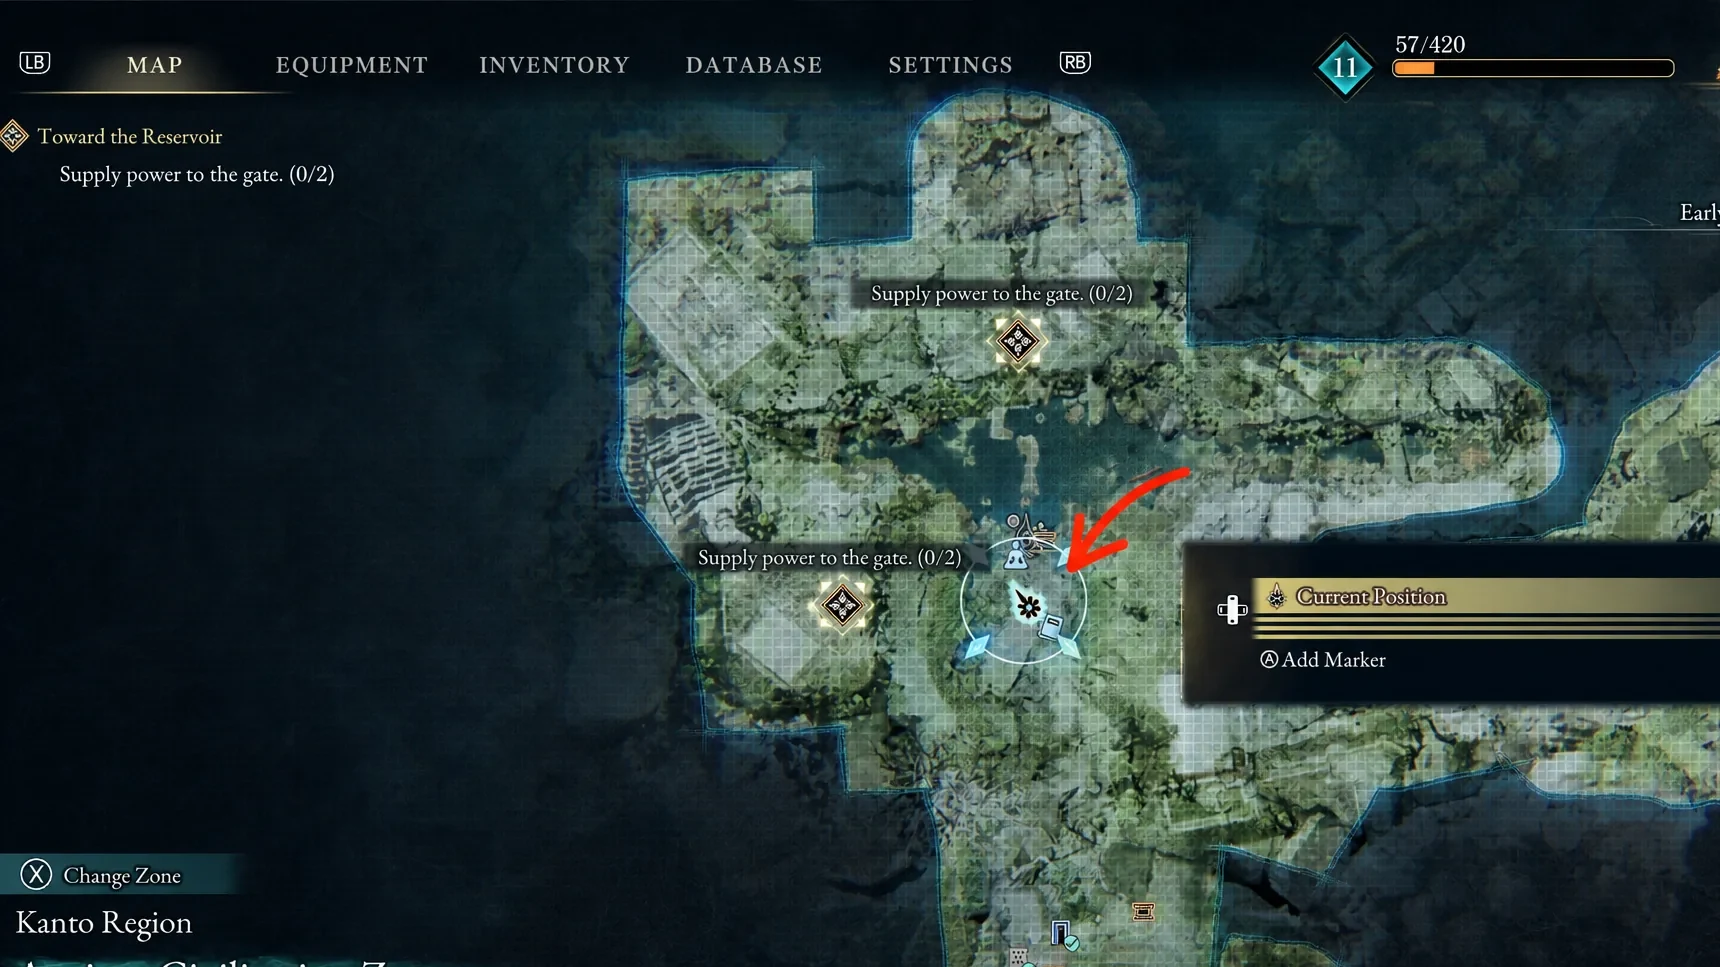
Power generator one: Cross the lake and beat the Giant Golem
You can tackle the generators in either order. Starting with the one across the lake, roughly 113 metres from the Ancient Golem, keeps the route tidy.
Cross the lake and take out the two Golems on the far shore, then pass through the two sets of double doors nearby. Climb the stairs to a Campsite and prepare for a fight before moving on.
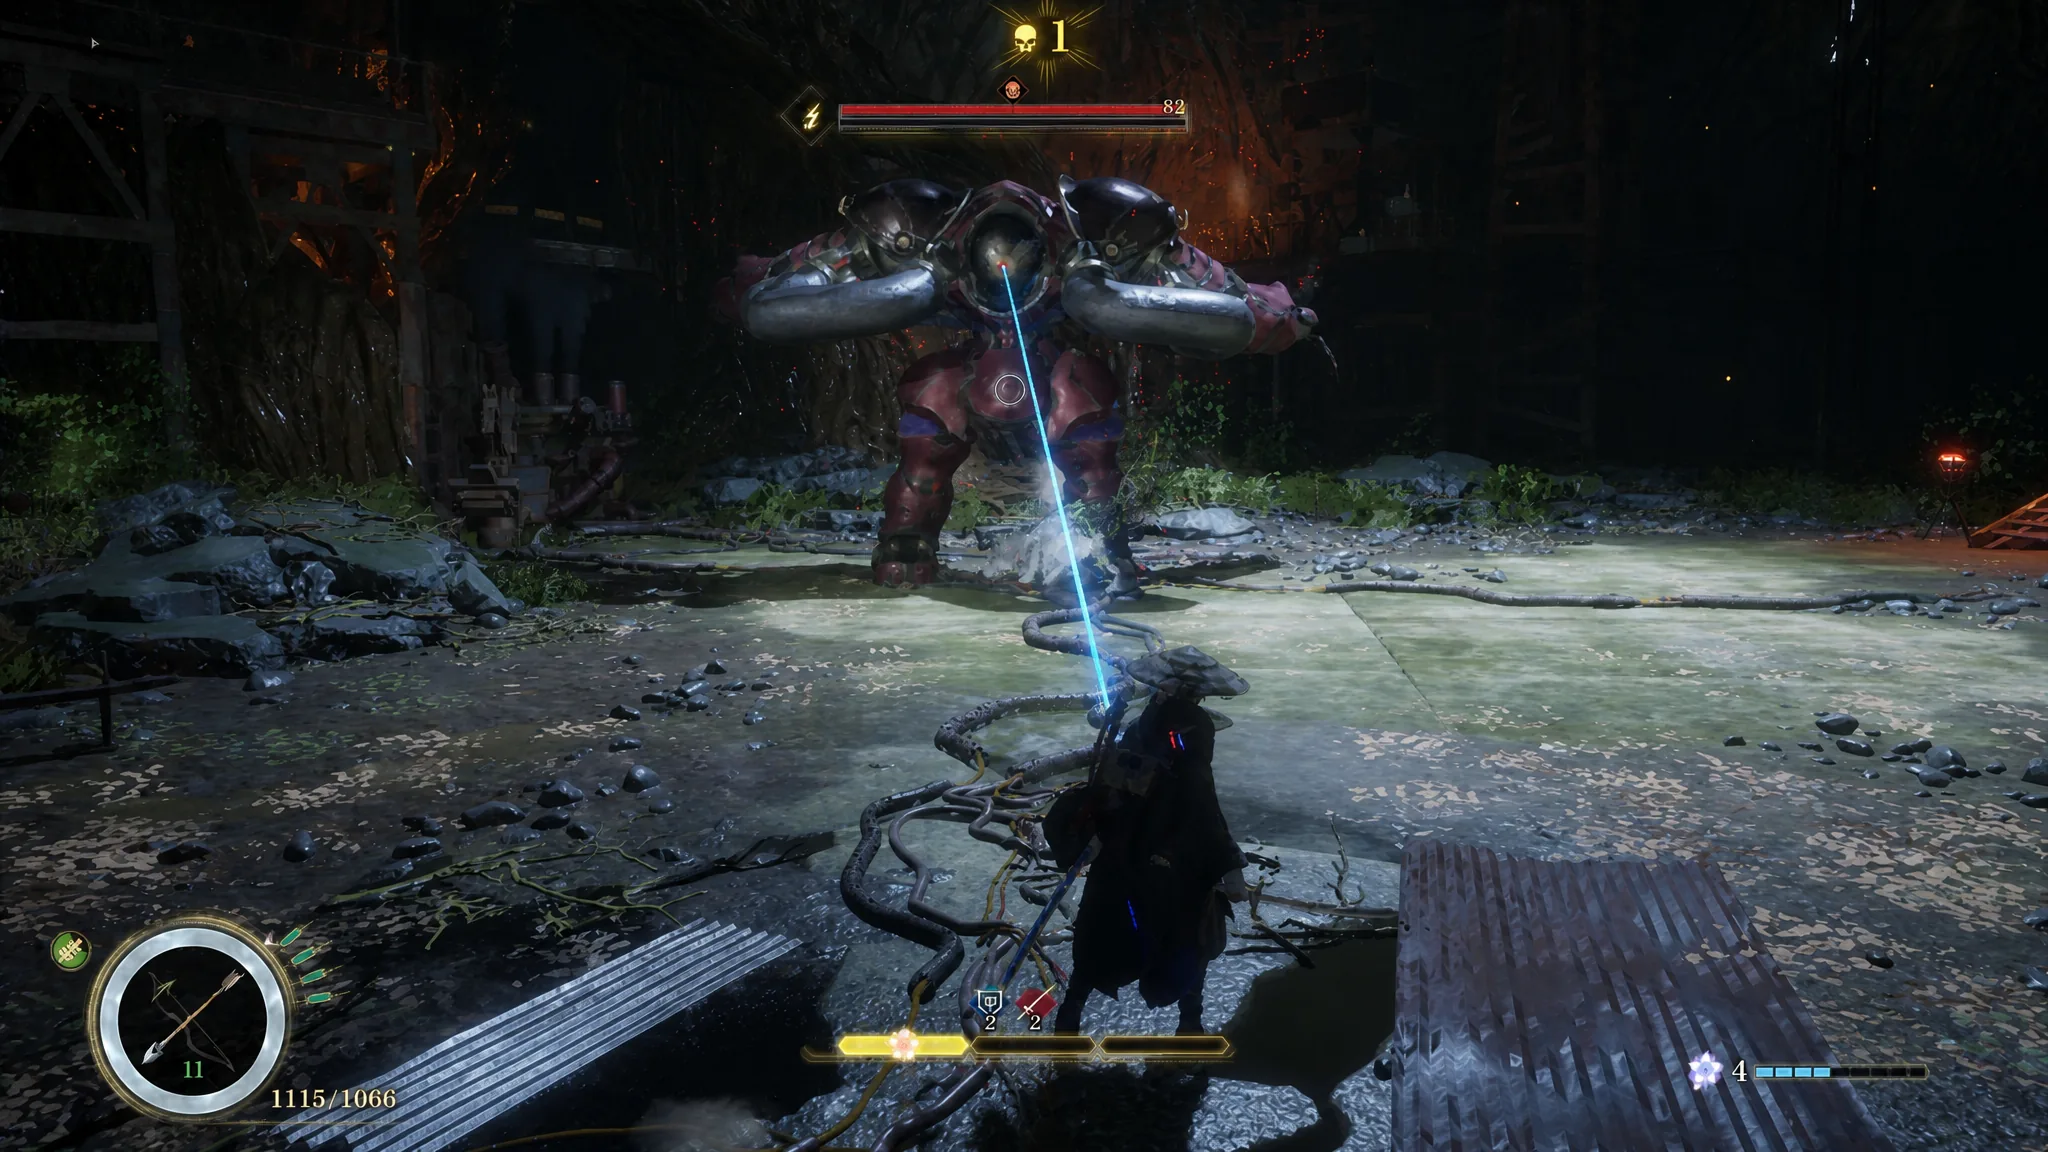
Drop down from the platform and head for the next set of double doors. A Giant Golem wakes up before Emma can reach them. It moves fast despite its size, extends its arm for punches, and fires lasers. Watch for the moment it locks a blue beam onto Emma, and start dodging the instant that attack begins.
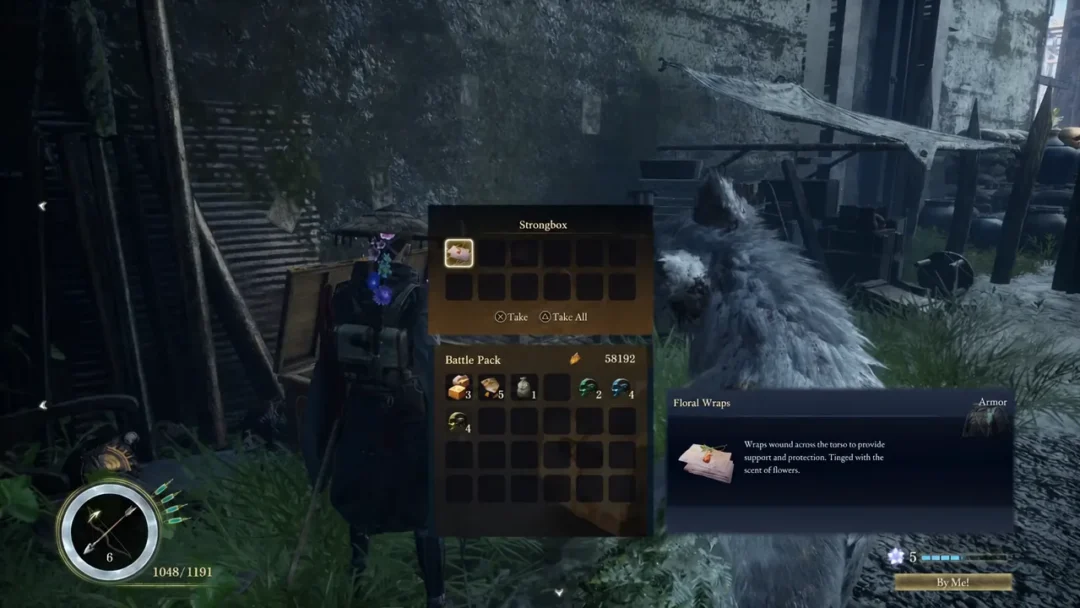
Its bulk makes it an easy ranged target, and it is weak to Koo’s Sakura: Javelin attack. Beating it unlocks the Nushi Skill: Biting Tempest from Kunai and finally opens the double doors. Grab the Thick Cuirass armor from the nearby strongbox before you continue.
The next room has two Golems with bows perched on ledges on either side. Snipe those two with your own ranged weapons first, because four more Golems join the fight and clearing the archers early makes it far more manageable.
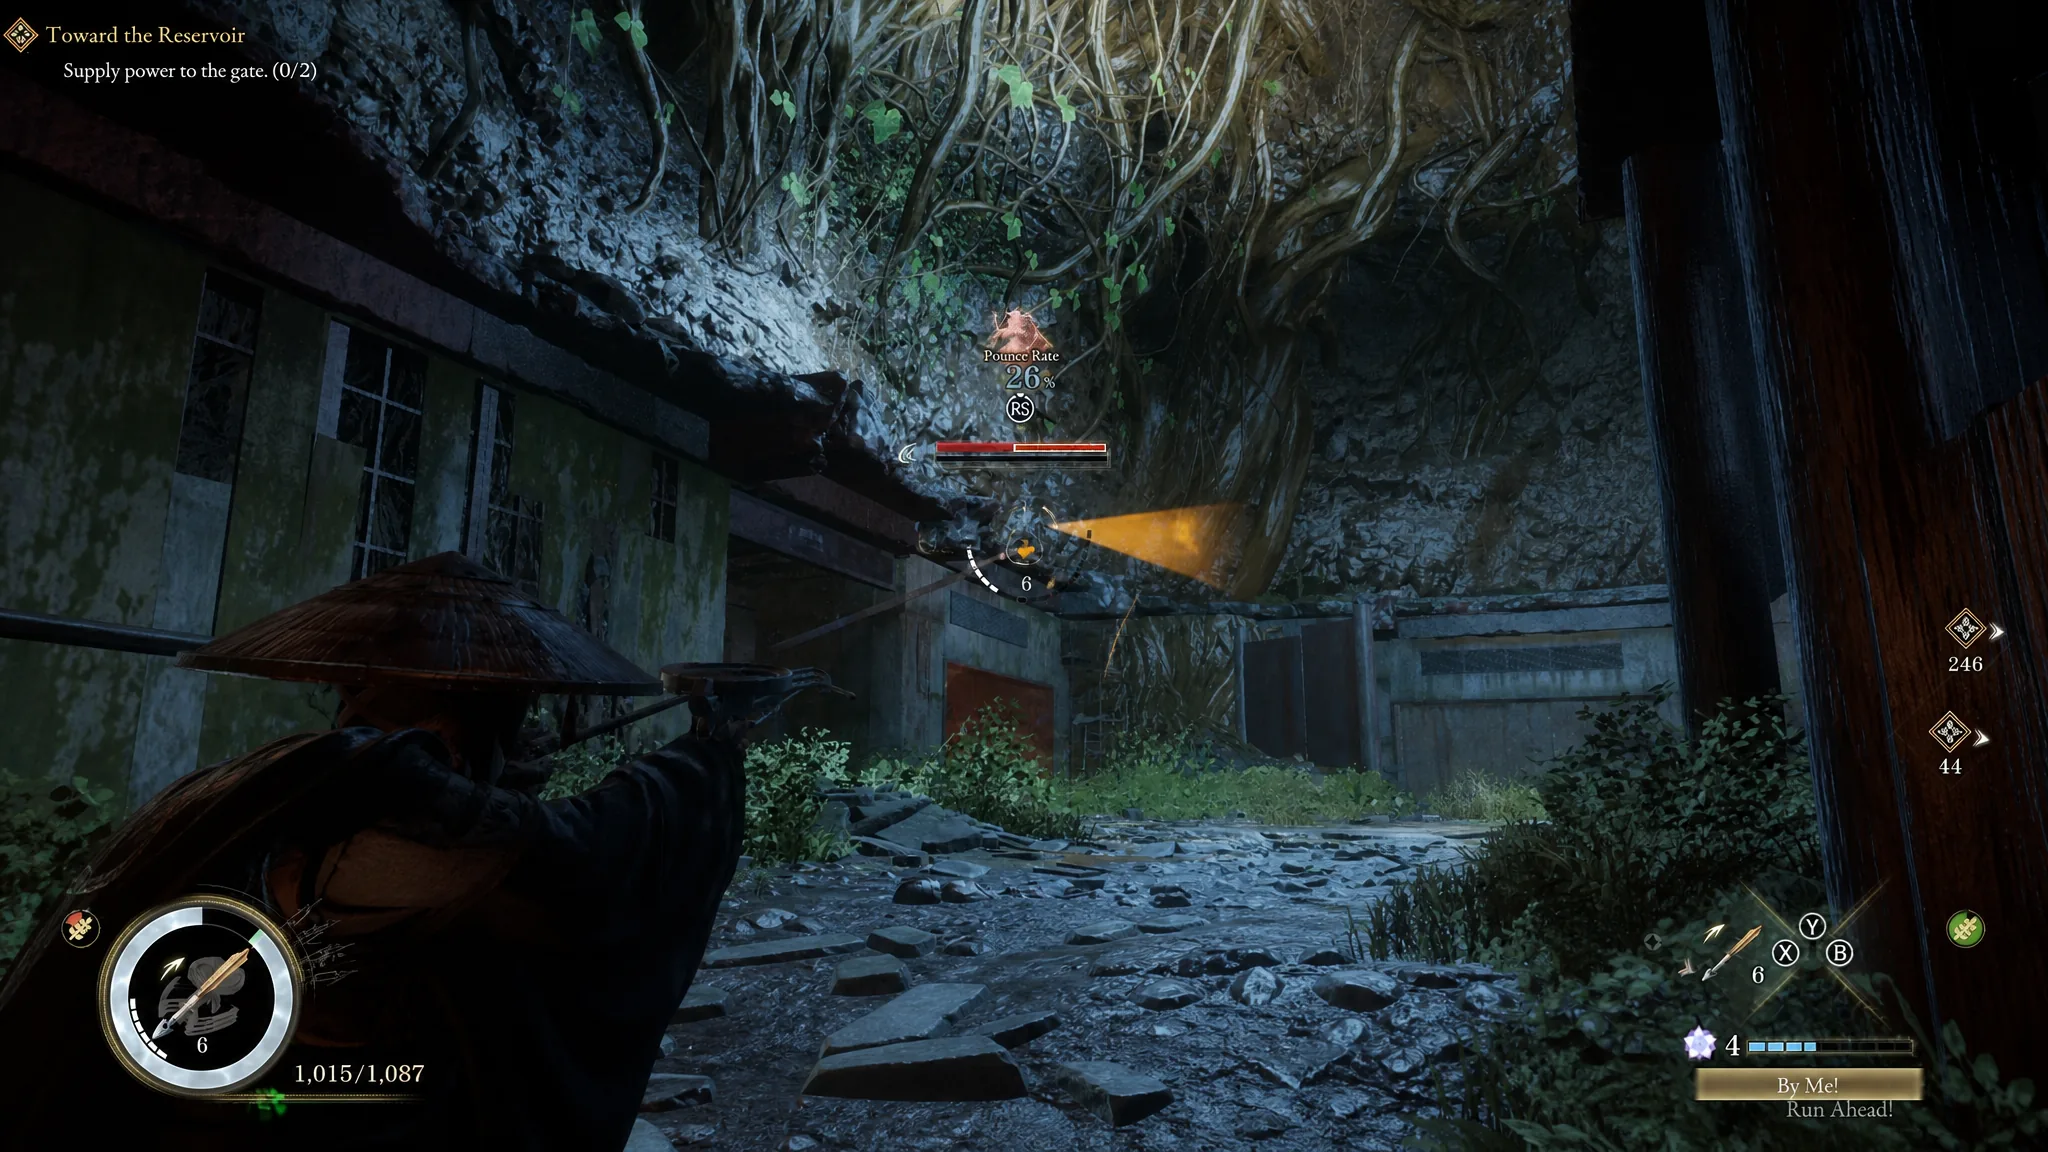
With every Golem down, pass through the opened gate and rest at the Campsite. Head down the stairs and follow the path until you reach a room with a large hole in the floor. Hug the left-hand wall to reach another Campsite, and use ranged attacks on the broken corrupted Golems that charge at Emma, or they will deliver a nasty shock.
After resting, drop down the hole to the left of that Campsite and keep going forward. You will clamber over ruined trains and hit a cluster of Golems near the end, two with bows and one aggressive sword-wielder. Thin them out from a distance with your own bow.
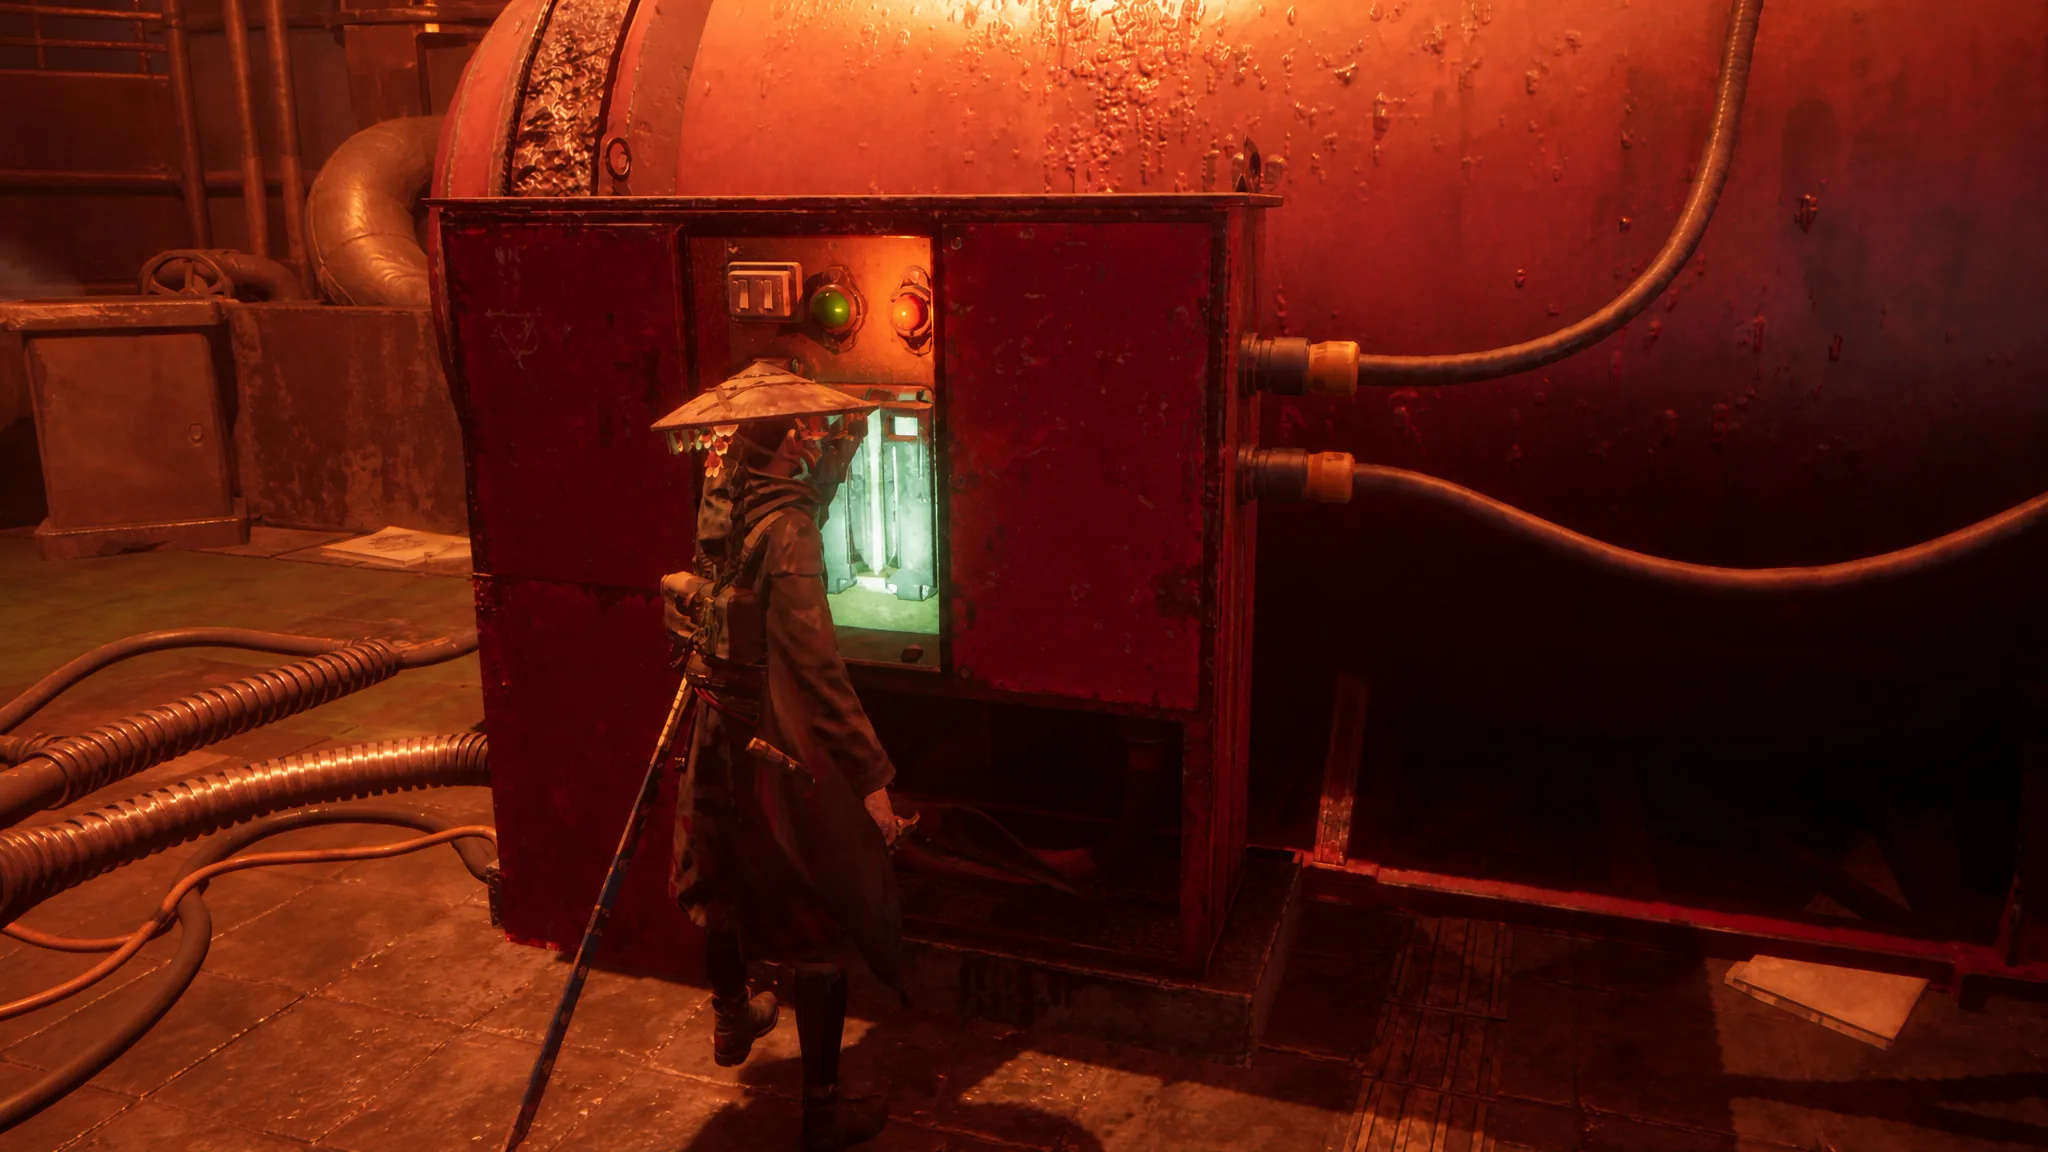
Clearing that fight lets you activate the first power generator. It also triggers a lift, so open the nearby strongbox before you ride up. The lift returns Emma to the very gate you are trying to open, which shortens the trip to the second generator.
Power generator two: Take the stairs opposite the Ancient Golem
Return to the Golem who gave you the task and climb the stairs directly opposite it. Those stairs lead to a lift you need to ride to continue. Explore the area first if you want extra items.
Leave the lift, move to the right-hand side of the area, and run straight ahead. The generator is guarded, but a hard sprint lets Emma reach it without entering combat. Turn it on and a lift drops down right beside it, so jump in immediately if you would rather skip the fight.
Like the last one, this lift drops you back at the gate. Both generators are now on, so all that is left is opening the gate itself.
With the gate open, collect the items just beyond it, then take the corridor blocked by orange plants that Emma can smash with her sword. Head down the stairs to arrive at the reservoir.
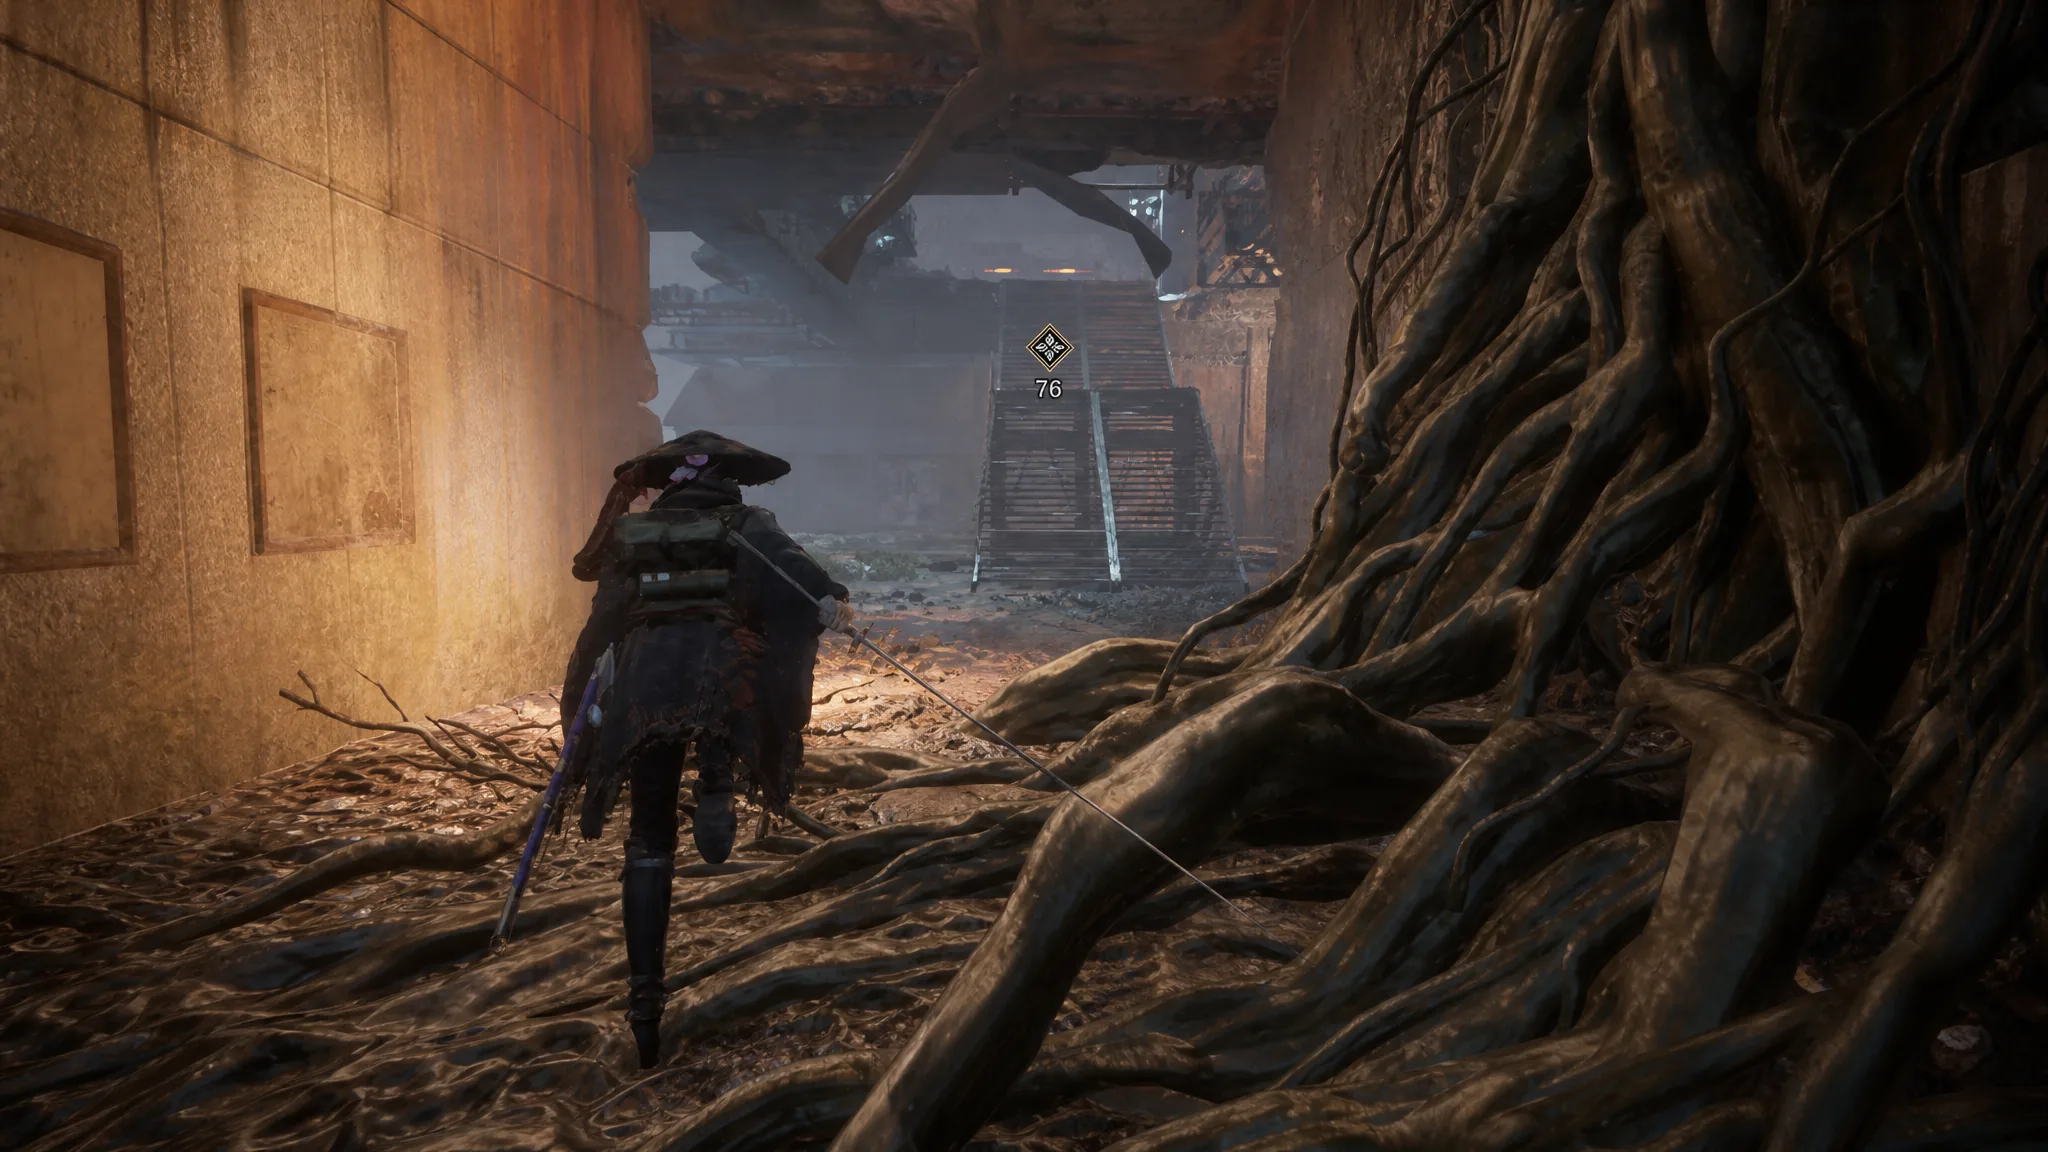
Turn left to find a Dragon Vein Shrine and claim a Life Fruit. Push toward the marker afterward, smashing more orange plants for extra Amber and studying the local enemies’ attack patterns. That practice pays off very soon.
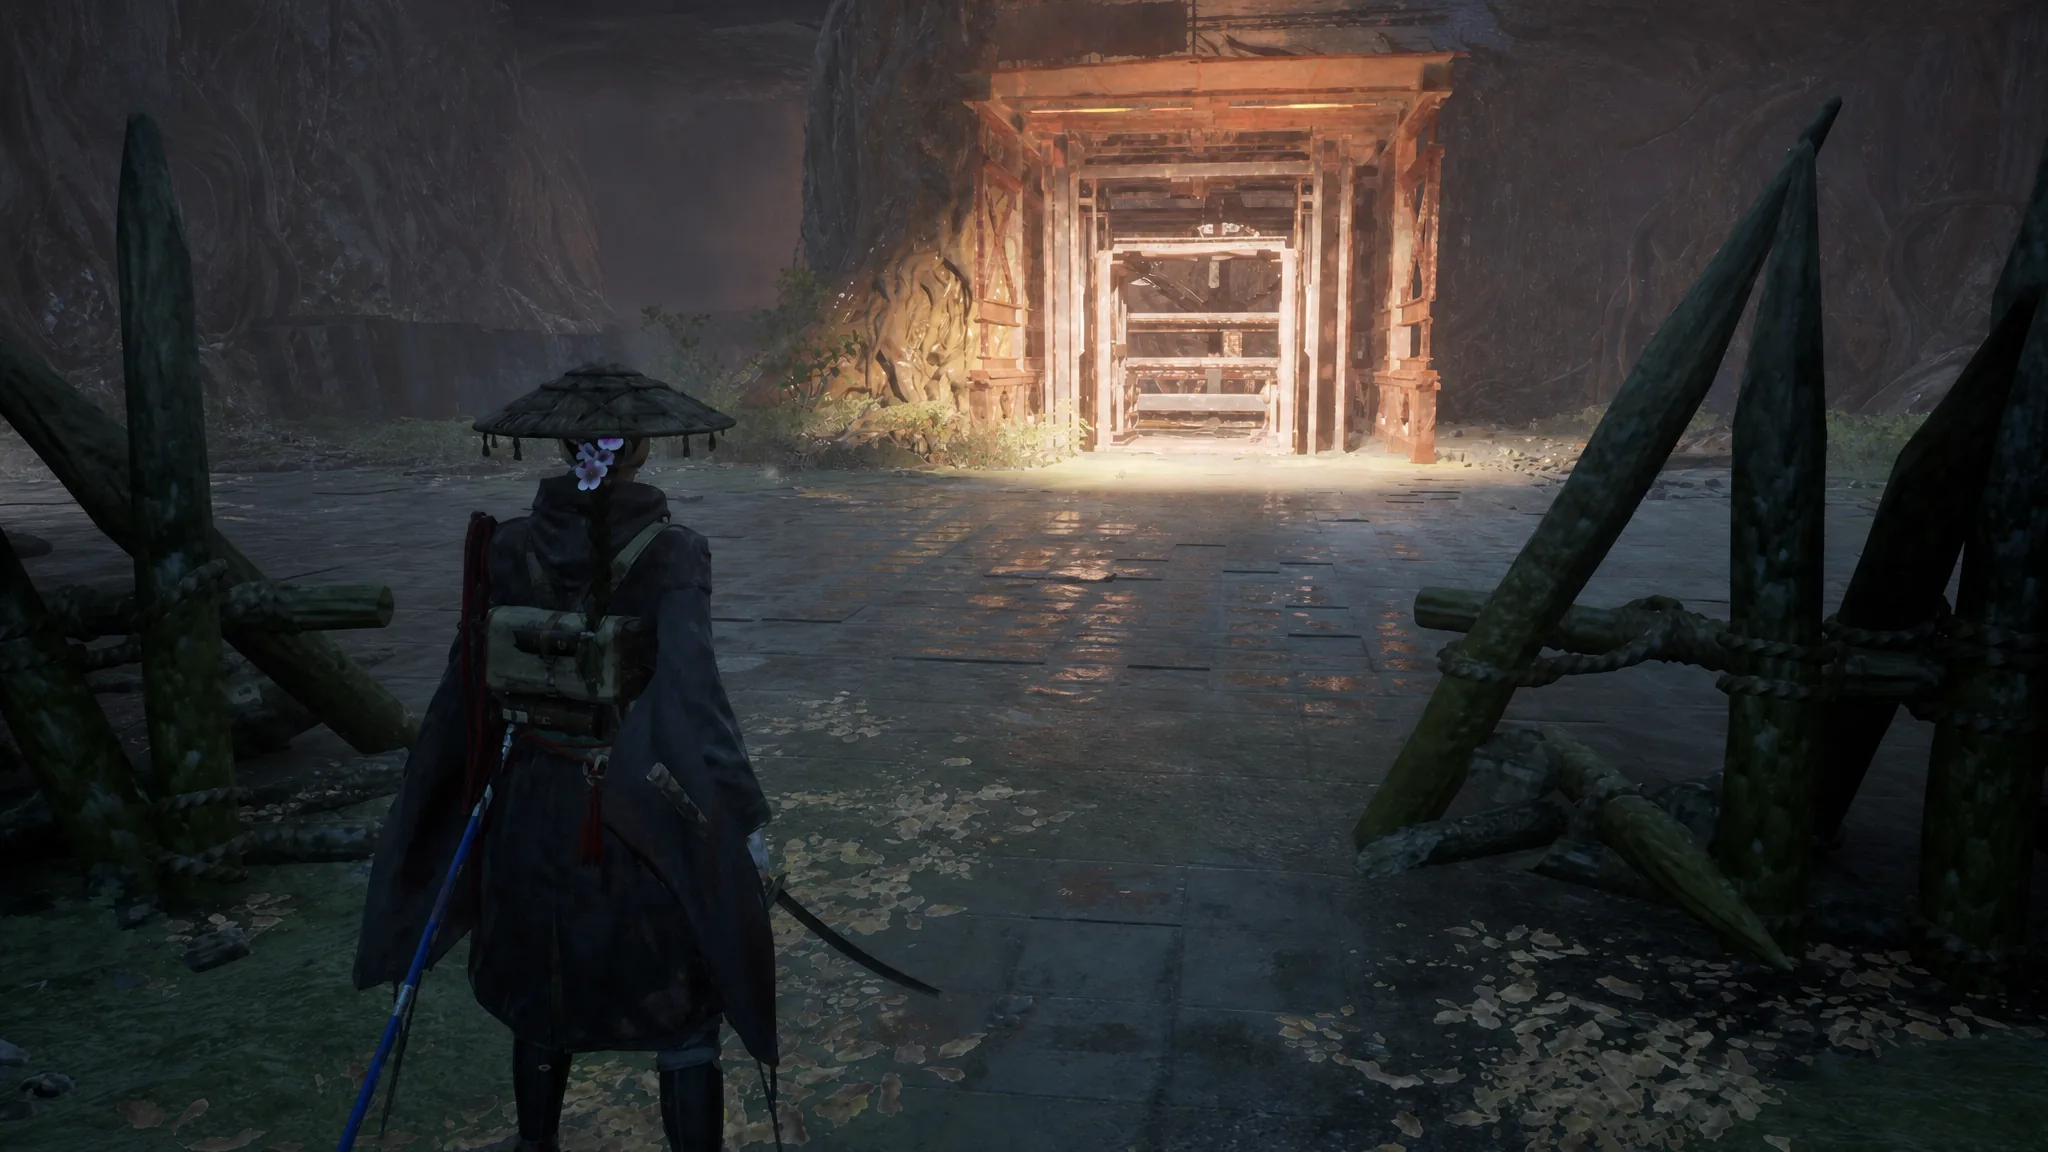
At the edge of the reservoir, rest at the Campsite. A wide, ominously empty clearing means a boss is waiting.
Defeat Lacerta (Lv. 13) at the reservoir
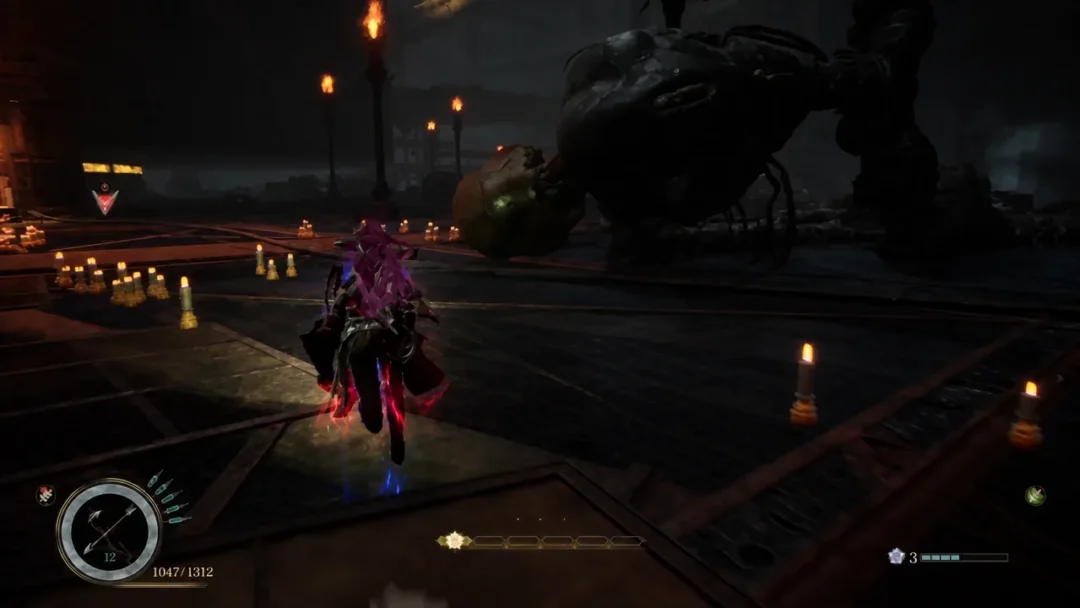
This is the first Lacerta fight (Lv. 13). Much like Rangifer in Chapter One, you will face this Nushi again later in the chapter, so use this bout to learn its attack patterns and parry timings. Winning grants the Lacertine Memories and unlocks the Nushi Skill: Dokuzeri Shower.
Note: Lacerta runs off after this fight rather than dying, which is why the chapter continues into a hunt for it.
Find the control room and gather the Lightning Stone
Head down the nearby tunnel until you reach a massive gap in the floor with a familiar-looking mural on the far side. Then return to the Campsite from just before the Lacerta fight to be sent back to the Cleanse Walker for another cutscene. Use the visit to raise Rapport with Koo and Kagura and restock before heading out.
Back at that same Campsite, move to the left side of the area and find a set of stairs built into the wall. At the top, interact with the destroyed Golem by the window to receive your next objective.
Return to the gate you opened with the power generators, retracing your steps until a short cutscene plays. Immediately after it, you are thrown into a tough fight with a Golem. Beating it drops a Lightning Stone and rewards the Thunderwave Sword, whose Tempest ability lets Emma unleash her own lightning attacks.
Activate the water tank control panel and reach the Nushi’s lair
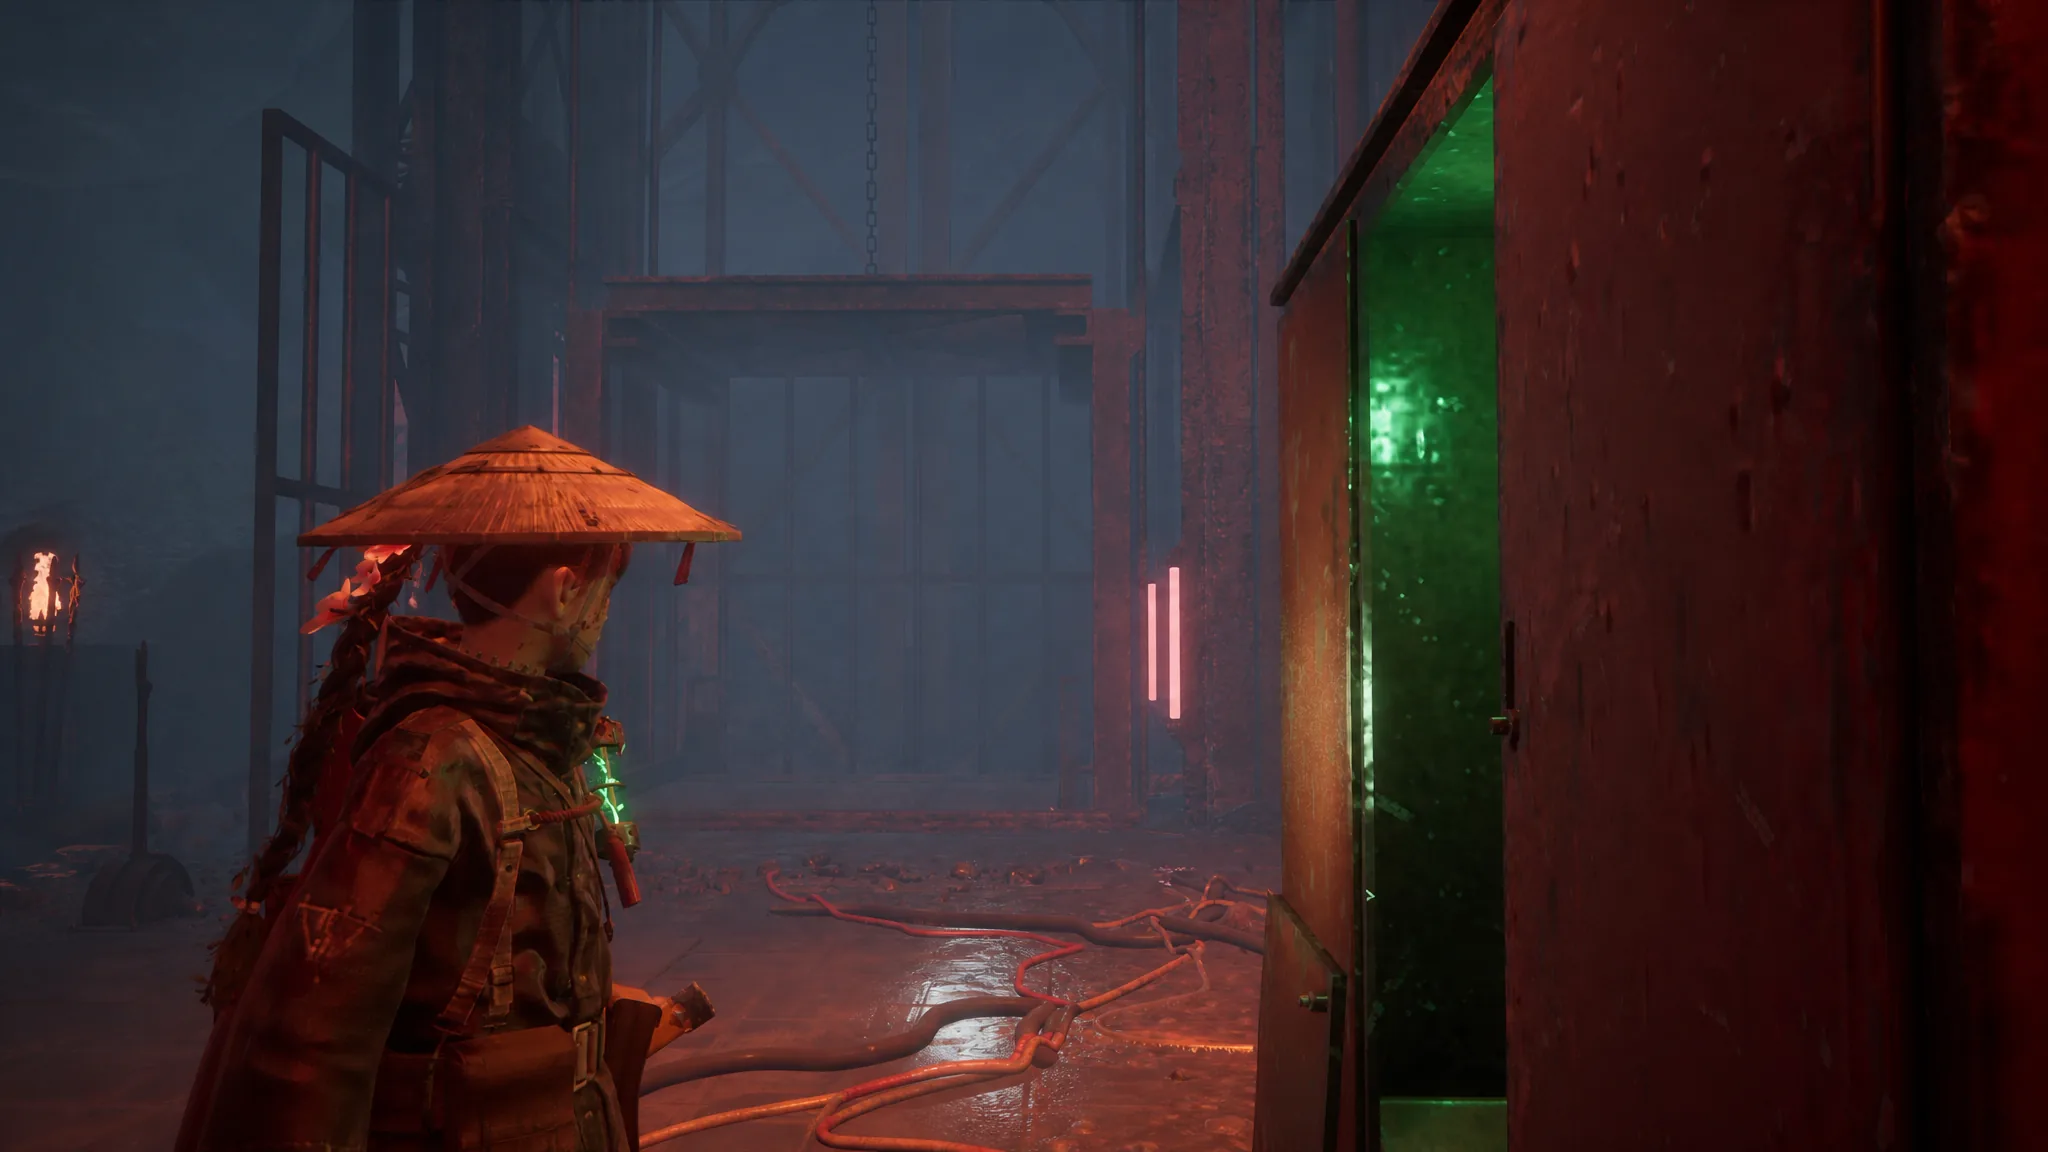
Carry the Lightning Stone back to the control room and interact with the control panel. Doing so opens the nearby gate. You will know it worked when the gate leading to the next area is clear.
Leave the control room and cross to the opposite side of the room through the newly opened gate. Go up the stairs, then take the elevator at the top to reach a new Campsite. Rest here.
The final stretch offers two routes. Run straight through and fight what gets in your way, or climb into the upper regions to clear enemies and collect items. Mixing both is the safest way to grab useful gear before the boss.
At the Nushi’s lair you will find both a Campsite and a Merchant. Rest, level up Emma and Koo’s Attributes, and unlock new skills. When you are ready, use the control panel to open the gate and start the rematch.
Beat Lacerta (Lv. 16) to end Creeping Tendrils
The second Lacerta fight is Lv. 16, and everything you learned at the reservoir applies here. Defeating it unlocks the Dokuzeri: Fang Bloom Art along with the Blase Art/Finisher: Dokuzeri. After the fight, take care of tasks around the Cleanse Walker and head to bed to close the chapter. You also gain the ability to respec at this point.
With Lacerta sealed, Creeping Tendrils is complete. The next leg of Emma and Koo’s journey takes them to The Great Wall Terraces in the Mountainous Region for Chapter 3: The Vessel.