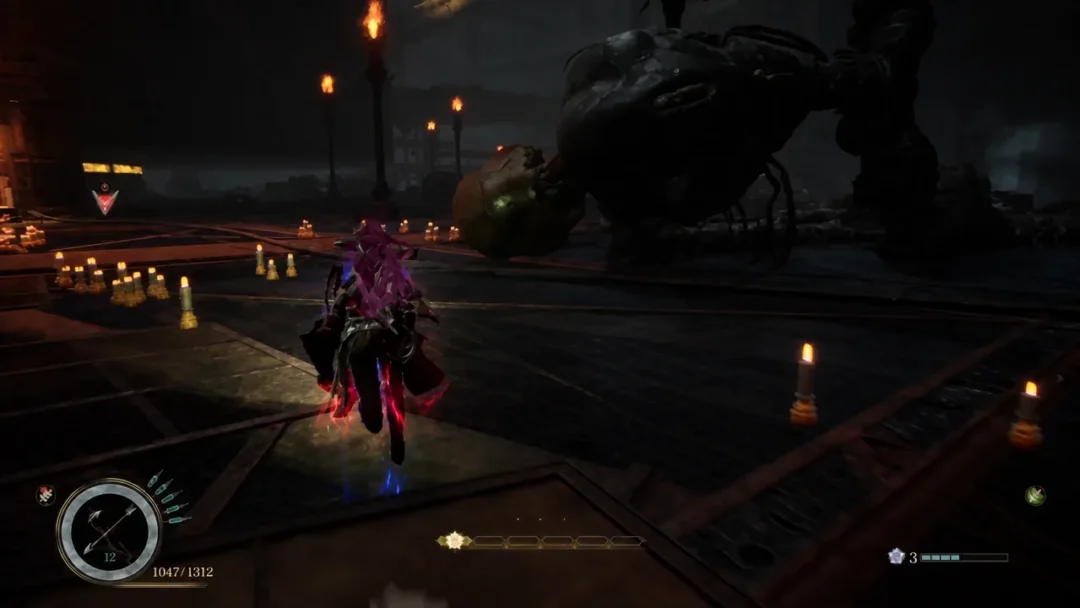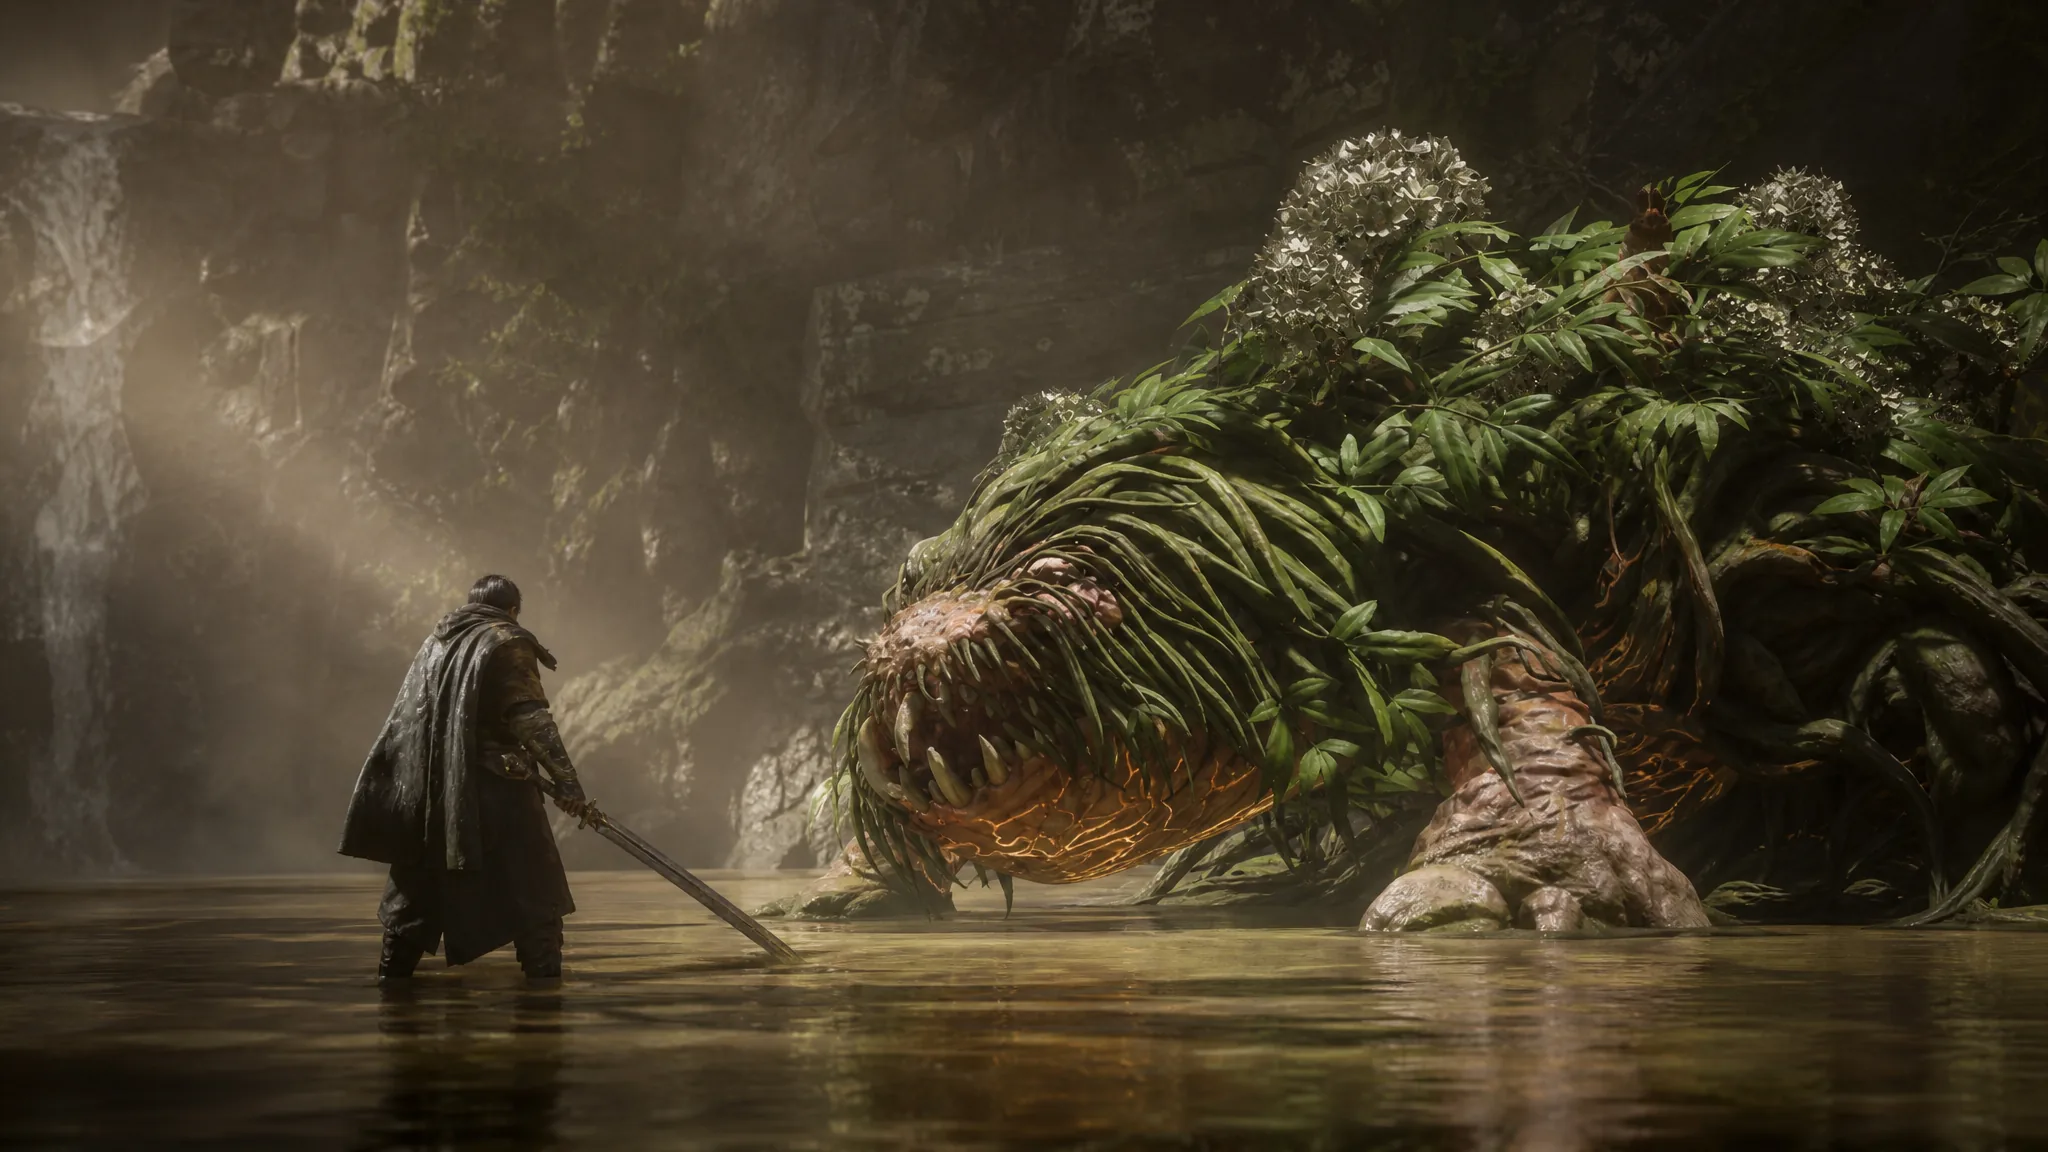
Lacerta is the second Nushi you take down in Beast of Reincarnation, a newt-like malefact that inflicts Poison and Slow while jumping in and out of the water across Chapter 2. It hits harder than the opening boss, but its attack list is short and readable once you know the tells. Lean on Shock damage, keep a cure for Poison ready, and punish the openings after its melee strikes.
Quick answer: Equip the Thunderwave Sword and use Koo’s Sakura: Javelin Bloom Art (Lacerta is weak to Shock), keep Antidote on Koo for the Poison, parry the Mouth Snap and Tail Swipe combos, run out of its mud pools during the AoE Explosion, and fire your Crossbow or Zangetsu Bow whenever it backs off. Deplete both health bars in the second encounter to finish it.
Where and how you fight Lacerta
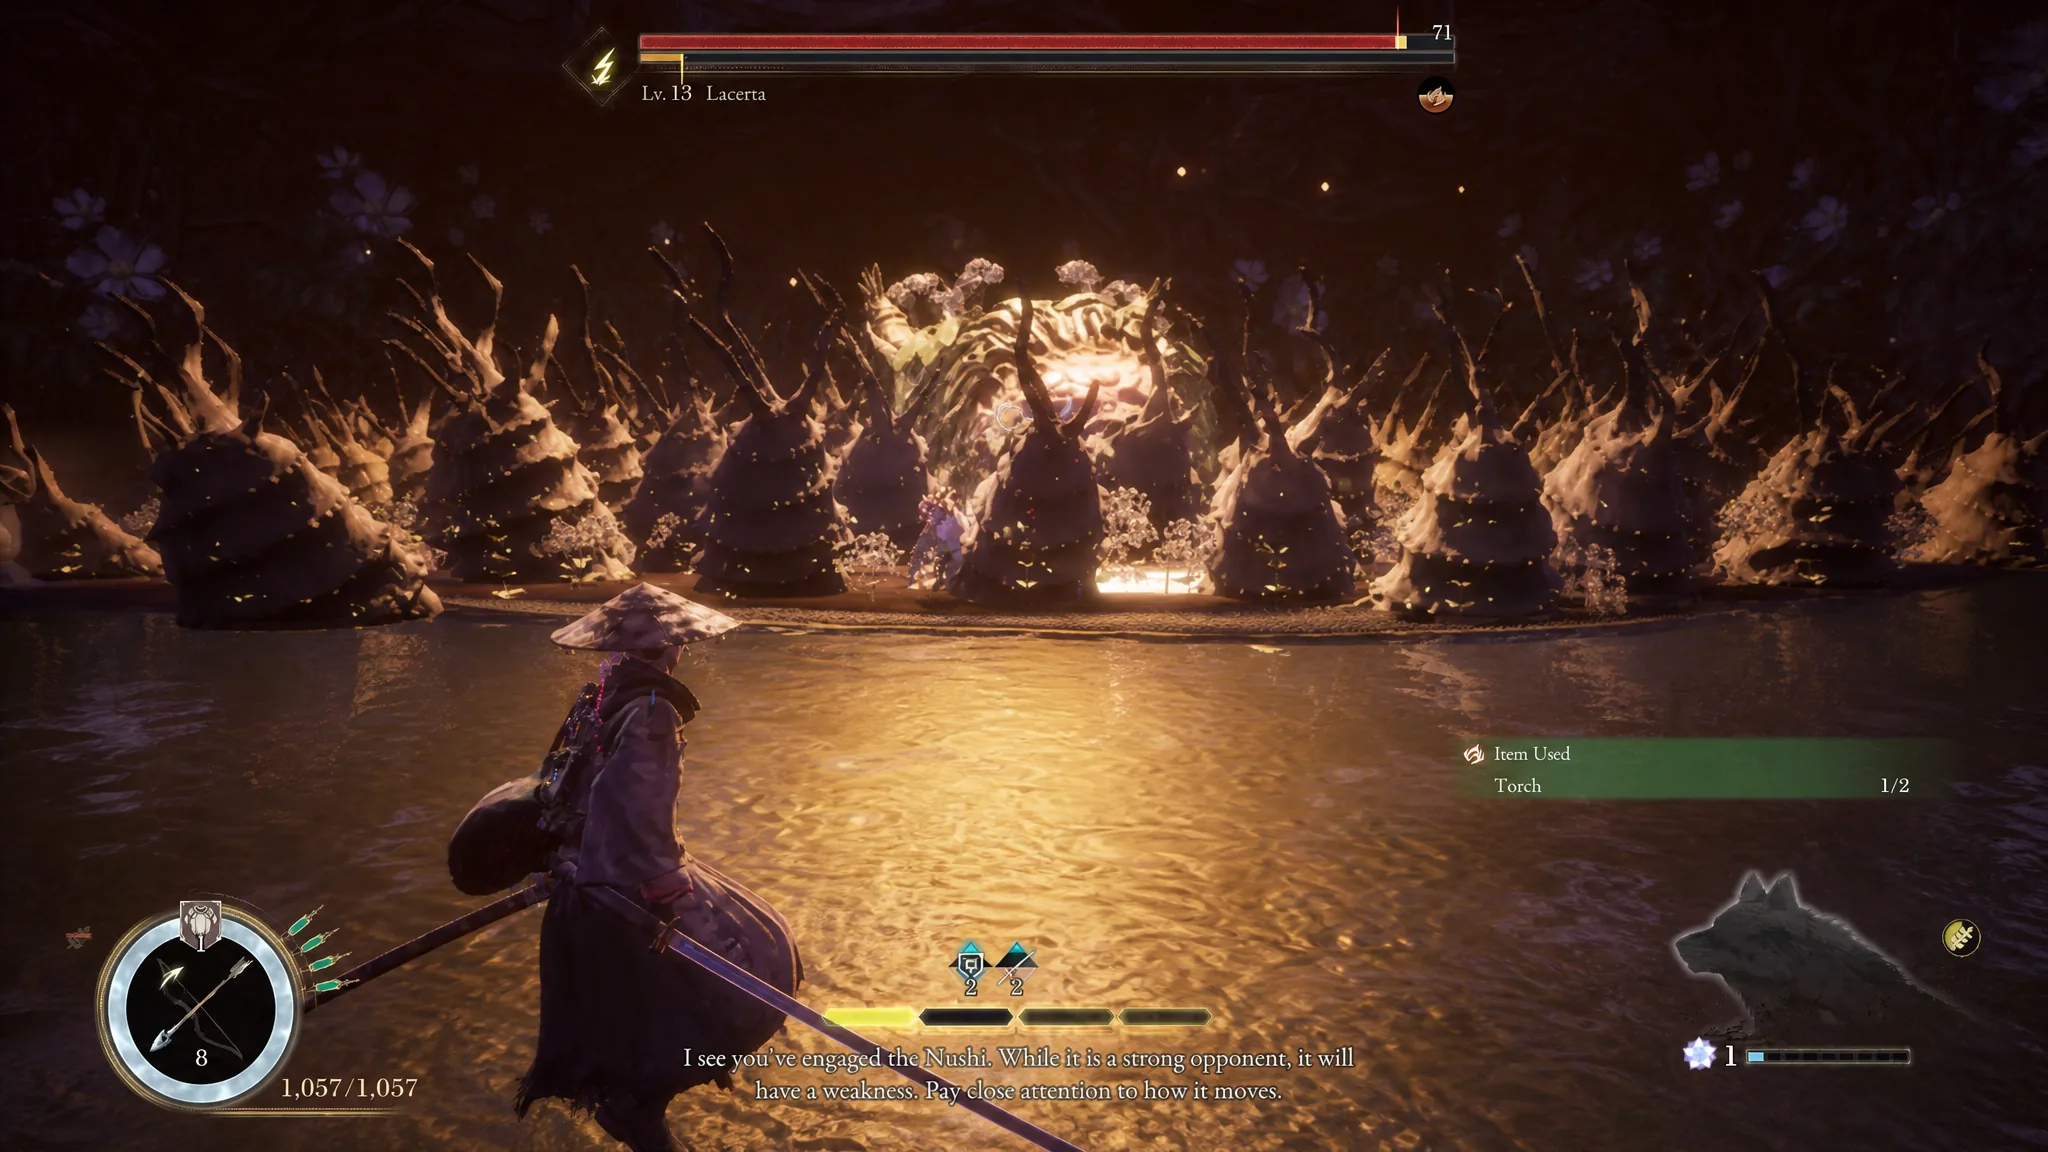
Lacerta appears twice in Chapter 2, inside the Ancient Civilization Zone. You first meet it at Level 13, near the start of the chapter, before it flees to its lair. Later you track it down for a second fight at Level 16. The main story waypoints lead you to both locations, so the encounter is impossible to miss as long as you follow the objective and open the sealed gate by restoring power to the facility.
The second fight is the one that matters most. It splits into two phases, and each phase has its own full health bar. The bar refills when Lacerta enters its second phase, so do not lower your guard when you think it is nearly dead. You need to empty both bars to actually seal it.
The moveset stays almost identical between the two encounters. The real difference is blight. During earlier phases, Lacerta briefly imbues itself with blight to speed up its attacks, and in the final phase it fully imbues itself. When it glows red at around 50% HP, its combos come out faster and hit far harder, but the timings are the same rhythm played quicker.
Loadout to bring: Shock damage and Poison cures
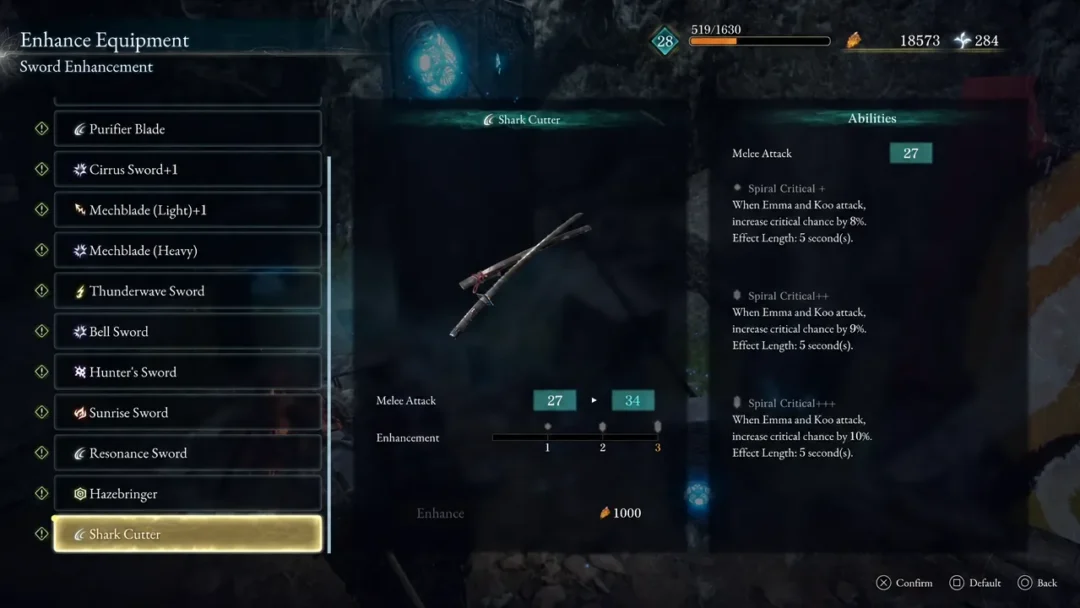
Lacerta is weak to Shock, so build your kit around it. Upgrade and equip the Thunderwave Sword, and use Koo’s Sakura: Javelin Bloom Art for extra Shock pressure. You can also equip Bolt Shards to Koo, and he will fire them automatically during the fight.
Because the boss deals Poison and Slow, carry anything that raises Poison resistance or clears status effects. Giving Koo an Antidote lets him cure your Poison, which matters most in the second phase when the blight raises the damage on every hit. A Recovery Tonic on Koo also keeps a steady heal flowing while you focus on parries.
Keep a ranged weapon on hand too. The Crossbow and Zangetsu Bow both deal solid damage, and Lacerta constantly creates distance by swimming and backing off, which gives you free windows to shoot.
Lacerta moveset and how to counter each attack
Most of Lacerta’s melee attacks can be parried, and parrying is your main way to restore HP and build FP for Koo’s Bloom Arts. The Mouth Snap is the best parry target because it comes out as a predictable three-hit combo. Save your ranged shots and slow-time skills for the moments after those close-range strikes, when the boss briefly stops moving.
| Attack | What it does | How to counter |
|---|---|---|
| Mouth Snap | A three-part biting combo, similar to the first boss’s horn swipes. | Parry each bite. Best source of restored HP and FP for Bloom Arts. |
| Tail Swipe | Turns its body away, then spins and swipes its tail, often twice. | Parry the swipe. Watch for the second hit that usually follows. |
| AoE Explosion | Surrounds itself with a slowing pool, glows red, then sprouts damaging plants across it. | Sprint out of the pool and out of range. Use the gap to fire your bow. |
| Underground Lunge | Submerges in the water, then bursts out and lunges with its mouth. | Dodge or run from the lunge. Do not shoot while it is underwater. |
| Swamp Summons | Trails you underwater and emerges for damage, sometimes summoning smaller copies of itself. | Run from the watery trail until it surfaces. Let Koo clear the summons. |
Note: You cannot damage Lacerta while it is submerged, so hold your ranged fire until it is fully out of the water. During the Underground Lunge, focus on the dodge rather than trying to squeeze in a shot.
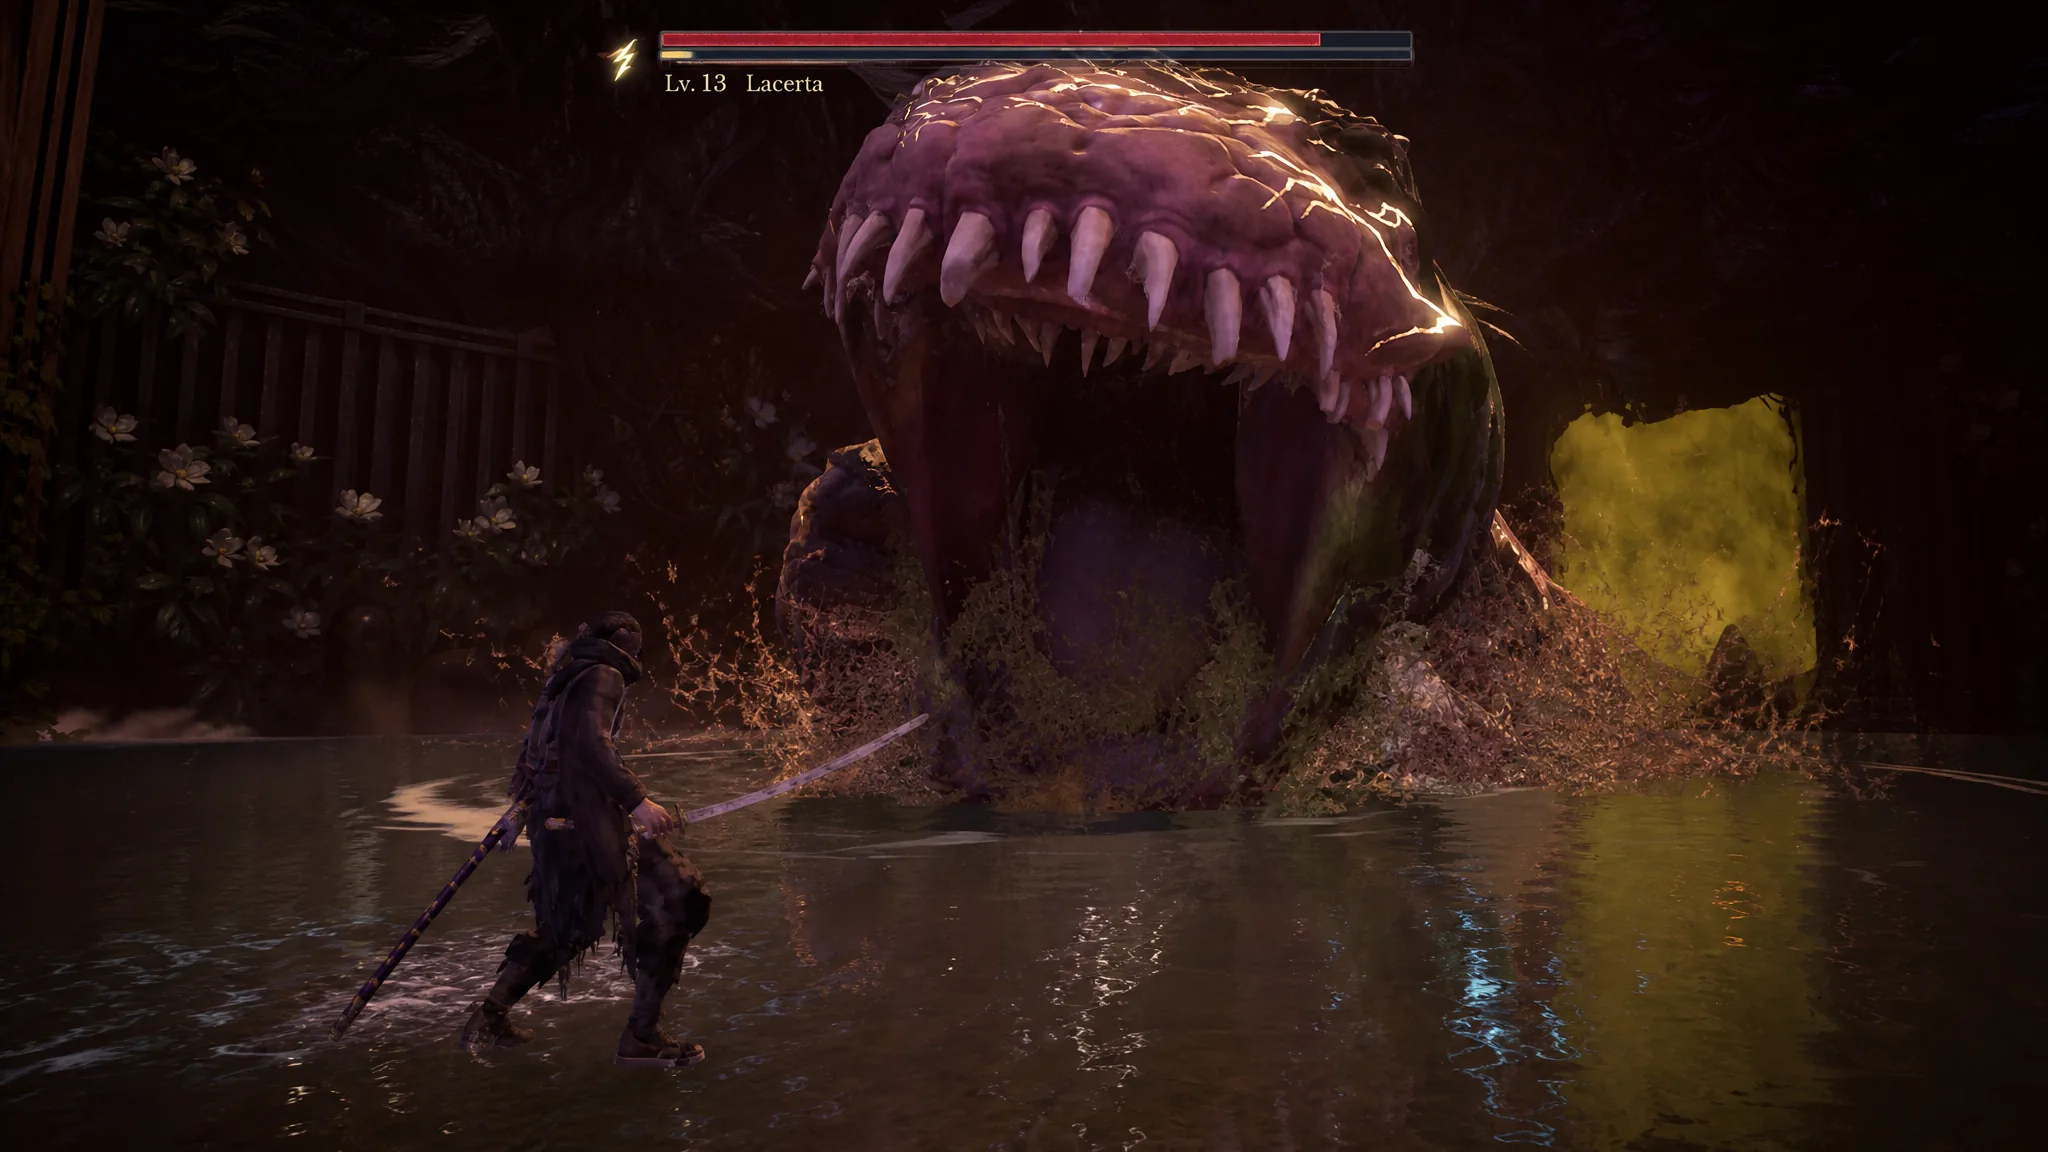
When the summons appear, deal with the smaller copies first. Leaving them alive splits your attention and stacks up extra damage, so let Koo mop them up while you keep the boss in view. When Lacerta glows red for its underground pop-up during a summon, dodge that hit before you commit to the adds.
The blight phase: one new attack to watch
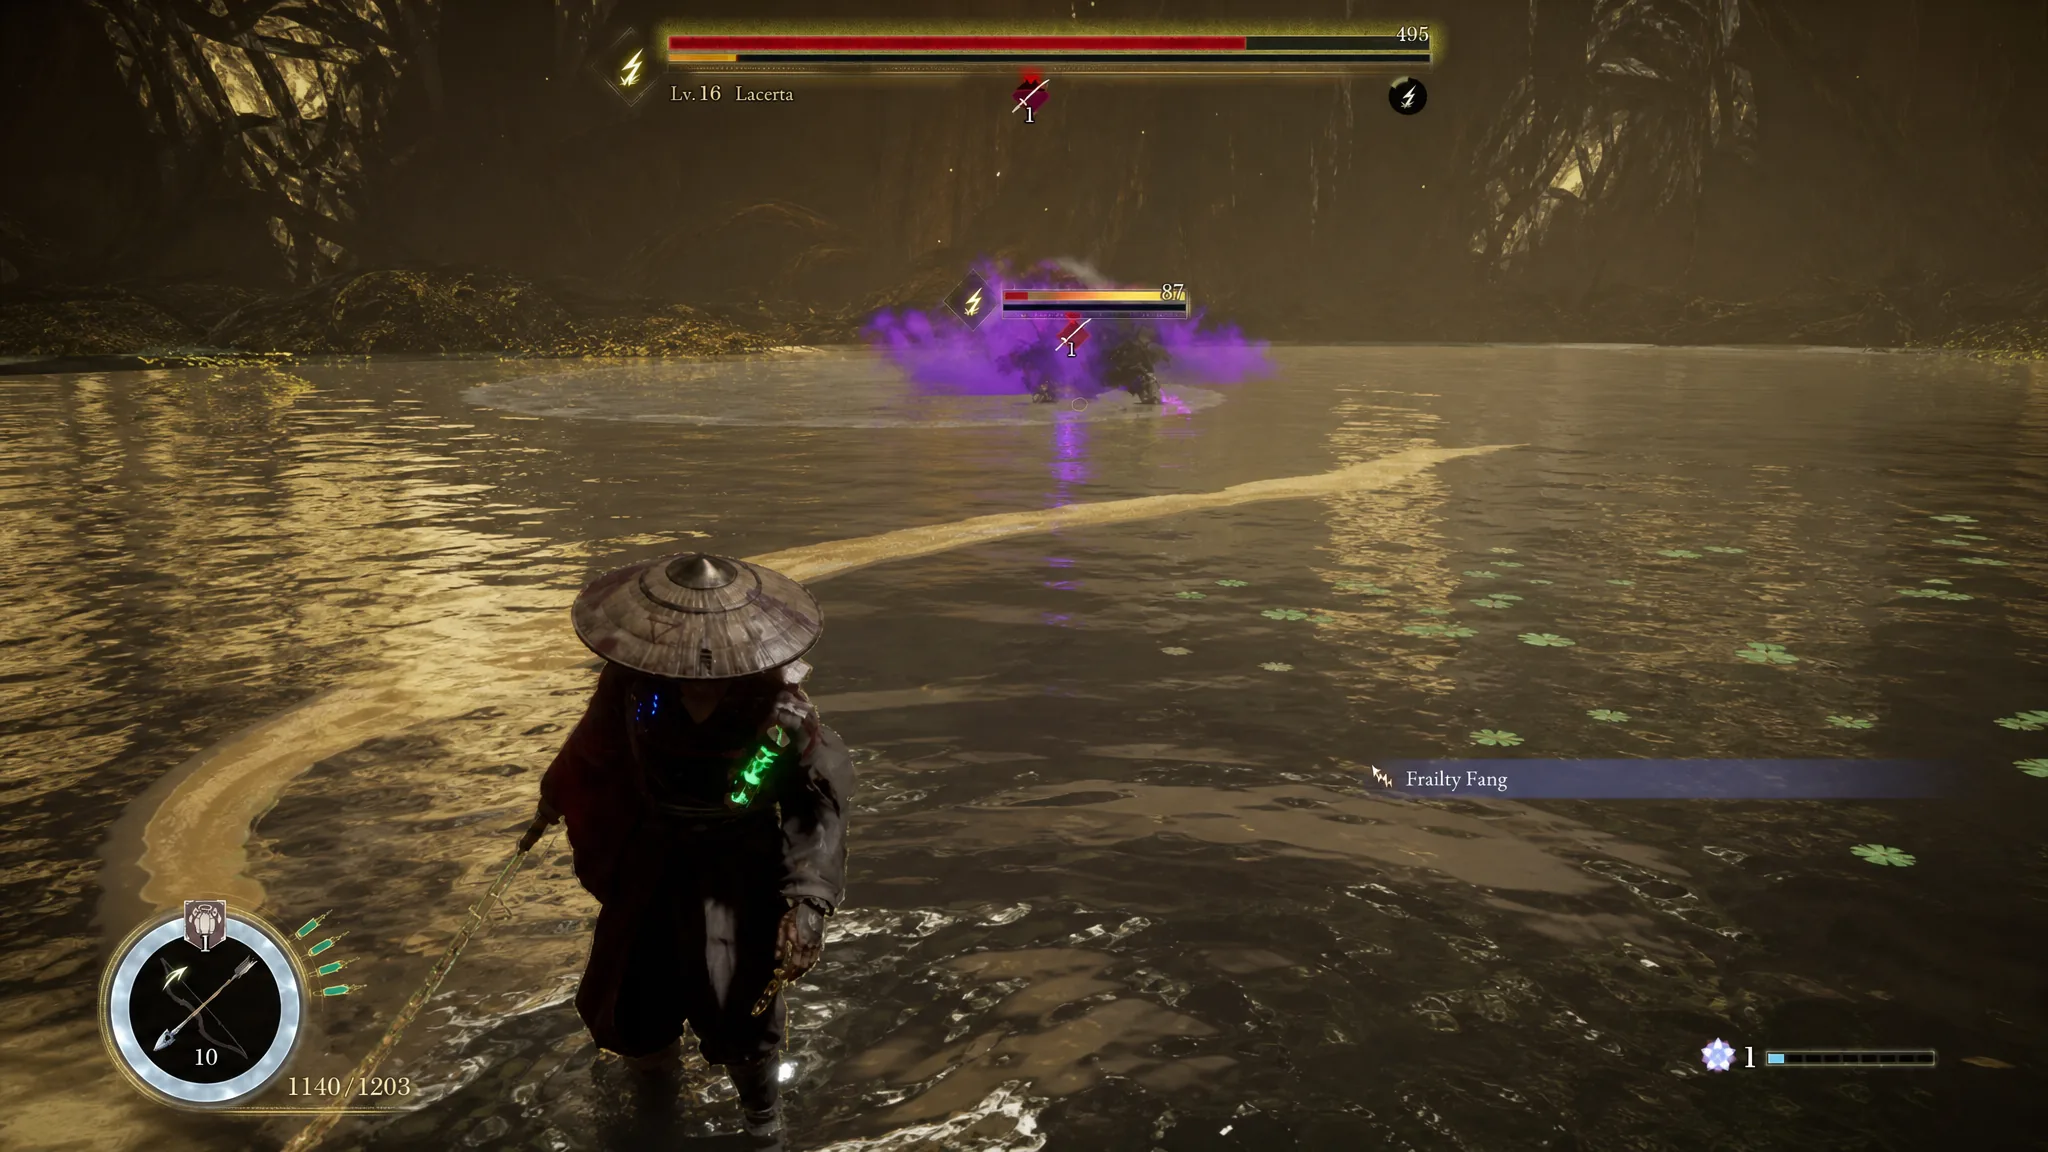
Once Lacerta fully imbues itself with blight for the final phase, the tempo tightens and its combos chain faster. The moveset itself barely changes, so the adjustment is mostly about re-learning the parry timing at the quicker speed. Give it a couple of exchanges to find the new rhythm.
There is one addition to look for. If Lacerta starts blowing purple smoke from its body, it is winding up a charging lunge. Like the Mouth Snap, this new lunge can be parried, so treat the purple smoke as your cue to hold your ground and deflect instead of rolling away.
Rewards for defeating Lacerta
Each encounter drops different rewards. Clearing the fights unlocks new Poison-themed skills for Emma and Koo, plus a heap of experience toward your attribute and skill points, and it opens the path into the third zone of the game.
| Encounter | Drops |
|---|---|
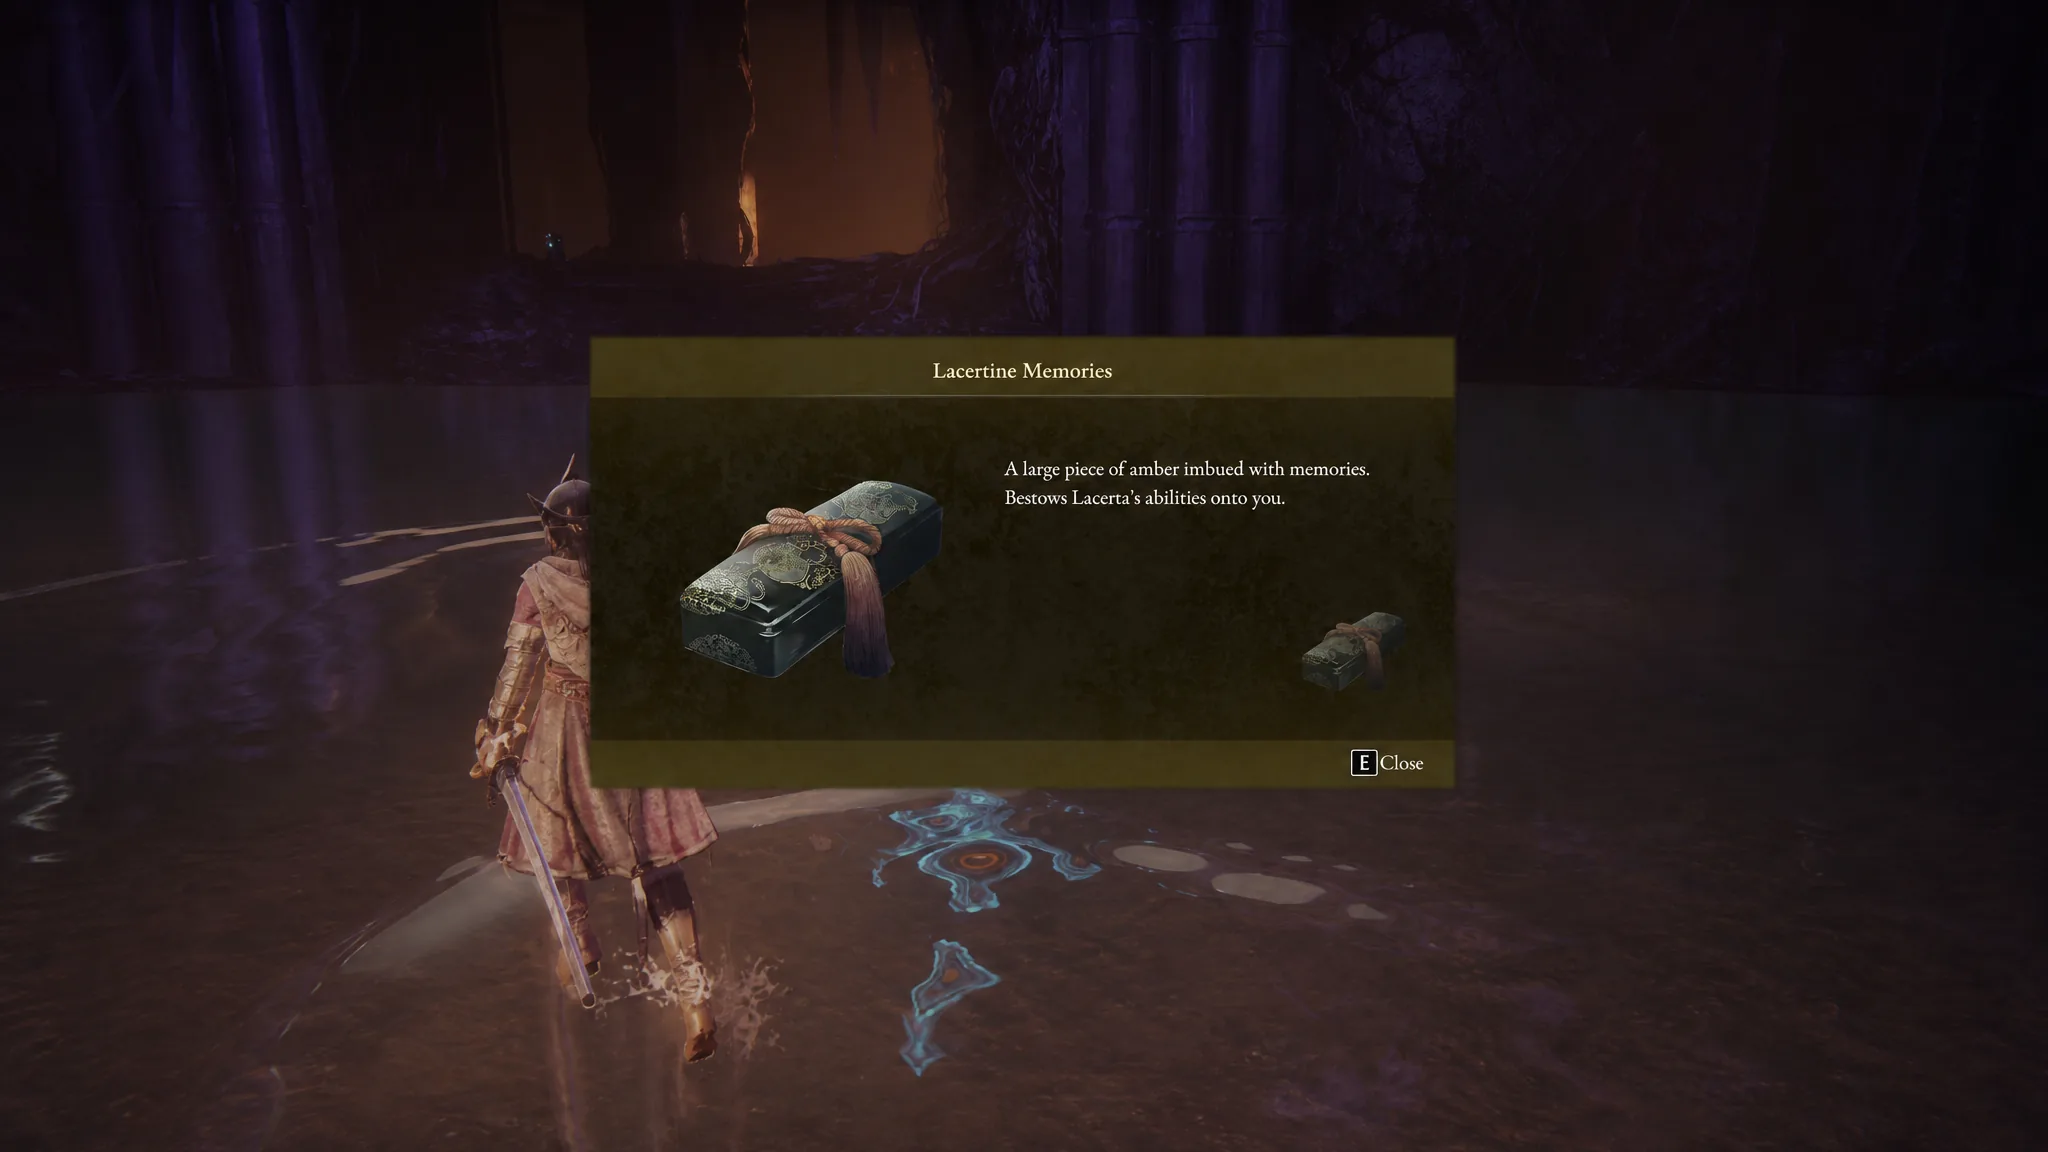
| Lv. 13 Lacerta | Lacertine Memories, which unlocks Nushi Skill: Dokuzeri Shower |
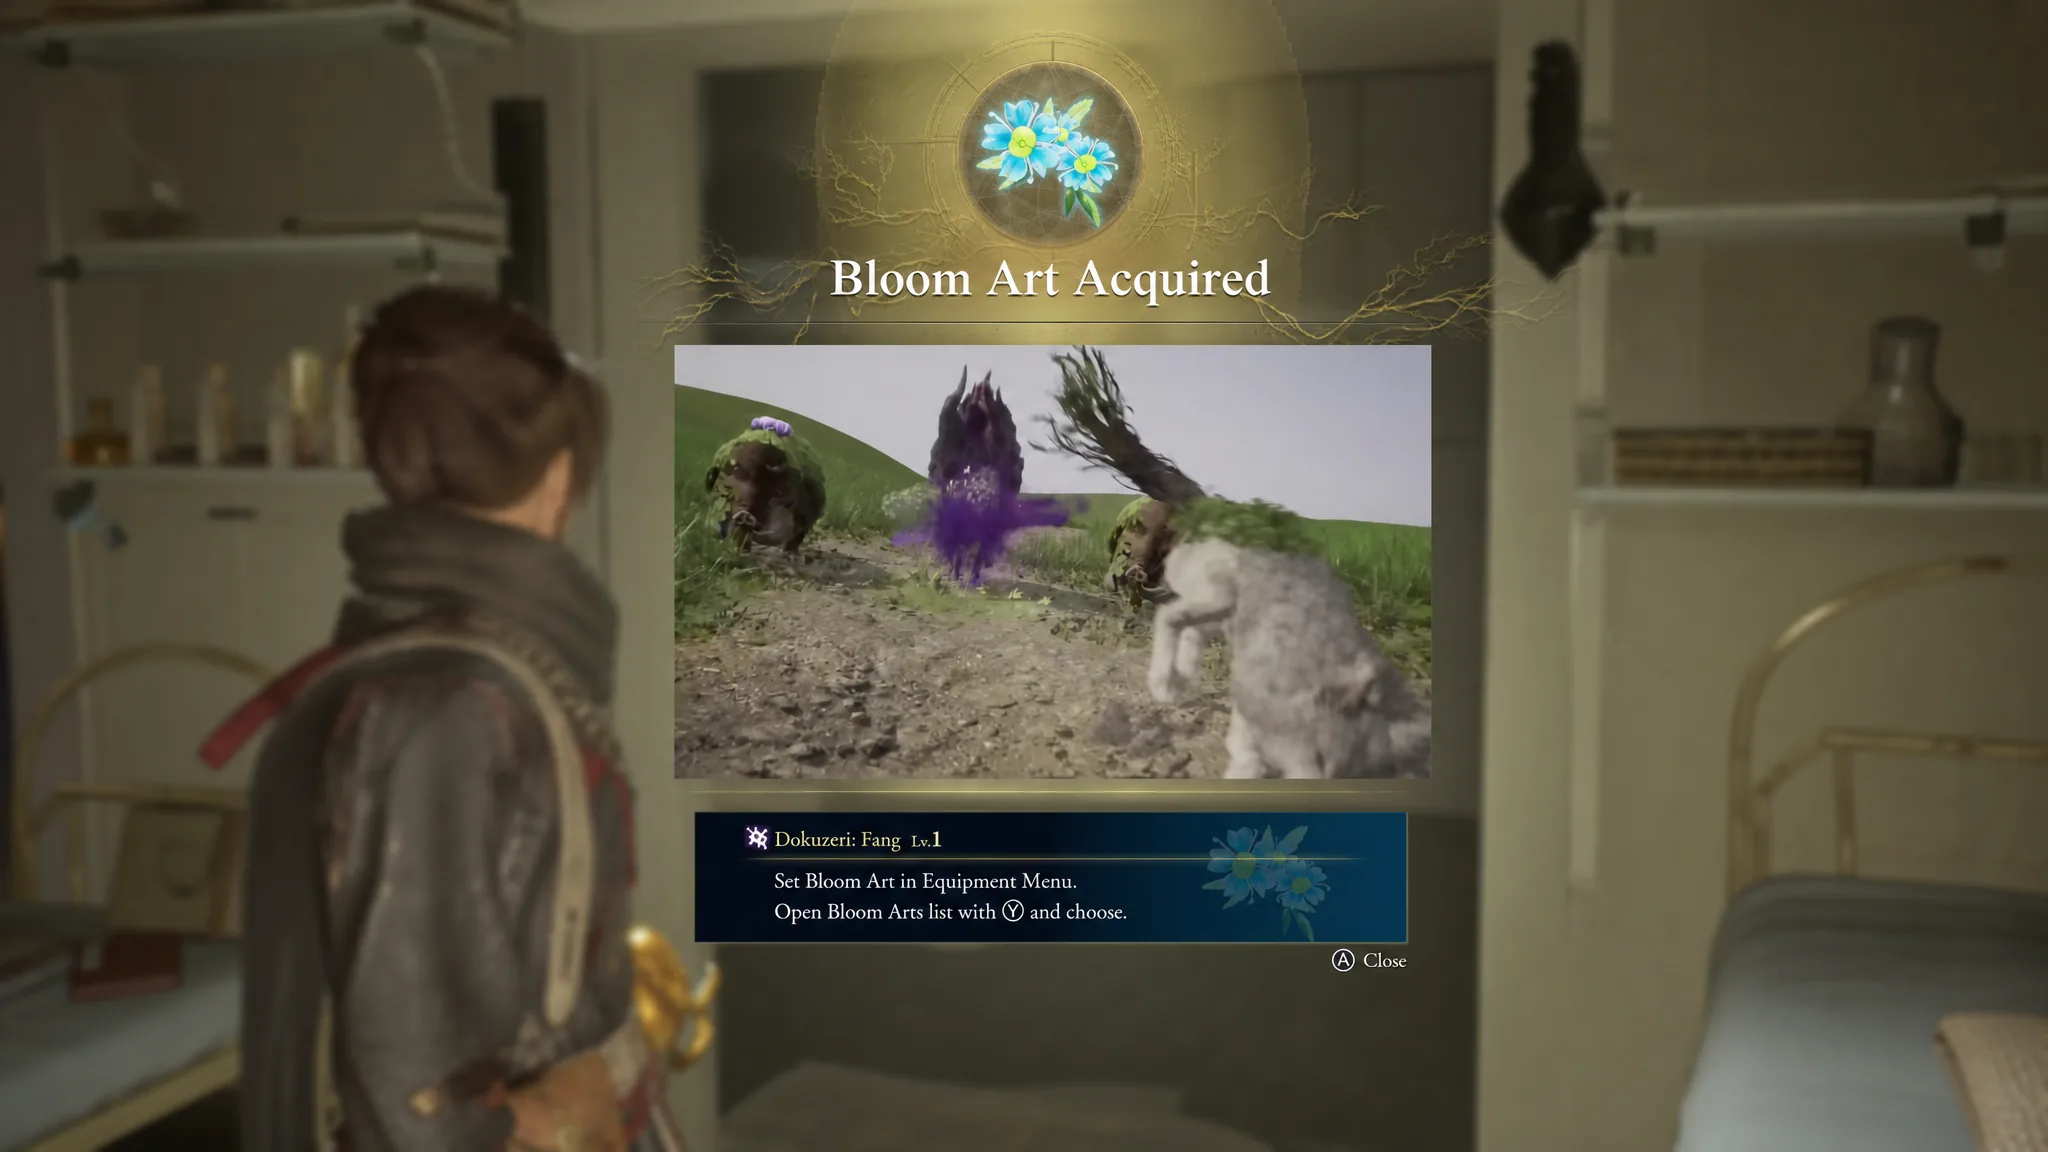
| Lv. 16 Lacerta | Dokuzeri: Fang and Blade Art: Dokuzeri |
You know the boss is truly down when the second health bar empties and the reward screen appears. With Lacerta sealed, the road ahead runs into Chapter 3, where the Nue Malefact becomes your next recurring threat, so hang onto that Poison damage since it is worth carrying forward.