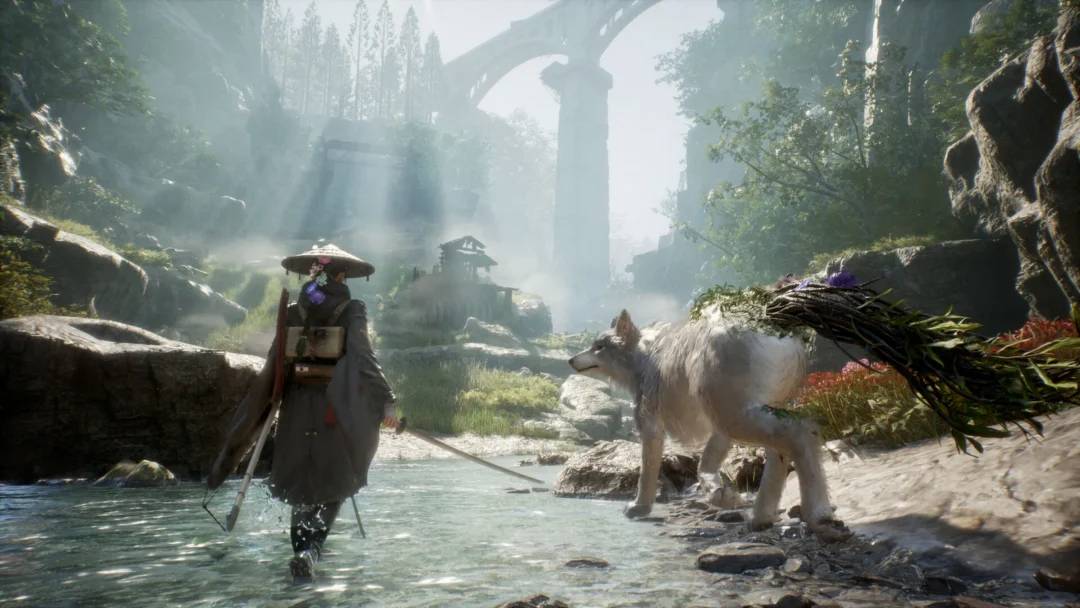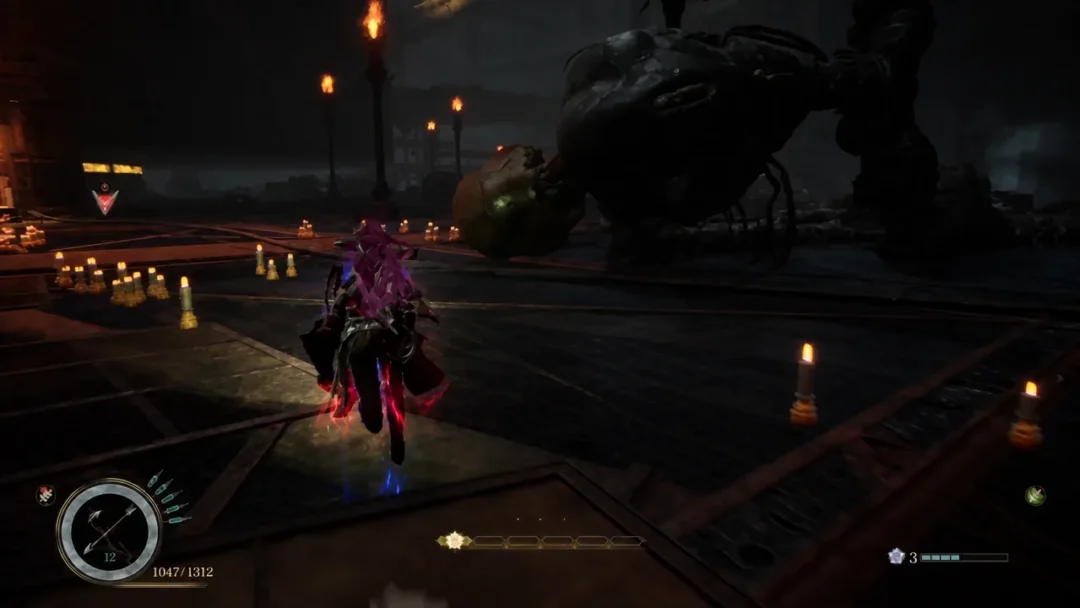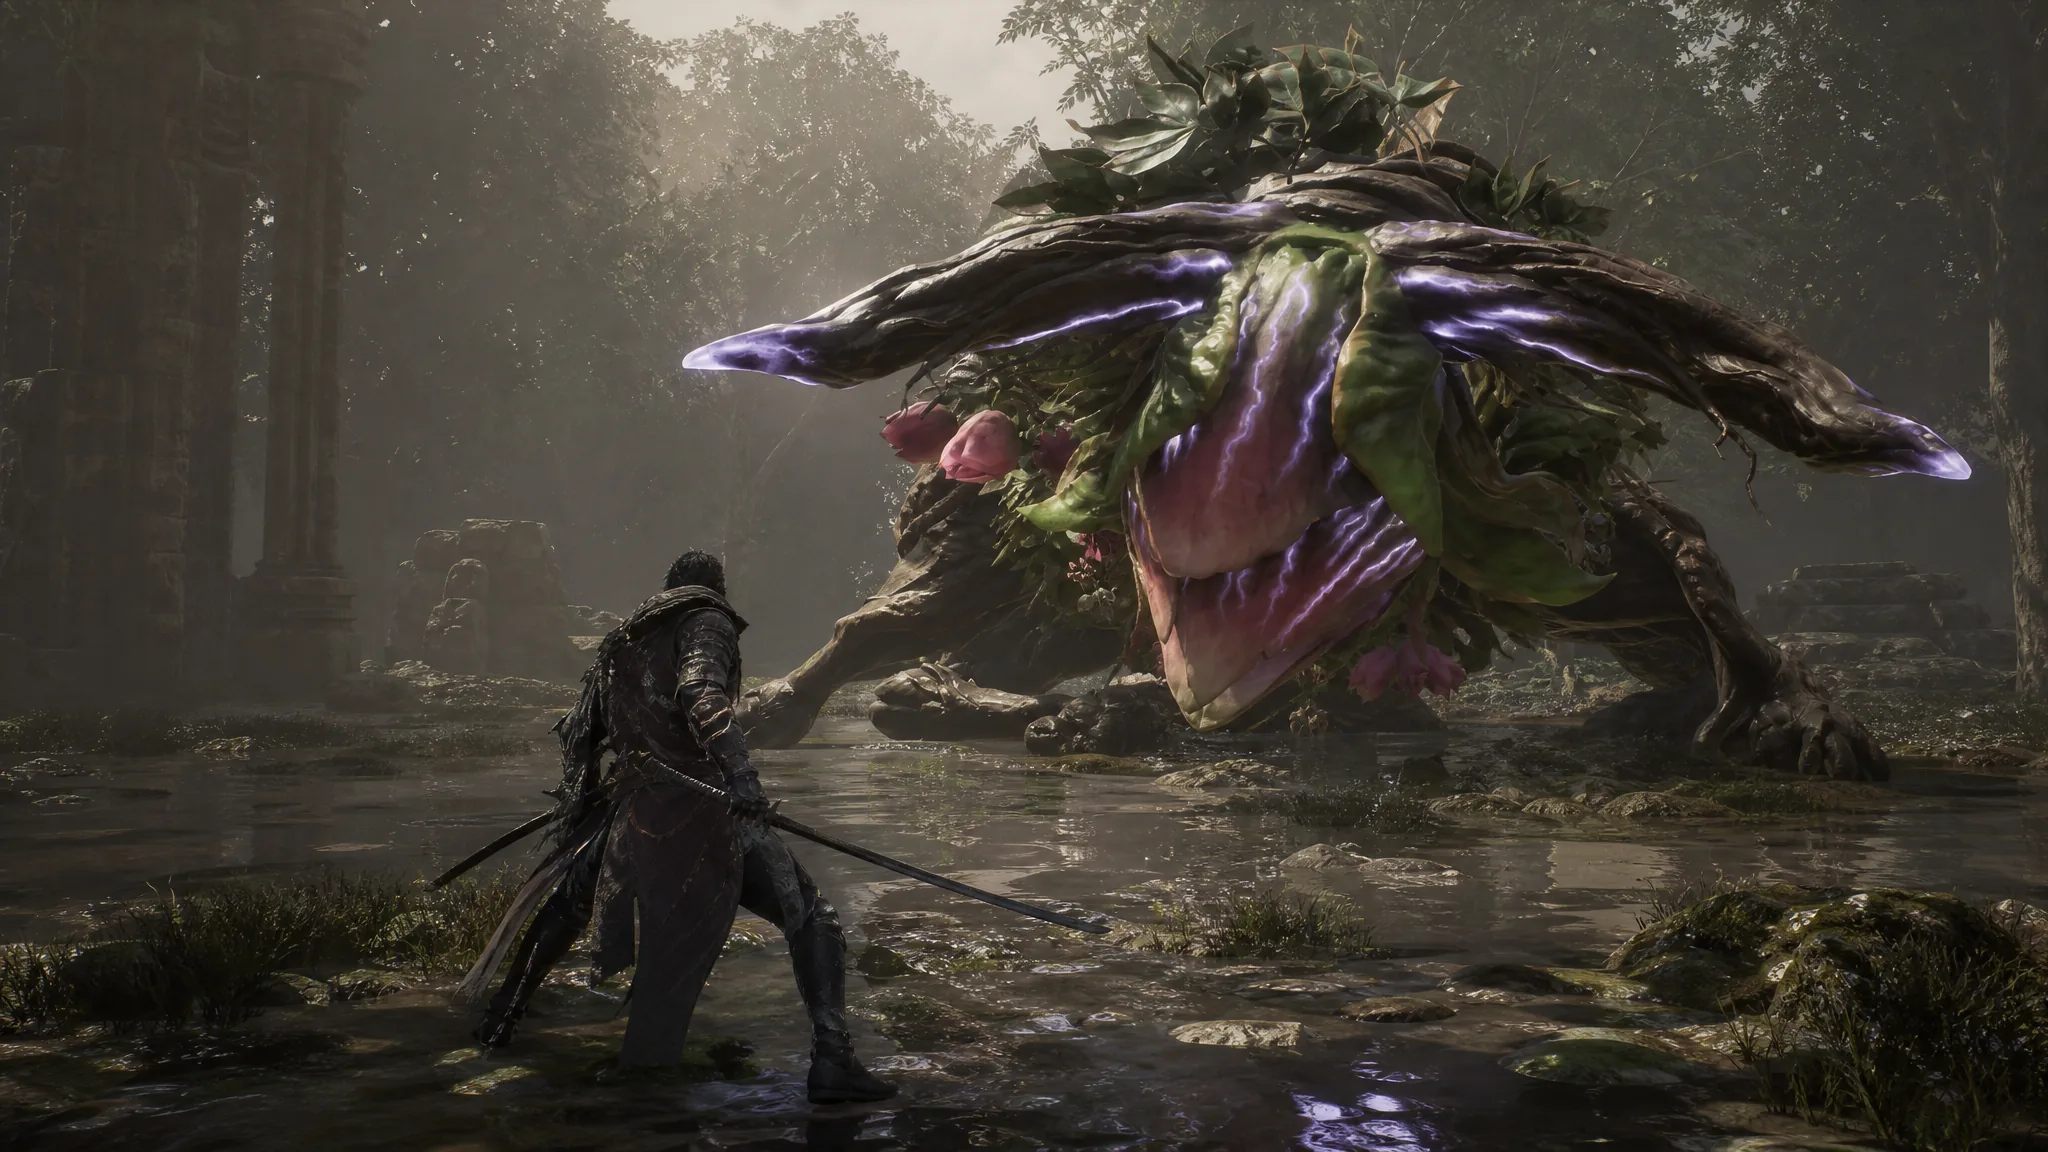
Taurus is the bull-like Nushi that rules the Stems region in Chapter 4 of Beast of Reincarnation. You fight it twice, and its attacks stay close to patterns you have already learned, so the real challenge is its Acid weakness, the added Golems in the rematch, and a much faster attack rhythm once it turns to blight.
Quick answer: Equip the Corrosive Fang Skill Amber and give Koo Bottles of Acid, hit Taurus with elemental arrows from your Zangetsu Bow and Crossbow while it gallops, parry its horn swipes to build FP, and stun-lock the three Golems in the second fight before whittling down both of its health bars.
The two Taurus fights in Chapter 4
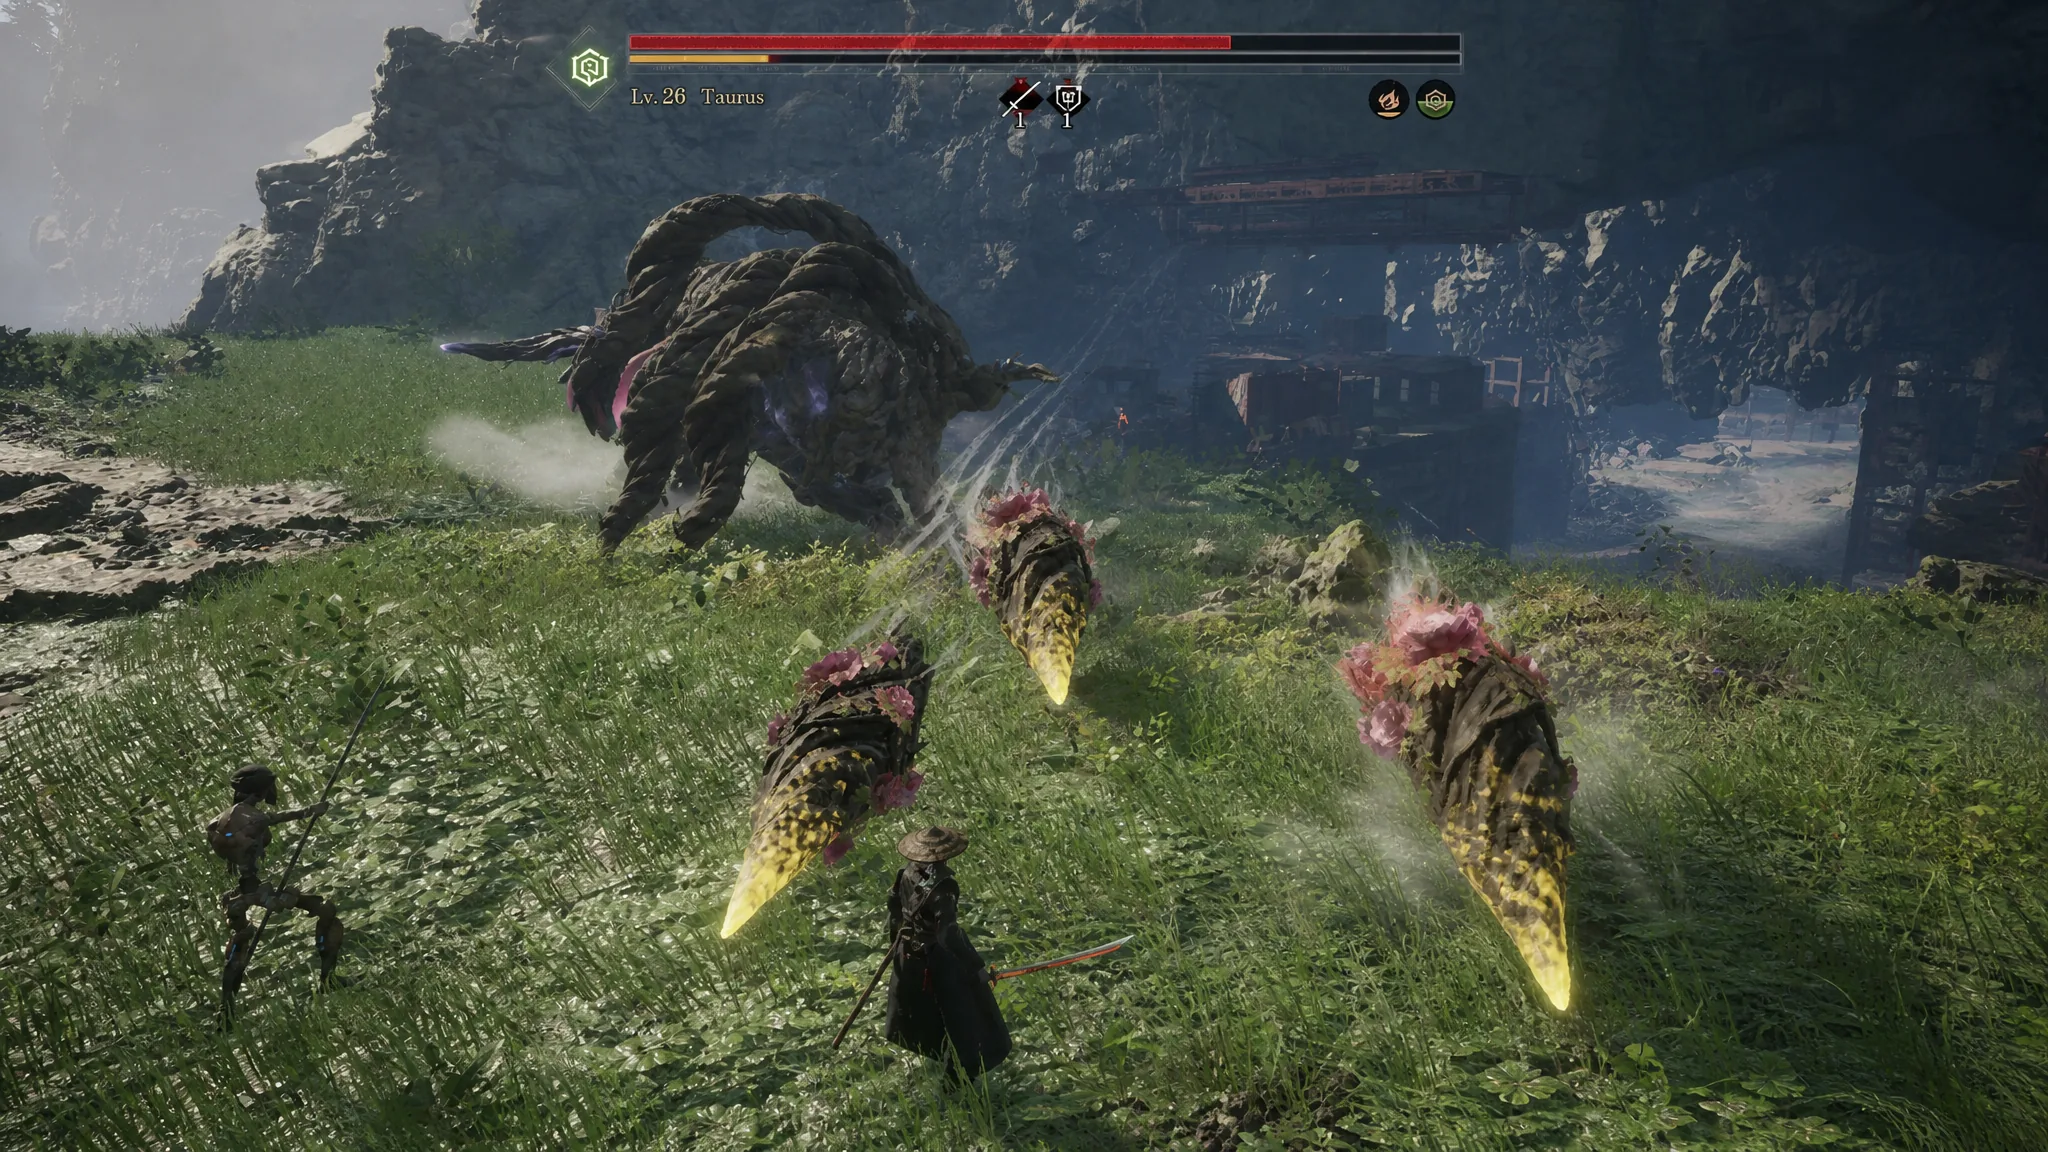
Taurus follows the same two-part structure you saw with Rangifer in Chapter 1 and Lacerta in Chapter 2. You meet it early in Chapter 4 while it is Level 26, deal some damage, and it flees to its lair. You track it down later for the real fight at Level 29, where it splits into two phases with a separate health bar for each. Draining the first bar does not end the battle, so keep your guard up until the second bar is empty.
| Encounter | Level | Key differences |
|---|---|---|
| First fight (start of Chapter 4) | Lv. 26 | Solo boss, core moveset only |
| Second fight (in its lair) | Lv. 29 | Two phases, two health bars, three Golems, new Horn Charge, faster blight attacks |
Loadout: exploit the Acid weakness
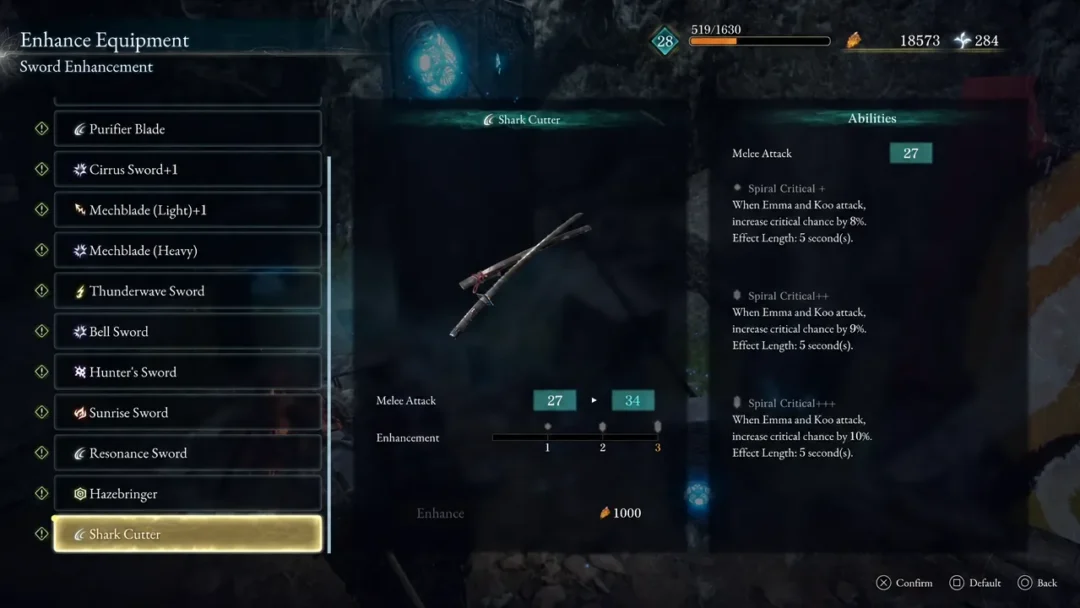
Taurus takes extra damage from Acid-element attacks, so build your loadout around that before either fight. Equip the Corrosive Fang Skill Amber, which you find during Chapter 4, and slot Bottles of Acid onto Koo so his assists apply the element too.
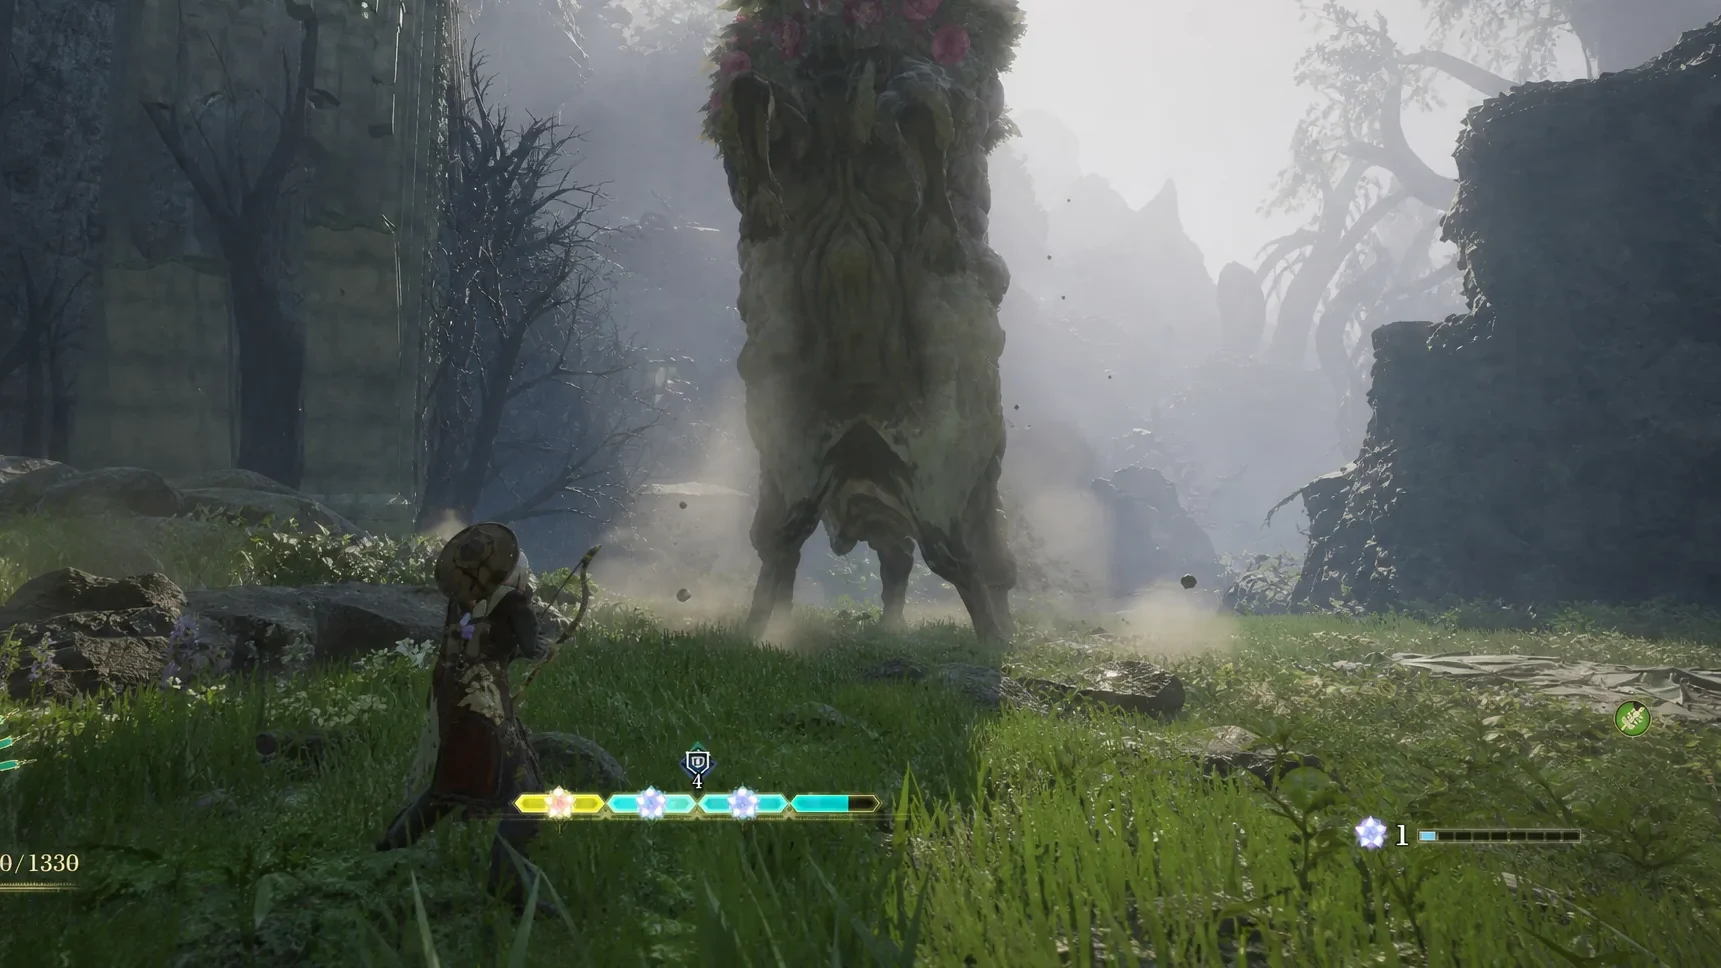
Because Taurus spends most of the fight galloping around the arena, landing clean melee hits is awkward. Keep your Zangetsu Bow and Crossbow loaded with elemental arrows and chip it down from range whenever it puts distance between you. In the first encounter, you can also grapple up to the bridge above Taurus and open with a Death from Above attack for a large chunk of free damage.
Every Taurus attack and how to counter it
The horn swipe combo is your main source of FP. Parry each swing to restore charges, then spend them on Acid attacks and Bloom Arts. The projectiles are also parryable, giving you a second reliable way to top up FP from range.
| Attack | What it does | Counter |
|---|---|---|
| Projectile Bombs | Fires a barrage of seed bombs from its tail | Parry them for FP, or run out of the line of fire |
| Piercing Branches | Sends branches burrowing underground that glow red and erupt into spikes | Run or dodge clear of the glowing path |
| Horn Swipes | A two-hit combo from either side, sometimes three | Parry every swing to build FP |
| Lunge | Rears up and slams down, summoning horns from the ground | Dodge or run away; the parry timing is tight |
| Horn Charge | Grows a horn and charges straight at you (second fight only) | Dodge to the side as it approaches |
Clearing the Golems in the second fight
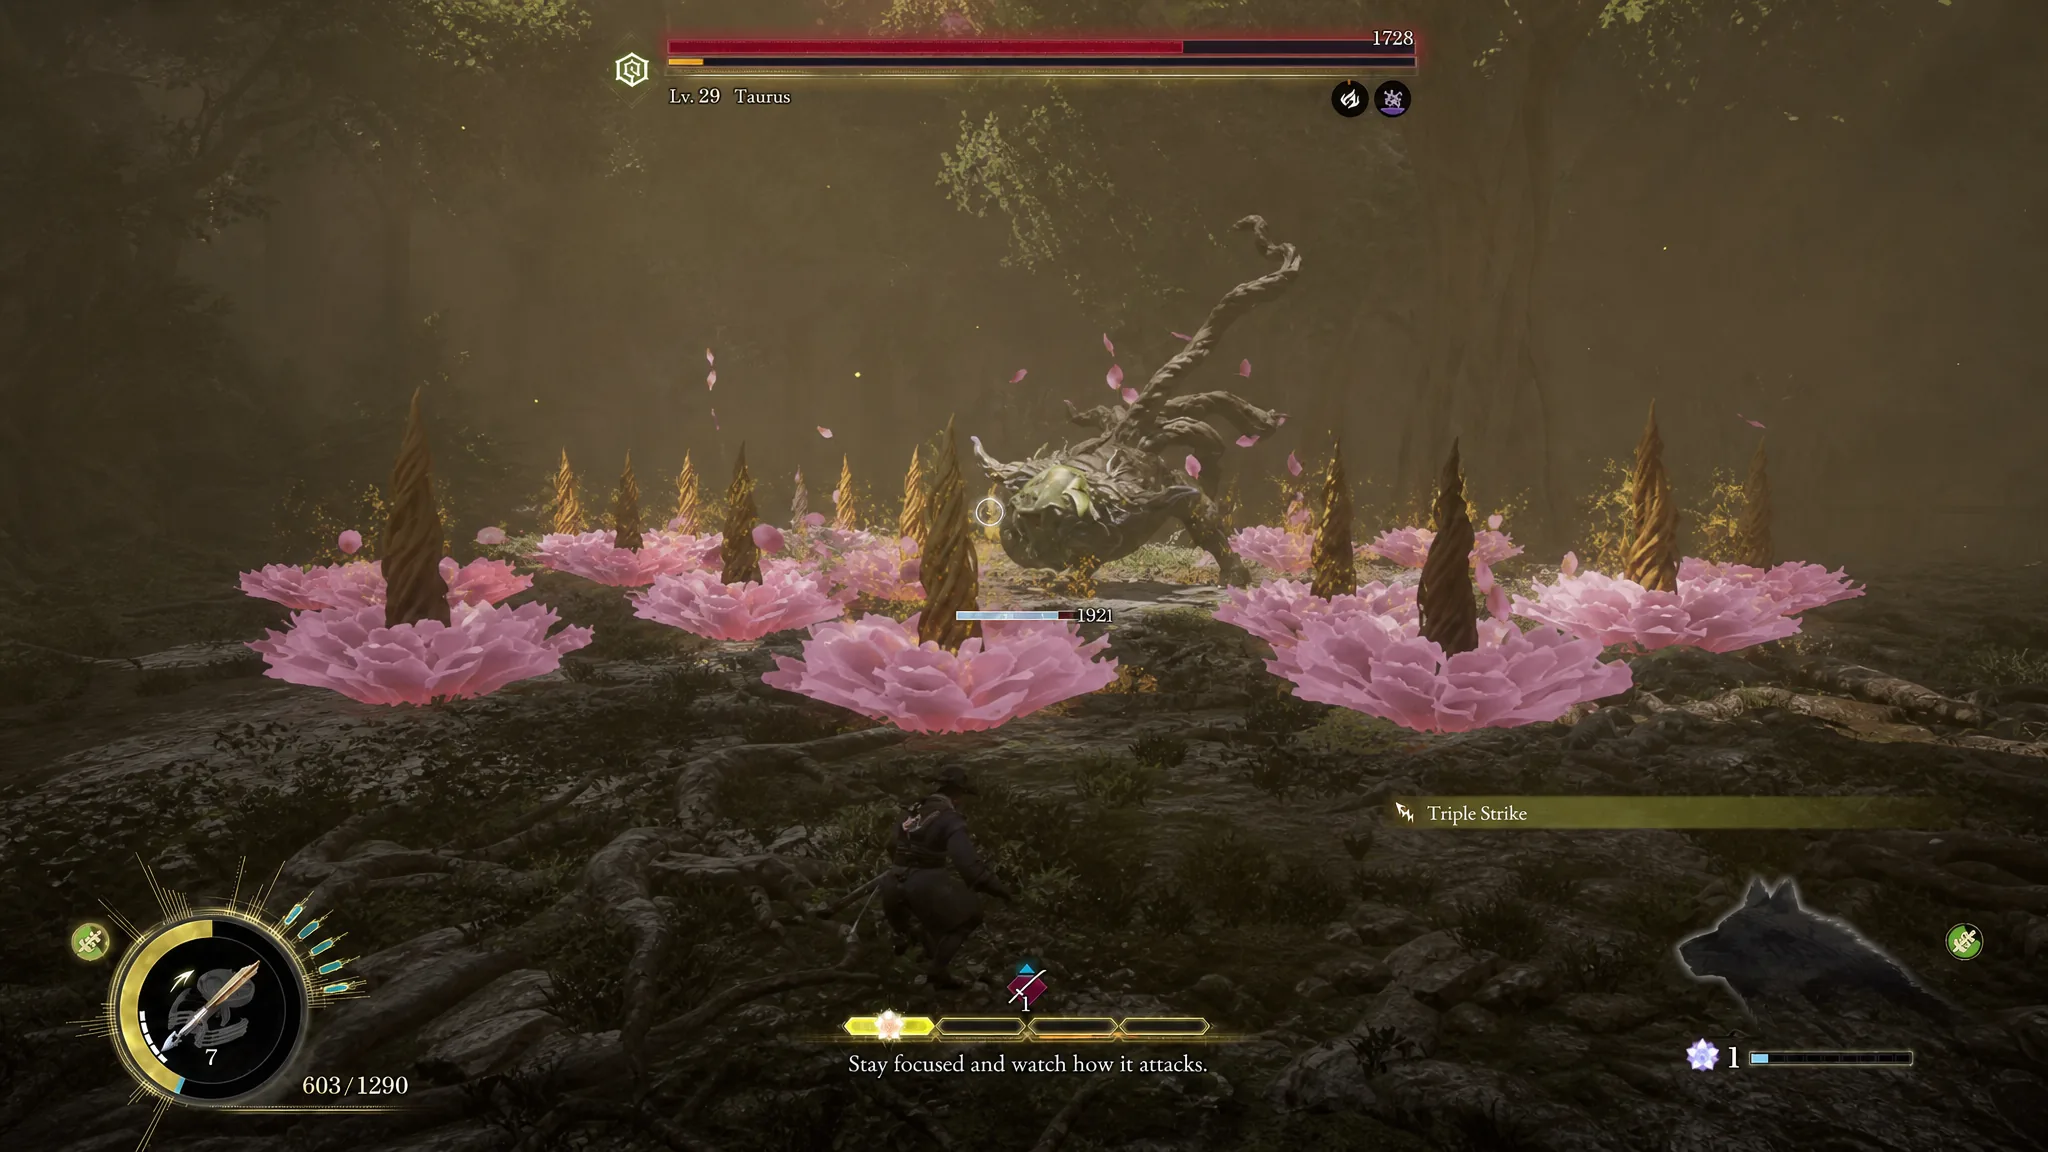
The rematch opens with three run-down Golems fighting alongside Taurus. Left alone, they will circle behind you and swipe while you focus the boss, so deal with them first.
Adjusting to the blight phase
During the second phase of the end-of-Chapter fight, Taurus imbues itself with blight and glows pink. Its movement stays roughly the same, but its attacks speed up sharply. The horn swipe combo becomes much faster and extends to as many as four or five swings from alternating sides.
The new tempo takes a moment to read, but it is worth learning. Parrying these empowered swipes restores FP quickly, so once you find the rhythm you can keep your Acid attacks flowing while depleting the second health bar.
Taurus drops and rewards
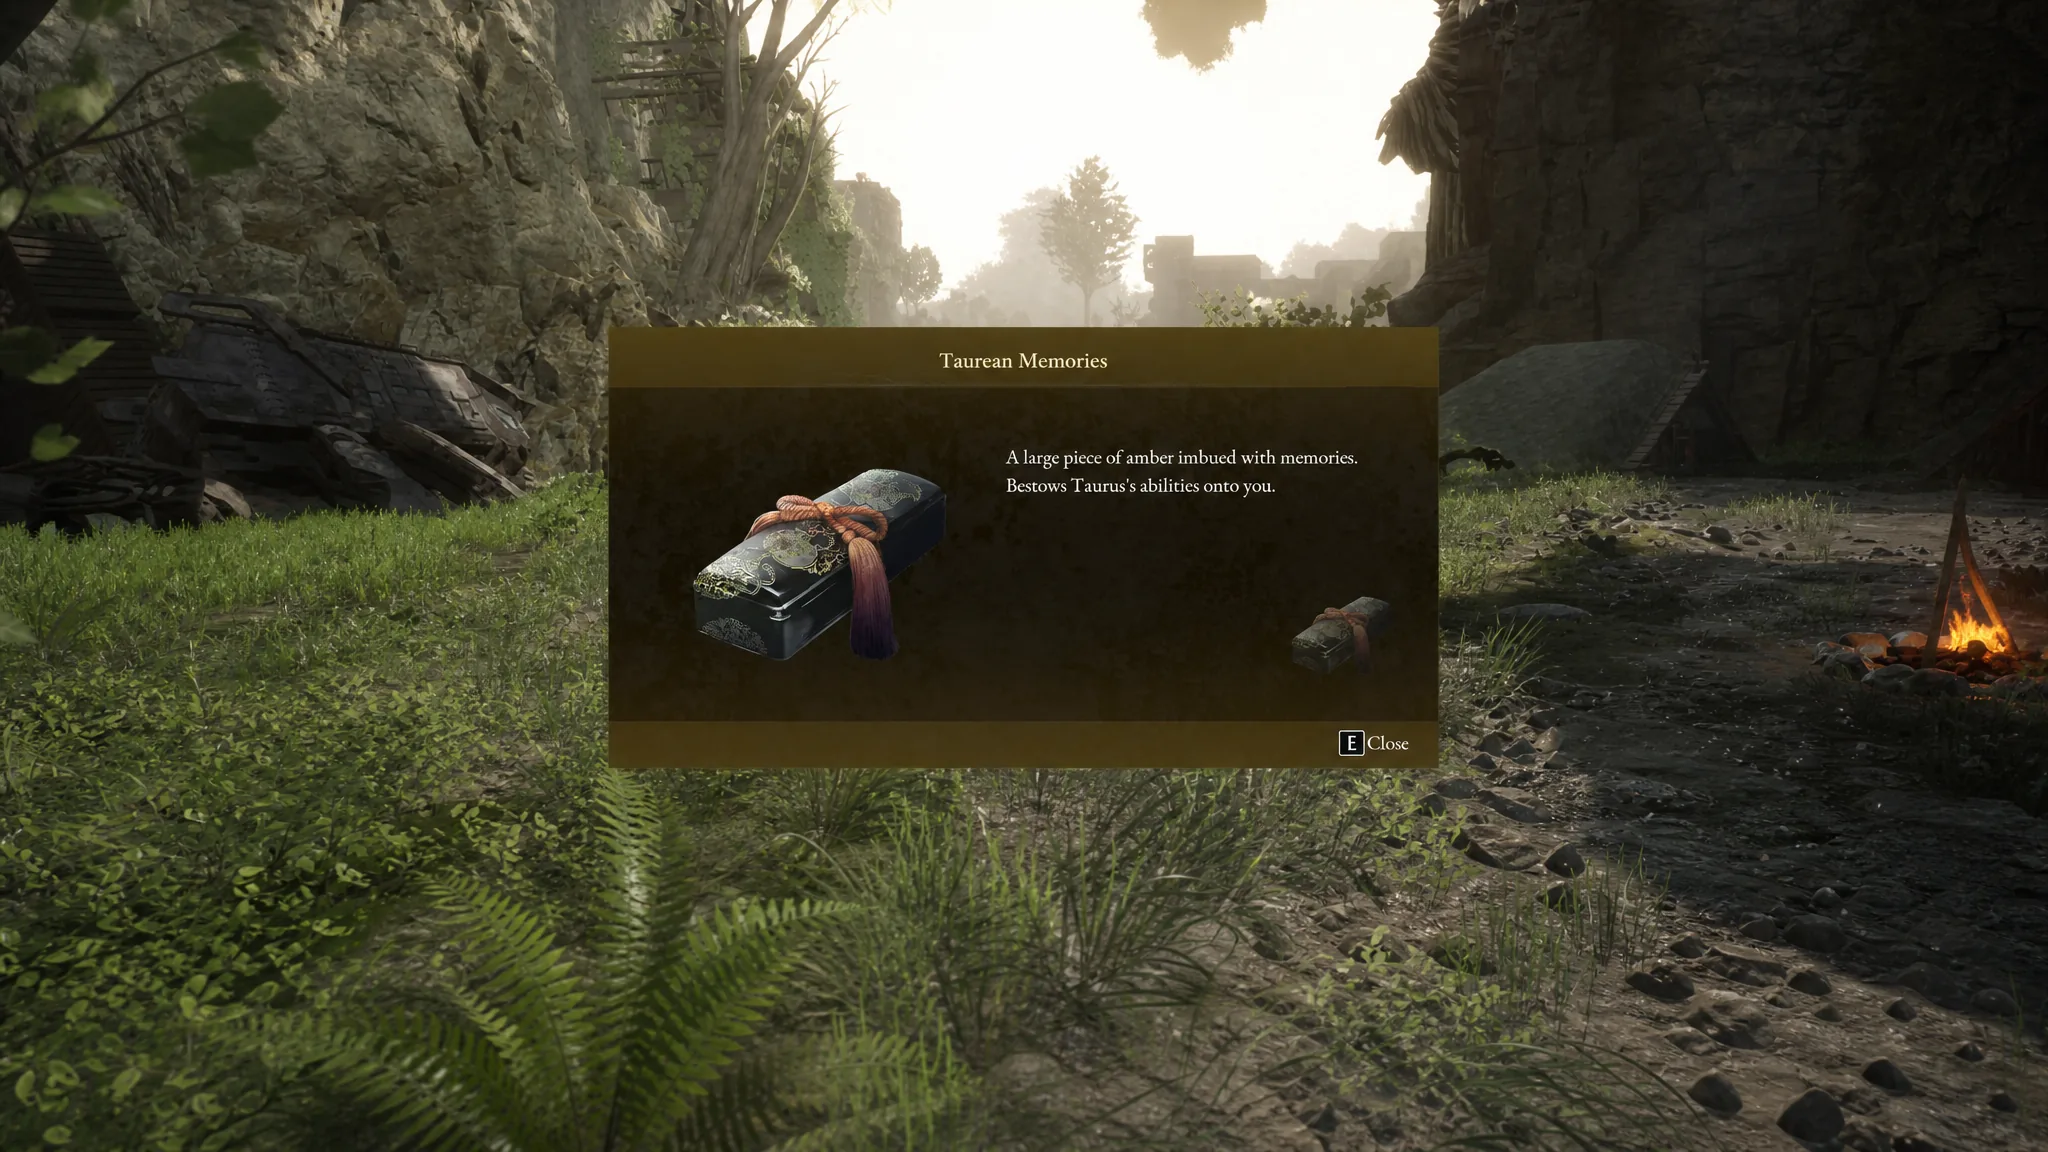
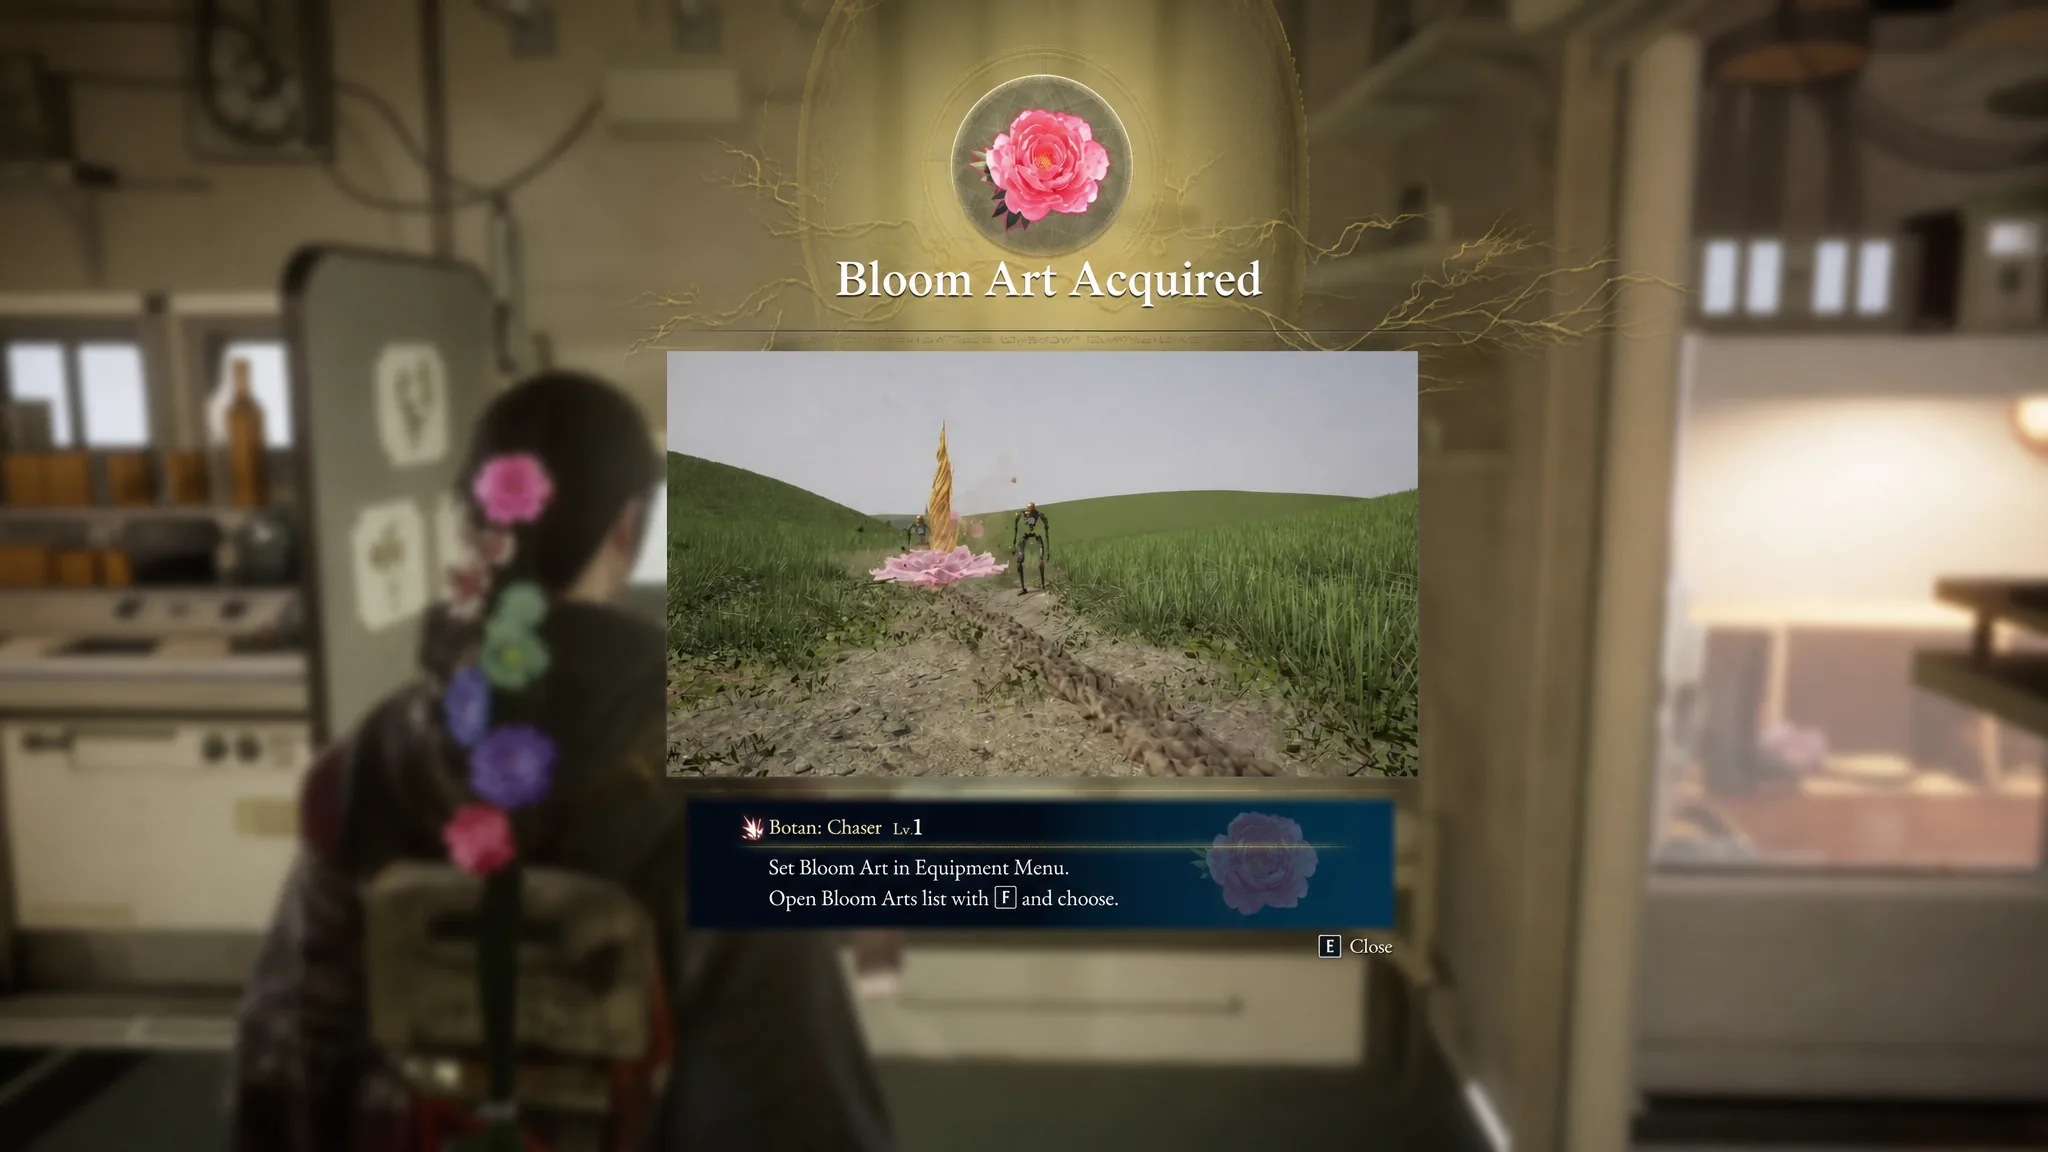
Each version of Taurus grants different rewards, so both fights are worth finishing. The Level 26 encounter hands over a crafting-style unlock, while the Level 29 lair fight gives you two new arts to add to your kit.
| Version | Drop | Unlock |
|---|---|---|
| Lv. 26 Taurus | Taurean Memories | Nushi Skill: Charging Botan |
| Lv. 29 Taurus | Botan: Chase Bloom Art and Blade Art: Botan | Both arts added directly |
You know the second fight is truly over once both health bars are gone and the drop and unlock prompts appear. Sealing Taurus also earns the Taurus’s End achievement, confirming the Nushi is down for good and clearing your path deeper into Chapter 4.